

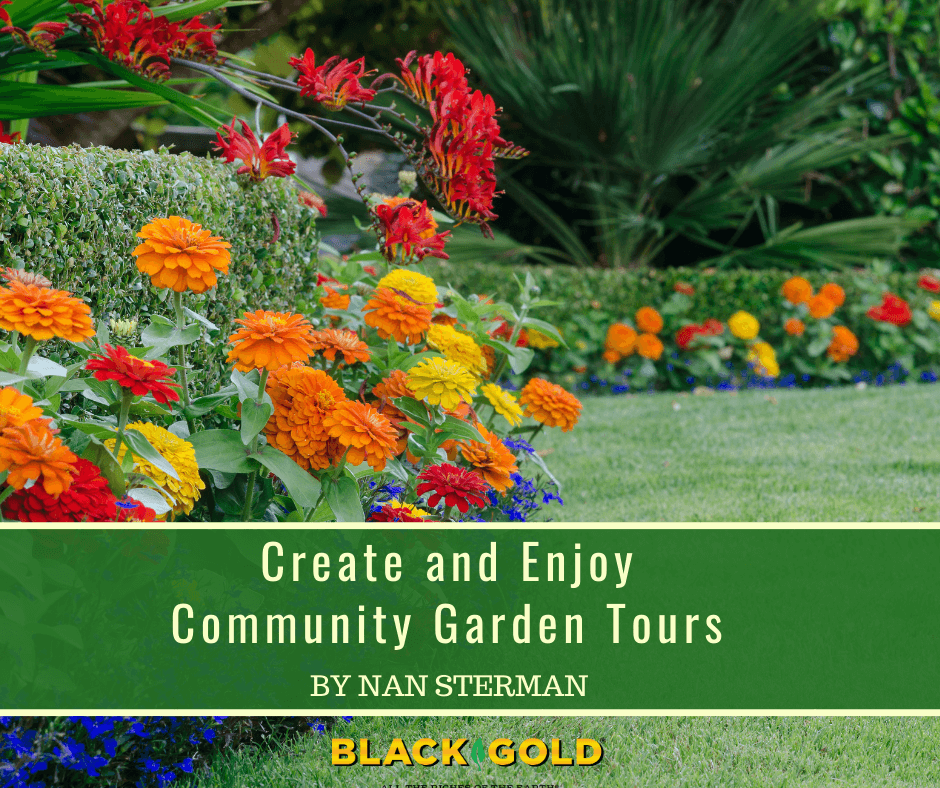
Written by Nan Sterman
I tend to divide the world into two kinds of people: those who walk or drive down a street, oblivious to their surroundings, and those who notice everything, especially cool gardens. The latter group often dreams of strolling through gates and peaking over fences into the lush backyards and courtyards of others. If you notice everything (and of course you do), spring or summer is your lucky season for garden tours, private or public. And, if you lack garden tours in your community, consider creating your own!
Types of Garden Tours
Garden tours are usually organized or offered by garden clubs, garden societies, and or public gardens. Some benefit causes like school gardens or educational scholarships or community beautification projects. Other tours, such as native garden tours, have an educational goal. Still, other tours are just for the fun of it. I went on a first garden tour more than 25 years ago. Since then, I’ve attended dozens, held my own garden on tour many times, and designed tours for the public.
Starting a Community Garden Tour
If you are innovative and know lots of other enthusiastic gardeners, you can start your own garden tour in your community. That’s just what I did. In 2005, I was first asked to head a tour for my community, the Encinitas Garden Festival & Tour. Then in 2010 an annual self-guided walking tour of over 23 private gardens (a school garden, a butterfly vivarium, and even a fire station garden) was created where I live! Thousands now attend the event, which also features a marketplace of vendors selling plants, pots, tools, and garden soil (like Black Gold®), and close to a dozen talks on gardening topics.
Our tour is unusual in its size and scope, but if you develop and host a tour annually, it will surely grow. Typically, a new garden tour features four, five, or maybe ten gardens on a driving and walking tour. For the price of admission, attendees generally get a map of the garden locations and a description of what makes each one special, in addition to garden access. Garden hosts are at the ready to help attendees better understand the plants, development, and overall design scheme of their gardens. Each tour will be as unique as its community. As it grows, so can its offerings.
The Dos and Don’ts of Garden Tours
Whichever tour you choose to attend or host, here are some dos and don’ts:
DO
- Buy tickets ahead of time, so you know where to go, and so organizers can anticipate how many people to host.
- Wear comfortable shoes. (I’m always amazed to see high heels teetering down a garden path.)
- Wear sunscreen, a hat, and bring a bottle of water — common sense.
- If you have trouble walking or negotiating rough surfaces, inquire about the garden accessibility ahead of time. This is especially essential for people in wheelchairs and parents with children in strollers. Many private gardens are not designed for public access or ADA compatibility.
- Get an estimate of how long it might take to visit the gardens, so you can plan your day.
- With tours where there are just a few gardens but lots of people, expect some lines. Be patient. While you wait, strike up a conversation with the person next to you. You may learn an interesting gardening tip or, at least, make a new friend.
- Leave the dog at home. Fido may adore the walk but garden owners won’t be appreciative.
- Bring a camera! Bring a camera! Bring a camera! And a notebook.
DON’T
- Pick flowers, collect seeds, or take cuttings. Taking anything from a garden without permission is, well, stealing. If you see a plant you like, take a photo or note its name. Take that information to your local nursery.
- Go into areas marked as being off-limits. There is a reason they are marked that way.
- Try to visit a garden that is not on the tour, even if it looks absolutely fascinating.
- Criticize a garden. Their owners work hard to prepare for your visit.
Then once you enter each garden, take a good attitude and have a good time! After you complete your garden tour, your next step should be to go home and implement some of your new garden ideas using Black Gold®!


