An herbal wreath is a fragrant and decorative way to dry your culinary herbs. While wreaths are most commonly used throughout the holiday season, especially pine or fir wreaths for their fresh scents, herb wreaths can bring aroma and ambiance indoors throughout the year.
Harvesting Herbs for Drying
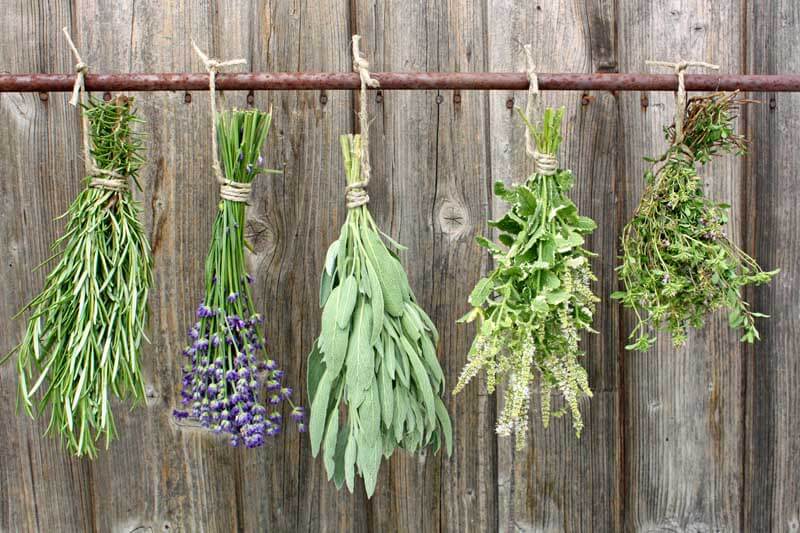
Choose herbs to harvest that have not yet flowered. Cut the stems in the morning after the dew has dried, but before the heat of the day. Use clean, sharp scissors, or pruners. bundle them together in stems of five to ten, and hang them to dry. Once they are 3/4 of the way dry, they are ready to work with. At this point, they are not crisp. To dry bay leaves, place them between two paper towels and set a book on top of them. After a week, they should be ready to use. Here are four potential wreaths to make:
- Herbal Tea Wreath–Pineapple Mint or Peppermint, Lemon Balm or Lemon Verbena, Chamomile Flowers, and Flowering Bergamot (Monarda didyma) are all perfect herbs for drying and teamaking. (Click here to learn more about growing and making tea.)
- Lavender Wreath— Nothing smells better than a dried lavender wreath in the home.
- Mediterranean Wreath–Bay stems, Rosemary, Sage, and Thyme make this a wonderful culinary wreath for any time.
- Bay Wreath–Bay leaves can be dried to make a fragrant, culinary wreath to enjoy through winter.
Harvesting Fresh Herbs
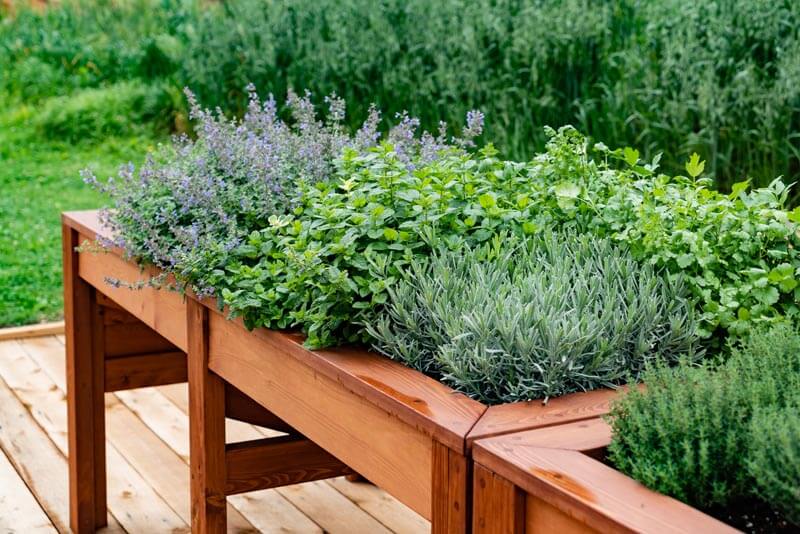
Some herbs last longer than others in fresh herbal wreaths. Good herbs to choose include evergreens, such as bay stems, lavender, rosemary, sage, and even thyme stems. Flowering herbs, like chamomile, tansy, rosebuds, and yarrow, also work well. Avoid more tender herbs, like dill, parsley, or basil; they do not last and look poorly after just a couple of hours.
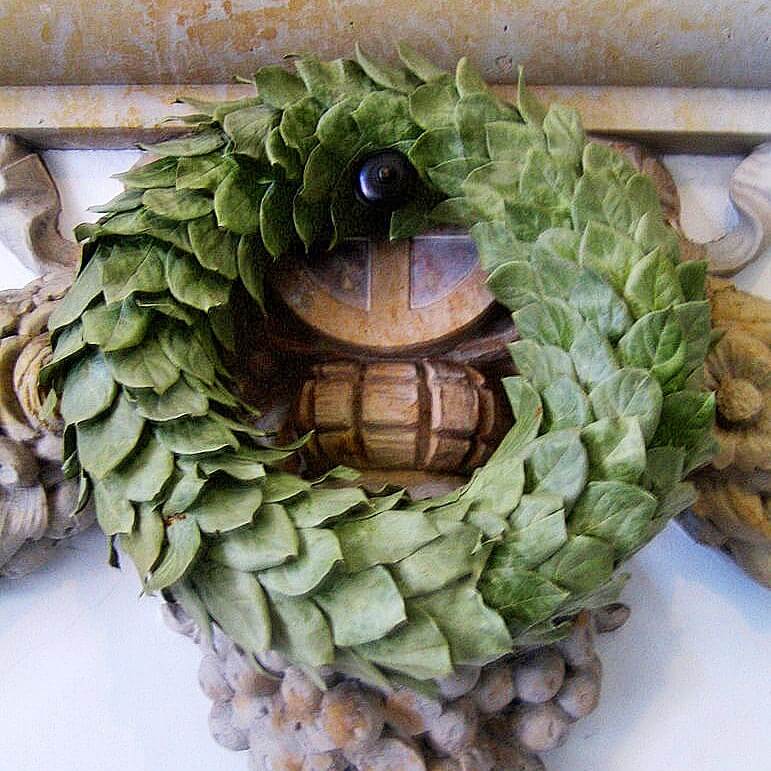
Making a Fresh Herb or Dried Herbal Wreath

Once you have collected a variety of herbs, you can dry them in a beautiful wreath. I like to contrast needles with broad leaves and vary the color, but a wreath made of entirely one type of foliage can also be pretty.
Materials:
- Grapevine wreath form
- Rosemary, thyme, oregano, lavender, bay, sage, or other garden herbs
- Everlasting flowers for color
- Floral wire or twine
- Scissors or snips
Make it!

- Lay the grapevine wreath on a table, and set out the freshly cut herbs and florist wire.
- Build a bundle of herbs in your hands, like gathering a bouquet. I like to incorporate woody-stemmed herbs like rosemary as the base of bouquet because the stems can hold the shape of the softer stems layered on top. Be sure to add a touch of color with lavender flowers or fennel blossoms.
- Snip off any long stems and tie the first bundle with florist wire, leaving one end of the wire long. Wrap the long end of the wire around the wreath form to secure the first bundle in place.
- Gather the second bunch of foliage. Lay this bunch with the tops overlapping the first one, and secure it to the wreath form with the wire.
- Continue adding bundles of herbs to the wreath by overlapping the previous bunch and securing with wire until there are no more gaps to fill.
- Secure the final bunch by gently lifting the herbs from the first bunch and tucking the stems underneath it. Secure with wire by twisting it together.
- Take a last look at the wreath. You can tuck in a few more greens to even out the design and hang in your kitchen.
- As the herbs dry, use needle-nose pliers to twist the wire on the back of the wreath to tighten the hold on the herbs.
- Harvest herbs from the wreath for cooking for up to three months or until they lose their flavor and aroma.