

February firmly settles us into the new year and is the ideal month for garden planning. The weather is too crummy in most parts of the country to work outside, and garden planning is a fun, hopeful indoor activity.
When referring to garden planning, I mean accomplishing more than listing a few flowers or vegetables to plant in the ground. A good garden plan takes a lot of thought about the layout of a garden, its soil, plants, care, and overall look. Hopefully, the end result will be a garden that gives lasting beauty and enjoyment.
Since this will be a beginner’s exercise, I’ll keep the steps straightforward. The only preliminary tip I will add is to remind gardeners to be realistic. Make sure you have enough money to complete the task and enough time to tend your new garden.
Steps to Planning a New Garden
Step 1- Choose your Garden
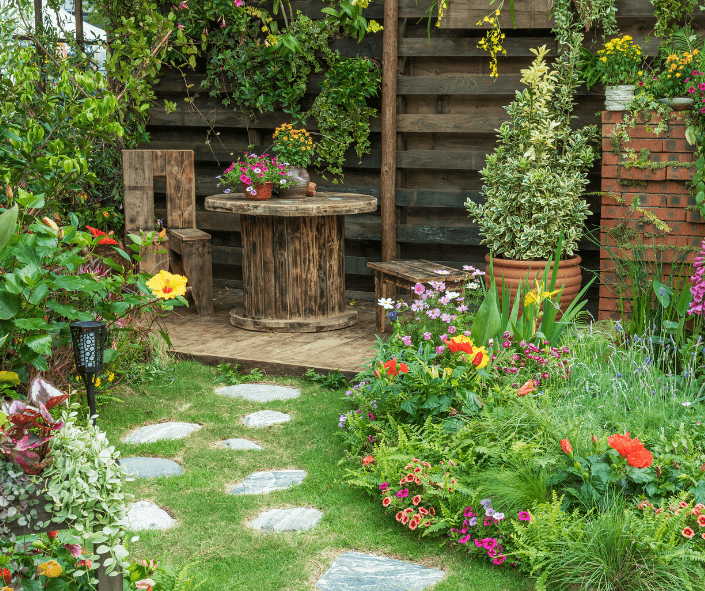
Decide what kind of garden you want. Are you interested in growing vegetables, cut flowers, a beautiful blooming perennial border, or a mixed bed with everything? Will your garden be in sun or shade? Will it contain containers paths or other elements? Choose what you like best. I generally like flower gardens filled with mixed annuals, perennials, and some flowering shrubs for broad interest.
Step 2 – Pick a Location
Determine where your garden will be located, and take note of all variables, such as soil type, light value, wind exposure, and water availability. Additionally, decide which direction you want the garden to face for maximum visual enjoyment. Knowledge of your yard will help you hone in on the right plants for the site.
When determining soil information, such as soil type or pH, the U.S. Dept. of Agriculture maintains Natural Resources Conservation Service (NRCS) regional or county offices. They can provide a wealth of local soil and agricultural information for the asking. You can also run some simple soil tests on your own. To test soil for soil acidity take ½ cup garden soil; add ½ cup of tap water followed by ½ cup baking soda. If the mixture fizzes, the soil is acidic (pH 6.0 or less). To test soil for alkalinity take a new 1/2 cup of soil, add ½ cup tap water followed by ½ cup vinegar. If the mixture fizzes, it is alkaline (pH 8 or more)
Step 3 -Select Plant Types

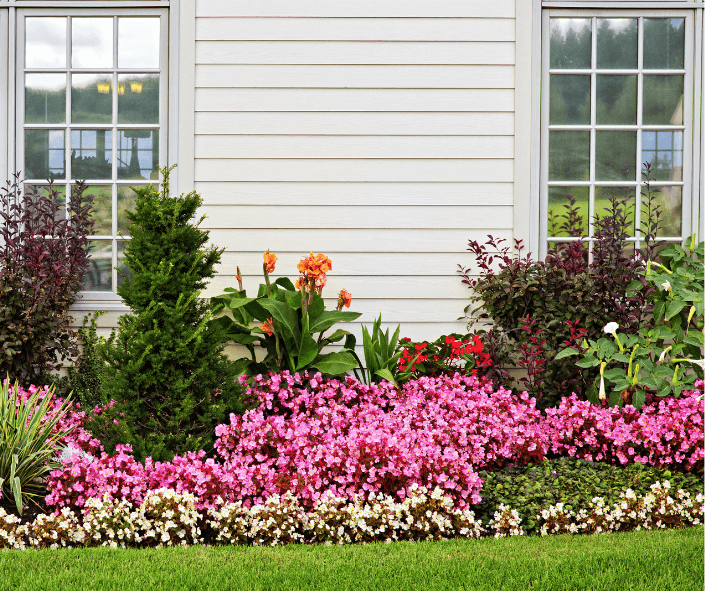
Choose the types of plants you want for the garden style and their general location. Think of the color palette you want and the growing needs of the plants, such as light, soil, and water. Plant height must be determined for each choice. Typically the tallest plants (i.e., flowering shrubs and bold perennials) should be planted in the back of the bed, mid-size perennials will go in the center, and short annuals and bedding plants will be planted along the garden edges.
Assemble a list of plant species you are considering for your garden. If you don’t have many books on the subject, rely on quality online nurseries. Assure yourself that each species is in the correct USDA Hardiness Zone for your area (Click here to view the USDA Hardiness Zone Map). Also note individual plant requirements for soil moisture, pH, and sunlight. Final plant numbers can be calculated when you start drafting your garden.
Step 4 – Draft Your Garden
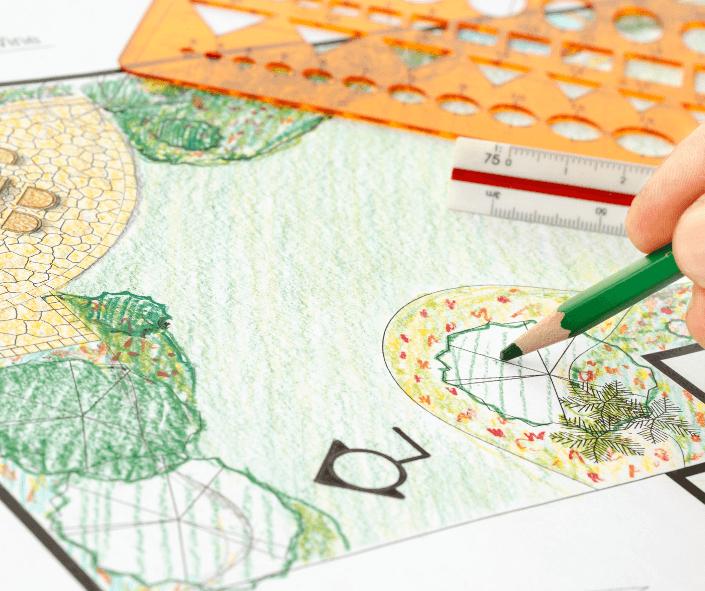
Draw up a draft plan for your garden. The draft is certainly the most complicated step and may be simple or elaborate, depending on your skill level. Make sure you have draft paper, tracing paper, a good mechanical pencil, a good eraser, and lots of patience. Here are some ideas for making your layout easier to draw.
- Gain an image of your yard and home plan from your city or county. Many municipalities offer them for download online.
- Using the image of your home and yard as a basis, measure and lay out your home plan on graph paper at a scale where you can show bed locations. Add any existing walkways, large trees, shrubs, and beds on the plan. Be sure to note water spigots and areas of full sun, partial sun, and shade on your plan. Please use a pencil, or you will drive yourself nuts correcting mistakes.
Step 5 – Garden preparation is the next step. Start implementing your plan by marking out your garden on the ground. Some gardeners like to use a hose to lay out the garden lines. Inverted water-based marking spray paint is another option for drawing bed lines on the grass or soil.
With the plan in hand, lay out your garden. Mark the outer corners and boundaries of your garden with stakes. Mark the interior beds the same way. Now you can visually check the actual layout for problems. Is there anything present that might present a problem? Is any other yard use potentially compromised? Is any access or right-of-way blocked? Any problems with setbacks or zoning restrictions? Make any plan changes now while it is fresh in your mind.
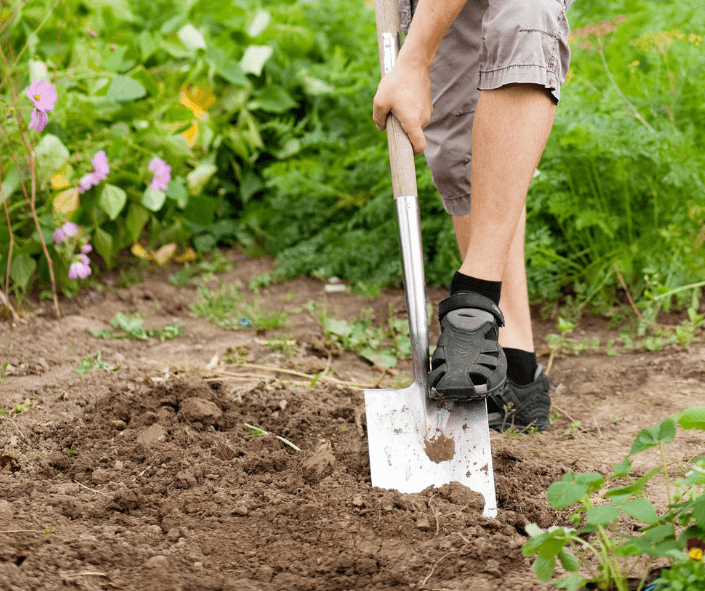
Step 6 – Desod the ground and prepare the soil. The best time to prepare a new bed is in spring. Choose a day when it is dry and the soil is not wet. (Pick a ball of soil and squeeze. Poke the resulting ball with your finger. If it crumbles, the soil is dry enough to work. If it holds together, it is too wet to work.)
 Remove obstacles from the area, and remove your sod. The grass is easier to remove when cut short. If your bed is relatively small, remove sod from bed areas by hand. I prefer cutting sod along the soil line using a sharp, flat, nursery spade, such as the all-steel model from King of Spades (The cost is high, but the spade lasts a lifetime.) If the bed is large, sod cutters can be rented from home improvement centers.
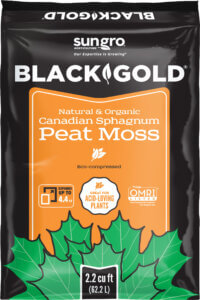
Till your soil, working in any amendments such as all-organic Black Gold Canadian Sphagnum Peat Moss or Black Gold Garden Compost Blend, and smooth the soil with a hard rake. Work amendments into the soil. (Click here to read our full garden amendment guide and amendment application formula.)
Step 7 Plant, Mulch, and Tend
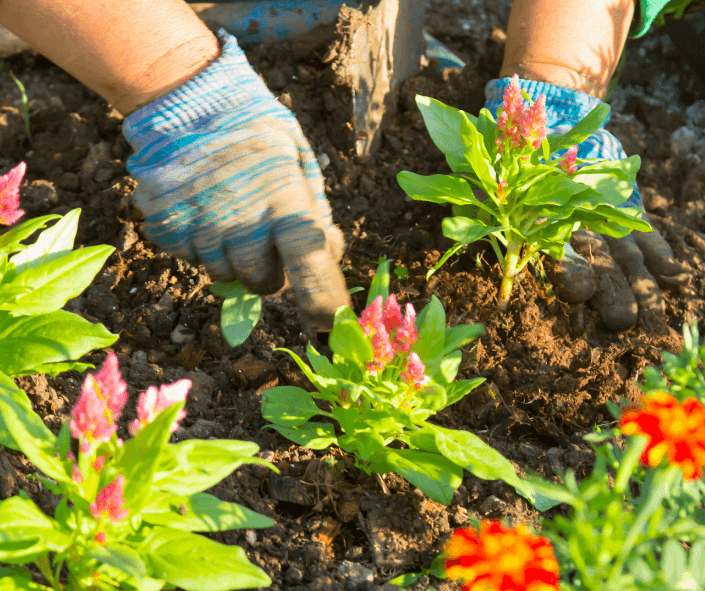
Make sure to note what you are going to plant in each bed and how many and the year they were planted. When planting a new garden, I suggest ensuring a beautiful bed by buying large, healthy plants for installation. Fuller, more robust plants have more stored energy and become better established faster. Plant according to the instructions for each planting and follow the plant care instructions conservatively. Ask your local garden center representative about the best fertilizers for your plants, and plan to water and weed your new beds regularly.
I advise you to save your garden plan and any notes you have for future reference. It will be handy as your garden grows and changes with the years. Then, once your garden has begun to flourish, enjoy!
 Few natural amendments hold water and air as well as coir. It is recommended as an amendment where extra organic matter and increased water holding capacity are needed. Apply it as a broadcast amendment in raised beds or add it to containers or small beds on a plant-by-plant basis.
 Few amendments enrich plantings as well as compost. It is the best broadcast amendment to add to all of your raised and in-ground garden beds in spring. BLACK GOLD® Garden Compost Blend contains a quality mix of compost, bark, and Canadian sphagnum peat moss to improve the texture, water-holding capacity, and overall quality of your garden soil. Even better, it is OMRI® Listed for organic gardening.
 Rich in nitrogen and soil microbes, BLACK GOLD® Earthworm Castings Blend 0.8-0.0-0.0 is a combination of pure earthworm castings and Canadian sphagnum peat moss. It is OMRI® Listed, making it a choice amendment for organic gardening. Apply it to vegetable gardens and landscape beds needing added organic matter and a boost of natural nitrogen.
 Peat moss is naturally organic and one of nature’s most effective soil amendments. It quickly adds loads of organic matter, which increases soil water retention and aeration, and its acid pH (3.5-4.5) will lower the pH of alkaline soils. This makes it the perfect amendment for clay-rich and alkaline soils. Acid-loving plants, such as blueberries, rhododendrons, azaleas, and camellias, also grow best in garden soil amended with peat moss.
 Two of the most important basic mineral additives to potting mix blends are perlite and vermiculite. Both are essential potting mix components. They can also be used on their own for leaf- and stem-cutting propagation or at-home hydroponic growing.
 Both BLACK GOLD® Perlite and Vermiculite can be added to Peat Moss Plus, Just Coir, Garden Compost Blend, and Earthworm Castings Blend to formulate mix-your-own potting mixes. Here are several mix recipes to try:
