Articles

How Do I Start Paw Paw Seeds?

“I want to start and grow paw paw seeds. Can you give me your recommendation on a planting mix? I’m planting seeds in 4×14 containers. They’ll be in the containers for two years in the shade in hot Texas conditions before I plant them in the orchard. Pawpaws are considered tropical. The nursery that sells paw paw seed said I might want to add a 50/50 sand mix to potting mix to help pull the seed husk off the seedlings when they emerge. I’m afraid I’ll introduce a disease like damping off if I add sand to the mix. My orchard soil is all sand, so I have plenty. I’m not so sure adding my sand is a good idea. Thanks for your help!”

Question from James of Pilot Point, Texas

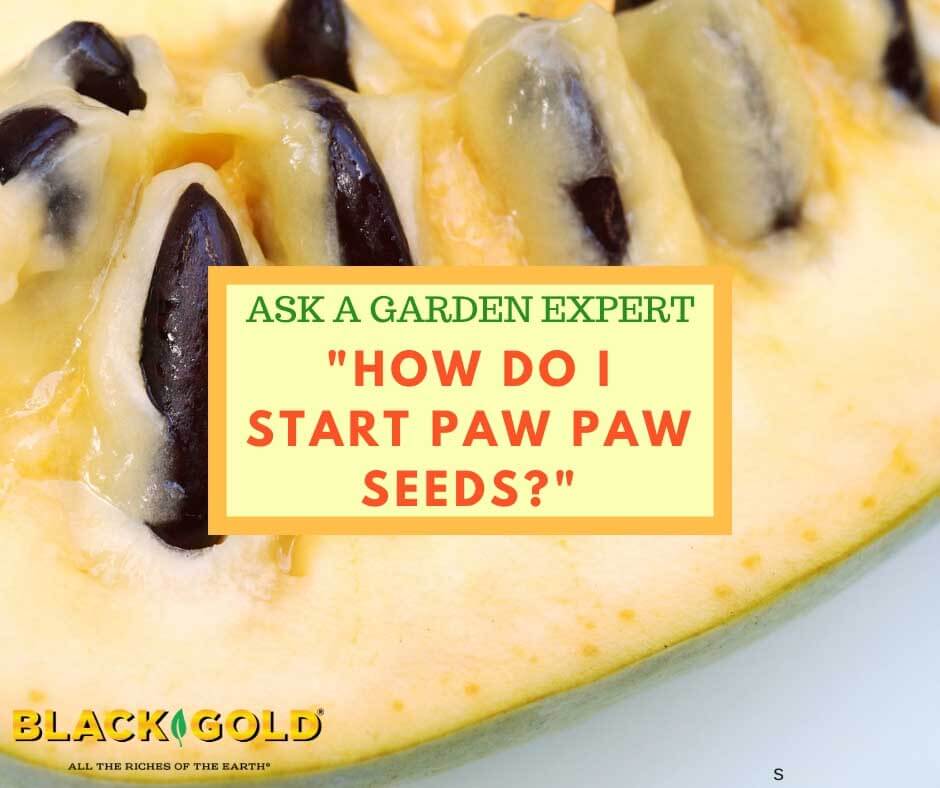
Answer: Thanks for your question about paw paw (Asimina triloba) seed germination. There are several things that you need to know before successfully growing paw paws from seed. First, they are temperate trees that survive in USDA Hardiness Zones 5-9, and the seeds need a moist chilling period (stratification) before germinating. Seeds need to be chilled for 100-120 days before they will sprout.

I recommend starting your seeds in smaller containers. You can either cover and chill them in a refrigerator or keep them outdoors uncovered during winter for natural chilling. Just never let the mix get dry. A super well-drained seed germination mix of 50% peat and 50% purchased sand is recommended to ward off fungal diseases, like those that cause damping-off (Pythium and Phytopthera). The better the drainage, the more difficult it is for these fungal diseases to thrive.

After the chilling period, keep the soil moist and between 70 to 75 degrees Fahrenheit for best germination. After seedlings sprout, quickly move them into your 4×14 pots containing well-drained potting soil. Fafard -2 is the Sun Gro pro mix that I recommend. It is one of our top blends for forestry. If planting in Black Gold, choose our Natural & Organic Potting Mix.

Water your trees regularly, especially during your hot, dry Texas summers. Once they are ready for orchard planting, I highly recommend amending your soil. Paw paws grow best in rich, moist, slightly acid loams. Sandy loams are fine as long as they have enough organic matter. The liberal addition of compost or peat moss will greatly increase the organic content of your sandy soil.

I also suggest that you visit the Lady Bird Johnson Wildflower Center’s informational page on paw paw trees. You may also consider contacting the Texas center for specific tips about growing these trees in Texas.

Happy paw paw growing!

Jessie Keith

Black Gold Horticulturist

Bottom Heat for Happy Heirloom Seed Starting

The only way to have heirloom vegetables and flowers in your garden is to grow them from seed.  Most heirlooms simply aren’t grown commercially, so they’re not often available as seedlings.  To obtain those antique varieties and to savor their long-lost flavors,  we must order the seed and start the plants ourselves.  This also applies when starting your vegetables in advance of the last frost date as well.  Virtually any time you must grow anything from seed it can either be a nightmare or a grand success and getting soil temperature right is essential.

Essential Soil Temperatures

germination tray
Plant seeds in a small tray that’s easy to bottom heat in the kitchen or when using the small heating mat.

Seeds are programmed to sprout when the soil is warm enough to ensure conditions for vigorous growth.  That’s why it’s traditional to start seeds in a sunny window.  It’s not that buried seed needs sunlight (though some seeds like lettuce do need light to sprout), but weak winter sun helps to warm the potting soil to kick off germination.  Most summer crops require soil temperatures around 70 to 80 degrees Fahrenheit.  Cool-season crops will germinate in much cooler ground, the average being 45 to 60 degrees Fahrenheit.  Beets, for example, sprout in the coldest earth at 41 degrees.

seed mat
This bottom heat seed mat is available at Gardener Supply (image care of www.gardeners.com).

Cold soil is often the culprit when sown seed fails to germinate, or it takes substantially longer than normal to sprout.  Often, delayed germination can cause the seed to rot in the pot before it sprouts.  Sitting too long in a very moist or damp conditions encourages damping off, a fungal disease that can wipe out the whole crop of tender seedlings. Avoiding these problems is why bottom heat plays a big part in speeding along this seed germinating process.

Seed-Starting Mats

While perusing your seed catalogs, seek out electric seed-starting mats, which start at about $35 for the smallest size.  These are much like a large electric heating pad that’s impervious to moisture.  Growers place them beneath the flats to warm the soil from the bottom up to speed germination.  It also encourages new roots to grow downward toward the heat source rather than remaining close to the surface of the soil warmed by sunlight.  This shapes the roots so that once transplanted, they are better able to access moisture deeper down.

flats
To direct seed into pots or flats, you’ll need a larger seedling mat for uniform bottom heat.

It’s important to use clean seed-starting media when using bottom heat because warmth can stimulate the growth of undesirable organisms.  Black Gold Seedling Mix is a quality media that gives seeds and seedlings a good head start.  It’s lightweight, porous, and quick to drain, so moisture won’t build up inside a pot to cause seed rot or damping off.

Sowing Seeds

There are two ways to sow seeds.  The first method gets a lot of plants germinated without watching a lot of little pots for signs of life.  You can start with a small plastic salad box bottom, or something similar, that will be easy to warm with a small seedling heat mat.  Plant seeds very close together as they won’t be in there long.  Once seeds germinate, use a thin stick to pop out each seedling from well below the roots.  Transplant each into a small container of potting soil and place all of these atop the mat to continue deep rooting on the warmth of the mat.  If you have a larger heat mat, go straight to seeding individual pots to eliminate the transplanting step.

Long ago I’d set my sown trays on the wood stove mantle where the rising heat warmed them from below.  When seedlings appeared, they were moved to a place with sunlight. Cash-strapped gardeners have devised ingenious alternatives to seedling mats, such as repurposed water-proof outdoor holiday string or rope lights wound up beneath the flats to achieve the same end, though this is not as safe and reliable as tried-and-true seed-starting mats.  No matter how you get ‘er done, the key is bottom heat to mimic Mother Nature’s earthy warming many months before she wakes from her winter nap.