Olives (Olea europaea) originate from the Mediterranean region but have been important landscape trees in the American Southwest for the past 70 years, losing and gaining favor as trends change. After World War II, mature olive trees were transplanted to new family homes all over the West. Old trees were moved from California orchards under the hottest, driest conditions; dug and replanted in the dry summer months when moisture-related diseases were less of a worry. Transplanted olive trees were a “quick fix” for barren southwestern yards because they were tough and easily moved by a novice, but eventually, some homeowners became disenchanted by the tree’s fruit mess and copious, allergenic pollen. Thankfully, the rise of edible landscaping has made olives desirable once more.
Now seen as the haute new organic orchard crop for a changing climate, old olive trees have renewed value. Those interested in growing olives may still be able to seek out established, unwanted specimens from old orchards or landscapes. It’s a great way to get a free tree while relieving someone else of an unwanted plant. If the tree is small enough for you to manage alone, or with a little help, you can get a nice fruiting specimen for no more than the effort to transplant it.
How to Transplant an Established Olive Tree
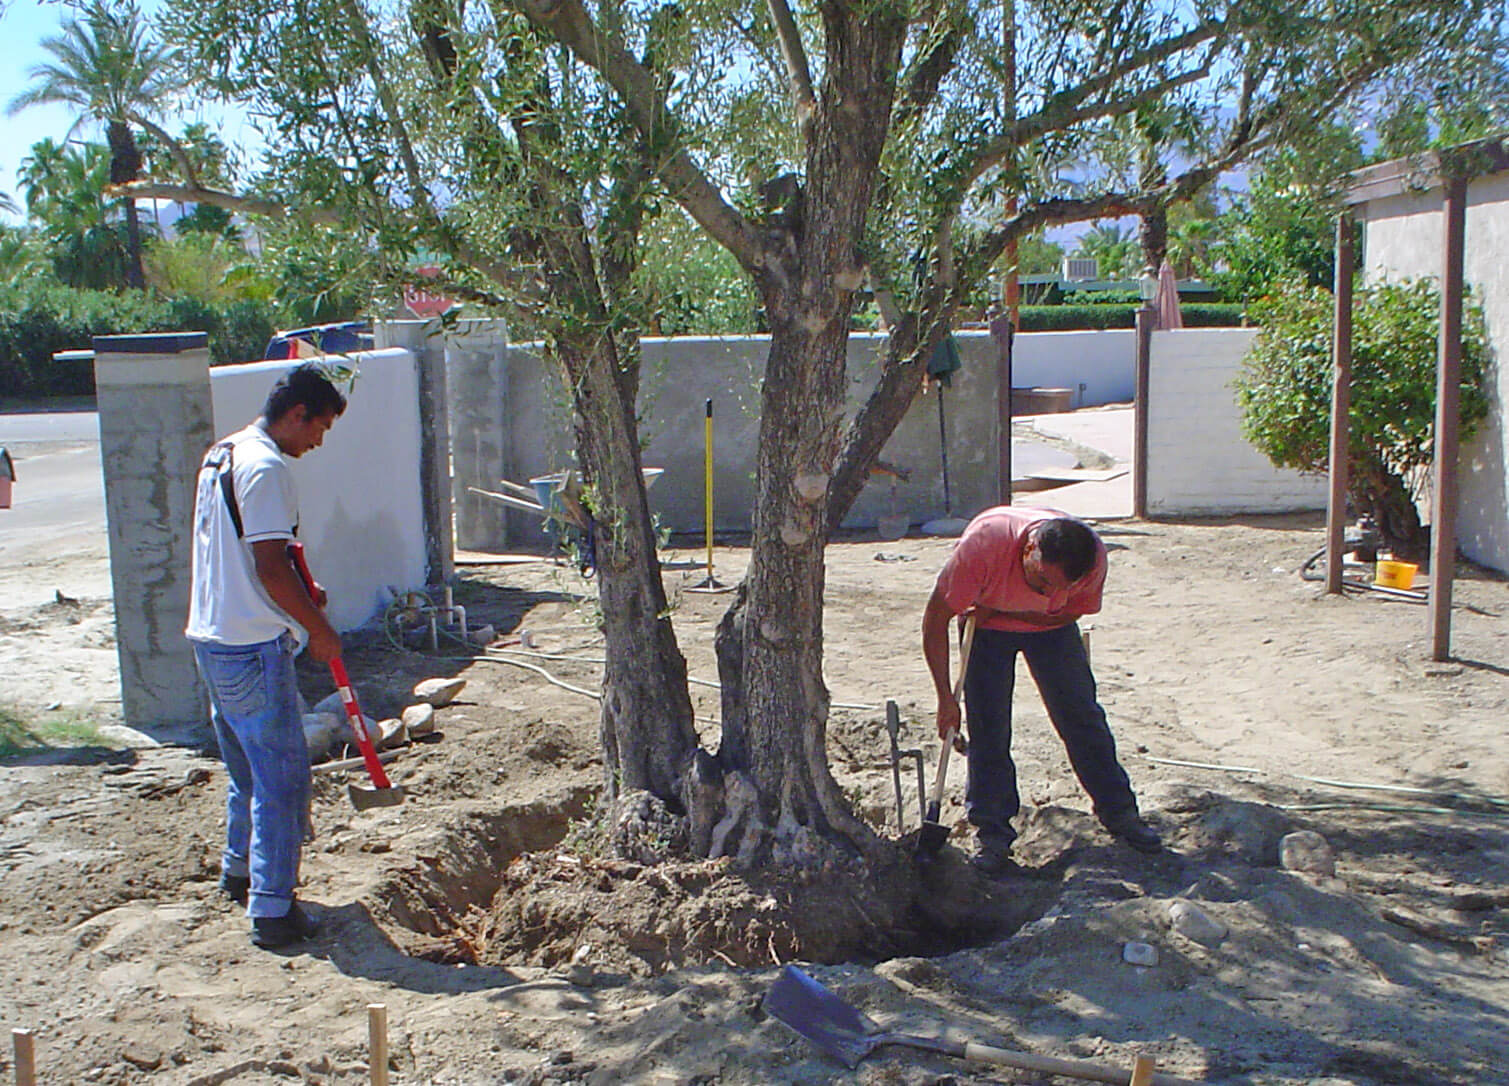
Step 1: Size the root zone. Identify the outside edges of your root ball relative to the size of the tree with a shovel line. Use the diameter of the resulting circle as a guide to determine the size of the hole you will need at the new planting location.
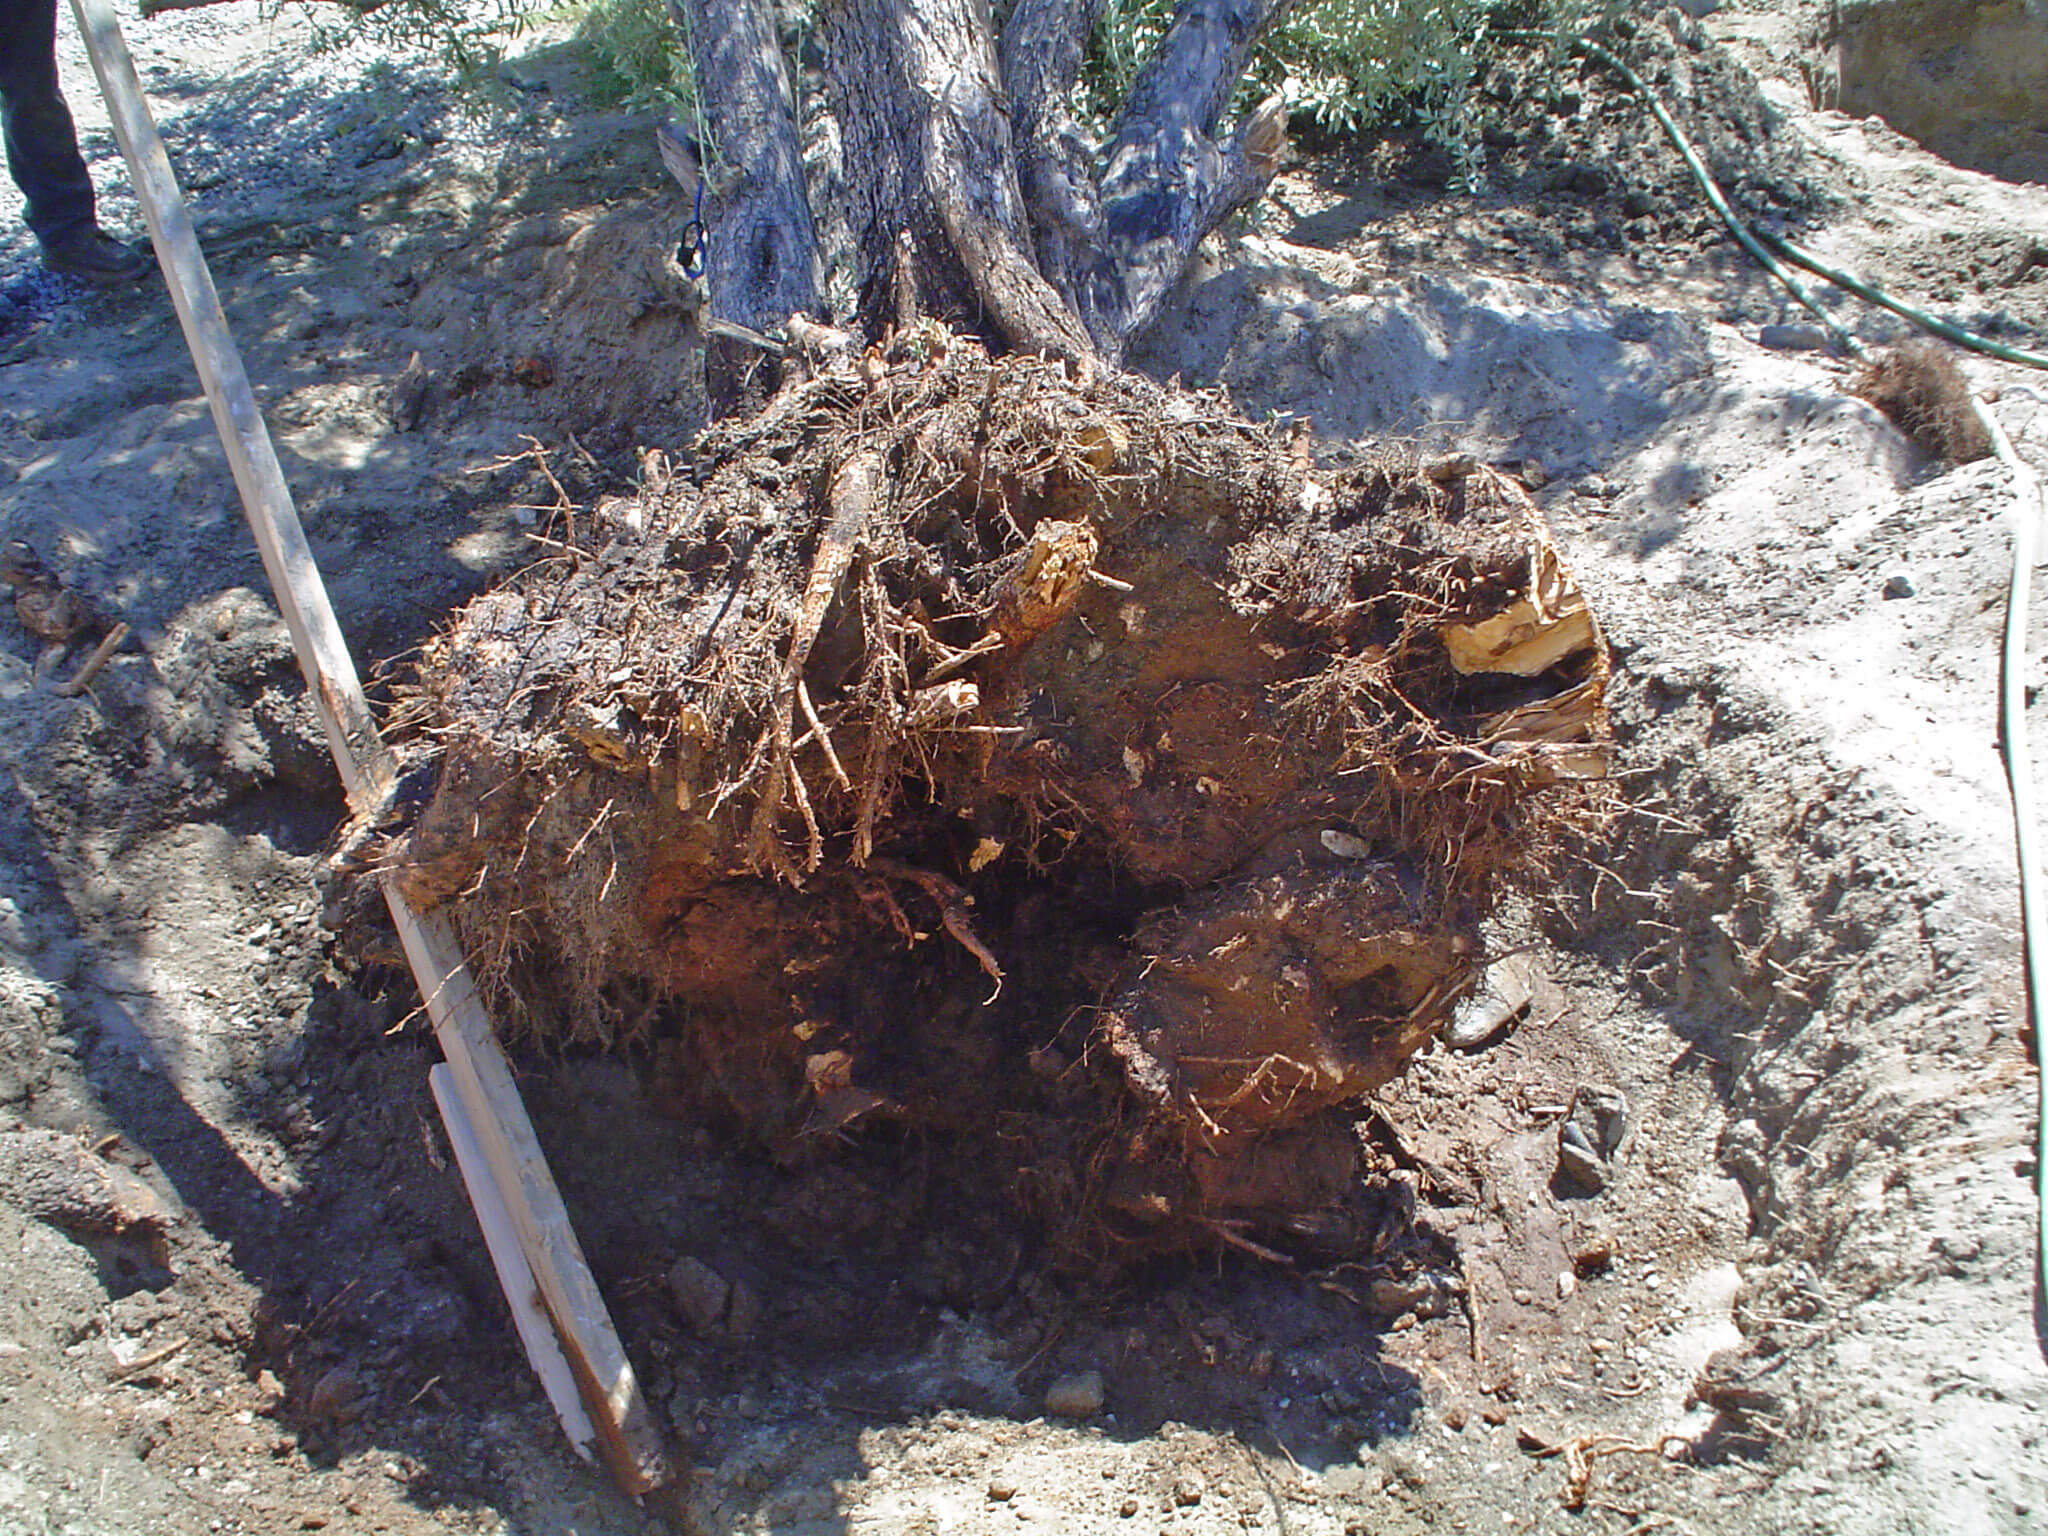
Step 2: Dig and sever roots. Dig a trench around the outside edge of the tree’s root ball line. If you encounter big roots, use sharp cutters or a saw to cleanly sever them on the sides and underneath the root ball. Note the tree bark changes color at the soil line; this is the “bark line” and will guide the depth of your new planting hole. Measure from the bark line to the bottom of the root ball to get the minimum depth of your new hole.
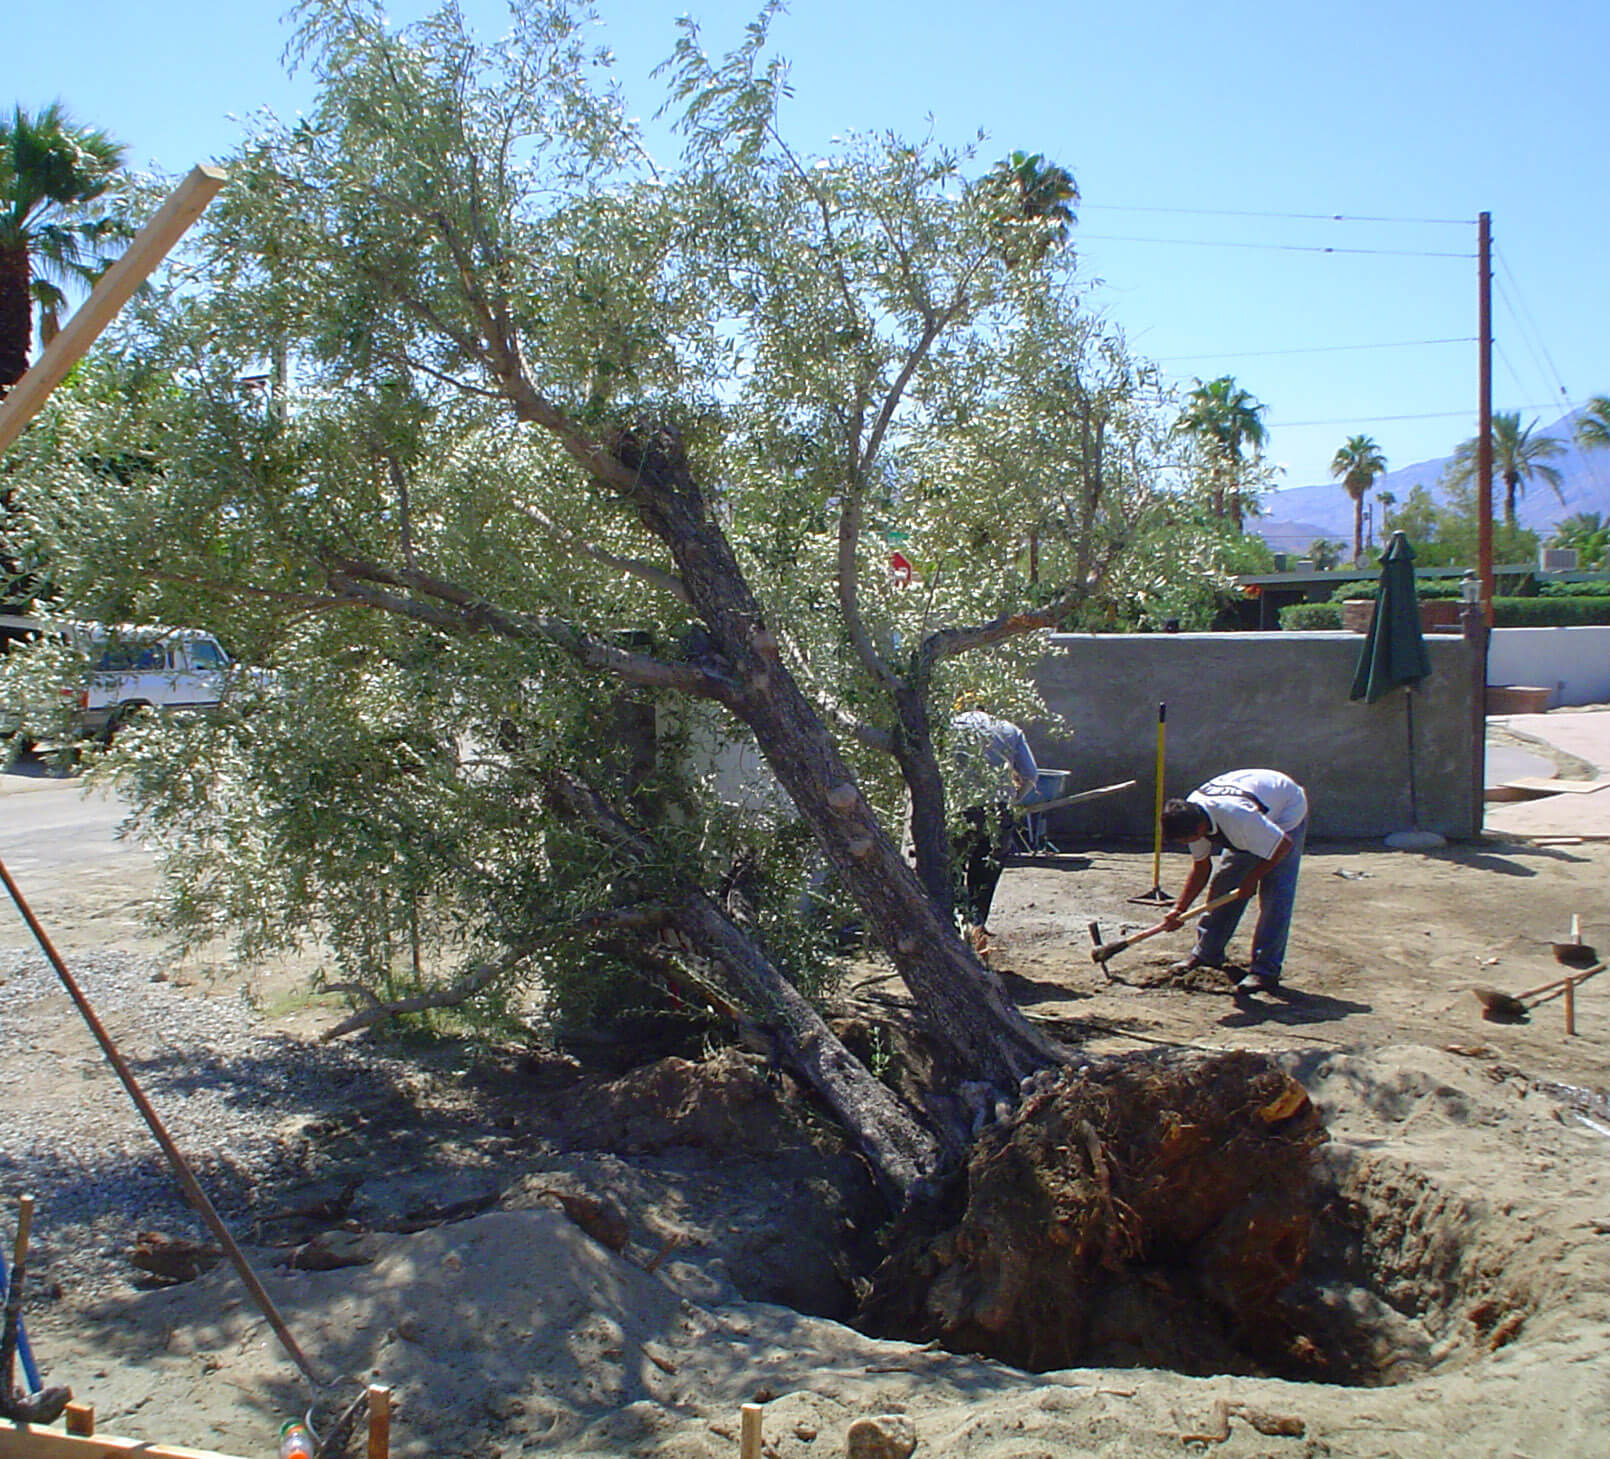
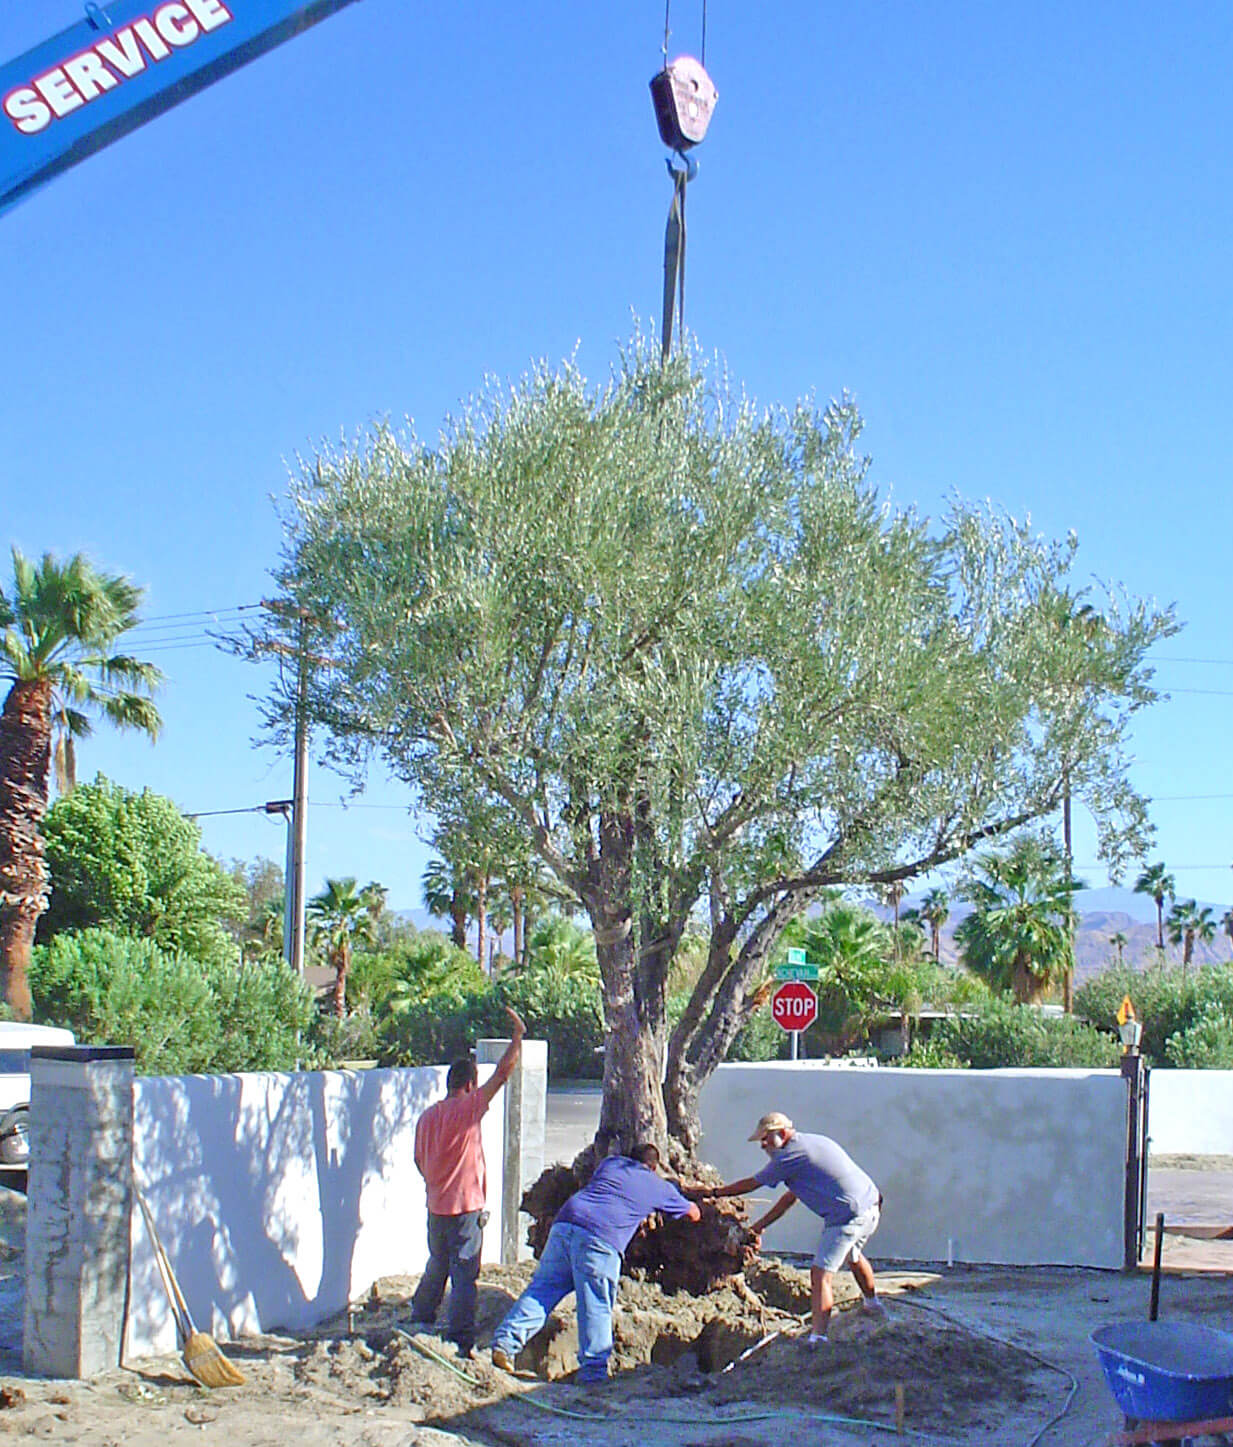
Step 3: Move the tree. When the root ball is entirely free, you’re ready to move the tree. Moving can be done with pure manpower, or with the help of a professional. If you are moving it by hand, wrap the ball with burlap or a tarp to lift it and keep it intact. For large trees, hire a professional crane service to lift and transport the tree to its new location; this is easier and safer for very large specimens.
Step 4: Dig the hole. Put a tarp next to your new planting location to place your backfill soil on as you dig. Your olive tree should be planted at the same soil level in a new location as it was in the old, so depth should match the depth of the root ball and the hole should be a several inches wider than the root ball.
Step 5: Amend the soil. Encourage new root formation by enriching the backfill soil for your olive root ball. It adds vital organic matter that helps to oxygenate the soil to enhance root development, plus it grabs and holds the water in the root zone. Add OMRI Listed Black Gold Garden Compost Blend to the fill dirt and mix it in. Keep another bag on hand to work into your excavated hole before filling.
Step 6: Plant the tree. Place the tree in the hole, and adjust the hole depth and adjacent soil grade so it lines up to the tree’s bark line. Straighten the tree to the same angle that it was growing at before. (One person may have to hold the tree straight while another adds the fill dirt.) Tamp down the soil as you go for stability and to collapse air pockets.
Step 7: Create a basin and water. A reasonably sized water basin will have raised berm edges from 6 to 12 inches high, made of the leftover backfill material. Transplanting requires a great deal of water to fill such a basin. This lets it slowly percolates down into the root ball and surrounding enriched backfill, where new roots form. For best results, keep the basin area moist, but not wet, throughout the hot months after transplanting.
Final tip: Speed rooting by adding root stimulant hormones or Superthrive to your irrigation water for quicker root formation.
Larger olive trees, or those in high wind areas, may require staking or tree guy wires that are anchored outside the root zone in undisturbed soil. Blow-over is a serious issue until anchoring roots form to hold such a top-heavy tree.
Olive trees are a miracle of nature that changed the course of history in the ancient world, providing nutritious fruits and oil to feed peoples across many Mediterranean and Middle Eastern cultures. Though they are coming back into edible landscaping, there are also fruitless ornamental varieties available for easy maintenance. The new ornamental olive has left many old, unwanted fruiting olive trees in yards all over the West just waiting to be rescued. Transplanting keeps these valuable trees from going to waste!