

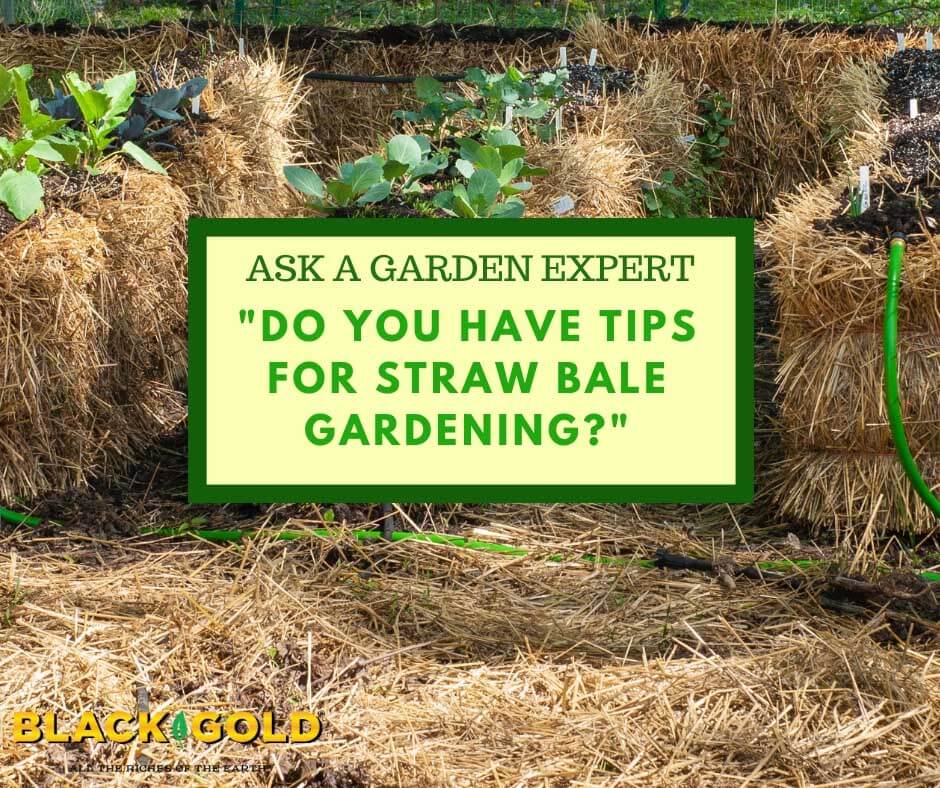
“We are trying to establish a straw bale garden because our soil up here in the Rockies is so bad after years of ranchers over-grazing the entire area. Any tips on how to make this succeed? Question from Wolf of Westcliffe, Colorado
“Do you have any advice or opinion when it comes to hay bale gardening?” Question from Pamela of Conroe, Texas
Answer: What are the odds of getting a nearly identical question on the same day by two gardeners states away? There are some advantages to straw or hay bale gardening, especially in hot and dry areas. And the method can be cost-effective. These gardens also generate lots of rich organic matter and can yield beautiful crops if done properly.
I have never created a straw bale myself because I worry about voles and mice making homes in the bales and chomping on my crops. I also fear seed-filled straw or hay bales. But, I have seen successful straw bale gardens from start to finish and understand how they work and are created. Here’s an overview of straw bale gardening along with some steps I would take to make one really succeed.
Start with Good Materials
These gardens should be prepared ten days before planting, so they have time to settle and begin to break down internally. To start a straw bale garden, you will need:
- Well-bound, seed-free straw or hay bales
- Compost, potting mix (the amount depends on the bale number. Maybe ~.5 cu ft/bale)
- Planting knife or long trowel
- Fertilizer formulated for vegetable gardening
- Water
Start with tight, well-bound bales of the best seed-free straw or hay that you can find. Straw is the dry, bare remnants of wheat, oats, and barley harvest. Hay is dried grass used for feeding livestock. Both can contain seed, so ask around and seek out the most seed-free bales available.
When choosing your compost and mix, consider Black Gold Natural & Organic Planting Mix and Compost Blend, which are both OMRI Listed® for organic gardening and perfectly suited for straw bale gardening. For bale prep, use a planting knife, also called a hori hori, or a long, sharp trowel. An OMRI Listed granular fertilizer formulated for vegetables would be your best choice.
Maintain a Tidy Garden
Place your bales on a weed-free plot. Line the bales up singly if you intend to plant small crops, like beets, carrots, lettuce, and bush beans (click on the links to watch videos about growing beets, bush beans, and lettuce). Double or triple your bales if you intend to plant larger crops, like bush squash or vining tomatoes that require caging.
Turn the bales on their sides with the tied sides facing outward. Work up and remove some of the internal straw or hay. You can place the excess around the base of the garden as mulch. (Follow up with further application of either leaf mulch or straw around the base of the gardens to keep the area weed-free.) Fill the bale spaces with compost and potting mix, being sure to work it down into the straw. Once full, water your garden in until it is completely moist. Keep it moist for 10 to 14 days. Then it should be ready for planting. Add more compost and mix at planting time.
Over the summer, the bales will break down. By season’s end, they should be pretty well broken down and settled. The remaining soil will be very fertile and rich in organic matter. That will help build a good base for vegetables over time in either Colorado or Texas.
I hope that this information helps! Happy straw bale gardening.
Jessie Keith
Black Gold Horticulturist