Articles

Succeed with Container Vegetable Gardening

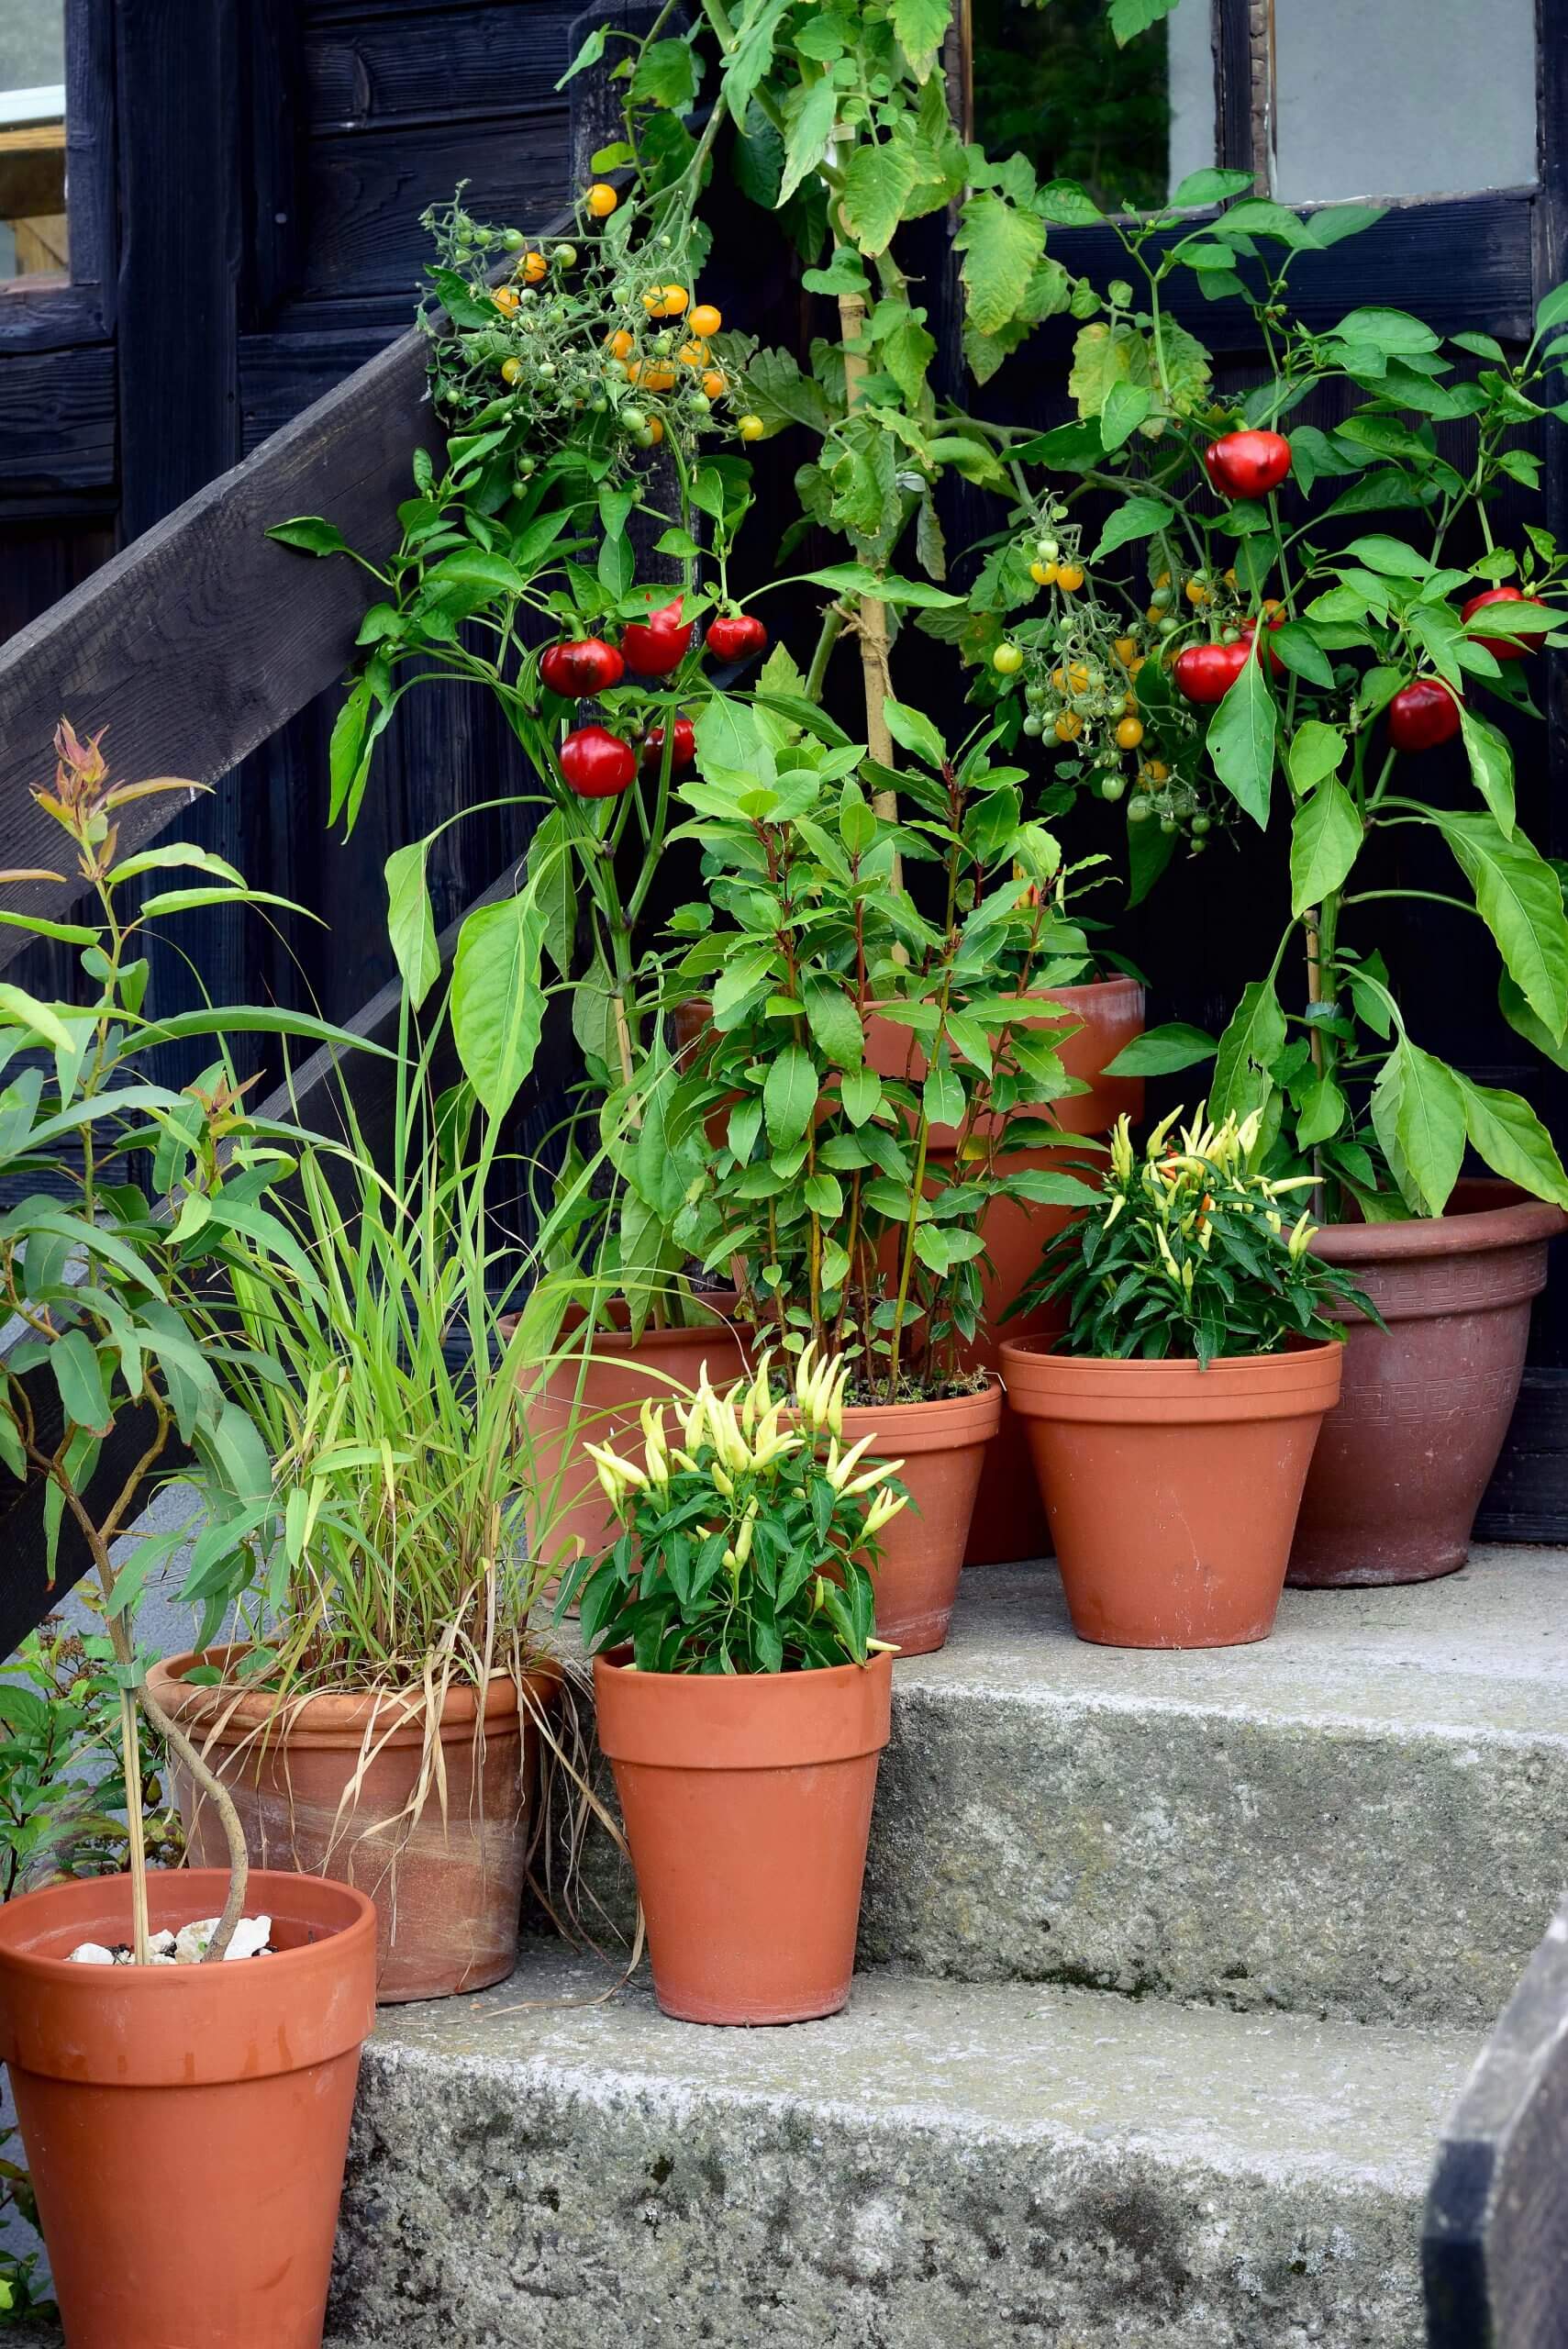
If you have a small garden, you can still grow vegetables! How? Potted vegetables, of course! For container vegetable success, it comes down to choosing the right pot, good soil, a sunny location, and keeping your plants fed and watered. Get these factors right, and you will be rewarded with lots of fresh vegetables all season long.

Container growing can be a bit more challenging, but a little mastery will bring big success. Veggie pots can be started in spring, summer, or fall, as long as you choose the correct veggies for the season.

The Right Plant and Pot Size

tower
This tower-o-kale shows how vertical planters can maximize space. (photo by Maureen Gilmer)

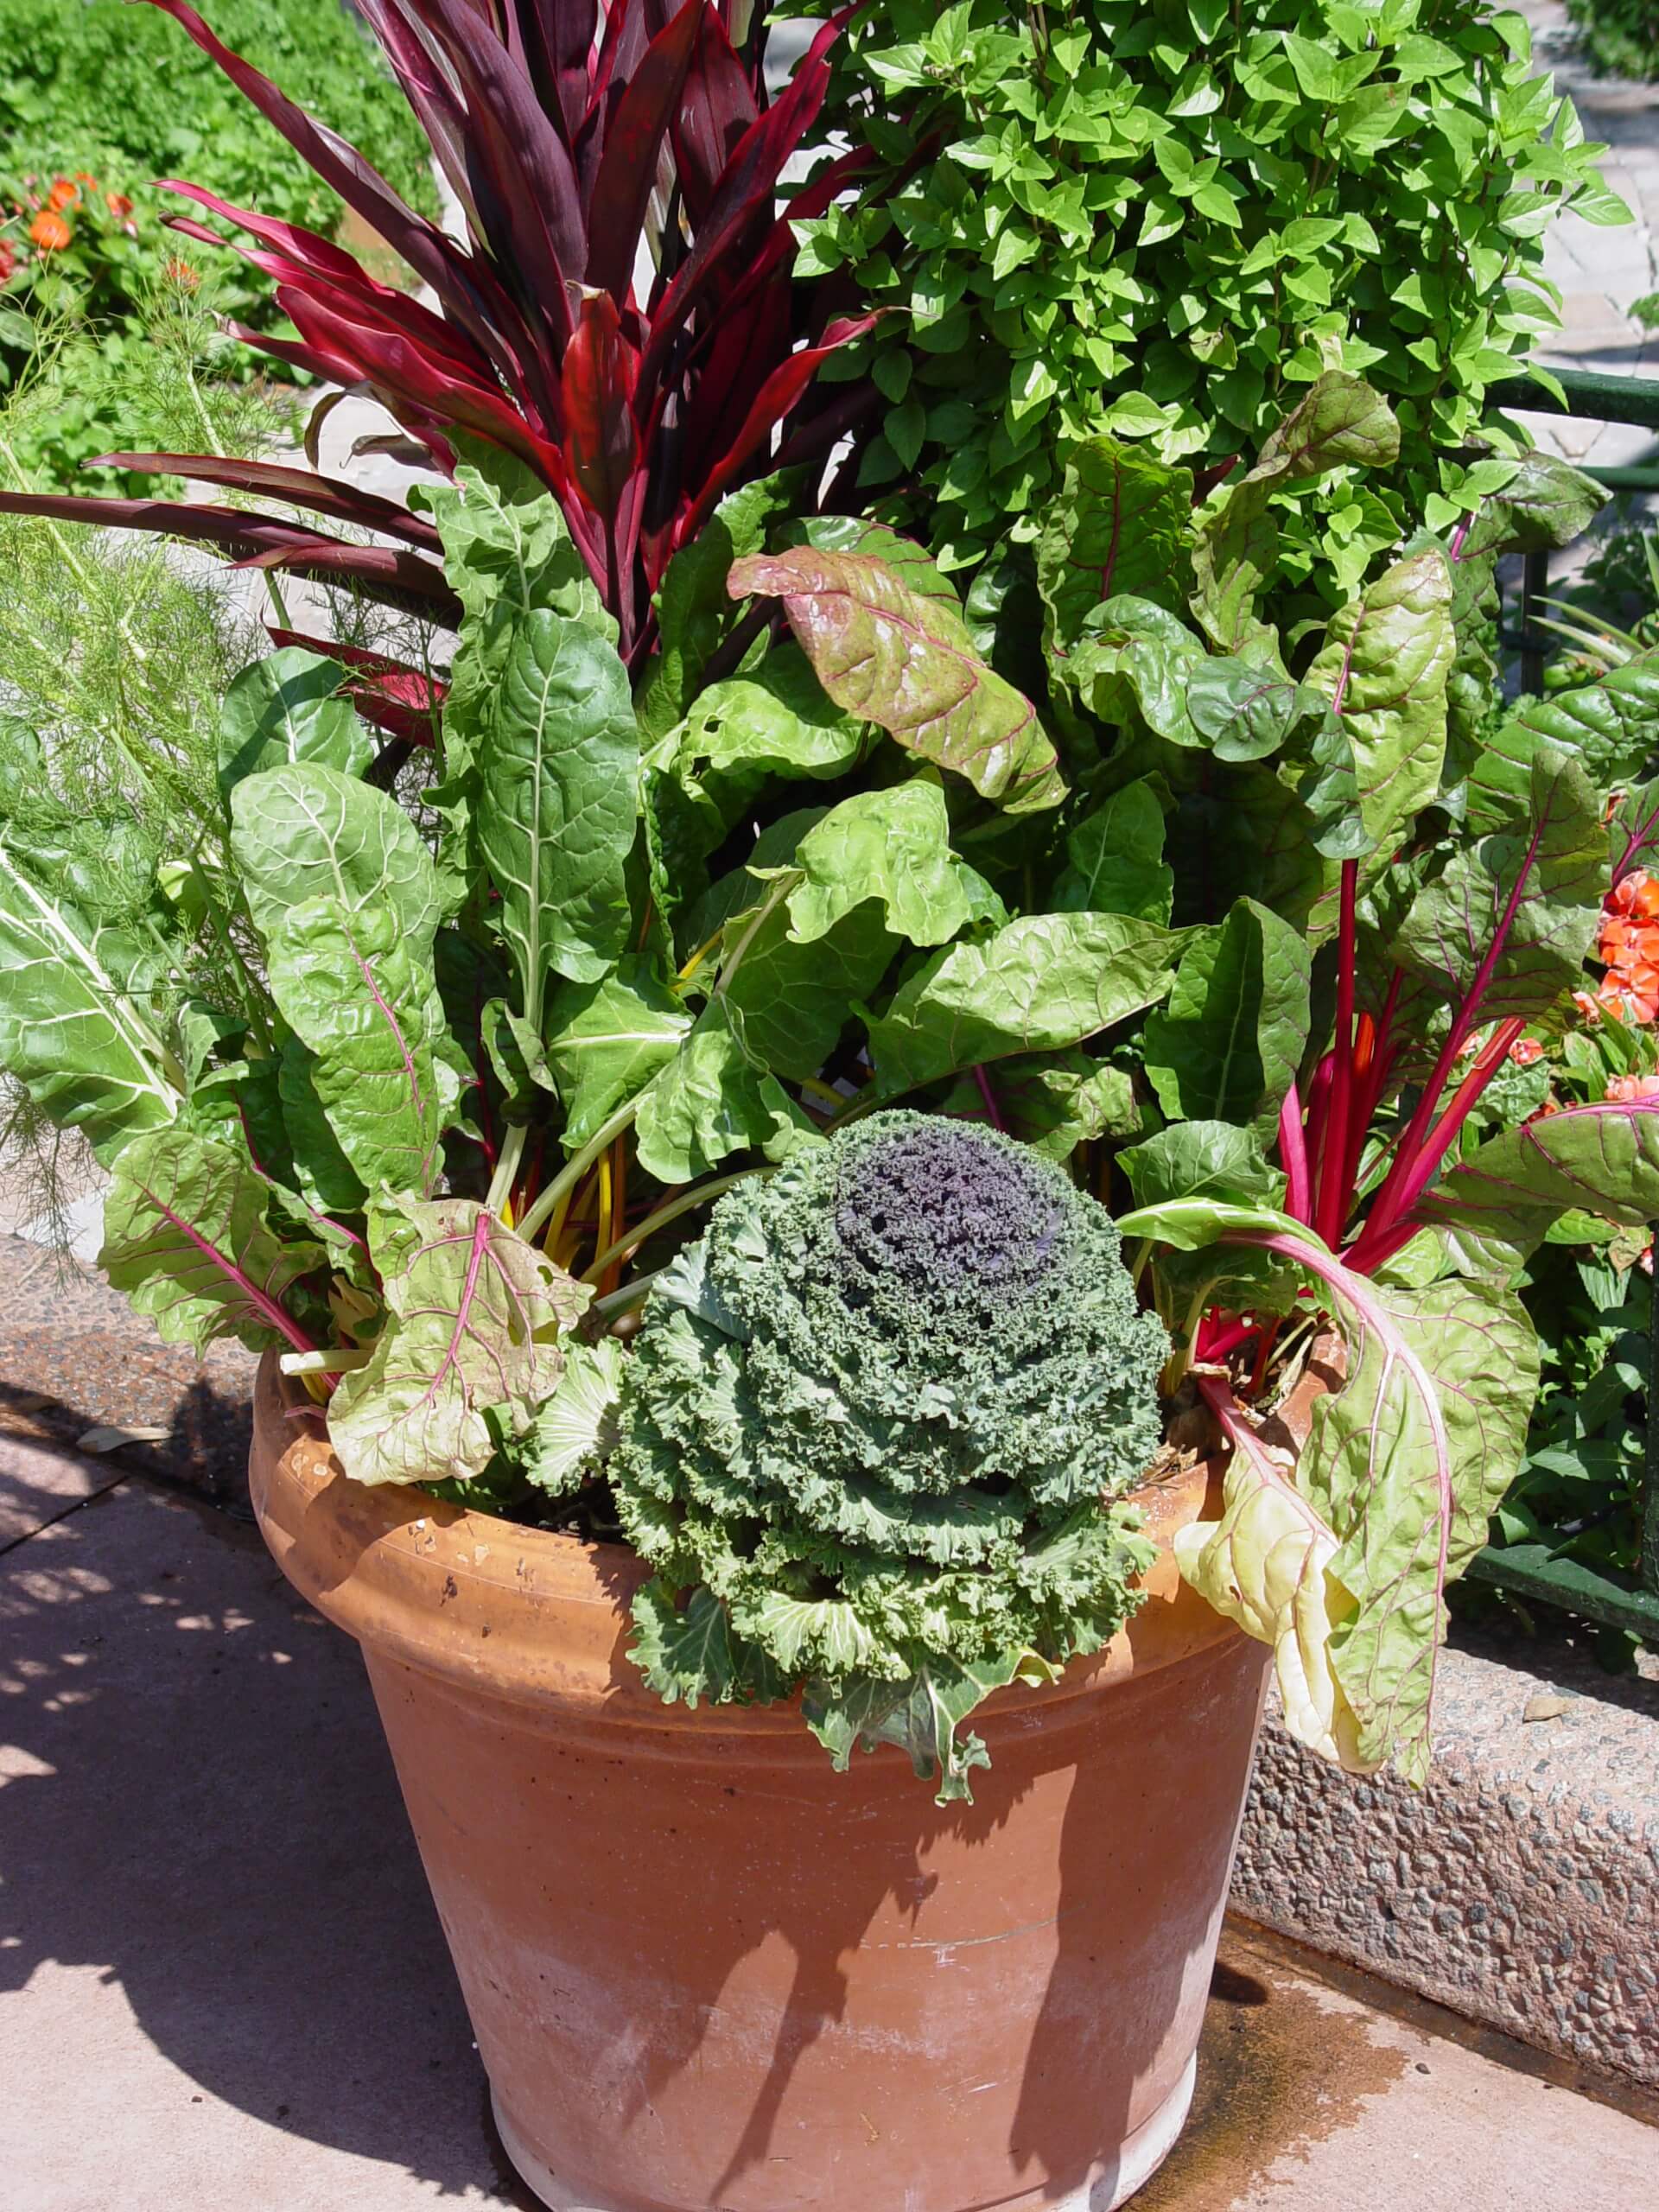
Bigger is generally better when it comes to pot size. Many summer vegetable favorites, such as tomatoes, peppers, beans, and greens need big pots. Vining plants, such as cucumbers, squash, melons, and sweet potatoes, need even bigger pots to grow to full glory. Large pots hold more soil and water and provide the depth and space plants need to grow fully and stably. They also have enough space to keep growing roots cool, a must for plant health. The large, deep pot should have ample room to accommodate the stakes or cages that many vegetables need to keep from toppling in summer winds.

Half whiskey barrels, big tubs, and deep trough planters have enough space for vegetables to grow to their fullest. Terracotta is not always recommended because it can wick water away. Choose lighter-colored pots with thicker because they tend to keep roots cooler. Be sure they have plenty of holes in the bottom for ample drainage. A layer of permeable garden cloth at each pot’s bottom will keep soil from seeping out. Bottom trays are recommended.

Spacious vertical planters work well for vegetable growing, if they hold enough soil for plants to grow well. There are many great styles on the market and templates for crafty builders. Check our our vertical vegetable garden Pinterest Pin Board to view a few!

'Moutain Merit' is an award-winning bushy tomato that's great for container growing. (photo by All-America Selections® Winners)
‘Mountain Merit’ is an award-winning bushy tomato that’s great for container growing. (photo by All-America Selections® Winners)

Smaller is generally better when it comes to plant size. When growing in containers, compact varieties are better suited to pot culture. Determinate, or non-vining bush tomatoes, are better than full-vining indeterminate types. Pick classic bush tomato varieties like the red slicers, ‘Mountain Merit‘ and ‘Celebrity‘, both AAS winners.

Other great bushy veggies (that are typically large vines) include little cucumbers, such as ‘Bush Pickle‘, and space-saving squash, such as the small butternut ‘Butterbush‘ and zucchini ‘Fordhook‘. A good cantaloupe to try is the very compact ‘Minnesota Midget‘, and ‘Bush Sugar Baby‘ is a short-vined watermelon suited to container culture. ‘Little Baby Flower‘ is a another somewhat compact watermelon that we are growing in a pot this season with great success!

For rooting vegetables, such as carrots, turnips, beets, and radishes, pots sizes can be slightly smaller as long as they are deep. Upright vegetables, such as peppers and eggplant, should be staked or caged to supply added support.

Good Soil and Fertilizer Quality

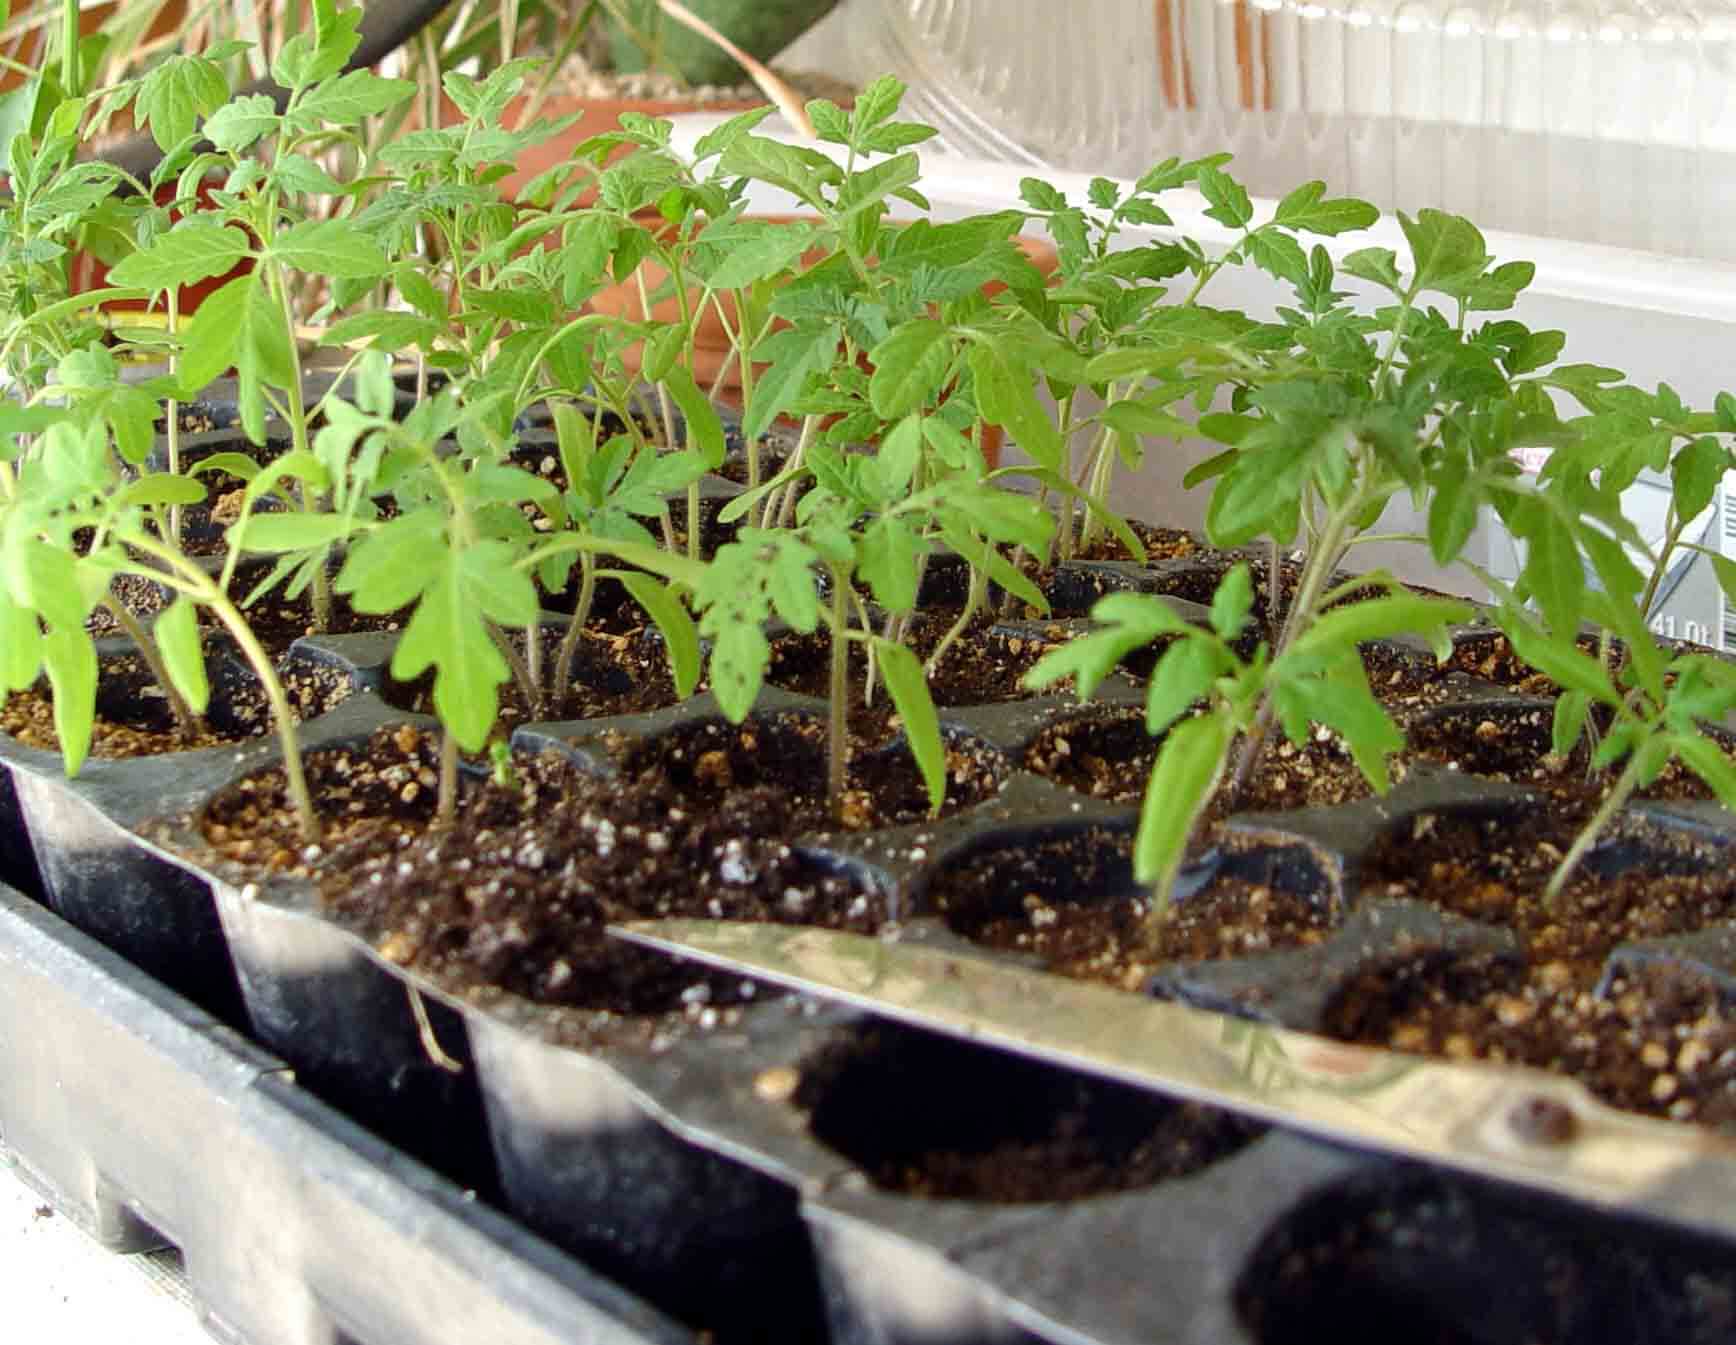
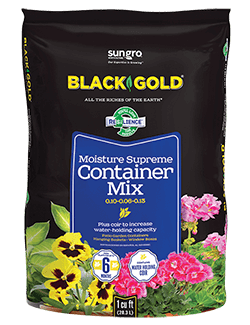
Good soil that holds water well, but also has ample air space and great drainage, is needed for successful container growing. Black Gold® Waterhold Cocoblend Potting Soil mixed BG-WATERHOLD_1cu-FRONT
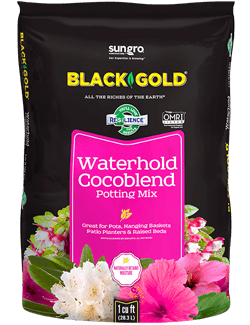
with Black Gold® Garden Compost Blend is the perfect combo for vegetable gardening in containers, and these OMRI Listed® products are approved for organic gardening. For containers holding herbs and green leafy vegetables, consider adding a little Black Gold Earthworm Castings Blend 0.8-0.0-0.0, which is rich in nitrogen. Change potted media out at least every two to three years for best results because potting mixes break down, lose structure, and acidify over time.

Most vegetables are “heavy feeders”, which means they need a lot of food for good growth and development. A good slow-release fertilizer formulated for vegetable growing is best. Work the fertilizer into the root zone at planting time. For really heavy feeders, like tomatoes, it also helps to follow up with applications of a water-soluble fertilizer formulated for vegetables just at the point before fruits develop. This will help maximize fruit quality and load.

Effective Watering

pot
Overstuffed veggie pots are not ideal because they require twice-daily water, extra food, and won’t grow to their fullest and happiest due to root competition.

Lack of regular water is one of the main causes of potted vegetable failure. The number one rule to follow when watering potted plants is to continue watering until water starts to run out of the pot drain holes. This indicates that the container is saturated. Thorough watering will result in more expansive root development and stronger, more stable plants. If you only water the upper half of pots, plants will develop shallow root systems, which will reduce stability and cause fast drying.

Daily water is needed for most pots, but large pots may require water more frequently, depending on the plants and heat and humidity levels. More effective irrigation is also helpful. Consider drip irrigation for pots. It also helps to add an extra layer of porous organic mulch to keep surface water from evaporating. Leaf mulch, straw, or grass clippings are all great options that break down quickly while providing a little extra protection. Click here to read about the 8 best watering strategies for plants.

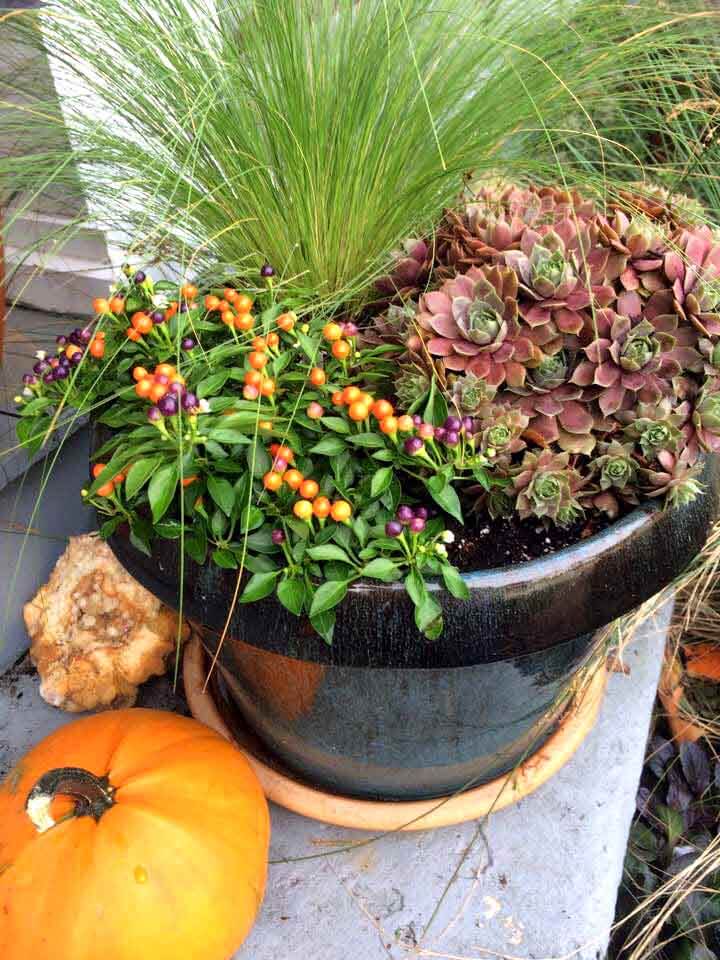
Good Container Veggies by Season

‘Little Baby Flower’ watermelon grows well in big tubs!

Determine a plant’s growing season before planting. Vegetables are generally distinguished as being “cool season”  or “warm season”. In most parts of the country, cool-season vegetables are those that you would grow in the spring or fall. Warm-season vegetables are those that grow well during the hottest months of summer.

Top cool-season vegetables for containers are lettuce, spinach, kale, bok and pak choi, miniature cabbages and cauliflowers, bush peas, beets, and mini carrots, radishes, and turnips. Warm-season vegetables are tomatoes, peppers, bush squash, eggplant, Swiss chard (cool season, too), bush cucumbers, and melons.

Even in late summer, there is time to plant vegetable containers for fall enjoyment. Start by going to a local nursery where they sell large containers, premium Black Gold potting mixes (click here to find a store with Black Gold near you), and quality vegetable starts. Give them good care for a bountiful harvest.

If you just have a porch steps, you can grow vegetables!

Growing Tomatoes from Seed to Harvest

Nothing is more gratifying than a big tomato harvest in summer!

Homegrown summer tomatoes simply taste better. That’s why they’re the most popular warm-season crop. They are inexpensive to grow and offer big payloads of delicious fruits, which are pricy at farmers’ markets and grocery stores. It pays to grow your own from seed because they are easy to start, and if you grow organically it’s the best way to know that your stock is pesticide-free. And, there are loads of wonderful tomato varieties only offered from seed.

Tomato Basics

  • Common Name: Tomato
  • Botanical Name: Lycopersicon esculentum
  • Days to Harvest: 65 to 85 days after planting, depending on the variety
  • Planting Time: After the last frost date
  • Light: Full sun
  • Soil: Rich, porous, well-drained loam
  • Water: Regular water for even moisture
  • Temperature: Fruiting is best with 78 -92ᵒ F days and 70ᵒ-80 F nights.
  • Fertilization: Quality fertilizer formulated for tomatoes
  • Pests: Tomato hornworms and Colorado potato beetles feed on foliage and fruits, causing significant damage.
  • Diseases: Plant wilt, leaf damage, fruit damage, or poor performance can be caused by many tomato diseases, including early and late blight, fusarium wilt, tomato mosaic virus, and verticillium wilt.
  • Disorders: Blossom end rot (caused by calcium deficiency), splitting/cracking (caused by excessive water or temperature fluctuations), and fruit toughness, cat-facing, and reduced productivity (caused by cool temperatures) are the most common disorders.

Days to Harvest Steps for Tomatoes

'Pomodoro' is a fantastic all-purpose tomato for fresh eating and cooking.
‘Franchi’s Italian Pear’ is a fantastic all-purpose tomato for fresh eating and cooking.

Starting Seeds

It takes around six to eight weeks to grow tomatoes from seed to ready-to-plant seedlings. Start seeds indoors for the best results. Sow seeds in cells filled with OMRI Listed Black Gold Seedling Mix and lightly sprinkle a bit on top to cover. Gently moisten the cells with water, and then place the trays right under the warmth of grow lights. Keep the mix moist but never wet. In 5 to 12 days, your tomato seeds should germinate. Germination is best when temperatures are warm  (68°-75° F (20-24° C)). A heat mat for seed starting will dramatically hasten germination. (Click here for more detailed seed-starting instructions.)

Tending Seedlings

Tomato seedlings are delicate and have two lance-shaped seed leaves when they first emerge. The true leaves, which are feathery and divided, appear in 2 to 3 days. At this point, feed seedlings with diluted, water-soluble tomato fertilizer. Keep the soil moist but not wet. Wet soil can encourage fungal diseases that cause seedlings to rot or “damp off.” To avoid leaf burn, lift grow lights up as plants get closer to the bulbs.

Tending Small Plants

Happy tomato seedlings

Tomato plants should be around 8- to 10-inches tall and garden-ready after eight weeks. Indoor grown seedlings are tender, have weak stems, and need time to adjust to full sun. If directly planted outdoors, they will develop leaf burn and may die. To avoid this, they need to be hardened off for at least a week before planting. Hardening off means acclimating seedlings from their cushy indoor growing conditions to the windy, sunny outdoors where temperatures fluctuate.

To harden seedlings off, place the potted plants in a protected spot that gets a few hours of sun per day. Each day move them to a new location where they get a little more light and wind each day. After a week or so, they should be tough enough to plant in the garden.

'Matt's Wild Cherry' is a delicious, tiny cherry tomato with big flavor.
‘Matt’s Wild Cherry’ is a delicious, tiny cherry tomato with big flavor.

Garden or Container Planting

Choose a good spot for your tomatoes. They require at least 8 hours of full sun and well-drained soil that’s fertile. Vining (indeterminate) types need caging or trellising, while bush (determinant) types need staking; both types benefit from summer pruning.

Before planting in the garden, amend beds by digging and turning the soil deeply and adding rich Black Gold Natural & Organic Compost Blend and an OMRI Listed tomato fertilizer. Plant tomatoes around 4 feet apart and mulch with another 2- to 3-inch layer of Black Gold Natural & Organic Compost Blend. Young plants can be planted deep, with only several leaves above ground–just be sure to gently remove the leaves from all stem parts that will be covered with soil. Water regularly to keep root moist. As plants grow, they will demand more water.

Tomatoes are such aggressive feeders and water hounds that you have to give serious attention to container-grown plants. Start with a really large pot. Determinant tomatoes are best, but indeterminates will also work if you keep them well caged and pruned. A good, water-holding potting soil is perfect for container culture. I recommend Black Gold® Natural & Organic Potting Mix, which also contains Resilience™ for stronger stems and better root development. Container-grown tomatoes need to be watered daily and fed more frequently, but if you give them ample attention, they should thrive and produce beautifully. (Click here to watch a video about how to grow tomatoes in containers.)

Harvest

Tomato fruits develop the best when days are warm (between 78 and 92 degrees Fahrenheit) and nights are warm (at least 70 degrees Fahrenheit). Tomatoes can be harvested green for fried green tomatoes and green tomato chutney, but they are best picked when they are fully ripe (well colored, slightly soft to the touch). Some tomatoes are naturally easy to pull from the vine when mature, while others cling. I always keep a pair of pruning sheers on hand for clingers. If you accidentally harvest a few fruits with a bit of green, let them stand on a sunny windowsill for a couple of days, and they will ripen up right away.

Pruning

Tomatoes can be cut and shaped to keep them from overtaking a trellis or container. Use sharp, clean pruners to cut whole branches back to main stems as needed. Try to maintain productive fruit and flower-laden branches, if at all possible. As a precautionary measure, it’s wise to dip pruners in a 10% bleach solution when pruning from plant to plant, just to avoid the possibility of spreading disease. Dip and wipe the pruners after pruning one plant and going to another. (Click here for a video about how to prune cherry tomatoes.)

Tomatoes to Try

'Gold Medal' is one of the best-tasting, prettiest beefsteak tomatoes.
Gold Medal’ is one of the best-tasting, prettiest beefsteak tomatoes.

Tomatoes come in all colors, shapes, and sizes and their flavors are surprisingly variable. In my garden, I always choose several slicers, sauce tomatoes, salad tomatoes, and cherries each year. Some of my favorite pickings include the heirloom red and yellow slicer ‘Gold Medal‘, the French salad tomato ‘Crimson Carmello‘, and orange beefsteak ‘Kellogg’s Orange Breakfast‘. My favorite sauce tomatoes are the Italian powerhouses ‘Red Pear‘, ‘San Marzano Redorta‘ as well as the salad-sized ‘Principe Borghese‘, which is touted as the best tomato for sun drying. My cherry tomatoes of choice are the sweet, golden ‘Sun Gold‘, tiny red ‘Matt’s Wild Cherry‘, and delectable yellow and red ‘Isis Candy‘.  All are beautiful and have exceptional flavor.

Enjoy Your Tomatoes

This is the easy part. Lavish burgers with big, hearty tomato slices, eat them fresh in salads or make homemade tomato sauce and salsa. To extend the season, freeze whole tomatoes and sauce for winter. (This generally requires at least ten healthy tomato plants to provide enough to store through winter.)

Growing tomatoes is gratifying if you follow the proper steps and give them the best care. If you do it right, you should have more than enough tomatoes to enjoy and share. I wish you the best tomato season!

Follow these instructions and you'll have enough tomatoes for storing and sharing with friends.
Follow these instructions and you’ll have enough tomatoes for storing and sharing with friends.

Summer Vegetable Seeds and Seedlings

A healthy summer garden starts with vigorous plants.

Whether you are planting summer vegetable seeds or seedlings (young transplants), this is probably the peak time of year for many summer vegetables and flowers. Here in the Pacific Northwest the soil temperature is getting warmer and there is still time to plant many familiar summer vegetables from seed. Or to get a head start, set out young transplants.

Sprouting Squash - Rich Baer
Sprouting Squash

Winter Squash from Seed

Sometimes it is easier and safer (less of a pest problem) to start seeds indoors and then plant them outdoors. When a local gardening friend read an article with glowing reports about a winter squash called “Musquee de Provence”, he decided to try some and planted seeds indoors in 4” pots using Black Gold Seedling Mix. Within a week, the seedlings began emerging from the soil and within two weeks, they will be ready to be planted outdoors. This particular squash was introduced to American gardeners in 1899 and has a deep orange flesh that keeps well. While it is not usually available on local seed racks, it is available from Seed Savers Exchange at SeedSavers.org or 563-382-5990. I think it is always fun to try something new in the vegetable garden.

Lettuce Bib Seedlings - Rich Baer
Bib Lettuce Seedlings

Lettuce from Seed

Lettuce is very easy to start from seed and there are many choices from either seed or transplants at local garden centers. If planting from seed, try extending the harvest by staggering the planting. Plant new seeds at 2-3 week intervals and you will be amazed at how easy it is to continually cut fresh lettuce leaves. Lettuce will survive a light frost and so the growing season does not necessarily end as compared to a tomato. With some protection, such as a cold frame, if the winter is not too severe, I have seen gardeners harvest lettuce throughout the winter.

Radishes from Seed

Radish is a very easy and quick crop. Not only do the seeds germinate quickly, many varieties will provide a mature crop in 30 days. This is an excellent plant to get children involved with because of the short maturity date and the quick germination. It also teaches them about plants we eat that grow underground.

Growing Potatoes

A favorite of mine to get children involved in gardening is the potato. This is another good lesson in things we eat that grow underground. Even if space is limited, potatoes can be easily grown in a container and will thrive as long as they get adequate sunlight. The example in the photo is a large nursery pot that provides a way to grow them with limited space. Using Black Gold Natural & Organic Potting Soil, this gardener (see photo below) built a wire cage around the inside diameter of the container and used two metal plant stakes to prevent the cage from collapsing. Potatoes were purchased from a farm store and were cut into pieces with at least one ‘eye’ per piece. Once cut, let them air dry for a day or so and this will help seal the cut portion and lessen the chance of diseases. Potatoes were planted about 6 inches deep from the top of the container. Be leery of buying potatoes from the produce section of a grocery store as they might have been treated to prevent sprouting.

Potato and Cage - Rich Baer
Sprouting Potatoes

The potato that was planted will produce a stem from the ‘eye’. The tubers we eat are produced along the stem and the longer the stem, the more tubers. Potato tubers must be kept in the dark and so as the stem grows, straw or some other organic material is continually added, hence the reason for the cage.

Beans from Seed

Beans are among the easiest summer vegetables to grow from seed and since it is a large seed, it is easy for children to plant.  Once the soil is warm, sow bean seeds and they should germinate in 7-10 days. Beans need full sun and continual picking. The more you pick, the more the plant will produce. For limited space there are bush types although for maximum yield, I have found the tall vine types produce the best.

Chard from Seed

For some color in the vegetable garden, consider Rainbow Swiss Chard. This has such colorful stems, I have seen in planted in pots on decks just for the stems. “Rainbow” is an appropriate name as the stem colors are shades of red, orange, purple, yellow, and even white. Rainbow Swiss Chard is not just for color; it is excellent for eating and is easy to grow from seed.

Bean Seedlings - Rich Baer
Bean Seedlings

I would be remiss without mentioning a summer edible plant we always have in a pot on our deck and that is basil.  Basil absolutely needs heat and should never be planted outdoors until the weather is warm. It makes a wonderful container plant and having a container on our deck makes it easily accessible to the kitchen. There are many types of basil available and varieties not only have different color and texture of foliage, but there are different flavors.

A warning for gardeners with newly germinated seedlings or seedlings is to be aware of the slug. It is one of the most prevalent pests we have in the Pacific Northwest that can cause extensive damage on newly planted seedlings.  Slugs can almost ruin a home garden crop of new seedlings overnight. It is best to use some type of slug bait or barrier for newly germinated seedlings and/or transplants. If using a chemical type of bait, be sure to check and read the label carefully as not all baits are approved for use in a vegetable garden.

This season, take a chance on some vegetable seeds or seedlings. It is quite satisfying to grow your own fresh fruit or vegetables and gives you a connection to the earth.

Photos Courtesy of Rich Baer

Make Hanging Baskets More Drought Tolerant

Hanging Baskets - Petunias - Maureen Gilmer
Moisture-rich potting mix makes hanging baskets shine and supplies more water in hot summer weather.

Moss baskets make it next to impossible to over water plants, and that’s why they’re different from any other hanging pot. Each basket is composed of a suspended wire framework lined with fibrous material and filled with potting soil. The reason for fiber lining is to allow optimal drainage throughout the whole container, not just where there are drain holes. It also allows you to water daily without guilt, so the soil remains evenly moist without the risk of saturation.

Hanging Basket Liners

Hanging baskets have changed in the last few years. Many are available with coarse Sphagnum moss that is permeable and holds water. Planting through the sides is now standard, making every basket a potential living ball of flowers. These baskets are now standard fare for growers of fuchsias, hanging ferns and begonias.

Hanging Baskets - Mixed Flowers - Maureen Gilmer
Stuffed containers must have water-holding mix to perform well.

Baskets pre-lined with coco fiber are also popular and eliminate the time-consuming process of manually lining baskets with coarse, wet Sphagnum moss. This coco fiber is thinner and just as porous, but there’s a down side. The potting soil inside will often dry out more quickly. The dehydration rate increases exponentially in arid climates, particularly during windy or hot weather.

To create baskets that are more weather resilient, select containers at least 14 inches in diameter. This creates a soil mass that is large enough to support a more expansive root zone of long-lived plants, and it reduces moisture loss through the coco fiber. The next step is to select the right potting soil for your local climate.

Hanging Basket Potting Mix

Black Gold Waterhold Cocoblend Potting Soil is ideal for hanging baskets in dry climates. It is formulated for increased water holding ability without compromising drainage. To do so it contains coir, a byproduct of the coconut processing industry that is highly absorptive and able to retain moisture better than ordinary potting soils. It’s OMRI Listed too, so you can use it for organically grown edible flowers, vegetables and herbs.

Hanging Baskets - Chard- Maureen Gilmer
Vegetable baskets need a lot of space as well as the right mix!

What really makes coir desirable is the speed at which it absorbs water. While dry peat can be a little slow on the uptake, coir literally sucks up every drop you apply. In a hanging basket this means less immediate drainage and more water holding capacity over time. When the dry winds of summer kick in, baskets with this coir blend soil will fare far better.

For those who live in humid, rainy summer climates, over-saturation can be a problem after daily rain or heavy downpours. Potting soil can become super saturated, which limits oxygen availability to the roots until conditions dry out. Black Gold® Moisture Supreme Container Mix was designed for solving this very problem by maximizing oxygenation of the root zone. When you use this blend in your hanging baskets, you are less likely to see fungal diseases and rotting that can occur despite the porosity of the basket liner.

Make this year’s new baskets with Black Gold potting soils formulated for your climatic challenges. Then replace the potting soil in your older baskets to eliminate over-compaction. Once you discover how a climatically formulated potting soil improves your hanging baskets, you’ll never settle for anything else.

Start Vegetable Seeds Indoors Early

Inner-city kids from Head Start programs perform at much higher levels of literacy and language than kids of the same socioeconomic groups who did not attend the program. Likewise, starting vegetable seeds indoors while it’s still cold helps gardeners get a head start in the spring and summer garden. Many vegetables perform much better when they are nurtured indoors before outdoor planting.

Timing Planting

Start different vegetables at varying times before outdoor planting. For example, the rule of thumb for tomatoes and peppers is to sow them six to eight weeks before the estimated planting date, which is usually a couple of weeks after the last frost of spring. To accomplish this, start them in late February or early March. At planting time, tomato and pepper starts should be six inches tall or more.

Seedling Web
Seedling: You can protect tiny seedlings much easier indoors, then transplant into the garden after the last frost.

Where summers are short, starting early means harvesting early. (Planting early-to-produce vegetables also ensures an earlier harvest.) Warm outdoor soil and strong root systems will make them vigorous growers after transplanting.

Home Seed Starting Advantages

The advantages of starting seedlings at home are that they cost less, seed catalogs offer more choice than nurseries, and, if you are an organic gardener, you can be confident that your plants have been grown organically. (OMRI Listed Black Gold Seedling Mix is approved for organic gardening.) Seed catalogs carry wonderful specialty vegetables and heirlooms that are often tastier and a lot more fun to cook with.

The Seed Starting Environment

Growing seeds indoors requires a sunny windowsill, sun porch, greenhouse, or cold frame. Choose a south-facing window that provides at least 6-hours of sunlight. If that’s not available, consider investing in full-spectrum grow lights to start seeds.

Head Start
Head Start: It’s easy to start a garden in new or recycled containers.

Before you begin sowing seed, it’s important to gather all the materials you’ll need ahead of time. A quality growing mix is essential. Black Gold’s Seedling Mix is light and airy for reliable germination and root growth.

Other Materials Required:

  • Black Gold’s Seedling Mix
  • Seed
  • Plastic pots or cell packs with water-holding flats and clear plastic cover
  • Mister and small watering can
  • Four-inch pots to upgrade seedlings
  • Black Gold Natural & Organic Potting Soil
  • Waer-soluble fertilizer

Reusing Containers To Sprout Veggies Indoors

Salad Containers - Pam Beck
Don’t throw away old salad containers when you can reuse them to start your own homegrown entrees.

Whether you are starting your seeds directly in Black Gold Seedling Mix or testing your seed’s viability by sprouting them between wet paper towels, repurposed fast-food salad containers are an economical and environmentally sustainable way to sprout veggies indoors this Spring. Look for clam shell containers with small vented holes in the top, or punch ventilation holes in the tops and bottoms for best results.

The Garden is In! Raised Bed Gardening on Dakota Farms

By Shelley Moore

Shelley Moore is an aspiring organic backyard gardener with hopes of becoming a true ‘green thumb’. She is the mother of two young daughters and the wife of one helpful husband. They reside in northern Utah.

Don’t you find it a little crazy to think that pretty much the same “stuff” we wash off our kids at the end of an outdoor play day (and/or find at the bottom of the drained bathtub that same evening) is the same “stuff” that is used to grow healthy vegetables and fruits to feed said kids?

Yep, we are talking dirt.

Continue reading “The Garden is In! Raised Bed Gardening on Dakota Farms”