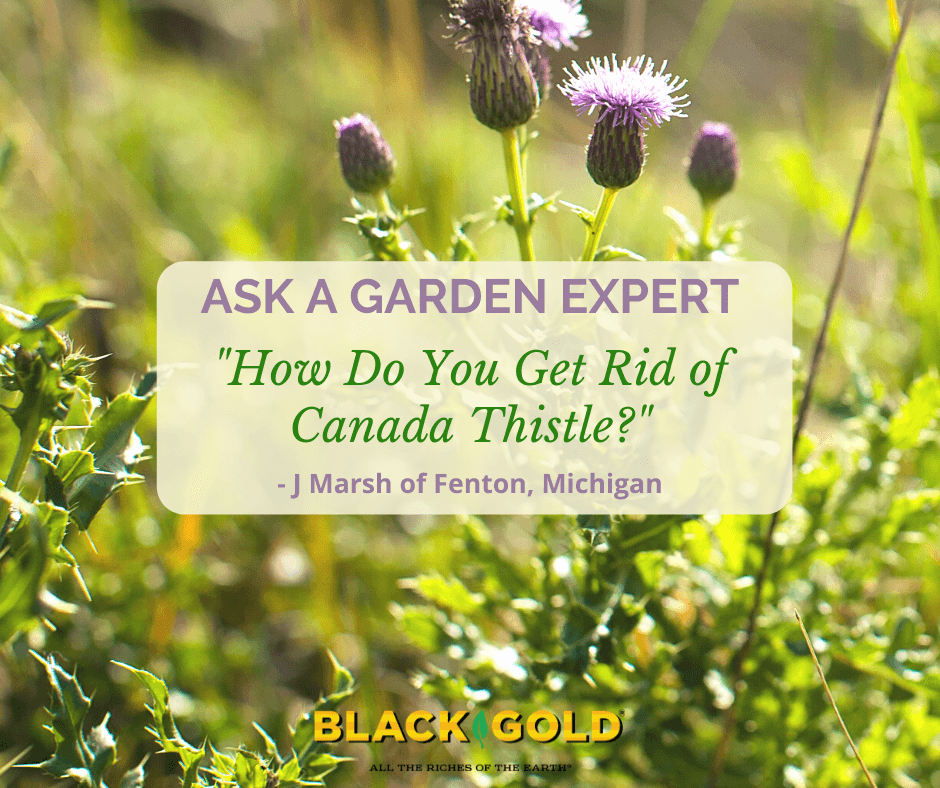
“How does one get rid of [Canada] thistle?” Question from J Marsh of Fenton, Michigan
Answer: I am so sorry that you have this plant in your garden. Canada thistle (Cirsium arvense) is by far one of the worst of all garden weeds. It has painfully prickly foliage and produces lots of early summer flowers that produce copious puffy seeds that are distributed by wind and seed in everywhere. Once established, one plant can create a dense colony connected by rooting rhizomes that are impossible to dig out because they root several feet down. If you leave just one root piece, it might form a whole new plant. Canada thistle is also resistant to herbicides. Here are three ways to remove it.
Dig and Smother Canada Thistle
One of the best all-natural methods is smothering plants with weed cloth and mulch until they are gone. This one will also creep into the grass, so try to keep lawn specimens under control with broadleaf herbicide. You also don’t want to let this one go to seed anywhere near your yard or garden. Here are the steps that I recommend.
Methodically dig out the underground runners. Gently loosen the soil around each with a trowel, following them until the growing points are reached and the roots are fully removed. If you keep even a small piece in the ground, it will regrow.
If the runners are intertwined with perennial roots, dig up the perennials, and remove the thistle roots in full. (Before replanting, amend the soil with Fafard Premium Natural & Organic Compost for faster re-establishment.)
To keep underground roots from returning in really infested areas, cover the area with mulch cloth and mulch it over. After a season, all parts should be smothered, and you can pull up the mulch cloth and resume gardening as usual.
Scorch Canada Thistle
Canada thistle wedged between pavers or sidewalks can be repeatedly torched with a weed blow torch or flamethrower. It is a useful method for difficult-to-reach weeds. Solarization is another method of heat-based eradication. Summer is the best time to solarize bed areas. To do it, mow or trim back weeds in the area and then simply cover the weedy space with an impermeable layer of thick clear plastic. Use landscape pins to hold it down. Keep it in place for eight weeks or more, until the weeds below have died. In theory, this method will kill plants to the root. (Click here for more details.)
Get a Professional to Use Professional-Grade Herbicides on Canada Thistle
I am generally not a proponent of heavy-duty herbicide use, but some weeds require it. If you choose this avenue, then I recommend having a professional do the work. The herbicides needed to kill thistle are quite toxic and not nice to handle. (Click here for a great info sheet for garden professionals.)
Weed competition drags gardens down in every way. Ignore your garden for just a couple of weeks, and weeds can take over in a flash–turning once tidy, pretty beds into a tangled mess of green interlopers with no room to spare. If you use the right tools, techniques, and timing necessary to stop a weed takeover, it will save you trouble and reward you with bountiful flowers, vegetables, and fruits.
Common, aggressive garden weeds spread by many means. If allowed to set seed, they will pepper the garden ground with loads of obnoxious seedlings crying to be hoed away. Some have the deepest, most far-spreading root systems that will get away from a gardener in no time if allowed to take hold. Different weeds appear at different times of the season. The most unexpected are prolific winter weeds that will happily fill your beds in late winter and set seed by late spring. Summer weeds require heat to germinate, so you can expect them to start popping up as soon as the weather becomes truly beautiful.
Knowledge is power when it comes to weeds. Here are the essentials necessary to keep your beds happy and weed-free throughout the year.
Know Your Weeds and Their Spreading Power
Don’t pull a perennial weed unless you know that you can get the whole root. Leave one little piece, and it will return!
Your worst weed enemies are perennial weeds that are deep-rooted, fast-spreading, and produce generous amounts of seeds that spread and sprout quickly. Annual weeds are also pesky, but they are generally more shallow-rooted and easier to kill by quick digging and hoeing before they set seed. Here are five of the worst perennial weeds that you may face. From there, I recommend relying on the helpful, Farmer’s Almanac Common Weed List, as well as the excellent UC Davis IPM Guide for common weeds.
Worst Perennial Weeds
Field Bindweed (Convolvulus arvensis): Here is a real monster of a spreader that’s hard to remove. The hardy perennial sets fleshy rhizomatous roots that can extend deep into the ground and many feet from the parent plant. The vine twines and strangles garden plants and then becomes covered with little, white, morning-glory-like flowers that set hundreds if not thousands of seeds. Scrape and dig the seedlings on-site and try to dig the root systems as soon as possible. Smothering and covering infested areas is also a good method, but it takes time. (Click here to learn more about bindweed removal.)
Canada Thistle (Cirsium arvense): Canada thistle (Cirsium arvense) is notoriously difficult to remove and is also a notorious spreader. Its leaves and stems are painfully prickly, and pollinated summer flowers produce loads of puffy seeds that get caught in the wind and spread everywhere. (Don’t let this go to seed anywhere near your yard or garden!) When they sprout, a single plant can become a dense colony connected by deep, rooting rhizomes that are impossible to dig out. Leave just one piece, and it will return. It is also resistant to all but the strongest herbicides.
Aside from using commercial-grade herbicides, the second-best method is to smother plants with weed cloth and mulch until they are gone. Watch out for plants that creep into the grass, once they do, a good broadleaf herbicide is your only option, unless you want to kill everything and start over.
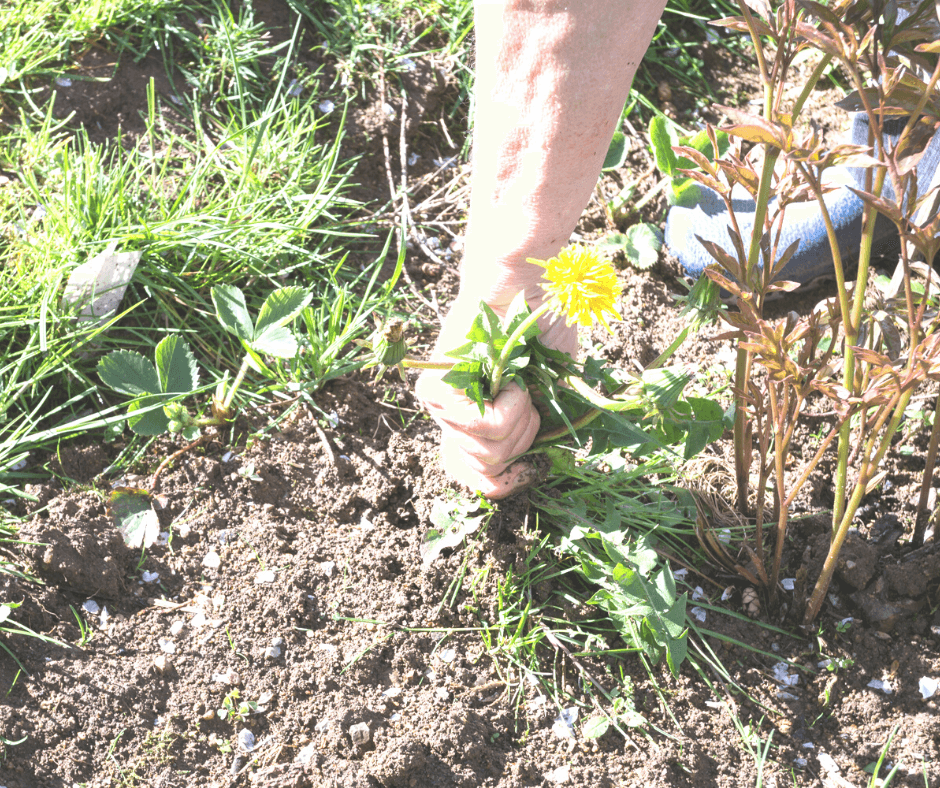
Dandelion (Taraxicum tomentosum): Dandelions spread by seed but can be tamed, so I don’t mind them growing in the lawn. Bees and other early pollinators rely on their golden flowers for pollen and nectar, so they do some good, but they have no place in my garden where they compete with other garden flowers. The deep-rooted perennials are easy to grub out with a garden knife, as long as you remove the whole root and leave no pieces behind. The key is keeping them from setting seed. This is the source of dandelions in the garden. In the spring months, I try to mow low and often to chop off the seed heads before they release their seeds.
Ground ivy(Glechoma hederacea): The aggressive member of the mint family is a ground-covering weed with creeping stems that root and spread fast. Its spring flowers set lots of seeds, which sprout quickly. It also thrives in lawns, so you will need to rely on a broadleaf herbicide for the lawn if you want to truly get rid of it.
Thankfully, this weed is relatively easy to pull, but if you leave even the tiniest piece in the ground it will root and regrow. T manage it well, remove it from garden beds first thing every spring, and then apply a 3-inch layer of mulch, being sure to leave the crowns of garden perennials uncovered. If stray pieces emerge from the mulch, pull them on site.
Nutsedge(Cyperus esculentus): Unless you live in the desert, your garden has likely experienced nutsedge. The aggressive, moisture-loving sedge produces copious seeds in summer that sprout everywhere. Even worst, the plants have fine, spreading roots that develop small, brown nutlet tubers. Leave one tuber in the ground, and it will sprout into a whole new plant. (Quirky fact: The tasty nutlets can be harvested and eaten.)
Nutsedge is not herbicide-resistant, but its tubers are resistant. For this reason, dig out the plants rather than just pulling or spraying them and get all of the tubers. Finally, cover with a 3-inch layer of mulch, and diligently pull any small sedge sprouts as you see them. (Click here to learn everything that you need to know about removing nutsedge.)
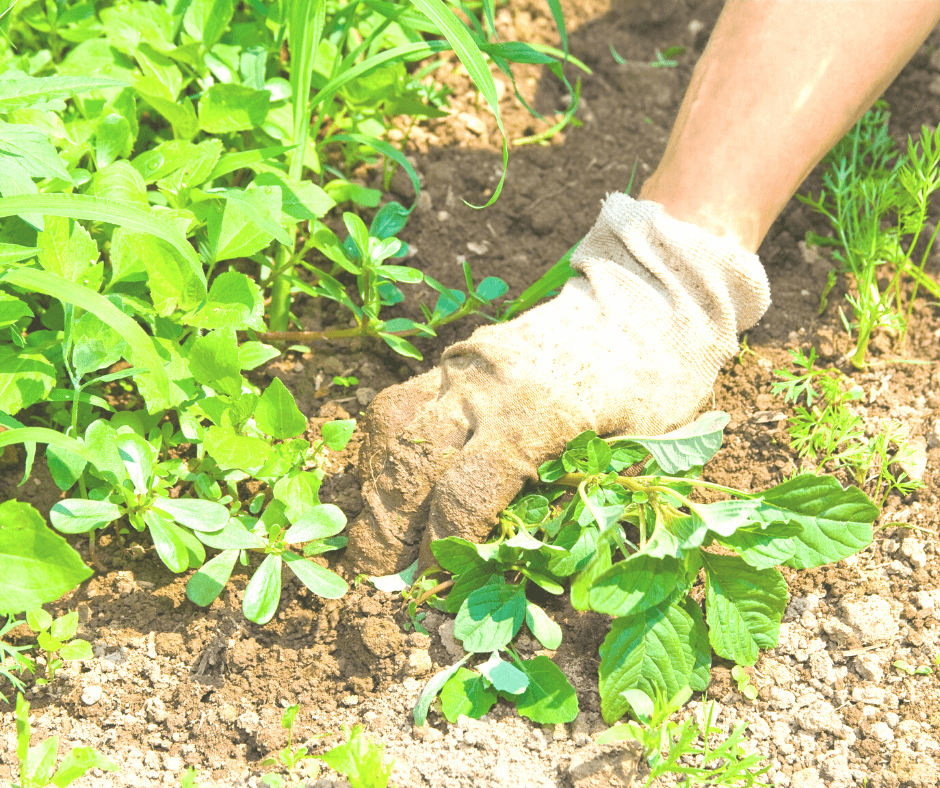
Annual weeds, like this summer purslane and pigweed, are easy to pull but prolific self-sowers that sprout in the open soil each year. A good, stout hoe will make quick work of weeds like this.
All of these weeds require good tools for thorough removal, followed up by mulch, and often herbicides or other harsher measures. Once again, annual weeds, like winter chickweed, summer purslane, pigweed, or spotted sandmat euphorbia, are very easy to dig and pull. The key is removing them before they can set seed and germinate or add to your garden’s soil weed seed bank.
Know Your Weeding Tools
Over the years I have used a number of different weeding tools. A few have stood out and become fast favorites. The three key characteristics I look for in a good gardening hand tool are 1. ease of use, 2. working power, and 3. durability. These criteria are met by the following tools:
Long-Handled Tools
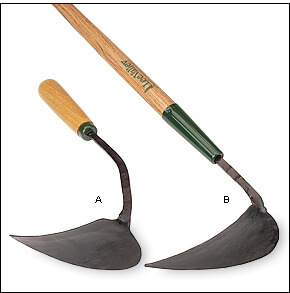
Prohoe Rogue Do It All Tool and 7-inch Hoe: The hoes made by this company are wonderfully sturdy and well-made, razor-sharp, and long-handled for those of us that do not like to bend. The Do It All Tool is triangular on one side and has a raking tool on the other. It is perfect for rogueing our deep-rooted weeds. The thin, 7-inch Pro Hoe is ideal for scratching up mats of shallow weed seedlings. These hoes are so strong and sharp, the job will get done in an instant.
Pullerbear Uprooter: For big “weeds” choose a Pullerbear uprooter. In a matter of minutes, an area riddled with small weed trees can be cleaned beautifully roots and all. It works like no other tool I’ve tried. Just clench the base of the sapling or small tree and pull. Ignore the fact that it’s a bit pricey. It will pay for itself quickly in time and effort saved wrangling with hard-to-pull woody weeds.
Short-Handled Tools
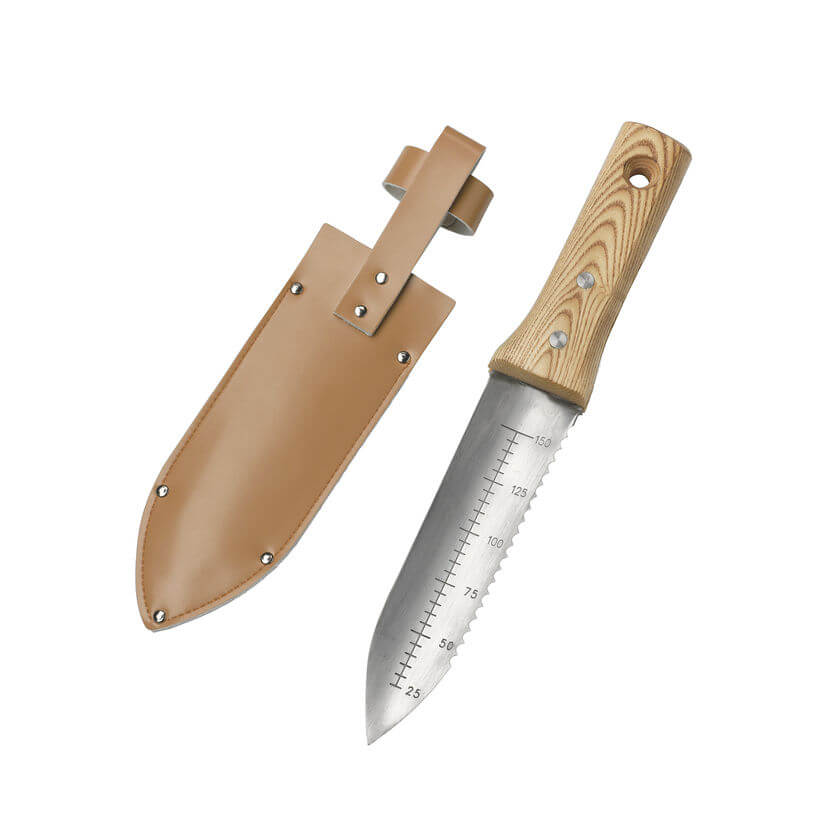
Sharp cutting and sawing edges make gardening knives one of the best all-around gardening tools. (image care of the Gardeners Supply Company)
My trust garden knife (also called a soil knife or Japanese hori-hori) goes with me everywhere. It can cut into the soil to deep roots below and saw through the roots or bases of tough plants. I even use it for harvesting greens and cole crops. One side of the knife is sharp for slicing, and the other is serrated for sawing. They can easily break through the skin, so I use mine while wearing garden gloves and I store it in a leather belt sheath.
Fine-bladed hand trowels are excellent all-purpose tools for weeding and planting. They quickly cut at deep or shallow roots in no time and withstand lots of wear and tear if made well. The “rockery hand trowel” at Clarington Forge is just such a fine-bladed tool, and it’s beautifully crafted for the long haul. Its fine blade makes for easy weeding and planting–especially in heavier or pebbly soils. The narrow rockery hand trowel from Clarington Forge easily expels weeds and gets into small spaces. (image care of Clarington Forge)
Sharp ho-mi tools will chop deeply into the soil quickly. (Image care of Lee Valley)
For super fast hand weeding nothing beats the classic ho-mi (hoe-mee), also called the Korean hand plow or cultivator. This sharp, downward-facing tool can get to the base of a dandelion root in seconds with a quick chop, chop, chop. Nothing is more effective. For smaller weeds, I use the side of the ho-mi to scratch and smooth the soil. It’s an excellent tool for lightly aerating the base of a plant or getting to the root of a tough herbaceous weed as well as planting new plugs. If well cared for, a ho-mi will last forever (if cleaned after use and oiled to prevent rust). It’s relatively cheap, too. Long-handled versions are also very useful. Just be careful when chopping away with this sharp tool. Its tip can be nasty.
Practice Timely Weeding
I weed two ways be either casually weeding as I water, harvest, and enjoy my garden, or intensively bed by bed. I do casual weeding almost daily. More intensive weeding is something I do three times a month in summer. I also try to catch weeds at various times in their life cycles.
Catching weeds before they flower and set seed is timely weeding. I write this article as the winter weeds in my vegetable garden have begun to set seed. A busy spring pushed back my weeding schedule, and I am paying for it. Had I removed these weeds just two weeks earlier, before they had begun to release seeds,
Catching weed seedlings before they become large is timely weeding. Digging or hoeing up weed seedlings before they become large and take hold will make your garden life so much easier.
Smothering beds before seeds sprout is timely weeding. Adding mulch in late winter or spring, before weed seeds really sprout is very important to keeping weeds down. Miss just one year, and you will pay for it.
Mulch Properly
Natural mulches of all types, like these hemlock needles, make weed covers.
A 2-3-inch layer of mulch, straw, leaf-mulch or compost keeps seedlings from germinating and stops weeds from taking over. It is best to apply mulch in spring after properly weeding your beds and again in fall to ward off winter weeds. (Click here to learn more about the many wonderful mulch options.)
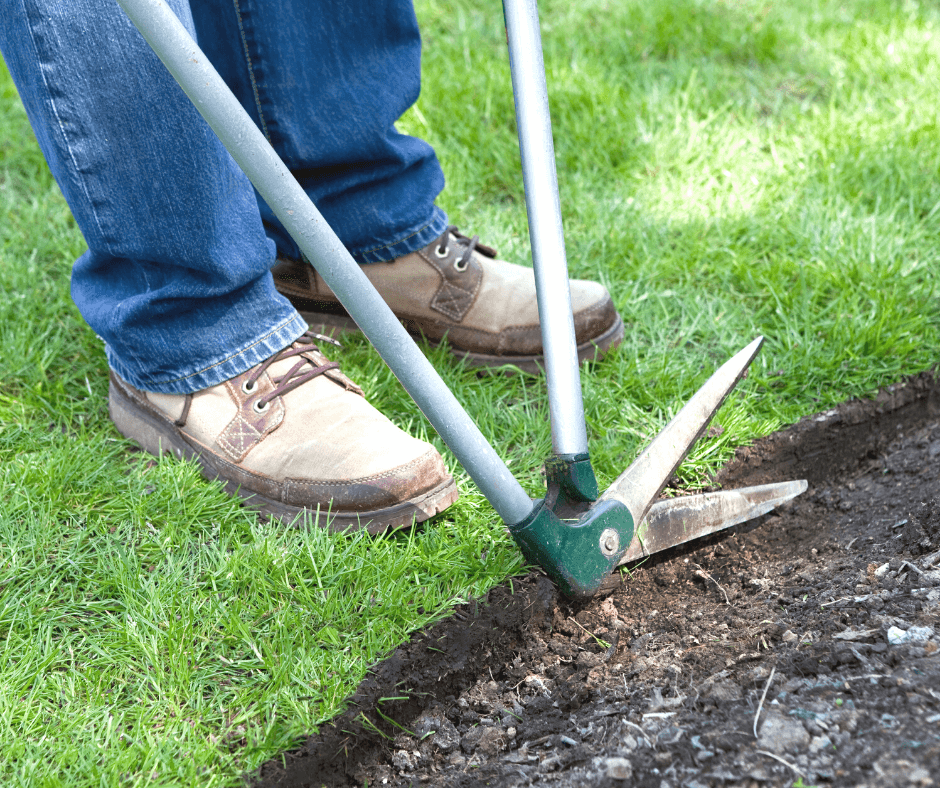
Edge Your Beds
Lots of lawn grasses and weeds like to creep into garden beds. Once in your garden, they become weeds. To stop this, it helps to edge your gardens, especially at the start of the gardening season. Edged beds also look tidier and nicer. Mowing your lawn regularly to stop weeds from flowering and setting seeds is also advisable. (Click here for a tutorial about how to edge beds.)
Consider Solarization
Soil polarization is a method of weed removal that relies on the heat of the sun to kill weeds en masse. Methods vary, but in general, it involves covering a bed area with tacked-down sheets of clear or black plastic for several weeks during the summer. When it works, the heat generated heat cooks everything below–plants, seeds, and all. Keep in mind, the method is used to revive whole beds and remove all weeds, so no desirable plants can be present. It is also less effective further north where summer temperatures rarely exceed 90 degrees F.
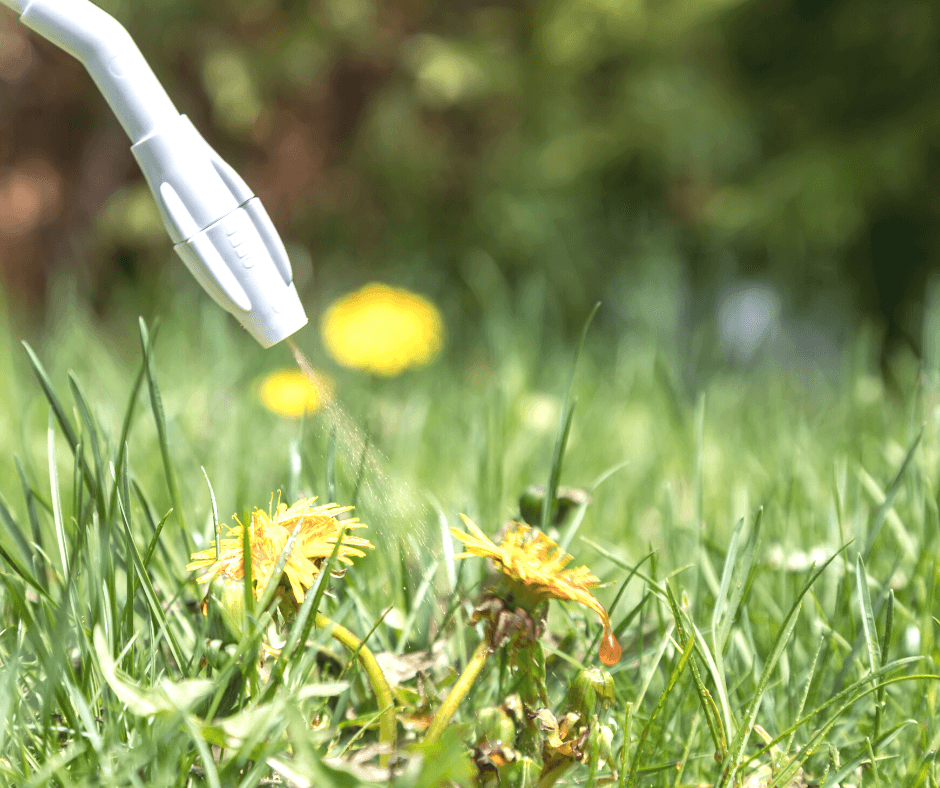
Use Herbicides as a Last Resort
Herbicides that really work are generally toxic and best applied by garden professionals. If you have a severe problem with one of the worst perennial weeds mentioned, like Canada thistle or field bindweed, then you may consider resorting to a professional-grade herbicide very selectively applied by a trained horticulturist. Otherwise, they are not needed. More natural means of weed removal are safer and better.
Stay on top of your weeds, and your gardens will prosper. Put aside just a little time each week and it will be a small burden to bear.
“I have, what looks to be Bishop’s vine/weed, growing in my one garden. It’s starting to choke out my tiger lilies and other items growing in the garden. I can’t seem to get rid of it. Is there a way to get rid of the bishop’s weed in my garden?” Question from Angela of Windber, Pennsylvania
ANSWER: Sadly, bishop’s goutweed (Aegopodium podagraria) is a noxious problematic plant when it is unwanted. It can be a notoriously difficult perennial weed to remove. It’s very hardy, and its dense runners spread everywhere quickly, as you have found. It’s especially annoying when its roots become intertwined with other shrubs and perennials. Here is the four-step approach I recommend that you take to kill it. It may sound challenging, but if you do it right, it is the fastest, most effective way to remove it fast if your garden is not too large. Start the work in the spring as your plants begin to emerge from the soil. (BTY, weed killers are not particularly effective on this plant.)
Four Steps for Goutweed Removal
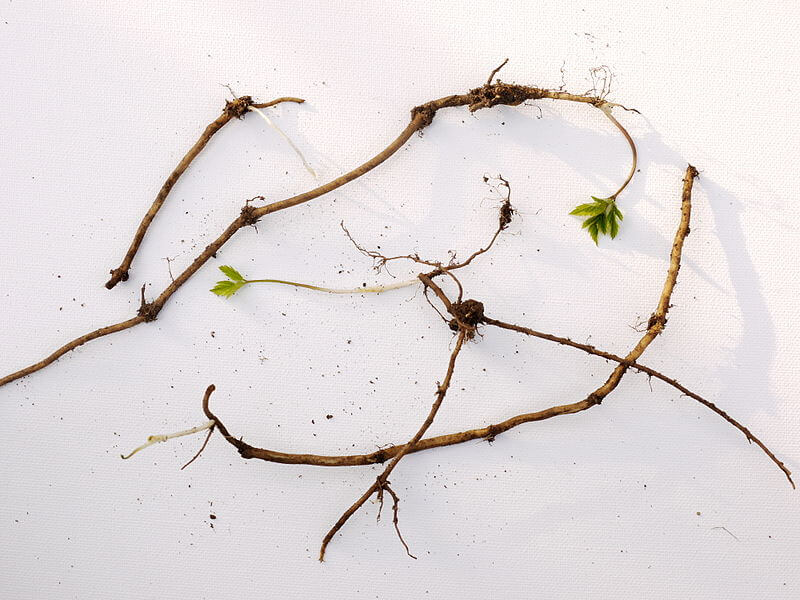
Goutweed roots will regrow if left in the soil, so remove them all! (image by Drahkrub)
Use a sharp, flat spade, skip the top 4-6 inches of soil to remove as many of the goutweed roots as possible. When digging the underground runners, gently loosen the soil around them with a trowel, following each until they are fully removed. If you keep even a small piece in the ground, it will re-root and grow. This can be a challenge when working around your garden plants, but be diligent. In some cases, you may have to dig up perennials, remove the goutweed roots from their base, and replant them.
To keep underground stems from returning, consider covering the area with mulch cloth and mulching it over. After a season, all goutweed should be smothered, and you can pull up the mulch cloth and resume gardening as usual.
Keep watch for any new goutweed shoots that appear and dig them out immediately.
Look for goutweed that may have crept into your lawn. I recommend using a broad-weed herbicide to remove it. Organic options are available.
“How do I get rid of sandspurs?” Question from Rena of Morehead City, North Carolina
Answer: Anyone with a yard or beach plagued with sand spurs, most commonly the southern sandbur (Cenchrus echinatus) and the coast or field sandspur (C. spinifex), knows never to walk barefoot. Their painful spurred seeds are covered with needle-like protrusions ready to pierce through skin and even thick clothing like denim jeans. They can also do great harm to children and pets. Thankfully, there are some methods for getting rid of them.
Pre-emergent Herbicides
I almost never advocate the use of chemicals, but really bad weeds like these require tough measures. Most experts recommend using pre-emergent herbicides that keep sandspur seeds from germinating in your lawn. Pre-emergent herbicides only work on seeds, not plants. Apply pre-emergents just before your lawn has begun to actively grow and reapply 6-9 weeks later because sandspur seeds do not sprout at the same time. Pre-emergents designed to kill crabgrass, like Preen Lawn Crabgrass Control, also stop annual grasses like sandspurs from sprouting. Be sure to follow the manufacturer’s application instructions.
Post-Emergent Herbicides
These are chemicals that you use on weeds after they have sprouted. Very few post-emergent herbicides target sandspur, and most are quite toxic. There are some crabgrass killers that may target sandspurs, but research as shown that they are not that effective, so I do not recommend using them.
Mow Low
Mow your lawn on a schedule and never let it get over 4 inches high. In conjunction, be sure to irrigate it during dry periods to avoid stressing your grass. Mowing low can disable sandspurs from flowering and setting seed.
Plant Fresh Grass in Fall
In early fall, thatch your lawn and plant fresh grass seed suited to your growing area, such as a Bermudagrass blend. Grasses like these will compete with weedy annual grasses, like sandspur, giving them little space to grow. Be sure to fertilize your refreshed lawn once it has begun to grow to give it the best possible head start. There are lots of great organic fertilizers available for turf.
“I put weed and feed (broadleaf weed killer) down, but the plantago weed is still there. Why?” Question from Sandra of Cottage Grove, Minnesota
Answer: There could be several possible reasons. Before covering them, let me give an overview of how most weed and feed lawn herbicides work. Broadleaf weed killers that also feed grasses only kill broadleaf weeds, like dandelions, plantago, and clover, not grasses. Non-organic weed and feed products typically contain the chemicals (2,4-D) and mecoprop-p, for weed control. 2,4-D and mecoprop-p are most active at killing weeds after they have sprouted (annual weeds are easier to destroy). Here are several reasons why your perennial plantago may still be surviving.
1. You did not apply at the right time. Broadleaf weed killers must be used when plants have sprouted and are actively growing. If applied too early in the spring, they are not as effective.
2. Weeds seeds are a problem. These chemicals are not as impactful on weed seeds, so it is important to apply them after weed seeds have sprouted. (Very early in the season, try using corn gluten, an all-natural pre-emergent that stops weed seeds from germinating.)
3. Encourage thick grass and thatch. Thick grass discourages weed seeds from sprouting. Mow grass higher to encourage a lush lawn, and don’t rake away the thick layer of thatch (the carpet of dead grass below the living grass) because this also keeps weed seeds at bay. There are always loads of seeds below the thatch just waiting to sprout.
4. Perennial weeds are tougher. Plantago is a perennial weed, and these are a lot tougher for herbicides to kill. Be sure to follow application guidelines and warnings for full effect. Most guidelines suggest the product be applied again in the fall.
Chemicals in traditional weed and feed products are pretty harsh. If you are interested in a comparable organic option, there are several all-natural broadleaf weedkillers on the market.
In the meantime, pulling up really large, annoying plantagos is an option. Getting the worst specimens out of the way will likely make you feel better until the next application.