Articles

Should I Rotate My Container Tomatoes?

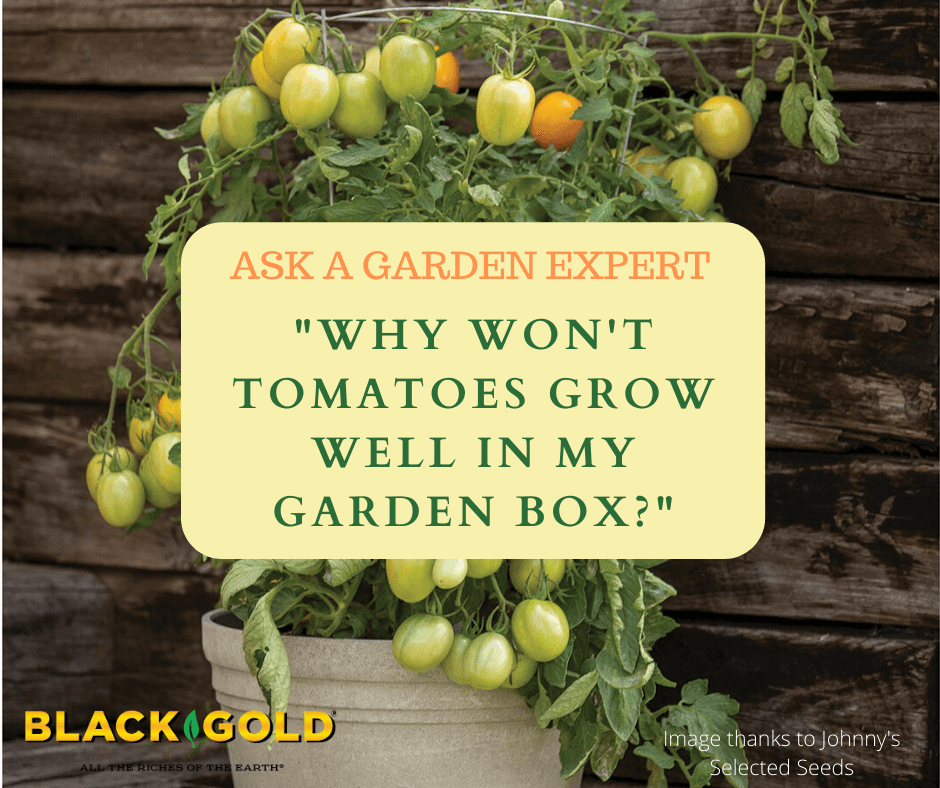
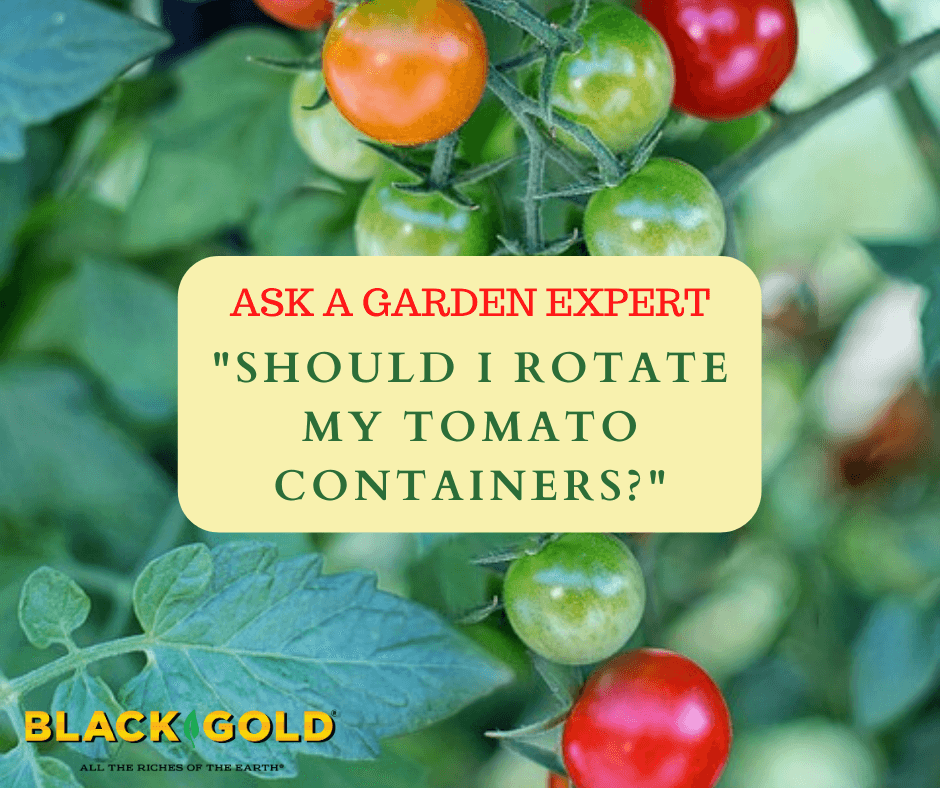
“If I grew tomatoes in a container last year, what CANNOT  be grown in that container this year? I’ve read about crop rotation but can’t find this answer anywhere. Hope you can help me.” Question from Debbie of Hoquiam, Washington

Answer: You cannot plant a tomato in that pot unless you refresh its potting soil. Tomatoes are rife with soil-borne diseases that can carry over from year to year, so it is better to be safe than sorry. (Click here to learn more about tomato diseases and disease-resistant tomato varieties.) If you opt for rotation, tomatoes should be rotated on a three-year cycle–tomato one year and other vegetables the next two years. (Either way, the potting soil should be refreshed every one to two years.) Good vegetables to rotate in after tomatoes include beans and peas because they naturally fortify soils with nitrogen, and greens, because they are not too demanding.

I encourage you to read my article about vegetable rotation titled Spring to Fall Vegetable Rotation: Planting for Non-stop Garden Produce. It will provide all of the information you will need to effectively rotate your crops, whether container- or garden-grown. You might also like to watch the video below about successfully growing tomatoes in containers.

Happy potted tomato growing!

Jessie Keith

Black Gold Horticulturist

Why Won’t Tomatoes Grow Well in My Garden Box?

‘Sunrise’ sauce tomato shown. (Image thanks to Johnny’s Selected Seeds

“I have a deep garden box with soil and fertilizer. I plant tomatoes and they never do well. I am getting frustrated. This year will be my 3rd try!” Question from Janis of North Attleboro, Massachusetts

Answer: There are several reasons why your potted tomatoes may not be succeeding. I will list several potential reasons, and then provide some suggestions for this year’s container tomatoes.

Potential reasons for container tomato failure:

  1. The garden box is not draining well.
  2. The box is not big enough.
  3. You are watering too often or not often enough.
  4. You are growing indeterminate, or vining, tomatoes.
  5. Your tomatoes are diseased.

For your third try, follow these tips for success.

  1. Make sure your container is draining very well and its soil is fast-draining and porous. Also, consider planting your tomatoes in a larger pot. Watch the video below to see what size containers work for me.
  2. Add new potting soil. Tomatoes are susceptible to many soil-borne diseases (click here to learn more), so fresh soil is essential. Black Gold Natural & Organic Potting Mix is approved for organic gardening and my tomatoes like it.
  3. Feed with a fertilizer formulated for tomato growing.
  4. Choose a determinate, or bush, tomato that is certain to grow well in your Massachusetts climate. ‘Celebrity’ is an award-winning red slicer that always performs well in containers. ‘Glacier‘ is a flavorful cocktail tomato that grows well up North. ‘Sunrise’ sauce tomato is a super sweet, golden sauce tomato that is perfect for pots.
  5. Place pots in full sun and keep them evenly moist but not wet. Water most frequently in hot, summer weather.
  6. Cage your tomatoes.

I hope that these tips help!

Happy tomato growing,

Jessie Keith

Black Gold Horticulturist

Should I Change My Succulent’s Potting Soil?

“I am growing little succulents, should I change the soil at some point?” Question from Shelby of Woodsville, New Hampshire

Answer: The soil should be changed when you transplant them into a new pot. Succulents all eventually need to be transplanted and upgraded. Sometimes gardeners just want to place their succulents in prettier pots or mixed plantings. (Click here to read an article about mini succulent potted gardens.) Older succulents require transplanting when they become root-bound, which means they are rooting along the periphery of their pots. (Click here to read a good article about transplanting pot-bound plants.)

When it comes to a good potting mix for succulents, fast drainage is essential. A good succulent mix must drain very well but also have some organic matter. Black Gold Cactus Mix has the perfect balance of good drainage and organic matter. When choosing a pot, pick one that is several inches larger than the last and has drainage holes at the bottom as well as a saucer to catch water.

Once your succulents are newly planted, it is smart to top the soil with decorative gravel to keep the surface dry and attractive. Pebbles and gravel for terrariums come in different sizes, textures, and colors. Those in light shades let plants stand out without overstatement.

I hope that this information helps!

Happy succulent planting,

Jessie Keith

Black Gold Horticulturist

Why Isn’t My Hydrangea Flowering?

“I have hydrangeas but each year they only get leaves and no flowers what can I do?” Question from Nancy of Campbell, Ohio

Answer: Generally when gardeners have trouble with hydrangeas that refuse to bloom, they are largeleaf hydrangeas (Hydrangea macrophylla hybrids). These survive just up to USDA Hardiness Zone 5, your zone, but you should be able to get them to bloom.

Largeleaf hydrangeas bloom on “old” or last year’s stems, so it is important not to prune them back in spring or fall. If trimming is needed, they should only be pruned right after they flower in summer. On occasion, harsh winters will cause stem dieback–killing all of the flowering stems down to the ground. Deer can also nibble them. When this happens, expect few to no flowers that year.  (Click here for an excellent schematic by Proven Winners that visually explains why some hydrangeas won’t bloom.)

Another factor is that largeleaf hydrangeas bloom best in partial sun. If yours is in deep shade, consider moving it. In your zone, the best garden spot for a largeleaf hydrangea is a partially sunny, protected location. Planting it near a building or wall will give it some protection from the harshest winter weather.

If you don’t feel like bothering with all of these steps, we recommend planting smooth hydrangea (Hydrangea arborescens) varieties, which are very hardy and bloom on new wood. Two really exceptional types are Incrediball® and Invincibelle® Ruby. These grow best in fertile soil and like the addition of fertilizer formulated for flowering shrubs. I recommend amending their planting hole with Black Gold Garden Soil, which feeds plants for up to six months.

I hope that these tips help!

Happy hydrangea growing,

Jessie Keith

Black Gold Horticulturist

How Should I Feed and Weed My Asparagus?

Here is my midseason asparagus patch. Cutting back wayward stems in summer can also keep clumps tidier. (Image by Jessie Keith)

“What kind of fertilizer should I use in my asparagus patch? What can I use to control the weeds in my patch?” Question from Linda of New Providence, Iowa

Answer: Asparagus is one of those spring vegetables that I think everyone should grow if they have the garden space. It’s so easy and so delicious. Here are some tips for easy weeding and care.

Asparagus Weed Control

When it comes to weed control, I always started by placing a wide cage around each asparagus clump to keep them upright through summer for easy weeding below. Staking and tying are two other options. Any caging or staking system will keep the rows looking good and make them more accessible for weeding. Then I add a layer of newspaper, wetted thin cardboard, or burlap mulch cloth along the sides of the asparagus rows and top it off with a thick layer of seed-free straw, leaf mulch, or grass clippings (sometimes all three). This step makes harvest less muddy, especially in moist springs, and keeps surrounding weeds down. Finally, I hand weed around my emerging spears. The use of a garden knife, or Hori Hori, will allow for effective precision weeding among clumps. If you don’t have a garden knife, it’s a good investment. Just be sure to keep Hori Horis out of reach from children because they are very sharp. I also recommend wearing strong gloves when working with one.

Asparagus Fertilization

When it comes to fertilization, asparagus plants prefer balanced, low-nitrogen fertilizers (5-10-10), according to Stark Brothers, a good source for asparagus. I always used OMRI Listed fertilizer formulated for vegetables, which always worked well for me. I also like to occasionally add a layer of Black Gold Garden Compost Blend around the crown to act as a mulch and provide added organic matter.

I hope that these tips help!

Happy asparagus growing,

Jessie Keith

Black Gold Horticulturist

Is Comfrey a Good Natural Fertilizer?

“Have you heard about comfrey as being an organic fertilizer for gardens, and do you have any additional information on it?” Question from Sylvia of Belle Plaine, Minnesota

Answer: The claim is that the old-fashioned herb comfrey (Symphytum officinale) is a “dynamic accumulator,” or a plant that absorbs and retains higher amounts (10 x or more) of essential macronutrients, such as nitrogen, phosphorus, and potassium, as well as micronutrients. Plants that absorb and retain lots of nutrients make great natural fertilizers that boost compost and can be used as green manure crops or to make fertilizer teas.

Some research has been done on the subject, and despite the claims, comfrey does not fall into the category of a dynamic accumulator. It only has a Nitrogen, Phosphorus, and Potassium (NPK) ratio of between 3-1-5 and 1.8-0.5-5, while other common plant products, such as corn gluten meal (~9-1-0) and soybean meal (~7-1-2) are far more nutritious but still not considered dynamic accumulators. So, comfrey offers some fertility but is not an extraordinary natural fertilizer.

Dynamic Accumulators for Natural Fertilization

But, there are several true dynamic accumulators worth considering for natural garden fertility. Some of the best are common weeds, such as stinging nettle (Urtica dioica) with an estimated NPK of 12.5-8.5-16, lamb’s quarters (Chenopodium album), which is reported to accumulate very high amounts of Nitrogen, Potassium, Phosphorus, Calcium and Manganese, horsetail (Equisetum arvense), which accumulates high amounts of Potassium, Phosphorus, and tons of Silicon, amaranthus (Amaranthus spp.), which accumulates very high amounts of Calcium, and finally the humble dandelion, a high accumulator of Iron. Some of the annual weeds, such as amaranth and lamb’s quarters, can be planted as green manure crops and tilled under before they set seed.

Finally, don’t forget the power of garden legumes, such as beans, peas, alfalfa, and lupines, for naturally adding nitrogen to the soil. These are some of the finest plants for providing natural fertility to your garden soil. (Click here to read an article about nitrogen-fixing plants.)

I hope that this answer helps!

Happy gardening,

Jessie Keith

Black Gold horticulturist


How and When Should I Transplant Daffodils and Iris Growing In My Lawn?

“I have had some Iris’s and Daffodils shoot up in my yard. I love these flowers, and would like to know when would be a good time to dig them up and move them so I don’t cut them down with a lawnmower.” Question from Stacey of Hueytown, Alabama

Answer: Bulbs are pretty when they flower in lawns, but mowing their tops does disable them from gathering as much food as possible for next spring’s bloom. The iris and daffodils should be removed differently.

Digging Daffodils in Spring

Flower transplant of daffodils. Bulbous plant. Pot and tool primer. Wood background

Wait until the daffodils have finished blooming. Mow around them, if you can, while they flower. Once their flowers are done, gently dig them up. If you use a long, sharp spade you can easily dig to the base of each daffodil clump and loosen the bulbs without disturbing the turf to much. Be sure to wear gloves. Try to maintain the green tops of the bulbs in the process. Next, place the bulbs in holes around the garden in need of spring color. Plant them 6 to 8 inches down, and leave their green leaves up top to gather as much sunshine as possible. Mix a little bonemeal fertilizer into each hole to get them off to a good start. Trim the leaves back when they start to turn brown.

Digging Iris in Spring

The iris can be dug now and planted in the garden. They grow best in well-drained, fertile soil, so we recommend enriching the planting holes with Black Gold Garden Soil at planting time. Not only is this amendment rich in organic matter, but it feeds plants for up to six months. If it is a tall bearded iris, be sure its fleshy rhizomes are partially exposed at the top (see image below). Total coverage with soil will smother them. Sometimes iris are top-heavy, so you will likely need to pat the soil down around the rhizome to keep the plants secure and upright.

Iris rhizomes should be exposed at the tops when planted. (Image thanks to WikiHow)

I hope that this information helps!

Happy gardening,

Jessie Keith

Black Gold Horticulturist

Builders Dumped and Left Cement in My Garden. What Do I Do?

Builders dumped cement in a space that’s and covered it with soil.  What is the best way to work around this without digging it all up?  Container garden, Large pots? The area has grass and weeds in a strip about 2 feet wide, 6 feet long.  I tried planting grass and flowers but was not too successful. Question from Kay of Seattle, Washington

Answer: If the area is just 2 feet wide and 6 feet long, I suggest removing the concrete, if it is not too deep. You could ask your builder to remove it (he/she should have cleaned it up in the first place), or if you could have someone strong break it up and dig it out. In addition to protective eyewear and gloves, they would need a mattock, sledgehammer, and strong, sharp spade to break up, pry up, and dig out the pieces. A wheelbarrow would be helpful to carry it to the nearest waste receptible. It may seem like a big job, but it’s probably not if the concrete is relatively shallow.

If you don’t mind the concrete, consider putting containers or a raised bed on the spot. Both are certainly viable options. Here are several articles about container gardening that may be helpful as well as a video below.

Succeed With Container Vegetable Gardening

10 Waterwise Container Garden Flowers

What are the Best Edibles for Sunny Patio Containers?

Can You Share Some Good Raised Bed Plans?

Happy gardening,

Jessie Keith

Black Gold Horticulturist

How Do You Divide Globe Artichokes?

“My artichoke has grown quite large, do I have to dig the whole thing up or can I remove offsets easily and replant them.” Question from Jean of Longview, Washington

Answer: Dividing globe artichokes (Cynara cardunculus var. scolymus) is a cinch. As offsets arise and begin to leaf out, take a sharp spade and cut down between the offset and parent plant. Then dig out the offset–being sure to dig deep enough to capture the long taproot of the offset. Then plant it where you wish. When replanting, the addition of compost, such as Black Gold Garden Compost Blend, will lighten the soil and add extra enrichment. Artichokes are tough plants that are not too demanding once established, but the application of fertilizer formulated for vegetable growing can boost bud set.

Happy artichoke growing!

Jessie Keith

Black Gold Horticulturist