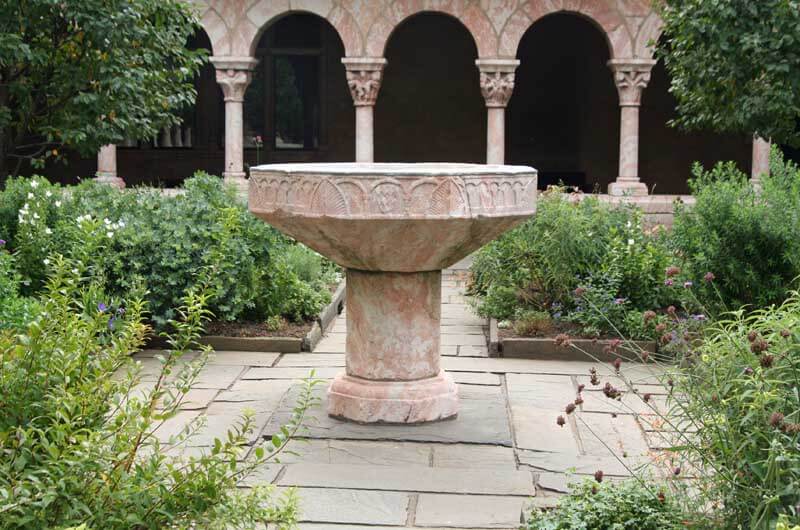
During the Medieval period in Europe, monasteries almost always contained an apothecary garden or “physic garden” that grew medicinal plants used to treat all kinds of infirmities. This age-old tradition of cultivating a garden specifically with healing in mind is easy to replicate in the home garden, whether you dedicate a bed for growing healing herbs and flowers or plant them throughout your garden space.
Designing an Apothecary Garden
The most important thing when planning your apothecary garden is practicality. Do you have a sunny garden that needs drought-tolerant plants? Do you live in a cool climate with a short growing season? The plants you choose will need to be well suited to your climate and hardiness zone.
Medicinal herbs are beautiful plants, often prolific, and they are intended to be cut back and harvested regularly. Choose space in the garden that is easy to harvest from and where the cut plants will not affect the overall look. If you’d like your apothecary garden to visually resemble the monks’ apothecary gardens of yore, choose some Medieval-style design elements such as stone or wattle borders, geometric (often rectangular) beds, and symmetrical plantings.
No matter how you include the herbs, grow enough to harvest each year to stock your home apothecary, and leave enough behind to grow them again in future years.
What to Plant
There are thousands of healing plants out there that you could choose for your apothecary garden, and this list is just a small sampling. I chose this collection because they are diverse in their uses, safe for most people to use, easy to grow in many climates, and sun-loving. This list is meant to give you a starting point that you can build on as you find more herbs that bring a sense of healing to you personally.
Oregano (Origanum vulgare)
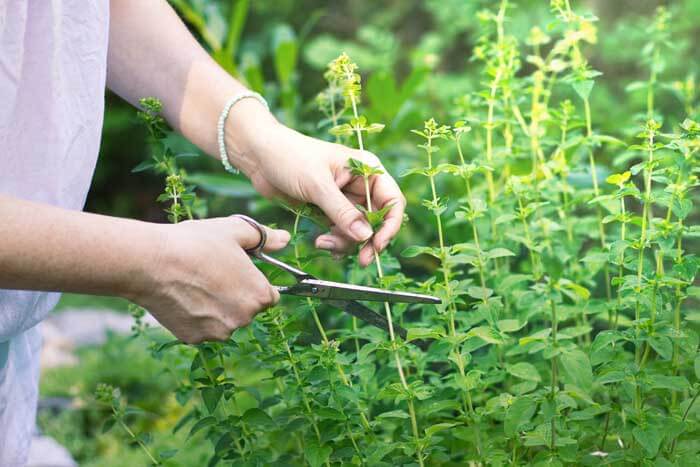
Oregano’s antiseptic properties make it great at combating germs, which is why it was used in the Middle Ages to protect against the Black Plague. Oregano is also high in antioxidants, aids in digestion, helps to soothe a sore throat, and tastes delicious added when to savory dishes. It is especially popular in Italian cooking. Add it generously to your recipes during cold and flu season for a wellness boost. Oregano is often potted because it tends to spread in the garden. Potted herbs of all kinds grow beautifully in Black Gold® Natural & Organic Potting Soil and Flower and Vegetable Soil, which are both OMRI Listed® for organic gardening.
Sage (Salvia officinalis)
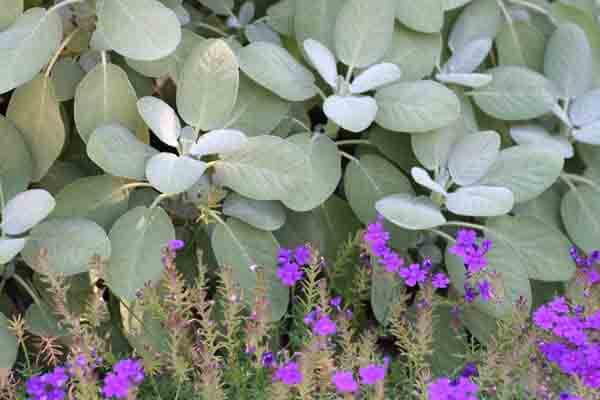
Sage is a powerful anti-inflammatory that can ease upset stomachs and sore throats. It’s often used in all-natural, commercially produced lozenges. At home, you can soothe a sore throat by sipping sage and honey tea or make up a batch of homemade sage throat lozenges to suck on when a bad cold hits.
Purple Coneflower (Echinacea purpurea)
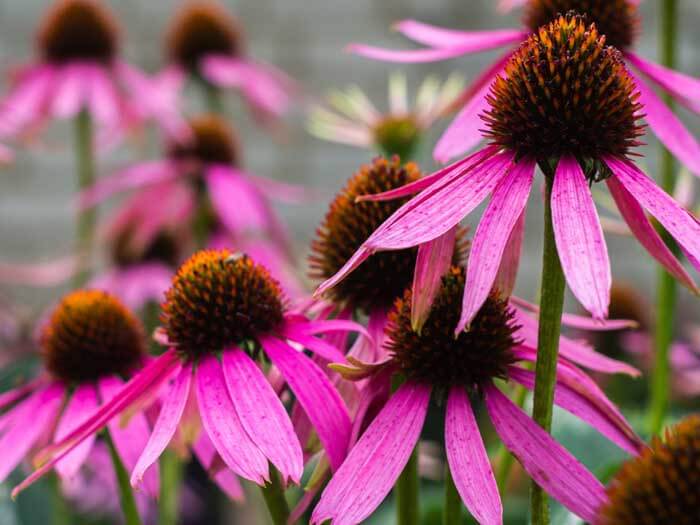
Echinacea is a well-known herbal remedy used to help prevent and relieve symptoms of the common cold. Use the roots and flowers to make an echinacea tincture that can boost immunity and help to speed up healing from cold and flu symptoms.
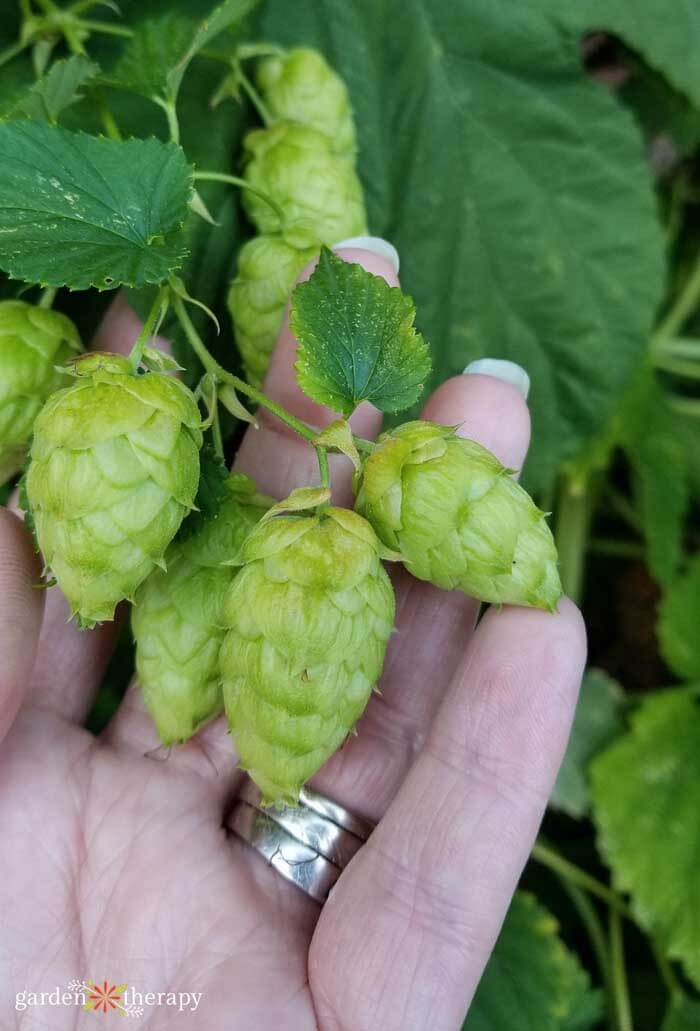
Hops (Humulus lupulus)
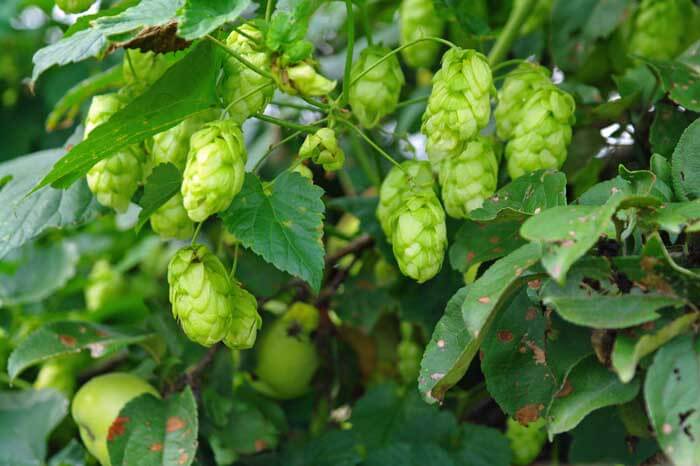
Hops are more than just beer ingredients! It contains a mild sedative that can work wonders for those suffering from insomnia. Add it to your bedtime herbal tea blend or sew it into sweet dream sachets to tuck into your pillowcase for a restful slumber.
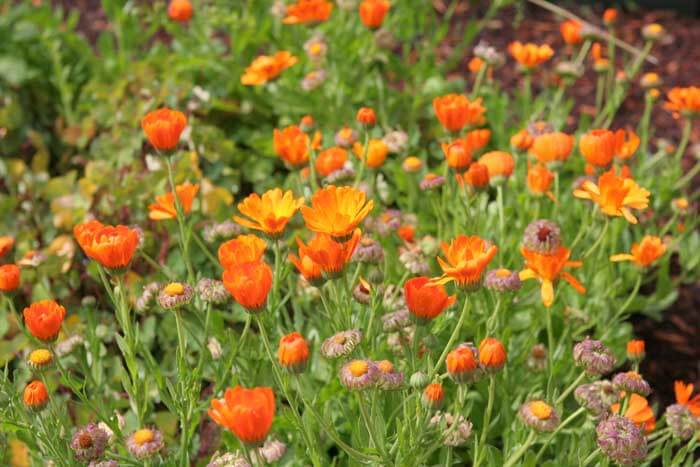
Pot Marigold (Calendula officinalis)
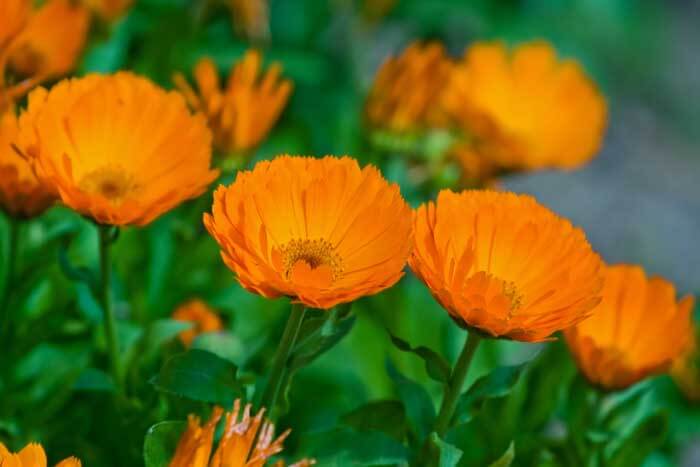
Calendula has been used for thousands of years to speed the healing of minor cuts, bruises, and scrapes, and to reduce inflammation of all kinds. It is very gentle and can be made into a wonderful multi-purpose salve that is generally considered safe for adults, children, and pets.
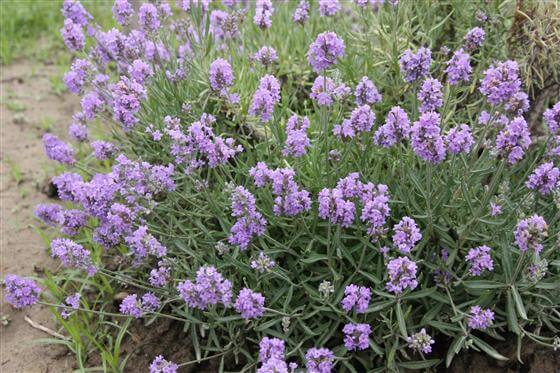
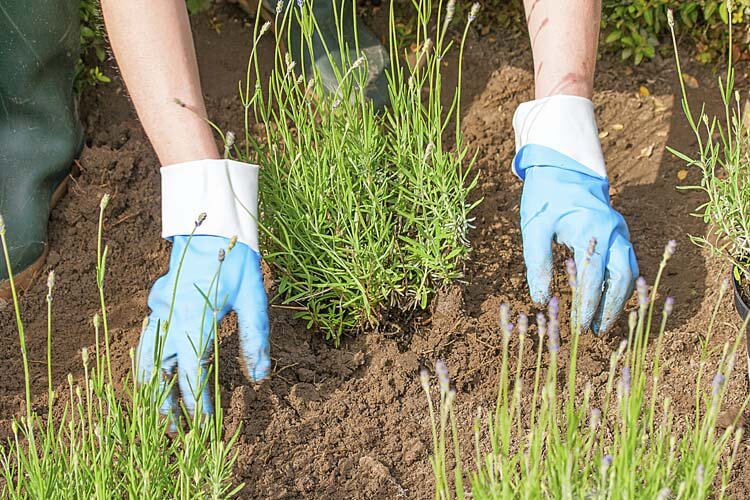
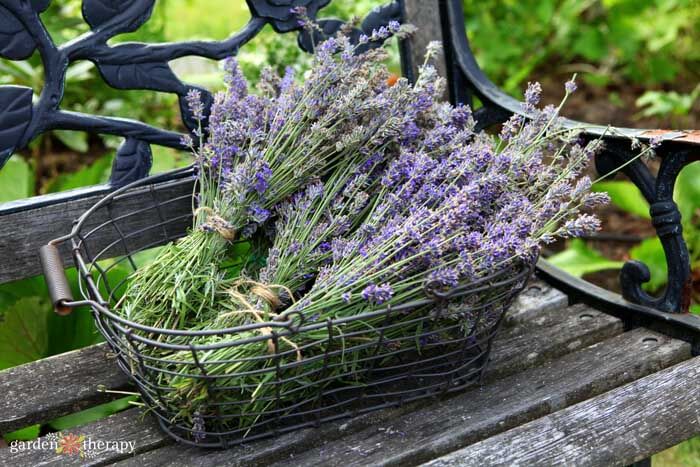
English Lavender (Lavandula angustifolia)

Lavender is one of the most popular scents in aromatherapy because it smells divine and is purported to promote relaxation, reduce anxiety, and help with insomnia. Add some dried lavender buds to herbal teas to drink before bed, make a lavender eye pillow for relaxation, or add lavender to bath salts for a soothing soak.
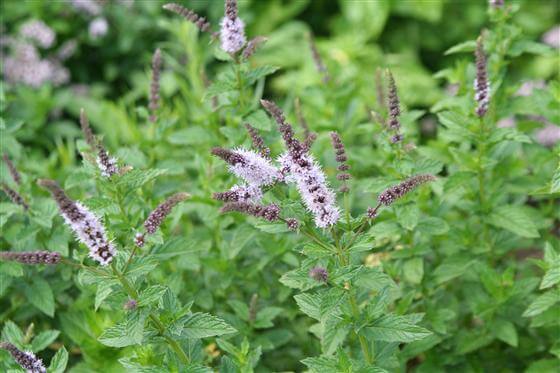
Mint (Mentha spp.)
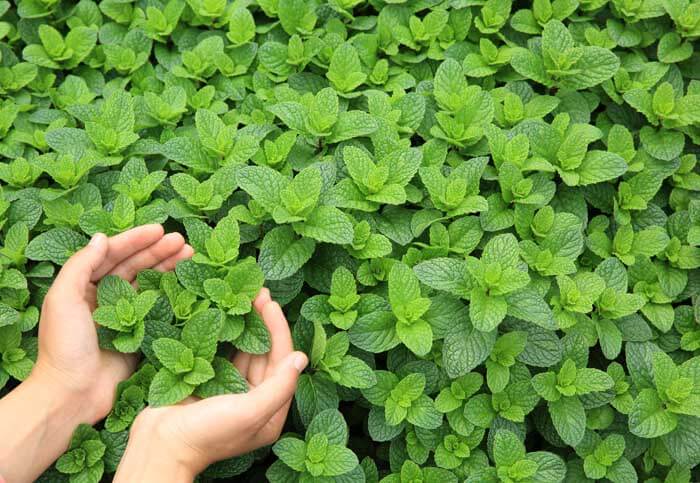
Mint is a gentle and safe painkiller to have on hand all the time. Mint tea can help to relieve sore throats and aids in digestion. It can also be used to make a bath soak for achy muscles or sore feet. Whether you are using it for tub tea or a cuppa, you can use fresh or dried mint leaves interchangeably to enjoy the herbal benefits.
Stocking Your Apothecary
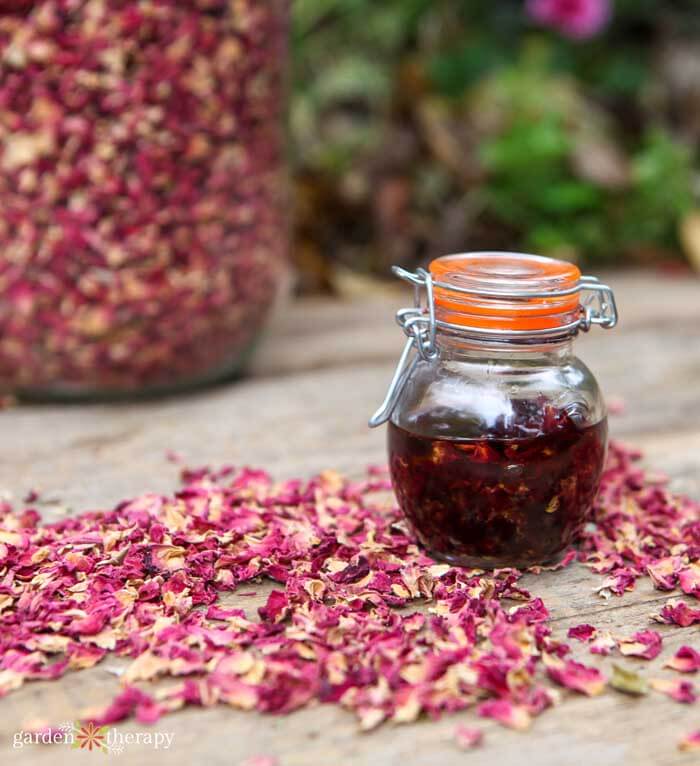
Once your garden is growing and producing herbs and flowers, you will be able to harvest and store the healing plants in your very own home apothecary for use throughout the year. Devote a whole pantry or just a single shelf to this purpose, saving just enough for what you will need for the year, and replenishing the dried herbs the following growing season.
Harvest the herbs at their peak of freshness. Grow them in your garden organically and be sure to pick leaves, stems, and flowers that are unaffected by disease or pest problems. Dry the herbs in a cool, dry location and store them in airtight glass jars. With these simple actions, your personal apothecary will be there for you and your family when viruses and minor ailments pop up.