
Lavender (Lavandula spp.) is a wonderful addition to any garden because it can be used as a culinary herb, a fragrant cut flower, a crafting material, or a natural-beauty ingredient. It even feeds bees! With lavender, the possibilities are endless. There are so many interesting species and varieties to try that it’s worth starting some of your lavenders by seed to get a large number of unique cultivars for the price of the seed packets, planting mix, pots, and a little time.
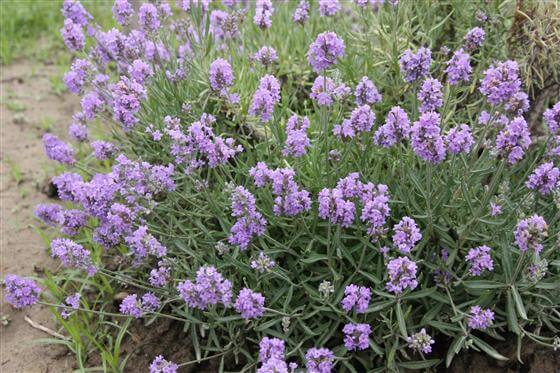
Lavenders are short-lived shrubby perennials, so be sure to propagate a selection of plants to replace those that have become too woody or that have succumbed to winter freeze. Then tuck the newer plants in between the older ones so they can eventually fill in space. Lavenders are such attractive, low maintenance landscaping plants when planted in swaths or hedges, and growing them from seeds makes this a much more economical endeavor.
 For many years I was told that lavender was better propagated from cuttings, so I avoided seeding my own plants. When they started seeding themselves around my garden, I called hogwash on that theory and picked up some different seed varieties to try. As with all perennials, they can take a bit longer to germinate and be ready for transplant. Start them in late winter, under lights, and on heat, and you should get fair-sized transplants by the beginning of the summer. And in my experience, a neat and tidy lavender plant from seed is a great way to start. I love the way lavender plants grow delicate new stems from seed that set the tone and shape for the plant.
Another common complaint is that lavender seed doesn’t grow true-to-variety from collected seed and some purchased seed, resulting in plants with varying heights, sizes, and colors. Certainly, if you are looking for exact replicas of varieties this could be frustrating, but in most cases, it would be more of a landscape feature to have slight variations in a planting. In any case, seed companies work tirelessly to ensure that their seeds will grow uniformly, so when in doubt, be sure to check your seed source for any warnings about a variety.
Is Cold Stratification Necessary?
Cold stratification is a process required for some seeds. After sowing, a cold period and then a warm period is required to break dormancy and allow germination. Some gardeners suggest cold-stratifying lavender seeds by placing them in moist soil in a cold greenhouse or refrigerator for two to seven weeks before moving them onto heat. If you are having difficulties in germination, you could consider this option, but I have had great success with germination by simply planting the seeds in trays and placing them on heat mats. The key seems to be to use the freshest seeds possible from a trusted seed supplier.
Now that is all out of the way, let’s start some lavender from seed, shall we?
Sowing Lavender Seeds Indoors
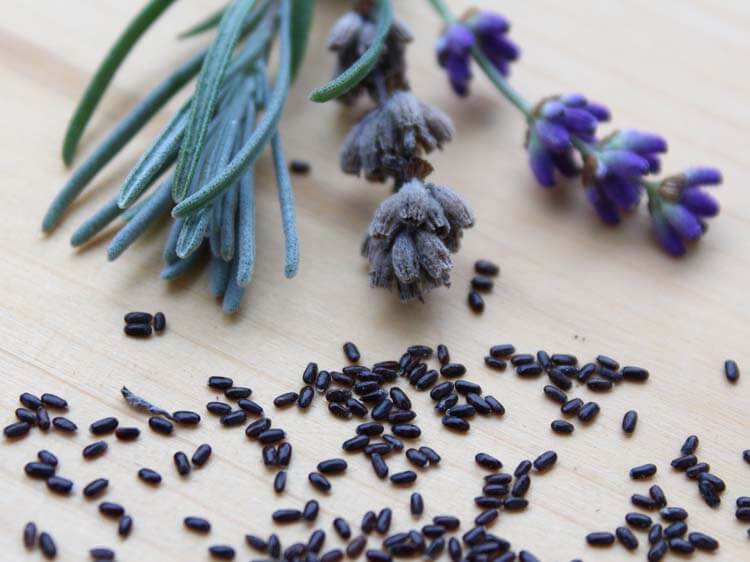
Always choose a sterile soil mix intended for seed starting. Black Gold®Seedling Mix is OMRI Listed® for organic gardening and is fine and easy to wet. Moisten the soil with a little water, and then fill a seed-starting tray with the damp soil mix. Sow lavender seeds on top of the soil and do not cover them. Add a clear dome greenhouse lid to the seed-starting tray to prevent drying out. Be sure that the lid has ventilation holes, and lift it once or twice a day to refresh the air.
Watering
Keep the soil lightly damp. Use a mister bottle to water as opposed to pouring water over the seeds. You can also bottom water pots and allow the soil to wick the moisture to the seeds. Mist often and check the soil regularly. Once your seeds have begun to sprout, continue bottom watering to keep the soil moderately damp, never wet.
Give Them Light
In order to germinate properly, lavender seeds will need a bit more than just natural light. There is much debate on whether or not expensive grow lights, with a high light spectrum, are needed for indoor seed starting, but I have always found that it’s not the cost of the bulbs that make the difference, but the distance away from the seedlings. Use adjustable chains to hang the grow light and position it as close to the seedlings as possible. As the seedlings grow, raise the light to be an inch above the tops of the seedlings. Light that is too far away doesn’t have the intensity to signal healthy growth and causes seedlings to become leggy.
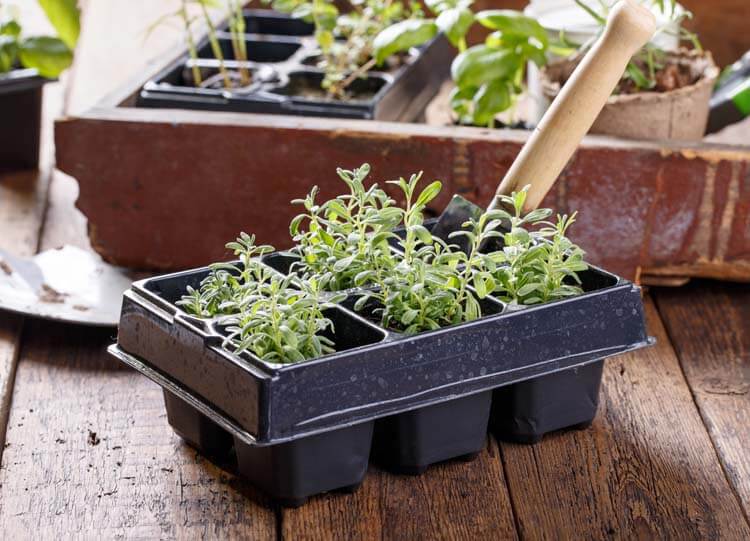
Transplant the Seedlings
After six to eight weeks of growth, transplant the seedlings into indoor pots and let them continue growing until they are ready to move out to the greenhouse or garden.
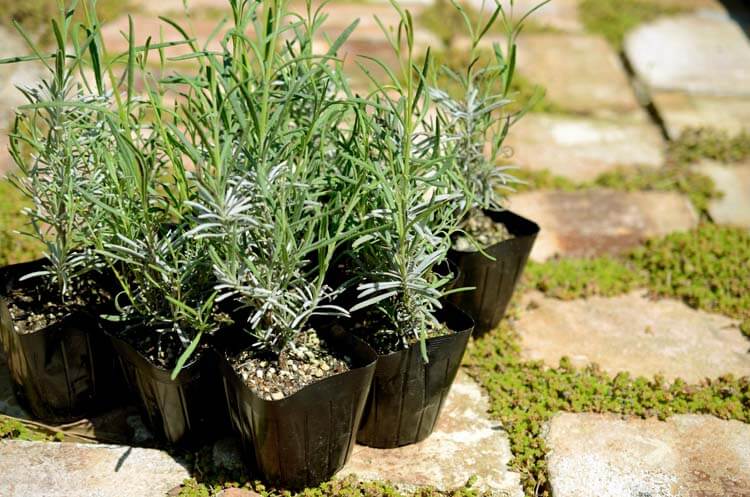
Harden Off
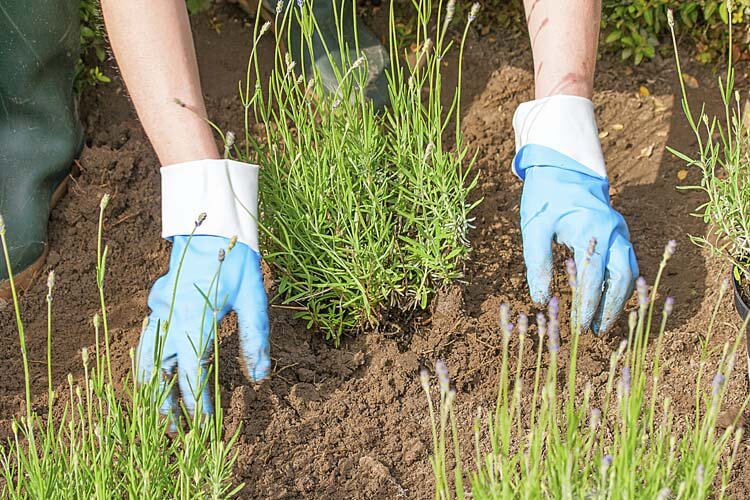
When you have passed the last day of frost in your gardening zone, it’s time to move the seedlings outdoors. To reduce shock and acclimate them to a sunny, outdoor environment, bring the lavender plants outside in their pots for a few hours a day, starting with one hour and increasing to a full day over the course of a week. This gradual introduction to the outdoor climate is called “hardening off.” After a week of hardening off, your lavender plants are ready to be transplanted into the garden. Choose an area that gets full sun and has porous, well-drained soil. Lavender can grow in poorer soils but appreciate organic matter. Amending the planting soil with OMRI Listed® Black Gold® Garden Compost Blend will increase organic matter and drainage.
Harvesting Lavender
Once your plants have established themselves in the garden and start blooming, you will probably want to harvest some lavender to use in crafts, natural beauty recipes, and more.
I personally like to harvest some lavender for myself and leave some for the bees to enjoy. The best time to harvest your lavender is when the buds have formed but have not yet opened. Buds harvested at this stage will retain their color and fragrance much better than open flowers, and once you have dried the lavender, buds will fall off the stem easily so that you can collect and store them. Using sharp bypass pruners, cut your lavender stems leaving at least two sets of leaves on the green stem of the plant. If you cut past the green growth into the woody stem, it will not regrow.
Collect your lavender stems into a bundle and tie it together with twine. Hang the bundles in a warm spot away from direct sunlight and let them dry out completely.