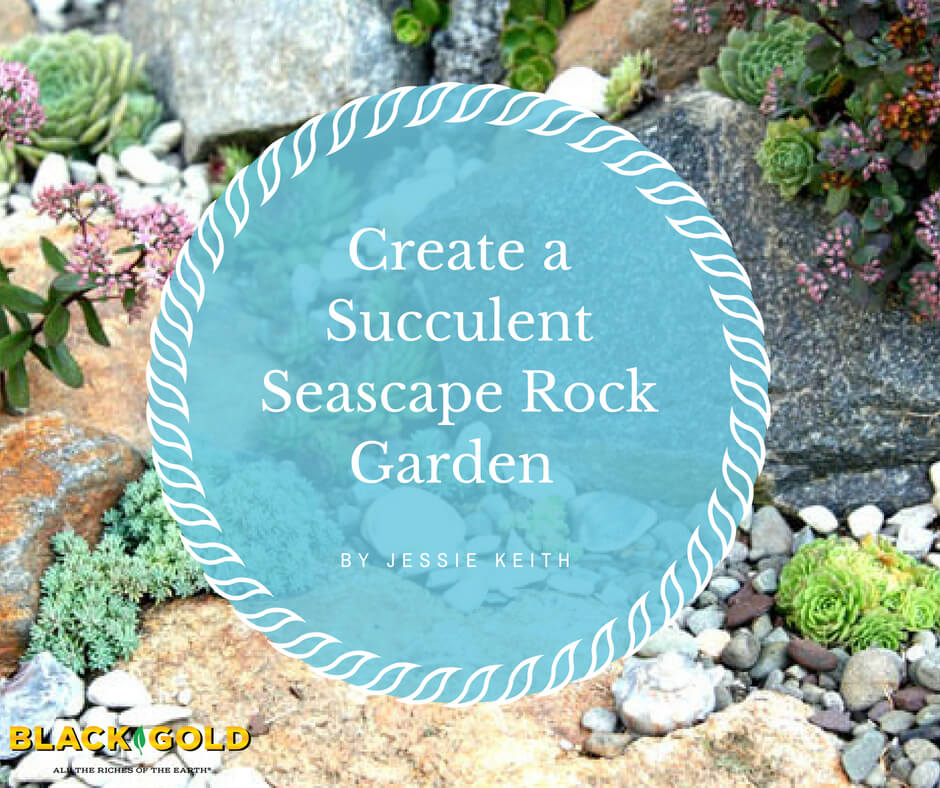
Well-chosen and placed succulents in picturesque rock gardens can have an underwater, seafloor appeal. The design key is selecting various dryland treasures with anemone-, coral-, and urchin-like forms and textures in shades of blue green, silver, gold and red. When arranged against a setting of bold rocks, lined with a ripple of pebbles and seashells, the effect is cool and inviting.
I created such a garden at my Delaware home to complement a stone and pebble patio being built along the south-facing wall of my 1920s Cape Cod house. The bed was constructed in four steps, and the plants were selected for their seascape appearance.
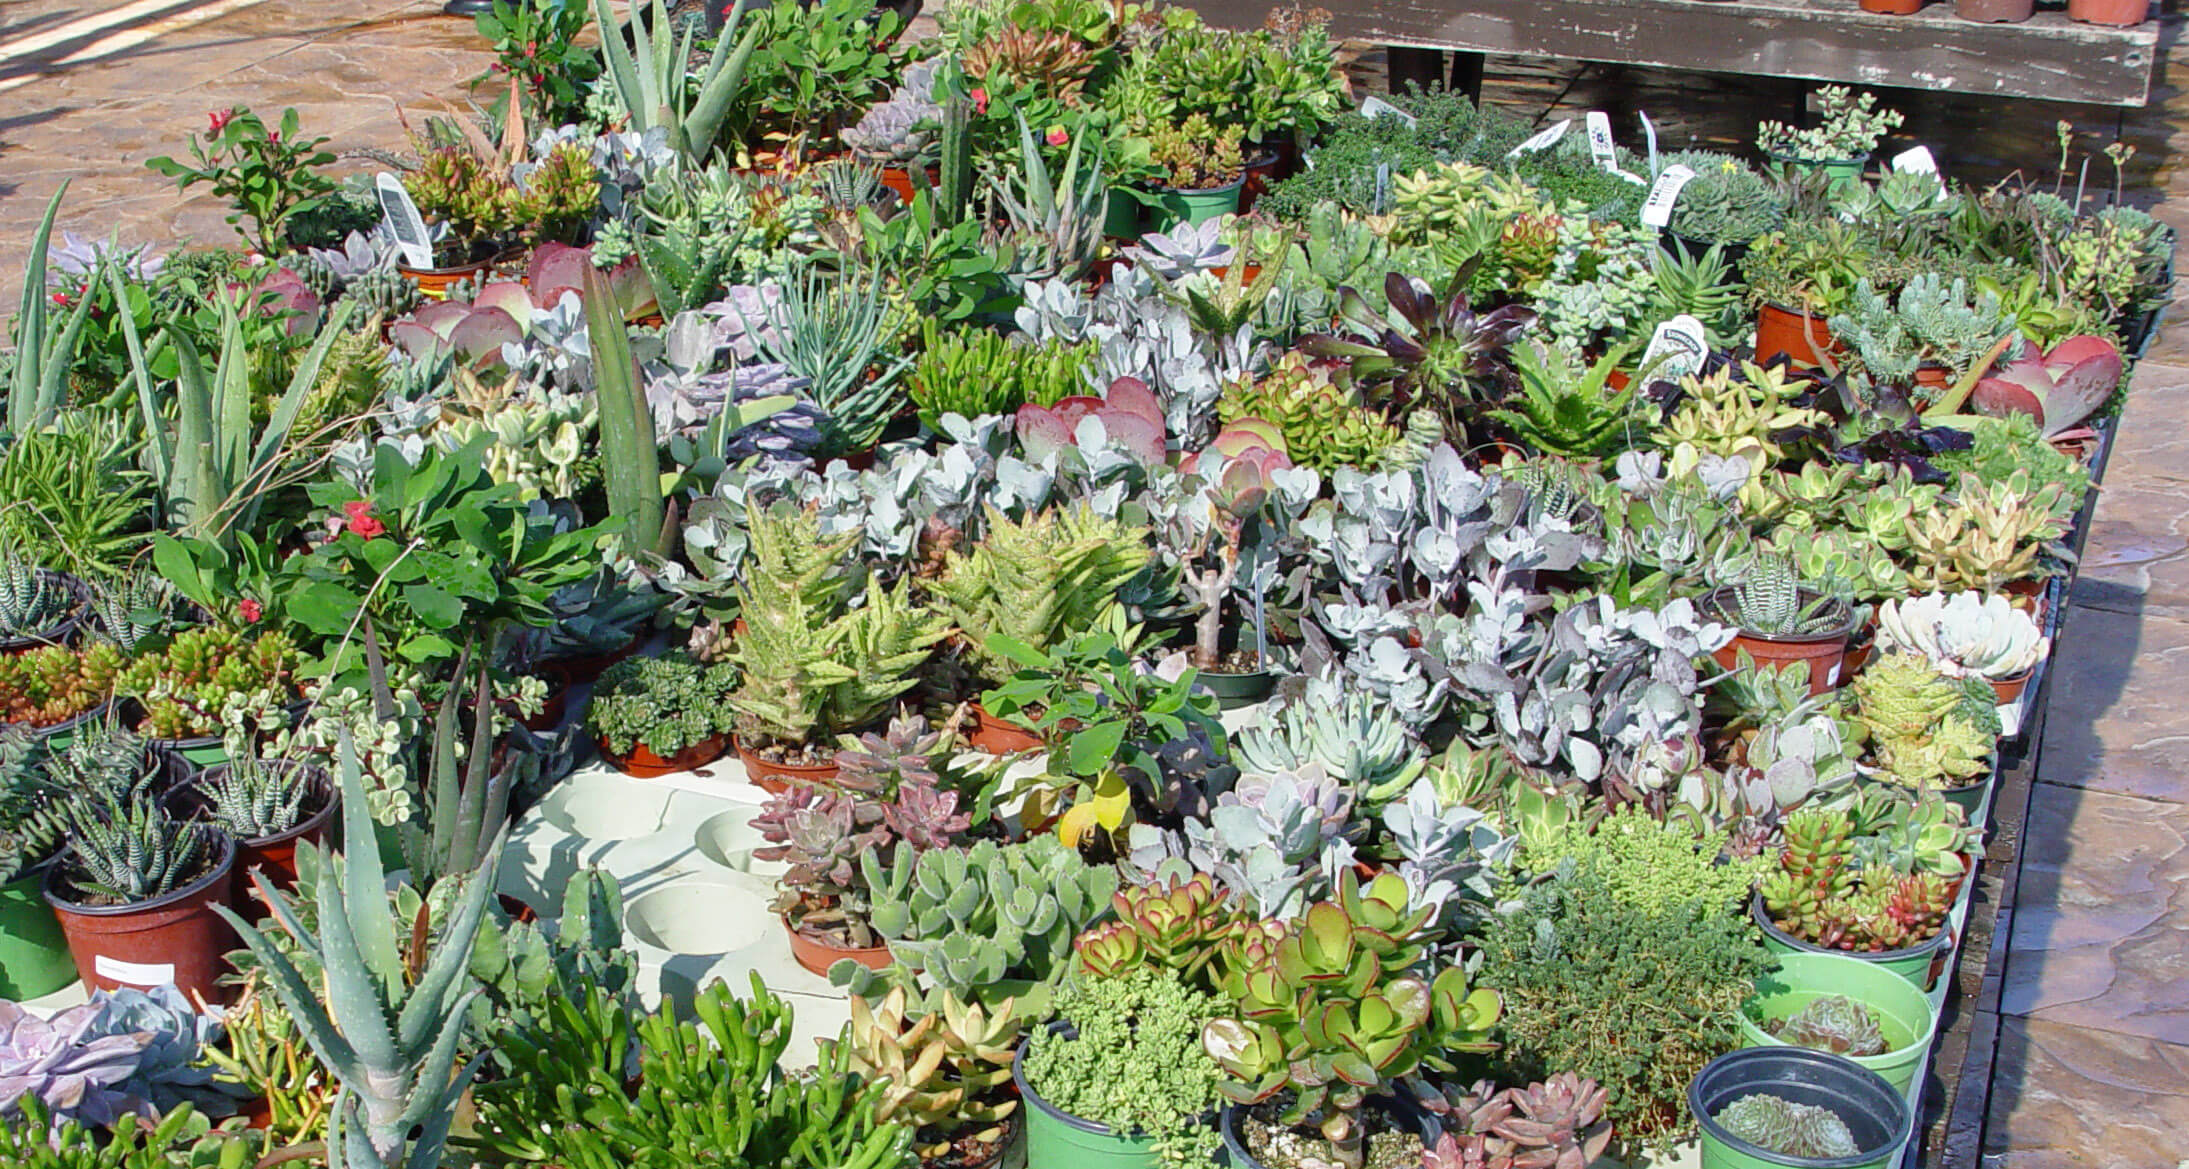
Most of the hardy succulents I chose for the project were purchased from the online nursery, Mountain Crest Gardens. Not only do they sell lots of hardy hens & chicks (Sempervivum spp.) and stonecrops (Sedum spp.), but they also offer hardy cacti (my favorite for spectacular spring flowers). And their succulents arrive thriving and ready to plant.
Rock Garden Materials
My rock garden required the following materials:
- Sharp spade
- Trowel
- Large plastic tub
- Thick garden gloves
- Large rocks (my garden is 4’ x 5’ and required 10 rocks)
- Black Gold Garden Compost Blend and Black Gold Cactus Mix to amend the garden’s soil
- Pebbles and shells for topdressing
- Slow-release fertilizer
- Succulents
Bed Design and Construction
- Sod and Soil Removal: The first step to preparing my garden was to remove the sod. Thankfully, my soil is high in organic matter, so removing the top layer of grass was relatively easy. I then skimmed a 2-inch layer of natural soil from the new bed layer to use as fill. I put the sod in a wheelbarrow for removal and the fill dirt in a plastic tub to keep the area tidy.
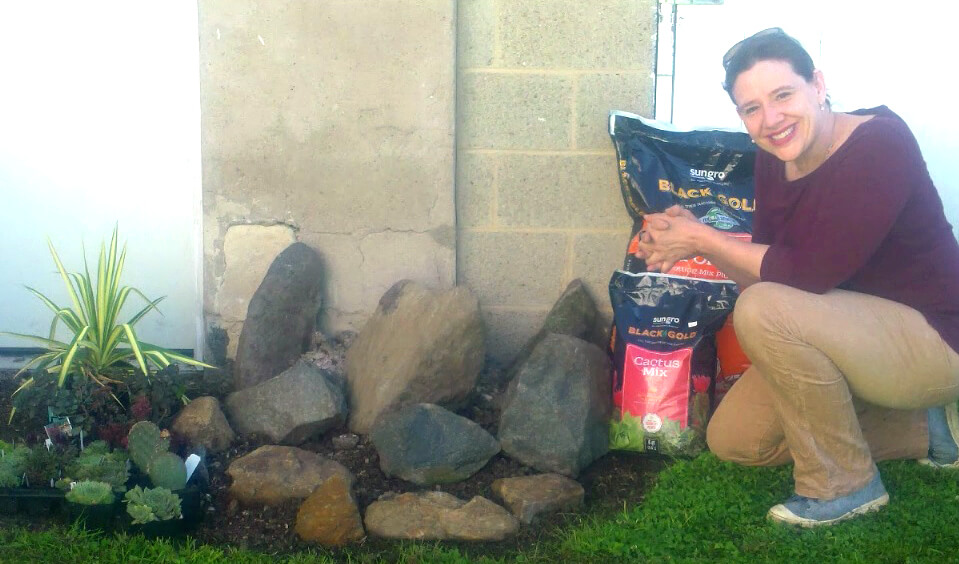
- Rock Placement: Then I placed my rocks. The natural dark grey and tan stones I chose are prevalent in my area, so they were a good fit for my yard. They also offered a pleasing color contrast to the plants and pebble. I set the largest rocks high against the concrete and stone base of my home for maximum visual appeal and gradually layered the smaller rocks down to patio level. I placed them close together at the top for a tight fit, so they would hold soil without erosion.
- Filling: Once my stones were in place, I mixed a liberal amount of Black Gold Cactus Mix and Garden Compost Blend into my fill. The final fill was pebbly and organic for excellent drainage and good water-holding ability. Then I filled in all the gaps between rocks, leaving enough space for my plantings.
- Plant Placement: Finally, I placed my plants, arranging them based on height, texture, and color, and prepared to plant.
Plant Materials
Aside from making sure that my plant selections would survive Delaware winters (USDA Hardiness Zone 7), I made sure they met a suite of aesthetic requirements. I chose a few taller textural plants, several cascading stonecrops, and other selections that were mounding and prickly. All are remarkably drought tolerant and tough, able to take the high heat and sun of the garden. My plant picks included:
– Hybrid Prickly Pear (Opuntia ‘Coombe’s Winter Glow’, Zones 5-10). This hardy cactus has smooth paddles that lack the large spines of most, but beware those small spines! It has spectacular magenta blooms in late spring, and its paddles turn shades of rosy purple in winter.
– Rosularia (Rosularia platyphylla, Zones 5-10): This spreading succulent looks like a tiny hens & chicks and creates a mat of sea-green rosettes.
– Hens & Chicks (Sempervivum ‘Bronco’, Zones 5-10): This large hens & chicks has red and green rosettes that turn rich red in winter.
– Hens & Chicks (Sempervivum ‘Thunder‘, Zones 5-10): The summer rosettes of this larger hens & chicks are grey-green tinted with lavender. In winter, they turn shades of deep lavender and rose.
– Cobweb Hens & Chicks (Sempervivum arachnoideum ‘Pittonii’, Zones 5-8): This small hens & chicks has cobwebbed gray-green rosettes edged in dark purple.
– Hens & Chicks (Sempervivum calcareum ‘Greenii’, Zones 5-10): The medium-sized, blue-green rosettes of this sedum have maroon tips.
– Tiny Buttons Stonecrop (Sedum hispanicum ‘Blue Carpet’, Zones 5-9): This low, spreading sedum has tiny buttons of blue-grey foliage.
– Hybrid Stonecrop (Sedum SUNSPARKLER® Dazzleberry, Zones 4-9): Purplish leaves and summer-long flowers of deep rose make this a winning sedum.
– Hybrid Stonecrop (Sedum SUNSPARKLER® Jade Tuffet, Zones 4-9): This small, upright sedum has slender, dark green leaves and summer-long pink flowers.
– Chinese Stonecrop (Sedum tetractinum ‘Coral Reef’, Zones 5-9): This pretty sedum has yellow spring flowers and bright green leaves that turn pinkish with age.
– Adam’s Needle (Yucca filamentosa ‘Color Guard’, Zones 5-10): The gold-striped leaves of this 18-inch yucca are bright and bold.
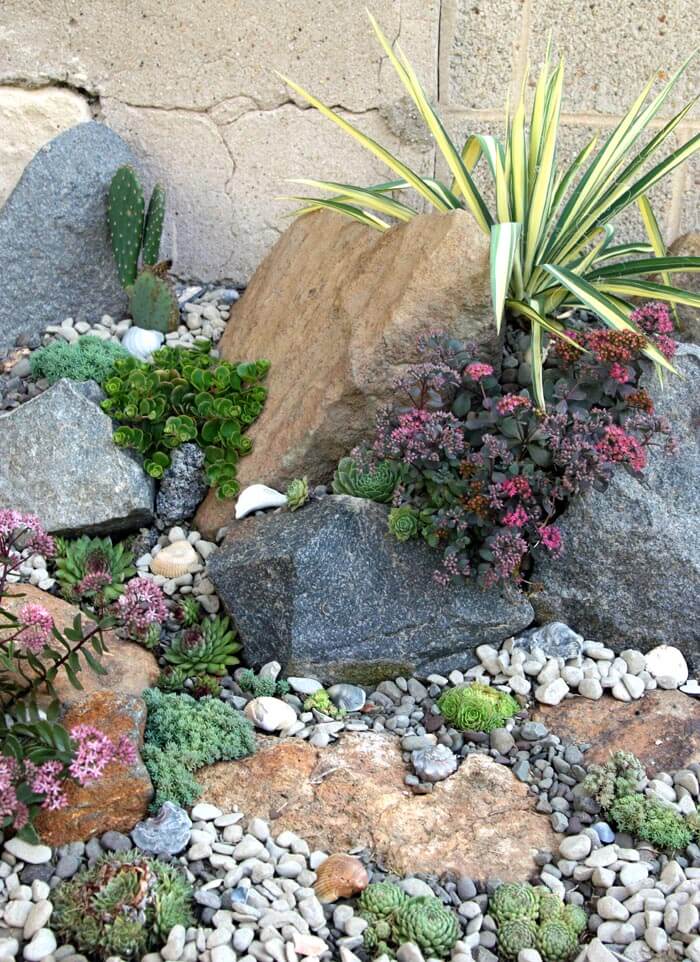
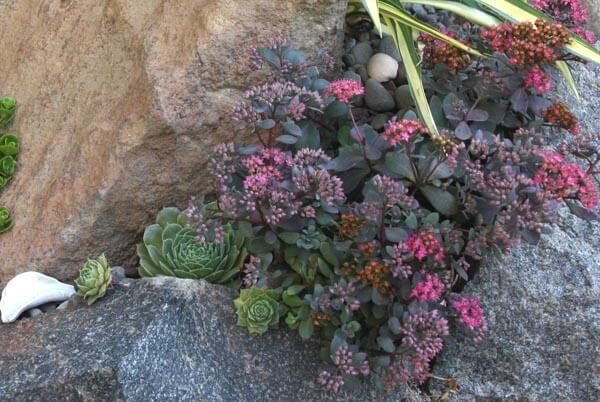
I put on my garden gloves and started planting the largest plants at the top, then moved down. During planting, I gently loosened the roots of any pot-bound plants, and dug a hole just big enough to ensure each plant’s roots were just at soil level. Then I sprinkled a small amount of slow-release fertilizer into each hole before planting. Once all of the plants were in the ground, I covered the soil with light pebbles and placed seashells here are there for a complete seascape look.
Garden Development
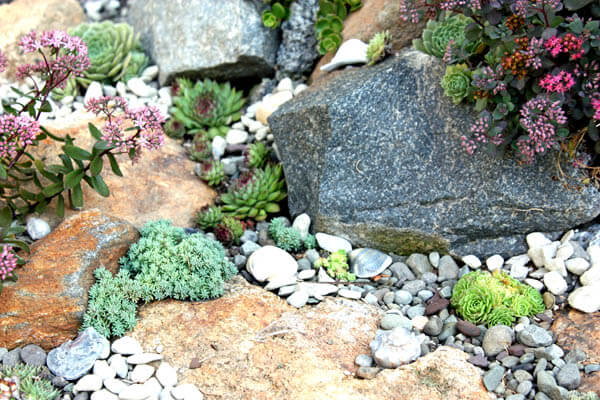
Within just a couple of months, my new garden started to take shape. The prickly pear put on new pads, the stonecrops and hens & chicks started to spread, and the SUNSPARKLERS began blooming beautifully. Come next summer, the full seascape effect should be in full sway, adding sunny, succulent interest to my new patio!