“What is the best for growing the juiciest plumpest fruits and veggies?” Dave from Springfield, Massachusetts
Answer: Give your fruits and vegetables the best care possible and make sure that you water and fertilize regularly. (Click here for a full vegetable garden growing guide.) It sounds obvious, but limiting environmental and physical stresses as well as those from pests and diseases will also ensure good production and well-developed fruits and vegetables. Uninhibited plants invest their energy into good growth and fruit development rather than self-protection. Happy plants produce happy fruits. Also, be sure to choose fertilizers that encourage flower and fruit development. (Click here for a full article about vegetable garden fertilization from Colorado State University.)
Variety selection is also an important consideration. Some vegetable and fruit varieties are plumper and juicier than others, so make sure that you choose those that are described as being large, juicy, and flavorful. For example, go for big beefsteak tomatoes rather than standard tomatoes, and choose extra blocky pepper varieties rather than thinner-walled types. (Click here to learn more about growing prize beefsteak tomatoes.)
One more tip: Refrain from overwatering when fruits are nearly ripe. Excess water late in the fruiting stage can cause fruit splitting and water down the flavor. This is especially the case with tomatoes and melons.
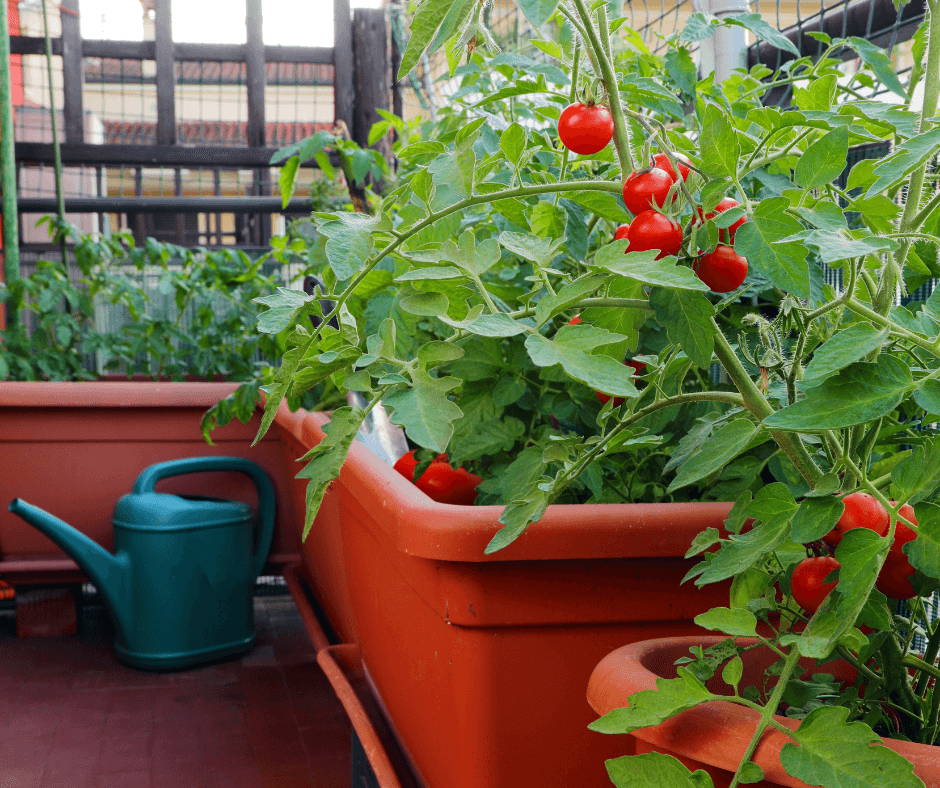
Large pots and vertical gardens allow one to grow more in a small space.
Vegetable gardening is on the rise. Gardeners of all experience levels and backgrounds are growing their own food, whether they live in urban environments or spacious suburbs and countrysides. Those living where space is limited have extra challenges, which means that they must garden differently to produce enough food to enjoy all season. Here are some of the ways that we have used to grow fresh food where space and sunshine are at a premium.
Plant in Spacious Pots
Spacious, deep containers let gardeners grow more in small spaces, like this balcony garden.
If you have a sunny balcony or patio with just enough space for a couple of pots, choose the largest, deepest pots that will fill the space. Large containers (22 to 24 inches minimum) Let gardeners grow more produce, and they have deeper reservoirs for soil and water to encourage more root growth and reduce the need to water as often. The pots must have good drainage and be filled with a quality mix, such as Black Gold® Natural and Organic Raised Bed & Potting Mix. A couple of large pots, or one long, deep raised pot, will be vastly more productive than several smaller ones, so go big! (Click here for more tips on growing potted vegetables.)
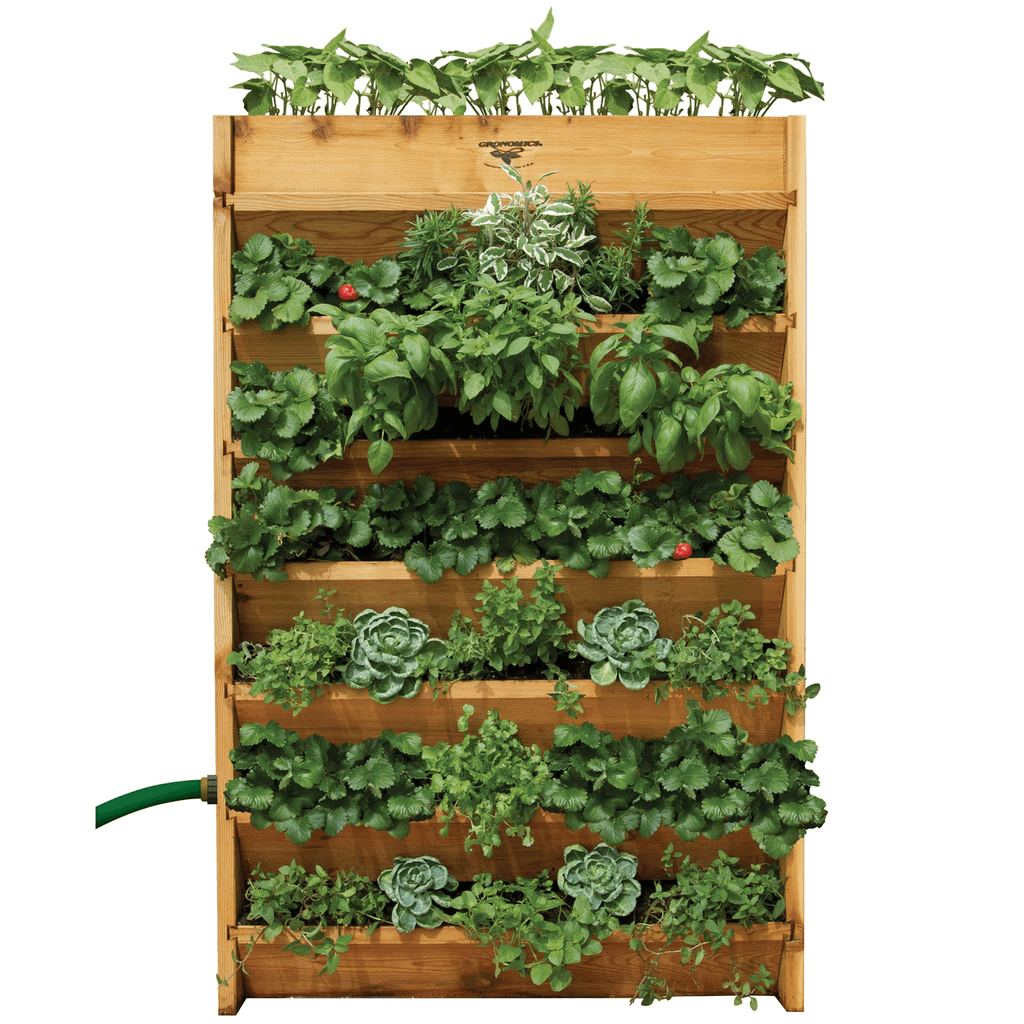
Garden Vertically
Some vertical gardening systems, like the Gronomics Cedar Vertical Planter, are very sturdy and made to last.
Gardeners with a little more space, like a small, sunny rear patio or yard, should consider growing one or more vertical gardens. Clever vertical planters are being designed to allow lots of vegetables to be grown in a small space. There are also plenty of DIY vertical garden designs to consider if you are the creative type. Whether you choose a premade product or go for a less expensive make-your-own vertical garden, make sure that the design allows for easy irrigation, holds enough soil for plants to grow well, and will last for a long time.
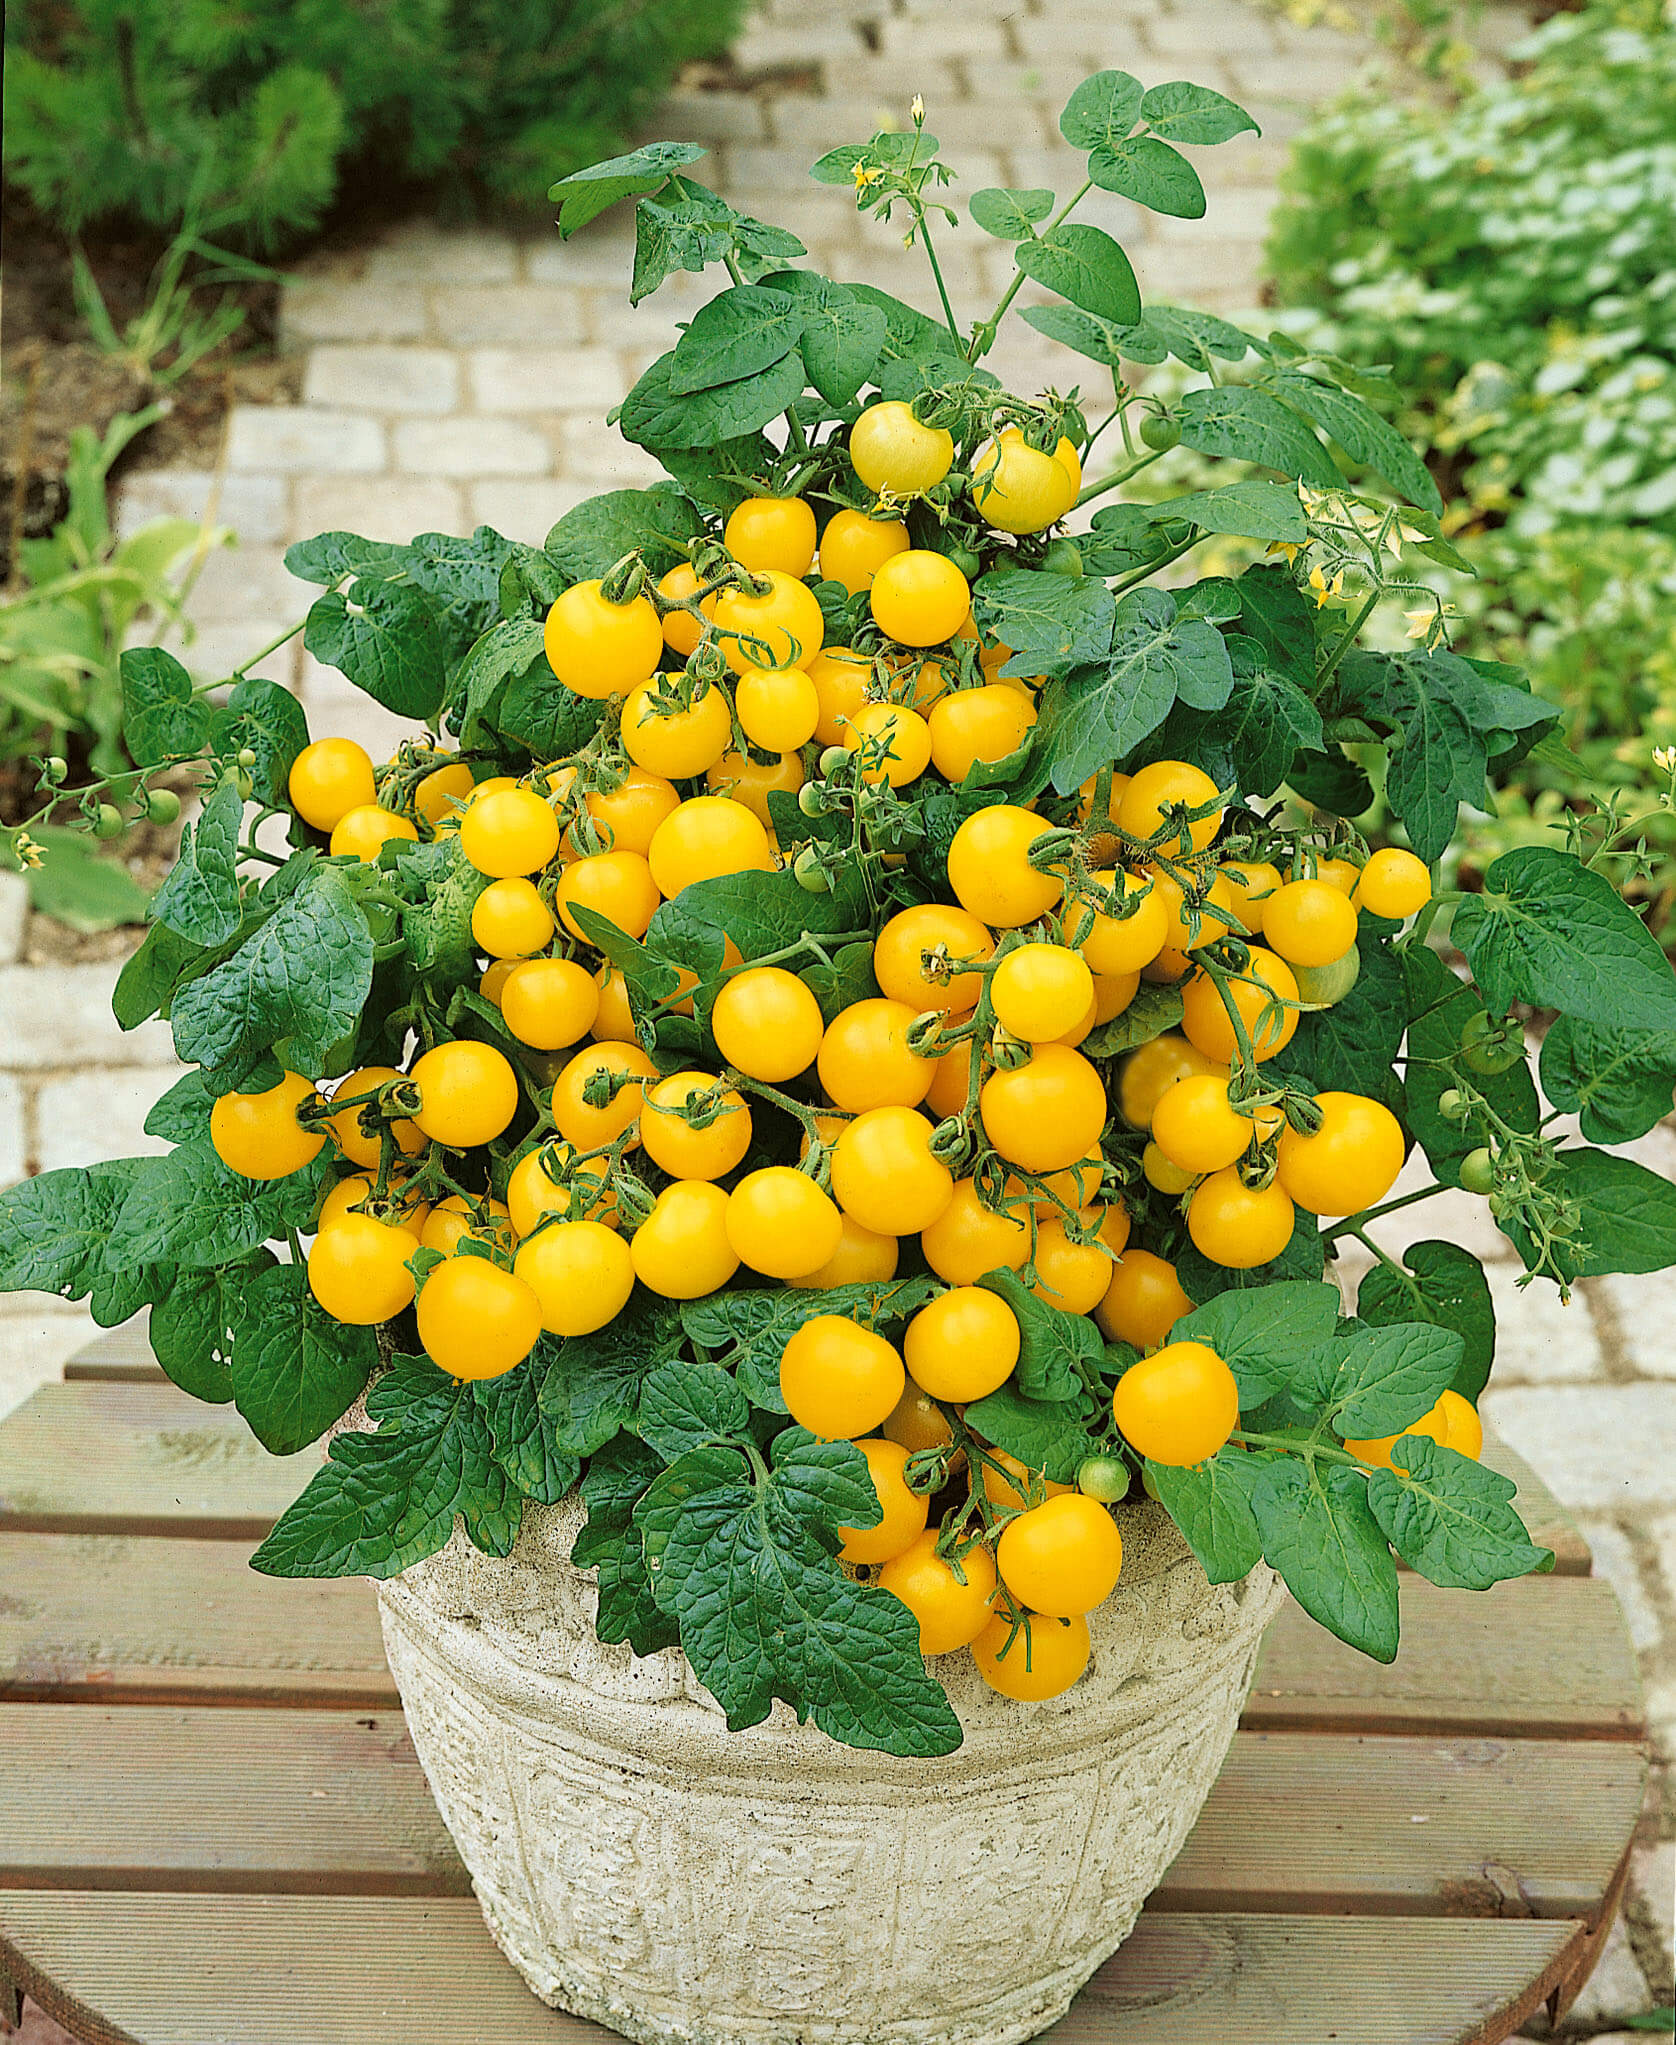
Tempting Tomatoes® Patio Sunshine is a true dwarf cherry tomato that’s perfect for pots and hanging baskets. (Image by Proven Winners®)
Smaller vegetables and fruits are made for container growing, so choose varieties better suited to pot culture. This includes non-vining bush tomatoes, such as ‘Mountain Merit‘ and ‘Celebrity‘, both AAS winners. The tiny, cute cherry tomato Tempting Tomatoes® Patio Sunshine is another excellent choice. These are just a few of the many quality little tomatoes available. Tiny bush basils are fun to grow at the base of potted tomatoes. Windowbox Mini from Renee’s Garden Seeds is a superior little basil that’s very easy to start from seed.
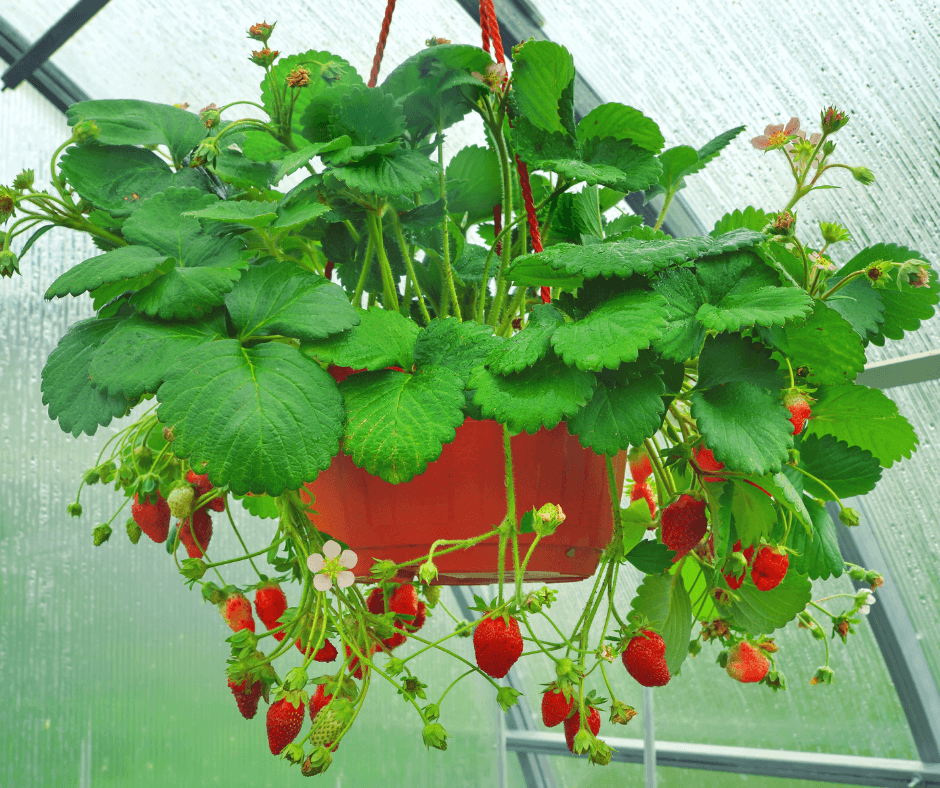
There are plenty of other compact bush vegetables, such as ‘Bush Pickle‘ cucumber, the little butternut ‘Butterbush‘, and compact zucchini ‘Fordhook‘. If you like melons, the compact ‘Minnesota Midget‘ cantaloupe and short-vined watermelon ‘Bush Sugar Baby‘ both grow well sprawling from a large pot. Strawberries of all types are great for pots. The beautiful Berried Treasure® strawberries, with their double pink, red, or white blossoms, also yield delicious sweet berries through summer.
Strawberries grow beautifully in hanging baskets and are easy to harvest from them.
Some vegetables and fruits grow beautifully in large hanging baskets. As with the pots, go big to minimize watering and maximize performance. The best vegetables for hanging are cascaders, such as compact tomatoes, strawberries, dwarf cucumbers, and peppers. The new, compact Pot-a-Peño jalapeño pepper is ideal for hanging baskets. This variety is also a 2021 AAS award winner, so it is sure to perform well.
Rotate Potted Vegetables
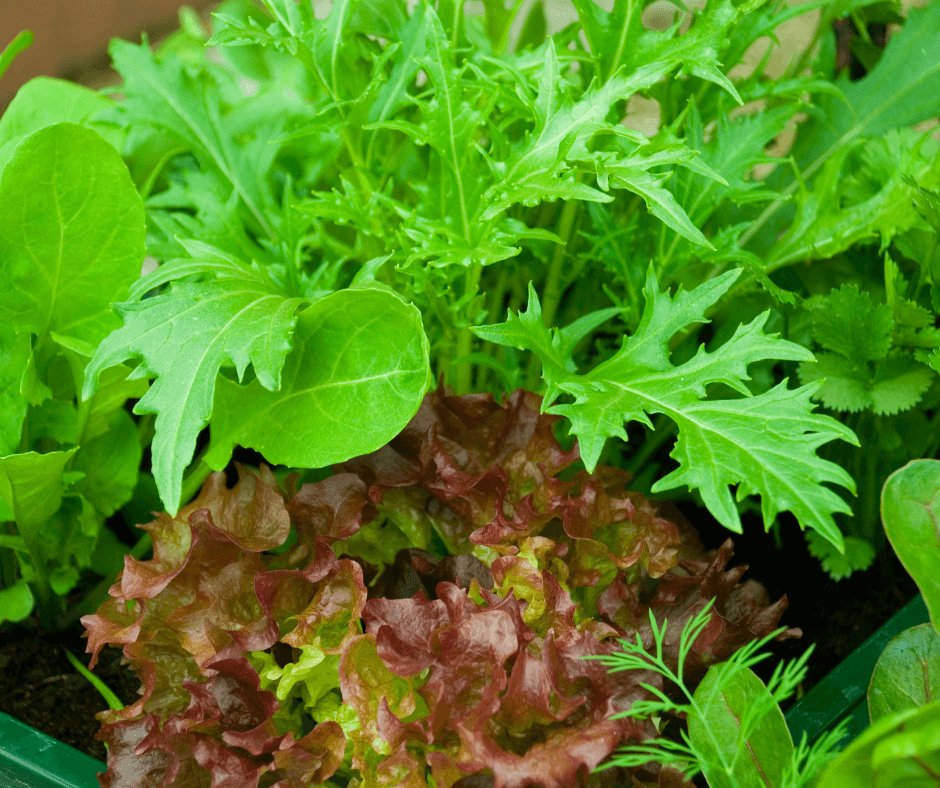
Potted greens and spring herbs are great cool-season potted edibles to start the season with.
Vegetable gardening is a dynamic process. Gardeners have to shift from cool-season spring vegetables to warm-season summer vegetables back to cool-weather crops. In between, smart gardeners rotate their crops to continue the harvest and encourage garden health. Plan to harvest and plant, harvest and plant until fall to boost your garden’s yields and diversity of crops. Seasonal planting and rotation keep soil diseases and pests from taking hold. (Click here to learn more about rotating vegetables.)
Maintain to Maximize Production
Place containers and gardens where they get maximum sunlight. Eight hours a day or more is recommended. Start with great soil that holds water well, has ample air space, and drains well. Black Gold®Natural & Organic Potting Mix is ideal for growing all types of vegetables in containers and it is OMRI Listed® for organic gardening. It’s wise to add a little Black Gold Earthworm Castings Blend 0.8-0.0-0.0, which is rich in nitrogen, to pots with greens and herbs. Change a pot’s soil every two to three years because peat-based potting mixes break down, lose structure, and acidify over time.
Fertilize regularly to encourage the best growth and production. Lots of vegetables are “heavy feeders”, which means they deplete nutrients from the soil fast. Apply a slow-release fertilizer formulated for vegetable gardening at the start of the season. For heavy feeders, like tomatoes, follow up with applications of a water-soluble fertilizer formulated for vegetables. This is especially important to do just before the fruits develop.
Lack of water is the main cause of container vegetable failure. During the hottest days of summer, daily water will likely be needed, especially if your pots are in the full, hot sun. At watering time, water until its starts to run out of the pot drain holes. This indicates that the container is saturated. Thorough watering encourages deeper root development and stronger, more stable plants.
If your time is limited, consider investing in drip irrigation for pots. It also helps to add an extra layer of porous organic mulch to keep surface water from evaporating. Leaf mulch, straw, or grass clippings are all great options for pots that break down quickly while providing a little extra protection. (Click here to read about the 8 best watering strategies for plants.)
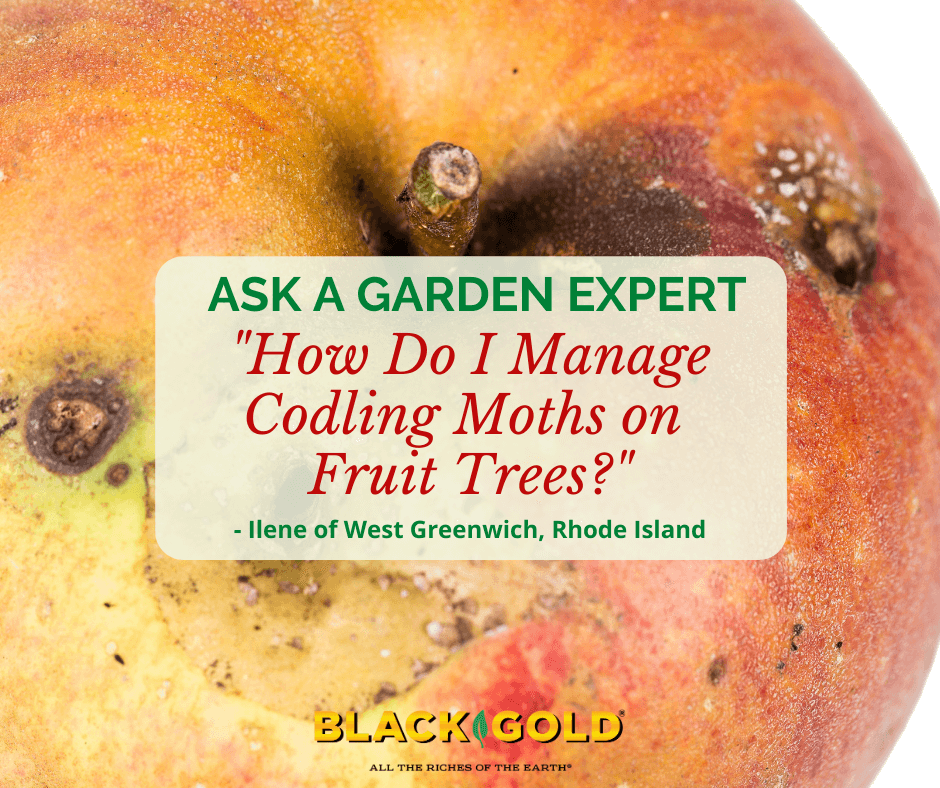
“I have a Liberty apple tree and a peach tree within 20 ft of each other and every year fruit tries to grow but what I believe is the coddling moth destroy it all. Do you have an effective solution? Sprays have not helped.” Question from Ilene of West Greenwich, Rhode Island
Answer: It is likely that you are dealing with European apple codling moths (Cydia pomonella) and Asian peach moths (Grapholita molesta). Both exist in Rhode Island, look similar, and cause comparable damage, but one prefers peaches, and the other chooses apples. Here are three suggestions for overcoming these pests in your home orchard.
Know Your Pests
European apple codling moths (Cydia pomonella) are 1 cm, greyish brown, and have curved antennae. Their wings fold into a tent-like shape.
The codling moth is small and mottled with greyish-brown. Its wings fold in a tent-like manner, and it reaches about 1 cm in length. You will see them most often in the orchard from late May to mid-July. (Click here to learn more.) The Asian peach moth is smaller, mottled, gray, and measures about 1/4 inch (5 mm). The wings have mottled light and dark banding and also fold in a tent-like manner. The first adults of the season appear from mid- to late-May. Subsequent generations appear from June through to mid-July. (Click here for more information.)
Keep Orchards and Trees Clean
In fall, remove all spoiled, fallen fruits that may harbor moths, bag them, and dispose of them away from your orchard. Look for the codling moth’s brownish moth pupae in winter, which can be found in protected spots near where apples are stored and in tree bark. The moths emerge in mid-spring ready to attack fruits.
I also recommend cleaning and disposing of all fallen fruit-tree leaves to reduce the prevalence of any potential fungal diseases that overwinter on dried foliage.
Time Your Spraying
Time your spraying with precision to stop these pests. A good time to first spray trees is in spring a week after they have dropped all of their petals. This should help tackle the first wave of both codling moths and Asian peach moths. The second time to spray is when the fruits are developing. Codling moths lay single white eggs on the fruits and leaves. These can be manually removed from fruits. Neverspray trees when they are in flower. Otherwise, you will be killing all the essential pollinators, while not harming the moths.
I recommend two sprays for these pests: Codling moth virus and horticultural oil are approved for organic gardening, and will stop your apple moths, but frequent applications are needed. Organic insecticides with the beneficial bacterium Spinosad work well against both moths, but these sprays can only be applied several times in a season, so read the product instructions.
Use Sticky Traps
There are pheromone traps designed to just trap and kill these two pests. Set them up by mid to late May just before the first round of moths start flying. These should really help lower your populations and save you some fruit.
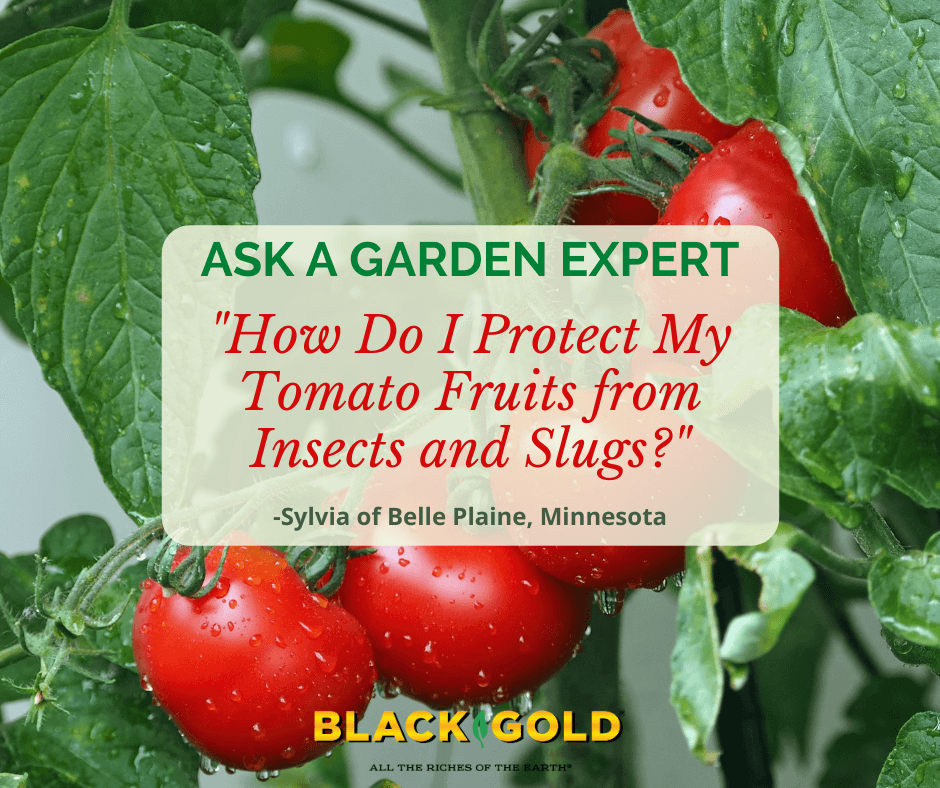
How Do I Protect My Tomato Fruits from Insects and Slugs?
“How can I keep bugs and slugs from destroying my tomato fruit? They totally decimated my crop this year leaving me nothing to can for the winter months.” Question from Sylvia of Belle Plaine, Minnesota
Answer: There are several things that you can do to ensure that insects and slugs don’t damage your tomatoes. Here are six methods.
Six Ways to Stop Pests From Eating Tomatoes
Clean your vegetable beds up completely in the fall, and till lightly in the spring. This will remove any overwintering pest eggs.
In the spring, apply a layer of quality compost as a surface mulch to stop weeds and create an open, weed-free layer to keep slugs away (slugs often hide in weeds).
Use tall tomato cages, and prune your tomatoes to keep developing fruits off of the ground and away from slugs and critters.
Apply diatomaceous earth at the base of your tomato plants to deter slugs. You can also use Sluggo, a good slug killer that is approved for organic gardening.
Plant your tomatoes in the full sun (8+ hours) at least 3-4 feet apart, leaving space between plants. This will discourage slugs, which cannot withstand the sun and avoid open ground.
Apply BT spray, which is also approved for organic gardening, if tomato hornworms or other caterpillars attack your plants and fruits.
“I live in Southwest Florida (Englewood, FL) to be exact. I bought 3 Pomegranate Wonderful trees and planted them about 3 years ago. They’re really not doing much of anything. They just exist. They refuse to flower, they barely have grown at all, and one just clings to life and is constantly yellow. I planted them with storebought soil at the base, and fertilize with 6-8-6. They are in almost full sun, get plenty of rain this time of year…but they just don’t do anything.” Question from Nikki of Port Charlotte, Florida
Answer: Pomegranates are Mediterranean and Middle Eastern fruits adapted to cooler winters and hot, dry summers. Florida is not their ideal climate. They need heat, dry weather, and rocky, well-drained soils. As horticulturist Maureen Gilmer wrote: “So long as the local climate is within the cold tolerance range (USDA Hardiness Zones 8-11) and summers are not humid and rainy, pomegranates should thrive. Untimely rains in the fruit’s late-summer and fall ripening season can also cause rinds to crack open prematurely, spoiling the contents.” (Click here to read the full article.) They also like a soil pH range of 5.5 to 7.2. If your soil is more acid or more alkaline, then they will struggle to get the nutrients they need, which may explain the leaf yellowing. Excess water can also cause leaf yellowing and encourage fungal disease.
Growing Pomegranates in Pots
You can create sandy, rocky mounds for your trees, but your better bet is to grow them in large pots in a sunny spot under cover from the rain. Once you can control how much water they get, water them weekly after they become established. More water is needed as trees as setting roots and during very hot times.
“How do I get my Pumpkins to get past just flowering?” Question from Marilyn of Roseburg, Oregon
Answer: I am sorry to hear that your pumpkins are not producing! There are lots of things that could keep your pumpkins from setting fruit. Let’s start with what pumpkin vines need to grow and produce fruit.
What Pumpkins Need to Fruit
Full sun (8 hours per day or more)
Fertile, well-drained soil
Regular water
Fertilization with an all-purpose vegetable fertilizer
Space–Vines require plenty of space to grow and branch.
Time–Check the days to harvest for your pumpkin variety. If it is 100 days or more, then it is a late producer and just needs more time.
What Keeps Pumpkins from Fruiting
Lack of female flowers (see below)
Lack of pollinators–Bees pollinate pumpkin flowers, which is essential for them to fruit.
Excessive heat– Very hot days (above 95 degrees F) and warm nights (above 75 degrees F) can stress vines to the point where they do not fruit.
Too little light–Vines lack the energy to produce fruit.
Too little time–If late-producing vines are planted too late in the season, they will not have enough time to fruit.
Pests and disease–There are many pests and diseases that can reduce fruit output in pumpkins. If your vines look healthy, then don’t worry about this possibility.
Pumpkin Flowers and Fruiting
All squash, pumpkins included, have two flower types–male and female. Male blooms appear first on the vines as simple yellow flowers with stamens covered in yellow pollen. Female flowers develop towards the vine tips and have little fruits at the base of the yellow flowers as well as a single, central pistil in each bloom. If your vine has both flower types, then pollination failure could be the problem. Without pollination, developing fruits just shrivel. The solution is hand-pollination. Simply use a small brush to move pollen from a newly-opened male flower to a newly-opened female flower. It’s fast, easy, and will yield pumpkins.
It is quite possible that your vines are healthy and on the verge of producing. Time may be the only factor limiting their fruiting. Many late pumpkins will not start bearing until September. Keep me posted. I would love to hear the end of your pumpkin story.
Happy gardening
Jessie Keith
Black Gold Horticulturist
Click here to view my top 10 list of best-tasting pumpkins and winter squash!
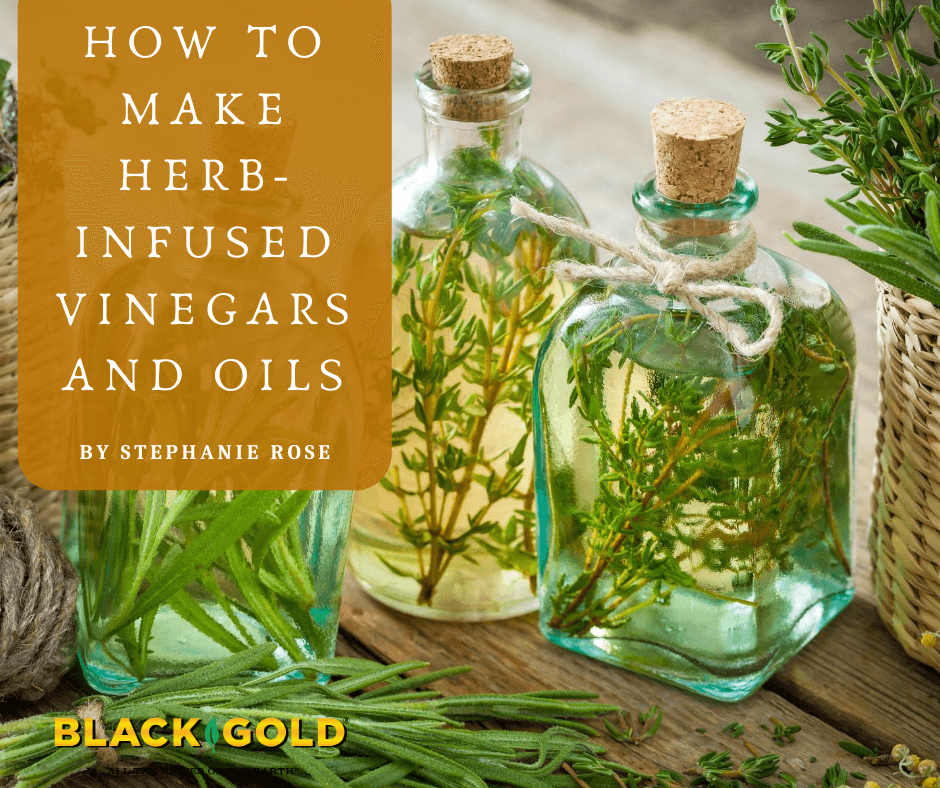
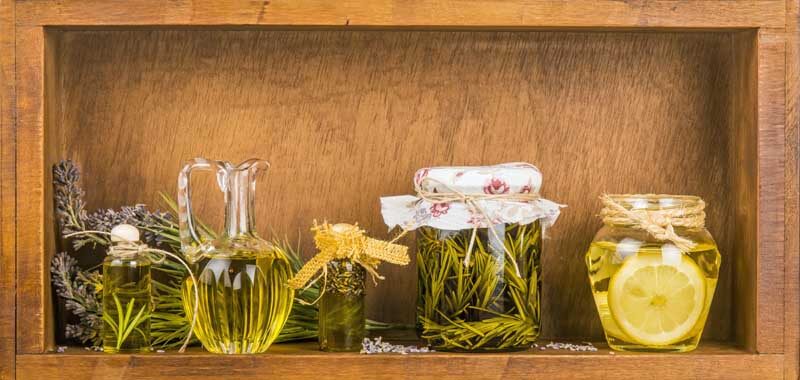
Making your own herbal infusions in oils and vinegar is a great way to preserve herb flavors from your garden. Since comparable store-bought bottles can be pricey, you’ll save money and have some delicious artisanal gifts to give to friends and family.
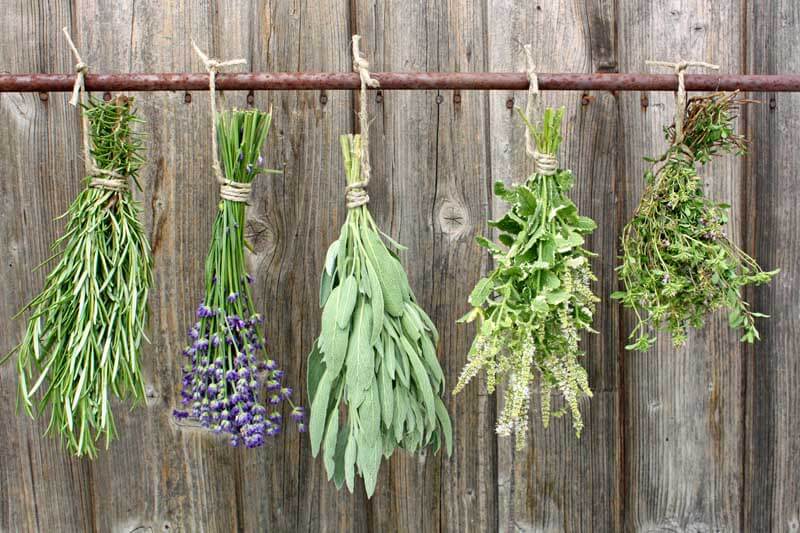
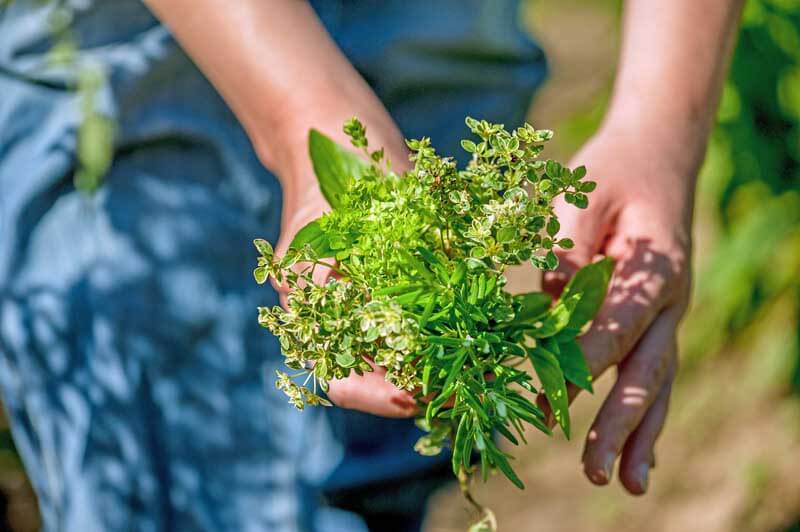
Harvesting and Drying Herbs
Bundles of rosemary, lavender, sage, pineapple mint, and thyme are easy to dry and retail their flavor.
Some herbs can be infused dry; others should be infused fresh. Dill, oregano, thyme, rosemary, and sage are all suited for dry infusion. Basil, cilantro, chili, and chives have the most flavor when infused fresh.
Harvest herbs from your garden early in the morning using clean, sharp scissors or pruners. If you plan to use fresh herbs, start your infusion immediately after cleaning the stems. To prepare dry herbs, hang them upside down in bundles or lay them in a single layer on trays in a dark, cool area. (Click here for some other drying methods.)
Which Herbs to Infuse
Choose herbs that are fresh from the garden in pleasing combinations that suit your taste.
The herbs you choose are entirely up to you! What are you growing? What’s freshest in the garden and best for your flavor palate? You can make single herb infusions, like basil oil or rosemary vinegar, or you can blend flavors together, like citrus zest, chili, and thyme. Choose a few options, and you’ll have plenty of ways to add spice to your kitchen creations.
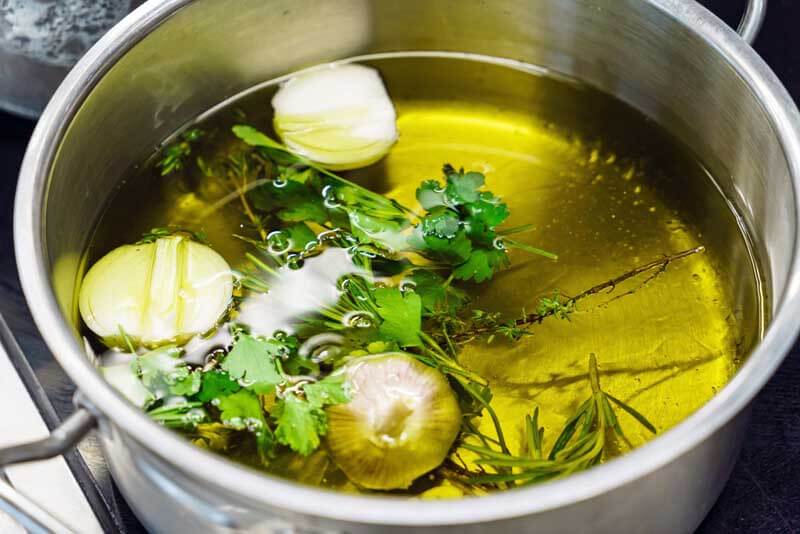
Oil Infusion Methods
The stovetop method is one way to infuse herbal oil. A double boiler or saucepan set on low heat also work. Cilantro, garlic, rosemary, and thyme are in this infusion.
Infusing the flavors of herbs in oil is most effective when the oil is warmed. This can be done on the stovetop, in the sun, or a Crockpot. The infused oils will be ready in just a few hours this way. You can also place herbs in oil for a cold infusion as long as you have the time to wait for six weeks to get your finished herbal oil.
Safety notes: When infusing herbs into oil, be sure to use dried herbs for the stovetop and sun-infused methods. Jars and bottles must also be dry and sterile. (Click here to learn how to sterilize jars and bottles.) Clean, dry, chopped or processed fresh herbs can be used for the slow-cooker method, as long as the oil is heated to a temperature just over 140 degrees F, which is hot enough to kill bacteria.
Stovetop Oil Infusion
Slowly heat the oil and herbs in a double boiler. Pack as many herbs as possible into the boiler top. Then, pour the oil over them–enough to fill your jars or bottles. Pour an inch of water into the bottom of the double boiler. Heat the double boiler on medium-high for a few minutes. Reduce the heat to low for a few hours until the oil becomes aromatic. If you do not have a double boiler, you can use a saucepan set on the lowest heat setting.
Sun Oil Infusion
Pack herbs into a large mason jar and pour oil over them, covering the herbs completely. Screw the top onto the jar, and leave it out in the sun for up to eight hours. To avoid overheating the herbs and eliminating some of their benefits, don’t use this infusion process during the height of summer. This method works best during the warm parts of late spring and early fall.
Slow Cooker Oil Infusion
Place the dried herbs into the Crockpot. Cover them with oil. Heat on low (190 degrees F) for a few hours or until the oil becomes fragrant. To create multiple oils at the same time, place the herbs in mason jars, cover with oil, and add a lid to each jar. Fill the Crockpot with a couple of inches of water and heat.
Editor’s note: If using fresh herbs, such as basil, start with a large bunch–maybe six big stems. Clean the stems and pat them dry. Blanche them in boiling water for 5-10 seconds, place them on a towel and lightly pat them dry, then put them in a food processor with a pinch of salt and puree them. Add the puree to a clean 16 oz. canning jar, fill with light olive oil, and cover with a lid. Fill the Crockpot with a couple of inches of water, place the jar in the water, and heat for a couple of hours. Finally, place three layers of cheesecloth over a bowl, pour the mixture through, and squeeze out all of the basil oil. Pour the oil in a fresh, clean jar and store it in the refrigerator for a couple of weeks. Another option is to store it in the freezer in a well-sealed plastic freezer container until use. A lidded silicon ice cube tray also makes a good container.
Cold Infusion
Pack dry herbs into a jar, lightly compacting them until filled to the top. Pour olive, canola, or grapeseed oil over them, gently pressing them down with a spoon to release some of the air bubbles. Completely cover the herbs with oil. Set the jar in a cold, dark room for four to six weeks.
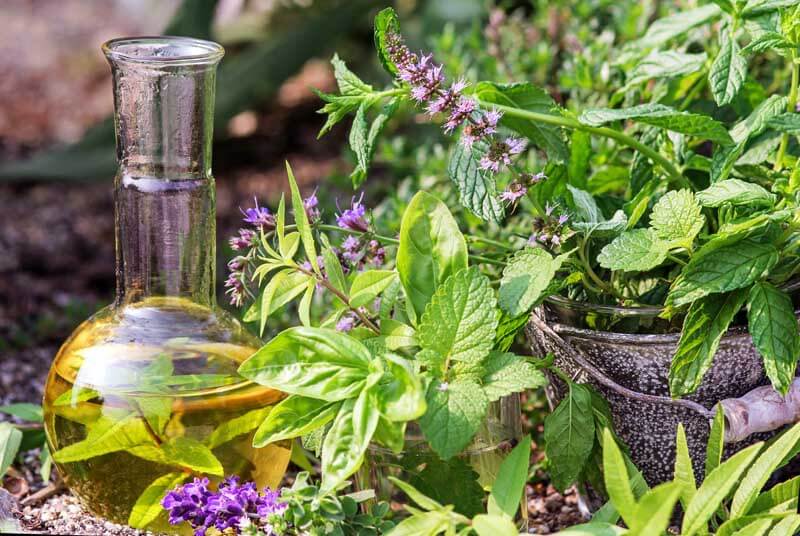
Vinegar Infusion Methods
Apple cider vinegar makes lively herbal infusions.
The method you use to infuse vinegar depends on whether you are using herbs alone or adding fruit. In either case, the herbs do not need to be dried first. Pick fresh, clean herbs from the garden, and add them to the vinegar of your choice. Keep in mind that better quality vinegar will result in a better final product. White wine, apple cider, and coconut vinegars are lively when infused. If you have a sweet tooth, white balsamic is good for fruity infusions.
Herb and Fruit Vinegars
Herbs such as basil, lemon balm, and mint can make refreshing vinegars.
If you’re infusing vinegar with both herbs and fruit, such as strawberries, choose fruit that is ripe and free of blemishes. Wash it and cut off any stems. Harvest and wash fresh herbs. Bruise them with the back of a knife to release their scent and taste. Pack the fruit and herbs together into a jar. Cover them with vinegar and secure the top of the jar. Place it in a cool, dark room for ten days. Strain the solids out of the vinegar. Stire it in the fridge for up to a month.
Pack washed and bruised herbs into a jar. Cover them completely with vinegar and secure the top. Place it in a cool, dark room for about two weeks. Strain the herbs out of the vinegar. Store the finished vinegar in the fridge.
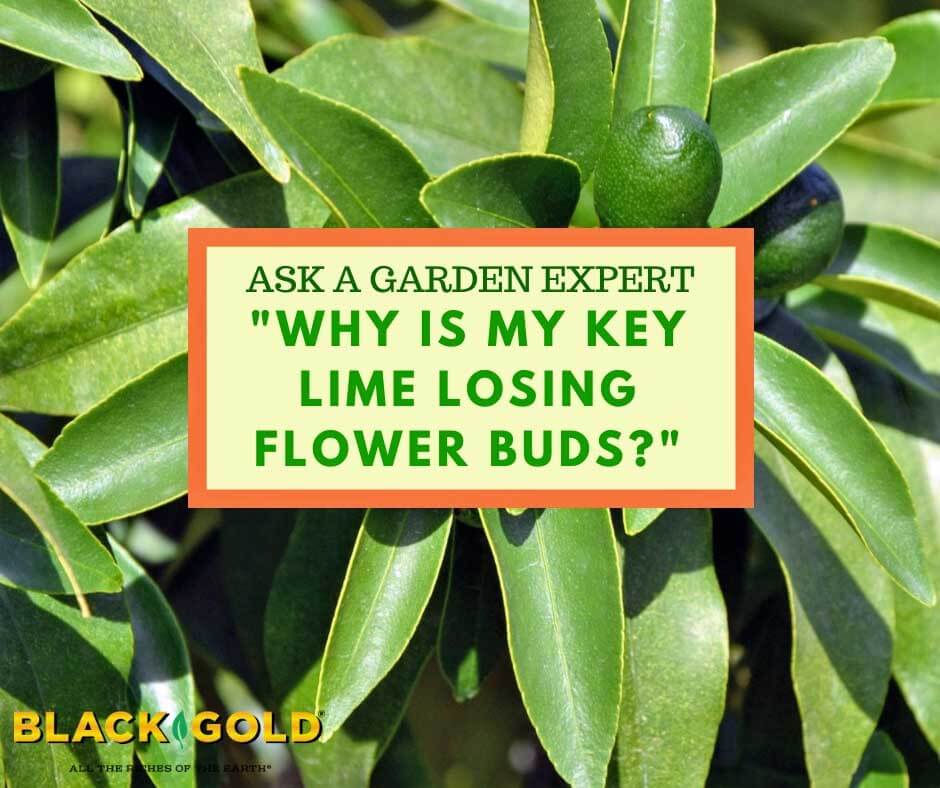
“I have a Key Lime tree that keeps losing the flower buds, so we never get any Key Limes. Do you have any suggestions for the soil that may help? I water the tree every other day during the dry season, and every 3-4 days during our rainy season. Thank you.” Question from Jenifer of St. Petersburg, Florida.
Answer: You can always expect some natural bud drop in any citrus, including key lime (Citrus × aurantiifolia). Flower buds and blooms will typically occur in waves from mid to late winter. If your key lime is losing all of its buds, then many different factors could be the cause. These can include:
Excessive water or extreme drought
Extreme temperature fluctuations
Pest or disease problems
Nutrient deficiency
Leaf loss due to hurricane damage
Dry air
You seem to be watering your tree quite a lot. If it appears to be very healthy, then water it less and make sure you are feeding it with a fertilizer formulated for citrus. Reducing water can actually induce flower bud set! If it looks unhealthy, send a picture, so I can better target the specific problem.
The summer harvest has certainly arrived here in the Pacific Northwest. With our very dry and hot summer, many fruits and vegetables have ripened several weeks earlier than the norm. I have heard from many gardeners that they are harvesting heirloom tomatoes that usually do not ripen until mid to late August. Those vegetables that love the heat, and have adequate moisture, are thriving with this weather. Beans, melons, squash, and other heat-loving vegetables seem to be producing bumper yields. I had a listener call me last week on my radio program to report that her pumpkins were bright orange and looked like they were ready to be harvested. She said it looked like Halloween!
The raspberry ‘Summit’ is excellent for producing a good crop in the spring and a repeat crop in fall.
Tomatoes
Often, I will caution gardeners about planting some of the large beefsteak tomatoes or other late-ripening varieties because if we have a cool and early season fall, they may not ripen. That has not been an issue this year. Last week two listeners reported that some of the heirloom tomatoes they harvested in late July were varieties such as ‘Azoychka’, ‘Black Krim’, ‘Brandywine’, ‘Brandy Boy’ and ‘Cherokee Purple’. Another listener sent a photo of his Roma ‘San Marzano’ with the notation that they were as big as red bell peppers. They also had the added benefit of organic-rich Black Gold Garden Soil to encourage their success.
In my own garden, I have a very small tomato with small fruits that have proven to be ideal for growing in a pot on our deck. It is called ‘Red Robin’ and even though the plant is small, it has been loaded with tomatoes for several weeks. This is the first year that I have planted it, and I would recommend it for someone with very limited space. I also have some of the Indigo™ series from Oregon State with fruits that turn purple (high in anthocyanins) and then red when ripe.
Plum trees have bumper crops this year!
Fruits
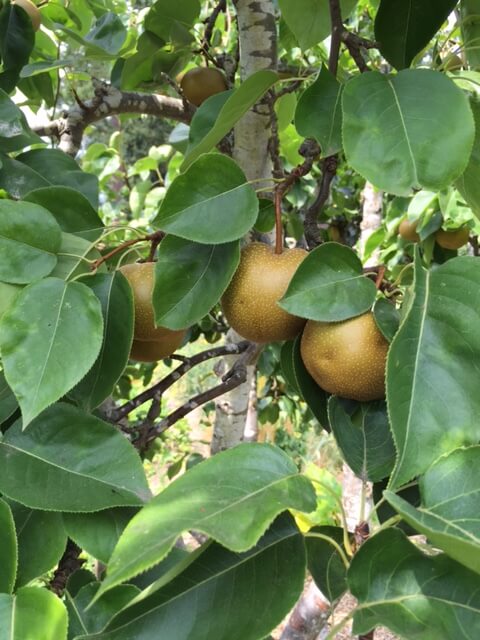
Asian pears seem to be in abundance this summer. I recently visited a garden with several trees, and they were all loaded with fruit, much of it ripening now. This same garden had crops of plums so heavy on the branches that some limbs were cracking.
We often think of raspberries as early summer crops, though many varieties produce in June. However, everbearing varieties are ideal for a late summer crop. The raspberry ‘Summit’ is excellent for producing a good crop in the spring and a repeat crop in fall. They are excellent tasting too and manageable for row planting. If you have abundant space, consider the thornless blackberry ‘Triple Crown’. I say “abundant space” because this plant can have canes reaching 15 ft in one season. The berries are now just beginning to turn black and will be ready for picking shortly.
Roma beans are a great choice for the vegetable garden.
Beans
Beans are well known in the summer vegetable garden. They are easy to start from seed and make a great plant for young children to grow as an introduction to gardening. The seeds are large, for easy handling by little hands, and they germinate quickly and grow fast. I like the Romano types which have pods that are somewhat flattened with a rich bean flavor.
When planting any vegetable or fruit-producing plant, be sure to plant something that you like. Then take a moment to consider what you will do with excess production. A row of beans can produce far more than most families can eat. Many large-scale gardeners will have a small food dryer, which is another good way to preserve your yields. When there is excess, check in with a local food bank as fresh produce is almost always welcome.
This is such a great time of year to be eating fresh produce that we and/or our neighbors have grown. A tomato picked fresh from the plant is nearly impossible to imitate from a store bought one. Check with your neighbors and see what they are growing and what they might appreciate receiving. As I was leaving a garden visit last week, the owner came out and told me they had a new rule on visitors. One could not leave without taking a zucchini!
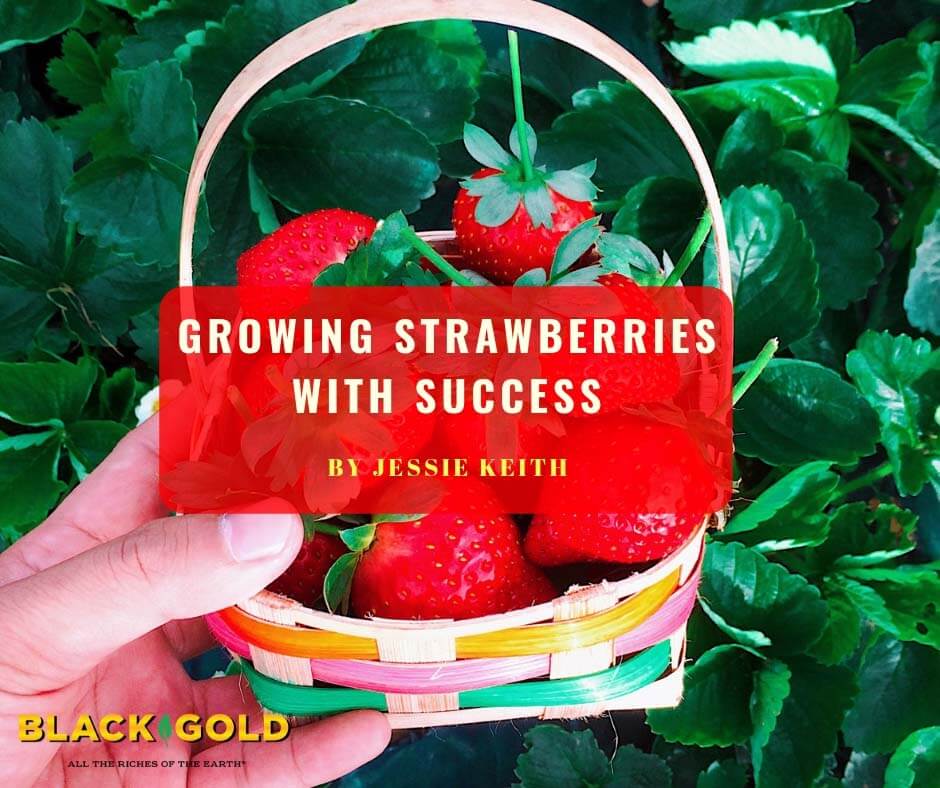
Sometimes old-time gardening advice is the best advice. When I searched for the most complete tips for growing the best strawberries (Fragaria x ananassa), I eventually turned to two classic gardening books, How to Grow Vegetables and Fruits by the Organic Method (J.I. Rodale, 1961) and the Cyclopedia of Horticulture (L.H. Bailey, 1902). Both offered a wealth of information on strawberry growing. In fact, my new strawberry patch is already producing good fruit!
Preparing Strawberry Beds
Fresh strawberries for the picking
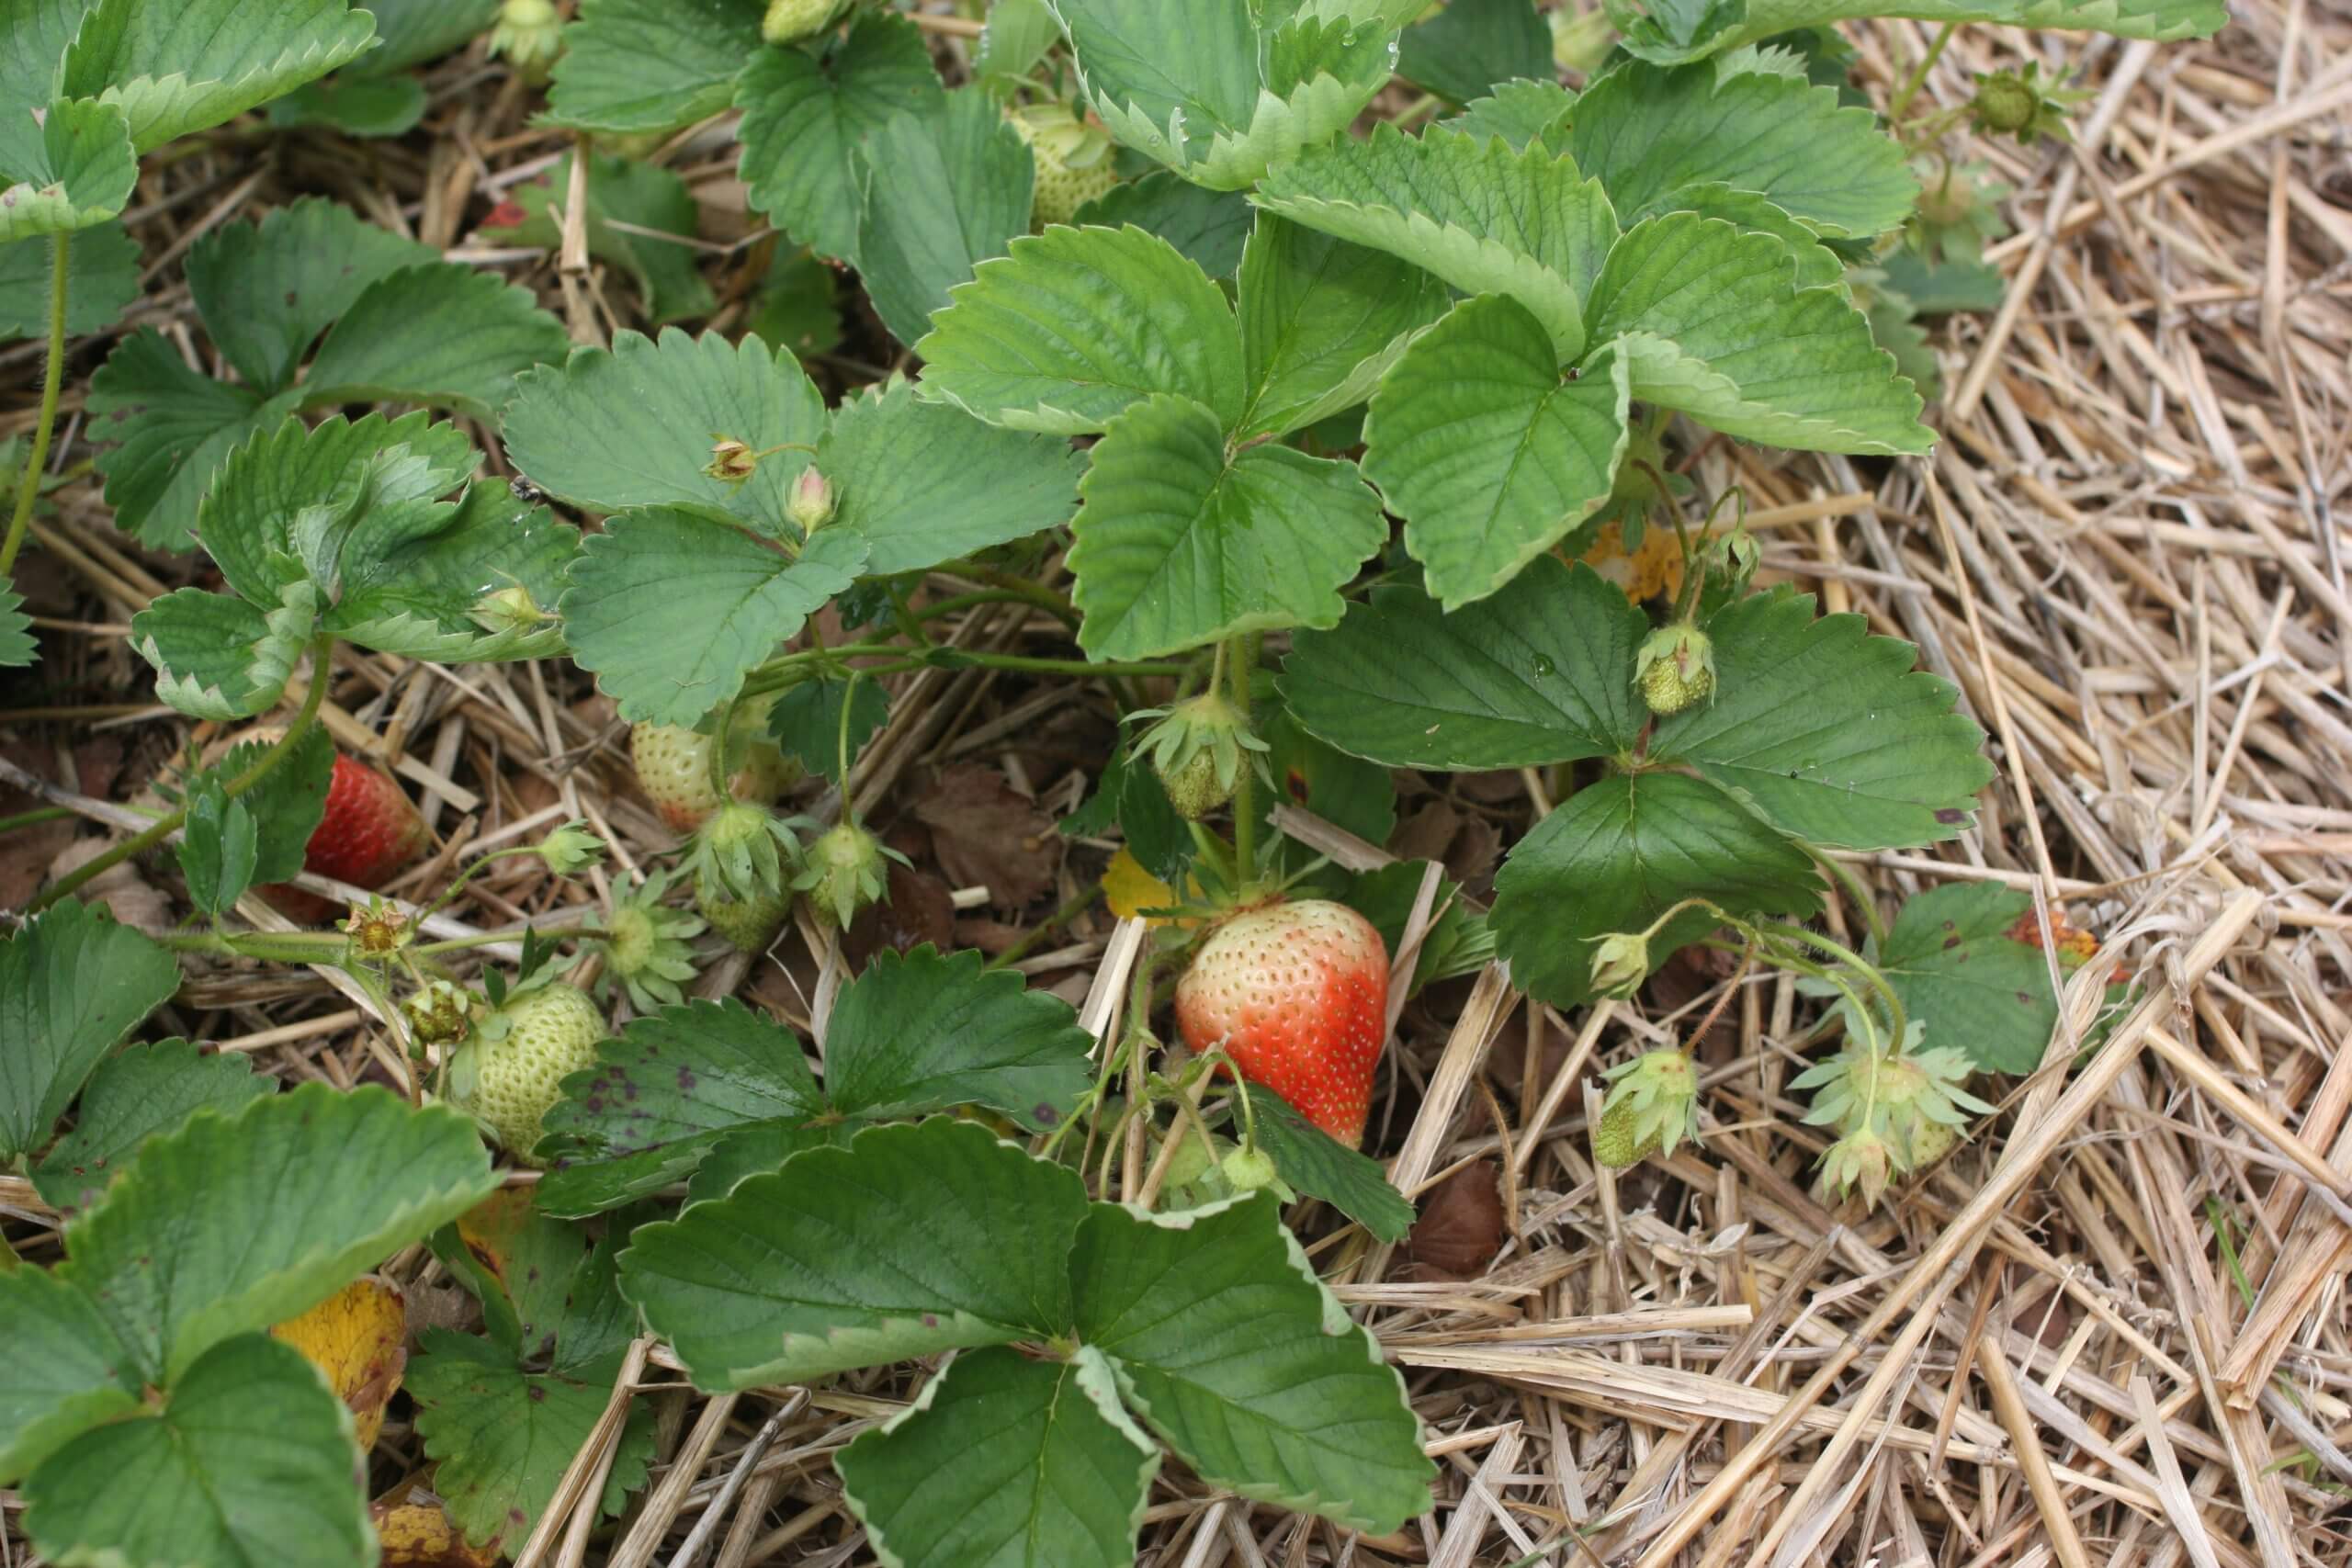
When preparing my beds for my strawberries, I took Rodale and Bailey’s advice and chose a large space, which I amended and mounded so the ground would be rich and light while offering superb drainage. According to Rodale, “Strawberries need rich, moisture-retentive but light soil in a warm position.” He suggested planting them on a South-facing slope, so I provided the next best thing by creating a mounded bed in full sun. This year I amended with Black Gold Garden Soil, which feeds plants for up to 6 months, and topped the beds off with a layer of Black Gold Garden Compost Blend. In the fall I will add a little fertilizer formulated for fruit and berries.
My mounded strawberry beds were raised to a height of 6 inches to ensure excellent drainage. Then I top dressed with a little seed-free hay to make sure any developing strawberries would not rot on the moist ground. I plan to add some hay or light mulch once again in the fall to keep plants protected through winter and in spring. Strawberry plants can be hit by spring frosts, so it pays to protect them for the season.
Spacing Strawberries
Spacing strawberries properly is important because better spacing will ensure larger berries. As L.H. Bailey put it, ” For the very finest berries, each plant is allowed a space or hill by itself.” Truly, cramming strawberry plants together will yield smaller berries, so for each of my plants I allotted an 18″ x 18″ space around each. This has proven to be ideal. My plants are already sending out new shoots and producing sizable berries.
Irrigating Strawberries
Keeping berries well irrigated is also essential for good crops. I make sure the soil is slightly moist to a thumb’s depth before watering again. Too much water can encourage root and fruit rot while too little can cause developing fruits to be aborted, so maintaining a good moisture balance is essential.
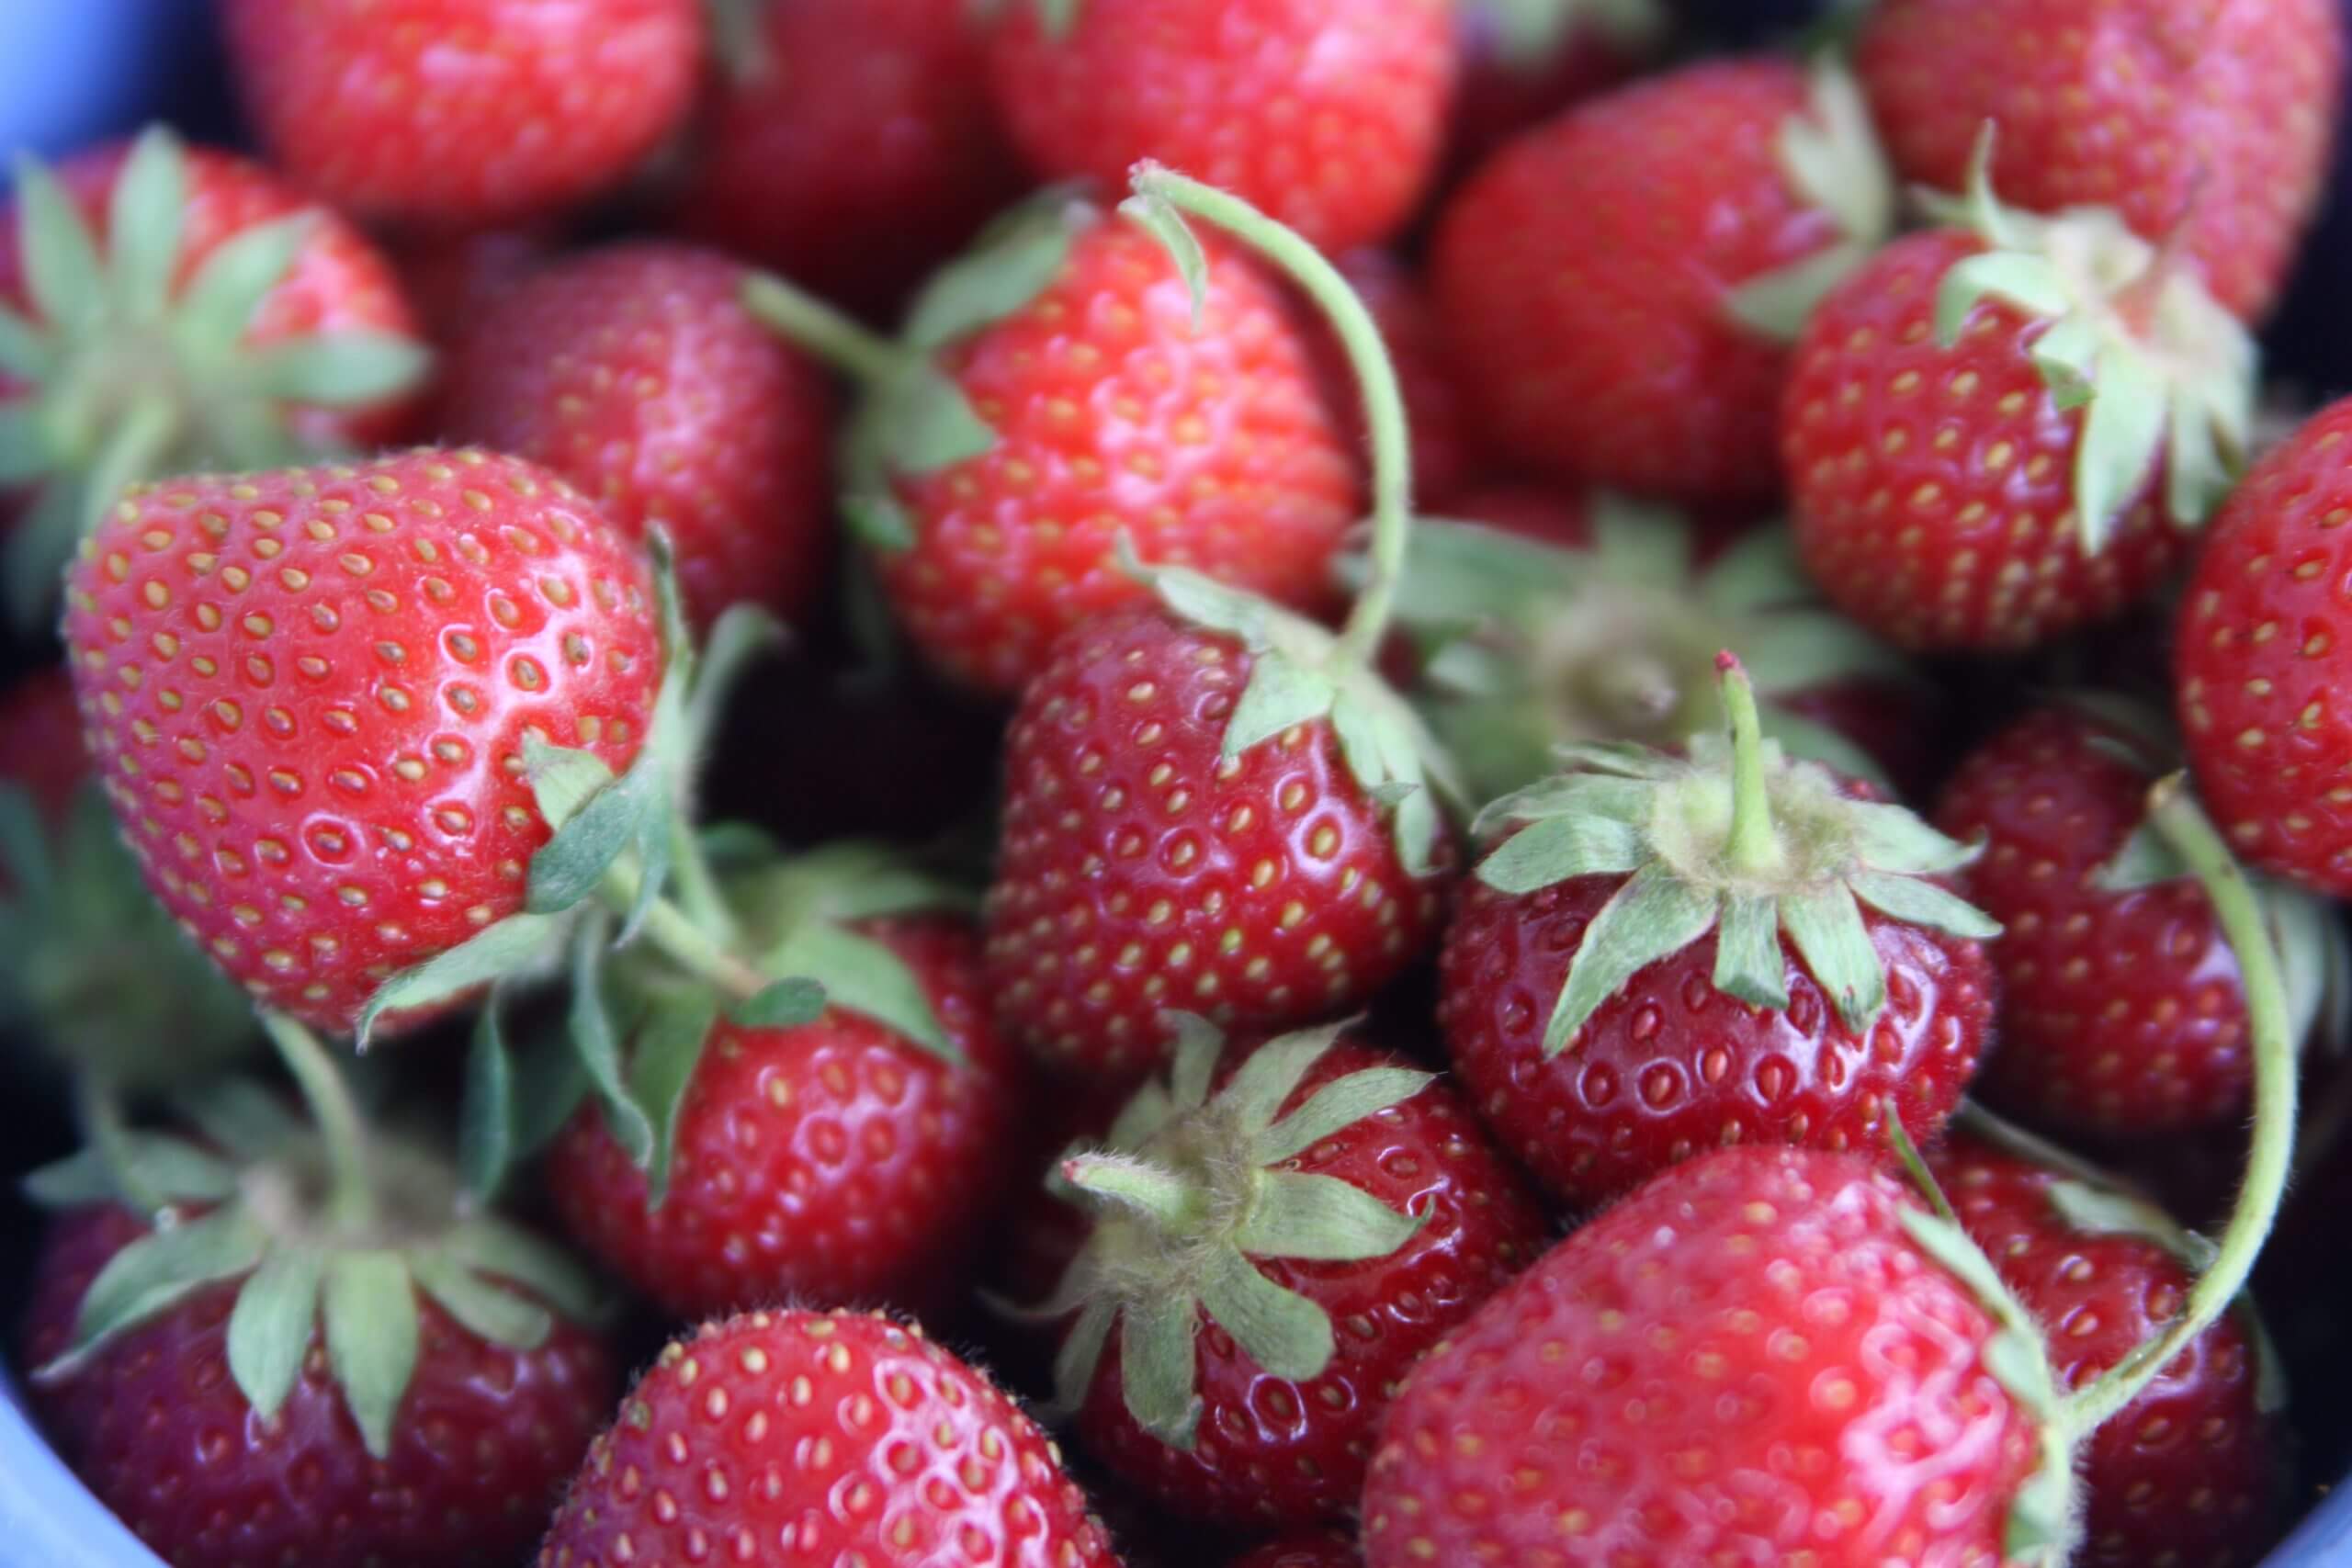
Choosing and Harvesting Strawberries
A bowl of freshly harvested strawberries.
Strawberries harvested at the right time should be sweet and red through and though Successfully growing strawberries starts with choosing a great variety. Some strawberries are June bearing (single season)–meaning they produce just one large crop early in the season–while others are everbearing (day neutral)–meaning they produce one large spring crop and then continue producing intermittently through summer and especially in fall. Additionally, varieties may be early-, midseason-, mid-late season-, or late-bearing. I turned to my favorite source for superb berries, Nourse Farms, based in Whately, MA. Their stock is reasonable, always healthy, and they have a great selection. This year I chose the flavorful, everbearing ‘Albion‘.
Replanting Strawberry Runners
Straw creates a nice protective base for strawberries.
The last important piece to understand about strawberries is how to maintain their runners and when to replant. Strawberry parent plants need to be replaced around every three years. Strawberries send out runners, each runner terminating in a new plant. The runners need to be managed to keep plants from becoming overcrowded (once again try to maintain reasonable space between plants to encourage larger berries), but the new plantlets produced by runners can eventually be nurtured to used to replace tired parent plants. Unwanted runners can simply be snipped away or moved to create an even larger berry patch.
A perfectly formed and ripened strawberry is a wonderful thing. Berries with fully developed sugars should be red through and through and have a balanced tart and sweet flavor. When strawberry season is on, I always take the time to make strawberry rhubarb crumble (recipe below). It’s my family’s favorite way to enjoy garden-grown strawberries, aside from eating them fresh with cream. There’s nothing like picking our own for whatever strawberry delight we might create during strawberry season. Thanks Rodale and Bailey!
Strawberry Rhubarb Crumble
Fresh strawberry rhubarb crumble is a delicious way to enjoy garden-fresh strawberries.
Ingredients:
5 cups quartered fresh strawberries
3 cups thinly sliced fresh rhubarb
2/3 cup sugar
1/4 cup tapioca
1 teaspoon fresh lemon juice and a tsp of finely grated zest
3/4 cup white whole wheat flour
3/4 cup old-fashioned oats
2/3 cup packed light brown sugar
Pinch salt
6 tablespoons cold unsalted butter, sliced into thin pats
Directions:
Preheat oven to 375 degrees Fahrenheit. Lightly grease a 7-by-11-inch baking dish.
Mix the strawberries, rhubarb, sugar, tapioca, lemon juice and zest together in a large bowl, and pour the mixture into the greased baking dish.
Add the flour, oats, light brown sugar, and salt in a medium-sized bowl and whisk together. Place the diced butter to the mixture, and work it together with your fingers until it’s crumbly. Evenly distribute the crumb mixture on top of the fruit.
Bake the crisp in the oven for 40 minutes. The fruit filling should bubble along the sides and the top should be golden brown.
Serve it with ice cream if warm or whipped cream if cold.
* The same filling can be placed in a double pie crust and baked for the same period of time, if you’d prefer pie.
Old gardening books can sometimes yield the best growing advice!