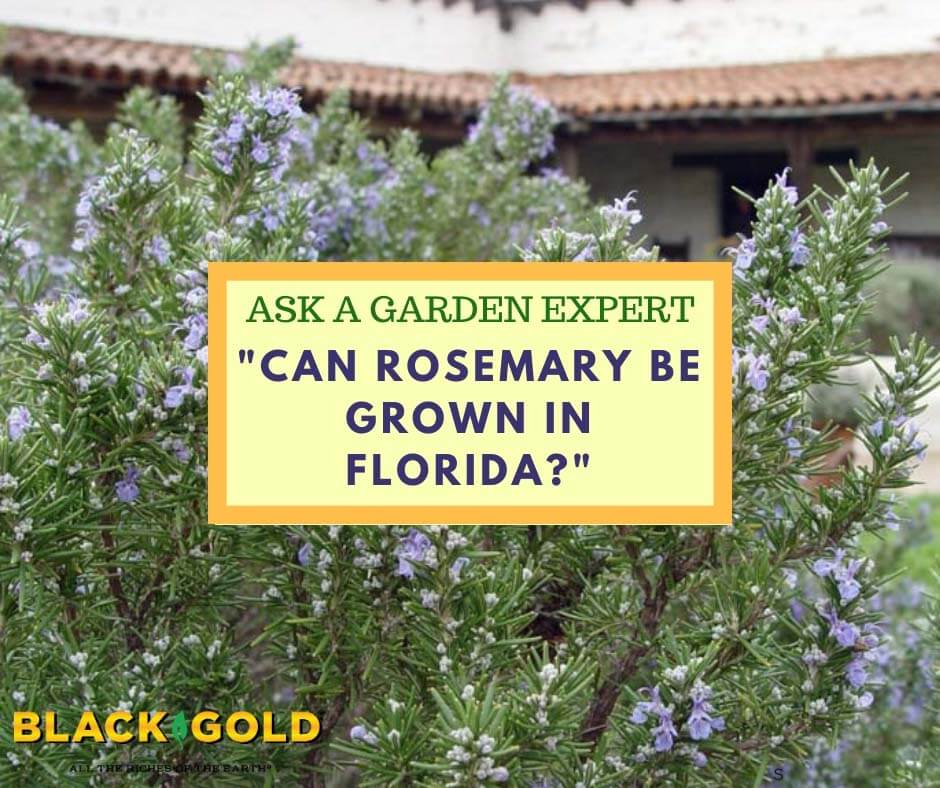
“Can one grow rosemary in Florida? Mine always dies.” Question from Jane of Tampa, Florida
Answer: Yes. Rosemary (Rosmarinus officinalis, USDA Hardiness Zones 8-10, 1-5 feet) can be grown in Florida, but it may need extra care because it is adapted to an entirely different climate.
Rosemary is native to the Mediterranean where it grows in upland, limestone soils, endures sunny, dry weather conditions through much of the year, and cool, dry winters. The hot, rainy, humid weather in Tampa, Florida is not what rosemary is naturally adapted to. This is probably the source of your trouble. Subtropical weather excesses can stress rosemary out, which can encourage pest and disease problems, with root rot caused by excess water being the biggest threat. With that said, you can grow it in Florida with care. Here are my suggestions.
Grow yours in pots that can be moved indoors and out. Rosemary can reach a large size at maturity, so pick a fitting pot size (~2-3 gallons). Make sure it has holes at the bottom for good drainage and is light-colored to reflect the heat.
Place it in a location with high sunlight that’s protected from rain, so you can manage irrigation better. Below an overhang in a south-facing location would be perfect. Allow the soil in the pot to dry out somewhat between watering.
Consider growing your rosemary indoors where its cooler or move it indoors and outdoors as the weather becomes more or less favorable for growth.
During the cooler winter months, reduce watering to once a week–maybe even less.
Harvest and tie lavender bundles for drying. They dry best if hung in a cool, dry place.
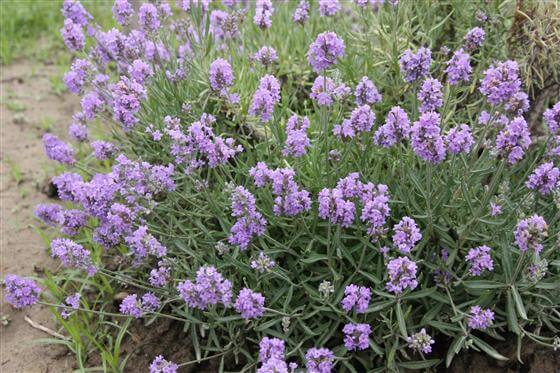
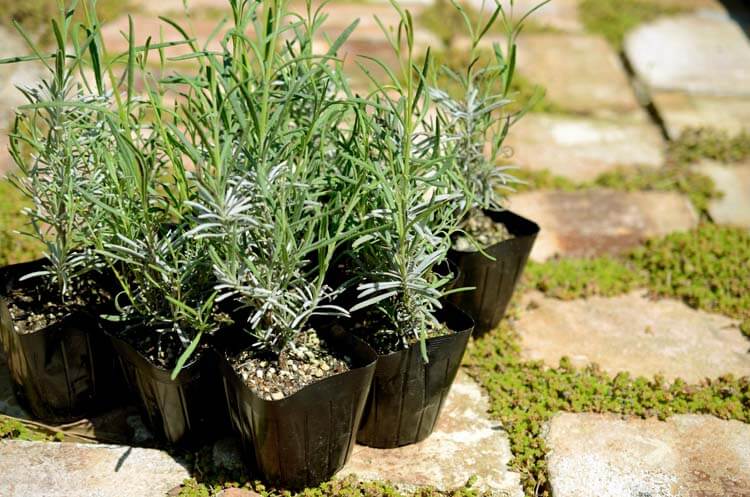
Lavender (Lavandula spp.) is a wonderful addition to any garden because it can be used as a culinary herb, a fragrant cut flower, a crafting material, or a natural-beauty ingredient. It even feeds bees! With lavender, the possibilities are endless. There are so many interesting species and varieties to try that it’s worth starting some of your lavenders by seed to get a large number of unique cultivars for the price of the seed packets, planting mix, pots, and a little time.
Lavenders are short-lived shrubby perennials, so be sure to propagate a selection of plants to replace those that have become too woody or that have succumbed to winter freeze. Then tuck the newer plants in between the older ones so they can eventually fill in space. Lavenders are such attractive, low maintenance landscaping plants when planted in swaths or hedges, and growing them from seeds makes this a much more economical endeavor.
For many years I was told that lavender was better propagated from cuttings, so I avoided seeding my own plants. When they started seeding themselves around my garden, I called hogwash on that theory and picked up some different seed varieties to try. As with all perennials, they can take a bit longer to germinate and be ready for transplant. Start them in late winter, under lights, and on heat, and you should get fair-sized transplants by the beginning of the summer. And in my experience, a neat and tidy lavender plant from seed is a great way to start. I love the way lavender plants grow delicate new stems from seed that set the tone and shape for the plant.
Another common complaint is that lavender seed doesn’t grow true-to-variety from collected seed and some purchased seed, resulting in plants with varying heights, sizes, and colors. Certainly, if you are looking for exact replicas of varieties this could be frustrating, but in most cases, it would be more of a landscape feature to have slight variations in a planting. In any case, seed companies work tirelessly to ensure that their seeds will grow uniformly, so when in doubt, be sure to check your seed source for any warnings about a variety.
Is Cold Stratification Necessary?
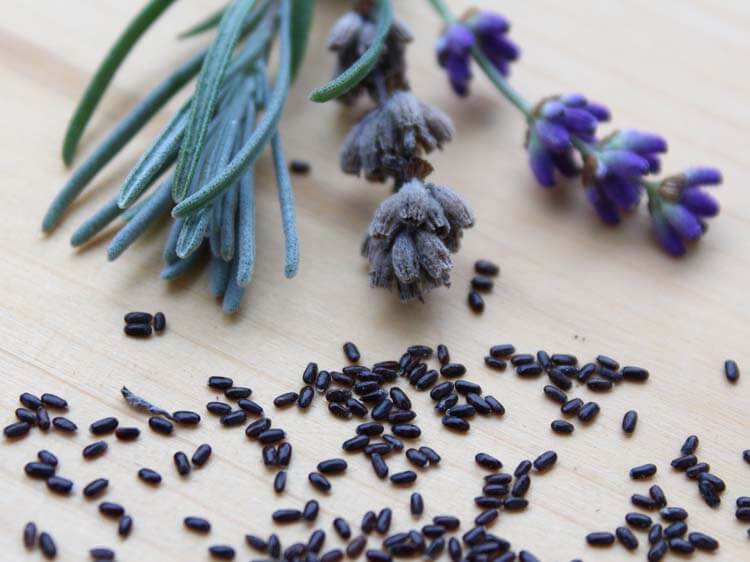
Lavender seeds can be purchased or collected in the garden.
Cold stratification is a process required for some seeds. After sowing, a cold period and then a warm period is required to break dormancy and allow germination. Some gardeners suggest cold-stratifying lavender seeds by placing them in moist soil in a cold greenhouse or refrigerator for two to seven weeks before moving them onto heat. If you are having difficulties in germination, you could consider this option, but I have had great success with germination by simply planting the seeds in trays and placing them on heat mats. The key seems to be to use the freshest seeds possible from a trusted seed supplier.
Now that is all out of the way, let’s start some lavender from seed, shall we?
Sowing Lavender Seeds Indoors
Always choose a sterile soil mix intended for seed starting. Black Gold®Seedling Mix is OMRI Listed® for organic gardening and is fine and easy to wet. Moisten the soil with a little water, and then fill a seed-starting tray with the damp soil mix. Sow lavender seeds on top of the soil and do not cover them. Add a clear dome greenhouse lid to the seed-starting tray to prevent drying out. Be sure that the lid has ventilation holes, and lift it once or twice a day to refresh the air.
Watering
If grown with good light, lavender plantlets will be full and robust.
Keep the soil lightly damp. Use a mister bottle to water as opposed to pouring water over the seeds. You can also bottom water pots and allow the soil to wick the moisture to the seeds. Mist often and check the soil regularly. Once your seeds have begun to sprout, continue bottom watering to keep the soil moderately damp, never wet.
Give Them Light
In order to germinate properly, lavender seeds will need a bit more than just natural light. There is much debate on whether or not expensive grow lights, with a high light spectrum, are needed for indoor seed starting, but I have always found that it’s not the cost of the bulbs that make the difference, but the distance away from the seedlings. Use adjustable chains to hang the grow light and position it as close to the seedlings as possible. As the seedlings grow, raise the light to be an inch above the tops of the seedlings. Light that is too far away doesn’t have the intensity to signal healthy growth and causes seedlings to become leggy.
Transplant the Seedlings
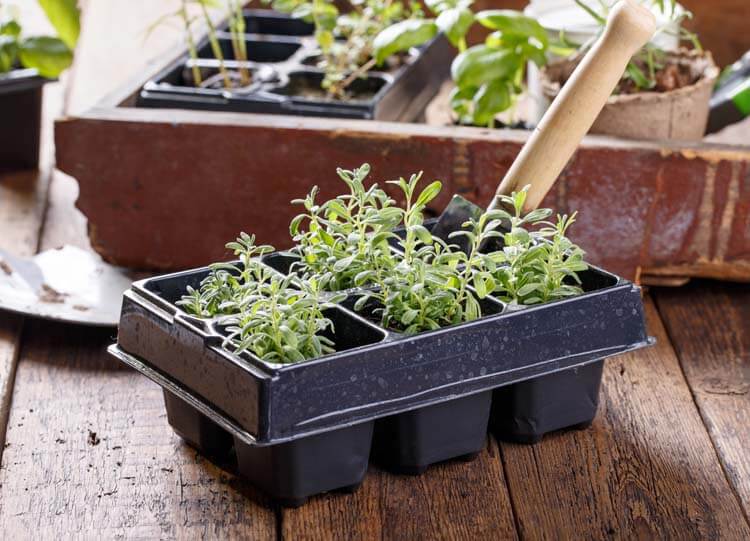
Upgrade lavender plants into larger pots as they grow, so they will be fair-sized at planting time.
After six to eight weeks of growth, transplant the seedlings into indoor pots and let them continue growing until they are ready to move out to the greenhouse or garden.
Harden Off
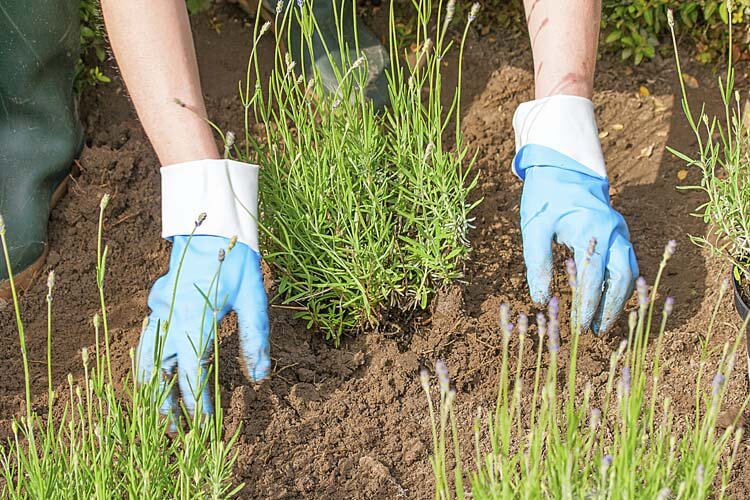
When you have passed the last day of frost in your gardening zone, it’s time to move the seedlings outdoors. To reduce shock and acclimate them to a sunny, outdoor environment, bring the lavender plants outside in their pots for a few hours a day, starting with one hour and increasing to a full day over the course of a week. This gradual introduction to the outdoor climate is called “hardening off.” After a week of hardening off, your lavender plants are ready to be transplanted into the garden. Choose an area that gets full sun and has porous, well-drained soil. Lavender can grow in poorer soils but appreciate organic matter. Amending the planting soil with OMRI Listed® Black Gold® Garden Compost Blend will increase organic matter and drainage.
Harvesting Lavender
Plant lavender when the starts are well-developed. Then let the harvest begin!
I personally like to harvest some lavender for myself and leave some for the bees to enjoy. The best time to harvest your lavender is when the buds have formed but have not yet opened. Buds harvested at this stage will retain their color and fragrance much better than open flowers, and once you have dried the lavender, buds will fall off the stem easily so that you can collect and store them. Using sharp bypass pruners, cut your lavender stems leaving at least two sets of leaves on the green stem of the plant. If you cut past the green growth into the woody stem, it will not regrow.
Collect your lavender stems into a bundle and tie it together with twine. Hang the bundles in a warm spot away from direct sunlight and let them dry out completely.
“I can’t keep any herbs alive. I’ve killed 3 basil plants and a thyme plant. I’m also not really sure how to cut them to use them. Do they grow after you cut them? Please keep in mind I live in Arizona and have killed several cacti. I guess I need major help.” Question from Denise of Mesa, Arizona
Answer: One of the most common killers of herbs (and cacti) is overwatering. These plants are prone to root rot if watered too much. Underwatering will also kill herbs quickly, especially if you live in a really arid climate, like Arizona. Let me cover all the growing basics for basil and thyme, so you can determine where you may be going wrong.
Basil and Thyme Growing Conditions
Basil is a warm-season annual that will survive just one season, and thyme is a hardy perennial that should survive in the ground for years. Many herbs like these, including basil, French thyme, lavender, and sage, are the Mediterranean in origin and require full sun and well-drained soil with a neutral pH and moderate to low fertility. In very hot climates, like Arizona, you should provide your plants with shade in the early afternoon when the sun is highest and temperatures are hottest. Water in-ground plants deeply and allow them to get a bit dry between watering. If your garden soil is very dry, amend it with Black Gold Garden Compost Blend for better growing results. If you get poor leaf development, fertilize sparingly with a slow-release fertilizer.
If your plants are container-grown, choose large pots, which hold more water, and fill them with well-drained potting soil for organic gardening, like Black Gold Natural & Organic Potting Mix. Make sure your pots have drainage holes and bottom saucers to catch water. When you water, water thoroughly until water runs from the bottom of the pot. Then let the soil become dry down to a 2-inch depth before watering again. (Just stick your finger in the soil until it feels lightly moist to a 2-inch depth; then water again.) This is most important for indoor herbs. Those growing outdoors will dry out a lot more quickly and should need daily water in your arid climate.
Please watch this video to learn more about growing herbs indoors.
Harvesting Herbs
Both basil and thyme are cut-and-come-again herbs that can be clipped for harvest over and over again. When harvesting leaves and stems, just be sure to leave enough behind for the plant to feed itself and rejuvenate. For further guidelines on how to harvest basil, please watch my video below.
Let me know if these tips help with your herb-growing success!
“Is there a specific product that is ideal to use for feeding my herbs (potted, indoors)…?” Question from Stephanie of Elizabeth, Colorado
Answer: When it comes to feeding leafy herbs, it’s all about the nitrogen. This is the macro-nutrient that encourages strong leaf development. Choose a leafy green vegetable fertilizer that’s high in nitrogen. I tend to prefer sprinkle-and-forget, slow-release fertilizers that are OMRI Listed for organic gardening. They are easy to apply and ensure plants are getting fertilized at each watering.