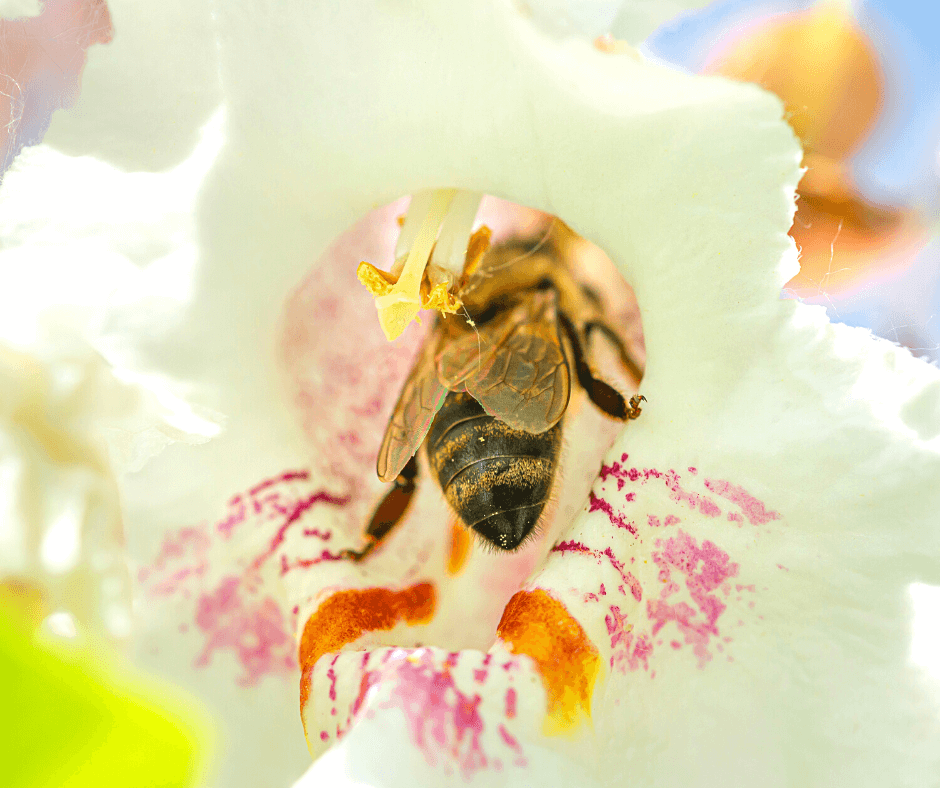
When flowering trees bloom, they are a boon for pollinators, particularly bees of all sorts. They bloom en masse for a week or more, offering a lot of essential food with little forage. There are no better plants to boost these essential pollinators in the garden, and the native trees here feed for both our honeybee friends as well as native bees.
Spring Flowering Trees For Bees
The trees in this collection vary in size from small to large. All are beautiful in their own right, and most grow and flower best when grown in the full sun. Soil and moisture requirements vary. If any of these trees interest you, I recommend reading this article about how to site and plant a new tree, by Russell Stafford.
Most do not realize that the early spring flowers of red maple (Acer rubra, Zones 3-9, 40-70 feet) are essential early food for honeybees and native bees (Red Maple (Acer rubrum L.), an Important Early Spring Food Resource for Honey Bees and Other Insects, 1985). Their small masses of red flowers appear before the leaves emerge in late winter or early spring and provide winter-weary bees needed pollen and nectar. The lovely eastern-native shade trees cool and beautify large landscapes all summer long, and their leaves turn shades of red, orange, and yellow in the fall. They grow well in open, sunny areas in dry uplands as well as moist lowlands.

The delicate white flower clusters of the eastern North American downy serviceberry (Amelanchier arborea, Zones 4-9, 15-30 feet) also provide early-spring food for lots of bees, especially small native bees (mostly mining bees and sweat bees). Its new leaves emerge after the flowers and have downy hairs on them, which explains the common name. In summer, the edible summer fruits are a favorite of many fruit-eating birds, and the fall leaves turn brilliant shades of orange, red, and yellow. Some gardeners like to collect the ripe serviceberries for fresh eating, jam making, or pies. Though the multi-stemmed tree grows well in forests, it develops its finest habit, fruits, and flowers when grown in the full sun.
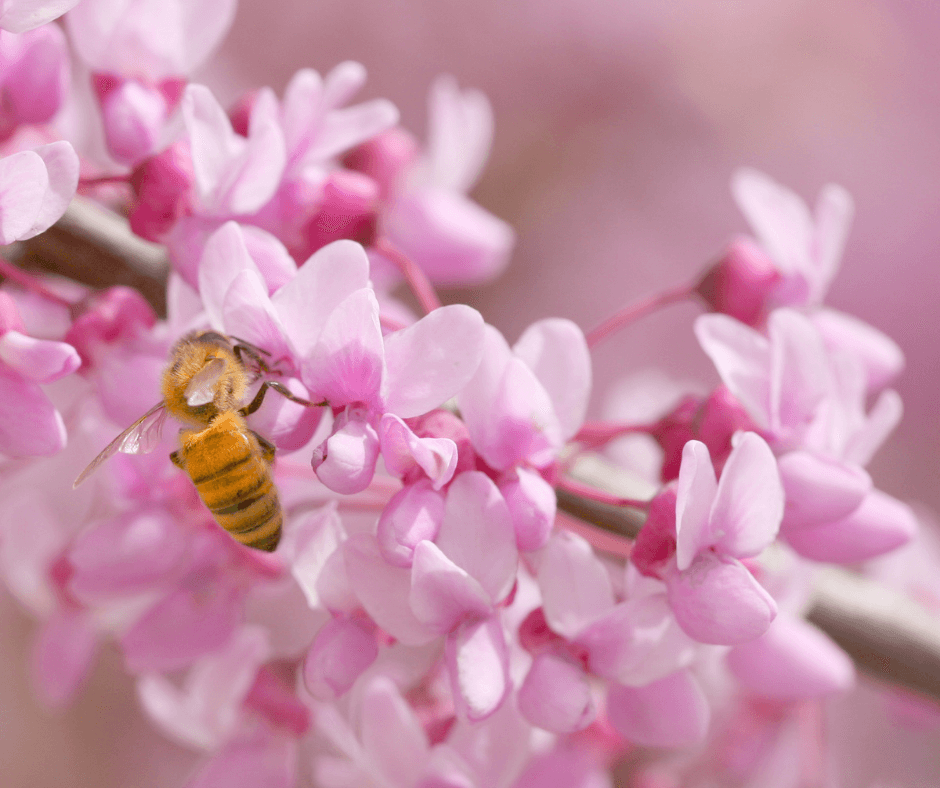
Eastern redbuds (Cercis canadensis, Zones 4-8, 20-30 feet) bloom for one to two weeks in the mid-spring with bare branches laden with lots of tiny, purplish-pink, pea-like blooms that glisten in the sun. Bees can’t get enough of them. Once the flowers of these eastern North American natives cease, the large, heart-shaped leaves unfurl. Sometimes they are reddish or purple as they emerge. Lots of small, thin pods follow the flowers, which turn from green to papery brown before they split open and release their seeds. The fall leaves turn humdrum shades of yellow. The fast-growing trees tolerate partial shade but perform best in the full sun and fertile to average soil. There are lots of great specialty redbud varieties from which to choose with variously colored leaves and flowers.
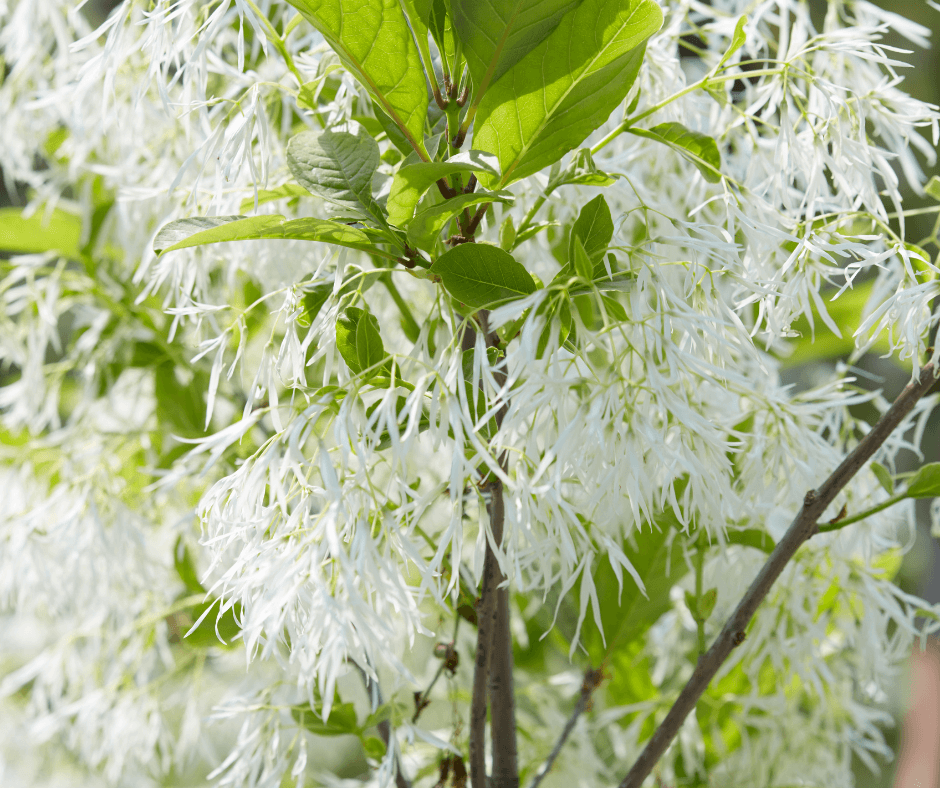
A native of the southeastern United States, white fringetree (Chionanthus virginicus, Zones 3-9, 12-20 feet) has fine, fringed, white flowers that are fragrant and almost exclusively bee-pollinated. They bloom for several weeks in May and June. Fleshy fruits that turn from green to blue-black follow, which feed many bird species. The small trees develop a pleasing rounded canopy and have green lance-shaped leaves. Expect the leaves to turn yellow in the fall.
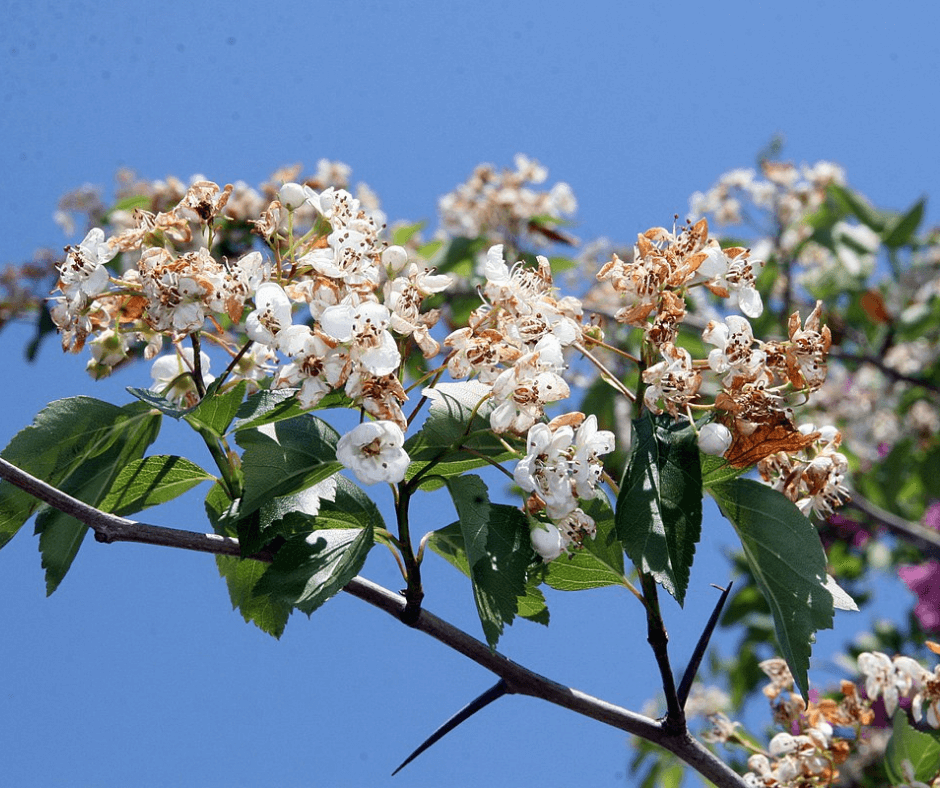
Green hawthorn (Crataegus viridis, Zones 4-8, 20-35 feet) is a handsome small tree from the eastern United States whose copious clusters of white mid-spring flowers attract lots of bees. In the fall, the glossy green, toothed leaves turn attractive red and purple hues, which look striking against the bright red fruits that cover the branches and are retained into winter for birds to eat. The branches of wild specimens have thorns, but some varieties, such as the popular ‘Winter King‘ have few thorns, while also offering more flowers and brilliant-red fall fruits. The newer variety Crusader® is equally beautiful and totally thorn-free.
The large, lush, copious flower clusters of the northern catalpa (Catalpa bignonioides, Zones 4-8, 40-60 feet) bloom in the late spring. The fragrant flowers have maroon and yellow nectar guides designed just for bee pollination, so the insects know where to land and gather nectar and pollen. Large, elongated pods follow the flowers. Its large, elongated/oval leaves turn yellow shades in the fall. The only downside of these easy-to-cultivated trees is that their fruits are messy, and the trees live for only around 60 years. Still, they have high wildlife value and beauty. If you have a spacious yard, plant them where they can be enjoyed but won’t be a bother. These trees naturally exist across the southeastern United States and tolerate average to moist soils.
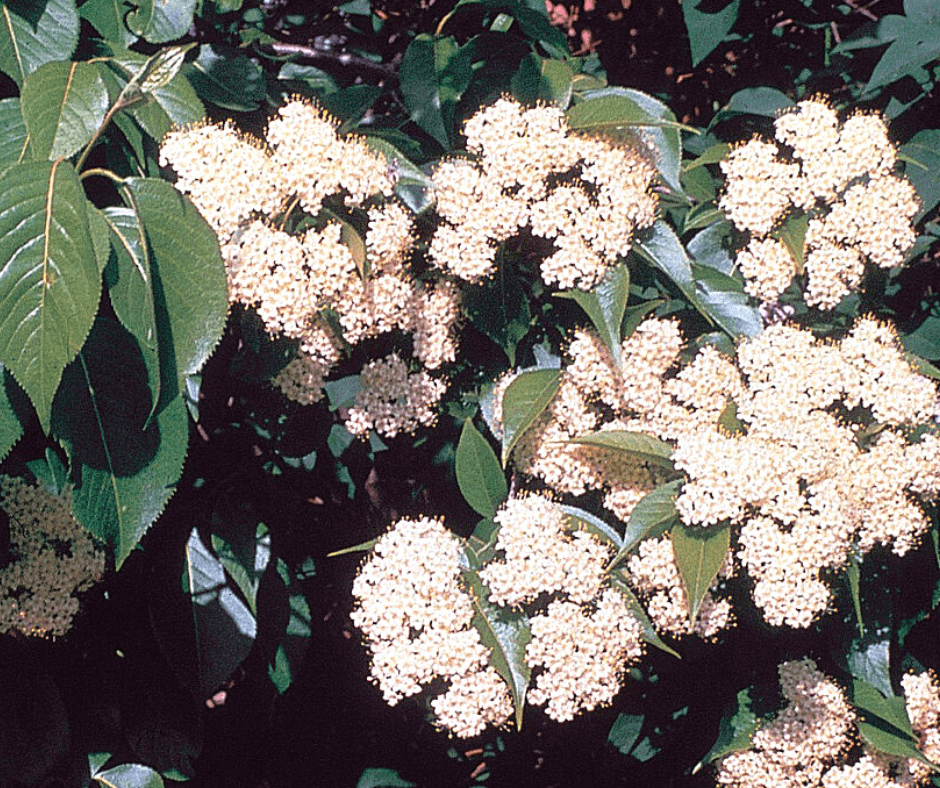
It’s always nice to add a real pollinator generalist and Nannyberry (Viburnum lentago, Zones 2-8, 18-25 feet) is a very good one. It is a small tree, unlike most other viburnum species, which are shrubs. Its flattened clusters of ivory flowers appear in mid to late spring, and they are pollinated by bees as well as other insects. The caterpillars of the spring azure butterfly feed on the summer leaves. Edible black fruits and bright red or orange leaves comprise its fall show. Birds eat the nannyberries and disperse the seeds, but the sweet fruits are also edible to humans as well as other wildlife. Nannyberry tolerates moist soils or those with average drainage.


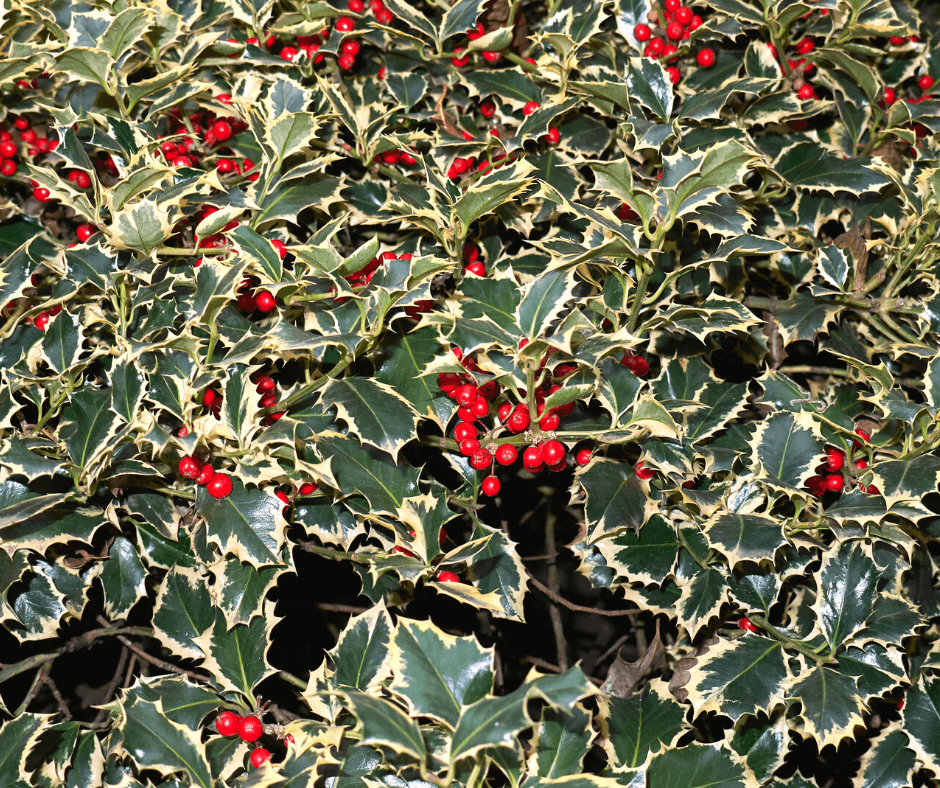

 Japanese Holly