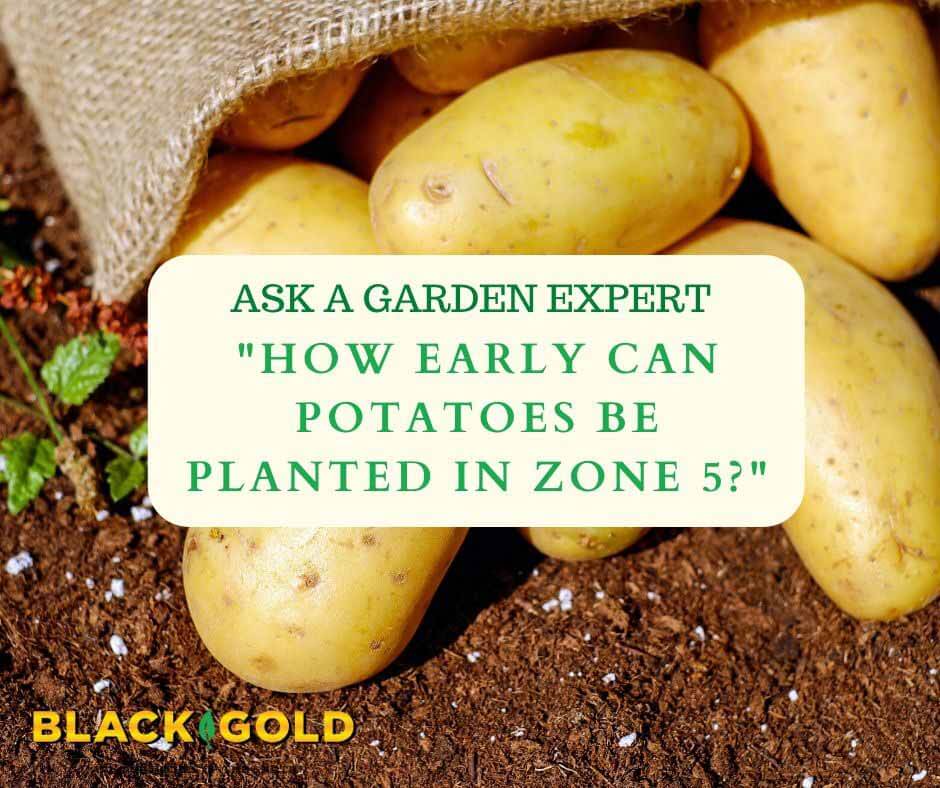
“How early can potatoes be planted in zone 5?” Question from Lisa of Berwick, Maine
Answer: Your last frost date is May 10th, and you have a growing season that is approximately 142 days long, according to the Old Farmer’s Almanac. You can plant potatoes in the ground as early as four to five weeks before your last frost date, so that would be early April in Berwick, Maine. You can also plant them a bit later. Potatoes grow well in your cool summers. Keep in mind that there are early, mid-season, and late-season potatoes that take varying amounts of time to be ready for harvest, so consider this when choosing the best potato varieties for your garden. Generally, earlier types are better for northern climates. (Johnny’s Selected Seeds is a great potato source for your region.)
Planting Potatoes
Potatoes should be planted 6 to 12 inches apart in rows around 2 to 3 feet apart. They like deep, friable soil, so consider planting them in mounds amended with quality compost, such as Black Gold Garden Compost Blend, which is OMRI Listed for organic gardening. Cover each seed potato with at least 3 inches of soil. In your cold region, planting them a bit deeper might be wise.
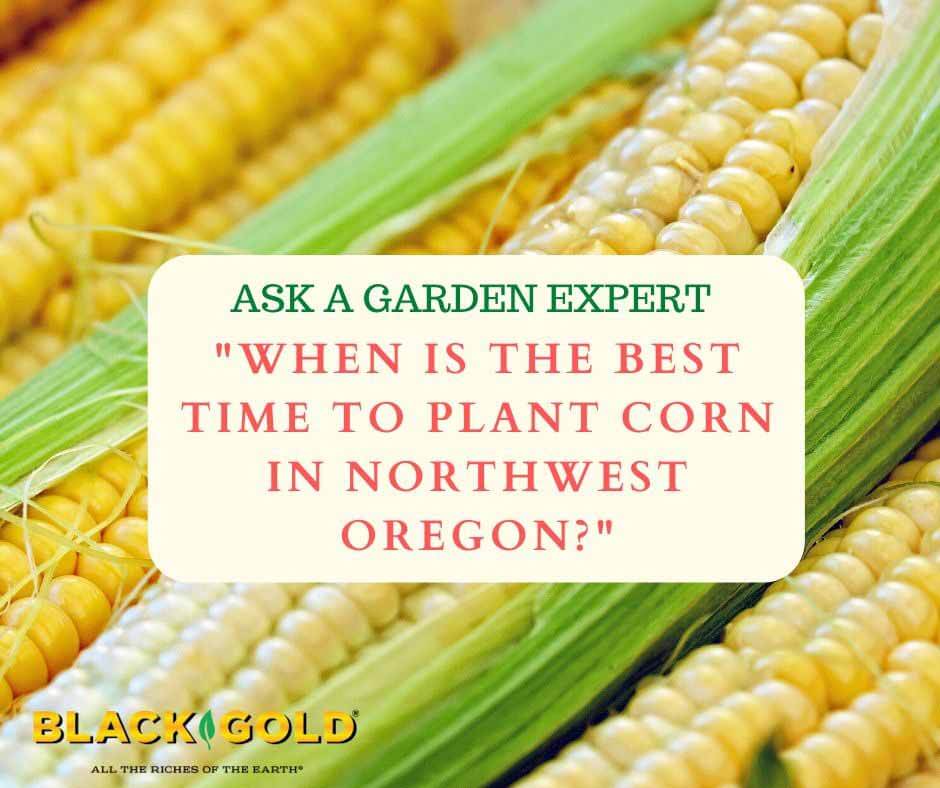
“What is the best time to plant corn in Northwest Oregon at Zone 8?” Question from Joseph of Milwaukie, Oregon
Answer: Your last frost date in Milwaukie, Oregon is March 31st, and your growing season is approximately 222 days long, according to the Old Farmer’s Almanac. Corn likes to germinate when the soil and growing conditions are warm, and most corn varieties take between 65 to 75 days to produce ears if there is enough sunlight, warmth, and moisture. So, I would recommend planting your corn as early as mid-April. With such a long growing season, you can also start a second planting in mid or even late May, if you have space. (Click here to learn more about successfully growing and selecting sweet corn.)
Planting Corn
Plant corn in the ground in late spring, once the soil is warm and frosty mornings are long gone. Seeds should be planted about 2 inches deep, 8-12 inches apart, and kept lightly moist for good germination. Plant them in no less than 3 rows of 6 to ensure even pollination and good harvest. Provide full sun and tilled soil that drains well and has average fertility and a neutral pH. Working Black Gold Compost Blend into the soil before planting will increase success. Once temperatures heat up, plants will take off. Keep them well irrigated but not wet. Ears will be ready when they are plump, the husks are green, and the tassels have turned brown at the tops.
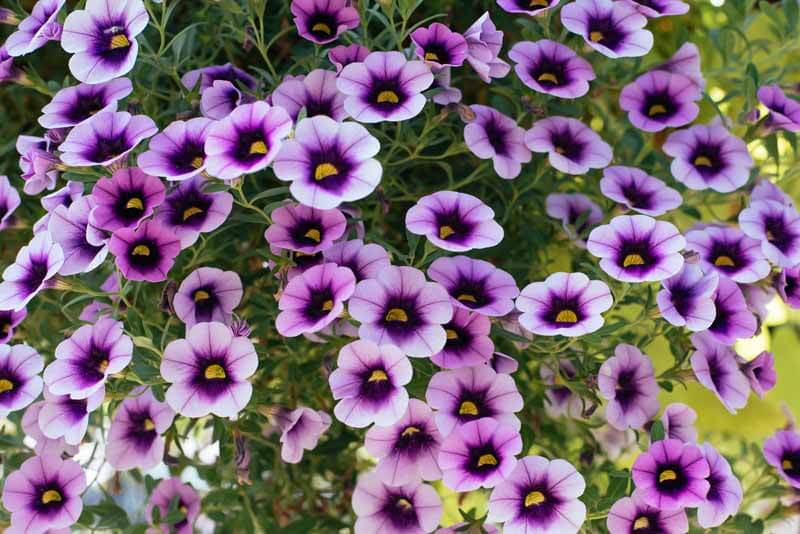
Dark Eyes Fuchsia is a stellar variety with glowing flowers that attract hummingbirds.
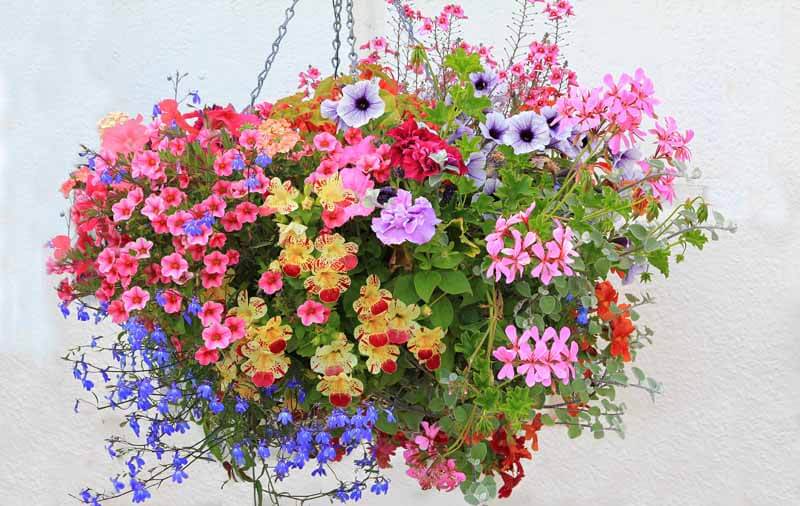
Spring is finally here, and many of us have been bitten by the Flower Bug. We are looking forward to beautiful pots on the deck and hanging baskets on the front porch full of gorgeous flowers. It is fun to make up your own hanging baskets, using last year’s baskets or new ones. The key to success is choosing the right pots, soil, and plants, and then giving them the right care. If you get everything right, you’ll have beautiful baskets all season long.
A. Choosing a Basket
There are many types of hanging baskets. Those made of natural materials are more free-draining and lose water faster.
There are many types of hanging baskets made of different materials. Self-watering plastic baskets or those made of ceramic hold water the best, while coir-lined wire baskets or those made of resin rattan and wood drain freely but often lose water more readily. Solid baskets hold onto water better but lack the appealing look of the coir baskets and do not drain as well. Baskets are available at garden centers, nurseries, and big box stores. Buy large ones if you want more than one plant per basket. They will have room for both trailing and mounded plants and also require less water.
Reusing old baskets is also practical and economical. Just be sure to dump out the old soil, wash them thoroughly with soap and warm water, and let them dry in the sun before use.
B. Choosing Hanging Basket Plants
Premade mixed baskets look gorgeous at garden centers, but overpacked baskets like this one will quickly become stressed due to competition.
I like to plant up my own baskets because it is less costly and allows me to be creative. Others may prefer to buy fully grown, complete baskets. These are always lush and beautiful, but be wary before you buy. Those planted up with too many plants tend not to last because they are too crowded. They will look good in the short-term but will quickly lose their luster.
Cascading Begonia ‘Apricot’ is a strong bloomer.
If you take the more economical approach, here are some favorite hanging basket plants that have grown well for me. As a bonus, almost all the flowers listed here are loved by bees, hummingbirds, and butterflies.
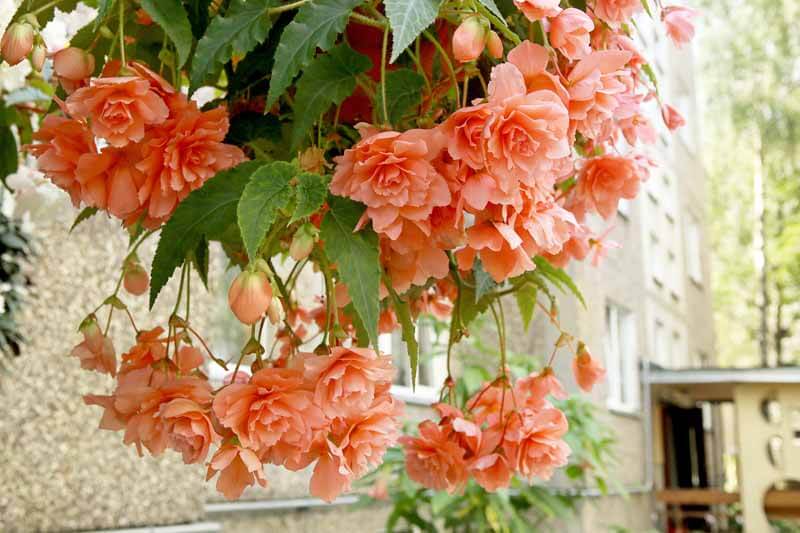
Cascading begonias (Begonia x tuberhybrida Pendula Group) like shade, especially in hot weather. Further north where summers are milder, they can be grown in partial sun, but in the Midwest and more Southern regions, shade or filtered light will keep them looking their best. Cascading begonias have large, glowing, flowers, in shades of yellow, pink, orange, and red, and will trail up to 20 inches over the sides of the basket. A truly spectacular selection is Illumination®RoseTuberous Begonia, which cascades beautifully with double, rose-red flowers. ‘Apricot’ is another exceptional form with double apricot blooms that truly hang downwards.
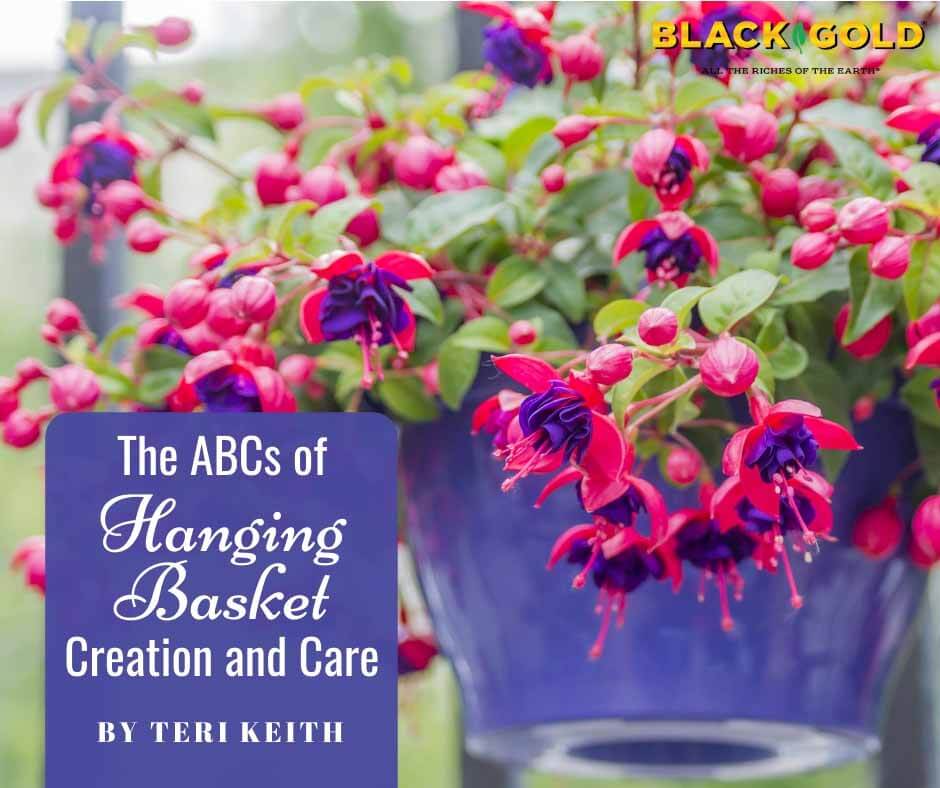
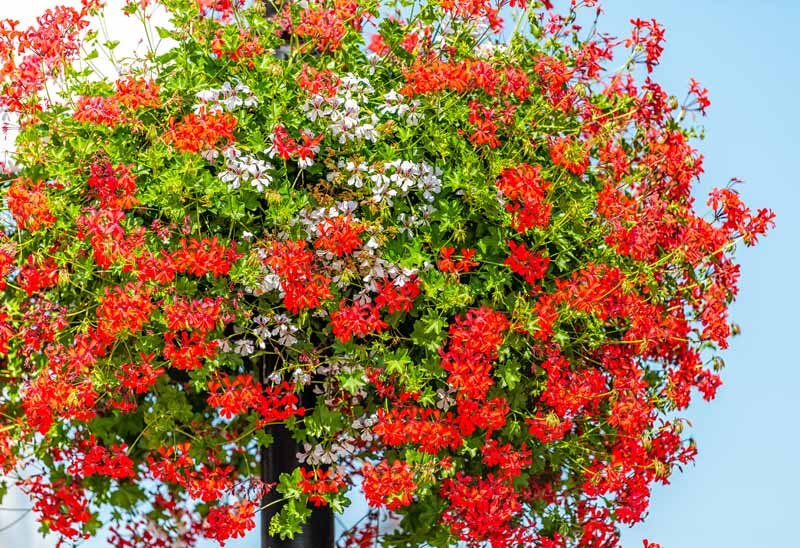
Fuchsia (Fuchsia hybrids) are among the most beautiful cascading plants with pendulous flowers that attract hummingbirds. They will grow well in full sun or partial shade, but shadier locations are preferred in areas with hot, dry summers. Fuchsias have tubular inner flowers with showy outer sepals that often curve back. Usually, the flowers are bi-colored, with blooms in differing colors or shades of
‘Balcon Royale Red’ ivy geranium is an excellent heat-tolerant option.
crimson, pink, purple, and white. Especially stunning are those with double flowers and ruffled edges. Dark Eyes trailing fuchsia is one with red sepals and a purplish inner ruffle. When buying fuchsia at garden centers, choose larger, well-established specimens for a faster summer show, and don’t allow them to get dry in the pots for any length of time.
Ivy geraniums (Pelargonium peltatum) are cascading annuals that enjoy full sun and can take the heat. They cascade up to 20 inches and are called ivy geraniums for their ivy-shaped leaves. They branch well, keeping the stems thick with flowers. Most of the flowers are single, but a few are semi-double. They come in shades of pink, red, salmon, and white, and they like full sun. Try the classic ‘Balcon Royale Red’, a reliable form that produces loads of bright red flowers and can cascade down to 3-feet.
Petunias and calibrachoa are good container companions.
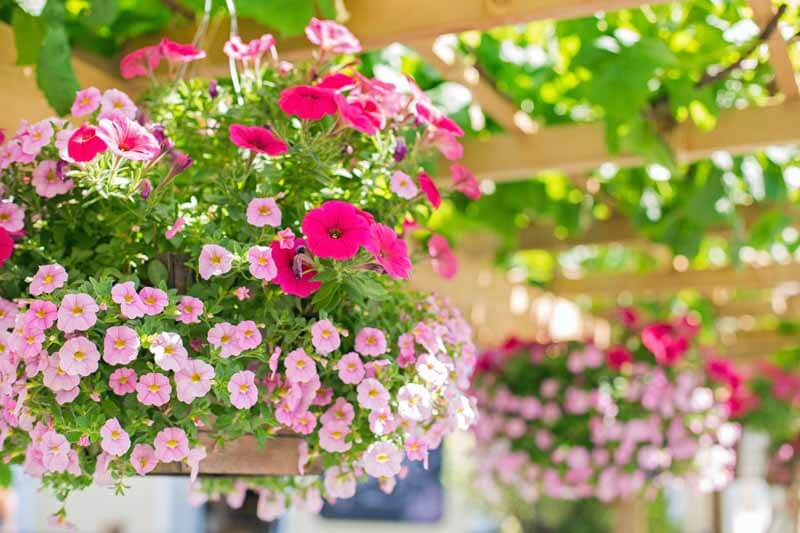
Petunias (Petunia hybrids) are old sun-loving favorites that have been bred into the most fabulous new varieties. In particular, look for Proven Winners Supertunias. Both the regular-sized Supertunias and Mini Vistas will mound in the center and spill over the sides of a basket. Last year I grew Supertunia®Mini Vista™ Violet Star, a striped purple-and-white flowered form with small, less than 1-inch-wide flowers. It never needed deadheading or pruning and just stayed perfect until the end of the season. These petunias come in many colors and blends.
Trailing verbenas (Verbena hybrids) tolerate heat and sun very well and will continue to bloom and perform with regular water. Keep an eye out for the Lanai Series of lantanas. They form a 10-inch tall mound that stays looking beautiful all summer and cascades 18 inches over the side. Lanai®BlueVerbena, with its pure violet-blue flowers, is very eyecatching. Proven Winners Superbenas are even more high performing and bloom nonstop all summer. The apple-blossom pink Superbena Sparkling®Roséis my favorite.
Calibrachoa (Calibrachoa hybrids) look like very small petunias. Of these, I
Superbells Blue Moon Punch has striking, dark-eyed flowers.
like Superbells® varieties, but Million Bells® are also reliable. They are available in many different colors with doubles and single flowers (click here to view them all). Superbelles create a 6- to 12-inch mound in the center of the basket that cascades to 2 feet over the edges. Superbells®Blue Moon Punch™is a cool lavender with a purple eye that mixes well with pink or white Superbenas. Calibrachoa need full sun but also do well in half-day sun.
Other plant ideas for hanging baskets include the use of just foliage plants. Think beyond your average Boston fern, as pretty as they are. Ornamental sweet potato vine (Ipomoea batatas hybrids), golden moneywort (Lysimachia nummularia ‘Aurea’), dichondra (Dichondra argentea), variegated ivy (Hedera helix hybrids), and small-leafed thymes, such as wooly (Thymus pseudolanuginosis), creeping pink (Thymus serpyllum), and lemon (Thymus x citriodorus) thymes, are all easy to grow in baskets. Gardeners with very little time can even try growing the effortless succulent string-of-pearls and its relatives (click here to learn more about growing string-of-pearls.).
My list offers just a sample of what’s available, so look beyond it. I recommend checking out some of Proven Winners hanging basket recipes, as well as other online sources. There are so many wonderful hanging basket plants for sun and shade.
C. Planting and Caring for Hanging Baskets
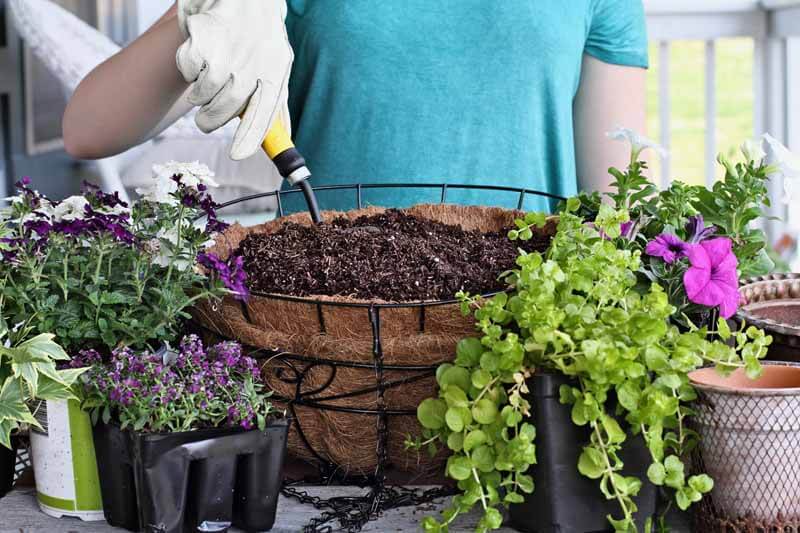
Planting up hanging baskets is easy.
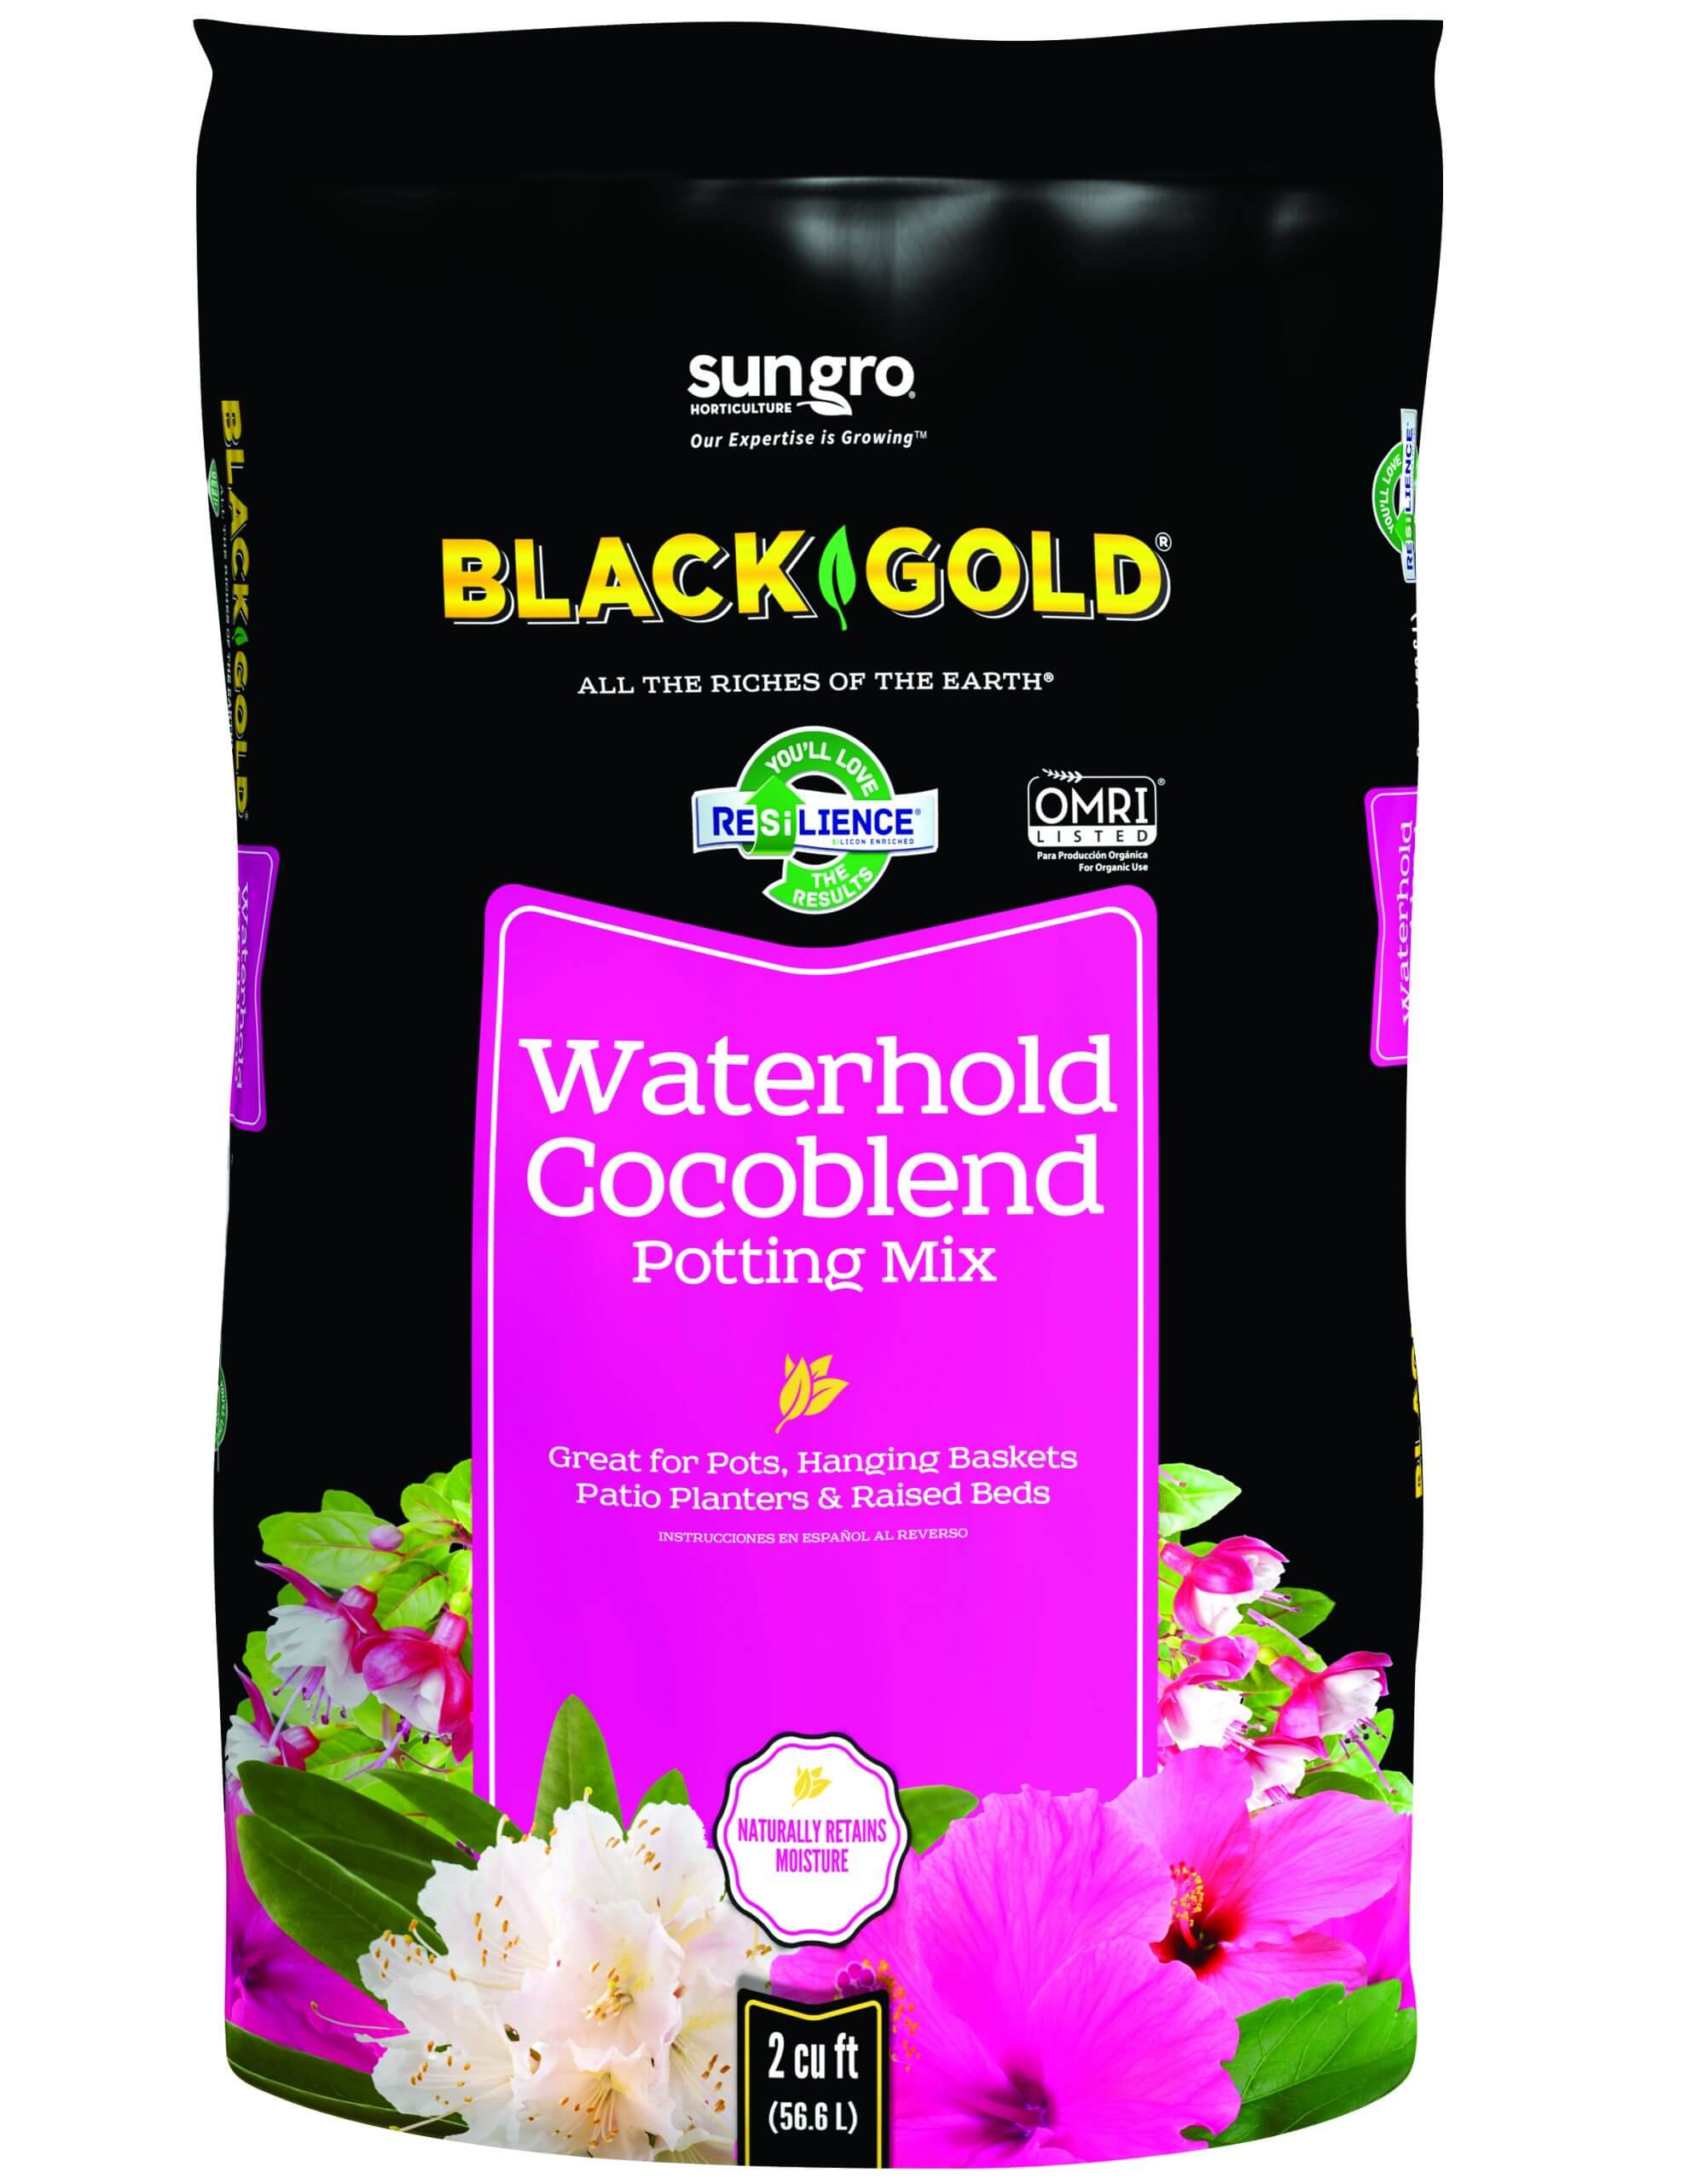
Choose soil that holds lots of water but is also aerated. Black Gold has several excellent options. Black Gold Moisture Supreme Container Mix has a very high water-holding capacity, as does Black Gold Waterhold Cocoblend, which is OMRI Listed for organic gardening. Both contain all-natural Sun-Coir, which retains water for a long time.
When deciding upon plant sizes, keep in mind that those in small cell packs take much longer to grow than fuller plants in 4-inch pots, so choose the latter if you want a faster show. Also, consider the growing needs, appearance, and mature size of each plant to make sure they will look good and grow well together. For example, a trailing fuchsia planted alongside a variegated ivy would be a good combination for shade. In many cases, however, one full plant per basket is sufficient.
At planting time, fill the bottom of the basket with potting soil. If planting more than one plant per pot, be sure to place them several inches away from one another. Gently pull their roots apart if they are rootbound. Be sure to cover the roots and continue filling until the surface of the soil is just below the basket rim. Then feed with a time-released fertilizer, such as Proven Winners Continuous Release Plant Food, using the manufacturer’s recommendations.
Watering hanging baskets properly is the biggest challenge for many gardeners. Don’t forget that hanging baskets dry out faster than pots, window boxes, or rail planters because they are more exposed and often smaller. As the roots fill up the basket, they have less room to spread and often need watering every day. Underwatering is the most common problem with hanging baskets, but on rare occasions, shade baskets can be overwatered, resulting in root rot. Be sure you invest in a long-necked watering head to make it easier to reach the baskets.
If some of the plants should start looking ratty by midsummer, just do a light pruning when you put in the fresh fertilizer, and they will bounce back.
Nothing looks prettier than a patio or porch lined with festive hanging baskets. I hope this gets you started dreaming about summer, and the beauty that comes with it. Who knows, maybe we can go outdoors by then.
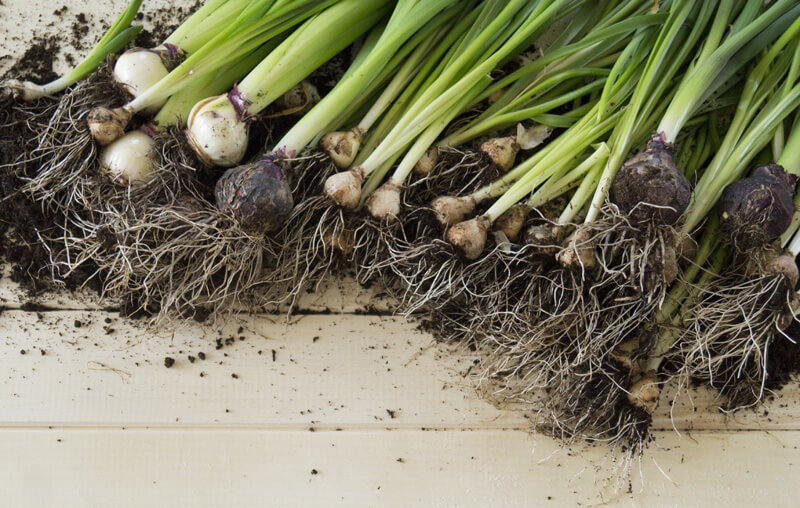
“I have had some Iris’s and Daffodils shoot up in my yard. I love these flowers, and would like to know when would be a good time to dig them up and move them so I don’t cut them down with a lawnmower.” Question from Stacey of Hueytown, Alabama
Answer: Bulbs are pretty when they flower in lawns, but mowing their tops does disable them from gathering as much food as possible for next spring’s bloom. The iris and daffodils should be removed differently.
Digging Daffodils in Spring
Flower transplant of daffodils. Bulbous plant. Pot and tool primer. Wood background
Wait until the daffodils have finished blooming. Mow around them, if you can, while they flower. Once their flowers are done, gently dig them up. If you use a long, sharp spade you can easily dig to the base of each daffodil clump and loosen the bulbs without disturbing the turf to much. Be sure to wear gloves. Try to maintain the green tops of the bulbs in the process. Next, place the bulbs in holes around the garden in need of spring color. Plant them 6 to 8 inches down, and leave their green leaves up top to gather as much sunshine as possible. Mix a little bonemeal fertilizer into each hole to get them off to a good start. Trim the leaves back when they start to turn brown.
Digging Iris in Spring
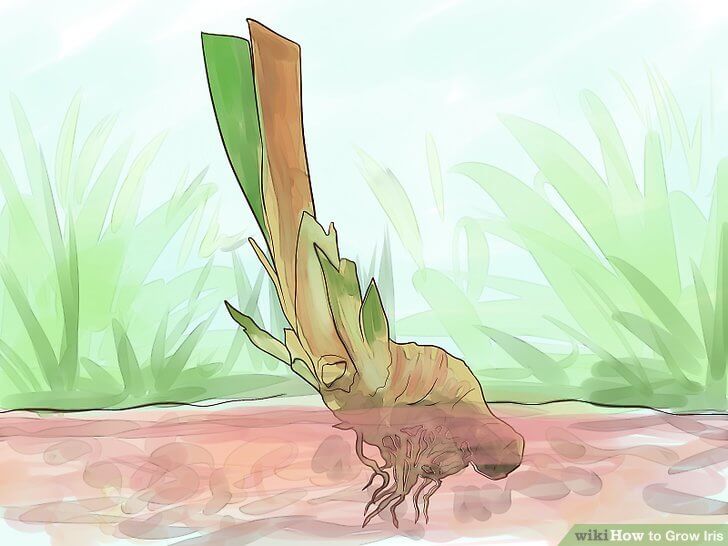
The iris can be dug now and planted in the garden. They grow best in well-drained, fertile soil, so we recommend enriching the planting holes with Black Gold Garden Soil at planting time. Not only is this amendment rich in organic matter, but it feeds plants for up to six months. If it is a tall bearded iris, be sure its fleshy rhizomes are partially exposed at the top (see image below). Total coverage with soil will smother them. Sometimes iris are top-heavy, so you will likely need to pat the soil down around the rhizome to keep the plants secure and upright.
Iris rhizomes should be exposed at the tops when planted. (Image thanks to WikiHow)
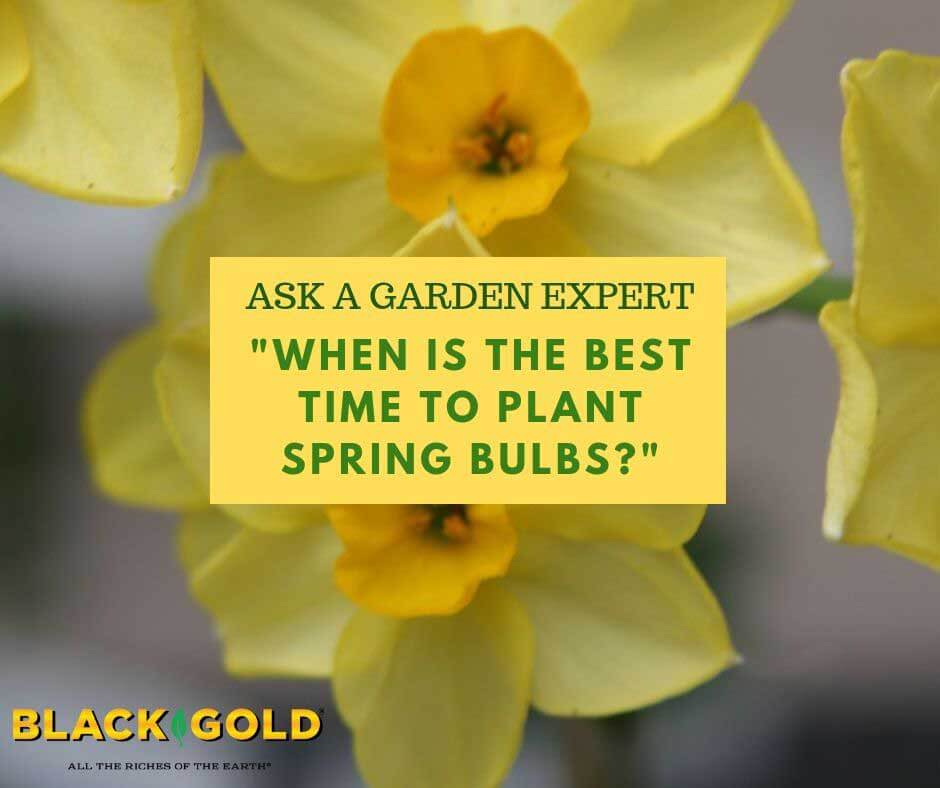
“When is the best time to plant spring bulbs?” Question from Donna of Smithfield, Pennsylvania
Answer: Fall is the best time to plant bulbs–starting in late September and ending in late November. This is the ideal window, but I have even planted bulbs in December when the soil could be worked, and the flowers appeared as expected in spring. Just don’t wait until the soil surface freezes over.
For best growth, amend your planting soil with compost and bonemeal. Both products will ensure that your bulbs will bloom and grow well. It is also essential to plant different bulbs at the correct recommended depths. If you plant bulbs too deeply or shallowly, they will not perform as well. Small bulbs may not even pop up at all if planted too deeply. Just follow the package instructions.
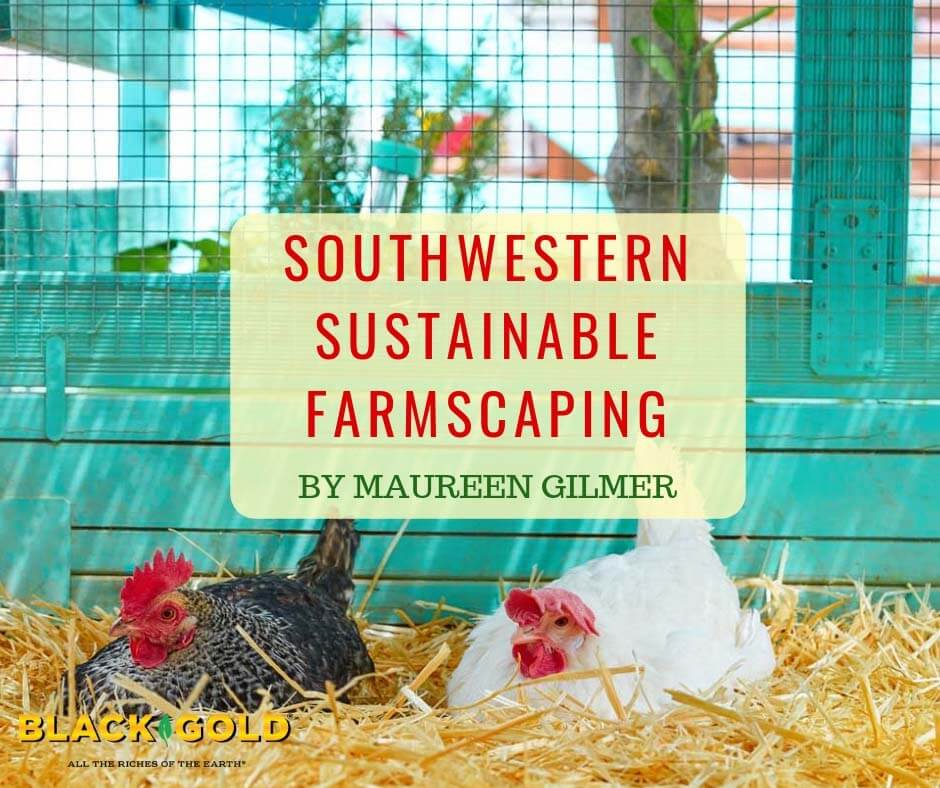
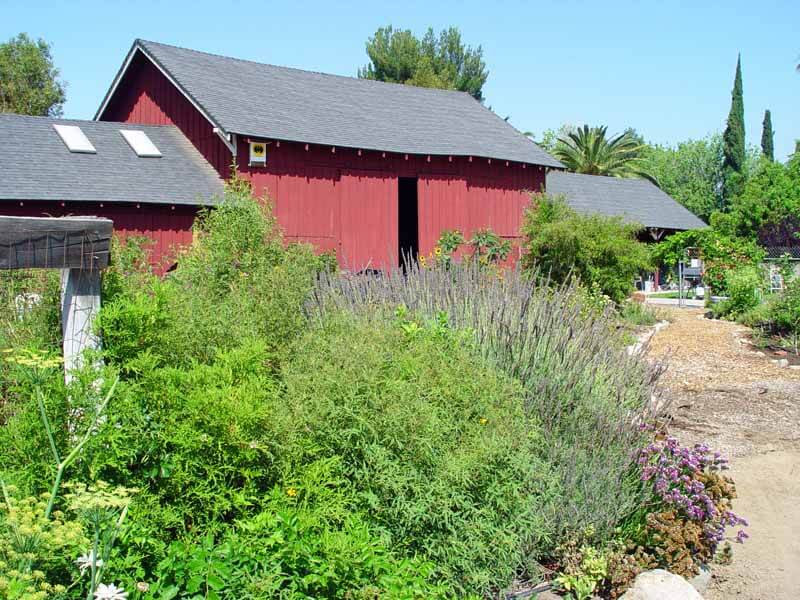
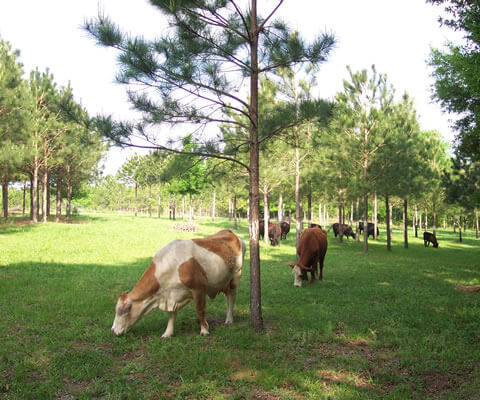
The right plants can provide needed cover for livestock, repel insects, and serve as forage.
Everywhere across the American Southwest, folks are raising chickens, milking goats, horses, and grazing their own cattle. The rural way of life is evolving towards animal care and organic gardening. Dependence on livestock is creeping into the suburbs, too, where clean, efficient animal keeping is bumping up against the traditional backyard. This requires livestock areas to look good from the house, require minimal care, and efficiently benefit our homes and lifestyles. These requirements are achieved with good choices.
Small Farm Animal Needs
It starts with animal needs. Choose plants that are beneficial to livestock such as insect repelling and animal-friendly natives and exotics. These should be able to take the dust of the dry season caused by winds picking up particles loosened by animal movement on hard soil. The plants should also be able to take the reflected heat of afternoons. Hot spots occur in the uncovered ground, paving, dark shed roofs, and heat-absorbing metal animal enclosures.
Here are four strategies for sustainably supporting home livestock through smart planting practices.
Strategy 1 – Provide Good Cover
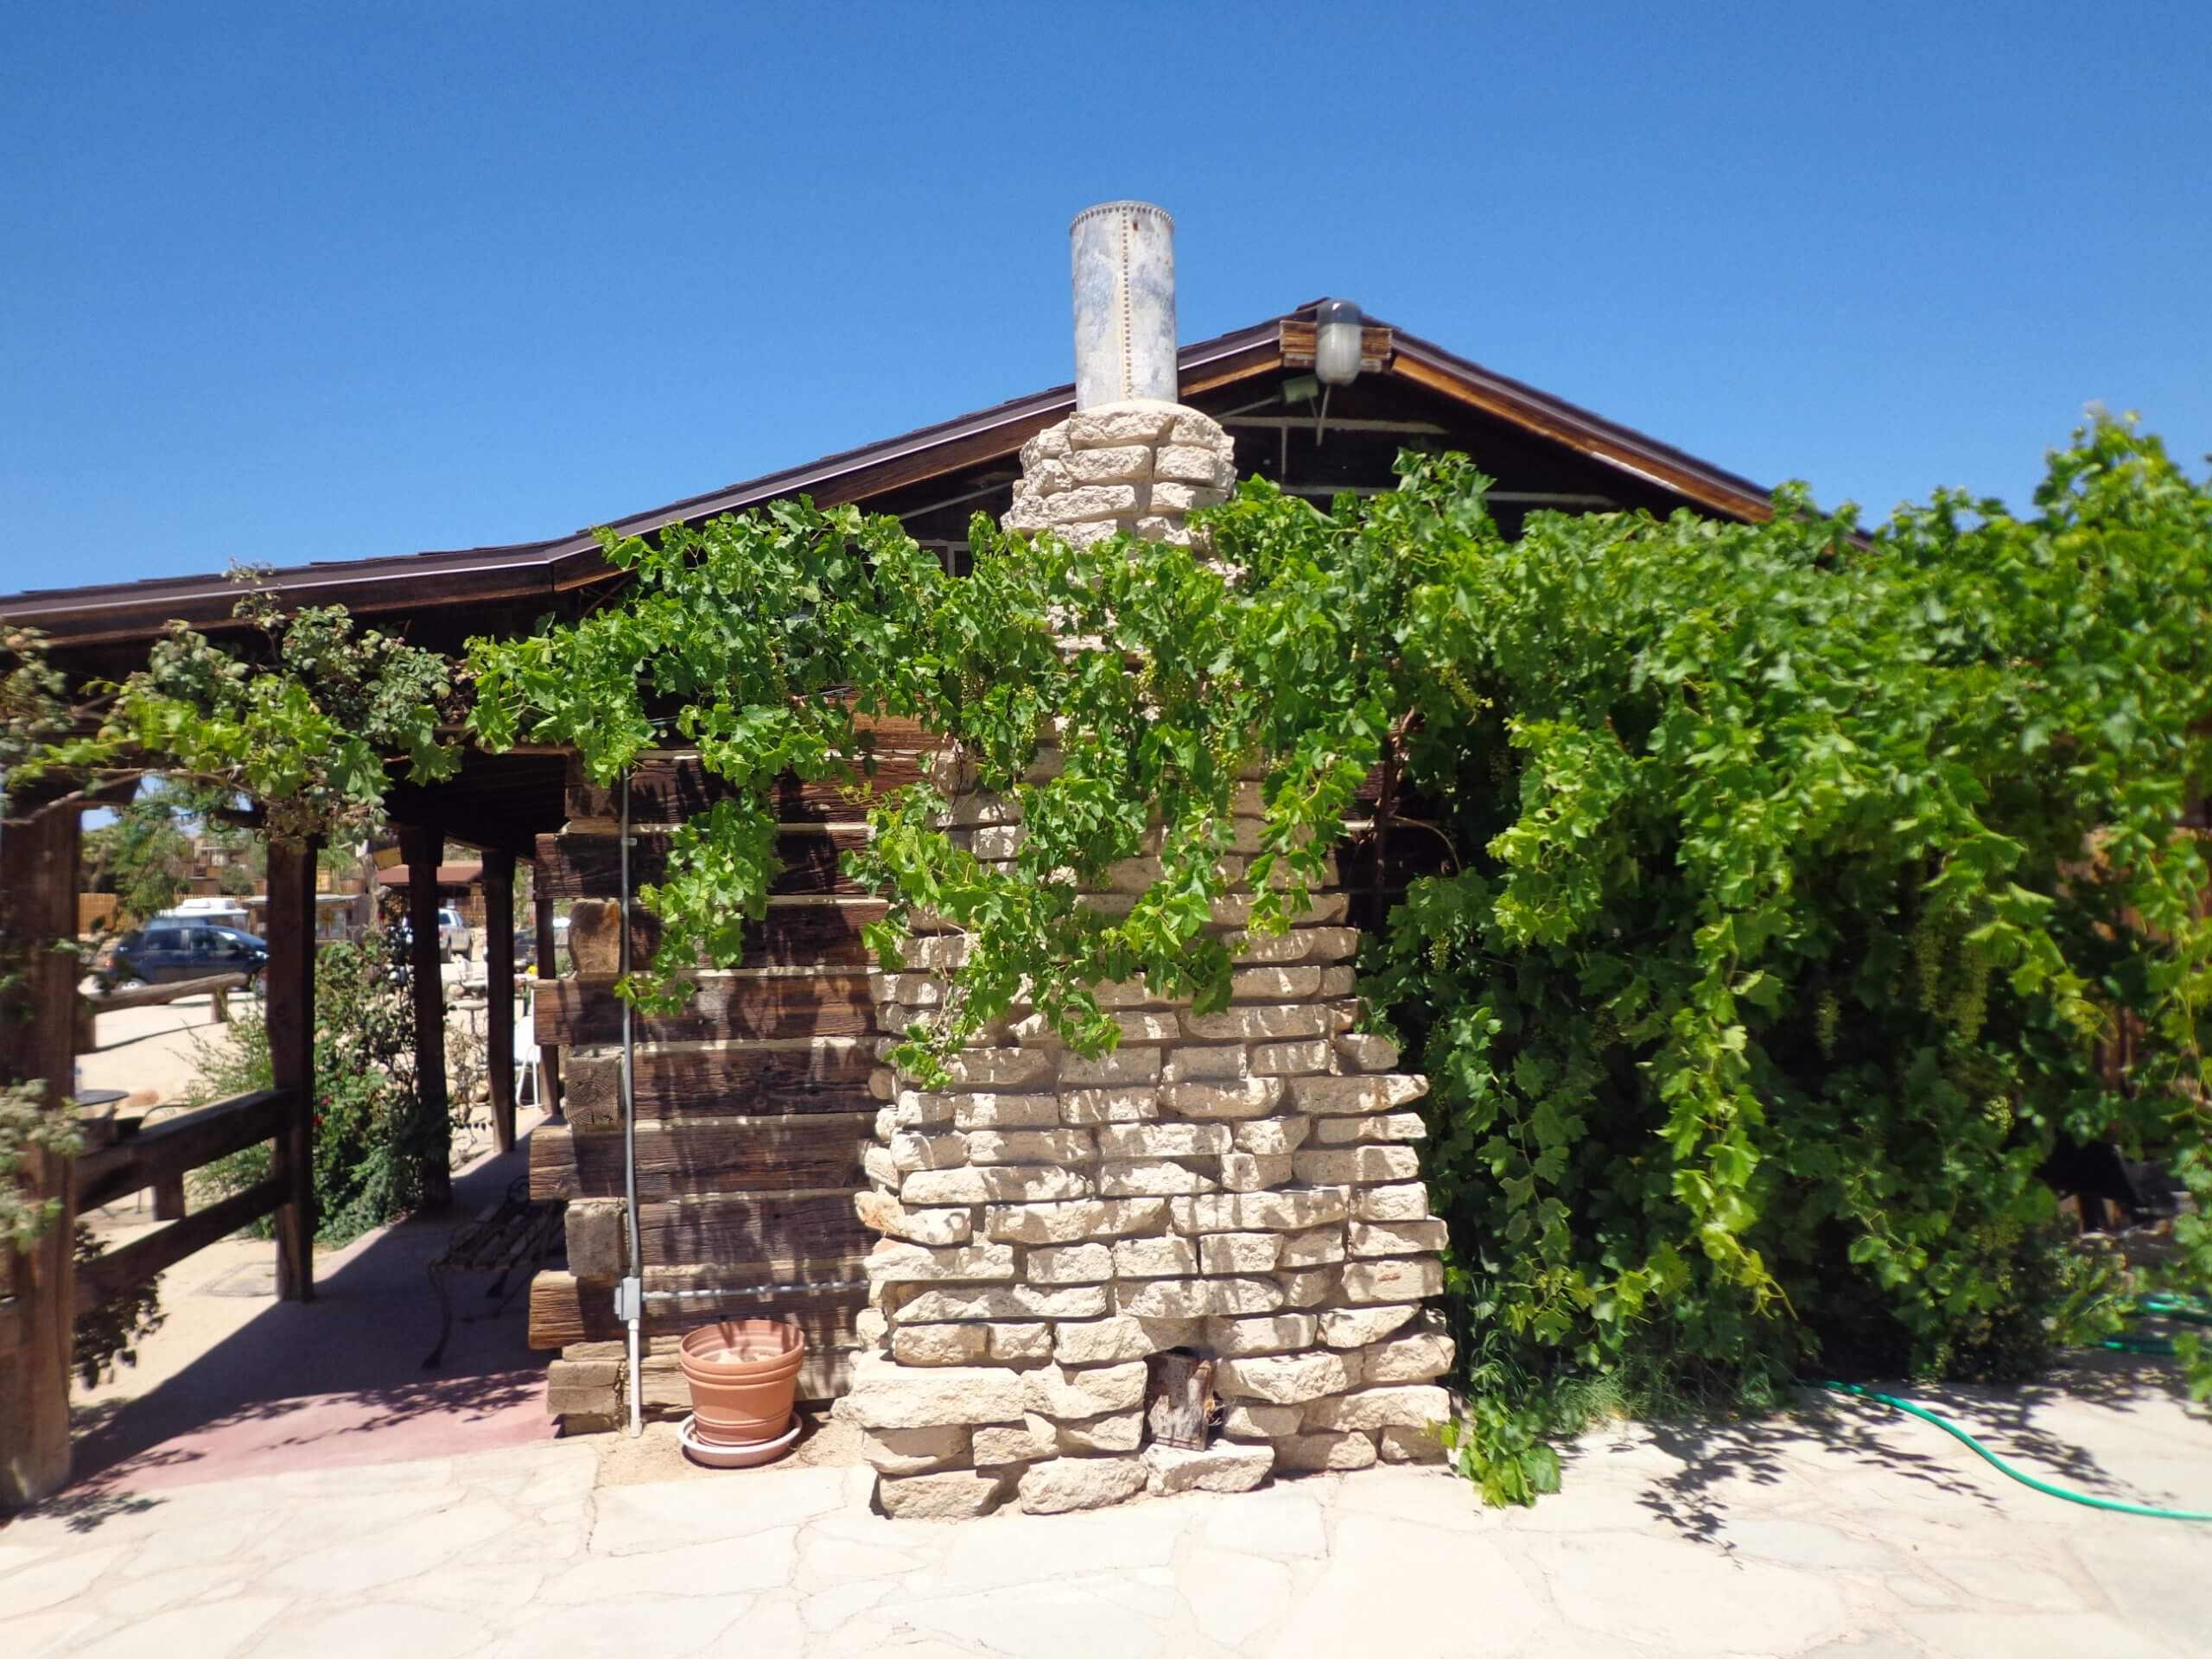
Grapevines are ideal for shading outdoor animal enclosures from the direct summer sun and protecting poultry from raptors. (Image by Maureen Gilmer)
Plant deciduous vines to cover chicken coops that lack sufficient summer shade. When the leaves fall, the warming winter sun can come through. Good options are table or wine grapes or vigorous trumpet creeper (Campsis radicans). Covering open coops with summer vines also halts overhead predation by blocking the view from above. If birds of prey can’t see your hens, they won’t swoop down to take them.
Strategy 2 – Plant for Protection
Establish insect-repelling plants around your barn to repel flies and provide repellent cuttings for feeding areas. (Image by Maureen Gilmer)
Plant attractive insect-repelling herbs around the outside of your animal pens to help them blend in visually with other useful plants. Herbs with pungent oils are potent and most animals don’t graze on these plants. A pungent native option is white sage (Salvia apiana) used by Native Americans to keep pests out of homes. A mint called pennyroyal (Mentha pulegium) is also known as fleabane because it is abhorrent to fleas and other pests. Put fresh cuttings into nest boxes and blend into the bedding as a pest preventative. Other repellent candidates include fennel, lavender, rosemary, and tansy (golden tansy (Tanacetum vulgare ‘Isla Gold’) is prettiest), all of which make fine landscaping that prevents other pests and flies around pens.
Clip your herb plants to release oils into the ambient area to drive away flies. As the oils release their aroma, they also cover up unpleasant animal odors in the heat and humidity of summer.
Strategy 3 – Plant a Tree
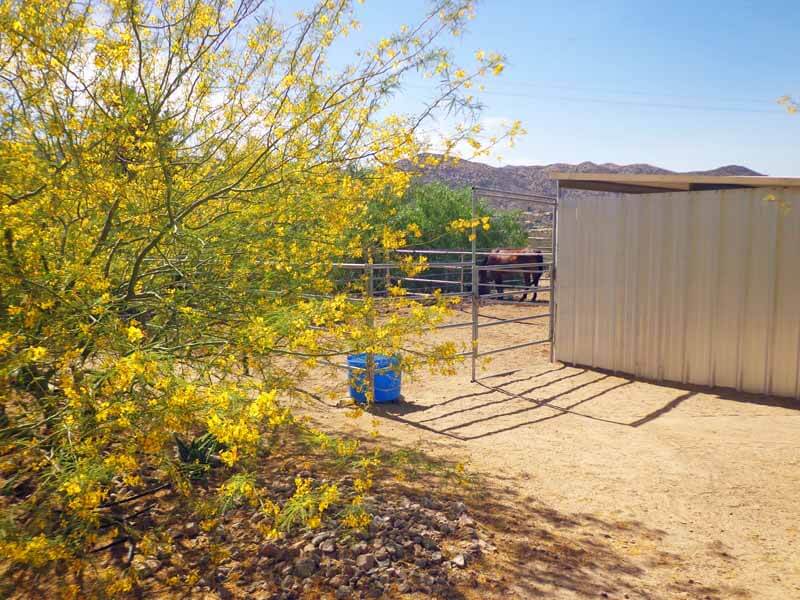
The blue 25-gallon water trough is dumped onto the yellow flowering palo verde tree whenever it is cleaned. (Image by Maureen Gilmer)
Plant a good tree or large shrub beside every water trough and faucet. This is because water troughs must be cleaned often, and the dirty recycled wastewater is actually beneficial to plants. Make it easy to pour or siphon out your troughs for an alternative irrigation strategy when it doesn’t rain enough for a rain barrel irrigation system. These trees will also provide more comfortable trough filling for the suburban farmer and trough drinking for the animals.
(Editor’s Note: Trees can do even more. Planting working trees for livestock, also termed silvopasture, is a planting practice where the right beneficial trees for the right regions are planted in ways that allow them to become living barns, windbreaks, and even forage for your animals. (Click this USDA document to learn more.))
Strategy 4 – Avoid Dangerous Plants
Barbed or spiny plants can be harmful to livestock, even if they taste good.
Finally, avoid plants that may pose physical of chemical dangers to animals. These include poisonous plants and those with dangerous thorns and spines.
There are many plants that pose physical dangers. Be careful of spiny cacti and succulents. Just keep them well away from animal areas. Roses, barberries, and sharp yuccas are also problematic. Removing spiny weeds, like star thistle (Centaurea solstitialis), sharp foxtail grasses, and ripgut brome (Bromus diandrus), is also important.
Planting your livestock-inhabited yard, small farm, or ranch property properly will make animal care easier, less resource-intensive, and above all good planting can result in fewer chores. Don’t let your farmscape look like a desert wasteland or a junkyard. Every farm is a garden, every ranch a zoo. When they blend together into a holistic organic environment for humans and beasts alike, you have the ultimate family home and garden.
Well-placed trees can be fed and irrigated by trough water and provide cover, windbreaks, and even forage for livestock.
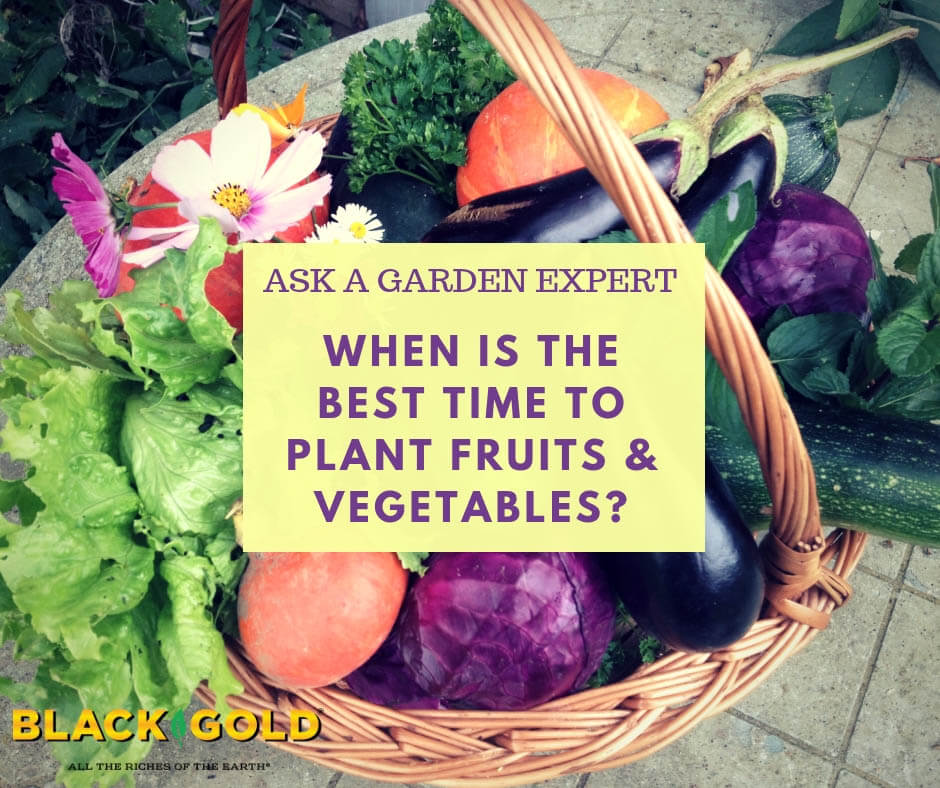
“When is the best time to plant fruits and vegetables?”Question from Brittany or Pound, Virginia
Answer: It depends on the fruits or vegetables you are planting, their preferred weather, life cycle, and how long they take to bear harvestable produce. Overall, annual fruits and vegetables are divided into cool-season and warm-season categories.
Cool-season annual vegetables grow best in the spring and fall when growing conditions are mild. Vegetables in the category include lettuce, peas, radishes, spinach, cabbage, broccoli, carrots, and turnips, among others. All of these grow pretty quickly, meaning they grow from seed to harvest in as little as one to three months. Start them in either early spring, for spring harvest, or late summer, for fall harvest.
Warm-season annual fruits and vegetables require warm growing conditions to produce well and generally require more days before they bear produce. These need to be started in spring and planted after the threat of frost has passed and garden soils have warmed up. During the hot days of summer, they will start to produce. Vegetables in this category include corn, tomatoes, peppers, winter and summer squash, beans, melons, sweet potatoes and cucumbers. Keep in mind that some of these, like pumpkins, can take as many as 110 harvest days before bearing fruit.
Perennial fruits and veggies for the garden, like strawberries, rhubarb, and asparagus, can be planted in spring or fall.
To learn more, I recommend you read some of the following Black Gold articles and videos about growing fruits and vegetables!
The image on the left above is NOT a good horticultural practice! To remove a plant from its container, gently tip your plant while supporting it at the soil line with your free hand.
Be kind to your transplants. Don’t tear a developing plant out of its original container by its leaves, stems, or trunk risking ripping off foliage and roots. It pays to gently loosen potted plants at planting time.
When loosening potted plants, the best way is to first make certain that its potting medium is moist, then slowly tip the container over while holding one hand around the base of the plant, supporting the shifting weight of the soil as the intact plant slides free.
Planting fruit trees, grape vines or blueberry shrubs? To make sure yours are really productive, give them an incentive. Sprinkle a measuring cup of organic fertilizer into the bottom of your planting hole, then cover it with a few inches of soil before you set the root ball on top. Then deep water often to send moisture down there to activate this fertilizer so its ready for roots when they arrive. Such incentives drive roots downward into the soil where they are far better able to find moisture under hot dry conditions later this summer.
Step 1: Use chopsticks to create your planting hole. Step 2: Lift a sprouted seedling. Step 3: Gently replant the sprouted seedling and water.
Practice your fine motor and dining skills on your new sprouts. Transplanting sprouts using chopsticks is an easy, clean, and fun way to transplant your seedlings into a larger-sized pot. Simply fill your container with Black Gold Seedling Mix. Poke a planting hole into the loose soil with the chopsticks. Lift the seedling, and then gently place it into the waiting hole. Smooth the soil, water it well, and you are done.