Articles

Planting Spring Bulbs Late: Rules and Tips

You can tell the health of daffodil bulbs by squeezing them. Healthy bulbs are firm. Planting these bulbs a little late is not a problem.

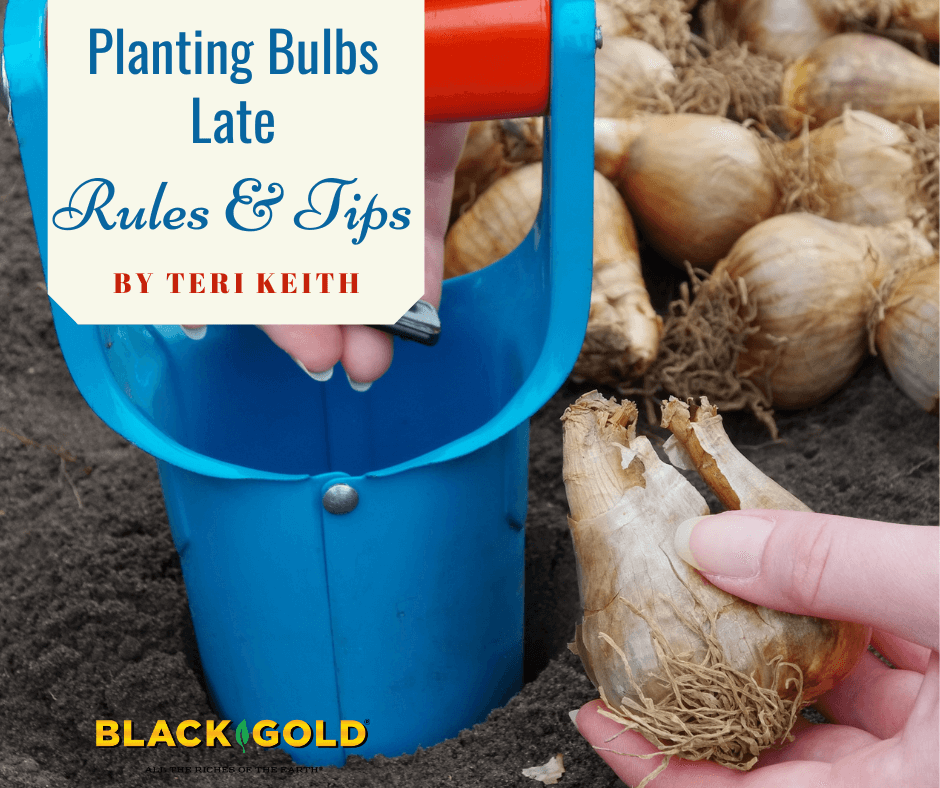
If your spring-blooming bulbs are sitting around somewhere, like mine, or you have not even bought them yet, you will be glad to know that it is not too late. Bulbs can be planted as late as November or December, as long as the soil has not frozen solid, and the bulbs are alive and healthy. You can even take advantage of sales in October or November, and save a little money.

How to Choose Healthy Bulbs

These tulip bulbs show a little discoloration at the tip and along the sides, but overall they are firm, healthy, and will survive.

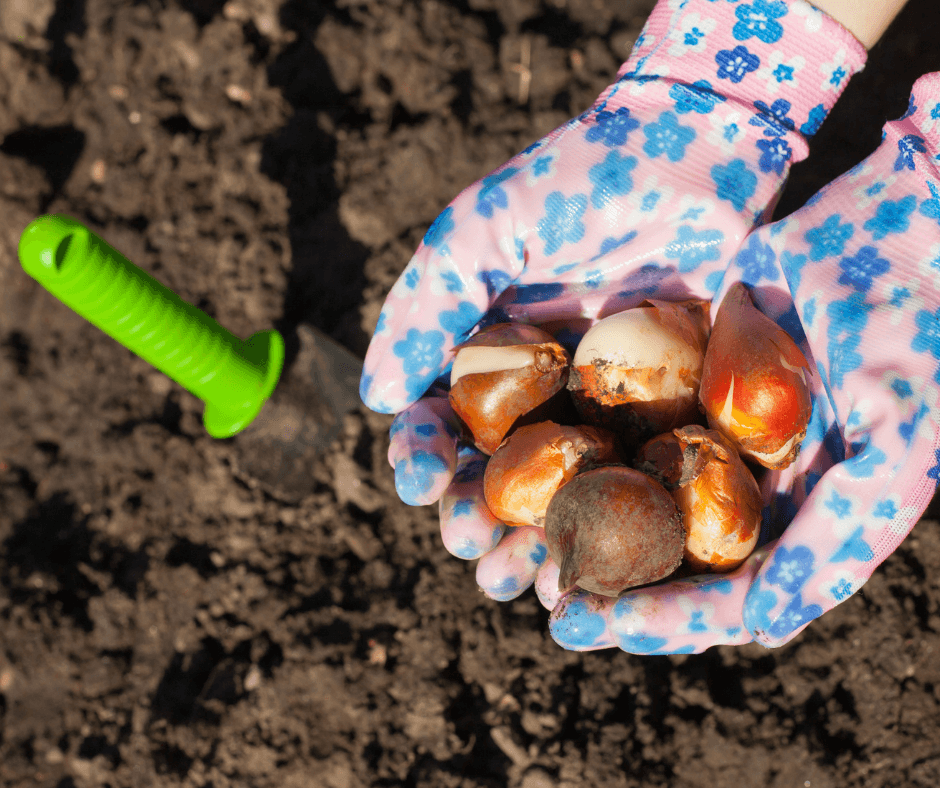
First, check any bulbs for good health before purchasing them. How can you tell when a bulb is healthy and alive or not? Healthy bulbs should be ivory, firm, and have papery coverings. (If you cannot see the flesh, just squeeze to make sure that they are firm.) It is especially important that the bottoms, where the roots are, remain firm and blemish- or mold-free. Dying or diseased bulbs have drying brown areas, brown or blue-green spots, or may even be soft and flakey. Never purchase bulbs with these traits. If one or two out of the bag appears to be in poor shape, it’s not a problem. Otherwise, you are wasting your money. For more bulb troubleshooting information read How Do You Keep Spring Bulbs from Rotting?

General Bulb-Planting Information

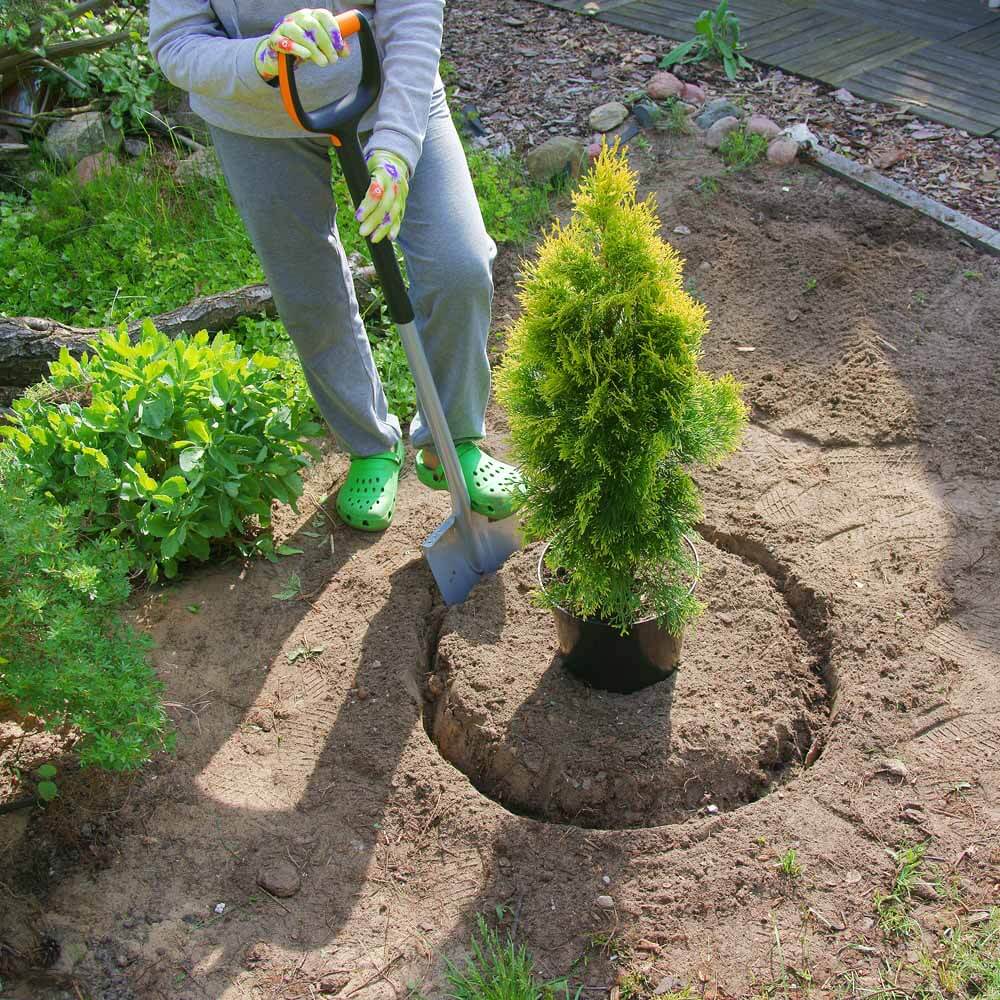
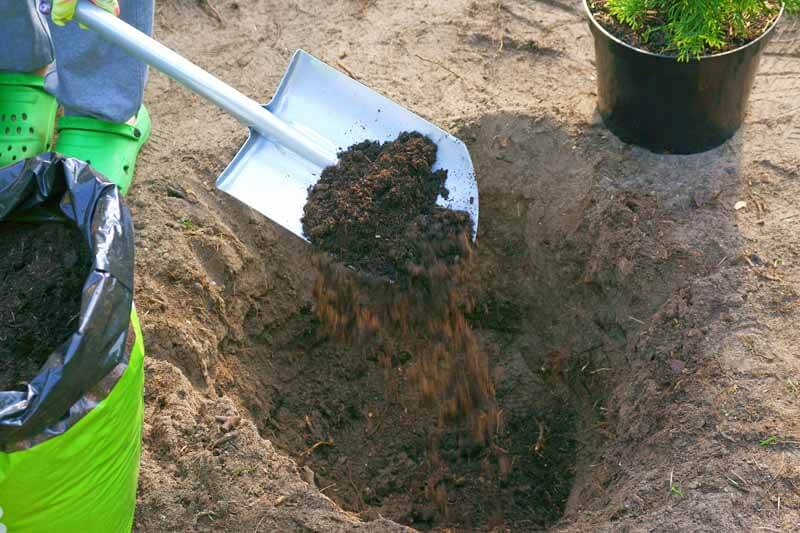
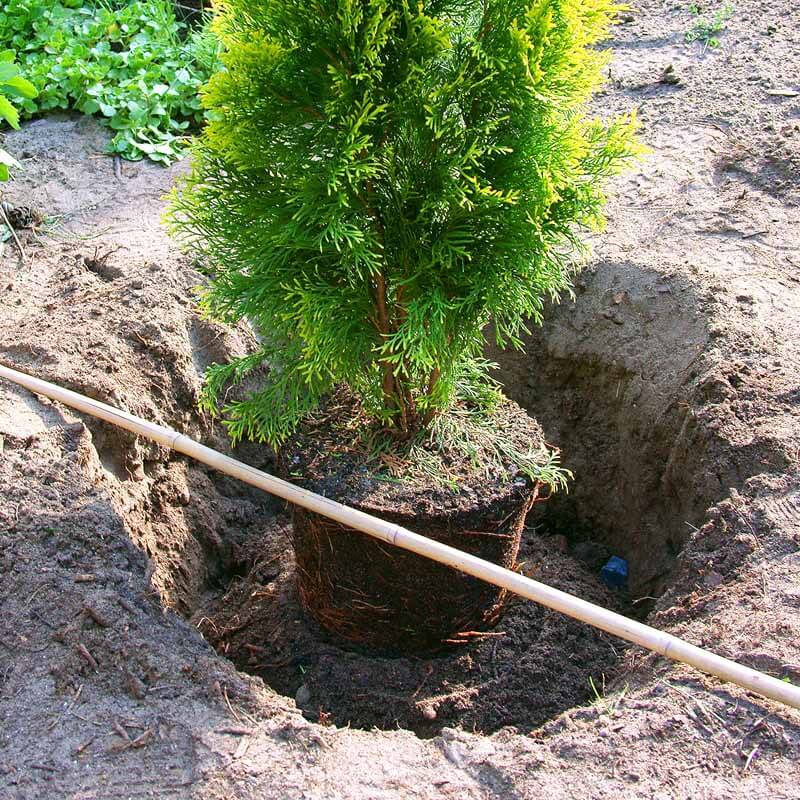
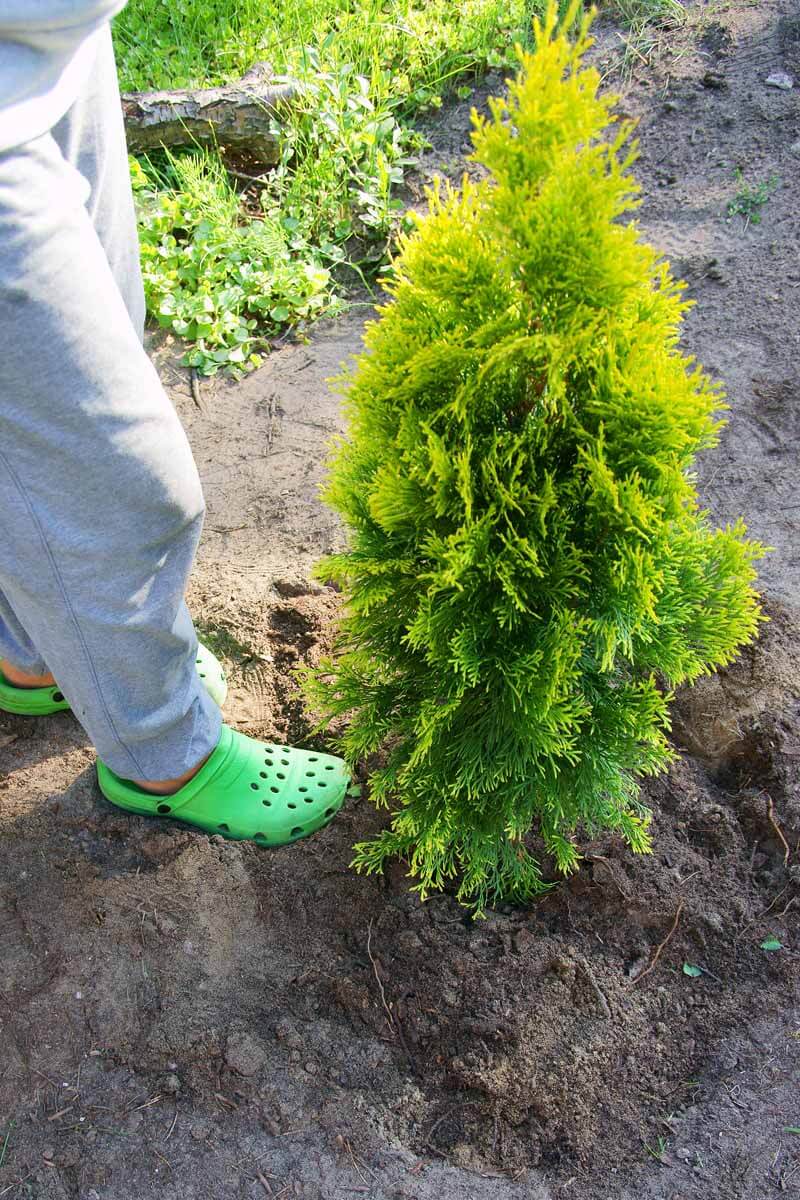
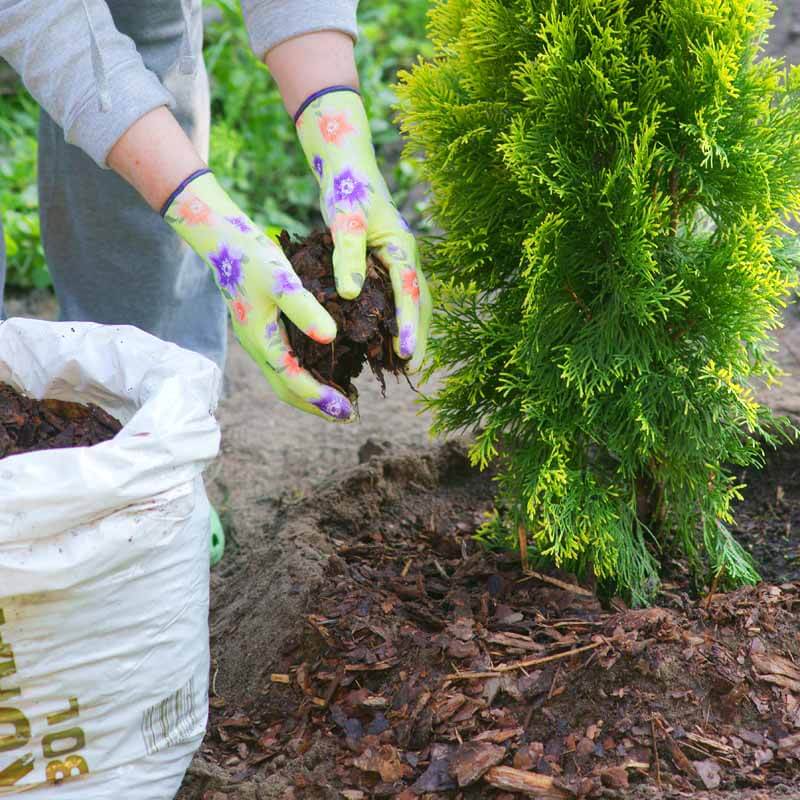
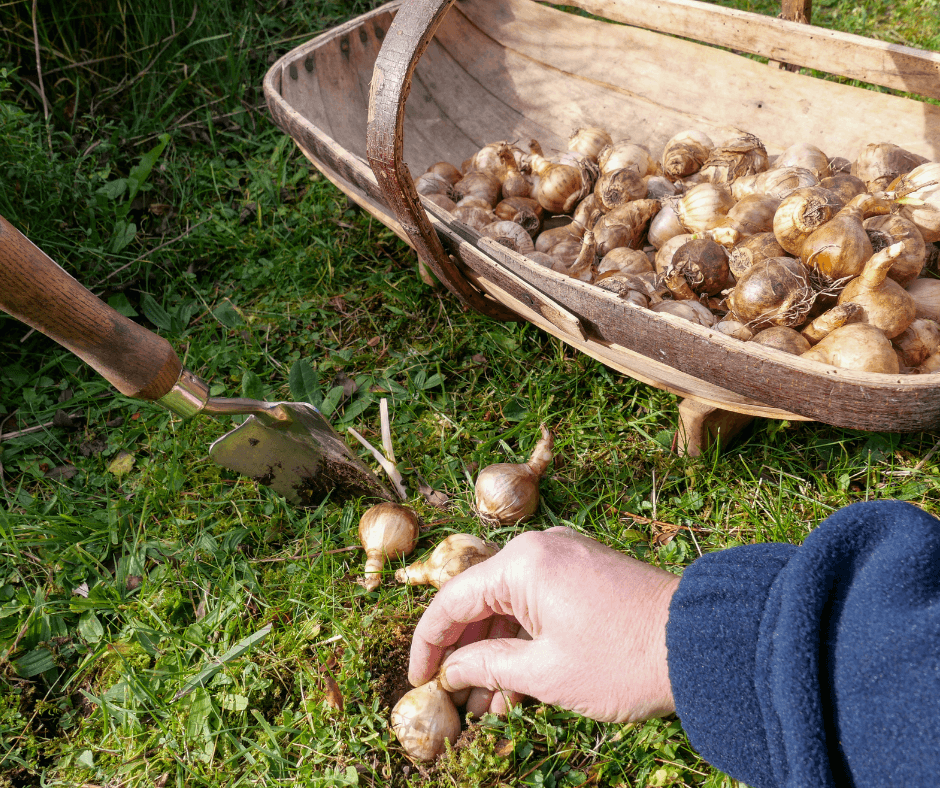
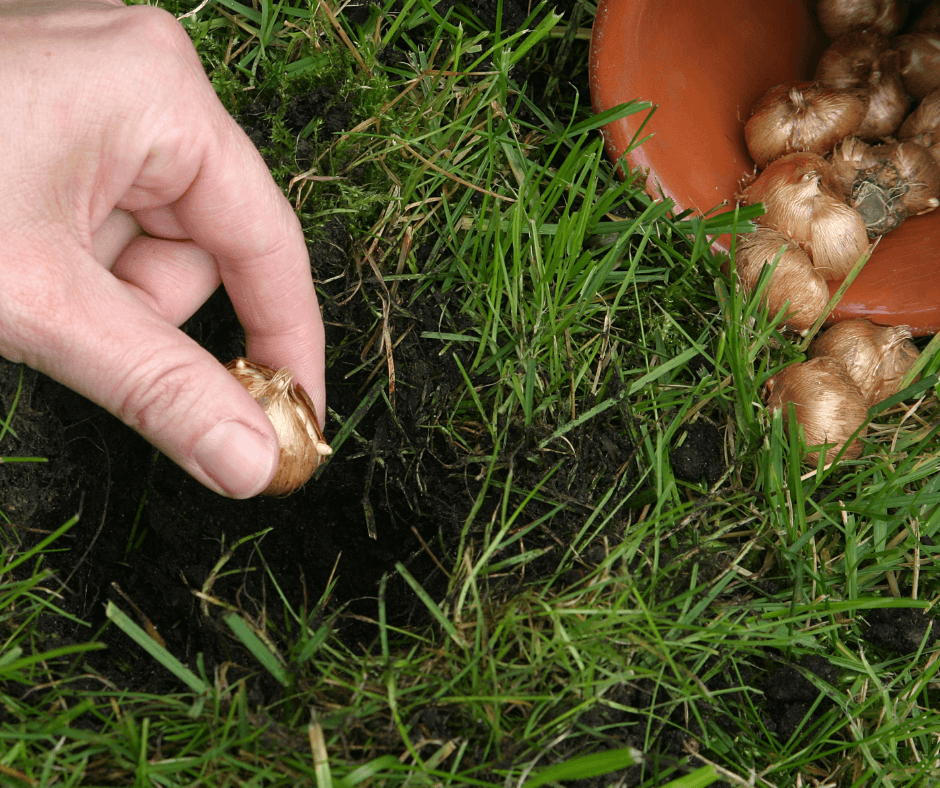
All bulbs like sunlight. Early bulbs can be planted beneath deciduous trees that often don’t leaf out until the spring bloomers have stopped flowering. All bulbs require well-drained soil. It helps to amend beds before planting bulbs with Black Gold Garden Soil or Garden Compost Blend. Be sure to have a sharp trowel, planting knife, or bulb planter on hand for fast, easy planting. Fertilization is also important. Throw a little Dutch bulb fertilizer or bone meal into each hole to promote better growth and flowering in spring.  (Click here to learn more about the benefits of bone meal.) As soon as bulbs are planted, they begin to establish roots for the coming spring.

Planting Tips for Specific Bulbs

There are many different bulbs that you can plant and each requires different care. Here are my favorites.

Species tulip bulbs are often a little smaller but have similar papery chestnut-colored exteriors.

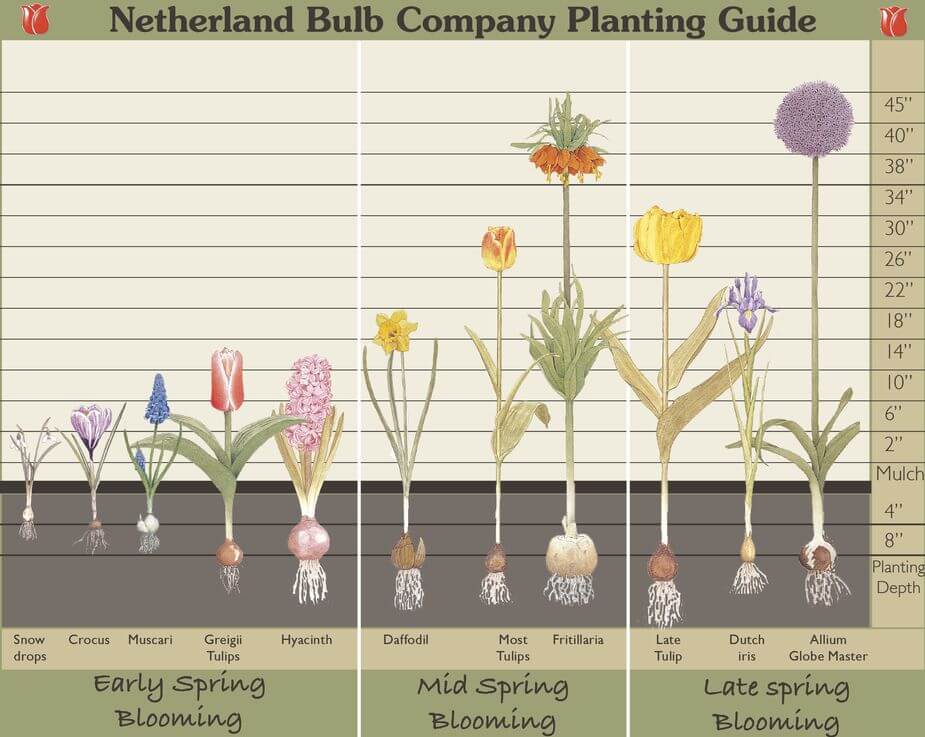
Tulip (Tulipa hybrids, USDA Hardiness Zones 3-8) bulbs should be planted 7 to 8 inches deep, with the pointed tops facing upwards. Ideally, they need to be planted by early November to flower on time in spring. You can plant them a bit later, into early December, but they will likely bloom a little later as a consequence. Unfortunately, most hybrid tulips die away in just a couple of years, but some reliably return as perennials. These include species tulips, such as Tulipa praestans ‘Shogun’, which has sunny orange flowers, as well as Tulipa clusiana hybrids with their colorful, linear flowers and bulbs that naturalize over time. Also, tall hybrid Darwin Tulips look like most standard hybrids, but they will come back for years. They are a cross between old Darwin tulip and Tulipa fosteriana hybrids. Check out ‘World Peace’, which has deep-rose flowers furled with yellow, or ‘Cosmopolitan’ with its stately pink blooms and burgundy-striped leaves.

Bulbs are breakfast, lunch, and dinner to voles, mice, squirrels, and deer while being poisonous to humans, and, for whatever reason, cats (when would a cat ever eat a tulip?). (Click here to learn more about tulip toxicity.) These bright-colored flowers are among the most beautiful and varied in the spring garden, so they must be planted in pest-free areas or have some protection. I have two very large trees with wide roots that I like to plant bulbs around. The protective roots keep the voles from tunneling. The rest of my garden is a different matter, so I put thorny leaves or cat litter in the hole, to deter pests. When it comes to protecting the actual plants from deer or rodents, I’ve found that Plantskydd is an excellent repellent. It does not smell nice, but it works.

Daffodil bulbs can be planted in beds or in lawns where they can naturalize and bloom before the grass grows long.

Daffodils (Narcissus hybrids, Zones 4-8) are another story.  They are poisonous enough so that voles or deer will not eat them. One daffodil will form a clump in just a few years and over decades will naturalize. They do not die, which is why you will see them blooming in front of old, abandoned houses. They can be planted up to December so long as the ground is not frozen. Daffodils come in many sizes, shapes, and colors.  They bloom in early, mid, or late spring, depending on the variety. Premium bulbs often have multiple offsets while standard bulbs are single. Plant them 7 to 8 inches deep.

Tiny Siberian squill bulbs are planted just 3-4 inches down and blanket gardens in blue in early spring.

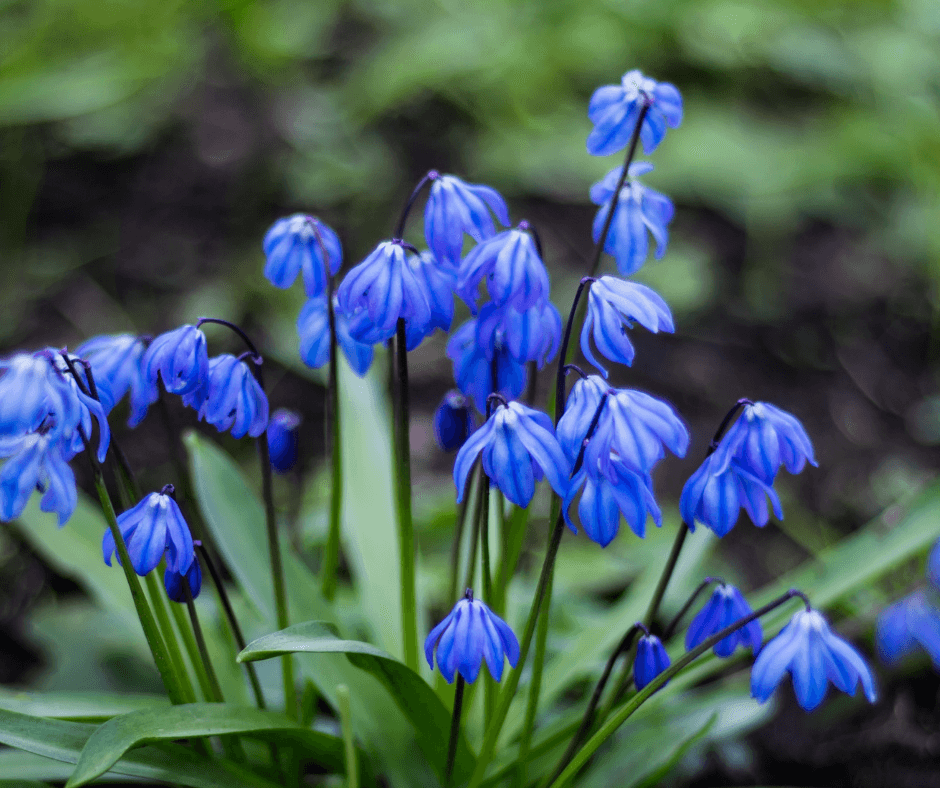
Siberian squill (Scilla siberica, Zones 2-8) is one of my favorite early spring flowers. The small plants only reach 4 to 6 inches tall with bell-shaped flowers of the most intense blue. They spread gently among beds, under shrubs, and even into lawns.  By the time it is time to start mowing the grass, they are already dormant. Siberian squill are pest resistant and poisonous to humans, so do not grow them where children play. Plant them 3 to 4 inches deep as late as December. Those planted a bit late may emerge later in the first year.

Small crocus bulbs look pretty naturalized in beds or lawns.

Crocus (Crocus hybrids, Zones 3-8) are a sure sign that spring is just around the corner. Some even push up through the snow. You can plant them in 4-inch holes after a hard frost while the soil is still workable. Crocuses require a long cooling period, so don’t plant them past late November. They make excellent additions to lawns, small garden corners, and rock gardens. A single crocus will form a clump over several years and then spread to other spots in the garden.

(For more bulb ideas, read What Spring Bulbs are Good for Bees and Hummingbirds?, Blooms in the Ice: The Joy of Late Winter Bulbs, and Flamboyant Parrot Tulips for a Fabulous Spring.)

So, don’t fear planting spring bulbs late,  if you lost track of time or want to take advantage of seasonal bargains. You may see them emerge a little later in the first season but without detriment to their long-term success.


For bulb planting-depth information, I love this bulb planting guide care of the Netherland Bulb Company.


How Do I Revive Strawberry Plants?

“My strawberries were awesome until the neighbor’s chickens got into my bed and scratched them up. Since then the berries are really small and hardly worth picking. Do I need to buy new plants or will pumping up the soil be enough to bring them back to their formal glory? I am including a picture of the crop I used to get and now I can barely fill up a cereal bowl when I pick.” Question from Sylvia of Belle Plaine, Minnesota

Answer: It sounds like the chickens caused your strawberries a lot of stress, but plant age may also be an issue. Many gardeners don’t know that strawberries are a three-year crop. The parent plants only produce well for three years before declining. In the second year, it is often good to nurture one good runner from each parent plant as a replacement. Then in the third year, the parent plants should be removed. It is the cycle for keeping strawberry patches producing at no additional cost.

Nurturing the soil will certainly boost growth as will fertilization, but old strawberry plants are not revivable. To learn everything that you need to know about making the most of strawberry plants, please reach the articles below and watch the video. Oh, and some chicken wire will help keep feathered beasts from scratching them up!

WHAT ARE SOME GOOD COMPANION PLANTS FOR STRAWBERRIES?

GROWING STRAWBERRIES WITH SUCCESS

Happy strawberry growing!

Jessie Keith

Black Gold Horticulturist

Can You Plant Daffodils and Tulips in Spring?

“Can spring bulbs such as daffodils and tulips be planted in early spring in NJ?” Question from Glenn of Parsippany, New Jersey

Answer: You can only plant potted bulbs that have emerged and are flowering in spring. No bulbs should be dormant by spring. If you happen to have some live tulip or daffodil bulbs that have yet to fully grow and flower, you can try planting them in spring, but do not expect them to flower properly for at least a year. Be sure to plant them 6 inches down and feed them with a bulb fertilizer at planting time. The addition of Black Gold Garden Compost Blend also helps.

Happy gardening!

Jessie Keith

Black Gold Horticulturist

When Do Daffodils Come Up in Spring?

“I just planted my daffodils. Now, when will they start to come up, in the spring? Also, can I just leave them in the ground so that they will come up again the following year?” Question from Bev of Philadelphia, Pennsylvania

Answer: It seems like a question that answers itself, but it is not. Truly, it depends. There are different daffodils that emerge and flower at different times in the spring season. So, the time that your daffodils will emerge depends on the varieties that you planted. (Always make note of your plant’s names, if they are given. They can provide a lot of needed information.)

Daffodil Bloom Times

Daffodils may emerge in early spring (February to March), early to mid-spring (March to April), mid-spring (April), mid-to-late-spring (April-May), or late-spring (May).  The short, golden ‘February Gold‘ is an early spring daffodil that was first introduced in 1923; a good early to mid-spring variety is ‘Barrett Browning‘ with its ivory petals and small, dark-orange cups; lots of tiny cream and gold flowers cover the mid-spring bloomer ‘Minnow‘; ‘Ambergate‘ is a mid-to late-spring bloomer with tangerine and dark orange flowers; finally, ‘Sir Winston Churchill‘ is a fragrant, double-flowered daffodil that blooms late. And, if you plant all of these, you can happy sunny daffodils in your garden from February to May!

Daffodils are wonderfully hardy and naturalize over time. They are also very long-lived in the garden, which is why you commonly see them in big swaths around old homes. So, leave them in the ground. Once their greens tops start to turn brown in late spring, trim them back. The following spring, your daffodils should return in even greater numbers.

(Click here for more information about planting bulbs.)

Happy gardening,

Jessie Keith

Black Gold Horticulturist

How Do I Transplant a Japanese Maple Seedling?

How Do I Transplant a Japanese Maple Seedling?

“I recently bought a house in Long Island, NY, and found a 2-foot tall Japanese maple tree (I believe it is a Red Emperor Maple) growing under a much larger tree. The maple apparently sprouted naturally. I would like to transplant it to a more open space. When is the best time to transplant the tree?  See pictures of the tree and proposed a new planting spot. This open location will get much more sun, will that be a problem? Any advice on transplanting (size of root ball; conditioning soil) are welcome. From my reading it seems that it is best to transplant the tree before the first frost in autumn, the root ball should be the diameter of the drip line, and the new soil should be well-draining and mixed with lots of organic matter.” Question from Ron of New York, New York

Answer: The tree looks healthy, and the planting spot looks just fine, but seedling trees like this little Japanese maple (Acer palmatum, USDA Hardiness Zones 5-8) have one flaw relative to nursery stock. Their fine, spreading roots are not as dense as those of potted trees, so they do not transplant as well. There is one way to increase root density for better establishment, root pruning.  If you prune the roots in fall, the tree will be ready to plant before it leafs out in spring. Here’s how.

How to Root Prune a Tree Before Transplant

You will need a sharp flat spade (King of Spades is best), gloves, and probably some pruning shears to cut away the ivy. Trim the ivy away, clear the area to begin digging. Shoot for a root ball with a circumference of 8-10 inches around the tree. Using your sharp spade, make clean, slightly angeled cuts down to the full length of the spade. You may run into competing tree roots from the larger tree. Cut around them as best you can. Once you have made the cuts all around, leave the tree until spring. Where you made the cuts, new feeder roots will grow over the winter to help the tree become well established when you move it in spring, so you don’t need to cut along the drip line.

In spring, pull away the mulch, and dig a hole that is several inches beyond the height and width of your tree’s root ball. Break up some of the backfill to help plant the tree, and reserve the rest to fill in the hole you will create by digging up the tree.

Next, gently dig around your maple along the lines and cuts you made in fall. You will have to dig a bit beyond the cuts to get any roots that you missed towards the bottom. You should see new root growth along the cuts. Wrap the root ball in plastic or burlap to keep it together. If it breaks apart a little, your tree should still make it. From there, I recommend that you click on this link to follow Russell Stafford’s guidelines for planting a new tree.

As to the variety of your Asian-native Japanese maple, it is difficult to say. These maples seed in from planted landscape specimens, and the seedlings are not necessarily true to parent. With that said, it should still be a fine tree. They can reach a maximum height of 25 feet, so it will provide some shade in your front yard.

Happy tree planting!

Jessie Keith

Black Gold Horticulturist

Is Early October Too Early to Plant Turnips From Seed in Zone 7?

Plant Turnips From Seed

“Is it too late to start turnips from seed in zone 7?” Question from Patricia of Warrenton, North Carolina

Answer: It depends on your weather and the turnip. On average, they take around 40-50 days to yield roots from seed. If your Novembers remain reliably mild, then plant them. Another option is to build a cold-frame for growing winter root vegetables and greens. (Click here for  Tips for Cold Frame Gardening)

Good Turnip Varieties

If you want to give them a try, here are four excellent varieties:

  1. Old-fashioned ‘Purple Top White Globe’ (50 days) is a classic turnip with white roots, purple tops, and good flavor. The young leaves are favored in the South for turnip greens.
  2. Red-rooted ‘Scarlet Ohno Revival’ (50 days) is pretty and delicious fresh or cooked.
  3. White-rooted ‘Tokyo Market’ (35 days) grows very fast and has a fruity, sweet flavor, making it good for fresh eating.
  4. The purple-skinned ‘Nagasaki Akari Kabu‘ (50 days) is very flavorful and colorful.

Make sure to work up the soil before planting them and amend it with Black Gold Garden Compost Blend. I generally cover the seeds with a light sprinkling of Black Gold Canadian Sphagnum Peat Moss to help them stay moist and sprout quickly.

Happy gardening!

Jessie

How to Plant and Site Trees and Shrubs

The key to successful gardening is to go (and grow) with what you’ve got. If your garden has acid soil and lots of shade, go with acid- and shade-loving plants. If sunny, dry, alkaline conditions dominate, then plan and plant accordingly. This also holds true for the garden’s aesthetic. For example, more “naturalistic” settings (such as a woodland edge) call for more informal, nature-evoking plantings. Beautiful and bountiful things happen when a garden is in harmony with its surroundings.

Understand Your Garden’s Site

Light, soil, space, garden style, and other parameters must be considered before planting a new tree or shrub.

It’s especially important to keep this in mind when choosing – and planting – the trees and shrubs that will form the framework of your garden.  Choose the right plants and get them off to a good start, and good things are almost sure to follow.

It all comes back to knowing the site’s conditions. What are the pH, nutrient-holding capacity, and other characteristics of your soil? If in doubt, you can get a definitive answer by sending soil samples to your state’s horticultural extension service (click here for a nationwide list of extension services). What is the site’s exposure to sun, wind, and water (e.g., rain and runoff)? How and when do you use your yard? Now, during the dormant season, it is a great time to assess these factors. Then, based on your site’s particulars and your preferences, compile lists of trees and shrubs that are a good fit.

Planting Trees and Shrubs

A suitably broad planting hole should be around three times as wide as the plant’s root ball.

When you get around to planting, the same precepts remain. Trying to force an ill-chosen plant into an incompatible site is a losing prospect. If the tree or shrub is a good fit, all it needs is a good root system and a suitably broad planting hole, backfilled (to the proper depth) with unamended or lightly amended soil for best establishment. Of course, planting at the proper season and providing regular post-planting care (especially watering) are also essential.

Sizing Up the Planting Hole

Adding a light application of soil amendment, such as Fafard Premium Topsoil, will give the soil extra organic matter.

Planting width requires a “suitably broad” planting hole is at least three times as wide as the plant’s root ball, although twice as wide will do in a pinch. The texture of the excavated and refilled soil differs significantly from that of the surrounding undisturbed soil; consequently, it also differs significantly in other properties such as moistness and aeration. Adding a light application of soil amendments, such as OMRI Listed Black Gold Canadian Sphagnum Peat Moss or Black Gold Garden Compost Blend, will give the soil additional organic matter for increased water-holding ability to help the establishing plant. This is of greatest importance in poor or sandy soils. If your soil is of good to average quality, this step is not needed. A wide planting hole gives the roots a relatively homogeneous environment in which to extend and establish. By the time they’ve reached the edge of the former planting hole, they’ll be more up to the job of worming their way into the undisturbed soil. Additionally, the refilled soil will settle over time to a texture closer to that of the surrounding soil, thereby easing the roots’ transition.

The planting hole should be no deeper than the root ball.

Planting depth – unlike width – can be overdone. In fact, the planting hole should be no deeper than the root ball. Most of a tree’s or shrub’s feeder roots are within a few inches of the surface. A deeper hole serves only to loosen the texture of the soil below the root ball, increasing the likelihood that it will settle and pull the roots down with it. Plants generally do not thrive in air-starved sinkholes.

Work soil in around the plant and press it down to remove any unwanted air pockets.

Shallower planting may be required in heavy clay soil. Planting holes in such soils are subject to the bathtub effect, with water percolating through the relatively coarse refill soil and pooling at the bottom of the hole. Here, dig an extra-wide hole that’s significantly shallower than the root ball, sloping the base of the hole toward its edges. Mix the excess backfill with Black Gold® Garden Soil, and mound this over the exposed root ball after planting.

Sizing Up the Tree or Shrub

Make sure plant roots have not become pot-bound. If they have, work them apart to help them grow into the soil.

Potted trees and shrubs with vigorous, relatively undisturbed roots make the best planting material. Avoid pot-bound plants whose roots have long ago filled or grown beyond their containers. Before buying a containerized plant, try to knock it out of the container to check the root system. If the root ball remains stubbornly wedged in its container even when you apply force to remove it, it’s a risky prospect. Ideally, the roots should not circle the soil ball, and abundant white feeder roots should be evident at its edge. You can plant container-grown trees and shrubs just about any time the ground is workable, but be sure to keep the root ball from drying out after planting. Most potting soils are peat-moss-based, making them coarser and more drought-sensitive than the surrounding soil. They also resist re-moistening once completely dry. Newly planted container-grown plants may need watering several times a week during summer droughts.

Unlike container-grown plants, B&B plants are often grown in heavy clay, which cracks and resists water when dry.

Bare-root and balled-and-burlapped (B&B) trees and shrubs lose much of their root systems when harvested at the nursery. They thus require more kid-glove treatment. Plant them either in early spring or in late summer/early fall to give their roots ample time to regrow before summer heat or winter cold arrives. Be sure that their roots do not dry out before planting. Unlike container-grown plants, B&B plants are often grown in heavy clay, which cracks and resists water when dry.

Be careful to plant bare-root and B&B shrubs and trees at the proper depth. For bare-root plants, partially refill the planting hole with a volcano-shaped cone of soil, spreading the roots atop the cone before backfilling. The plant’s trunk/root junction (also known as the “root flare”) should be just at or slightly above the soil surface. Stems of B&B trees and shrubs are often partly buried in their root ball; if so, remove some of the soil to expose the root flare. Also, be sure to minimize disturbance to B&B root balls as you plant, and remember to unswaddle the burlap (or wire caging) from the top and sides of the root ball before refilling the hole. Either cut and discard the unwanted wrap or pull it back and bury it at the bottom of the hole.

A two- to three-inch mulch layer will hold in soil moisture and protect against weeds.

Add a good mulch layer to buffer newly planted trees and shrubs from drought, heat, and cold, and apply an inch of Black Gold® Natural & Organic Garden Compost Blend and a couple of inches of bark mulch to the planting area. They’ll appreciate the extra pampering, and you’ll appreciate the results!

Why Is My Newly Transplanted Tree Wilting?

Why Is My Newly Transplanted Tree Wilting?

“Hi! How do you revive a newly transplanted flowering tree whose leaves and flowers are wilting? It was planted in loose, rich black organic soil (no chemicals have ever been added). It was dug up from my brother’s flower garden, and it was in rocky sandy soil at the time. I brought with me some of the soil it was used to, to add to the hole it was put into. It is being watered every day. It looks worse and worse every day. 🙁 Could you please tell me if it doesn’t perk up yet this year if it will renew itself over the winter and come back next year as it is too beautiful to lose. Thanks for your time and attention in answering my dilemma!” Question from Sylvia of Belle Plaine, Minnesota

Answer: Stop watering! Sometimes too much love–or in this case too much water–can be detrimental to a new planting. If you moved your tree from a location with rocky, sandy soil, and it was growing well there, then it likely requires fast-draining soil and tolerates less water. By moving it to a new location and watering it daily, several things happened. It had too few roots and too much soil moisture while experiencing the shock of transplant.

Tree Transplanting Tips

Wild- or garden-dug trees have sparse root systems with fewer feeder roots, unlike pot-grown trees. When moving them, it is important to retain as much of the rootball as possible to keep the roots intact and undamaged. But, even if you do the best job moving the tree, lots of feeder roots (the fine roots that take up the most nutrients and water) will be lost. Trees are happier when planted in soil with comparable drainage and characteristics to their original native soil–in this case, the soil in your brother’s garden. The addition of light soil amendments, such as Black Gold Canadian Sphagnum Peat Moss, can be helpful, but too much can cause the bathtub effect, so use sparingly. (Click here for good tree and shrub planting/transplanting guidelines.)

After planting, keep the soil around the tree just moist, but never wet. Light moisture will allow new feeder roots to develop, while too much water will overwhelm the delicate, shocked root system of a new transplant and can cause root rot. In your case, I would water the tree weekly in the absence of rain. If temperatures are very high, a little extra water can be added if wilting occurs.

I hope that these tips help and your tree bounces back.

Happy gardening,

Jessie Keith

Black Gold Soils

How Long Should My Pineapple Top Stay in Water Before Planting?

How Long Should My Pineapple Top Stay in Water Before Planting?

“How long should I keep my pineapple plant in water before planting?” Question from Daniel of Omaha, Nebraska

Answer: It is always fun to start your own pineapple plants from tops! And, if you give them the right care, they may even produce fruit for you–even more exciting! You will know that your top is ready to plant when it has developed roots that are 2 to 3 inches long or longer. To plant it correctly, follow these steps.

How to Plant and Grow a Pineapple

  1. Prepare your pineapple top for planting after it has developed roots that are 2 to 3 inches long or longer.
  2. Choose a pot that has drainage holes at the bottom and is at least 8 to 10 inches across.
  3. Use a fast-draining planting mix suited for bromeliads, like pineapples. Black Gold Cactus Mix is a good choice.
  4. Fill the pot with soil until there are 4 inches of headspace at the top. Place the pineapple top in and cover its roots–being sure to leave 2 inches of space at the top of the pot for watering.
  5. Water your pineapple until water runs through the pot and fills the saucer at the bottom.
  6. Place your pineapple in a sunny spot indoors. Water it every three days or so.
  7. After one week, feed it with a water-soluble fertilizer formulated for bromeliads. From there, feed it monthly.

Pineapples grow best in warm rooms (65 to 95 degrees Fahrenheit) with good humidity. Occasionally spritzing the leaves with bottled spring water can be helpful. Once your plant begins to grow and fill out, it may take several months to a year before it sets fruit.

Happy gardening!

Jessie Keith

Black Gold Horticulturist

When Should I Plant Spring Bulbs in Kentucky?

When Should I Plant Spring Bulbs in Kentucky?

“When should I plant bulbs for spring blooms here in Kentucky?” Question from Karen of Cannon, Kentucky

Answer: Late September to early November is the best time to plant fall bulbs for spring in Kentucky. Just don’t wait until the soil surface freezes over. It always helps to amend beds before planting bulbs. It makes the soils easier to work. Also, be sure to have a planting knife or bulb planter on hand for fast planting.

Amending and Feeding Soil for Bulbs

We love this bulb planting guide care of the Netherland Bulb Company.

For best bulb performance, amend your planting soil with Black Gold Garden Compost Blend and bonemeal. Both products will ensure that your bulbs will bloom and grow well. It is also essential to plant different bulbs at the correct recommended depths. If you plant bulbs too deeply or shallowly, they will not perform as well and may not even emerge, especially small bulbs. Just follow the package instructions.

I hope that this information helps!

Happy bulb planting!

Jessie Keith

Black Gold Horticulturist