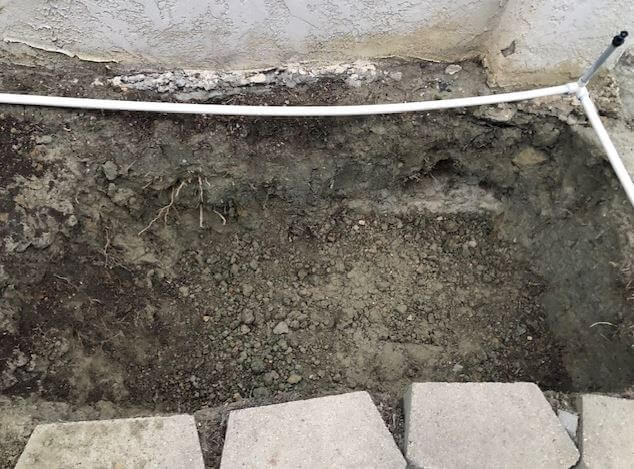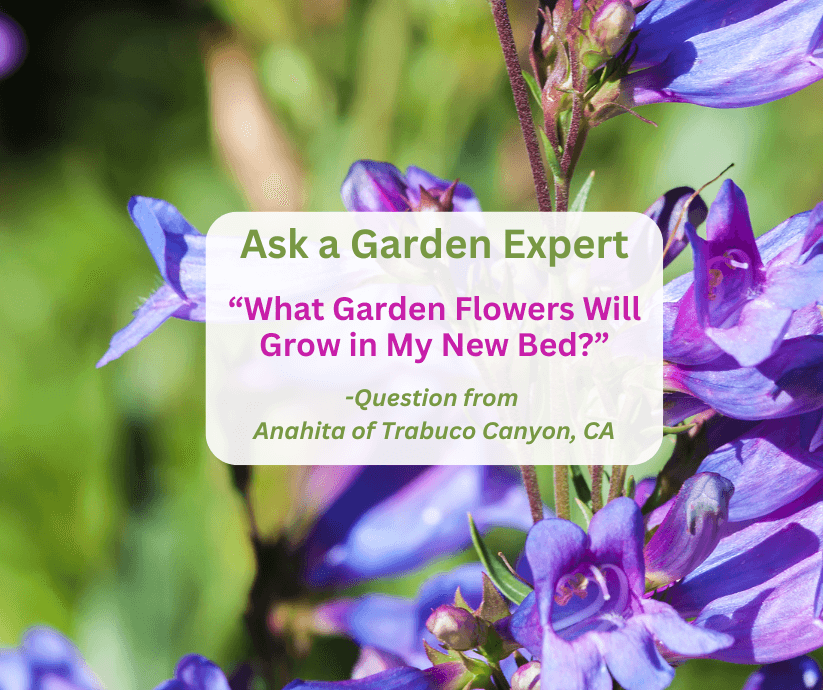
“I want to put underlayment cloth surrounding my 2 feet high by 2 feet deep by 15 feet wide garden bed to prevent the previous weeds I have tried so hard to remove from coming back. I want to grow Climbing Roses, Clematis, Foxgloves, Alliums, Cosmos, and Annuals in each 2 feet high by 2 feet deep by 3 feet wide area. Would that be enough space for all of these plants’ roots to successfully grow and be happy? Thank you.” Question from Anahita of Trabuco Canyon, California
Answer: The space is narrow, but the depth is good, though you may want to dig deeper in the area where you plant the climbing rose for long-term establishment. You should be able to grow most of the other plants you mentioned if the garden is sunny, though I am not certain you have the climate for a few of them. From what I have read, your area has hot, dry summers and cool, moist winters. Common foxgloves, some garden alliums, and more tender clematis are not adapted to the dry summer climates of the American Southwest. They will either need constant tending or they will die. Here are my suggestions for amending and preparing your garden bed followed by some plant ideas for you.
Garden Bed Preparation
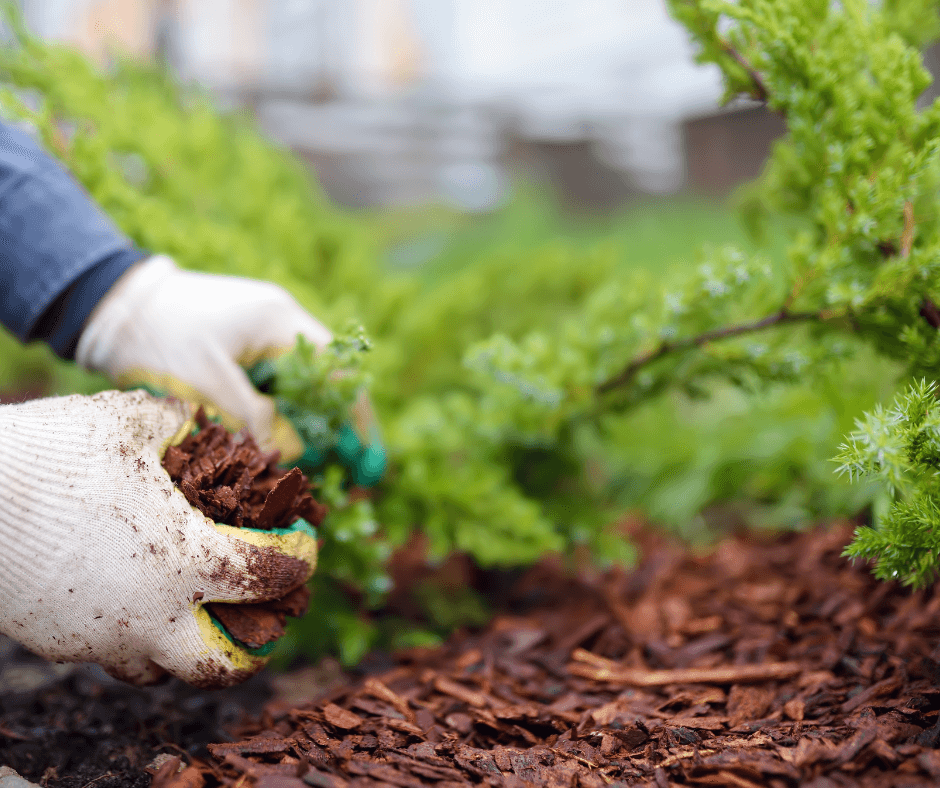
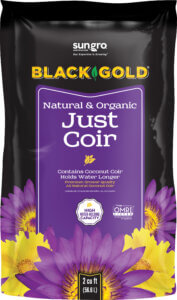 Fortify your soil with water-holding amendments that aerate the soil. Some amendments naturally hold water and act as reservoirs, making water available to plant roots for longer. Organic matter (peat, compost, leaf mold, and coconut coir) is on the front line of holding water and providing air to the soil. For instance, our Black Gold® Just Coir processed coconut coir soaks up 90% of its weight in water and has lots of air pockets to keep roots happy. Black Gold® Canadian Sphagnum Peat Moss and Natural & Organic Garden Compost are two quality amendments to consider. Liberally work additives such as these into your garden soil to support your plants and reduce the need to water as often.
Black Gold Inorganic soil additives, like water-holding crystals and vermiculite, also hold water but are better suited for container gardening.
Drought-Tolerant Plants
Plants from the Mediterranean and arid West tend to shine in the heat and drought. Those naturally adapted to more severe drought are often labeled as xeric or waterwise plants, and many specialty nurseries carry them. High Country Gardens is one great commercial online seller, and Xera Plants is another. The California-based Annie’s Annuals (they also sell perennials, shrubs, and many California natives) also has quite a few wonderful garden flowers for your area. Specialty succulent nurseries are also worth looking into, especially those with lists of hardy plants. I have bought many fine plants from the succulent nursery, Mountain Crest Gardens. Their plants always arrive in great shape and perform beautifully.
Here are some beautiful, reliable garden perennials and flowering vines for your area that may interest you, based on the list you presented.
- Sunset Foxglove (Digitalis obscura) is a semi-succulent foxglove from Spain with sunset-apricot flowers that rebloom, and it is suited to your climate.
- Foothill Penstemon (Penstemon heterophyllus) is a California native with spectacular spires of blue flowers in the spring and summer!
- Clematis ‘Madame Julia Correvon’ is a tough heirloom clematis that blooms from summer to fall. It will tolerate more drought than most. In addition to a sturdy trellis against your home, you will need to give the vine extra water and care in the hot summer weather.
- Polka™ climbing rose (R. ‘Meitosier’, Zones 5–10) is a double-apricot-pink bloomer recommended for droughtier areas as is the single-red-flowered ‘Altissimo’ (Zones 5–11).
Further Reading
I recommend you read the following article about ways to further protect your garden from drought.
Happy gardening,
Jessie Keith
Black Gold Horticulturist