Articles

What Are the Benefits of Raised Bed Gardening?

What Are the Benefits of Raised Bed Gardening?

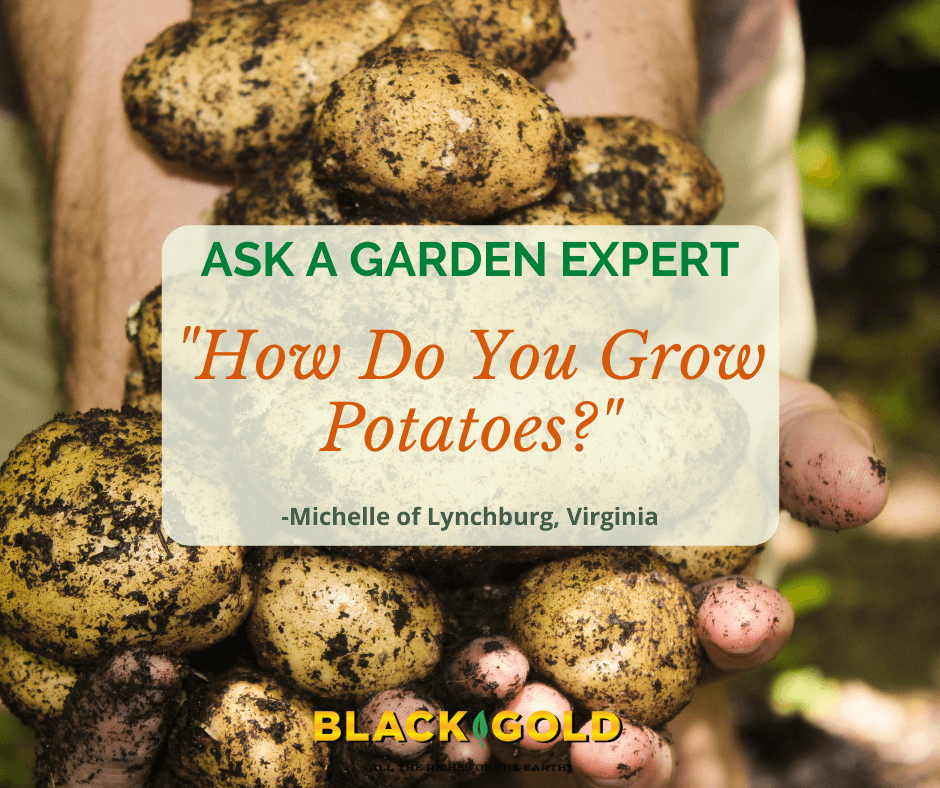
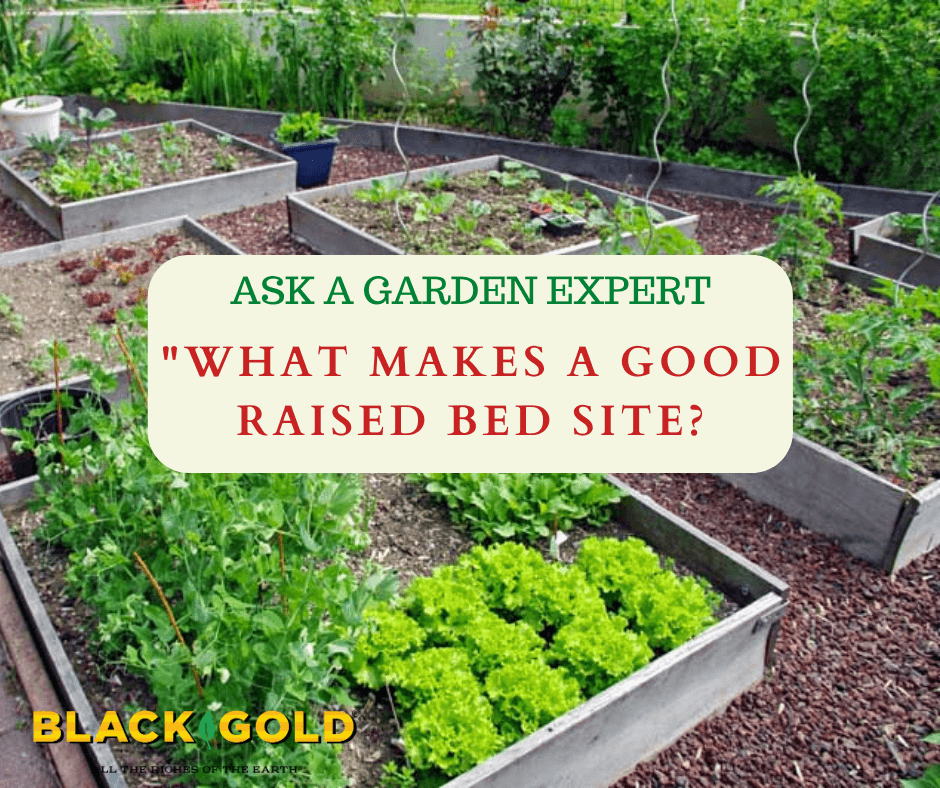
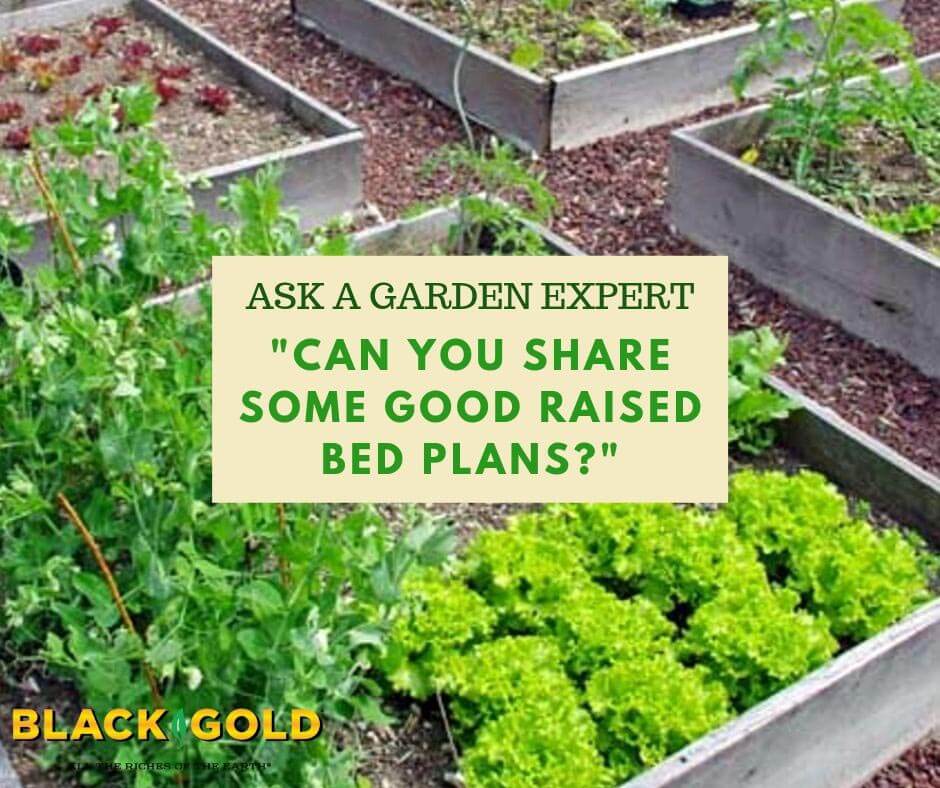
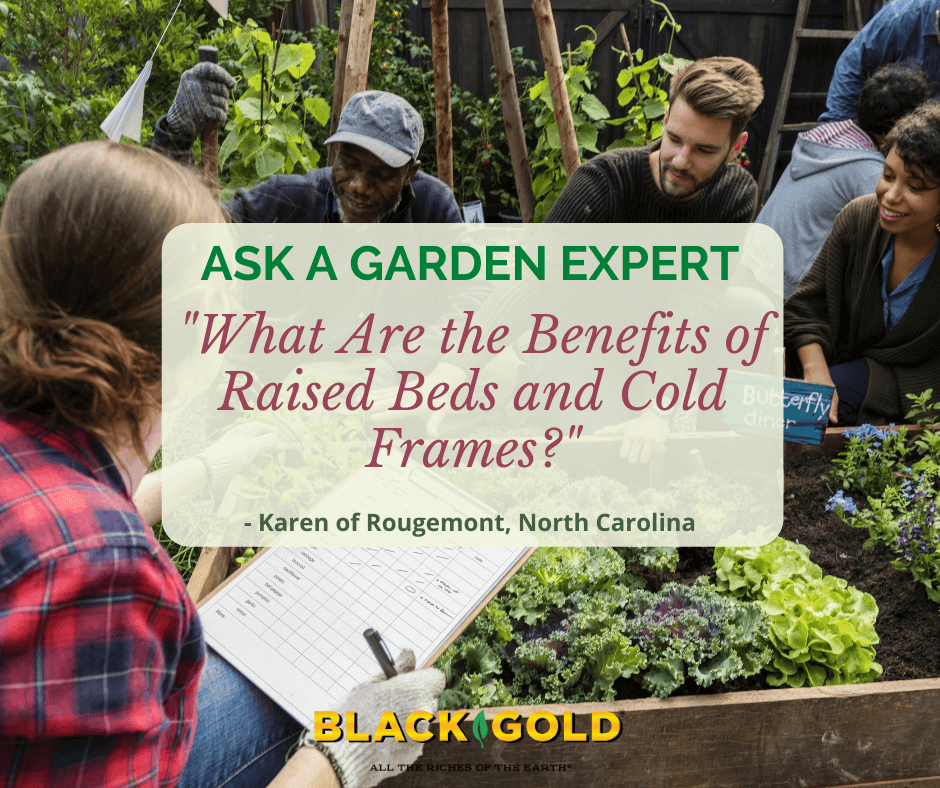
“Are raised beds easy to grow in and maintain? I live in North Carolina. During the winter can I put a tarp-type Greenhouse over them to help protect vegetables from the cold.” Question from Karen of Rougemont, North Carolina

Answer: There are many benefits to growing in raised beds and very few downsides. Here are the pros and cons of raised bed gardening, followed up by methods to help maintain your garden through winter.

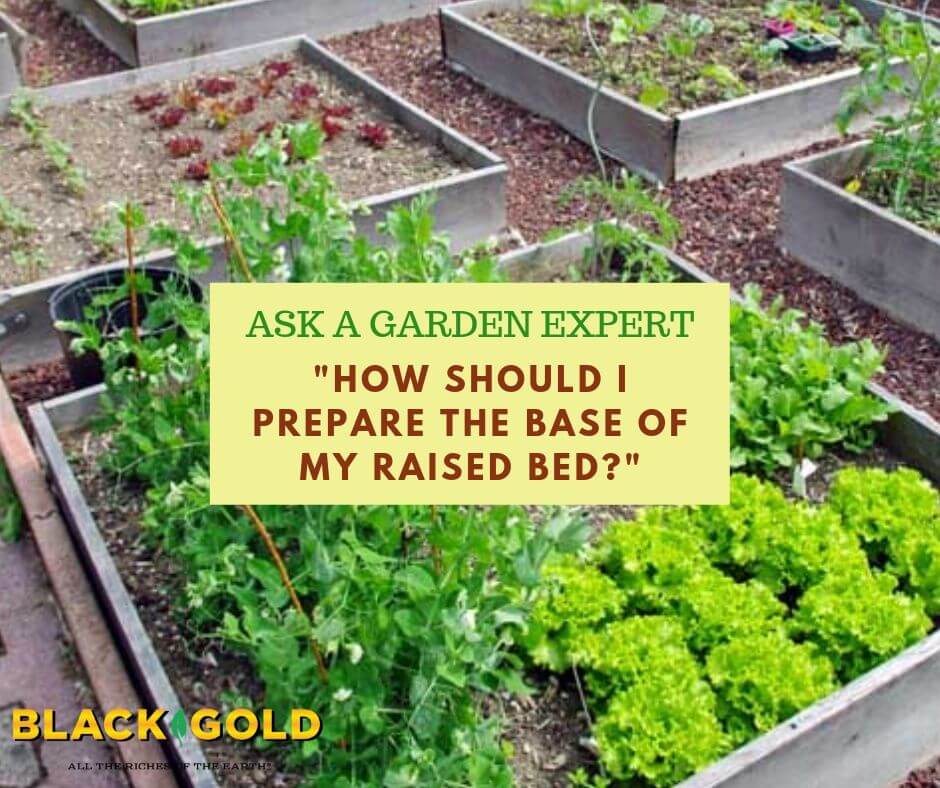
Pros of Raised Bed Gardening

  1. Deeper, Lighter Soil: If you fill your raised beds with good soil from the start, it helps root crops grow deeper and all plants set deeper roots for higher yields. We recommend using either Black Gold® Natural & Organic Raised Bed & Potting Mix or one-part ground soil to one-part Black Gold Garden Compost Blend. Top off with soil or amendment yearly.
  2. Easier Weeding: Raised beds have looser soil, are higher, and often cover a smaller area, making them easier to weed. It’s also easier to harvest after rain and stay clean when beds are surrounded by pebble, straw, or cut grass.
  3. Easier Harvest: Because they are raised, the beds are easier to harvest and replant.
  4. Easy Planning and Rotation: When you have just a few geometric beds, it is easier to design plantings for yearly rotation (Click here to learn more about the importance of rotating crops)

Cons of Raised Bed Gardening

  1. Initial High Cost: Raised beds are not inexpensive to install if you start out right.
  2. Less Space for Big Crops: Unless your beds are large and you have trellising, you have less space for large crops like vining pumpkins, squash, and melons or multiple rows of corn.
  3. Need Replacement: Eventually your beds will need to be replaced. Metal and plastic options last longer. Cedar raised beds are also long-lasting. Never use treated wood to create raised beds because the wood contains heavy metals that can leach into the soil and be taken up by crops.
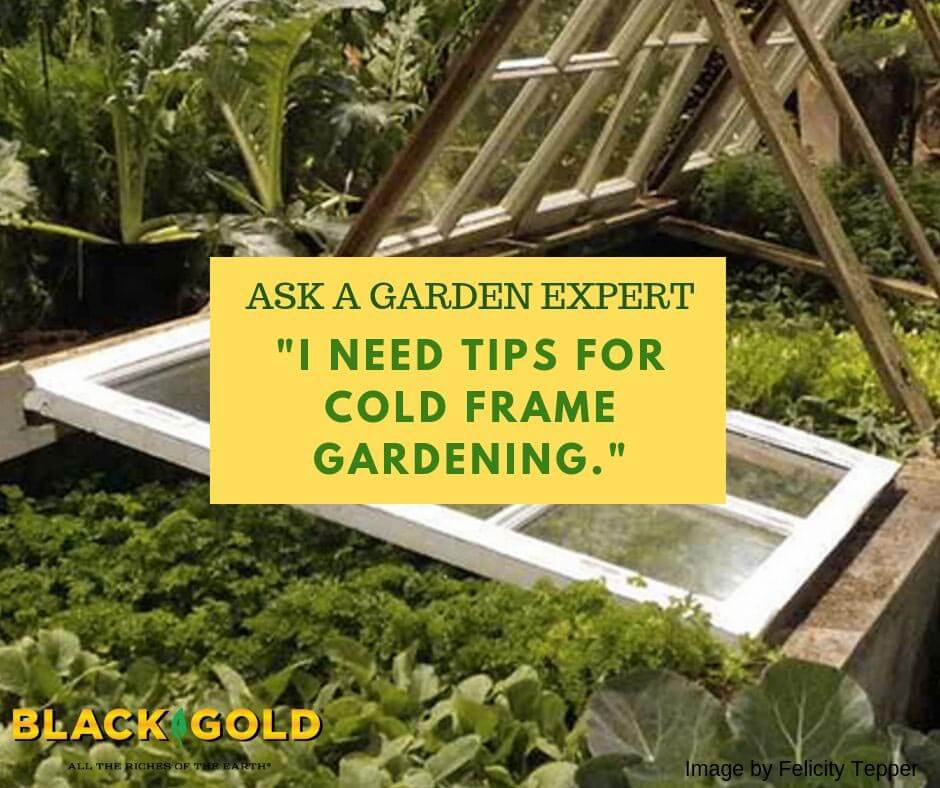
Raised Bed Covers

Floating hoop covers are the easiest and best insulating covers to extend growing in raised beds. You also may consider adding a cold frame to your raised bed plan. They make it easiest to continue growing herbs and greens through winter. (Click here to learn more about cold-frame gardening.)

I hope that this helps!

Happy Gardening,

Jessie Keith

Black Gold Horticulturist

How Do You Grow Potatoes?

How Do You Grow Potatoes?

“I grew potatoes this summer. I planted them the correct way and they started to grow. I kept covering the leaves with dirt (leaving the top leaves uncovered.) The vines grew like weeds. It kept covering them but a few days later they would be out of control again. I had them in containers. Eventually, I had no way to build up the sides of the containers and I had to stop covering them. When I stopped covering them the covered vines were about 4-5 feet tall. I went to harvest them a few days ago and I had three minuscule potatoes. It was a lot of work for very little reward. I just wonder why they grew so fast. Obviously I did something wrong.” Question from Michelle of Lynchburg, Virginia

Answer: It sounds as though your potatoes put all of their energy into leaf and stem growth and hardly any energy into developing storage tubers, or potatoes. The plants should have died back before harvest. That is the indicator that they are ready to dig.

There are several reasons why your potato harvest was unsuccessful. Let me provide an overview of how to grow potatoes and increase tuber development to help you troubleshoot.

How to Grow Potatoes

Place straw of leaf mulch between berms for easy weed care and walking.

Potatoes need full sun, fertilizer, average water, cool, and then warm growing conditions to produce well. Grow a known potato variety, so you can determine when to harvest. Some produce potatoes early, midseason, or late. ‘Yukon Gold’ is a good mid-to early-season yellow variety to try, ‘Carola’ is a good late yellow variety, and ‘Dark Red Norland’ is an excellent mid-to early-season red-skinned type.  Knowing the variety gives you information about expected performance, yields, and harvest time.

Start beds as soon as the soil is workable–often a month or more before the last frost date. Till the soil and work in lots of organic matter, like Black Gold Garden Compost Blend and peat moss. Finally, create a 3-inch furrow down each row for planting the potatoes.

Four Steps to potato planting.

  1. Plant potatoes in furrows five to six weeks before the last frost date of the season. Place robust seed potatoes in furrows 6 to 12 inches apart in rows 3 feet apart. Sprinkle in a fertilizer formulated for potatoes, and them berm soil over them to a height of 12-18 inches. (The berming process reduces the hilling process.)
  2. After several weeks, potato shoots should rise from the berms. Once they are 8-10 inches tall, start hilling. Cover the stem bases with 3-6 inches of soil. Do this twice. (This is also the time to manage Colorado Potato Beetles. Click here to learn more about managing potato beetles naturally.)
  3. If conditions are dry, irrigate moderately, as needed, until the potato plants flower. Keep beds hoed and weeded. It helps to place straw or leaf mulch between the rows to reduce weeds.
  4. Once the plants flower, let them be and withhold water. Within a couple of weeks, the tops should turn yellow, die, and dry out.

How and When to Harvest Potatoes

At harvest time, you should have lots of potatoes to fork up from your planting mounds.

New Potatoes can be harvested as soon as the plants begin to bloom. Wait for larger potatoes. These can be harvested after the plants have fully died away. You can harvest all of your potatoes at this time for storage, or just harvest them as needed. Be sure to get them all out of the ground shortly after the first frost of the season. Otherwise, they will develop an unpleasant sweet flavor.

If you are growing potatoes in a container, adapt these growing principals to your potted garden situation. If I were to harbor a guess, I would say that you kept watering and nurturing your plants, which caused them to look robust and happy but discouraged tuber development.

I hope that these tips help.

Happy gardening,

Jessie Keith

Black Gold Horticulturist

What Makes a Good Raised Bed Site?

What Makes a Good Raised Bed Site?

“How does one determine the best location for a raised bed in one’s yard?” Question from Joanne of Cary, North Carolina

Answer: What Makes a Good Raised Bed Site? There are several criteria for siting a raised bed. Here are the top five to consider.

  1. Sun: Choose a location with at least eight hours of sunlight. Twelve is even better.
  2. Topography: The site must be flat and on high ground where flooding does not occur.
  3. Wind Protection: It is always nice to place your bed in a location with some wind protection.
  4. Water Access: Close water access to your garden spigot makes for easier irrigation.
  5. Weed-Free Ground: Place your beds on ground that is easily cleared of sod or weeds, and cover the walkways with mulch or pebble to keep weeds away from the beds.

I hope that this information helps! We have a great new potting soil for raised beds called Black Gold® Natural & Organic Raised Bed & Potting Mix, which is also OMRI Listed for organic gardening. Check it out!

Jessie Keith

Black Gold Horticulturist

Builders Dumped and Left Cement in My Garden. What Do I Do?

Builders dumped cement in a space that’s and covered it with soil.  What is the best way to work around this without digging it all up?  Container garden, Large pots? The area has grass and weeds in a strip about 2 feet wide, 6 feet long.  I tried planting grass and flowers but was not too successful. Question from Kay of Seattle, Washington

Answer: If the area is just 2 feet wide and 6 feet long, I suggest removing the concrete, if it is not too deep. You could ask your builder to remove it (he/she should have cleaned it up in the first place), or if you could have someone strong break it up and dig it out. In addition to protective eyewear and gloves, they would need a mattock, sledgehammer, and strong, sharp spade to break up, pry up, and dig out the pieces. A wheelbarrow would be helpful to carry it to the nearest waste receptible. It may seem like a big job, but it’s probably not if the concrete is relatively shallow.

If you don’t mind the concrete, consider putting containers or a raised bed on the spot. Both are certainly viable options. Here are several articles about container gardening that may be helpful as well as a video below.

Succeed With Container Vegetable Gardening

10 Waterwise Container Garden Flowers

What are the Best Edibles for Sunny Patio Containers?

Can You Share Some Good Raised Bed Plans?

Happy gardening,

Jessie Keith

Black Gold Horticulturist

Can You Share Some Good Raised Bed Plans?

“As an older crippled up fogey, I appreciate raised beds. Do you have plans available for different kinds of raised beds?” Question from Kevin of Belleville, Ohio

Answer: We don’t have raised-bed building plans, but we may in the near future. What a good idea!

This Old House has some great free plans that are well-conceived and useful. If your back gives you trouble, consider building a bed that’s raised up for easy planting. That way, you won’t have to bend over more than necessary. Click here to get a plan for a raised deck planter.  They also have guidelines for standard raised beds. Click here to view their plan for a classic raised bed.

Then be sure to fill your beds with great soil. We recommend Black Gold® Natural & Organic Raised Bed & Potting Mix or Black Gold Natural & Organic Potting Mix.

Happy gardening!

Jessie Keith,

Black Gold Horticulturist


I Need Tips for Cold Frame Gardening

“With which of your products does one prep the soil for winter crops in a mini greenhouse, type Cold Frame Mini Green House by Juwel (I just got one)?  It will face South-East.  Any experience growing with this method?  Any easy crop recommendations?” Question from Judy of Yarmouth Port, Massachusetts

Answer: Thank you for your questions. I have gardened in a cold frame and observed successful and unsuccessful cold-frame gardening. In your northern garden, I would place the cold frame in a sunny south-facing spot close to your home. The reflective heat from the house will provide some winter protection, and the warm sun will help heat the cold frame. If you can, I would also recommend sinking the cold frame a few inches below the soil level, even though I see that the frame you have purchased has clear sides. Really good cold frames are set below the soil level to better hold heat in winter. On unexpectedly hot fall or winter days, be sure to prop the top open to keep the internal temperature from getting too hot.

Cold-Frame Soil

As far as soil, I would amend your ground soil at the base of the frame with good compost, like Black Gold Garden Compost Blend, at a 1:2 ratio of soil to mulch. The addition of earthworm castings would also be enriching. The lighter and more fertile your soil, the better your veggies will grow.  Adding a layer of compost as a protective mulch would also be helpful. (Click here to learn more about creating the best soil for raised beds.)

Cold-Frame Vegetables

It is essential to grow cool-season, frost-resistant crops. These are largely winter greens and root crops. The greens that I recommend include mâche, kale, lettuce, and spinach. The best root crops include winter carrots, radishes, and turnips. Parsley and chives are good herbs to try. (Click the following link to learn more about growing winter root crops and click this link to learn more about growing cool-season greens.)

I hope that this information helps!

Happy gardening,

Jessie Keith

How Should I Prepare The Base of My Raised Bed?

“In a raised bed application, what should I use first before adding soil to prep the bed to reduce weeds and grass?” Question from Marlene or Stuart, Florida

Answer: There are several ways to stop perennial weeds from rising from the base of a new raised bed. You can either do the obvious– roll up your sleeves and completely desod and remove all weeds from the base of the bed–or you can place an organic cover at the base that will break down over time. If you choose to desod, you may also consider double digging below your beds to encourage deep rooting. (Click here to learn more about double digging.)

Raised Bed Organic Covers

The three organic covers that I recommend include either a layer of plain cardboard, black-and-white newspaper, or biodegradable burlap garden cloth.  Any of these will work well if you provide full coverage. Place the cover of your choice at the base of the beds to stop weed growth, and then add enriched, raised-bed soil. 

Raised Bed Soil Preparation

Raised bed soil should contain a mix of your own topsoil amended with lots of organic matter. Black Gold Garden Compost Blend, Black Gold Earthworm Castings, and an organic soilless potting mix, such as Black Gold Natural and Organic Potting Mix, are all good choices. Soil-to-amendment ratios depend on topsoil quality; good topsoil requires fewer amendments. In general, mix two parts topsoil to one part compost and one part soilless potting mix or earthworm castings. If drought is a problem in your area, add a 2- to 3-inch layer of compost along the soil surface to reduce surface water loss. I also recommend that you fortify your soil with a quality vegetable fertilizer. 

To stop further weed encroachment, remove the grass from around your raised beds. Surrounding the beds with walkways covered with pebbles or organic mulches will look great and really help with weeds! (Click here to learn more about mulch solutions.)

Happy gardening!

Jessie Keith

Black Gold Horticulturist