“Hi, I have the worst time starting seeds and am not sure what I’m doing wrong. Do I need to put a heating pad under the tray and a light on top? If so, can I use a regular heating pad for under them? Can I use a regular shop light above them? I cover them with plastic wrap until the seeds sprout, which hasn’t been happening, and then it gets all moldy. I just tried a tray of rock wool with 50 seeds! All I’ve got so far is mold, no sprouts. Every year I end up giving up and buying plants from the garden center. I have a lot of seeds, I collect and trade and I’d like to be able to successfully start and grow them. Thanks for your help.” Question from Lucia of Huntington Beach, California
Answer: Seed starting takes patience. The most common mistakes that gardeners make are that they plant the seeds too deeply, they overwater them, or both. Too little water is another common problem, especially when they are just beginning to sprout. A little dry soil can mean instant death to a tiny seedling. Here are my recommendations for each of your questions followed by some excellent seed-starting resources we have.
Do I need to put a heating pad under the tray and a light on top? Yes, to both, though not all seedlings require bottom heat. It is best reserved for warm-season vegetables and flowers, such as tomatoes, peppers, marigolds, cleome, and salvias.
Can I use a regular heating pad under them? No, regular heating pads cannot be wetted and may short out and start a fire. Seedling heat mats are not too expensive, they are safe, and just the right size for a seedling flat. (Click here to learn more.)
Can I use a regular shop light above them? There are lots of lighting options, with shop-light fixtures being the most economical. Some shop-light fluorescent bulbs are specially designed for plant growth and cover more of the spectrum–up to 94%. These are the bulbs to use. In general, fluorescent bulbs are not very strong, so they must be placed just inches above seedling flats or plants for best light reception and growth.
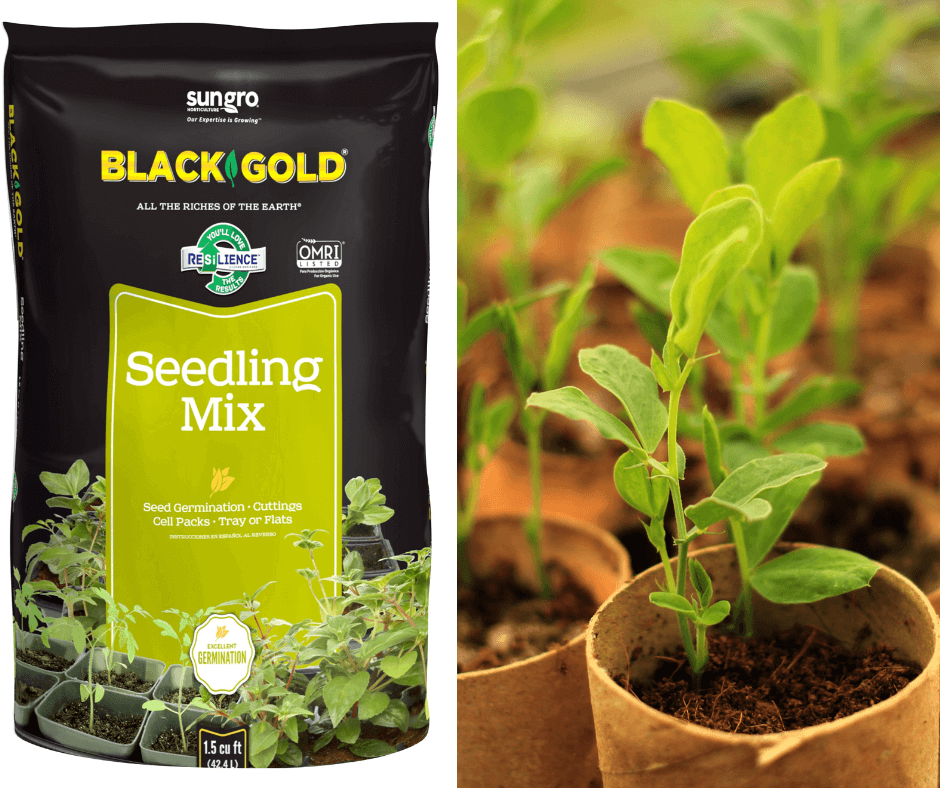
I cover them with plastic wrap until the seeds sprout, which hasn’t been happening, and then it gets all moldy. Your soil and seeds are too wet, so the whole lot is rotting before any growth can happen. Wash your pots well before you try planting again to remove any mold spores. Then fill the pots with fresh, moistened Black Gold Seedling Mix, sprinkle the seeds on top, add a light sprinkling of the mix over the seeds, and then keeping the tops lightly misted daily. (Click here to see a nice plant mister.) The soil should be kept lightly moist, never wet. For larger seeds, plant them 1 to .5 inches down, no deeper. Most seed packets recommend that you plant seeds too deeply.
From there, try reading a couple of these great articles about seed starting. We also have a video about starting tomato seeds below.
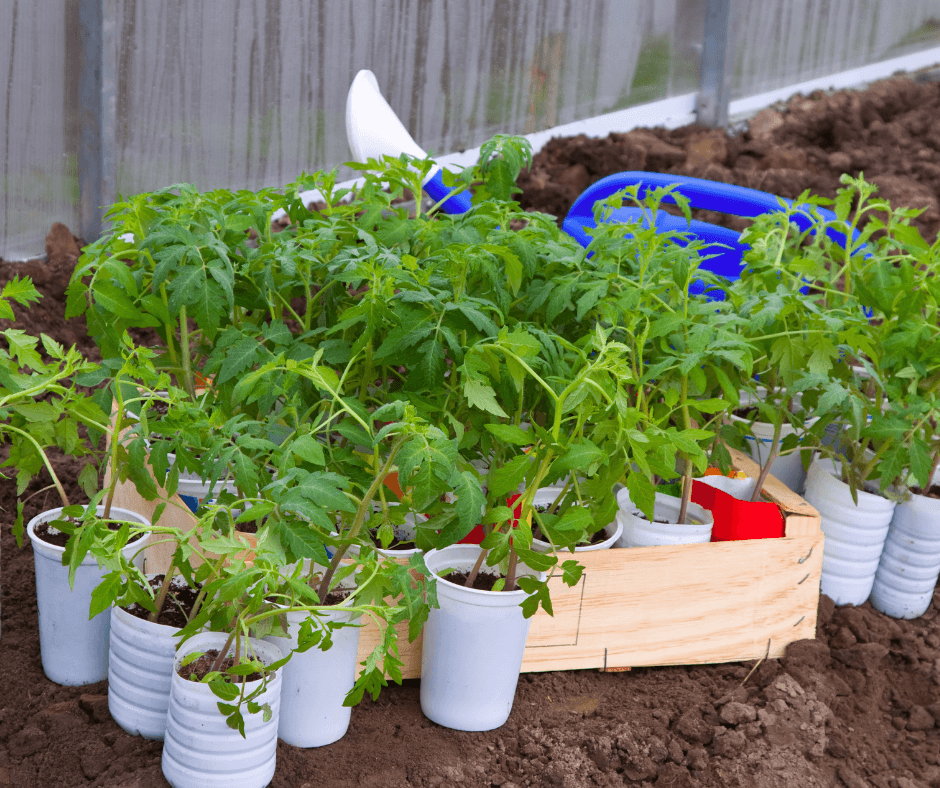
Reused plastic cups make good seedling pots as long as you poke holes in the bottom.
Are you low on cash but want a summer garden? No worries. Seed starting can be very inexpensive if you know where to shop, when to plant, and how to succeed with as few resources as possible. Fancy seed-starting flats are not needed, reuse instead. Pricy grow lights can be bypassed if you have sunny window sills. Some quality seed vendors are more reasonably priced than others. Here are these and more tricks for seed-starting on a budget.
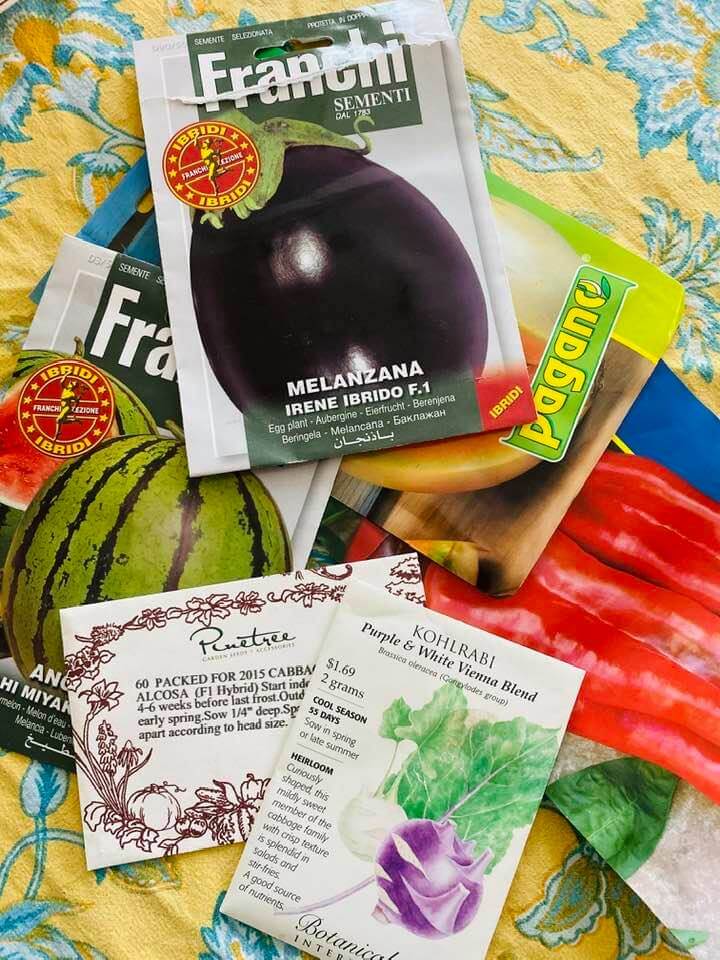
Some seed vendors have great prices and great seeds!
Some seed vendors sell high-quality seeds for less–for me “less” means between $1.50 and $2.50 per packet. My all-around favorite seed vendor for quality and price is Pinetree Garden Seeds. I’ve purchased from them for over 20 years, and their prices, selection, and seed quality are always outstanding. Another great, reasonable seed source is Botanical Interests (their flower seed collection is especially nice).
Other seed sellers offer lots of seeds for less. High quantity is especially useful for gardeners that grow lots of row crops, like carrots, beets, and beans. Franchi Sementi (also called Seeds of Italy) is one the best for low-cost bulk seeds. (They also have fun European vegetable varieties.) Packets may cost $4.50 each, but most contain hundreds of seeds per packet! It’s a super value. Pagano Seeds is another source that provides lots of seeds for a good price.
2. Know What to Grow When
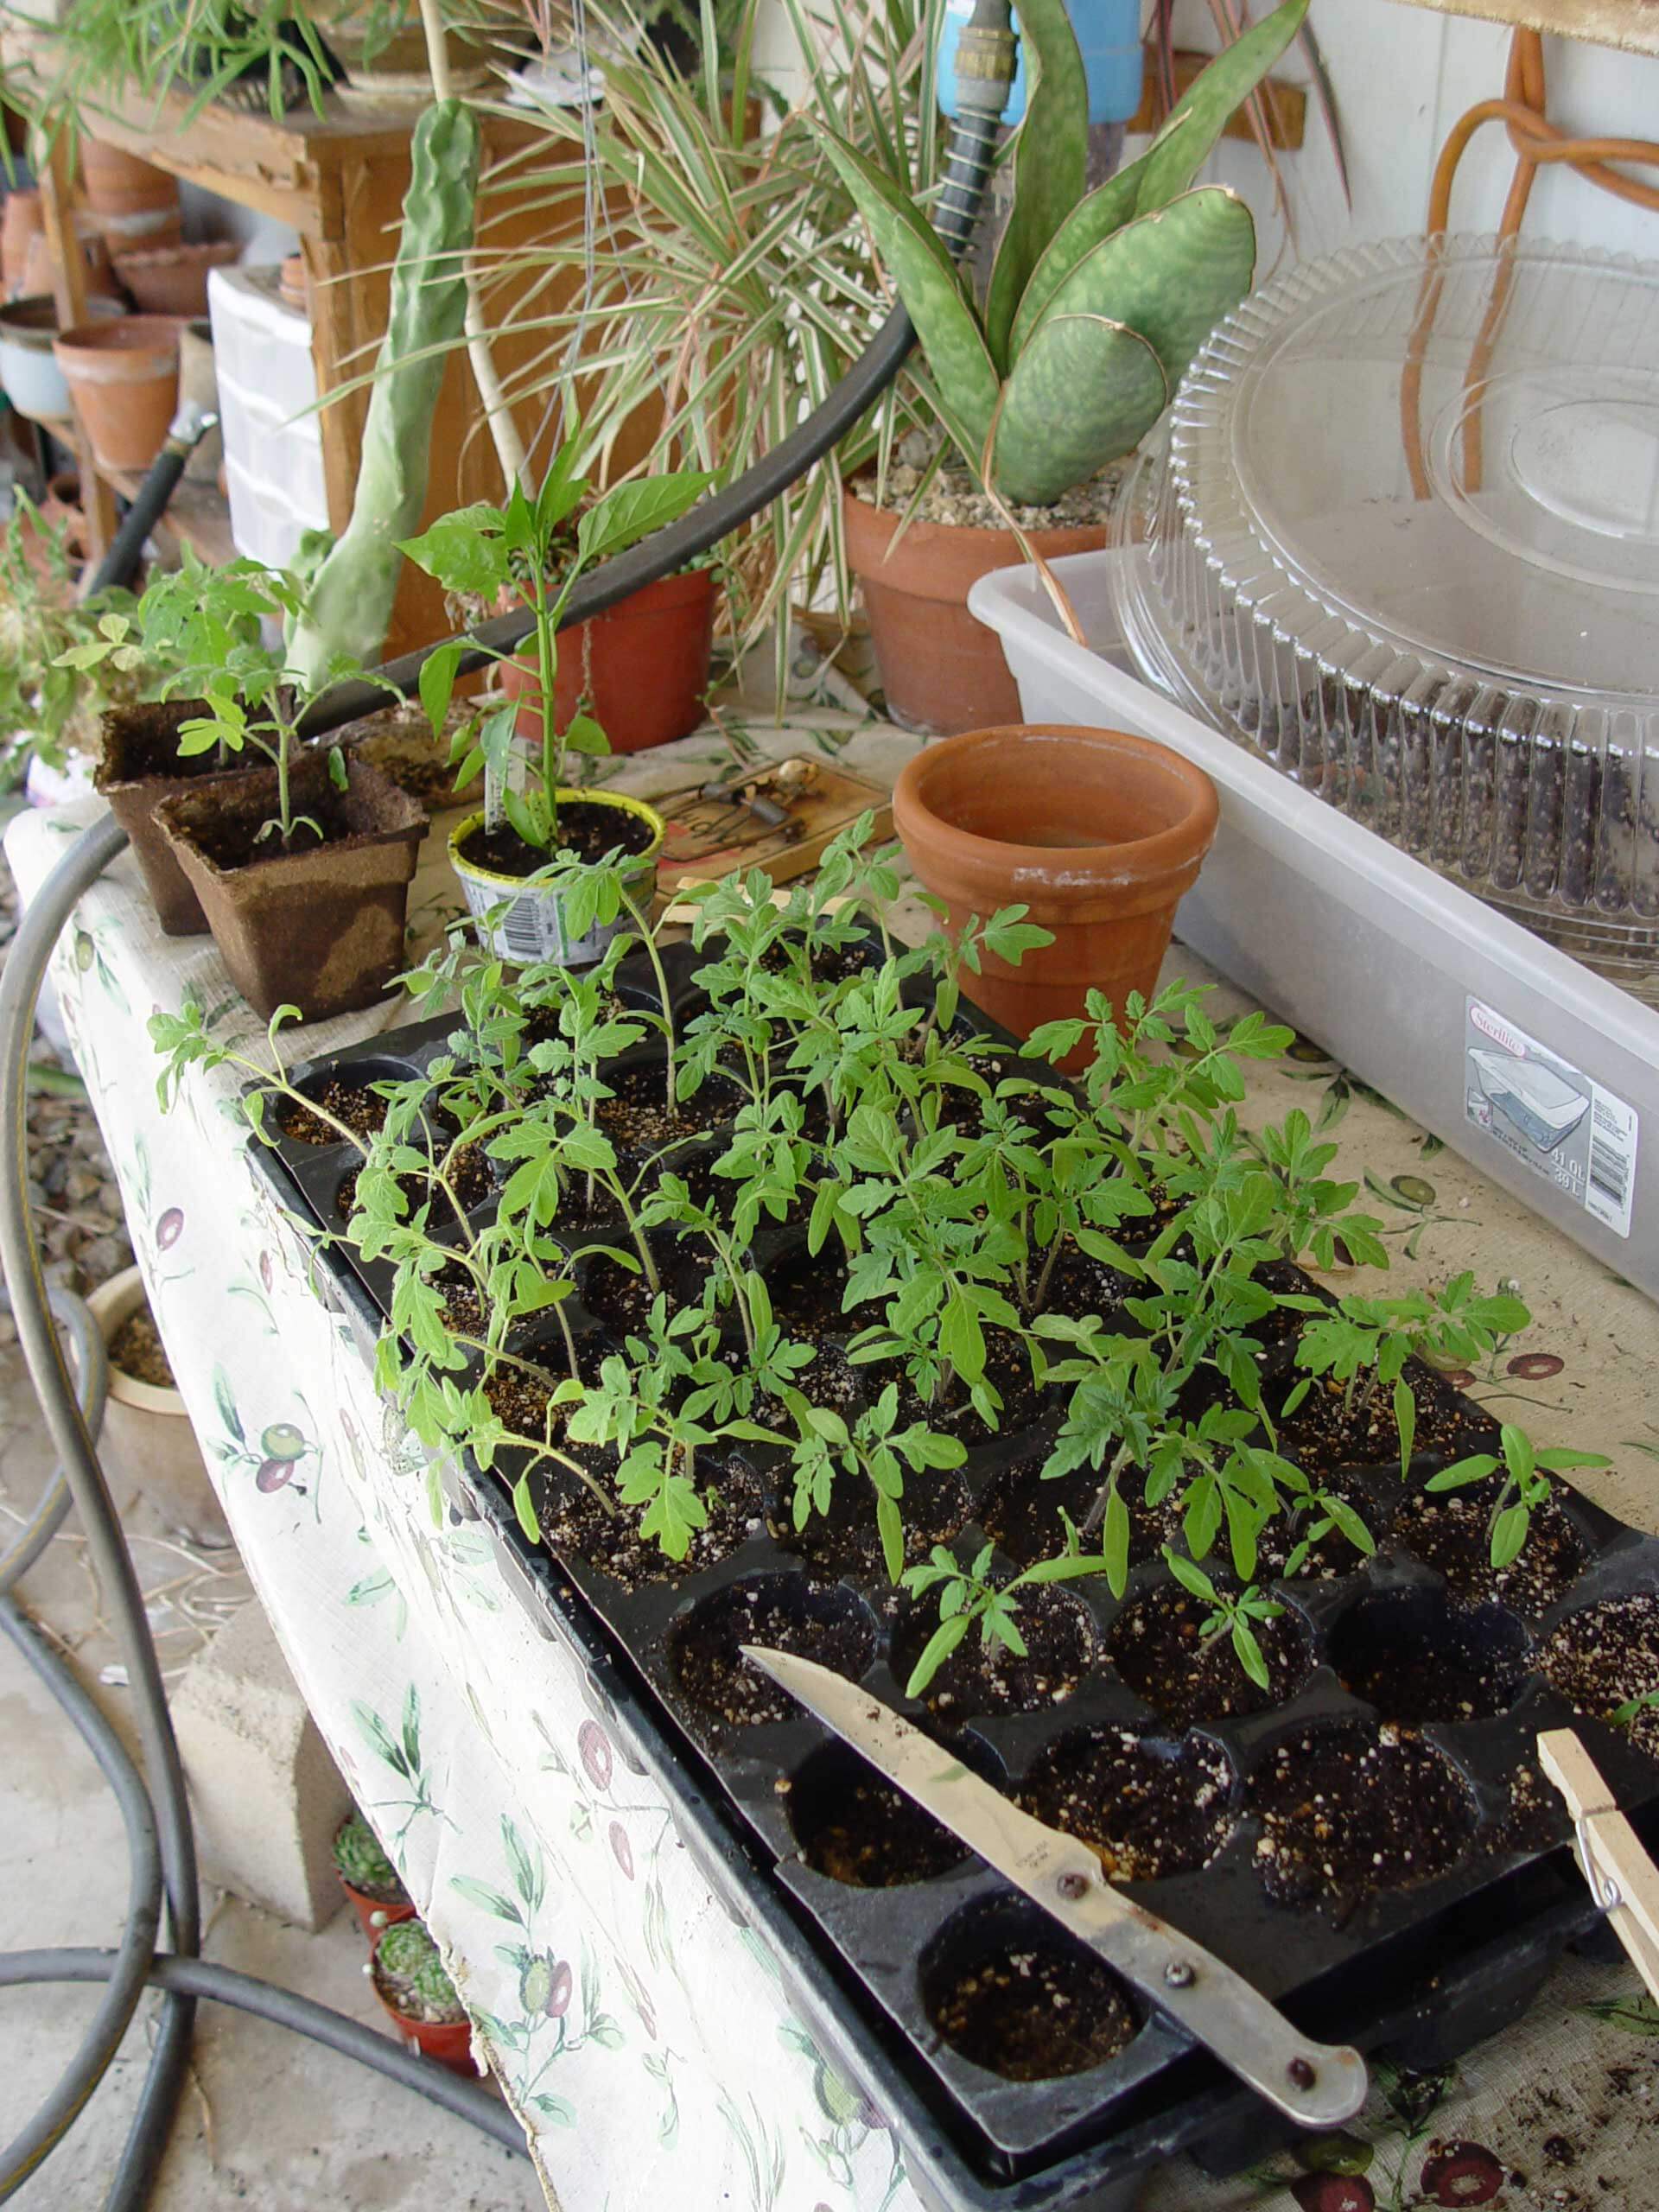
Warm-season crops, like tomatoes, should be started indoors and not planted outdoors until the threat of frost has passed.
Plants for Indoor Sowing: Small-seeded, warm-season vegetables, herbs, and garden flowers, such as tomatoes, peppers, eggplant, salvia, petunias, impatiens, and basil, are best sown indoors in containers. I also start cabbages, kales, and lettuce indoors because they germinate better. I generally wait until plants are 6-inches tall or more before planting them.
Plants for Outdoor Sowing: Large-seeded, fast-growing plants, or those that are sown in rows, are best planted outdoors. Cool-season vegetables, like peas, carrots, beets, and radishes, can be sown outdoors in rows in early to mid-spring. Warm-season, large-seeded crops, and flowers, like beans, corn, okra, sunflowers, and zinnias, can be directly sown in fertile garden soil. I tend to start my cucumbers, melons, and squash in 4-inch pots of Black Gold Natural & Organic Potting Mix outdoors in late spring. They germinate fast, and I let them develop several sets of leaves before planting them in the ground. (Click here to learn more about preparing vegetable garden soil.)
3. Reuse and Recycle
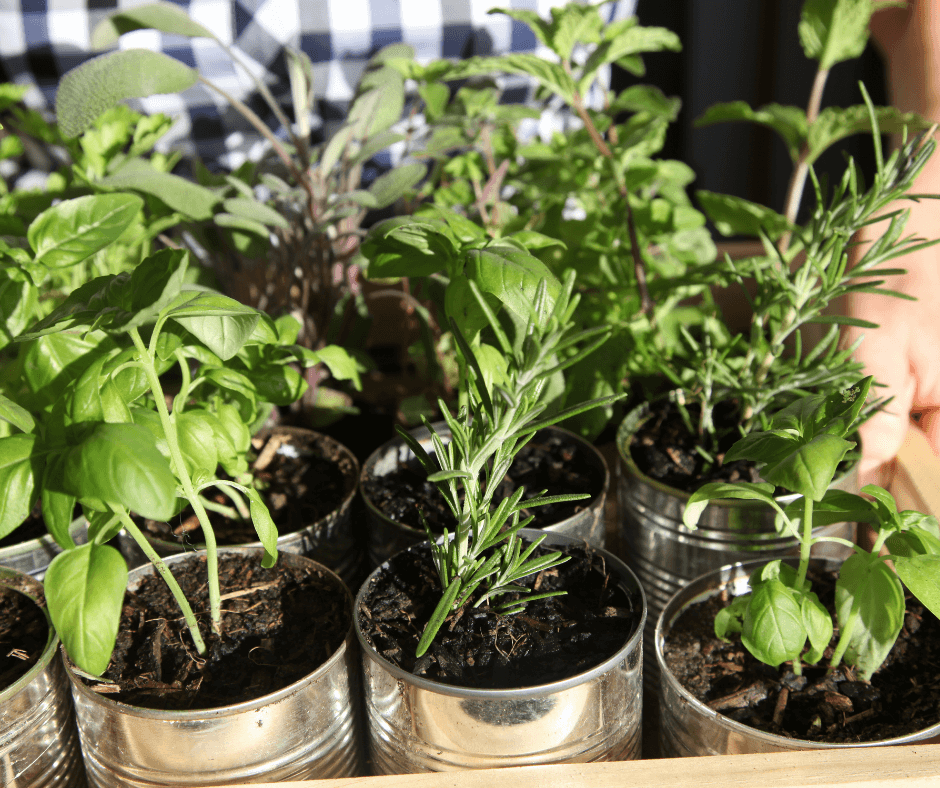
These warm-season herbs (basil, rosemary, and mint) were upgraded into tin cans for outdoor planting.
Frugal growers can cut corners by starting seeds in reused containers. Saving pots from the previous year’s nursery purchases is always an option if you have space, but, reused containers are also useful and educational for kids (reuse, recycle!). Clear plastic ventilated clamshell containers with lids and holes for aeration are especially useful. The lids can come in handy, and once they’ve served their purpose, I just recycle the cleaned containers.
When it’s time to upgrade seedlings into their own pots, there are lots of options, such as yogurt cups, cut plastic bottles, plastic cups, or washed tin cans with holes punched in the bottoms. Be sure to wash containers with hot, soapy water and rinse well before use. Halved toilet-paper tubes, paper egg trays, or eggshell containers are options for those who prefer paper or natural containers.
4. Choose Cheap Stakes and Labels
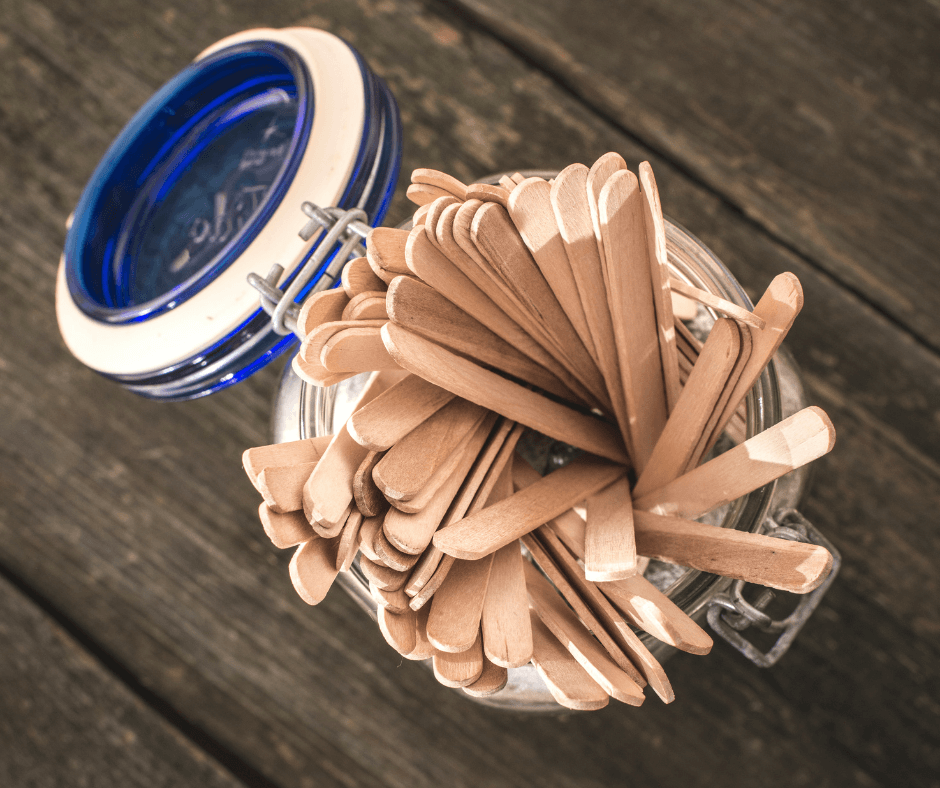
Save those Popsicle sticks!
Every kid in grade school started beans or sunflower seeds in a plastic cup labeled with a Popsicle stick. You can still save the sticks as free planting labels. (These, or any wooden label, are best marked with a heavy graphite pencil.) Another option is cutting up large plastic yogurt or cottage cheese containers into strips and trimming them into 3-inch labels. Simply using a sharpy to mark the outside of a cup or container is another option, but it’s always nice to have a label that you can transfer into the garden at planting time.
The most inexpensive stakes for holding up small tomato seedlings are twigs collected outdoors and then cleaned and cut to size. Wooden or plastic stirrers can also serve as small stakes. I usually secure plants with pipe cleaners or soft twine.
5. Soil and Fertilizer
If you want strong, happy seedlings, don’t skimp on soil and fertilizer. Good products will ensure good seedling growth from the start. Black Gold Seedling Mix is ideal for seed starting. If you’re starting very small seeds, it pays to purchase Black Gold Vermiculite to gently cover them. Not only does vermiculite hold water to keep the seeds from getting dry, but a gentle sprinkling also allows light to pass for seeds that require light to germinate, like lettuce. Diluted, all-purpose, water-soluble fertilizer is gentle enough for small seedlings. Fertilization is not needed until sprouts have begun to put on their second and third sets of leaves.
6. Water for Success
Watering from the bottom will keep seedlings from being displaced and encourage deep rooting.
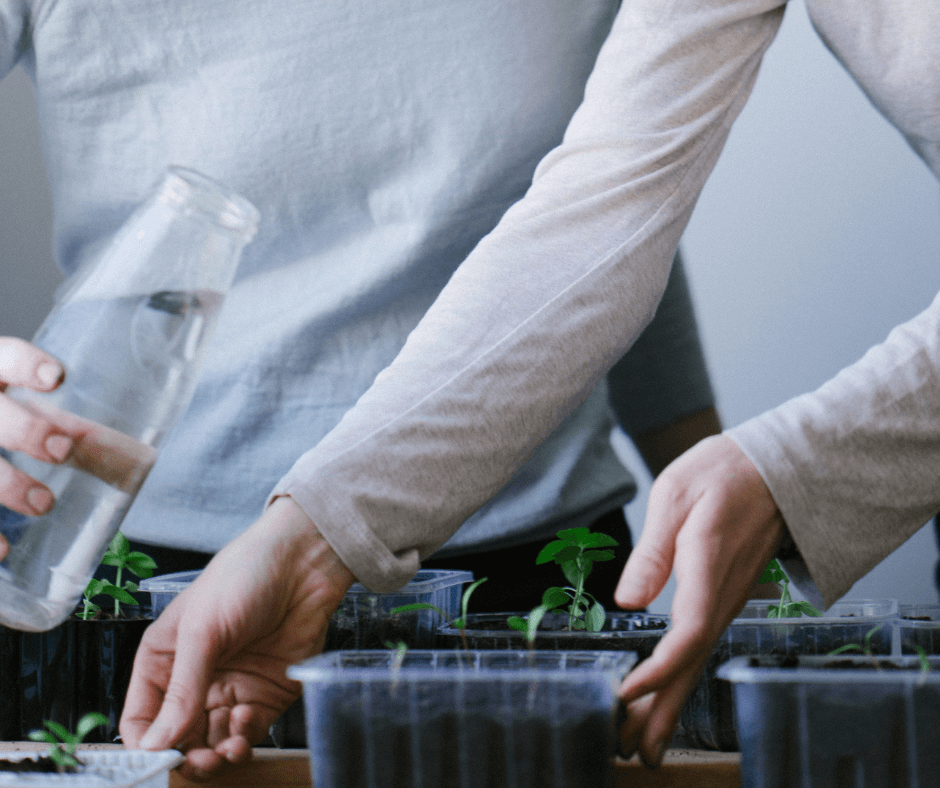
Using the right watering techniques, from start to finish, is essential to success. Use tepid water–seedlings don’t appreciate the shock of hot or cold water. Keep the soil just moist, never saturated, to avoid seed and seedling rot. To avoid saturated soils, mist the soil surface as needed until seeds have sprouted. Once they have sprouted and start growing, water from the bottom to encourage deep rooting and maintain dry surface soi, which discourages shore flies and fungus gnats. (Click here to learn more about these pests and their control.)
7. Use Natural Light
For indoor plants, the cheapest light is free sunlight that streams through south-facing windows. Ample light is required to keep seedlings from stretching towards the light and becoming long and leggy. Six to eight hours of sunlight should be enough. If you have too little sunlight, fluorescent lights in a shop-light fixture are the least expensive supplemental lighting option. Some fluorescent bulbs are specially designed for plant growth and cover up to 94% of the light spectrum. In general, fluorescent bulbs are not very strong, so they must be placed just inches above plants for best reception and growth. Shop lights are easily set up above a basement bench, along a shelf, or in an informal office space.
8. Always Harden Seedlings Off
Hardening off seedlings prepares them for the travails of the outdoors. (Hardening off means acclimating seedlings from their cushy indoor growing conditions to the windy, sunny outdoors where temperatures fluctuate.) Indoor-grown seedlings are tender, weak stemmed, and need time to adjust. If planted in a tender state, they may develop leaf burn, suffer stem breakage, and die. Harden them off for at least a week before planting. Place the potted plants in a protected spot that gets a few hours of sun per day. Then move them a little more towards the light and in the wind each day. After a week or so, they should be tough enough to plant in the garden.
9. Know When to Plant Outdoors
When sowing seeds directly in the ground, we recommend covering them with a light layer of compost or vermiculite for better germination.
It pays to know when to plant what outside. If your timing is off, excess cold or heat can be deadly.
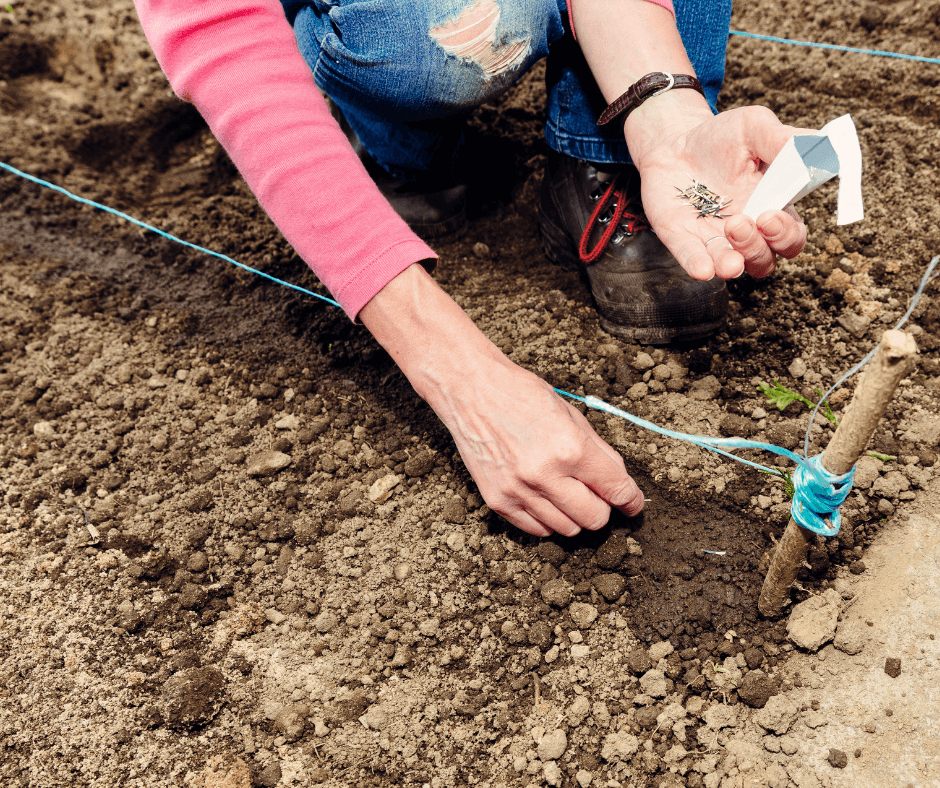
Spring and Fall Vegetables: Cool-season vegetables, seeds and starts, can be directly sown in the ground in spring as soon as the soil can be worked. Amend the soil with Black Gold Garden Compost Blend, label rows, and cover newly planted seeds with a light layer of compost before watering them in. Keep them just moist, and they should sprout as the soil gets warmer.
Seed saving is easy, saves money, and ensures that your seeds have come from a reliable source (your garden!). Smart seed saving requires that you (1) allow your seeds to fully mature, (2) clean your seeds properly, (3) store your seeds correctly, and (4) know exactly what you are saving and storing. Step 4 is essential. If you are collecting seed from a known heirloom plant, you can feel pretty safe that the seedlings will perform like the parent plants. But, if you save seed from a hybrid, expect the progeny to be mysteries awaiting discovery because they may look nothing like the parent from which you collected them. (Click here to learn more about heirloom seeds, and click here for more seed-saving tips from the Seed Savers Exchange.)
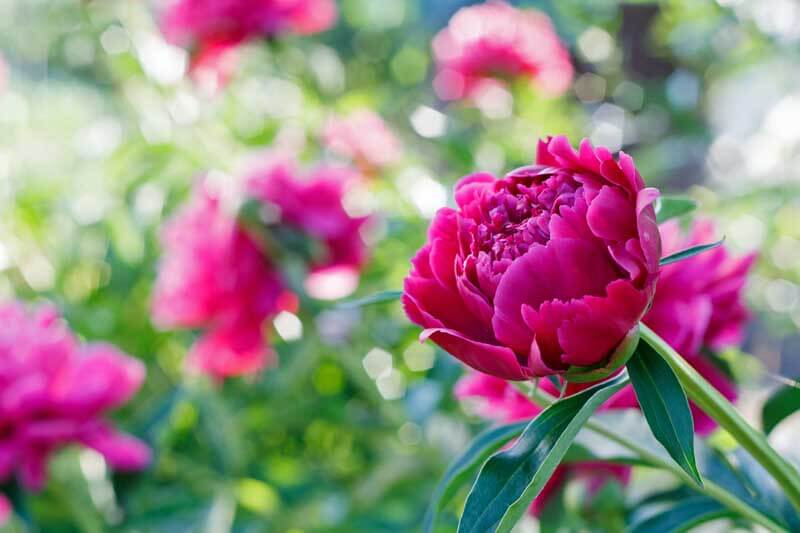
“How do you harvest and grow peony seeds?” Question from Mark of Barrie, Ontario, Canada
Answer: If your peonies successfully cross-pollinated and produced viable seeds that can be induced to sprout, then the plants will develop seed pods that should contain fully mature seeds in late summer or early fall. The round, tough seeds should be harvested as soon as the pods open and begin to turn brown. The seeds will be dark brown to black.
Getting Peony Seeds to Sprout
It takes time and patience to get peony seeds to sprout. Some seeds will produce seedlings in a year and others can take up to three years. Fresh seed will yield the best results. The seeds require a process called stratification, which involves a chilling period of a few months before one can try to induce the seeds to grow. In the case of peony seeds, they need a warm period, chilling period, and warm period. Stratification can be done indoors or outdoors.
Outdoor Stratification
The outdoor method is a little less precise and may take longer, but it often yields the best results. As soon as you harvest your seeds, soak them for three to four days in water. Change the water each day. Unhealthy seeds will float, sink, and become soft. Healthy seeds will swell, and remain round and firm.
Collect the healthy seeds, plant them 1.5 inches down, and 3 inches apart in a flat of Black Gold Natural & Organic Potting Mix. It contains peat as well as composted bark–a combination favored by peony seedlings. Count the seeds and note their placement to keep track of their progress. Also, be sure to label the flat with the planting date, name, and any other essential information. Place the flat in a safe location in partial shade. Keep it moist through the warm days of fall, then cover the top of the flat with plastic wrap in late fall, and let it remain over the winter. Remove the plastic in early spring, and keep the flat moist through spring. The seeds should begin to sprout by mid to late spring. When they emerge, feed them lightly with a water-soluble, all-purpose fertilizer as soon as their second (true) leaves emerge. Once they reach a few inches, you can transplant them to pots or a location in the garden with good soil. You will need to baby them as they grow. It may be wise to protect them with chicken wire or plastic collars. Placing diatomaceous earth around them should also keep snails and slugs away.
Some seeds may not sprout in the first year. If this is the case, keep the flat in place, maintain moisture through summer, and repeat the stratification process in fall and winter.
Indoor Stratification
Take your healthy peony seeds indoors, place a few in a 4-inch pot filled with Black Gold Seedling Mix. Moisten the pot, and place it under grow lights for a month and a half. Keep the pot moist and make sure the indoor temperature is between 70 and 80 degrees F. After a month, place the pot in an air-filled plastic bag in the refrigerator. The best temperature for stratification is 40 degrees F. Moisten the pot every couple of weeks while it is in the refrigerator–don’t let it get dry. After three months, remove and place it under grow lights. Keep the pots lightly moist, maintain a temperature between 70 and 80 degrees F, and the peony seeds should sprout in a month or two. A heat mat set to warm can help. (Please click here for more detailed information about how to start seeds indoors.)
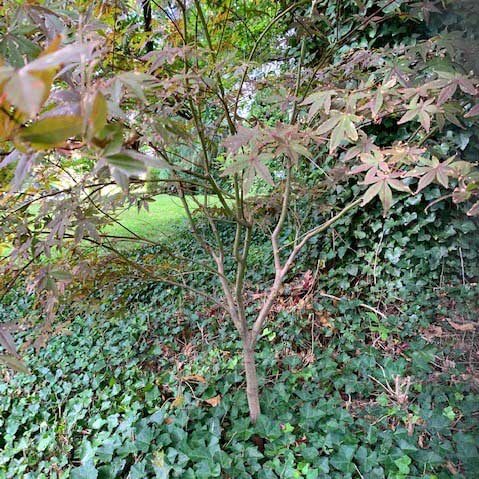
“I recently bought a house in Long Island, NY, and found a 2-foot tall Japanese maple tree (I believe it is a Red Emperor Maple) growing under a much larger tree. The maple apparently sprouted naturally. I would like to transplant it to a more open space. When is the best time to transplant the tree? See pictures of the tree and proposed a new planting spot. This open location will get much more sun, will that be a problem? Any advice on transplanting (size of root ball; conditioning soil) are welcome. From my reading it seems that it is best to transplant the tree before the first frost in autumn, the root ball should be the diameter of the drip line, and the new soil should be well-draining and mixed with lots of organic matter.” Question from Ron of New York, New York
Answer: The tree looks healthy, and the planting spot looks just fine, but seedling trees like this little Japanese maple (Acer palmatum, USDA Hardiness Zones 5-8) have one flaw relative to nursery stock. Their fine, spreading roots are not as dense as those of potted trees, so they do not transplant as well. There is one way to increase root density for better establishment, root pruning. If you prune the roots in fall, the tree will be ready to plant before it leafs out in spring. Here’s how.
How to Root Prune a Tree Before Transplant
You will need a sharp flat spade (King of Spades is best), gloves, and probably some pruning shears to cut away the ivy. Trim the ivy away, clear the area to begin digging. Shoot for a root ball with a circumference of 8-10 inches around the tree. Using your sharp spade, make clean, slightly angeled cuts down to the full length of the spade. You may run into competing tree roots from the larger tree. Cut around them as best you can. Once you have made the cuts all around, leave the tree until spring. Where you made the cuts, new feeder roots will grow over the winter to help the tree become well established when you move it in spring, so you don’t need to cut along the drip line.
In spring, pull away the mulch, and dig a hole that is several inches beyond the height and width of your tree’s root ball. Break up some of the backfill to help plant the tree, and reserve the rest to fill in the hole you will create by digging up the tree.
Next, gently dig around your maple along the lines and cuts you made in fall. You will have to dig a bit beyond the cuts to get any roots that you missed towards the bottom. You should see new root growth along the cuts. Wrap the root ball in plastic or burlap to keep it together. If it breaks apart a little, your tree should still make it. From there, I recommend that you click on this link to follow Russell Stafford’s guidelines for planting a new tree.
As to the variety of your Asian-native Japanese maple, it is difficult to say. These maples seed in from planted landscape specimens, and the seedlings are not necessarily true to parent. With that said, it should still be a fine tree. They can reach a maximum height of 25 feet, so it will provide some shade in your front yard.
“I start my seedlings indoors. How do I keep them from shooting up 6 inches with a weak stem before I can get them outdoors?” Question from Jerry of Lead, South Dakota
Answer: This is all about providing lots of high-quality light from start to finish. When light is insufficient, seedlings will reach and stretch towards the source, which results in elongated, leggy shoots and poor overall color and growth.
If you start your seeds along a sunny windowsill, make sure that it is south-facing. Place your seedlings as close to the pane as possible and consider fortifying their light with high-spectrum bulbs for plant growing.
“How can I prevent damping off when I sow seeds? That is my problem.” Question from Bev of Philadelphia, Pennsylvania
Answer: This is a problem that I have faced many times starting seeds in university greenhouses, professional greenhouses, and at home. Thankfully, the solution is pretty simple, and it all involves keeping everything clean. Let’s start by covering the sources of damping off disease.
What is Damping Off?
Damping-off is a disease of sprouting seeds and seedlings that is primarily caused by two soilborne fungi, Pythium and Phytophthora spp. They cause rot and death in developing seeds and seedlings, usually at the roots or base of tender developing stems. Damping-off is a problem when growers keep the soil too moist and the disease is present.
To keep damping-off from taking hold you need to start with good soil, clean pots, and follow up with smart care.
Sterilizing Mix and Pots
Disease-carrying mix is the biggest concern. I used to work in large-scale greenhouses where they used big heater/steamers to sterilize mix at a temperature just high enough to kill any soilborne diseases (around 180°F). This is essential for growers that reuse mix, but careful growers sterilize new mix, too. Why? Because the airborne spores of damping-off fungi can be practically anywhere –especially in places where plants are being grown.
Additionally, unused seed-starting mix, like Black Gold Seedling Mix, is typically produced in clean facilities and bagged pathogen-free. But, if bags tear in transport and/or bags are not stored properly, Pythium and Phytophthora spores can infiltrate. Bags of seedling mix should be lightweight (meaning no water from the outside has seeped into the bag) and without tears. Improperly stored open bags at home can also be a danger. If you are not certain of your mix’s cleanliness, then it’s time for home sterilization.
I sterilize seed-starting mix using this fast and easy method.
Ingredients: Seed-starting mix, a 9″ x 13″ cake pan, 1/2 cup water, aluminum foil, and an oven.
Directions: Preheat your oven to 180°F, fill your pan with seedling mix, sprinkle it with the water, cover the pan with the foil, and bake it for 30 minutes. After baking, remove the pan from the oven and allow the mix to cool before using.
These diseases can also hang out on dirty old pots, so in the greenhouse, we’d also wash used pots and trays really well in hot water with good dishwashing liquid and sometimes a dash of bleach. I do this at home as well.
Seed and Seedling Care
Aside from starting with clean soil and pots, it is essential to discourage wet soils when starting and growing seedlings. I generally keep newly planted seeds gently sprinkled with a bottle waterer (see video below), so the soil is never over saturated. Once my seedlings pop up, I bottom water by adding 1/4 to 1/2 inch of water to the water-holding trays every two to four days, depending on seedling size. It also helps to encourage airflow, to help soil surfaces dry more quickly, and keep trays warm with a heat mat.
These cultural practices will definitely kick your damping-off problem away for life!


 “How do you harvest and grow peony seeds?” Question from Mark of Barrie, Ontario, Canada