Articles

How Do You Save Heirloom Pepper Seeds?

“I would love advice on saving seeds off of heirloom bell peppers.” Question from Shelby of Greenleaf, Idaho

Dear Shelby,

You are in luck! Peppers are some of the easiest seeds to save because they are dry, rather than fleshy, fruits with open interiors. What is important is waiting until the fruits are ripe to harvest the seeds. Green peppers have immature seeds that will not germinate. Once the fruits are fully colored and ripe, the seeds will be ripe.

Collect the seeds, place them in a labeled packet, and store them in a cool dry place through winter. I generally start my peppers in late winter or spring, at least eight weeks before the last frost date.

Please watch the video below for tips about how to grow peppers organically!

Happy gardening,

Jessie Keith

Black Gold Horticulturist

When Should I Fertilize Seedlings?

“I bought Black Gold potting soil with fertilizer for my herb, tomato, onion, and pepper seedlings. Do I also need to use liquid fertilizer once the seedlings grow their true leaves?” Question from Kim of Hiram, Ohio

Answer: It is important to be timely when fertilizing seedlings to give them the best head start. With that said, fertilizer in the soil can actually inhibit the germination of some seeds. (The salts in fertilizers disable the uptake of water in some seeds, which reduces or stops germination.) So, we recommend starting seeds in a mix that does not contain added fertilizer. Black Gold Seedling Mix is perfect for all types of seeds, and Black Gold Natural & Organic Potting Mix is a little coarser and great for starting larger seeds, like sunflowers, squash, and beans.

From there, start feeding seedlings with a 1/2 dilution of water-soluble fertilizer formulated for vegetables after they have begun to develop their true leaves. As they become larger, you can graduate to a full-strength dilution. I recommend waiting until they are 4-5 inches before feeding them fully.

I hope that this helps!

Happy gardening,

Jessie Keith

Black Gold Horticulturist

How Long Should My Pineapple Top Stay in Water Before Planting?

How Long Should My Pineapple Top Stay in Water Before Planting?

“How long should I keep my pineapple plant in water before planting?” Question from Daniel of Omaha, Nebraska

Answer: It is always fun to start your own pineapple plants from tops! And, if you give them the right care, they may even produce fruit for you–even more exciting! You will know that your top is ready to plant when it has developed roots that are 2 to 3 inches long or longer. To plant it correctly, follow these steps.

How to Plant and Grow a Pineapple

  1. Prepare your pineapple top for planting after it has developed roots that are 2 to 3 inches long or longer.
  2. Choose a pot that has drainage holes at the bottom and is at least 8 to 10 inches across.
  3. Use a fast-draining planting mix suited for bromeliads, like pineapples. Black Gold Cactus Mix is a good choice.
  4. Fill the pot with soil until there are 4 inches of headspace at the top. Place the pineapple top in and cover its roots–being sure to leave 2 inches of space at the top of the pot for watering.
  5. Water your pineapple until water runs through the pot and fills the saucer at the bottom.
  6. Place your pineapple in a sunny spot indoors. Water it every three days or so.
  7. After one week, feed it with a water-soluble fertilizer formulated for bromeliads. From there, feed it monthly.

Pineapples grow best in warm rooms (65 to 95 degrees Fahrenheit) with good humidity. Occasionally spritzing the leaves with bottled spring water can be helpful. Once your plant begins to grow and fill out, it may take several months to a year before it sets fruit.

Happy gardening!

Jessie Keith

Black Gold Horticulturist

10 Essential Tips For New Vegetable Gardeners

The new vegetable gardener will succeed if given the right information from the beginning.

With decades of vegetable gardening experience under my belt, it’s easy to take the years of knowledge for granted. It’s like riding a bike. I garden on cruise control and react or learn quickly when faced with a new challenge. In turn, years of teaching new gardeners have kept me in touch with the challenges they face. Sound, step-by-step advice is invaluable–potentially averting years of mistakes and poor yields. Getting the big picture of a new garden venture from the start will set the wheelbarrow rolling in the right direction. The new vegetable gardener will be quickly rewarded if modest goals are established from the beginning and time is set aside for the project.

Tips for the New Vegetable Gardener

Here are my top ten tips for helping new vegetable gardeners succeed in the first year from the ground up. (Note: If you plan to grow vegetables in containers, click here to read an article about successful vegetable container gardening, click here to learn how to grow spring vegetable containers, and click here to learn how to grow tomatoes in pots.)

Planning your garden on paper will help you visualize and plan for the project.
  1. Plan Ahead: Determine your garden’s location, size, and crops before you break ground. Vegetable gardens require full sun (8-hours or more per day) and soil that drains well. Gardening is a commitment that often takes more time and labor than anticipated. If you have never gardened before, plan small in the first year to keep it enjoyable and manageable. It will help you succeed from the start and determine how to grow your garden in future years. (Click here for a good article about planning a garden, and click here for an article about rotating crops through the season.)
  2. Sod removal takes work but is worth the effort.

    Start Clean: Remove all of the turf from your soon-to-be garden bed. That means manually skimming off the sod with a sharp spade or using an automated sod cutter, which can be rented. I recommend the latter if you have planned a large garden. The bed should be small enough for you to reach into from all sides or large enough to add a walkway for easy access. Square or rectangular beds are easiest to mow around and manage.

  3. Enrich your soil from the beginning!

    Don’t Skimp on Soil: Your garden is as good as its soil. When siting it, choose a well-drained spot. If low ground is a problem in your yard, opt for a raised bed (Click here to learn more about preparing a raised bed garden, and click here for a raised bed plan). For garden success in year one, liberally feed your soil with organic matter, such as Black Gold Canadian Sphagnum Peat Moss, Garden Soil, and Garden Compost Blend, especially if your soil is rich in clay or sandy. Add at least 3 inches of the amendment to the soil surface, and till it to a depth of at least 8 inches. Use the amendment application formula below to determine the amount you will need.

    Amendment Application Formula

    ([area to cover] ft2 x [depth in inches desired] x 0.0031 = ___ yd3).

    Example: If you wanted to cover a 20 square foot area with 2 inches of compost, the result would be: 20 ft2 x 2 inches of compost x 0.0031 = 2.48 yd3.

    (Click here for a full overview of how to prep a new vegetable garden from start to finish.)

  4. Berming planting areas and covering with compost and straw will save weeding time and boost crops.

    Raise and Cover: Tilling and adding lots of fresh organic material will loosen and lift your soil to enhance drainage and aeration for better root growth. To take it one step further, I always rake or hoe soil up into berms to maximize drainage and keep beds light for better root growth. Berming is especially helpful for root crops, like carrots, potatoes, and beets, and deep-rooted plants, like tomatoes. Finally, I add mulches appropriate for vegetable gardens, like seed-free straw, compost, mushroom soil, grass clippings, or leaf mulch, to keep weeds down. I generally put straw along walkways I’ve established in my garden and compost on the planting areas. Avoid bark mulch of any kind in vegetable gardens because it binds nitrogen, which is detrimental to heavy-feeding vegetables.

  5. A little fertilizer will go a long way.

    Fertilize: Good fertilizer formulated for vegetable growing is essential for bumper crops. Any all-purpose granular or slow-release vegetable fertilizer will do, though I recommend feeding tomatoes with a food specially formulated for their needs. Tomatoes are very heavy feeders that require a wide variety of nutrients to perform their best. Follow the product instructions to keep them well fed.

    Look for the AAS logo! (Image thanks to All America Selections Winners)
  6. Choose Good Varieties: Don’t pick just any old tomato, pepper, or bean for your garden. Do your research and pick the best when it comes to yields, performance, and flavor. If you are not certain, always select award-winning plants, such as All America Selections Winners. These tend to be as full-proof as you can get. It is also wise to choose disease-resistant varieties, so keep a lookout for these as well. (Click on the links to discover our favorite sauce tomatoes, lettuce, green beans, mini vegetables, carrots, and fast-growing vegetables.)
  7. Lettuce is an easy spring vegetable that needs cool weather.

    Know Planting Times: It is essential to know when you can plant a vegetable, what temperature it likes best, and how long it will take to produce. Vegetables are broken down into cool-season and warm-season types, though some will grow well from spring to fall. Cool-season vegetables, like cabbage, lettuce, peas, and radishes, grow best in cool spring or fall weather, while warm-season crops, such as corn, okra, peppers, tomatoes, and squash, need the heat of summer to yield. Some grow very quickly, and others take months to produce. For example, radishes can be ready to harvest in as little as 20 days, but some pumpkins can take 120 days to produce fruit. So, knowing a crop’s days to harvest is important. Finally, you need to know your last frost date (click here for yours) to determine when it is safe to plant tender vegetables and fruits outdoors.

  8. Some pumpkin plants can grow to 20′ across!

    Know Plant Needs and Sizes: Identify each plant’s height and width to determine its garden footprint. You also need to know if supports, like tomato cages or bean and cucumber trellises, will be needed. One important tip for tomato growers is that bush (determinate) tomatoes only reach 1-3 feet and need small cages or stakes, but vining (indeterminate) tomatoes can reach 6-8-feet high and wide, so tall, strong cages are required. Follow spacing guidelines to give your vegetable the space they need to blossom.

    When ripe, tomatoes are fully colored and give slightly when pressed.
  9. Know When to Harvest: When is it ripe? Tomatoes and peppers will be fully colored when ready to pick. Beans should be plump and reach the advertised length. Zucchini and summer squash are best harvested small but firm. And, you will know when beets, carrots, and radishes are ready to harvest when their bulbous tops become visible along the soil surface. If you are not sure when to harvest a crop, ask us through our free horticultural advice service, Ask a Garden Expert.
  10. Removing weeds as you see them will keep them from taking over.

    Keep It Clean: Weed, weed, and weed some more. Even when you mulch your beds, they will arise. Weeds compete with vegetables for resources and can quickly overwhelm a garden if ignored. They may also harbor diseases and attract pests. Pull or hoe weeds as you see them. Even if you weed every few days or even every week, you will have few to no weed problems, which will give you more time to focus on plant care and harvest. Investing in good weeding tools makes the task lighter. I am never without my weeding knife (Hori Hori), strong hoe (Prohoes are the best), and Korean hand plow (Ho-Mi).

Reach out to friends, family, books, and online references when you have gardening questions. There’s always more to learn and new plants to discover. And, if you can’t find an answer, ask us a gardening question for free at Ask a Garden Expert. You can also search the hundreds of questions we have already answered. It’s our goal to help gardeners succeed.

When Should I Plant Tomatoes for a Short Growing Season?

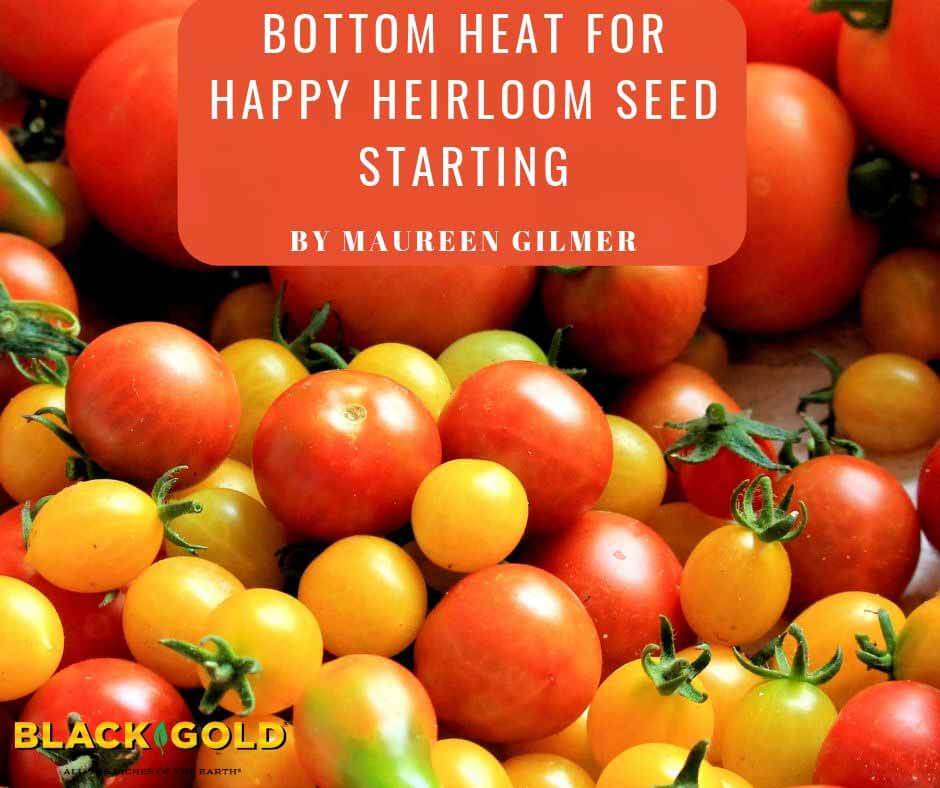
“We have a short growing season here. I would like to get as big a head start as possible on my seedlings. I plan to start my seeds indoors but also have a pop-up greenhouse, and would like to know how early I can start seeds indoors (under lights) and then transfer to my garden before transplanting to the garden. I am interested most in times for tomatoes.” Question from Melissa of McDonough, New York

Answer: When planting tomatoes in areas with cooler, shorter summers, you need to consider the variety as well as starting/planting time. In general, it takes about six to eight weeks to yield ready-to-plant starts from seed. Using heat mats, keeping indoor conditions warm, and providing lots of light will hasten growth. Most tomatoes produce fruit between 60 to 85 days after planting, depending on the variety. Choose tomatoes that produce early and are shown to yield good-tasting fruits in cooler climates. Your average tomato colors up and gains its best flavor when days and nights are warm. You can’t count on these conditions further North, which is why the variety is important. (Click here on a full guide to growing tomatoes from seed to harvest.)

Good Tomato Varieties for Northern Gardens

‘Juliet’ (60 days, paste tomato): The award-winning’Juliet’ is a red paste or sauce tomato that also tastes great fresh. It grows quickly and will perform well for you.

‘Golden Sweet’ (60 days, grape tomato): The elongated, grape tomatoes of golden sweet are orange-yellow, mild, and sweet. Vines yield fast.

‘Polbig’ (67 days, slicing tomato): Here’s a tasty, red slicing tomato bred for growing in cooler climates. It also has very good disease resistance.

These are just three of many early, cool-tolerant tomatoes you might consider.

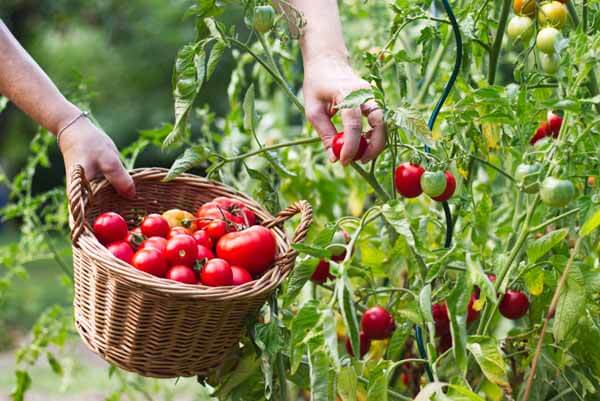
Plant your finished tomato starts outdoors after the threat of frost has passed. Some eager tomato gardeners plant theirs earlier outdoors and protect plants with hoop covers and frost cloth. This is an option, but I find it safer to simply grow mine to a larger size indoors and then harden them off before planting. Your pop-up greenhouse sounds just perfect for the job.

Have a very fruitful tomato growing season!

Jessie Keith

Black Gold Horticulturist