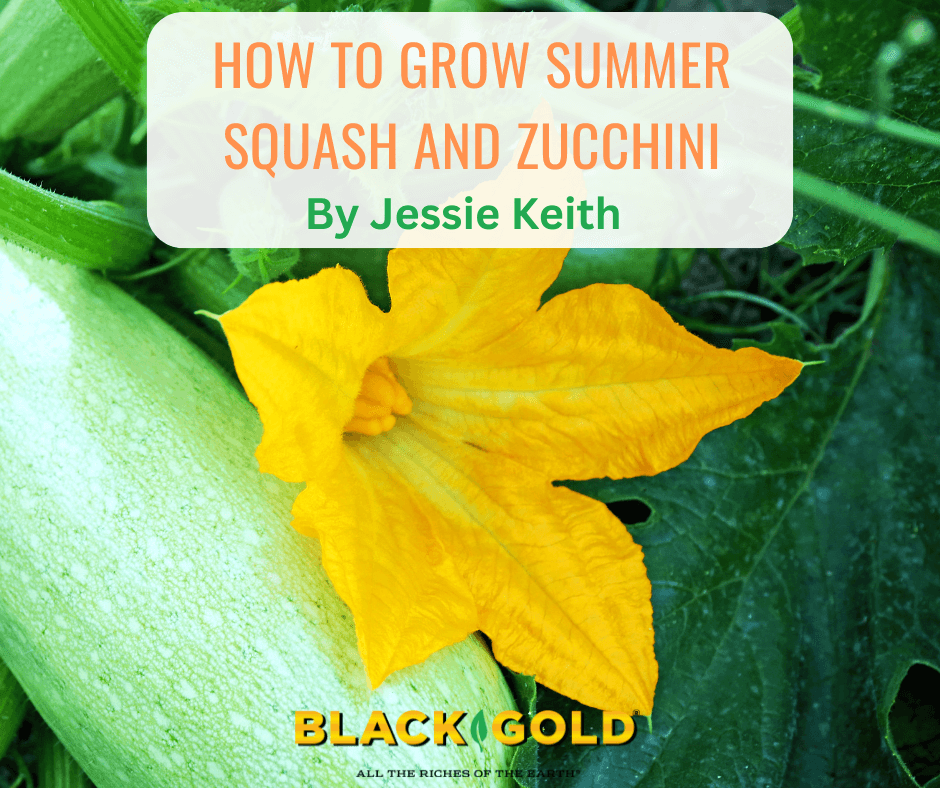
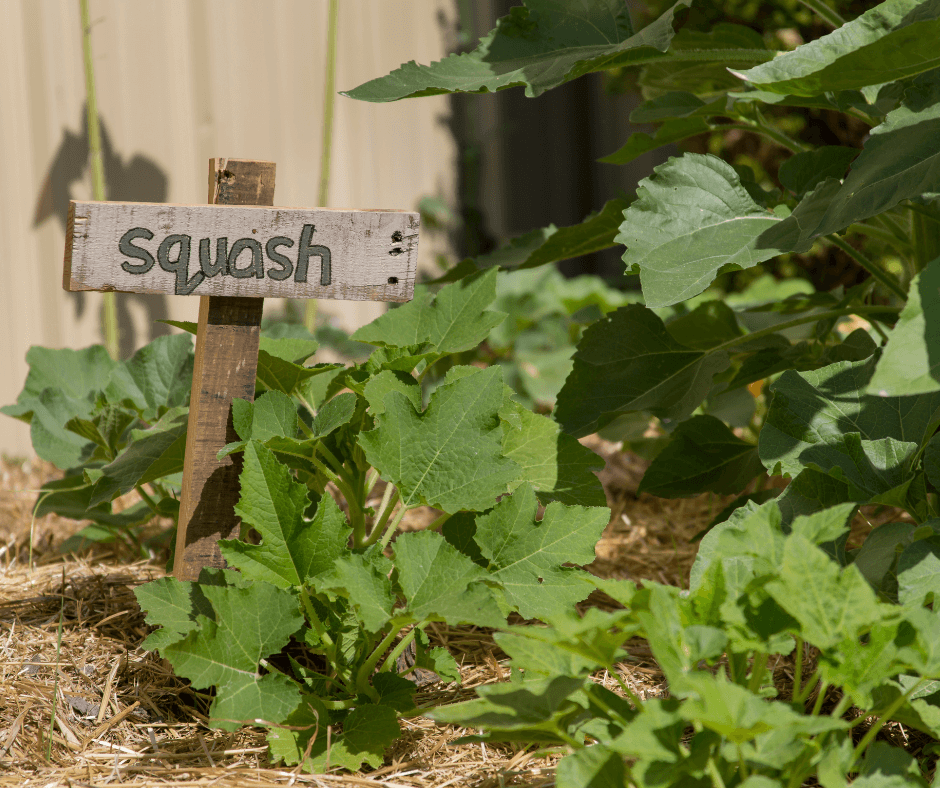
The squashes of summer are versatile in summer cooking and some of the easiest vegetables you can grow as long as you have a patch of good, sunny garden ground and a water source. Both summer squashes and zucchini are available in different sizes–bush, short-vine, and long-vine– and only a few pests and diseases cause them grief. Thankfully, rugged, resistant varieties, of the heirloom or hybrid sort, are available to make summer vegetable gardening less problematic.
Five Summer Squash Garden Needs
Before planting summer squash in a prepared garden bed, raised bed, or large container, be sure you have the following garden and environmental accommodations.
- Sun-Full sun (6 hours or more) is required. The more sunshine, the better.
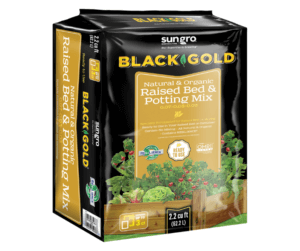
- Soil– Average to fertile soil with good drainage and porosity will encourage the best root growth and production. Garden ground amended with Black Gold® Natural & Organic Garden Compost Blend and/or Black Gold® Natural & Organic Garden Soil is recommended. Squash grow best in soil with a pH range of 6.0 to 6.8. If your soil is too alkaline, amend with organic-rich, acidifying Black Gold® Natural & Organic Canadian Sphagnum Peat Moss.
- Water– A good water source is needed because fruiting vines require regular water in the heat of summer. Water plant substantially after several days without rain. Even moisture is optimal.
- Food– Fertilize as directed with a plant food formulated for vegetables.
- Mulch vining summer squash with seed-free straw or hay. The fruits are better protected from pests and fungal diseases on a clean bed of straw. The mulching layer keeps weeds down to boot.
Favorite Summer Squash and Zucchini Varieties
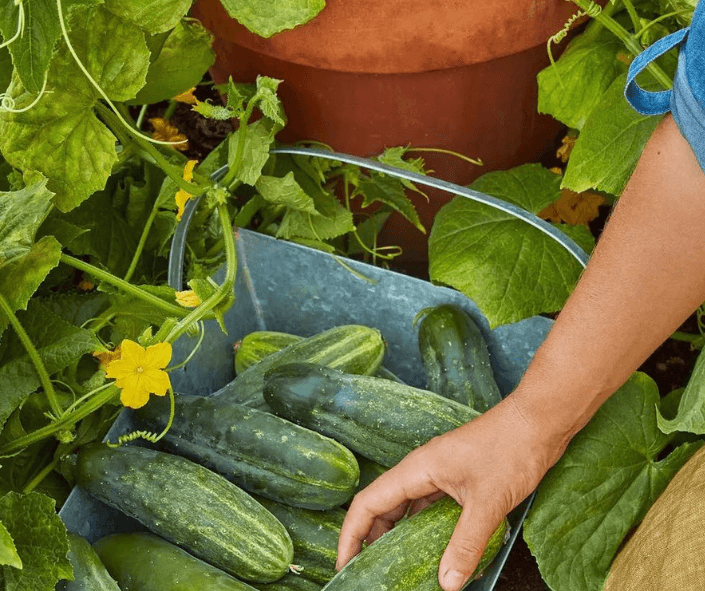
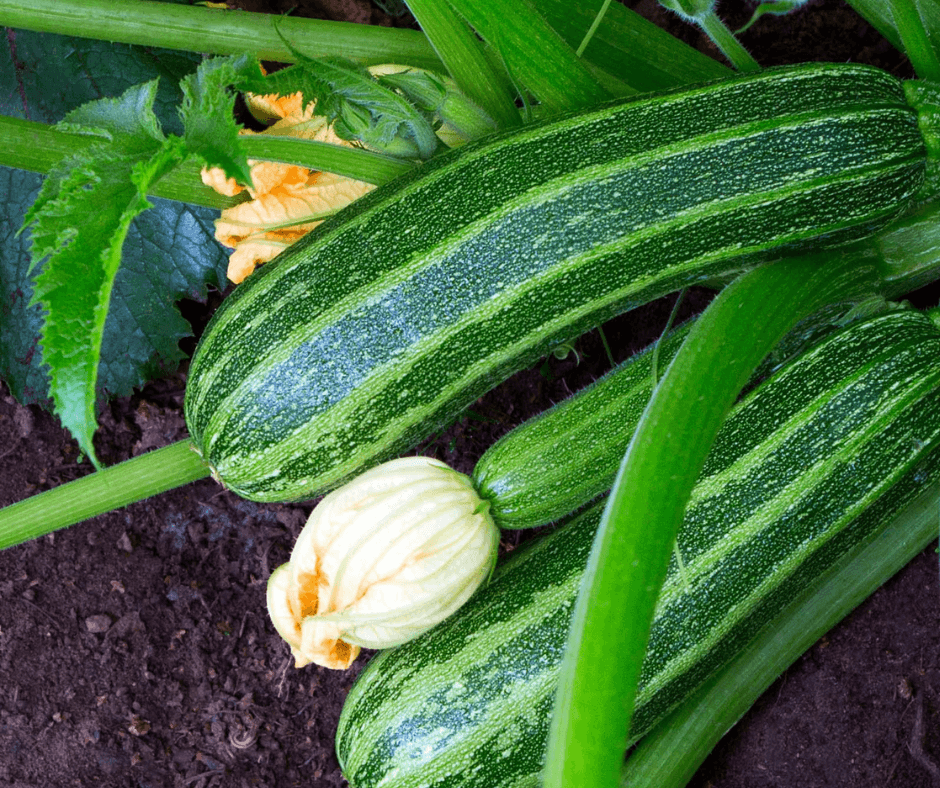
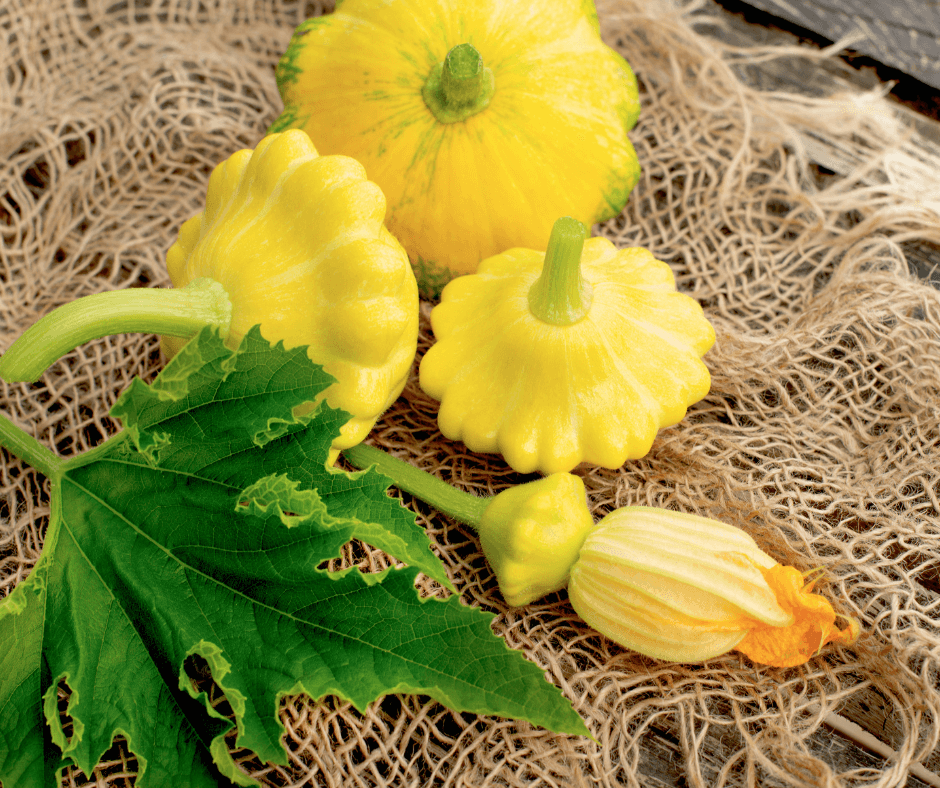
Both summer squash and zucchini originate from . Summer squash can be curved (crookneck), strait, or in patty pan form, and the color ranges from golden to pale green. Zucchini is often strait or bulbous at the end and may be dark green or striped with dark green. The fruits are best harvested when they have reached their projected size and the skin is still soft. The flowers are also edible and often stuffed and fried in Italian cuisine.
Summer Squash
The Middle Eastern ‘Clarimore‘ (40 days to harvest) has pale green fruits that taste nutty and flavorful. The short-vine plants are heat tolerant and productive.
The 5-foot vines of ‘Fort Knox‘ (50 days to harvest) produce straight, golden squash with mild, smooth flesh. The hybrid vines are extra productive.
‘Summer Gold’ (48 days to harvest) is a productive, vining American heirloom plant with gold, strait-neck fruits.
The heirloom pattypan ‘Sunburst‘ (55 days to harvest) is a classic bush-forming variety with gold squashes. Harvest them small for sauteeing and stir-frying.
Zucchini
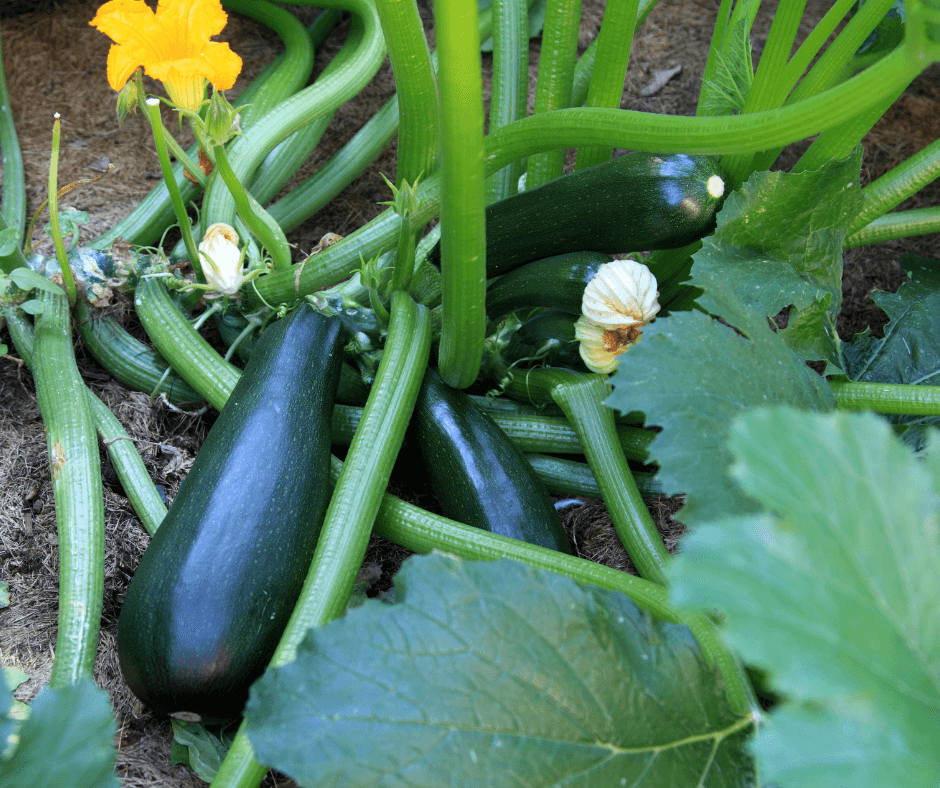
‘Black Beauty‘ (50 days to harvest) is a vining American zucchini with smooth, dark green skin.
The pleasantly round ‘Ronde de Nice’ is a European heirloom zucchini prized for stuffing. The bush plants reach only 3-4 feet across.
‘Romanesco‘ is a vining Italian heirloom with flavorful, ridged squash of pale green striped with medium green. The prolific vines will produce zucchini all season long, so plan to share some with friends and neighbors.
The non-stop producer ‘Zucchino Rampicante‘ can be harvested as a pale green, curved zucchini-like squash or allowed to age as a mild, flavorful winter squash. The Italian heirloom is a family favorite.
Planting Summer Squash and Zucchini
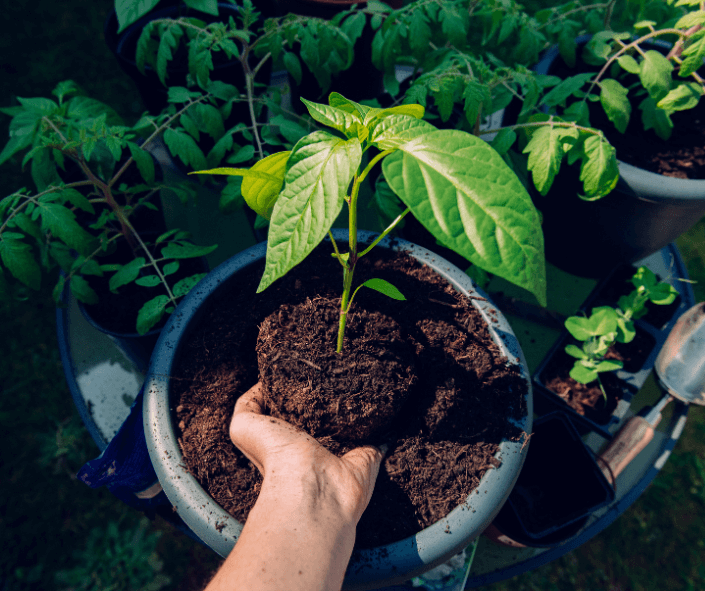
Summer squashes are warm-season crops that require summer heat to produce, so the best time to plant them is in late spring after the threat of frost has passed. They grow best in average to fertile soil with good drainage. We recommend you feed your garden soil yearly with rich organic matter and fertilizers formulated for vegetables. Once again, two recommended Black Gold products for added fertility are Black Gold® Natural & Organic Garden Soil, which 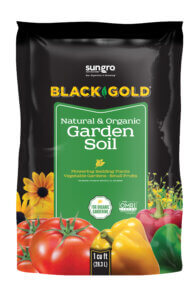 provides nutrition and needed organic matter, and our fertile Black Gold® Natural & Organic Garden Compost Blend. developing squash.
Squash are fast-growing vegetables and heavy feeders and drinkers, so keep them adequately fed and watered. Any quality fertilizer formulated for vegetables will work. Water after several rainless days to ensure soil moisture is adequate. The ground can be allowed to dry for several days between watering, but don’t let the soil become truly dry.
Summer Squash Problems
Pests, diseases, and poor fruit set are occasional problems with summer squash and zucchini.
Poor fruit set may be caused by a lack of pollinators. Squash plants have two flower types, male and female, and these are strictly bee-pollinated. Vines often produce male flowers first, followed by female blooms (they always have small fruits at the base of the flowers). Without pollination, the developing fruits of female flowers will shrivel. If your area lacks bees, then move the pollen on your own. Simply use a small brush to move pollen from a newly opened male flower to a newly opened female flower. It’s fast, easy, and will yield squash!
Squash vine borers are the biggest threat to these plants. For a detailed description of the pest, read our Ask a Garden Expert answer about how to beat squash vine borers.
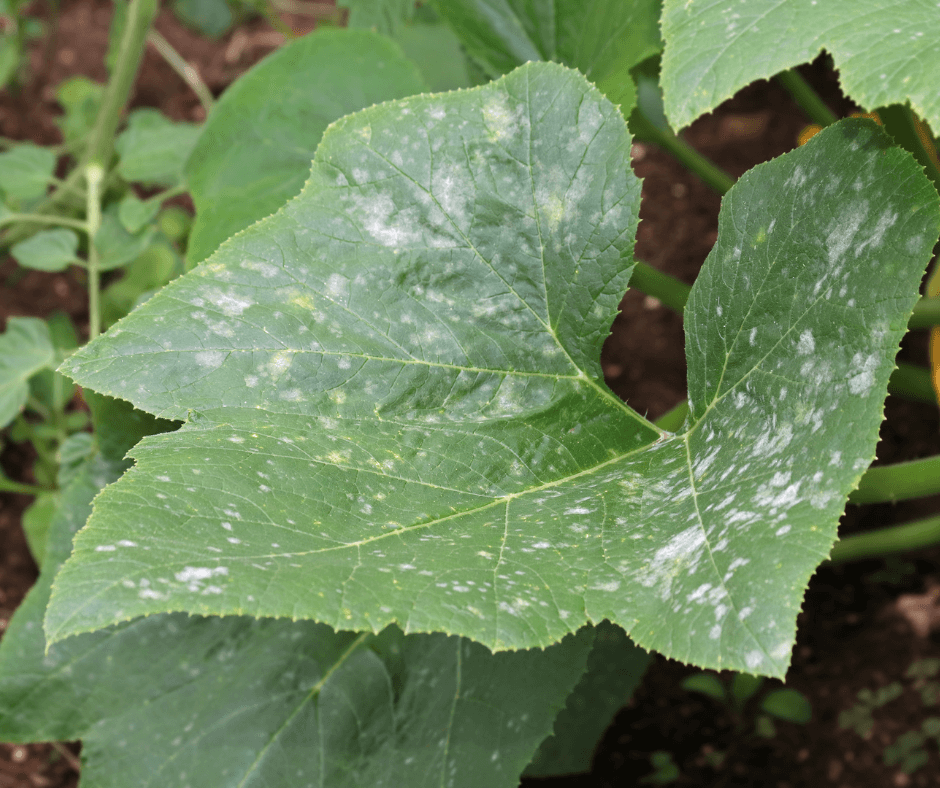
In hot summer weather, powdery mildew can infect squash leaves. Downy mildew can cause fruit rot in moist weather, especially if days and nights become cool. Downy mildew can appear when weather conditions are cool and moist and will cause fruit to rot and shrivel up early in development.
Future watching and reading: