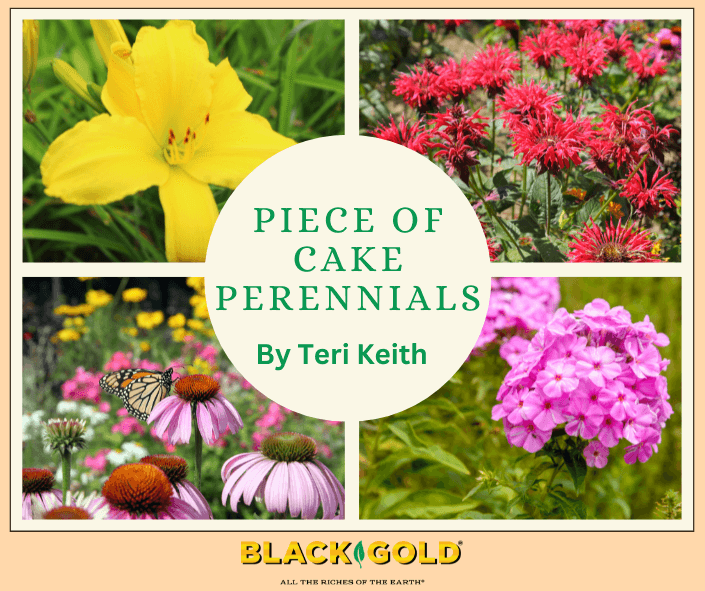
For maximum satisfaction, I find that planning my garden so that it produces fresh floral displays throughout the growing season, is a good idea. As a side benefit, every day I can look out and enjoy the view, and on blue days when I need a pat on the back or a kick in the slats I can say “Hey look, I did all this.” That usually works.
For most of human existence, color, if it was considered at all, was supposedly sprinkled about by some beneficent deity to keep us amused. Scientists now believe that what we perceive as beautiful colors are no more than varying frequencies of electromagnetic energy, sensed and interpreted by our eyes and brain. That certainly takes some of the romance away, but on second thought, it’s still beautiful, so to heck with it.
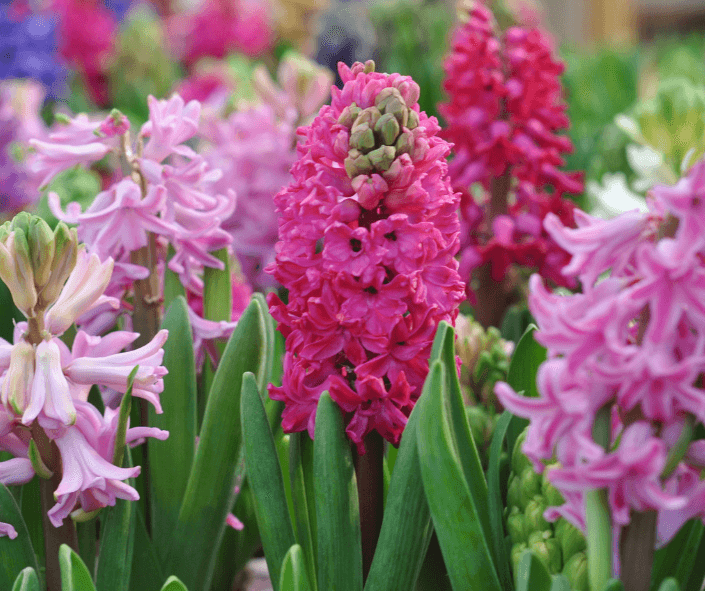
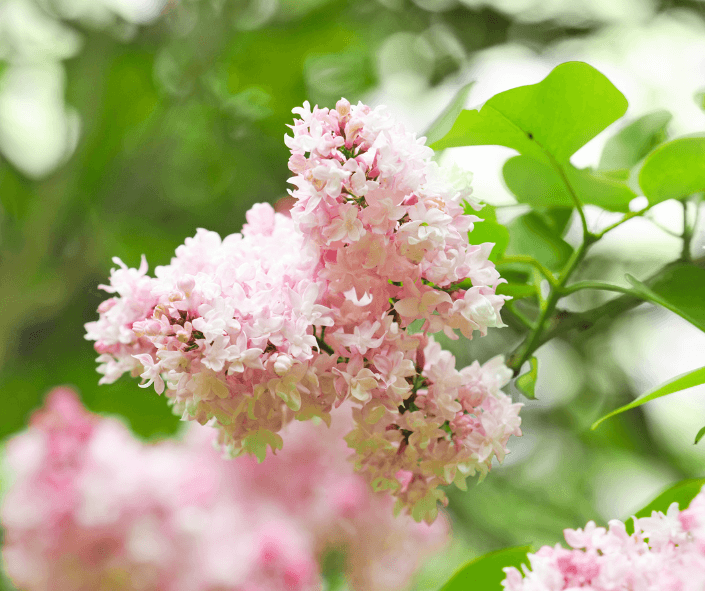
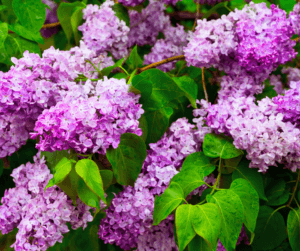
When our temperate landscapes change from dull grayish brown to an overwhelmingly luxuriant green, it’s probably spring. And spring brings with it lilacs, my favorite flowering shrubs. When my yard is filled with the scent and beauty of lilacs, that is the high point of my spring. I tend to overdo, so I have fourteen of them. My favorite is ‘Marie Francis’, a true salmon pink, an unusual warm color in a sea of cool purples, blues and whites. Of course, spring is also filled with bulbs, such as daffodils, tulips, and hyacinths, spreading fabulous colors around the garden.
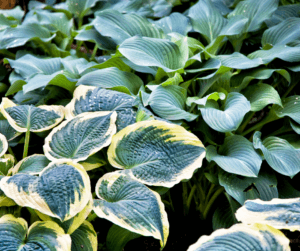
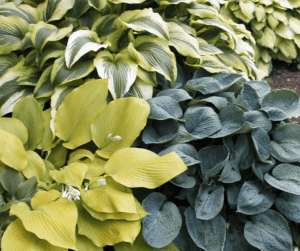
Spring also brings the hostas, a perennial, which comes back every year, with leaves in different shades of green, blue, and yellow, with a combination of different stripes and edges, some wavy. They are a shade plant, coming in all different sizes, and keep their beauty all season, under trees, and on the north sides of houses. Two new varieties I could not pass by this year, were ‘Glad Rags’, with bright yellow, crinkled leaves and a center green stripe, and ‘Etched Glass’, which has thick, bright, green leaves, and an etched ivory center.
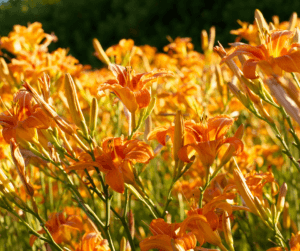
Summer moves in for its turn in late June. Suddenly the number of flowering species and colors takes a big jump. A glance at my summer garden will quickly inform you that daylilies are my summer passion, and they are currently one of the most popular perennials. I have about sixty different varieties. There are now hundreds of different varieties, in red, yellow, purple, orange, lavender, and white. Newer ones have ruffled edges, or throats of a different color. I have ‘Diva’s Choice’, deep bright pink, with yellow ruffled edges.
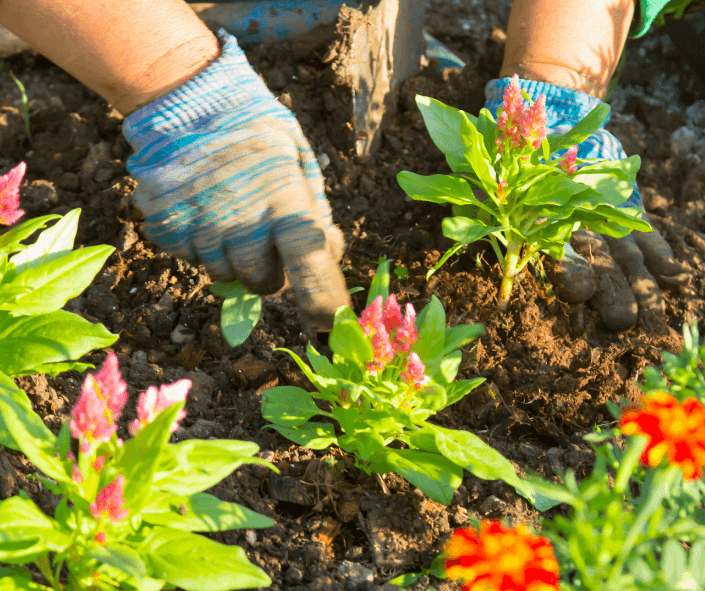
There are many annuals, which need to be planted every year. A popular flower, means many new varieties of it will be developed every year, and petunias are one of the best examples. A few years ago, when the wave petunias that spread over the edges of pots came along, they sold like crazy. Now we have purple petunias with white edges, blue, (there never used to be a blue petunia), with white spots, and striped ones and more. I, of course, have every one of these on my back deck. I plant the purple and blue with marigolds in the back.
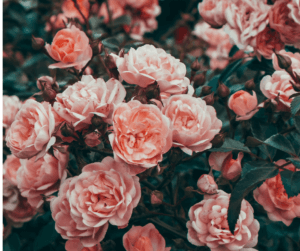
Of course the favorite flowering shrub of all is the rose. I buy mine from David Austin, a famous English Rose Breeder, who has new breeds and favorite antique ones. English roses are gorgeous, thick with petals, and come in many colors. My favorite is ‘Lady of Shalott’, a thick, salmon colored rose, on four foot tall plants.
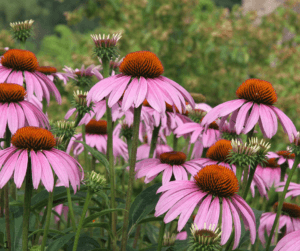
Another very popular perennial is the coneflower. They are daisy shaped, sun loving flowers that used to be just pink. Now they come in every shade of pink, orange, yellow, red, some with two colors, and there is even a green one. Coneflowers are very easy to grow, and bloom heavily all summer.
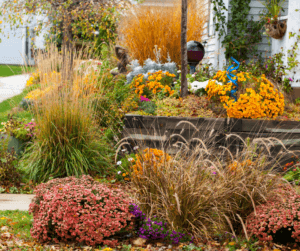
Late summer and early fall will bring on colorful asters and mums. There are thirteen different shaped chrysanthemums. That’s a lot to choose from. My favorites are Pompom, Incurve, Cushion, and Football. Two other varieties look like an explosion. Look up the pictures on Google, and you will find all thirteen. Bluestone Perennials is a good online source. Mums like full to one half day sun.
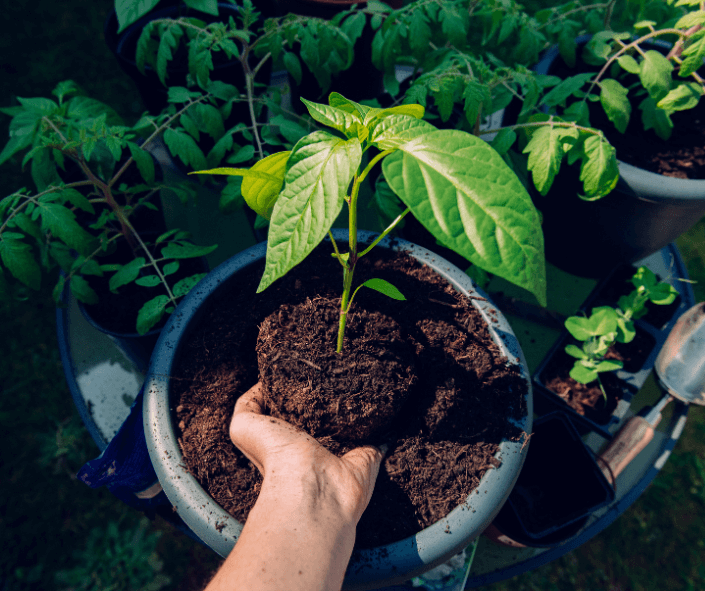
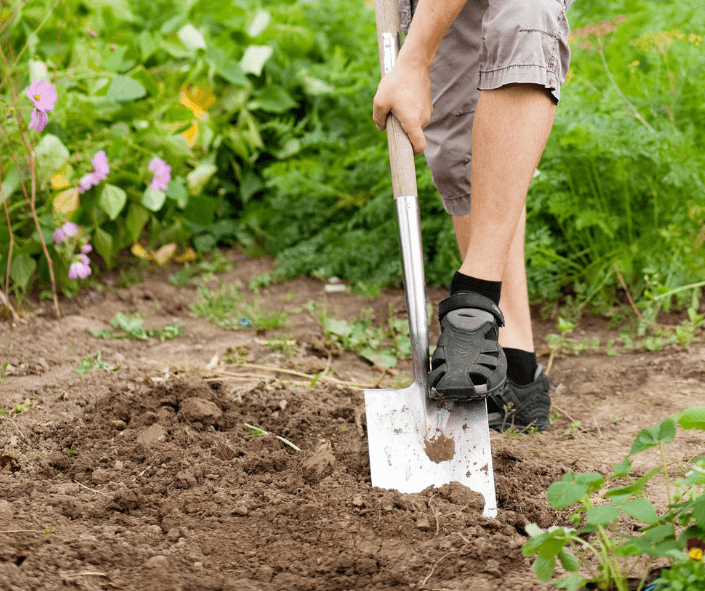
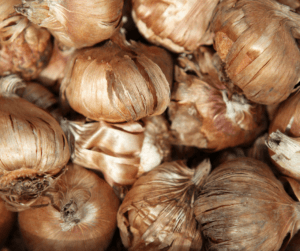
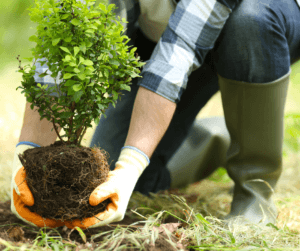
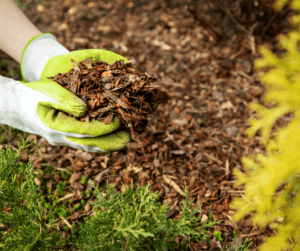
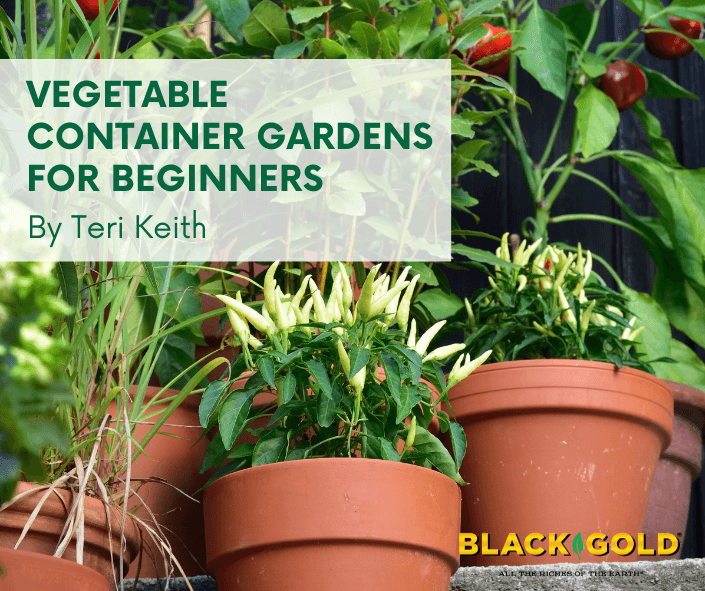
Now we get down to how to plant all these flowers, so they do well in pots and in the ground. After digging the hole, whether large or small, I put in a generous layer of Black Gold® Natural & Organic Garden Soil. Then I mix some more garden soil into the dug dirt, put the roots in, and fill in with the remaining soil. My soil is heavy clay, and really needs this amendment. The final step is to sprinkle some Osmocote, the best fertilizer I have ever used, on top of the soil. When planting bulbs in the fall, be sure and plant daffodils and tulips six to eight inches deep.
For containers, fill with just the Black Gold Potting soil, plant your plant, indoors or out, and put a little Osmocote on top. Remember, the little petunia you buy at the store, will get very big, in a pot.
Now you will have color in your garden!
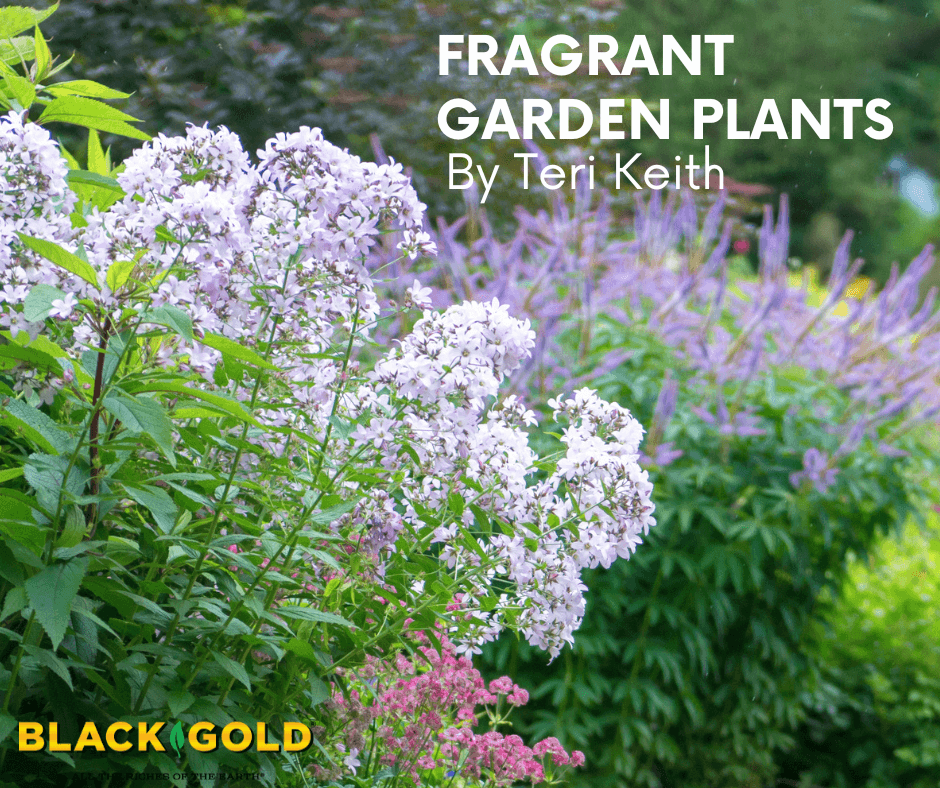
About Teri Keith