Articles

10 Essential Tips For New Vegetable Gardeners

The new vegetable gardener will succeed if given the right information from the beginning.

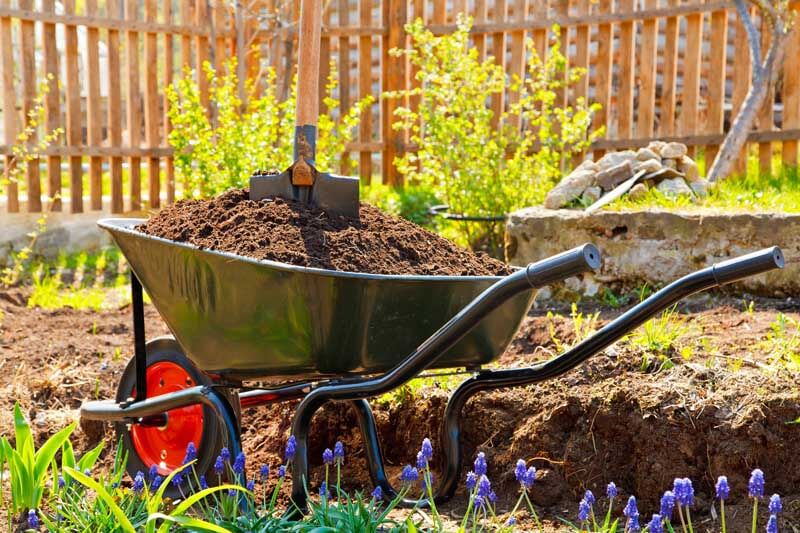
With decades of vegetable gardening experience under my belt, it’s easy to take the years of knowledge for granted. It’s like riding a bike. I garden on cruise control and react or learn quickly when faced with a new challenge. In turn, years of teaching new gardeners have kept me in touch with the challenges they face. Sound, step-by-step advice is invaluable–potentially averting years of mistakes and poor yields. Getting the big picture of a new garden venture from the start will set the wheelbarrow rolling in the right direction. The new vegetable gardener will be quickly rewarded if modest goals are established from the beginning and time is set aside for the project.

Tips for the New Vegetable Gardener

Here are my top ten tips for helping new vegetable gardeners succeed in the first year from the ground up. (Note: If you plan to grow vegetables in containers, click here to read an article about successful vegetable container gardening, click here to learn how to grow spring vegetable containers, and click here to learn how to grow tomatoes in pots.)

Planning your garden on paper will help you visualize and plan for the project.
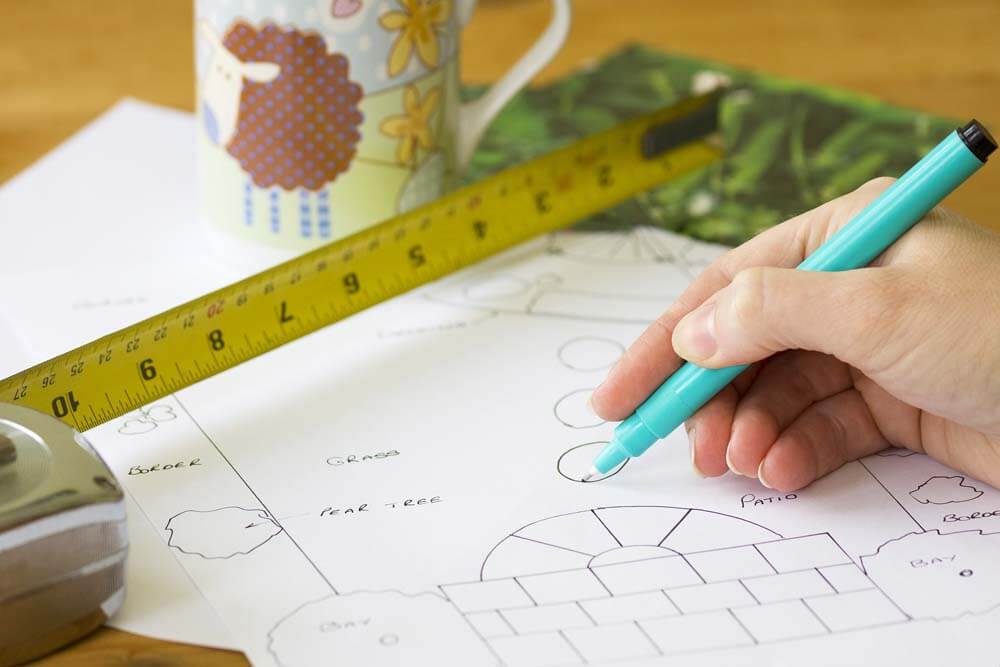
  1. Plan Ahead: Determine your garden’s location, size, and crops before you break ground. Vegetable gardens require full sun (8-hours or more per day) and soil that drains well. Gardening is a commitment that often takes more time and labor than anticipated. If you have never gardened before, plan small in the first year to keep it enjoyable and manageable. It will help you succeed from the start and determine how to grow your garden in future years. (Click here for a good article about planning a garden, and click here for an article about rotating crops through the season.)
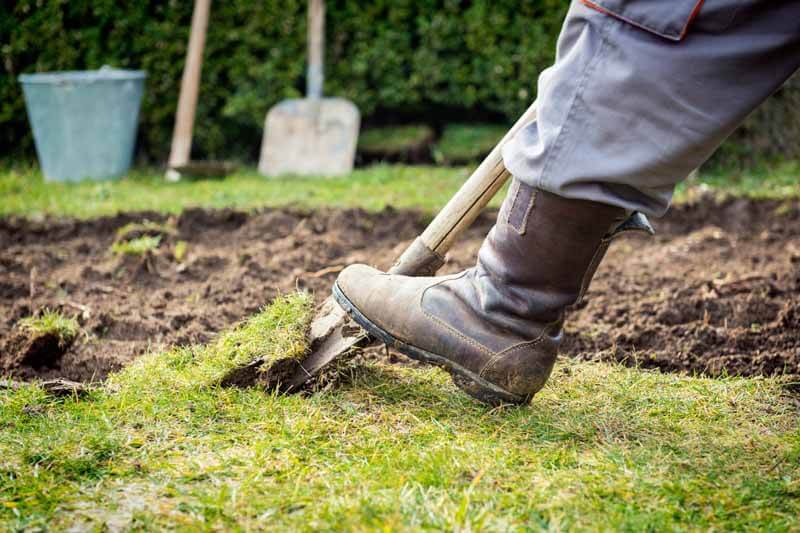
  2. Sod removal takes work but is worth the effort.

    Start Clean: Remove all of the turf from your soon-to-be garden bed. That means manually skimming off the sod with a sharp spade or using an automated sod cutter, which can be rented. I recommend the latter if you have planned a large garden. The bed should be small enough for you to reach into from all sides or large enough to add a walkway for easy access. Square or rectangular beds are easiest to mow around and manage.

  3. Enrich your soil from the beginning!

    Don’t Skimp on Soil: Your garden is as good as its soil. When siting it, choose a well-drained spot. If low ground is a problem in your yard, opt for a raised bed (Click here to learn more about preparing a raised bed garden, and click here for a raised bed plan). For garden success in year one, liberally feed your soil with organic matter, such as Black Gold Canadian Sphagnum Peat Moss, Garden Soil, and Garden Compost Blend, especially if your soil is rich in clay or sandy. Add at least 3 inches of the amendment to the soil surface, and till it to a depth of at least 8 inches. Use the amendment application formula below to determine the amount you will need.

    Amendment Application Formula

    ([area to cover] ft2 x [depth in inches desired] x 0.0031 = ___ yd3).

    Example: If you wanted to cover a 20 square foot area with 2 inches of compost, the result would be: 20 ft2 x 2 inches of compost x 0.0031 = 2.48 yd3.

    (Click here for a full overview of how to prep a new vegetable garden from start to finish.)

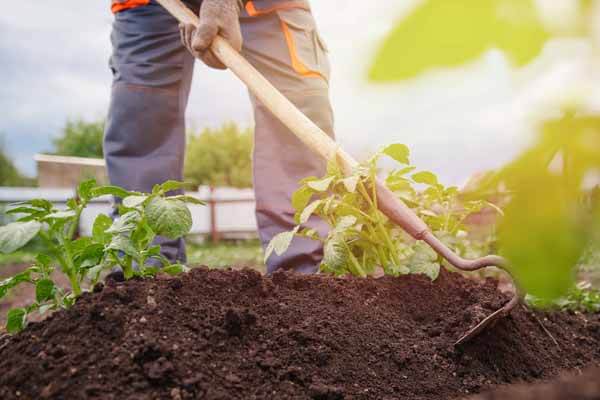
  4. Berming planting areas and covering with compost and straw will save weeding time and boost crops.

    Raise and Cover: Tilling and adding lots of fresh organic material will loosen and lift your soil to enhance drainage and aeration for better root growth. To take it one step further, I always rake or hoe soil up into berms to maximize drainage and keep beds light for better root growth. Berming is especially helpful for root crops, like carrots, potatoes, and beets, and deep-rooted plants, like tomatoes. Finally, I add mulches appropriate for vegetable gardens, like seed-free straw, compost, mushroom soil, grass clippings, or leaf mulch, to keep weeds down. I generally put straw along walkways I’ve established in my garden and compost on the planting areas. Avoid bark mulch of any kind in vegetable gardens because it binds nitrogen, which is detrimental to heavy-feeding vegetables.

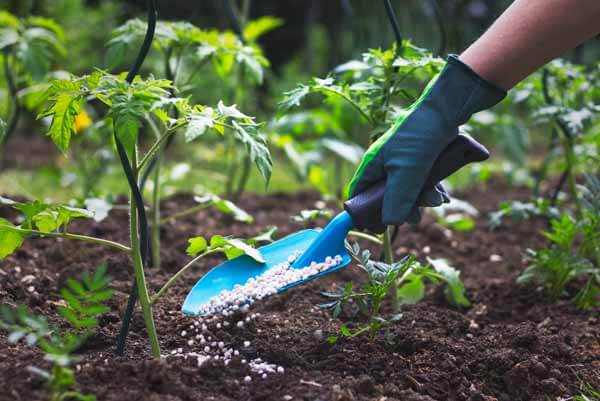
  5. A little fertilizer will go a long way.

    Fertilize: Good fertilizer formulated for vegetable growing is essential for bumper crops. Any all-purpose granular or slow-release vegetable fertilizer will do, though I recommend feeding tomatoes with a food specially formulated for their needs. Tomatoes are very heavy feeders that require a wide variety of nutrients to perform their best. Follow the product instructions to keep them well fed.

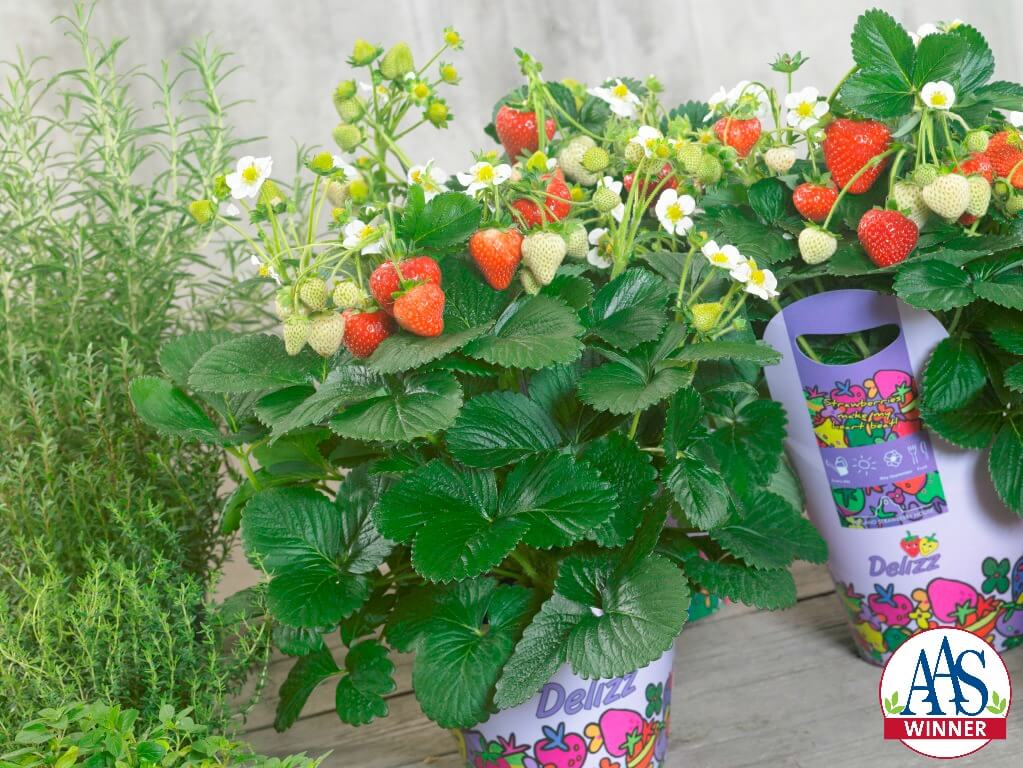
    Look for the AAS logo! (Image thanks to All America Selections Winners)
  6. Choose Good Varieties: Don’t pick just any old tomato, pepper, or bean for your garden. Do your research and pick the best when it comes to yields, performance, and flavor. If you are not certain, always select award-winning plants, such as All America Selections Winners. These tend to be as full-proof as you can get. It is also wise to choose disease-resistant varieties, so keep a lookout for these as well. (Click on the links to discover our favorite sauce tomatoes, lettuce, green beans, mini vegetables, carrots, and fast-growing vegetables.)
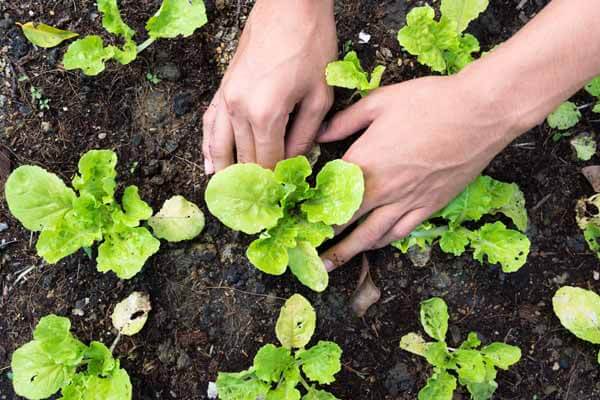
  7. Lettuce is an easy spring vegetable that needs cool weather.

    Know Planting Times: It is essential to know when you can plant a vegetable, what temperature it likes best, and how long it will take to produce. Vegetables are broken down into cool-season and warm-season types, though some will grow well from spring to fall. Cool-season vegetables, like cabbage, lettuce, peas, and radishes, grow best in cool spring or fall weather, while warm-season crops, such as corn, okra, peppers, tomatoes, and squash, need the heat of summer to yield. Some grow very quickly, and others take months to produce. For example, radishes can be ready to harvest in as little as 20 days, but some pumpkins can take 120 days to produce fruit. So, knowing a crop’s days to harvest is important. Finally, you need to know your last frost date (click here for yours) to determine when it is safe to plant tender vegetables and fruits outdoors.

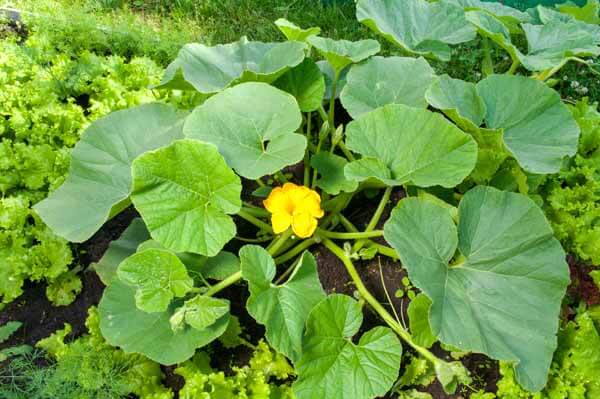
  8. Some pumpkin plants can grow to 20′ across!

    Know Plant Needs and Sizes: Identify each plant’s height and width to determine its garden footprint. You also need to know if supports, like tomato cages or bean and cucumber trellises, will be needed. One important tip for tomato growers is that bush (determinate) tomatoes only reach 1-3 feet and need small cages or stakes, but vining (indeterminate) tomatoes can reach 6-8-feet high and wide, so tall, strong cages are required. Follow spacing guidelines to give your vegetable the space they need to blossom.

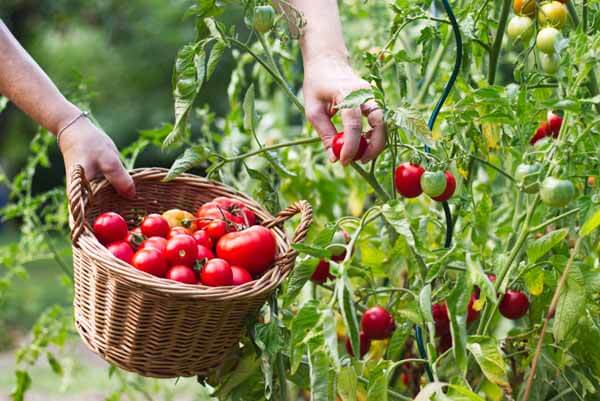
    When ripe, tomatoes are fully colored and give slightly when pressed.
  9. Know When to Harvest: When is it ripe? Tomatoes and peppers will be fully colored when ready to pick. Beans should be plump and reach the advertised length. Zucchini and summer squash are best harvested small but firm. And, you will know when beets, carrots, and radishes are ready to harvest when their bulbous tops become visible along the soil surface. If you are not sure when to harvest a crop, ask us through our free horticultural advice service, Ask a Garden Expert.
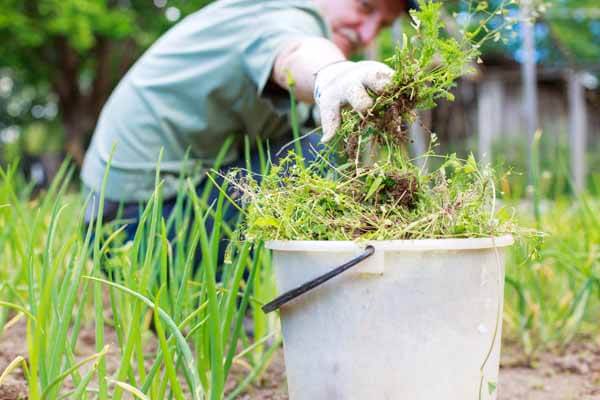
  10. Removing weeds as you see them will keep them from taking over.

    Keep It Clean: Weed, weed, and weed some more. Even when you mulch your beds, they will arise. Weeds compete with vegetables for resources and can quickly overwhelm a garden if ignored. They may also harbor diseases and attract pests. Pull or hoe weeds as you see them. Even if you weed every few days or even every week, you will have few to no weed problems, which will give you more time to focus on plant care and harvest. Investing in good weeding tools makes the task lighter. I am never without my weeding knife (Hori Hori), strong hoe (Prohoes are the best), and Korean hand plow (Ho-Mi).

Reach out to friends, family, books, and online references when you have gardening questions. There’s always more to learn and new plants to discover. And, if you can’t find an answer, ask us a gardening question for free at Ask a Garden Expert. You can also search the hundreds of questions we have already answered. It’s our goal to help gardeners succeed.

I Need Tips for Cold Frame Gardening

“With which of your products does one prep the soil for winter crops in a mini greenhouse, type Cold Frame Mini Green House by Juwel (I just got one)?  It will face South-East.  Any experience growing with this method?  Any easy crop recommendations?” Question from Judy of Yarmouth Port, Massachusetts

Answer: Thank you for your questions. I have gardened in a cold frame and observed successful and unsuccessful cold-frame gardening. In your northern garden, I would place the cold frame in a sunny south-facing spot close to your home. The reflective heat from the house will provide some winter protection, and the warm sun will help heat the cold frame. If you can, I would also recommend sinking the cold frame a few inches below the soil level, even though I see that the frame you have purchased has clear sides. Really good cold frames are set below the soil level to better hold heat in winter. On unexpectedly hot fall or winter days, be sure to prop the top open to keep the internal temperature from getting too hot.

Cold-Frame Soil

As far as soil, I would amend your ground soil at the base of the frame with good compost, like Black Gold Garden Compost Blend, at a 1:2 ratio of soil to mulch. The addition of earthworm castings would also be enriching. The lighter and more fertile your soil, the better your veggies will grow.  Adding a layer of compost as a protective mulch would also be helpful. (Click here to learn more about creating the best soil for raised beds.)

Cold-Frame Vegetables

It is essential to grow cool-season, frost-resistant crops. These are largely winter greens and root crops. The greens that I recommend include mâche, kale, lettuce, and spinach. The best root crops include winter carrots, radishes, and turnips. Parsley and chives are good herbs to try. (Click the following link to learn more about growing winter root crops and click this link to learn more about growing cool-season greens.)

I hope that this information helps!

Happy gardening,

Jessie Keith

When is the Best Time To Grow Vegetables in Florida?

“I live in SW, Florida – what is the best time of year for growing vegetables? Question from Colleen of Englewood, Florida

Answer: I see that your summers are sweltering, humid, long, and can be cloudy while your winters are short, cool, and sunnier. What you grow in these times depends on the crop and season.

In the “cooler” winter months, you can grow root and cole crops. Late winter and fall are good times to start many warm-season vegetables that don’t thrive in raging heat.  In high summer, grow super heat-loving vegetables, like Southeast Asian eggplant and okra.

Here are some crops that I would recommend for each season:

Winter: cole crops, greens, and root crops. (Click here to read more about the best vegetables for fall and winter gardens in the South. And, click here to learn more about root crop growing. )

Late-Winter and Spring: beans, cucumbers, early tomatoes,  and summer squash. (Watch the video below to learn more about growing cucumbers.)

Summer: okra, eggplant, peppers, and other heat-loving varieties and crops. (Click here to read more about heat-loving vegetables and here to read more about tomatoes for Florida.)

Fall: Plant as you would in spring.

Strawberries are also great for growing in Florida. To learn more about strawberries for Florida, read this article.

I hope that this information helps!

Happy gardening,

Jessie

What is the Pollinator For Summer Squash?

Male squash bee (Peponapis pruinosa). (Photo courtesy of USDA-ARS Bee Biology and Systematics Lab)

“What is the pollinator for summer squash? I stopped trying to grow them after getting zero fruits last summer!” Question from Robin of Warner, New Hampshire

Answer: It is frustrating when squash do not set fruits. There can be several reasons why, but the primary reason is lack of pollination. The main pollinators are bees or all types, but squash (Cucurbita spp.) are native American plants, so they have unique native American bees specialized for pollinating them. Squash bees are small and come in two groups (Peponapis species and Xenoglossa species). They are solitary, meaning that they do not create hives, and they ONLY pollinate squash.

Keeping a Yard for Bees

Your squash should be enough to encourage squash bees, but if they are not abundant in your area, then you will need to rely on other bees to do the job. One way to encourage more bees to visit your vegetable garden is to plant swaths of garden flowers for bees nearby. Surrounding your garden with flowers is a great method. Bees love easy flowers like zinnias, cosmos, marigolds, sunflowers, and black-eyed-Susans. (Watch the video below to learn more about flowers for bees.)

It is also essential to refrain from using toxic pesticides in your garden. These kill bees that happen to land on a sprayed spot. Harsh chemicals in the garden aren’t worth it.

Sometimes fertilizer imbalance can contribute to poor production. Be sure to feed your squash with a quality fertilizer formulated for vegetables. Low light can also cause poor fruit set, so give your plants full-day sun. For additional information, I recommend that you read this article: Why Aren’t My Squash Bearing Fruit and Do They Have Borers?

Happy Gardening!
Jessie Keith
Black Gold Horticulturist

Should You Start by Tilling a No-Till Vegetable Garden?

Here’s a shot of my no-till garden three years after its creation.

“When creating no-till garden beds, do you think it’s best to till once and never again, or just use a never till method?” Question from Anthony of Bentonville, Arkansas

Answer: There are lots of benefits to going no-till with vegetable beds, especially when it comes to weed and weed seed control and the encouragement of soil beneficials. For me, creating a good no-till garden started with a big investment. I dug deep, enriched my beds to the hilt, and lifted and bermed my planting areas. (Lifting soil is especially important if your garden’s topography is low.)

Here’s my five-step method for starting a no-till garden.

  1. Till deeply: Creating a good vegetable bed is all about adding lofty tilth and good fertility for extra drainage and deep rooting. In my opinion, you cannot accomplish this without initial tilling. For excellent no-till bed longevity, you have to start by lifting and aerating your soil as deeply as possible.
  2. Double dig: Move the lofty tilled topsoil aside and double dig areas that you plan to plant. This is easier if your beds are on the smaller end, but at bare minimum, double dig the areas where you plan to grow root crops. (Click here to read more about double digging.)
  3. Amend all of your backfill: Amendments rich in organic matter and microbes are essential for the longterm health of your garden. Work as much good stuff, like Black Gold compost, earthworm castings, peat moss, and even composted manure, into your backfill as possible and till it in.
  4. Define pathways, fill, and berm: If you have a large or relatively large garden space, it’s nice to establish paths for easy garden access and harvest. Most gardeners choose a row or block design. I always like my pathways to stand a bit lower than my beds to encourage deep rooting, so I berm up fill in the bed areas.
  5. Cover: As a final step, I cover my walkways with black & white newspaper or non-waxed corrugated cardboard and cover the paper with a thick layer of seed-free grass clippings, straw, or even pine straw. You can even plant nitrogen-fixing clover in the walkways. Then I add a thick layer of compost along the top of the beds to detur weeds.

Each year, I clean up and refresh the walkways and add fresh compost as a mulch. Invest in your no-till garden like this in the beginning, and you will be wowed by the results.

Happy gardening!

Jessie Keith

Black Gold Horticulturist


I Need Organic Solutions for Vegetable Pests and Powdery Mildew

“Which is the natural and most efficient solution against pests, aphids, white powder, etc. that year after year destroy our vegetables?” Question from Doina of Bothell, Washington

Answer: I wish that I could give you a simple answer. There are so many vegetables and so many pests and diseases that attack them that it is impossible to know where to start. You specifically mention aphids and powdery mildew, so I will give you guidelines for managing these. It will be followed up by two general steps that you can take to discourage veggie pests and diseases.

Aphid Management

Aphids are slow-moving insects that suck the juices out of tender plant parts, like stem tips and leaves. When aphid populations are high, they cover the tips of growing plants in masses. It looks creepy and can seem overwhelming. Lucky for you, they are easy to manage organically.

I always start by putting my hose setting on jet or center, then I spray. Aphids are delicate and can be spritzed off a plant in no time. To keep them from returning, follow up by spraying your plants with an insecticidal soap that is OMRI Listed for organic gardening. Keep them spritzed as you see more aphids. This method will put them in check quickly.

Powdery Mildew Management

This one is really simple! Powdery mildew is a leaf surface mold that can be removed with all-natural products containing the mild chemical potassium bicarbonate, which is similar to baking soda. GreenCure® is one of the most popular commercial examples on the market.  Just spray your mildew-ridden squash or cucumber leaves with these products and the spots disappear. It’s a remarkable transformation.

Two Steps For Disease- and Pest-Free Vegetables

Here are two more steps towards protecting your plants from pests and diseases. Both may sound deceivingly obvious.

1. Don’t stress your vegetables. When plants become stressed, they create stress chemicals that are detected by insect pests that are then attracted to the plants. What’s worst is that many common pests, like cucumber beetles and leafhoppers, spread common vegetable diseases. Stress also makes plants far more susceptible to disease. Weak plants have weakened immunity. So, grow your plants in well-fortified soil (see our long list of Black Gold soil amendments), provide them with good fertilizer throughout the season, and keep them well watered.

2. Choose resistant vegetable varieties (!!!). Choosing good varieties is the single most important way to protect your crops. When selecting varieties to grow in your garden, look for descriptions of pest and disease resistance. Award-winning plants also tend to be resistant and robust. Plants bred for resistance are the easiest to care for naturally and organically.

I also suggest you read the Fafard (our sister brand) article, Beating Vegetable Garden Pests Naturally, as well. It has even more information to help you. I hope that these tips help!

Happy gardening,

Jessie Keith

Black Gold Horticulturist

How Do I Keep Deer Away From My Vegetable Garden?

“I have put up a fence, a scarecrow, dog hair, a windmill, aluminum pans, liquid fence and still the deer come in at night and eat off my peas, cukes, and beans. I just called today to talk to wildlife pro from the county to see if they can do something as I live in town and the deer don’t belong here. What else can I do? Thanks for any help you can provide.” Question from Sylvia of Belle Plaine, Minnesota

Answer: Deer are such a nuisance and will eat up crops down to the ground quickly if given the chance. Physical barriers are better than any available chemical deer repellent, so opt for these if you want to really protect food crops from these monstrous four-legged pests.

Deer Fencing

Was your deer fence tall enough? Fences are truly the most effective means of control, but they have to be considerably tall (7-8 feet high) to keep deer out. If your fence was shorter, then I would try fencing again. A rugged, permanent fence, like a chainlink fence, will be expensive, but there are other less expensive options. Poly deer fencing is reputed to be very good and pretty affordable. You could also take a comparable but even less expensive route and create a wood-framed fence to support a mesh of lightweight deer fencing. This type of fence will work well as long as the fence and entryways are fully secured.

Crop Tenting/Netting

This means surrounding your vegetable rows or trellises with surrounding supports and covering them with strong netting or floating garden fabric secured well around the plants. Movable hoop frames covered with summer-weight garden fabric offer great cover to bushy or low-growing veggies in rows. Vining crops along the ground can simply be covered with garden fabric and firmly secured along the edges. You may get a few hoofprints around your cucumbers, but the deer should not be able to get through if the garden fabric edges are held down well.

Doubling Up

For added protection, you may try a couple more highly reputed deer repellents to use in conjunction with fencing and/or covers. One that gets rave reviews is Deer Mace. It can’t hurt.

Deer troubles in the vegetable garden are tough and terrible; there is no such thing as a deer-resistant vegetable (maybe some deer-resistant herbs).  So, fortify your barriers, double up, and hopefully, the deer will have no chance of reaching your homegrown vegetables.

Happy gardening,

Jessie Keith

Black Gold Horticulturist

What Plants Deter Insects from the Vegetable Garden?

“What are the best plants and/or flowers to deter insects from a vegetable garden?” Question from Vesta of Fort Oglethorpe, Georgia

Answer: Research has shown that some companion plantings will reduce the number of insect pests that attack specific vegetable crops. These companions fall under two categories: trap crops and insect-repelling companion plants. Trap crops are plantings that attract insect pests, luring them away from favorite vegetables. These take up a lot of space and are not practical for most home gardeners, so I will just cover repellent companion plants that have been shown to really help ward off vegetable pests.

Insect-Repelling Companion Plants

These are plants that emit chemicals that deter insects. Repelling plants will never totally protect vegetables from the pests that attack them, but they can reduce pest numbers. Here are a few good examples of vegetable pests and the companion plants that repel them.

Some culinary herbs have been shown to offer repellent protection to specific veggies. For example, plantings of tall basil (Ocimum basilicum) can reduce the number of tomato hornworms on tomatoes and thrips on flowers. Plant-damaging moths, aphids, and mites may also be repelled by chives and other onion (Allium spp.) relatives. These pests attack a wide host of vegetable plants, such as brassicas (collards, cabbage, broccoli, and cauliflower), beans, and squash, so a border of chives might be really helpful in the garden. Sage (Salvia officinalis), rosemary (Rosmarinus officinalis), hyssop (Hyssop officinalis), thyme (Thymus vulgaris), dill (Anethum graveolens), and chamomile (Chamaemelum nobile) may also provide brassicas some protection against common pests.

Catnip (Nepeta cataria), wormwood (Artemisia absinthium), southernwood (Artemisia abrotanum), and tansy (Tanacetum vulgare) reduce damage by flea beetles, a pest that attacks eggplant, brassicas, tomatoes, and other common crops. One downside is to these repellent plants is that they tend to spread and become weedy. Of these, I recommend catnip the most. Just clip it back occasionally to keep it from flowering and setting seed.

A few common garden flowers also have repelling qualities. Nasturtiums (Tropaeolum majus) may help brassica crops, and marigolds help tomatoes by repelling the tomato root-knot nematode, a debilitating underground pest. (Click here to learn more about how marigolds help tomatoes.)

All of the companion herbs and flowers mentioned will flourish in soil amended with fertilizer-enriched Black Gold Garden Soil. I hope that some of these tips. When planting to protect, it is most helpful to plant a close row or ring of repelling plants near the vegetables that you want to protect.

Happy gardening!

Jessie Keith

Black Gold Horticulturist

Can I Plant Annuals and Vegetables Together?

Can you plant annual flowers and vegetables in the same raised bed? Question from Diane or Newark, Ohio

Answer: Sure! In many cases, annuals can be beneficial to vegetables by warding off pests (click here to read about the protective power of marigolds) and/or attract pollinators. Compact flowers that will not compete for too much sunlight or water are best.  Here are some of my favorite flowers to plant in my vegetable garden for beauty, cut flowers, and to feed pollinators. These sun-lovers are all effortless to grow.

  1. Cosmos (dwarf): The pretty daisy flowers of these annuals are good for cutting and attract bees. Try the compact varieties Sonata Mix (2-feet high) or the fully double pink ‘Rose Bonbon‘ (2 to 3-feet high).
  2. Calendula: These cheerful yellow or orange daisies are grown as herbs as well as flowers because they have edible petals that can be used to make tea or soothing balms.
  3. Dahlias: There are hundreds of amazing dahlias to choose from and all make excellent cut flowers. Bees and butterflies also love them. Choose compact varieties for easier care. Check out Swan Island Dahlias to choose the best dahlia for your taste.
  4. Marigolds: I love tall marigolds in the vegetable garden. The large flowers look pretty through summer, and these Mexican natives just thrive in the heat. ‘Kee’s Orange’ is a brilliant variety with deepest orange flowers.
  5. Compact Sunflowers: There are loads of spectacular sunflowers for the garden, and all are very easy to grow from seed. I suggest choosing compact varieties because they won’t shade out vegetables or fall over in wind. (Click here to learn all about growing sunflowers.)
  6. Zinnias: Any tall or medium-sized zinnia will add color and cut flowers to your garden. Check out the new Zinnia ‘Zinderella Purple’ or  Zinnia ‘Queeny Orange Lime’. Both are beautiful and some of the easiest flowers that you can grow from seed.

Try adding any of these pretty annuals to your vegetable garden this season for functional color.

Happy gardening!

Jessie Keith

Black Gold Horticulturist