Plants are the lens Jessie views the world through because they’re all-sustaining. (“They feed, clothe, house and heal us. They produce the air we breathe and even make us smell pretty.”) She’s a garden writer and photographer with degrees in both horticulture and plant biology from Purdue and Michigan State Universities. Her degrees were bolstered by internships at Longwood Gardens and the American Horticultural Society. She has since worked for many horticultural institutions and companies and now manages communications for Sun Gro Horticulture, the parent company of Black Gold. Her joy is sharing all things green and lovely with her two daughters.
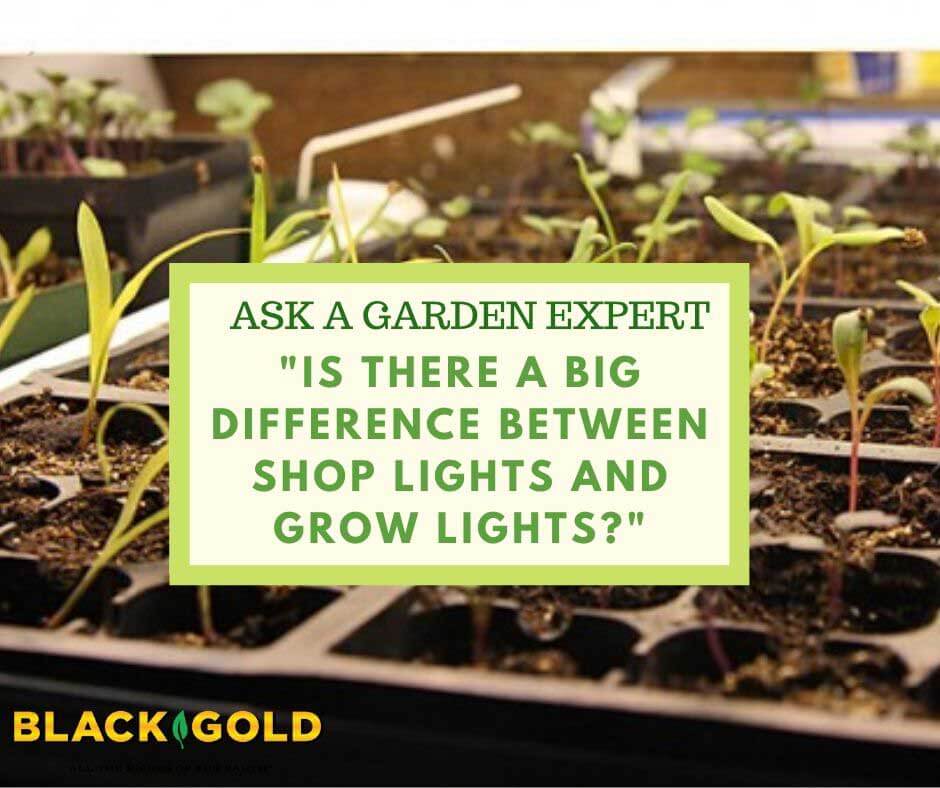
“Is there a difference between grow lights and regular lights that you can mount under a cabinet? I started seeds with the latter and everything sprouted but isn’t growing.” Question from Jacqueline of Casa Grande, Arizona
Answer: Yes. There is a big difference between regular shop lights and grow lights. Grow light bulbs cover a fuller light spectrum closer to that of sunlight. Fuller-spectrum lights cover all or most light wavelengths, from infrared to near-ultraviolet, which plants need to gather energy. This is because plant chlorophyll gathers light at all visible wavelengths and beyond (view the chlorophyll wavelength chart by clicking here).
You can achieve a broader or fuller spectrum of light with fluorescent shop bulbs in several ways. The cheapest way is to use a balance of warm/red and cool/blue bulbs (bulb types are indicated on the packages). Together, a warm and cool bulb will cover much of the light spectrum, but not all. Some fluorescent bulbs are specially designed for plant growing and cover more of the spectrum–up to 94%.
In general, fluorescent bulbs are not very strong–meaning their light output is relatively low–so they must be placed just inches above plants for best light reception and growth. Otherwise, your plants might become leggy.
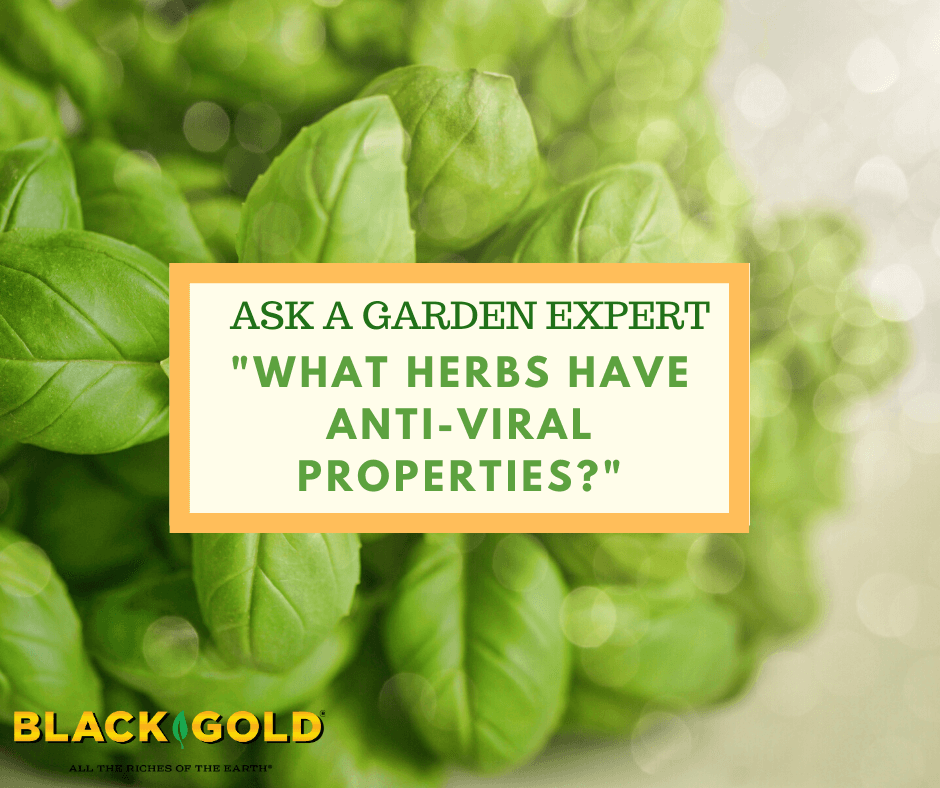
[What are the] best herbs for anti-viral use? Question from Jason ofProvidence, Rhode Island
Answer: What a timely question. We hesitate to give medicinal advice regarding herbal remedies for viral infections, but we do recommend that you read a useful medical article about “Antiviral Natural Products and Herbal Medicines” published in the US National Library of Medicine National Institutes of Health in 2014. It provides a full review of effective anti-viral herbals at that time. Click here to read it, and check out Table 1. Elderberry (Sambucusnigra), dandelion (Taraxicum officinale), and basil (Ocimum basilicum) are among the more common, safe herbal plants mentioned that have extracts with demonstrated anti-viral activity.
“Should zucchini be staked up?” Question from Rhonda of Opelousas, Louisiana
Answer: If you have space, you can let vining zucchini ramble on the ground, and they will produce and perform beautifully. They can ramble as far as 6-10 feet, though, so space is essential. Training them up a strong trellis is another option, which will save space and make harvest easier. But, if you lack space and prefer a tidier garden, I recommend planting bush zucchini. These reach just 3 to 4 feet across, depending on the variety.
Best Bush Zucchini Varieties
I love bush zucchini and have grown quite a few that I really liked. Here are my three favorites.
‘Astia‘: The plants are so compact that they are good for container gardening, and zucchini production is good.
‘Eight Ball’: Lots of cute, round, flavorful zucchinis are produced on small, bush-sized plants.
‘Green Machine’: If you are looking for classic, green zucchini on small, very disease-resistant plants then this is the variety for you. It is very fast-yielding, producing from just 45 to 50 days after planting, and it is very reliable.
“I just moved into a new house and will be removing a butterfly bush. How much of the root ball do I need to remove so it doesn’t come back?” Question from MaryAnn of Portland, Oregon
Answer: Though beautiful, standard butterfly bush (Buddleiadavidii) tend to be very weedy and invasive, which is why gardeners often remove it. Remove the whole root system to make sure that it does not come back. The process will require sharp hand pruners or loppers, good garden gloves, and a sharp, heavy spade. Cut back all of the top growth, so you don’t have branches in the way when you start digging. Then dig deeply around the rootball, and pull it up when it’s fully loose. It should not be too difficult. Butterfly bushes don’t have very dense, deep root systems, so they are fairly easy to remove. Let me know if you want any ideas for replacements!
“We live in Iowa in Zone 4-5. When can I plant lettuce in containers on my deck?” Question from Jacqueline of Brooklyn, Iowa
Answer: Every year, I grow a few pots of lettuce, too. It’s one of the easiest vegetables to grow, and it’s so nice to harvest your salad from the garden. Lettuce likes it cool and can even take a light frost but not hard freezes. Your last frost date in Brooklyn, Iowa is on average between May 21 – May 31. To be safe, I would plant lettuce in outdoor pots around mid-April.
I always start lettuce indoors and then plant it outdoors as healthy, robust seedlings. Lettuce grows beautifully in big pots filled with Black Gold Natural & Organic Potting Mix, which is OMRI Listed for organic gardening. Our Black Gold® Natural & Organic Flower and Vegetable Soil would also be a good option. Just a few plants will fill a big pot. Feed them lightly with vegetable fertilizer, and water them as needed. Lettuce grows so quickly that you can have harvests just weeks after planting. I encourage you to watch the video below to learn about some great lettuce varieties that you may consider growing this year.
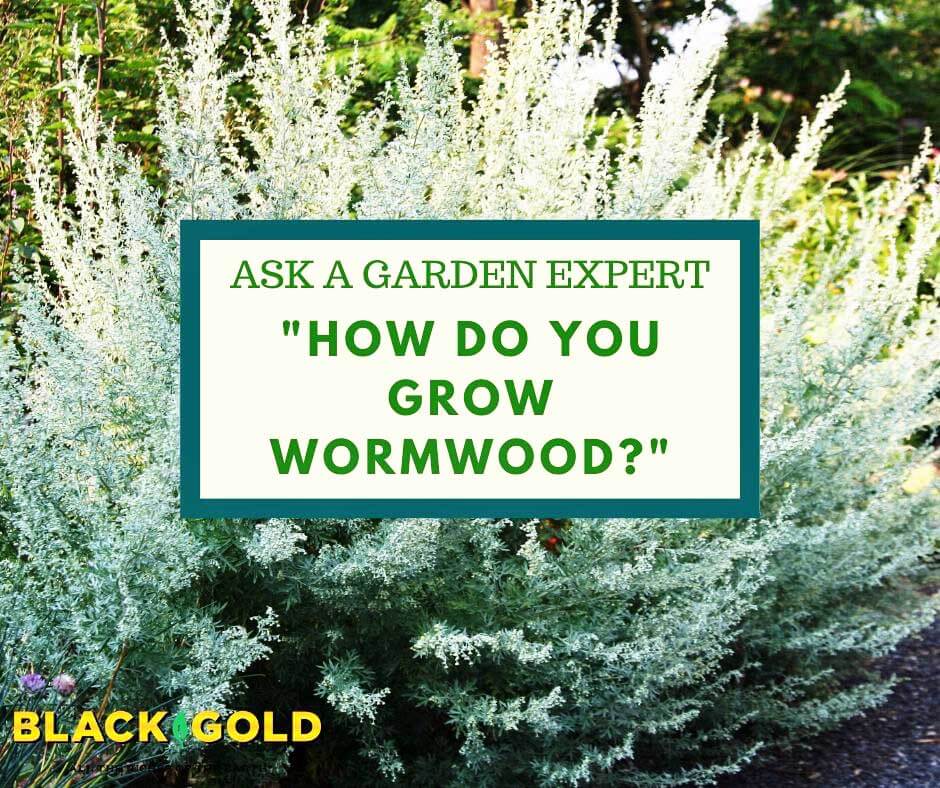
Here is the growth habit of my single, 4-foot wormwood. (Image by Jessie Keith)
“I was considering raising wormwood to use as pain relief, hopefully in a raised bed. Do you have any suggestions as to the type of soil and fertilizers? Thank you.” Question from Kevin of Bellville, Ohio
Answer: I have grown wormwood (Artemisia absinthium), and there are several things you should consider before growing this large, Eurasian perennial herb in the sunflower family. First, it is very big and bushy. Mine was very happy and grew to an amazing 4 feet high and across. So, give it plenty of space. Just a few happy plants could easily fill a standard-sized raised bed.
When it comes to growing conditions, give wormwood full sun, and average soil that is very well-drained and on the dry side. It grows naturally as a field and roadside weed, so it is not too picky, aside from its inability to tolerate moist soils. If you fertilize at all, fertilize lightly. The only amendment you may consider is a top-dressing of compost, such as Black Gold Garden Compost Blend.
The silvery, ferny foliage of wormwood has a resinous, almost minty smell that’s very strong, and the plant as a whole has an attractive, shrubby look. Its small, yellow blooms are quite inconspicuous. Trim back the stems before it sets seed or else it will self-sow everywhere.
Be very cautious about using wormwood as a medicinal for ingestion. The US Food and Drug Administration (FDA) has classified it as unsafe because it contains the neurotoxin thujone, which can be harmful.
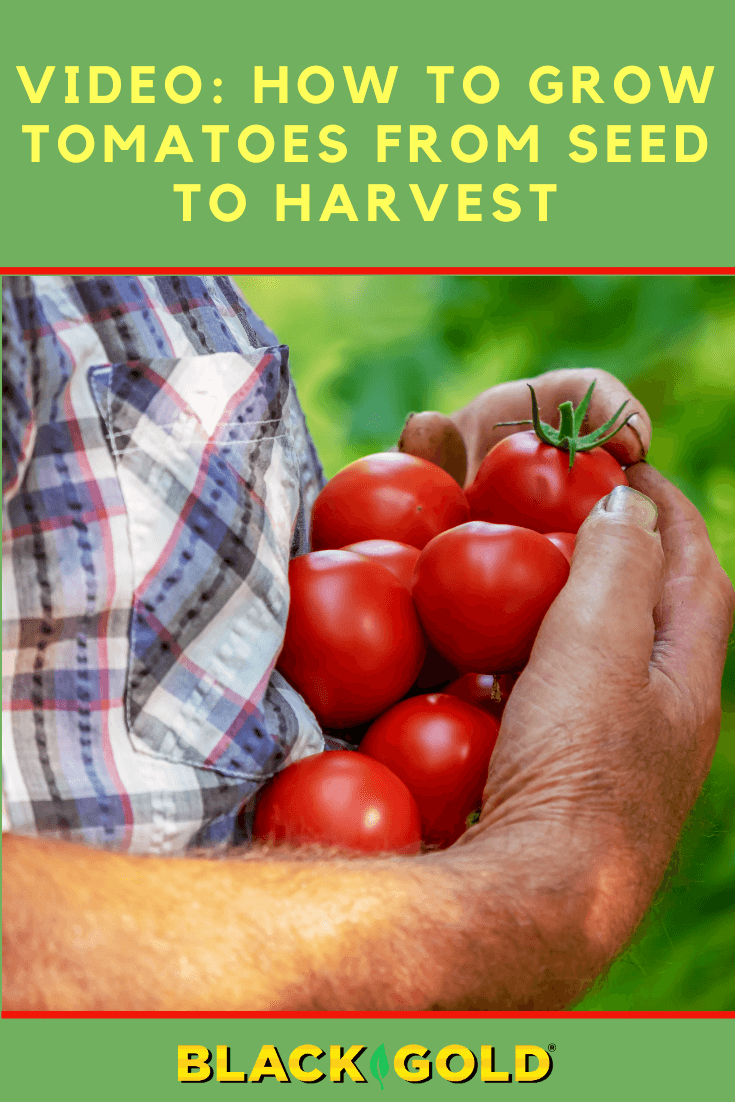
Tomatoes are America’s #1 garden vegetable and growing your own from seed has its advantages. It allows you to grow the newest, coolest seed catalog varieties of your choice and helps ensure stock is disease-free at planting time.
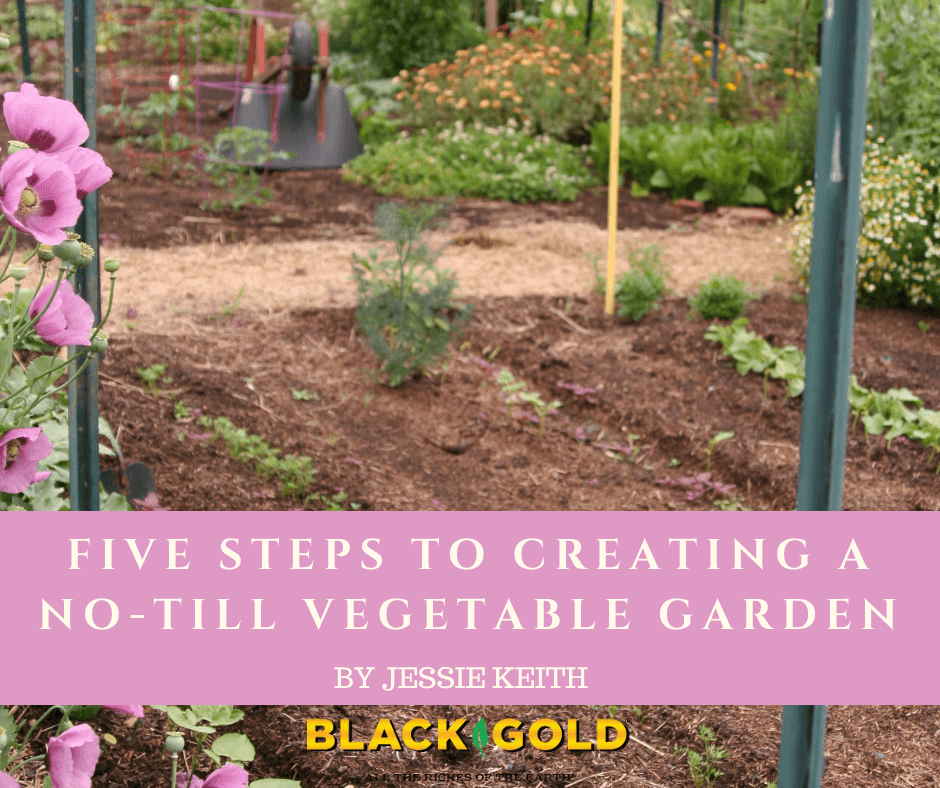
The author’s no-till garden in early spring after compost and straw have been applied. (Image by Jessie Keith)
To till or not to till? Why ask this question? Tilling does good things for the soil. It increases needed aeration and porosity, allows the easy incorporation of organic amendments, and it makes all the little green weeds at the top of the soil go away. But it also has its disadvantages. Tilling draws dormant weed seeds from the soil’s subterranean seed bank to the surface, which can mean more weeds. It encourages soil erosion and disrupts all manner of beneficial creatures and microbes underground, which support healthy soils and plant roots. In time, the no-till approach can save time, money, and greatly reduce weeds. These are the reasons it is trending.
Soil Quality Determines the No-Till Approach
If you have good garden soil, starting a no-till garden is simple. Those with poorer soils need to do a bit more work.
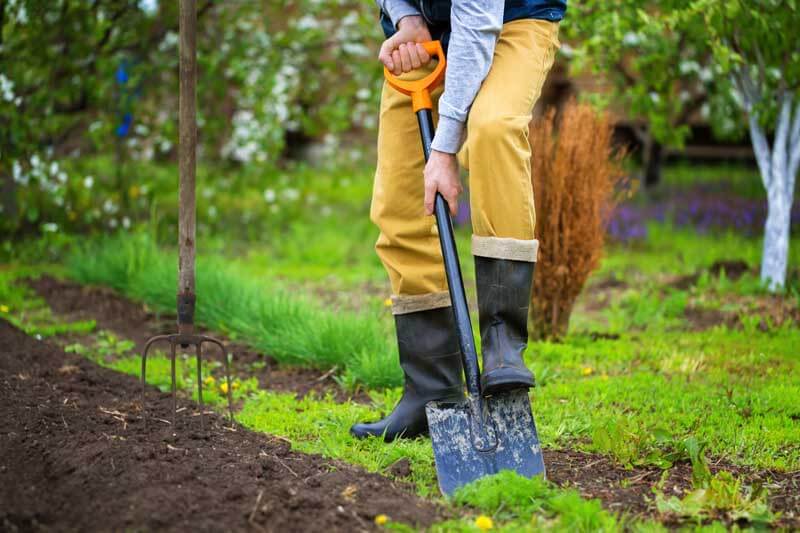
There is more than one way to establish a no-till garden. And one’s approach is often related to soil quality and topography. Those with good garden soil can opt to simply clear weeds from the ground, add thick compost and fast-to-degrade mulches for vegetable gardening (straw, leaf mulch, etc.), fertilize, and start planting. Others with poorer clay (or sandy) soils, like me, need to feed the soil for the beforehand. It’s ironic, but my successful no-till garden needed to start with, well, tilling, in addition to double digging, and amendment. Lifting or berming the soil is also important, especially if your garden’s topography is low.
Creating a No-Till Garden
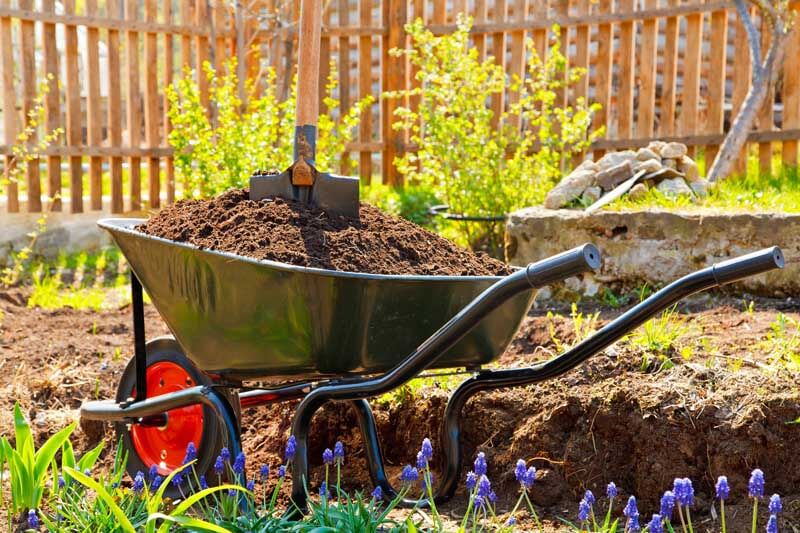
Ample soil amendments and mulches will enrich your no-till garden and keep it weed-free.
For me, creating a good no-till garden started with a big investment. I dug deep, enriched my beds to the hilt, and lifted and bermed my planting areas. For excellent no-till bed longevity, I started by lifting and aerating the soil as deeply as possible.
Materials
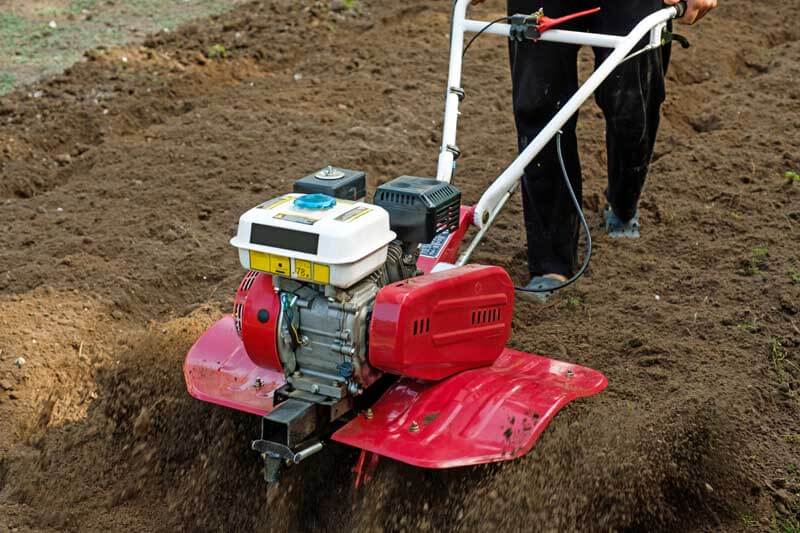
Tiller
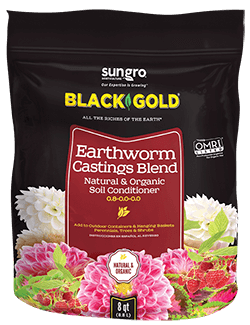
Amendments, such as peat, compost, and castings (add at least a 1:4 ratio of amendments to ground-soil)
Hard rake and shovel
Straw
Mycorrhizae
Fertilizer
Tarp
Wheelbarrow (for moving mulches and amendments)
Till in amendments to at least a 1:4 ratio of amendments to ground-soil until well-combined, and airy.
Here are the five steps that I took to establish my no-till garden.
Till deeply: Creating good garden soil is all about adding air pockets, loft, and good fertility to encourage drainage and deep rooting. If you have heavy soil, you cannot accomplish this without initial tilling and amendment with lots of organic matter. Till on a day when the soil has enough moisture to sink a shovel into but is also a bit dry. I recommend double or triple tilling the new garden area to break up the soil as much as possible.
Double dig: Extra deep digging is time-intensive and should be reserved for areas where you plan to plant deep-rooting vegetables, such as carrots, parsnips, and other root crops. Move the lofty tilled topsoil onto a tarp beside the bed and dig another few inches deeper and break up the soil further. (Click here to read more about double digging.)
Amend all of your backfill: Amendments rich in organic matter and microbes are essential for the longterm health of your garden. Shovel lots of organic matter, like Black Gold compost, earthworm castings, peat moss, and even composted manure and mushroom soil, into your backfill, and till it in. I also recommend adding a granular vegetable fertilizer and an endomycorrhizal inoculant, which can be purchased in powder form. Beneficial mycorrhizal fungi help plants grow better by allowing them to more efficiently access water and nutrients.
Define pathways, fill, and berm: If you have a large or relatively large garden space, it’s nice to establish paths for easy garden access and harvest. Most gardeners choose a row or block design. I always like my pathways to stand a bit lower than my beds, so I berm up fill in the bed areas using a hard rake. This gives beds an even deeper pad of lofty soil and ensures that they will not be walked upon.
Cover: As a final step, I cover my walkways with black & white newspaper or non-waxed corrugated cardboard and cover the paper with a thick layer of seed-free grass clippings, straw, or even leaf mulch or pine straw. You can even plant nitrogen-fixing clover in the walkways. Then I add a thick layer of compost to the beds to detur weeds, and fresh straw to the pathways to stop weeds and keep them from getting muddy after rain.
Each year, I clean up and refresh the walkways, and add fresh compost as a mulch in lieu of tilling. Invest in your no-till garden like this in the beginning, and you will be wowed by the results.
Raising Beds to New Heights
Other garden types, such as raised beds, do not require tilling either.
There are other no-till options for vegetable gardening, but I prefer the freedom of a large garden bed with tidy straw walkways. Traditional raised beds, hugelkultur, strawbale gardening, even container gardening don’t require tilling. Here are articles about each gardening type, if you want to learn more.
Invest in your no-till garden from the beginning, and it will reward you in the future. Support it with fresh mulch, feed it well, and watch your harvests explode!
Double dig areas for root vegetables, and add a layer of protective compost over beds each year.
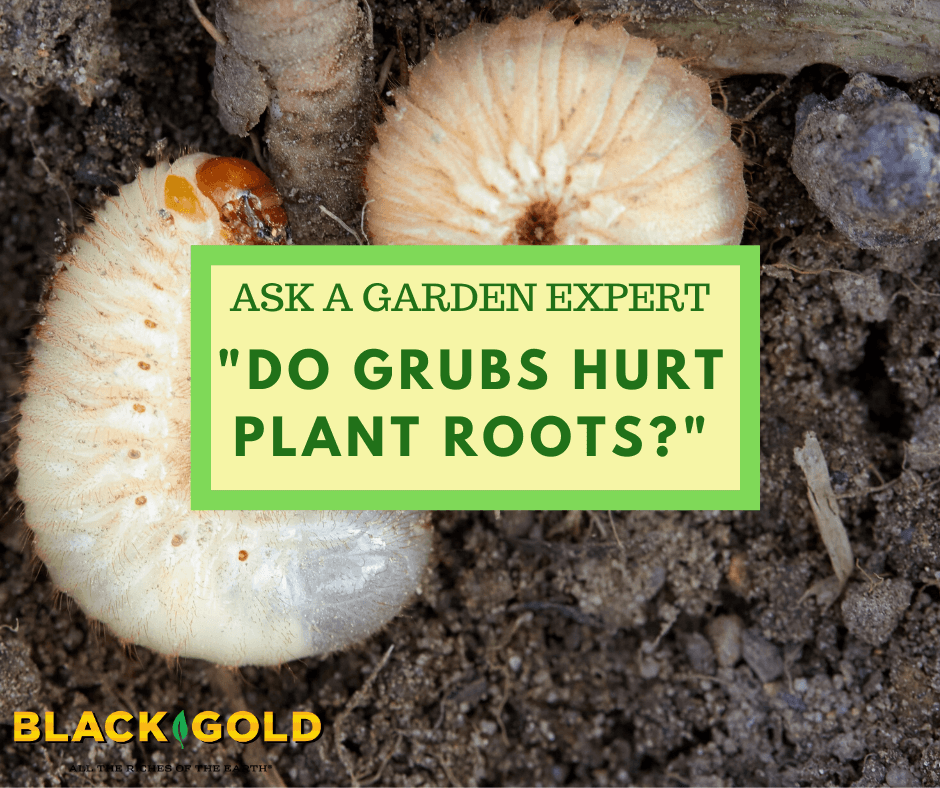
“Do grub worms hurt roots? I have a lot in one of my containers.” Question from Jody of Live Oak, Florida
Answer: Yes they do. I’ll fully answer your question in two parts. First, I’ll address grub problems in the garden as a whole, and then I’ll address the grubs in your pots.
Grub Root Damage
Grubs are the larvae of many types of beetles. Most grubs feed on plant roots from fall to spring or summer, until they emerge from the soil as adult beetles. But, grubs aren’t always a problem. Under normal circumstances, you will not see the impact of a low to moderate grub population on large, healthy plants or lawns. They become a real threat when populations are high. This happens when fast-generating, destructive garden beetles, such as Japanese beetles, are not managed properly and populations soar. At this point management is essential. There are several steps you can take to manage destructive beetle grubs, and these are detailed in our Q&A blog titled, “How Do You Manage Japanese Beetles?” (click on the link to view).
Managing Grubs in Containers
Pots are small spaces, so a large number of beetle grubs will harm any plants within. Here are three easy ways to get rid of the grubs:
“Grub” them out, and either smash them or place them in a pail of water until they drown. It is so fast and easy to do it this way if it doesn’t gross you out.
Apply milky spore to your pots. This natural grub killer that just targets Japanese beetle grubs and is approved for organic gardening.
Remove the potting soil from the pot, bag the soil in plastic, and wait several weeks before adding it to garden beds as an amendment. By this time the grubs should be dead. Add new mix to your pot for a grub-free start. (Click here to see our many potting soils.)
“How late can one start seeds inside for planting a garden in Zones 3-4?” Question from Jill of Greybull, Wyoming
Answer: It depends on what you are planting. Some crops are fast-growing, yielding vegetables or flowers in a matter of weeks (please see the video below). Others take more time and need the warmth of summer to grow to full potential. For indoor seed-starting we recommend planting in natural & organic Black Gold Seedling Mix.
Start warm-season vegetables no later than early March. When you have a short growing season, it is important to jump-start the season by getting warm-season, summer vegetables planted and growing inside early. The bigger your tomatoes, peppers, beans, and even pumpkins and melons at planting time, the better. Get them planted outside as soon as possible, after your last frost date.
Start cool-season vegetables any time from spring to late summer. Cool-season vegetables, like greens, cabbage, carrots, and peas, can be planted from spring through fall.
Here are some more Q&A blogs for northern gardeners that you may consider reading.


 Amend all of your backfill: Amendments rich in organic matter and microbes are essential for the longterm health of your garden. Shovel lots of organic matter, like Black Gold
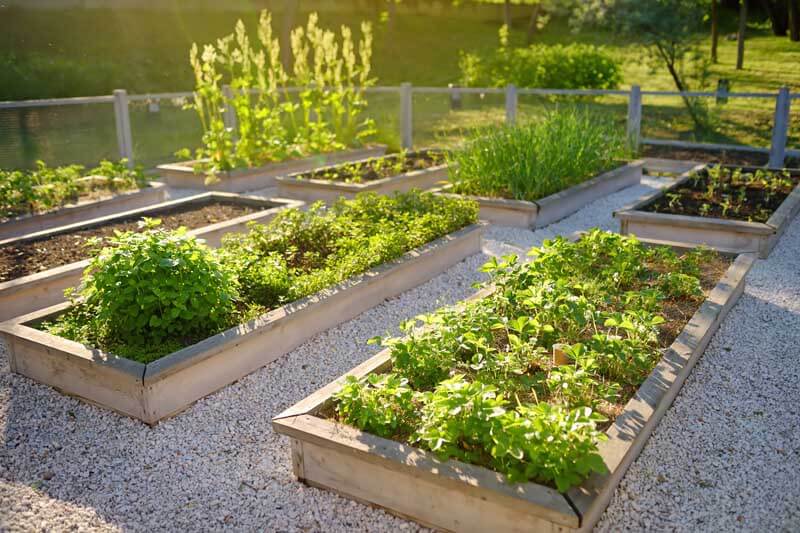
