Articles

Is it Safe To Reuse Soil for Seed Starting?

“Is it safe to re-use Black Gold for starting seeds, etc.? Do I need to sterilize it the following year before planting? I had several flats of seeds with low germination or die-off last Spring and would like to use the soil again. Thanks.” Question from Piper of Petersham, Massachusetts

Answer: It is always safer to start with fresh Black Gold Seedling Mix. This will ensure the mix is ready for growing and pest and disease free. Always choose a bag that’s closed at the ends and has no holes, to make sure the mix inside is fresh. the

Old mix can, however, be sterilized for reuse. It will not be as fresh, but the sterilization process will ensure it is pest and disease free. In fact, I sometimes sterilize fresh seedling mix when I am starting prized seeds. To sterilize mix, I place it in a large, oven-safe pan, add some water to moisten the mix, and then cover it with aluminum foil. Then I bake it at 180-200 degrees Fahrenheit for at least 30 minutes. The soil’s internal temperature should be at least 180 degrees F for sterilization. Allow the mix to cool before use.

Happy seed starting!

Jessie Keith

Black Gold Horticulturist

Can You Help Me Grow Better Root Vegetables?

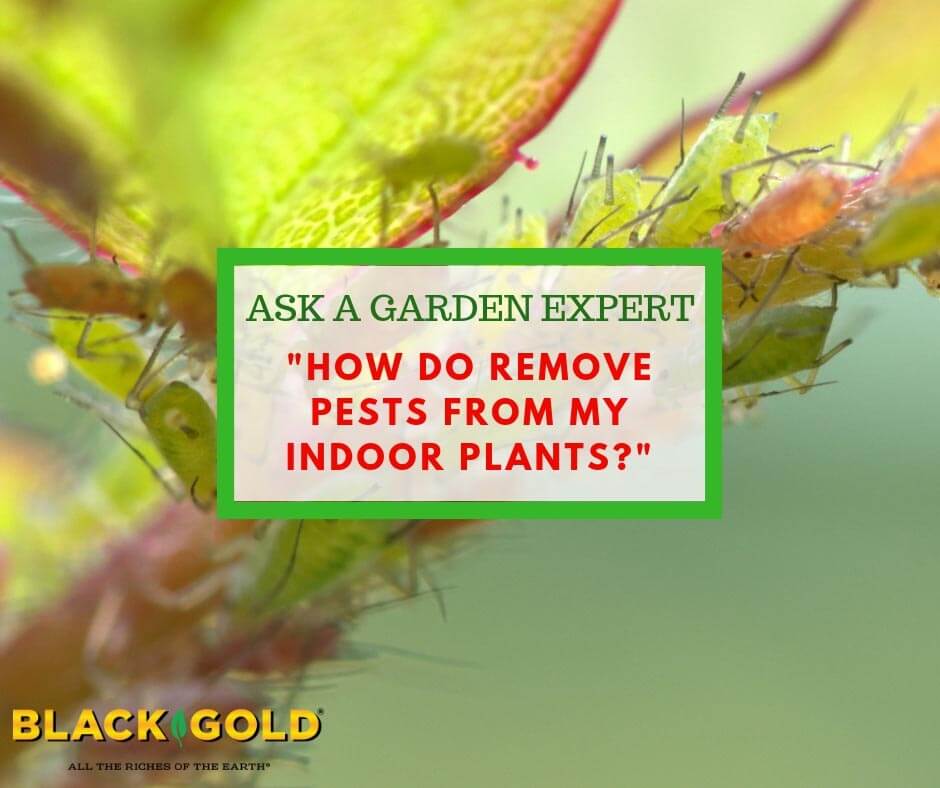
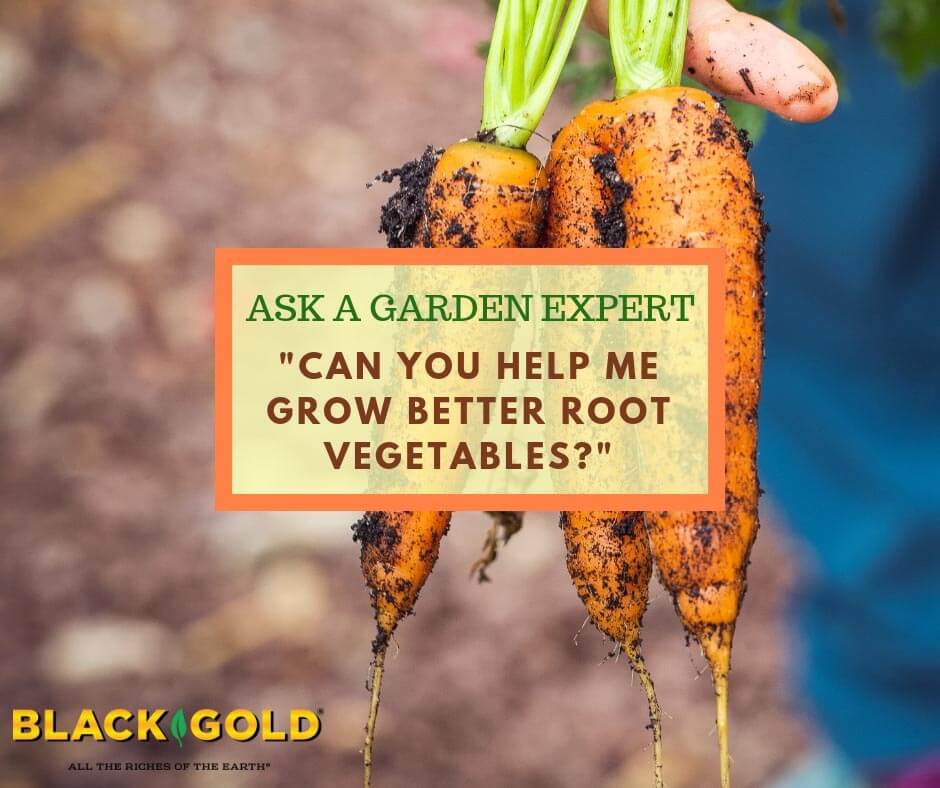
“I always have bad luck growing rooted veggies – but get a lot of tomatoes and cukes – and beans why?” Question from Christine of Adams, Massachusetts

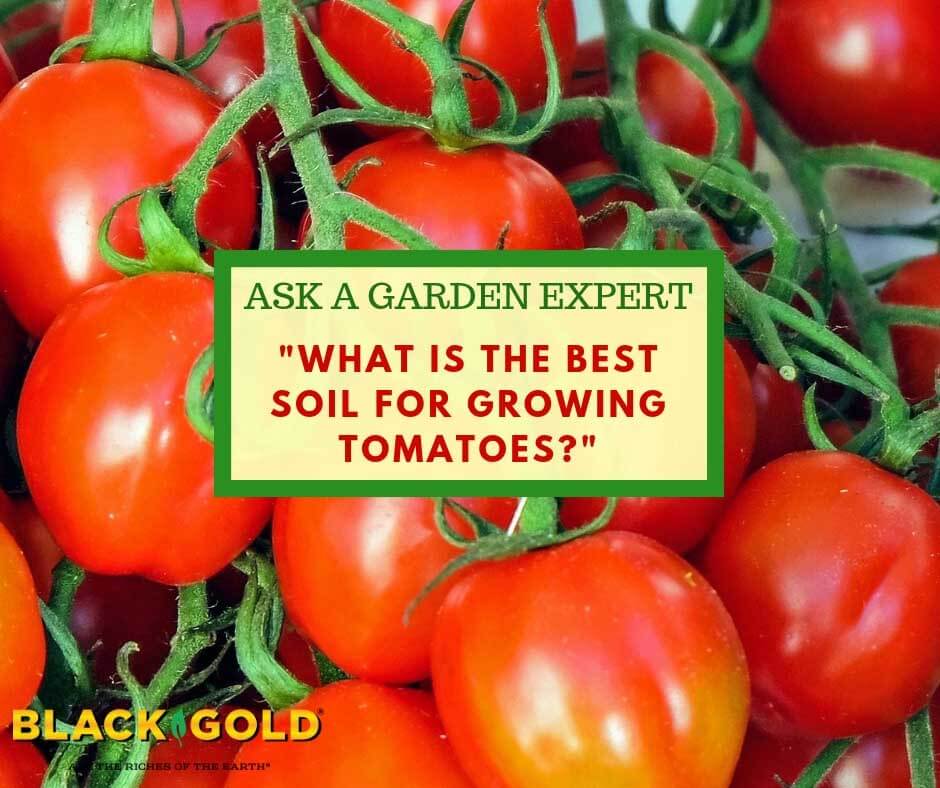
Answer: Tomatoes, cucumbers, and beans are all warm-season crops, while many root crops are cool-season crops. So long as your root veggie problems aren’t caused by groundhogs, insect pests, rabbits, or voles, there are several reasons why you may be having troubles. Here’s an overview of how to grow root vegetables with success.

Growing Root Vegetables

Most root vegetables grow and taste best in cool weather and can be started in spring just before the last frost. This includes spring beets, carrots, onions, radishes, and turnips. Choose highly rated or award-winning varieties, like the AAS-winning carrot ‘Purple Haze‘ or ‘Avalanche‘ beet, to ensure good results. These vegetables require a sunny garden space, but before you plant, first consider your soil.

Root vegetables grow best in deep, friable loam that’s high in organic matter and has a pH of 6.0 to 6.8. Deep, loose soil is especially important for tap-rooted veggies, like carrots, parsnips, and Asian radishes. If the soil is tough down below, they will be stunted. I recommend double digging your root vegetable plot. Double digging involves deeply digging a garden area to loosen the soil, and amending with compost (Black Gold Garden Compost Blend) and slow-release vegetable fertilizer to encourage superior rooting. [Click here to read an article about double digging.]

When seeding your crops, create shallow rows with a stick and sprinkle them with added compost to aid germination. Label the rows, sprinkle in the seeds, cover with another light sprinkling of compost, and lightly water. Keep the rows just moist until the seeds start to sprout. As they grow, you can water them more vigorously. When the seedlings have reached 3 inches or so, thin them. (Please see the video below about growing beets for thinning instructions.) Keep these vegetables moderately moist and well weeded, and they should grow beautifully!

Later in the season, you may consider growing fall root crops, like winter carrots and onions, parsnips, and rutabaga. [Click here to read an article about growing these crops.]

Good luck with this year’s root crops!

Jessie Keith

Black Gold Horticulturist

What are the Best Fast-Growing Trees for South Carolina?

“What are the best trees to plant that will live great in South Carolina and grow fast?” Question from Donna of Newberry, South Carolina

Answer: What a great question! I always like to stick with regional natives or varieties of natives that are well-adapted to an area, in addition to being attractive and fast growing. Trees are real long-term investments, so you want to get your plantings right from the start. Here are my top 5 favorite beautiful South Carolina native trees that are large, fast-growing, and long-lived.

  1. October Glory Red Maple (Acer rubrum ‘October Glory’): All red maples are fast growers, but ‘October Glory’ has the added benefits of spectacular orange-red fall leaves and a nice rounded crown. This moderately large tree can reach 40-50 feet when mature, is adaptable to many soil types and requires full to partial sun for best growth.
  2. Southern Magnolia (Magnolia grandiflora): What a southern classic! This medium- to fast-growing tree is fully evergreen and boasts fragrant, platter-sized, ivory flowers in late spring and early summer. It is adaptable but grows best in fertile, well-drained soil and full to partial sun. A mature specimen can reach 60-80 feet in height.
  3. Shawnee Brave Bald Cypress (Taxodium disticum ‘Shawnee Brave’): Bald cypress are elegant conifers that grow very fast and lose their soft, feathery needles every fall. What makes ‘Shawnee Brave’ special is its tall, columnar habit, which allows it to grow to great heights in smaller yards. It can grow in almost any soil type and looks best when planted in full to partial sun.
  4. Skyline Honeylocust (Gleditsia triacanthos var. inermis SKYLINE): This open, airy honey locust grows really fast, reaches a modest height of 35-40 feet, and is fruitless and thornless. It has a pyramidal habit and fine leaves that turn yellow in fall. It will grow in all soil types and prefers full sun.
  5. Live Oak (Quercus virginiana): This traditional southern oak can grow up to 3 feet a year, making it a pretty fast grower for its kind. The trees can reach an enormous size with elegant, broad, spreading branches that dangle with Spanish moss. Reserve this tree for an open yard where it can grow to become a glorious, long-lived specimen tree.

Happy tree planting!

Jessie Keith

Black Gold Horticulturist


How Do I Stop Tomato Hornworms?

“Tomato killer caterpillars are a problem in my garden. How do I prevent and catch them before they kill my plant?” Question from Karen of West Des Moines, Iowa.

Answer: The key to stopping these destructive pests is knowing their life cycle and how to stop them at the egg stage. Not only do these large hawkmoth caterpillars attack tomatoes, but they will also dine on eggplant, pepper, and potato plants. They are a common pest across much of North America. The moths survive winter and emerge in spring when the soil warms.

The female moths lay eggs on the tops or bottoms of leaves in the evening, so check your tomato leaves each morning for single pearly eggs of green or greenish yellow. (Click here for an image of an egg.) Smash them as soon as you see them. Or you can simply remove any leaves with eggs and smash them. This process takes little time, but it is worth the effort. If you keep it up, hornworms won’t have a chance to hatch on your plants.

If you miss a few, simply remove the caterpillars as you see them and either smash them or place them in a dish of soapy water. You don’t want to use harsh chemicals on your tomatoes because they will hurt the bees and other insects visiting your plants.

This hornworm has been parasitized by wasps.

If you see a hornworm dotted with white eggs, leave it alone. It has been parasitized by wasps that will kill the caterpillar quickly. These wasps are your friends, and new wasps will emerge from the infected hornworm to naturally destroy your hornworm population.

Follow these instructions and your tomatoes will be hornworm free.

Happy tomato growing!

Jessie Keith

Black Gold Horticulturist


How do Remove Pests from My Indoor Plants?

“How can I keep the bugs from eating my plants inside?” Question from Wanda of Franklin Furnace, Ohio.

Answer: To make sure your houseplants are pest free, start by washing their leaves and then spray them with insecticidal soap. This will take care of common foliar pests like spider mites, white flies, and aphids. It also helps to remove and replenish the top two inches of potting soil to catch any pests hanging out in the upper soil layers. I recommend topping your pots with Black Gold All Purpose Potting Mix. Here is the full process:

Step-by-Step House Plant Cleaning

  1. Wash all your plant’s leaves well. Start by spraying them all over with a strong stream of water from a spray nozzle, and wipe the leaves and stems down well. Sometimes it helps to wipe them down again with a gentle moist cloth dotted with mild soap and then double rinse and dry them again. Finally, thoroughly spray all leaves and stems with insecticidal soap. (You can also cut off any dead leaves or unhealthy looking growth at this time.)
  2. Remove and replenish the top 2 inches of potting soil to catch any pests hanging out in the upper soil layer.
  3. Wash the plant’s saucer and pot exterior well.
  4. Give your plants the correct moisture, light, and fertilizer to help them resist any potential pests, and keep a lookout for any lingering pests, especially in the first month after treatment. Use more insecticidal soap, as needed.

If you have problems with tougher pests, like hardscale or mealy bugs, you’ll need to take tougher measures. Click here to get further information about scale insects and their management.

I hope this helps!

Happy indoor gardening,

Jessie Keith

Black Gold Horticulturist

What are the Best Edibles for Sunny Patio Containers?

“What is the best produce to plant in containers on a large patio that gets a lot of sun?” Question from Jennifer of Telford, Pennsylvania.

Answer: The key to choosing great vegetables, herbs, and fruits for container gardening is selecting compact varieties and/or planting in containers that are large enough to support your vegetables through the season. Then it’s all about getting your potting soil, fertilizer and watering regime right. I suggest you read our useful article “Succeed with Container Vegetable Gardening“. It covers everything you will need to know to grow a bountiful container vegetable garden, in addition to plant suggestions. But, I’ve added a few more below.

Compact Vegetables and Herbs

The article suggests: “Smaller is generally better when it comes to plant size. When growing in containers, compact varieties are better suited to pot culture. Determinate, or non-vining bush tomatoes, are better than full-vining indeterminate types. Pick classic bush tomato varieties like the red slicers, ‘Mountain Merit‘ and ‘Celebrity‘, both AAS winners.

Other great bushy veggies (that are typically large vines) include little cucumbers, such as ‘Bush Pickle‘, and space-saving squash, such as the small butternut ‘Butterbush‘ and zucchini ‘Fordhook‘.”

Of course, compact peppers, lettuces, bush peas, carrots, and beets are easily grown in pots as well as many compact herbs.

Compact Fruits

Several melons are short-vined, making them perfect for containers. A good cantaloupe to try is the very compact ‘Minnesota Midget‘, and ‘Bush Sugar Baby‘ is a short-vined watermelon suited to container culture. ‘Little Baby Flower‘ is another somewhat compact watermelon that I grew in a pot last season with great success

You may also consider tiny bush fruits, like the super dwarf blueberries, blackberries, and raspberries offered by Bushel & Berry. If your patio is large, you can even set aside some big pots for dwarf fruit trees. Click here to learn more about growing dwarf apples, and click here to learn more about growing dwarf patio peaches.

I hope this helps!

Happy edible container gardening!

Jessie Keith

Black Gold Horticulturist


How Do I Make My Rose Fuller?

“I had a question about roses. I have a rose bush that blooms by itself every year. I was wondering if there is a way to make it more full or expand it. Thanks!” Question from Lisa of New York, New York

Answer: The best way to encourage a bushier rose is by pruning. Cutting your rose back in later winter to spring will give your rose a fuller, bushier habit. To learn how to prune roses, see the video below.

You can also consider taking cuttings from your rose, if you really like it and want more starts. Overall, roses are very easy to propagate from cuttings, and it’s an easy way to get free roses. Propagating roses is a project best done in summer because roses that have recently bloomed root best. Here’s how:

Rooting Rose Cuttings

Using a sharp knife or pruners, cut stem tips of a rose that has recently bloomed. Cuts should be at a 45-degree angle and the cuttings should be 6 to 8 inches long and have at least three buds along the stem. Cut off the old rose at the top, and remove any leaves from the bottom 3 inches of the cutting. Place the cuttings in cool water.

Prepare a 6″ pot with a mix of one part vermiculite to one part perlite. Wet the mix down, and place a saucer below the pot to catch water. Remove the cuttings from the water and dip them in rooting hormone powder. Dibble out 3″ holes in the mix, and stick at least three cuttings in the pot, being sure to press the mix firmly around them. Keep the cuttings in bright, indirect light in a cool room. Water them just enough to keep the mix moist, not wet.

Rose cuttings can take one to two months to root, sometimes longer. Once they have begun to root, you can upgrade them into a small pot filled with Black Gold All Purpose Mix, and place them in the sun. When they grow further and leaf out well, plant them outdoors!

Happy Rose Growing!

Jessie Keith

Black Gold Horticulturist


How Do You Get Rid of Nutsedge?

“How can you get rid of nutgrass (aka. yellow nutsedge)? Question from Michael of California.

Answer: What a pain of a weed! Huh? You pull it up, and it just seems to return again and again and again. Here’s why. Nutgrass or yellow nutsedge (Cyperus esculentus) is given its name for the little “nutlet” tubers it produces underground. These nutlets are kind of like little weed bombs because each one will develop into a whole new plant if left in the ground. It’s a devious way for the plants to be foraged or pulled and still remain in the soil ready to reroot, reshoot and grow as if never removed. This is also why foliar weed killers rarely touch it. Nutsedge grows best in moist soil but can tough it out almost everywhere. [As a side note, nutsedge nutlets are also edible and eaten in many cultures. Click here to read more.] We encourage you to view the nutlets and more images for ID on this Washington State webpage before starting the removal process.

Here are some truly effective ways to remove nutsedge without using chemicals.

  1. For small garden infestations, dig up plants to a depth of 10 inches, place weeds and soil on a tarp, and gather up all plant parts, making sure you remove all the nutlets. Nutlets need to be fairly close to the soil surface to sprout and can survive in the soil for 2 to 4 years, so after eradicating most of the sedge from an area, opt for a no-till strategy to keep any deep nutlets from being brought too close to the surface. Then keep a lookout for newly sprouted sedges and just pull or lightly hoe them when they are tiny. Adding a thick layer of organic mulch is also wise.
  2. For large garden infestations, dig it up plants as completely as you can, and then smother the area with weed cloth covered with an additional layer of mulch or leaf compost (for ornamental beds) or straw (for vegetable beds) to keep seedlings and nutlets from resprouting. After a few years, the residual nutlets should be gone and the weed cloth can be removed.
  3. For both cases, keep a lookout for newly sprouted sedges and remove them on sight. Never let them get large enough to set seed.

I hope these tips help!

Happy gardening,

Jessie Keith


What is the Best Soil for Growing Tomatoes?

“What’s the best soil when planting tomatoes?” Question from Jonathon of Centreville, Alabama.

Answer: Getting your soil and feeding regime right is so important for growing great tomatoes. In general, tomatoes like fertile, well-drained soil that is high in organic matter and has a relatively neutral soil pH of around 6.0 to 6.8.

If you are growing plants in the ground, amend your soil well with a quality amendment that’s high in organic matter, like OMRI Listed Black Gold Garden Compost Blend. Our compost blend is approved for organic gardening and has the right pH. Be sure to raise low soils, so they are well-drained. It is also essential to feed regularly with a fertilizer formulated for tomatoes and to keep plants evenly irrigated. [Click here to learn more about growing super tomatoes, or to read all about our favorite sauce tomatoes and monster beefsteak tomatoes.]

If you are interested in growing tomatoes in containers, please watch the video below.

Happy tomato growing!

Jessie Keith

Black Gold Horticulturist

What’s the Best Soil for Fruit Containers?

“Hello. What is the best soil that you have available to grow citrus trees and blackberries in containers? I’m looking for the soil ph to be around 6.0.” Question from Jerrold of Pearland, Texas

Answer: For container gardening, we recommend either Black Gold Natural & Organic Potting Mix or Black Gold Waterhold Cocoblend Potting Mix. Both are fertile, water holding, and have a pH around 6.0. They are also OMRI Listed for organic gardening, which makes them good choices for edible growing. Be sure to stick with dwarf berry and citrus varieties for container growing. We also recommend you click here to read more about growing citrus in pots and view the video below to get more information about growing blackberries.

Happy gardening!

Jessie Keith