Making homemade paper is fun and easy to turn into seeded holiday gift cards with garden themes. Simply add a few dried petals to the paper pulp, sprinkle in designer compositions of garden seeds, and you have holiday grow-your-own-garden cards. These useful, impressive cards are inexpensive to make, fun to give, and even more fun to plant. Give the cards with a basket of garden tools, garden gloves, some Black Gold Seedling Mix, and a pot or two for the perfect gardener’s gift!
Kids love to join in the fun of making these cards. Just be sure to help them run the blender or food processor, screen the paper pulp, and add the garden seeds. You also want to discourage them from handling the drying cards until they are 100% dry. Once the cards are dry and cut, let your kids decorate them for friends and family.
Materials & Equipment
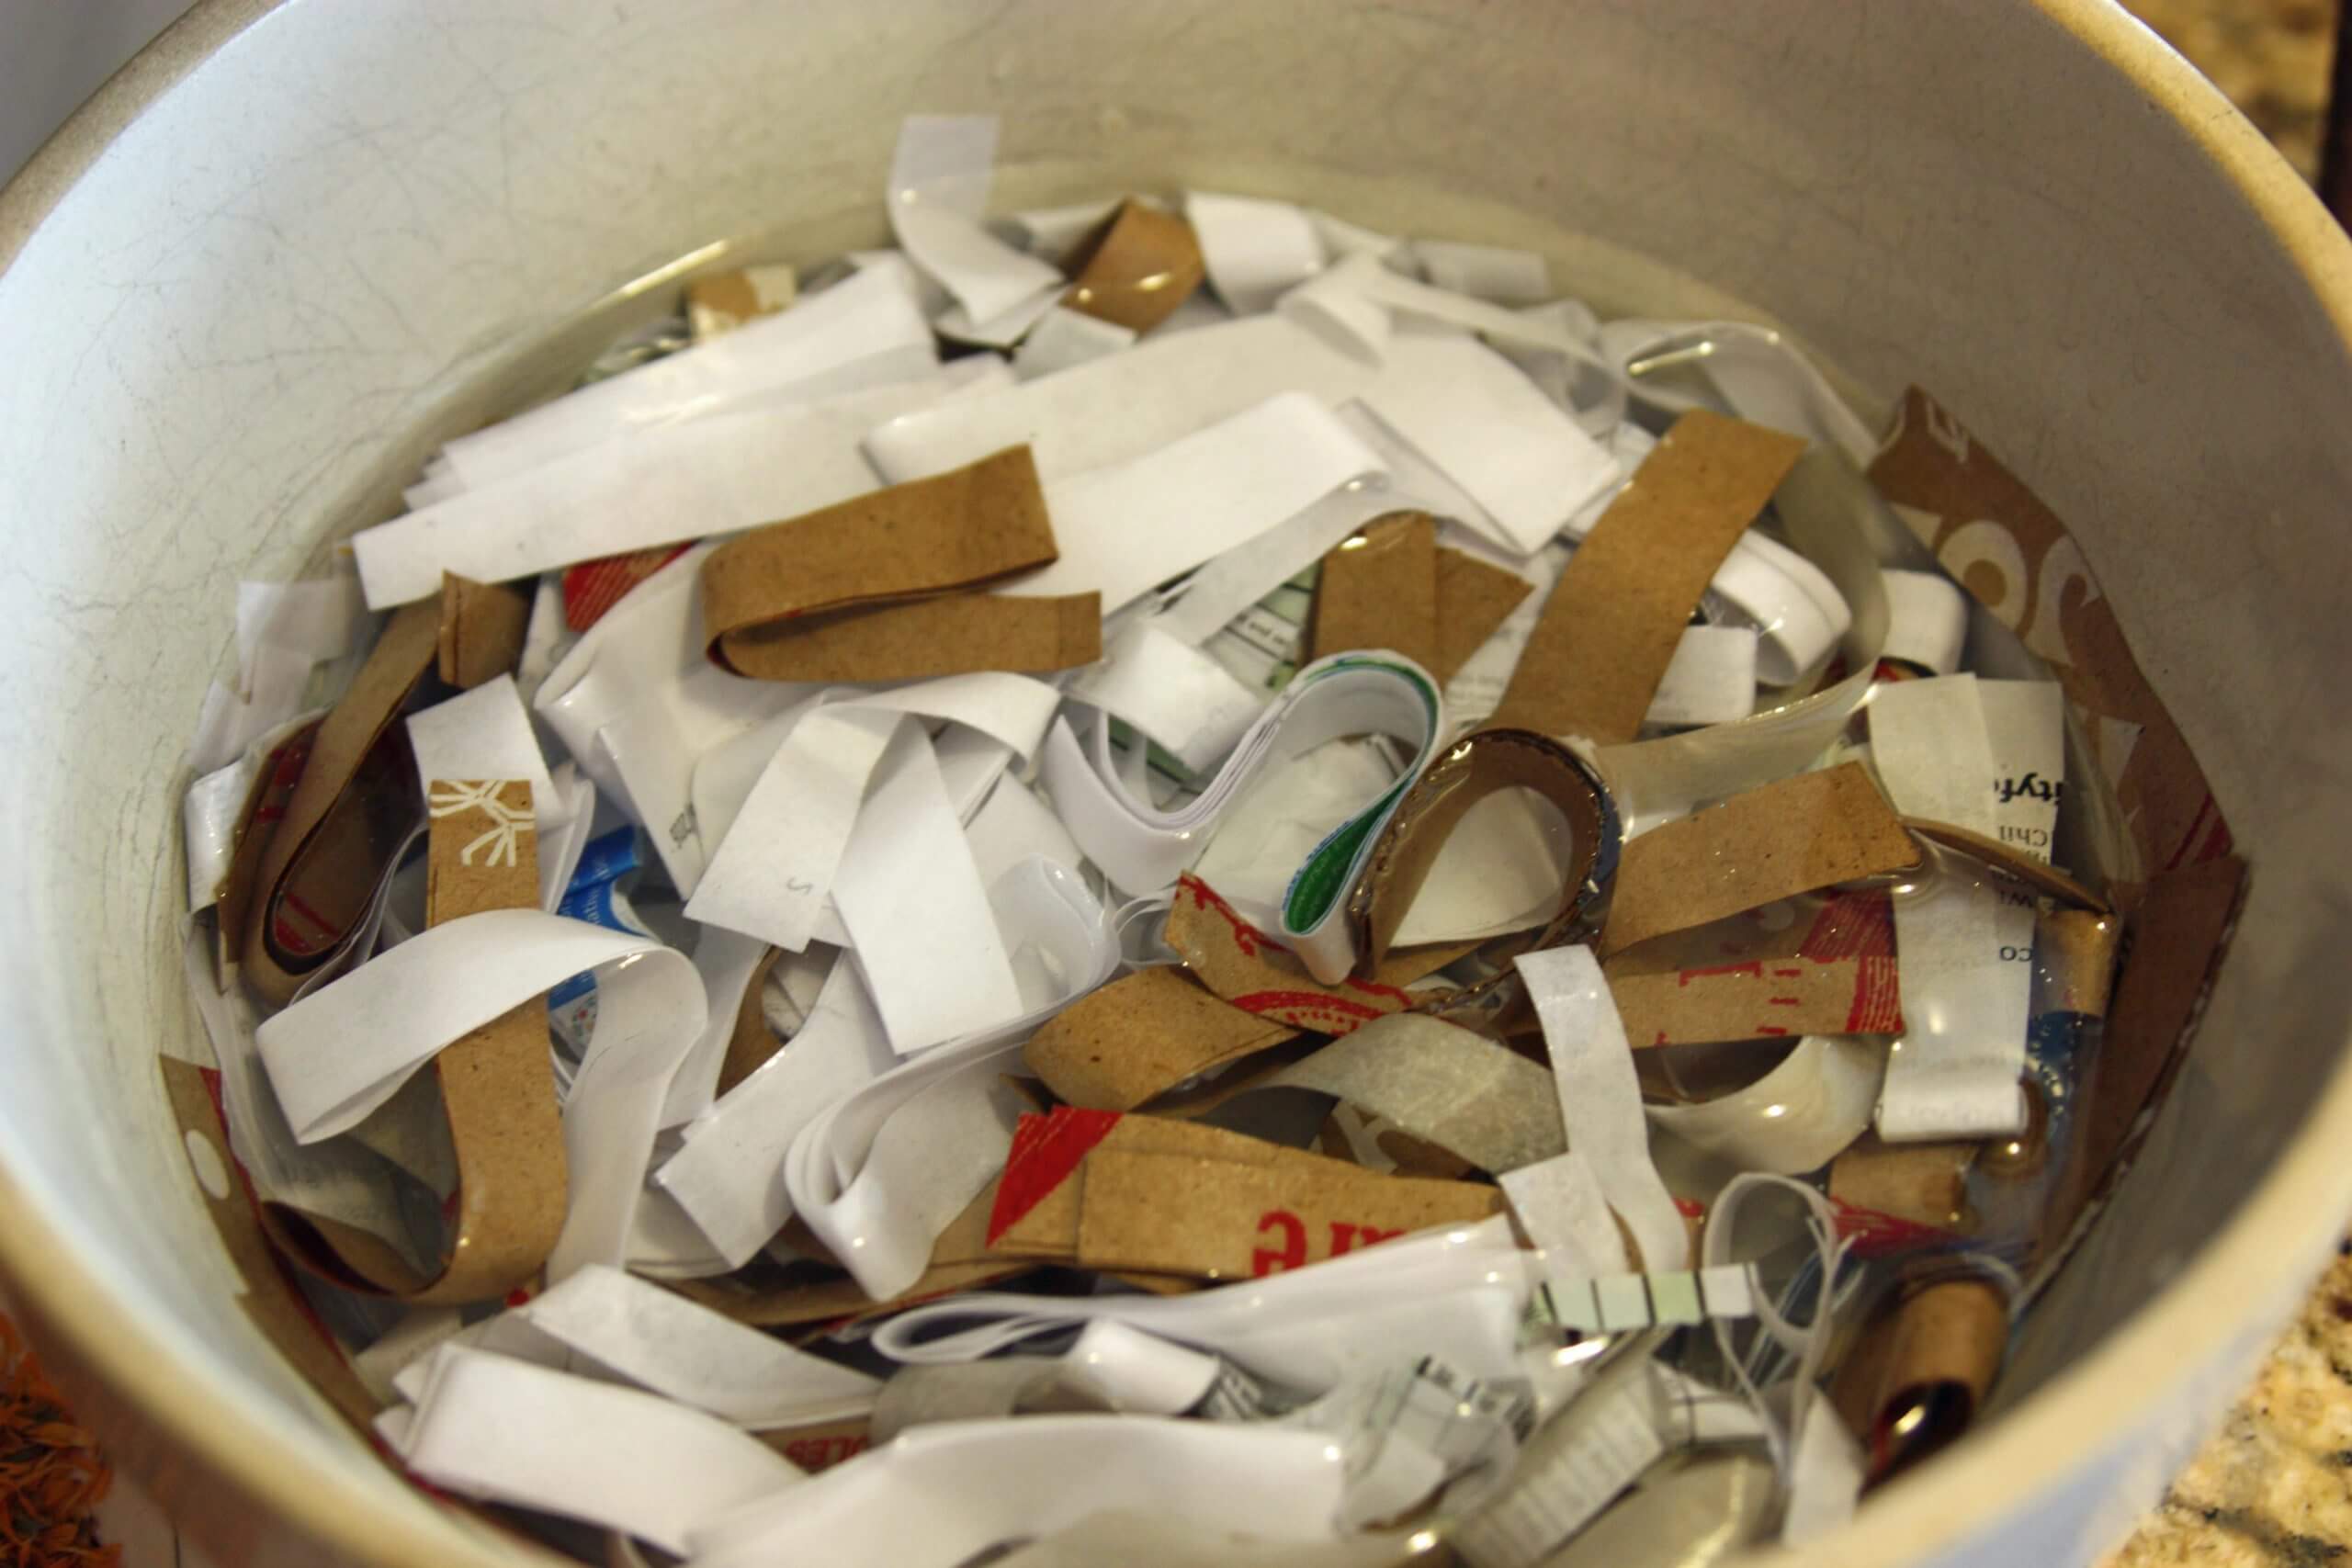
- Shredded or torn non-glossy, light-colored scrap paper
- Water
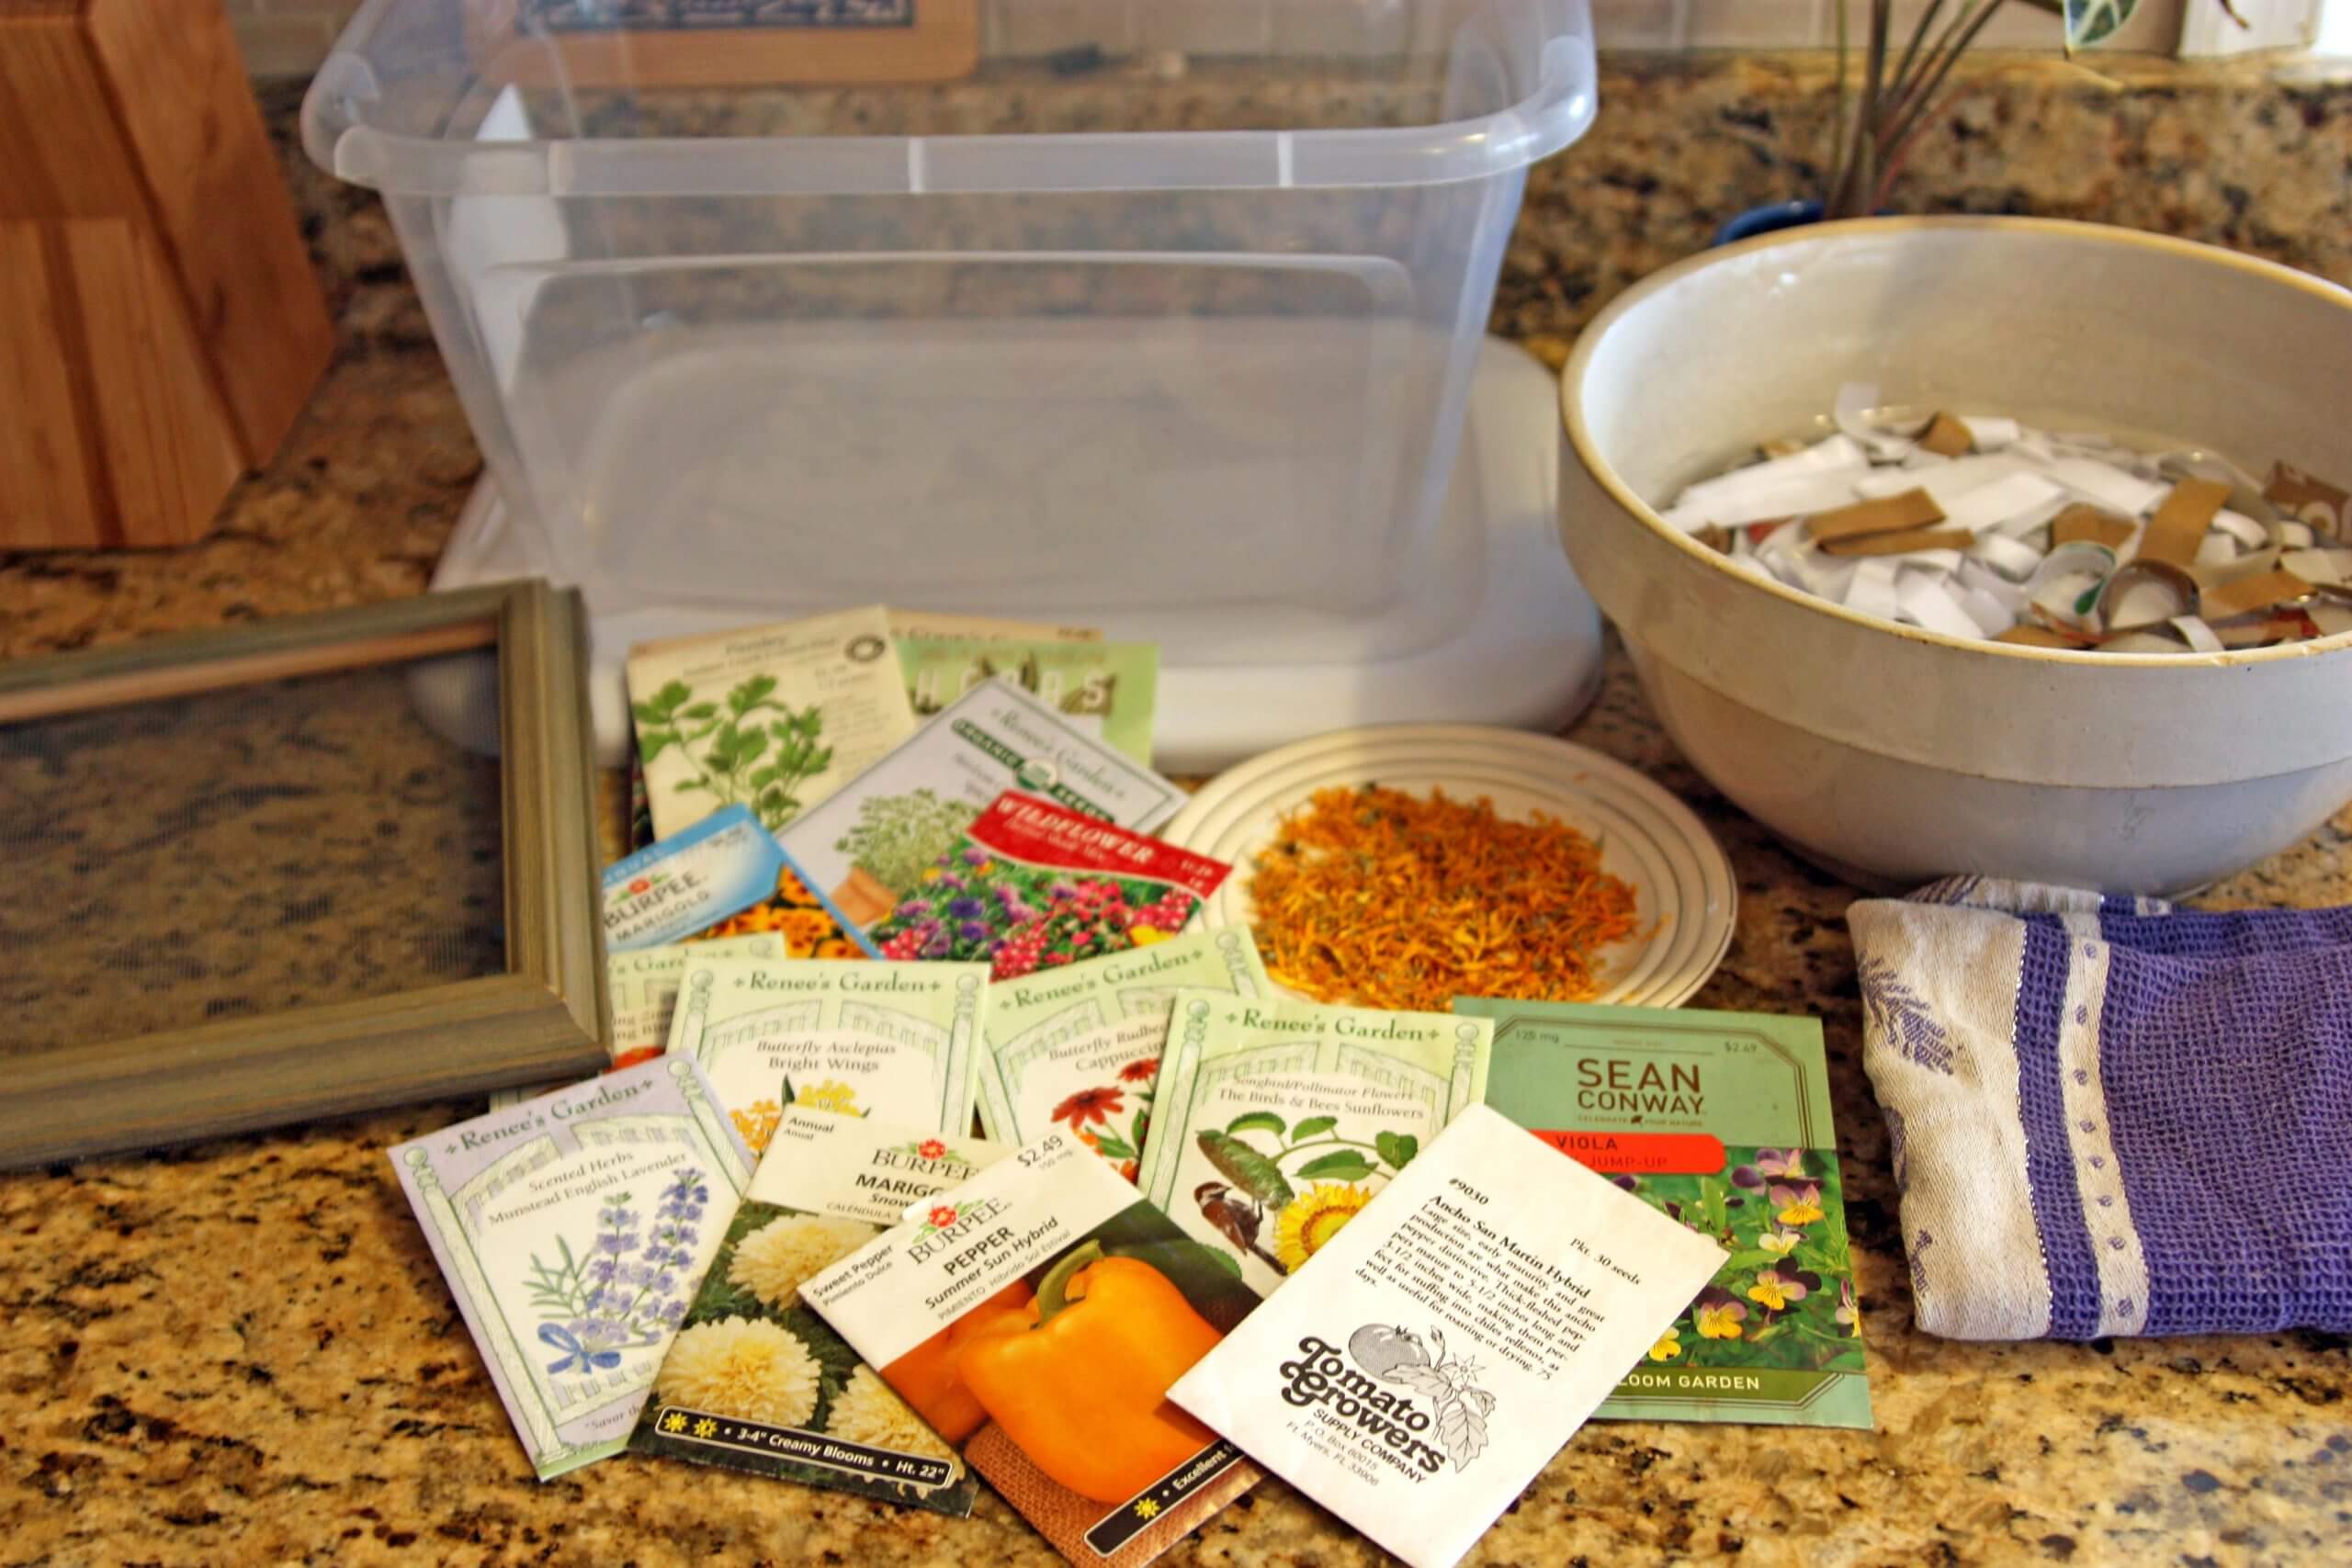
- Seeds and dried petals; seed ideas for specialty gardens:
- Easy Herb Garden (parsley, basil, dill, cilantro)
- Sunny Flower Garden (marigold, salvia, gloriosa daisy, moss rose, violas)
- Wildflower Garden (wildflower mix)
- Hot Pepper Garden (mixed hot pepper seeds)
- Sunflower Circle (mixed sunflower seeds)
- Milkweed Monarch Butterfly Garden (mixed milkweed seeds)
- Small, flat plastic tub
- Parchment paper
- Flat piece of cardboard the size of your frame
- Blender or food processor
- Old, medium-sized picture frame (small enough to fit in the tub!)
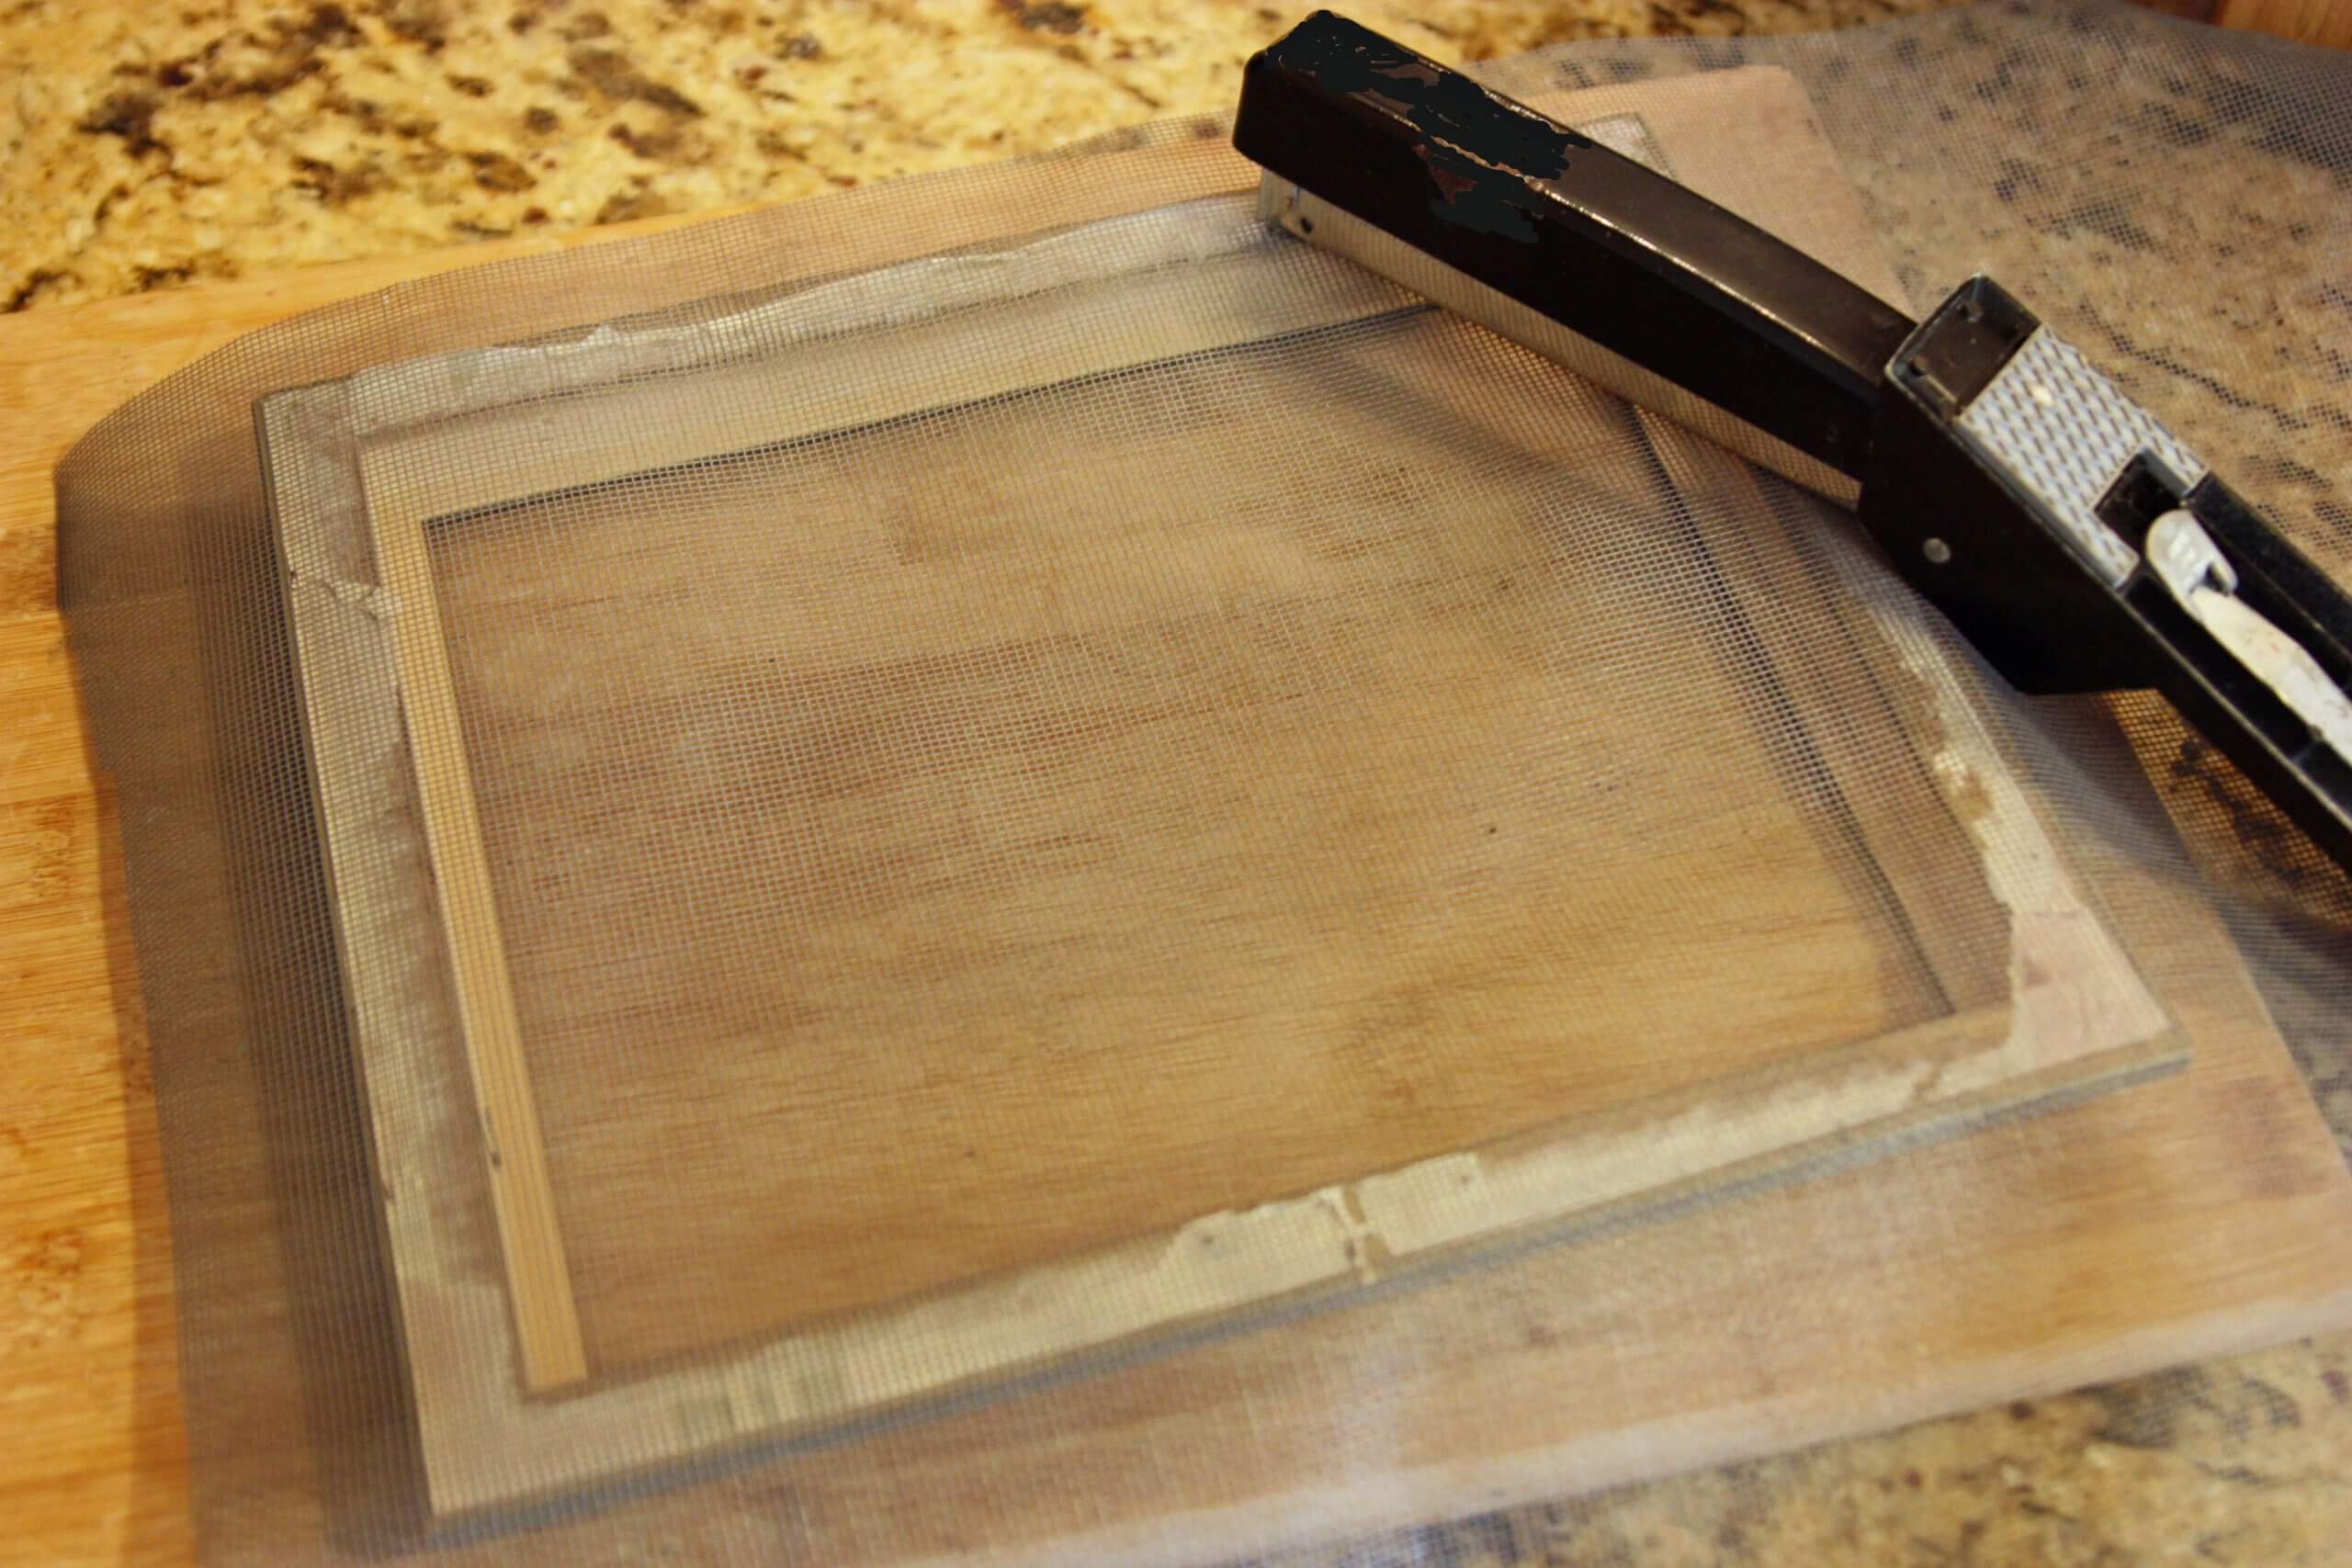
- Stiff mesh screen big enough to fit across the picture frame
- Stapler
- Old cloth dishtowels
- Brush pens
Directions
Have all materials ready to use. Place a thick layer of dishtowels alongside the plastic tub. (See visual guide below!)
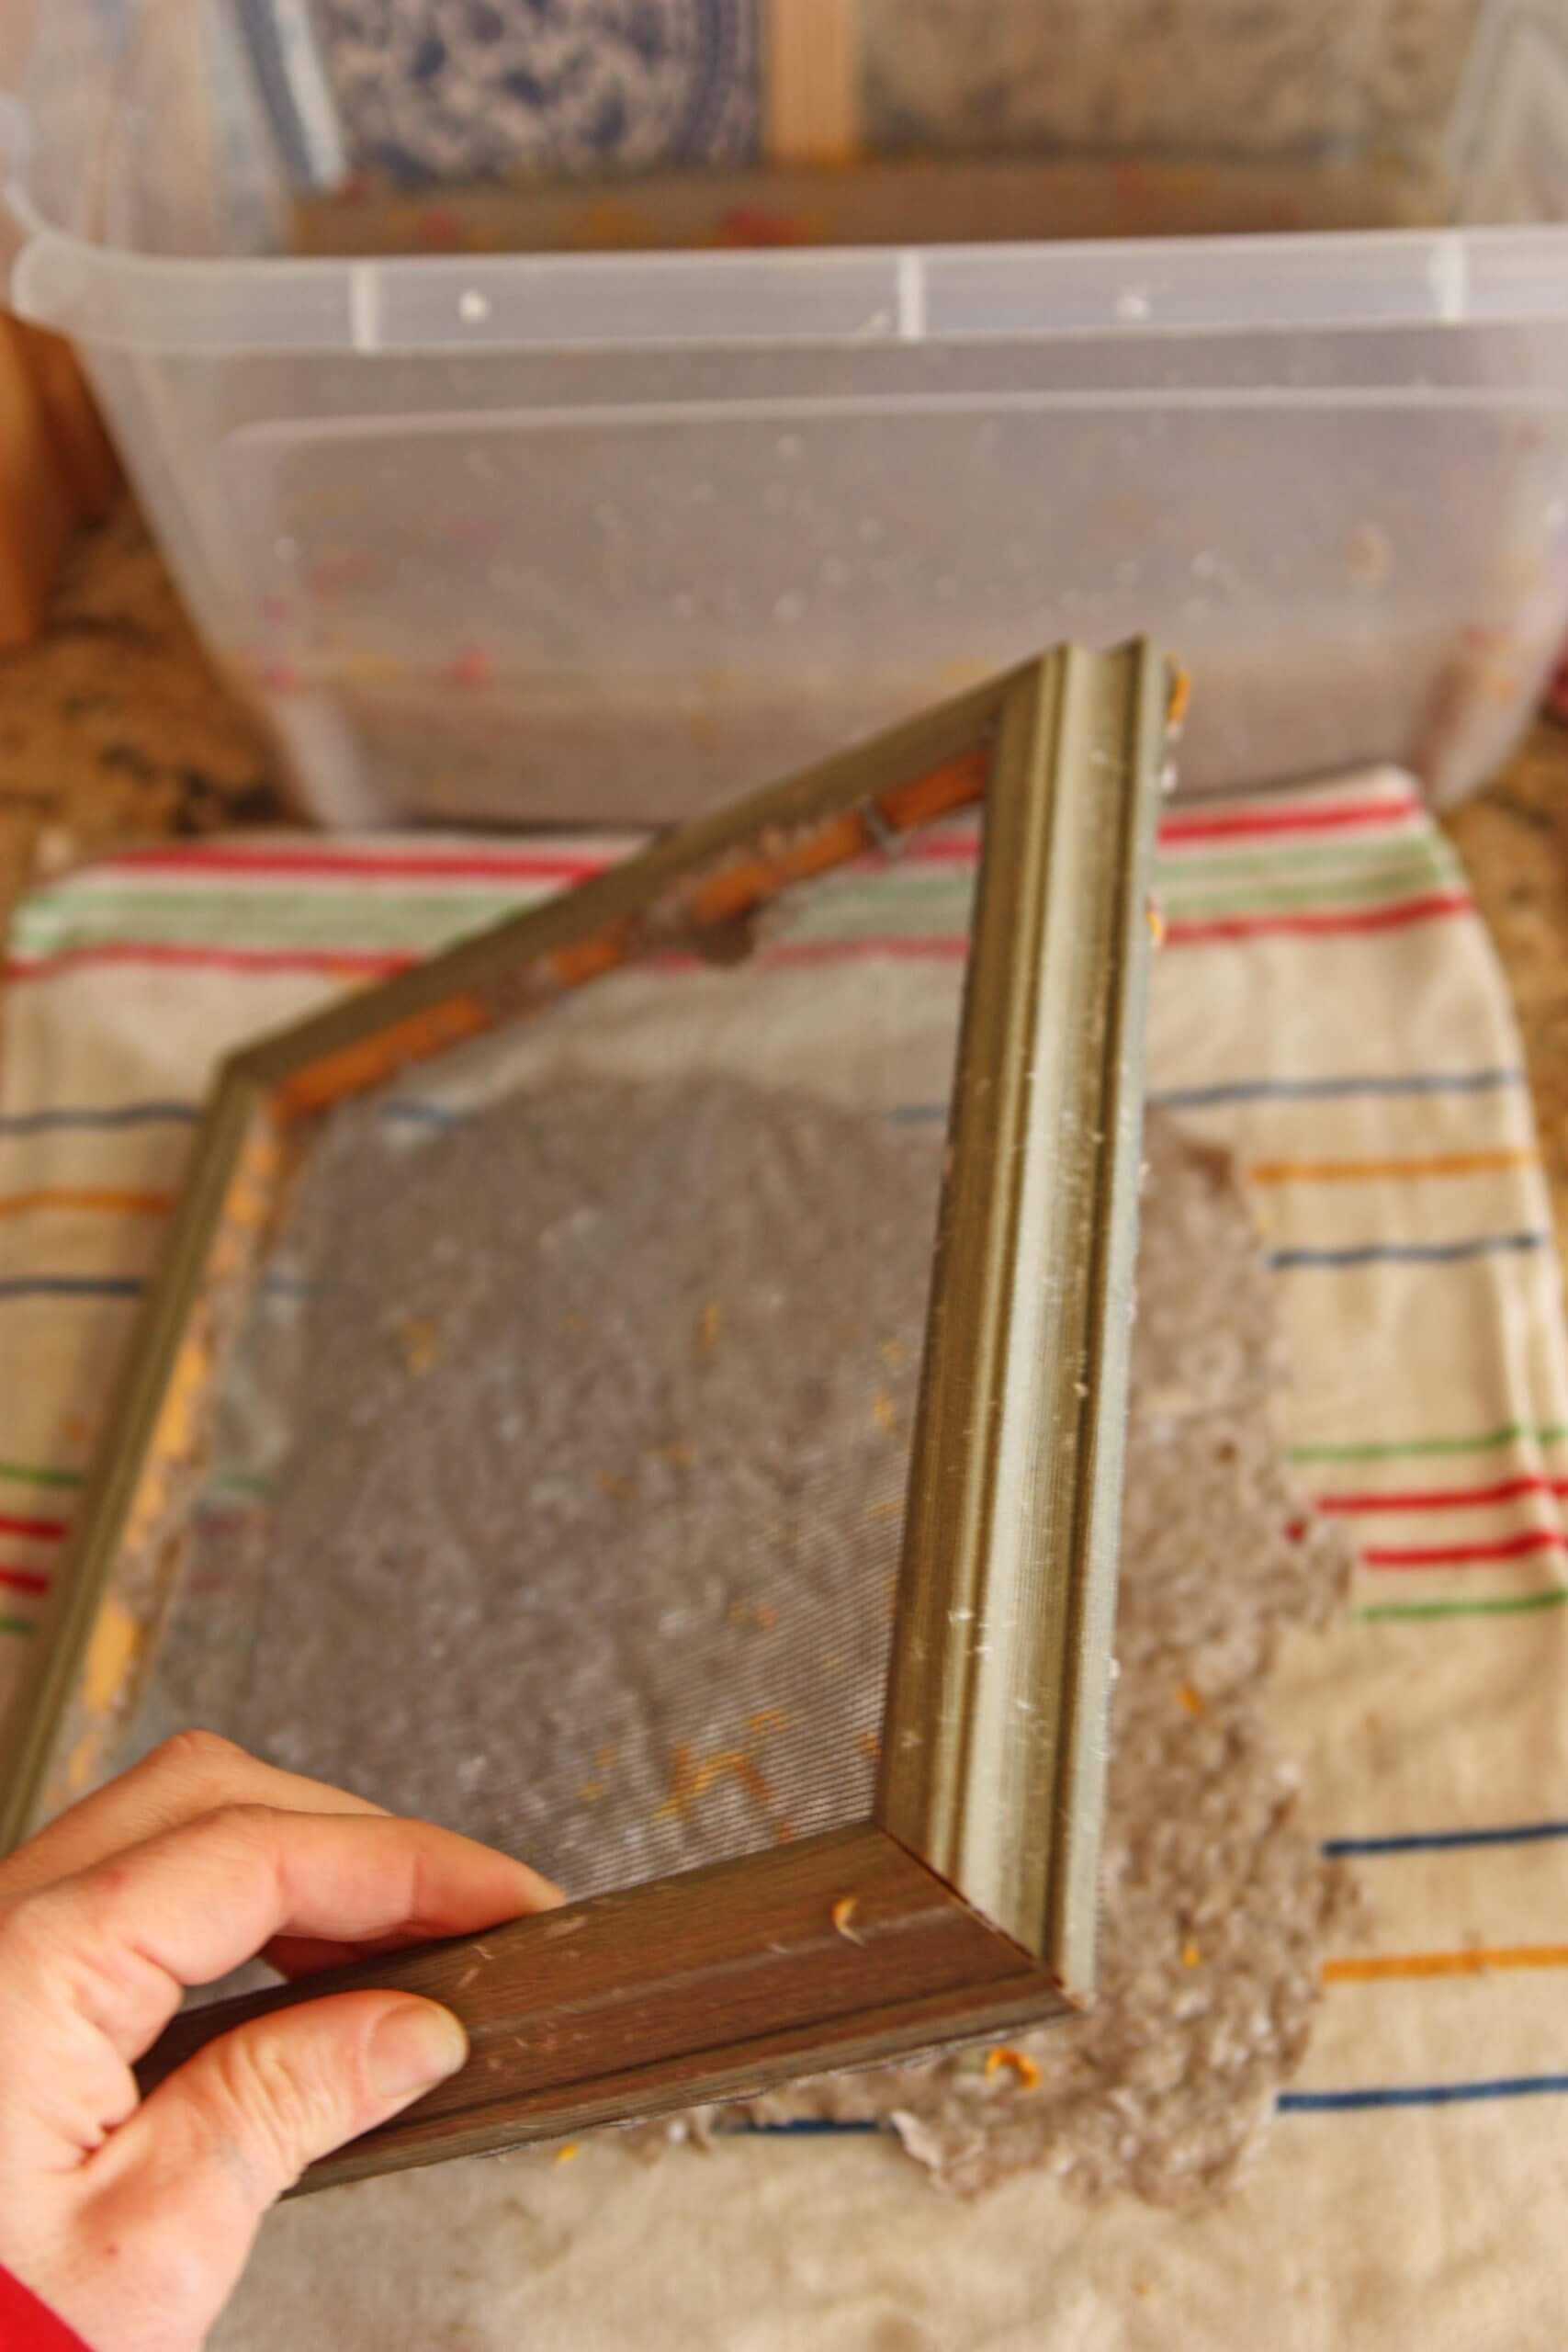
- Staple the screen tightly across the old picture frame.
- Add 2 parts shredded paper to 2 parts water. Soak the paper for half an hour.
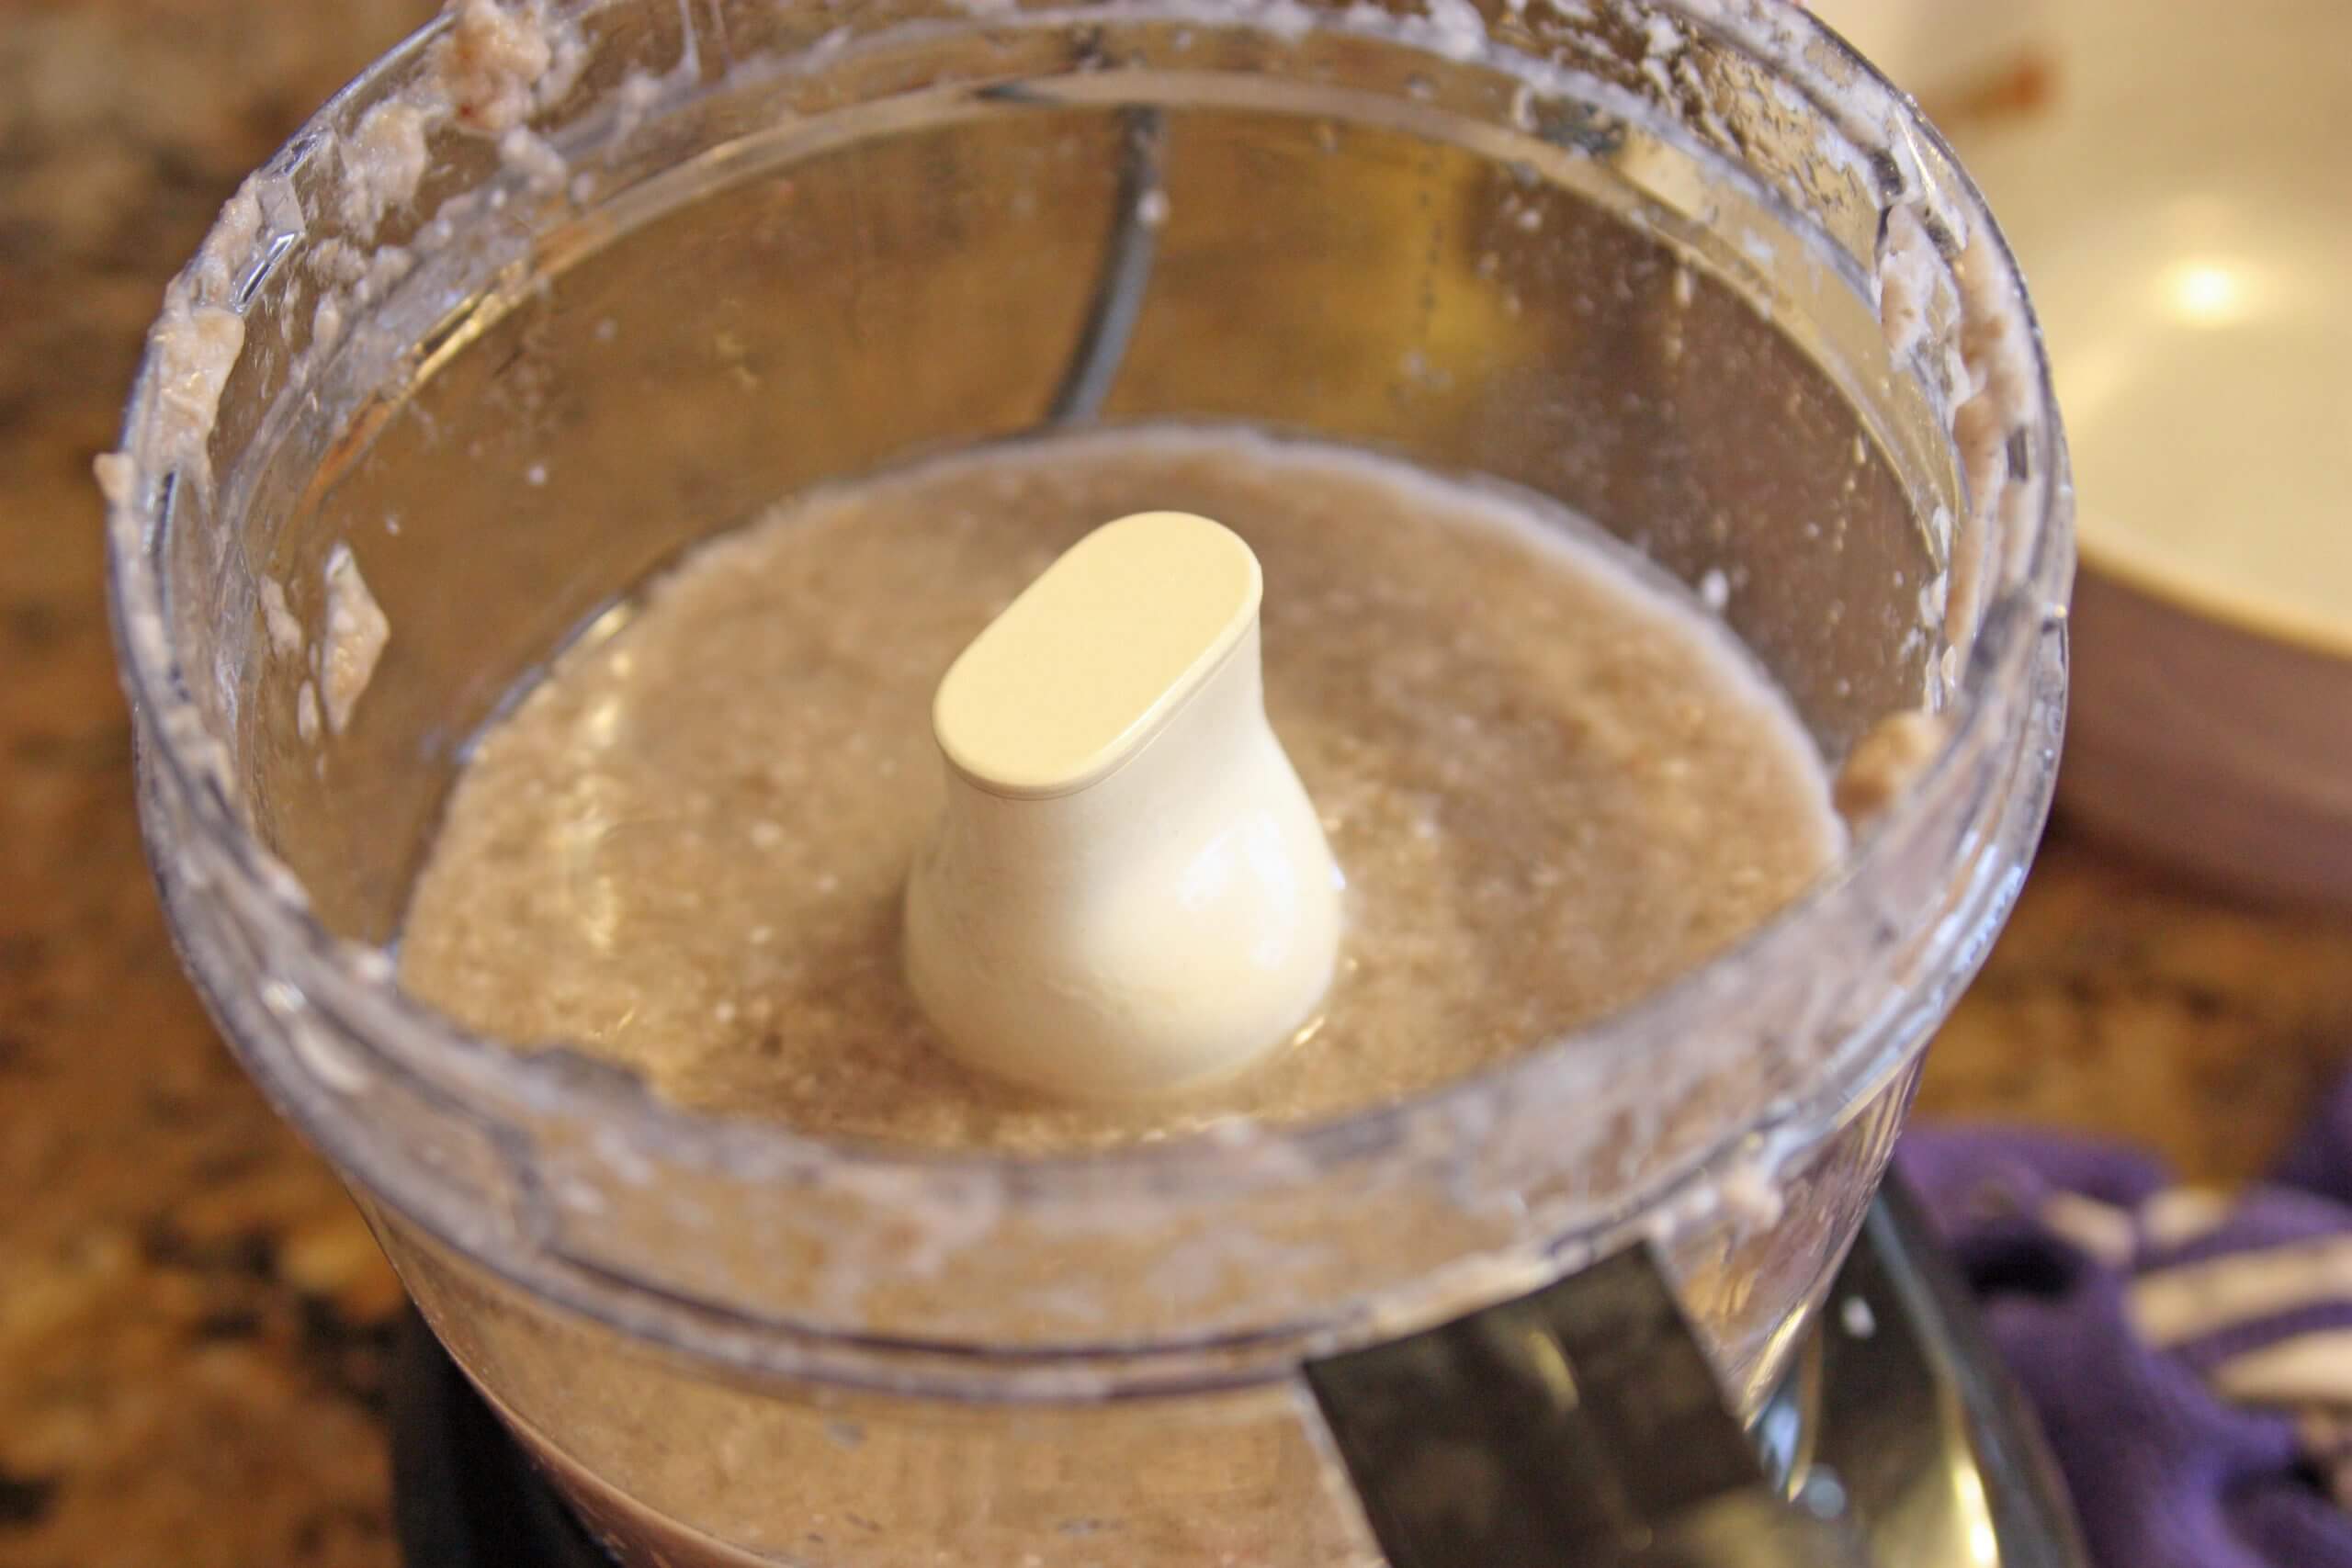
- Fill a blender or large food processor halfway with the paper slurry and blend until smooth.
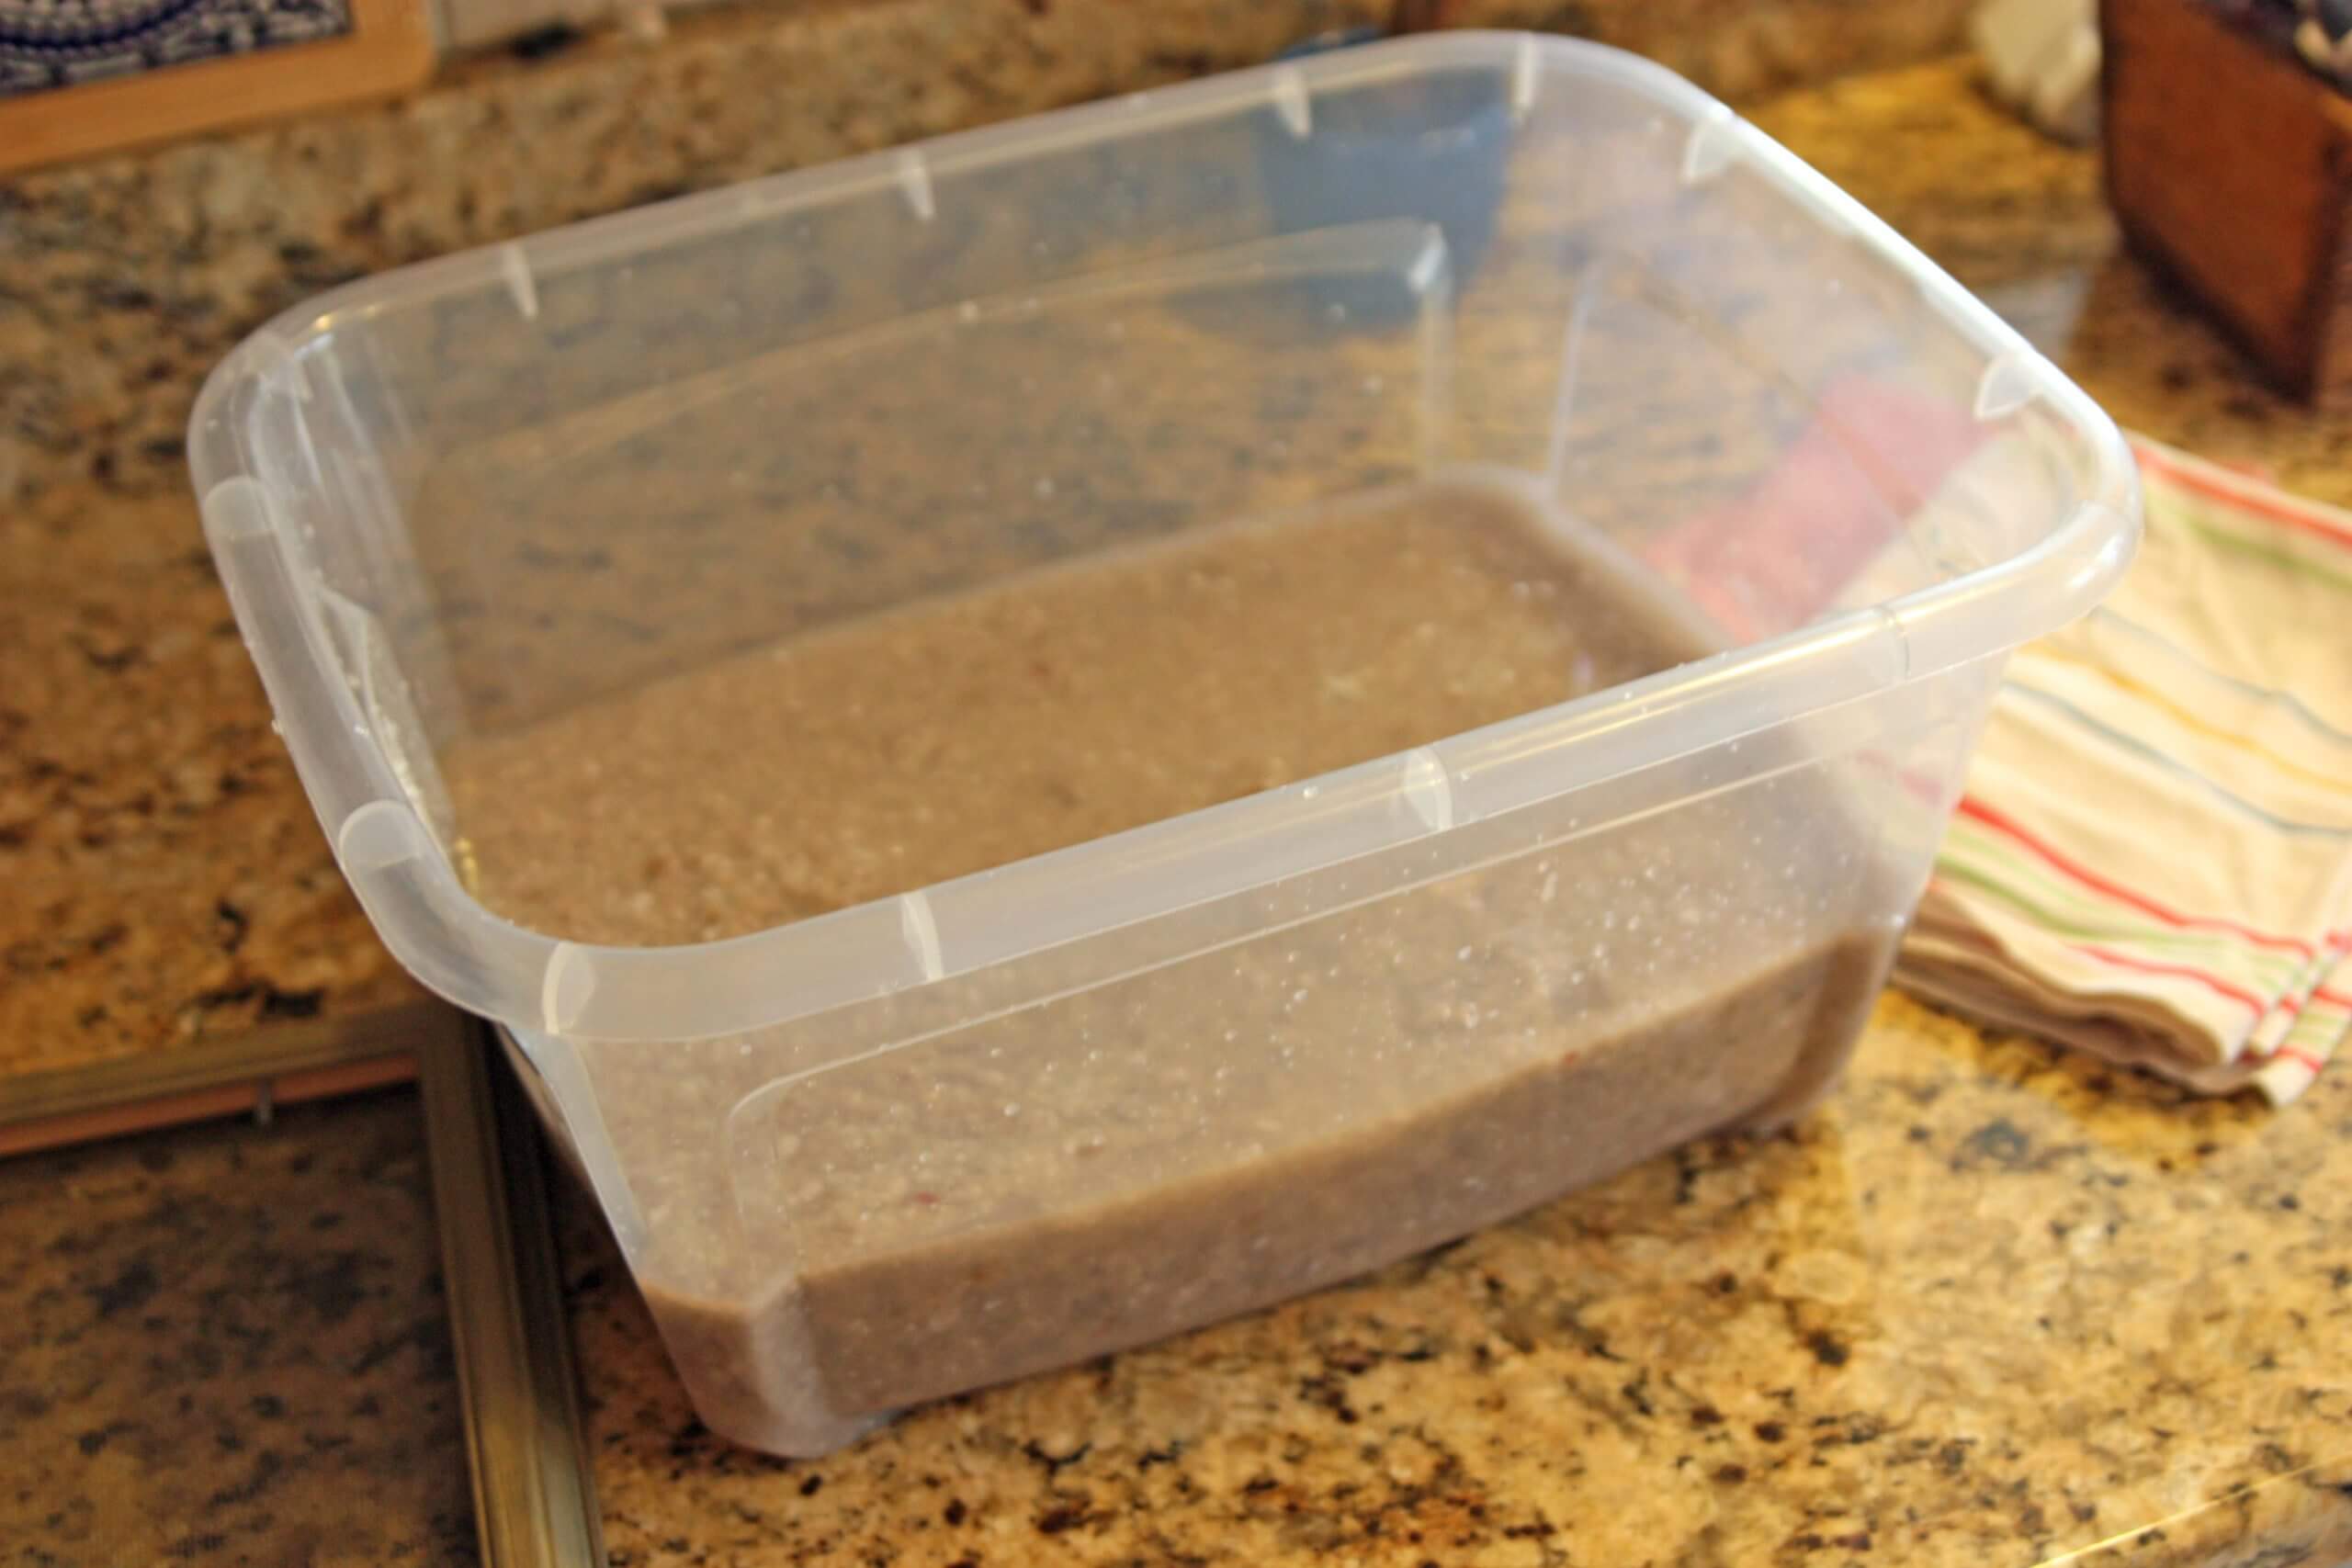
- Add three or four loads of the blended pulp to your tub. The tub should be filled with around 4-inches of paper mix.
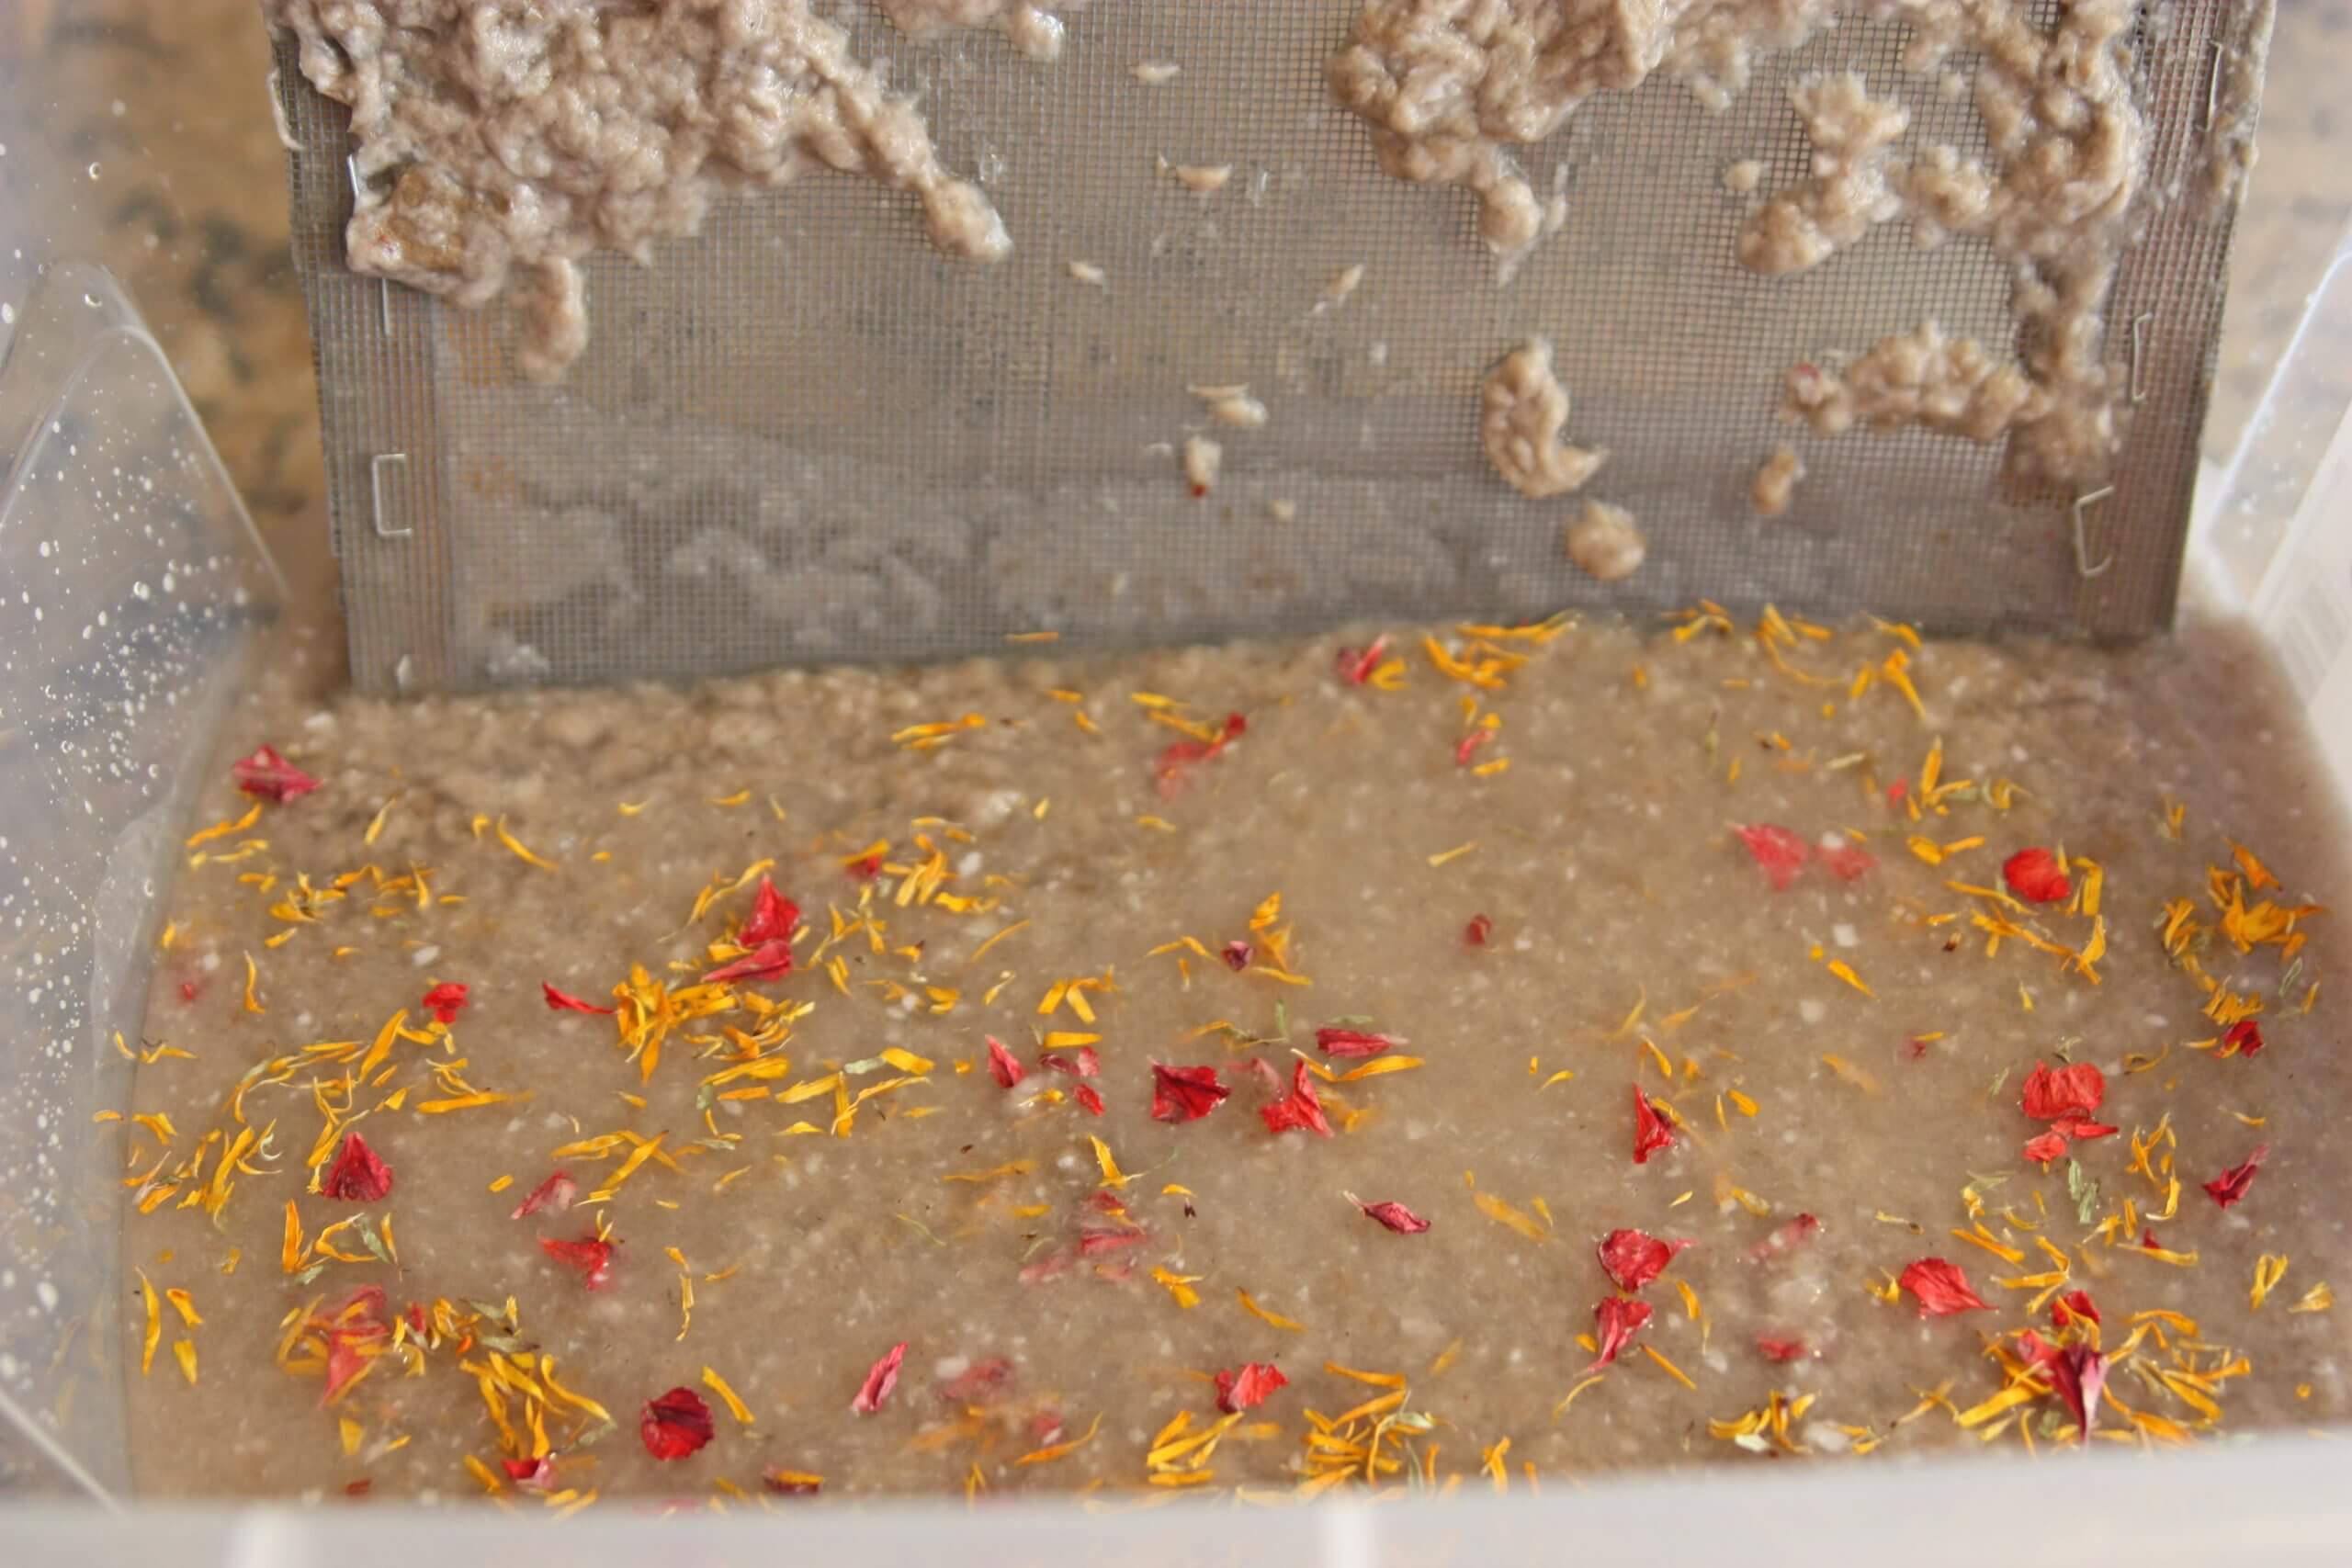
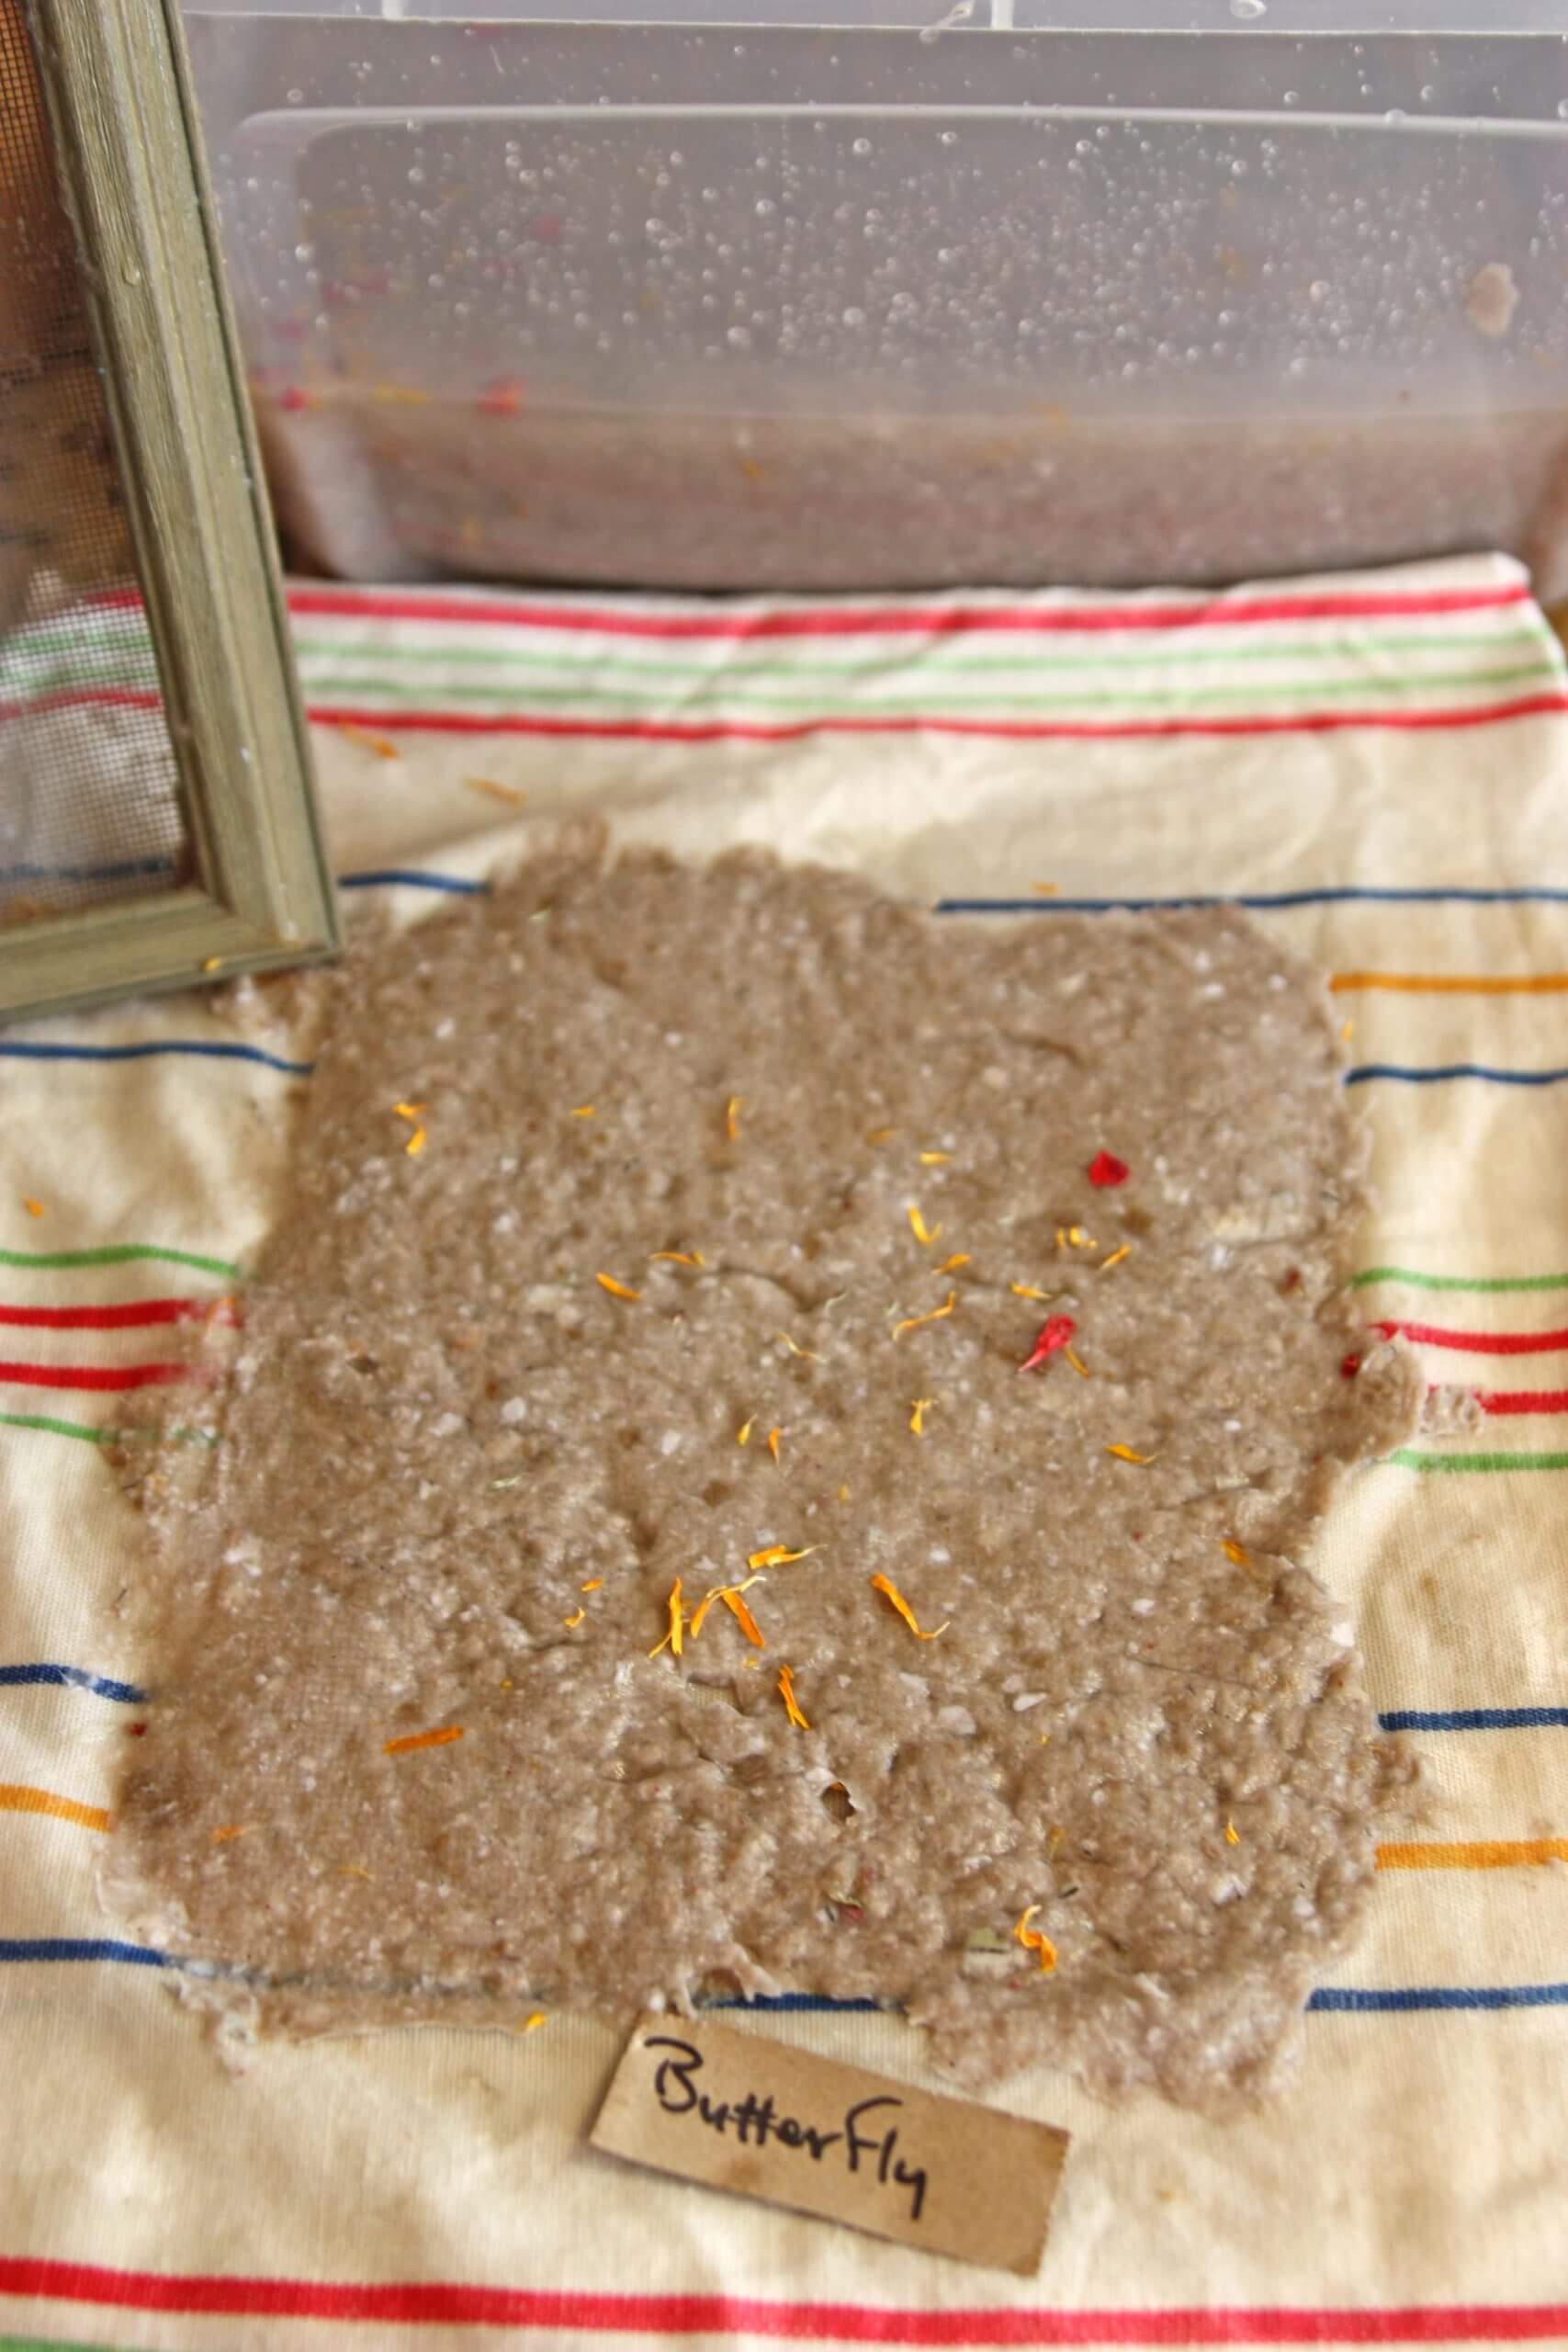
- Stir in the dried petals.
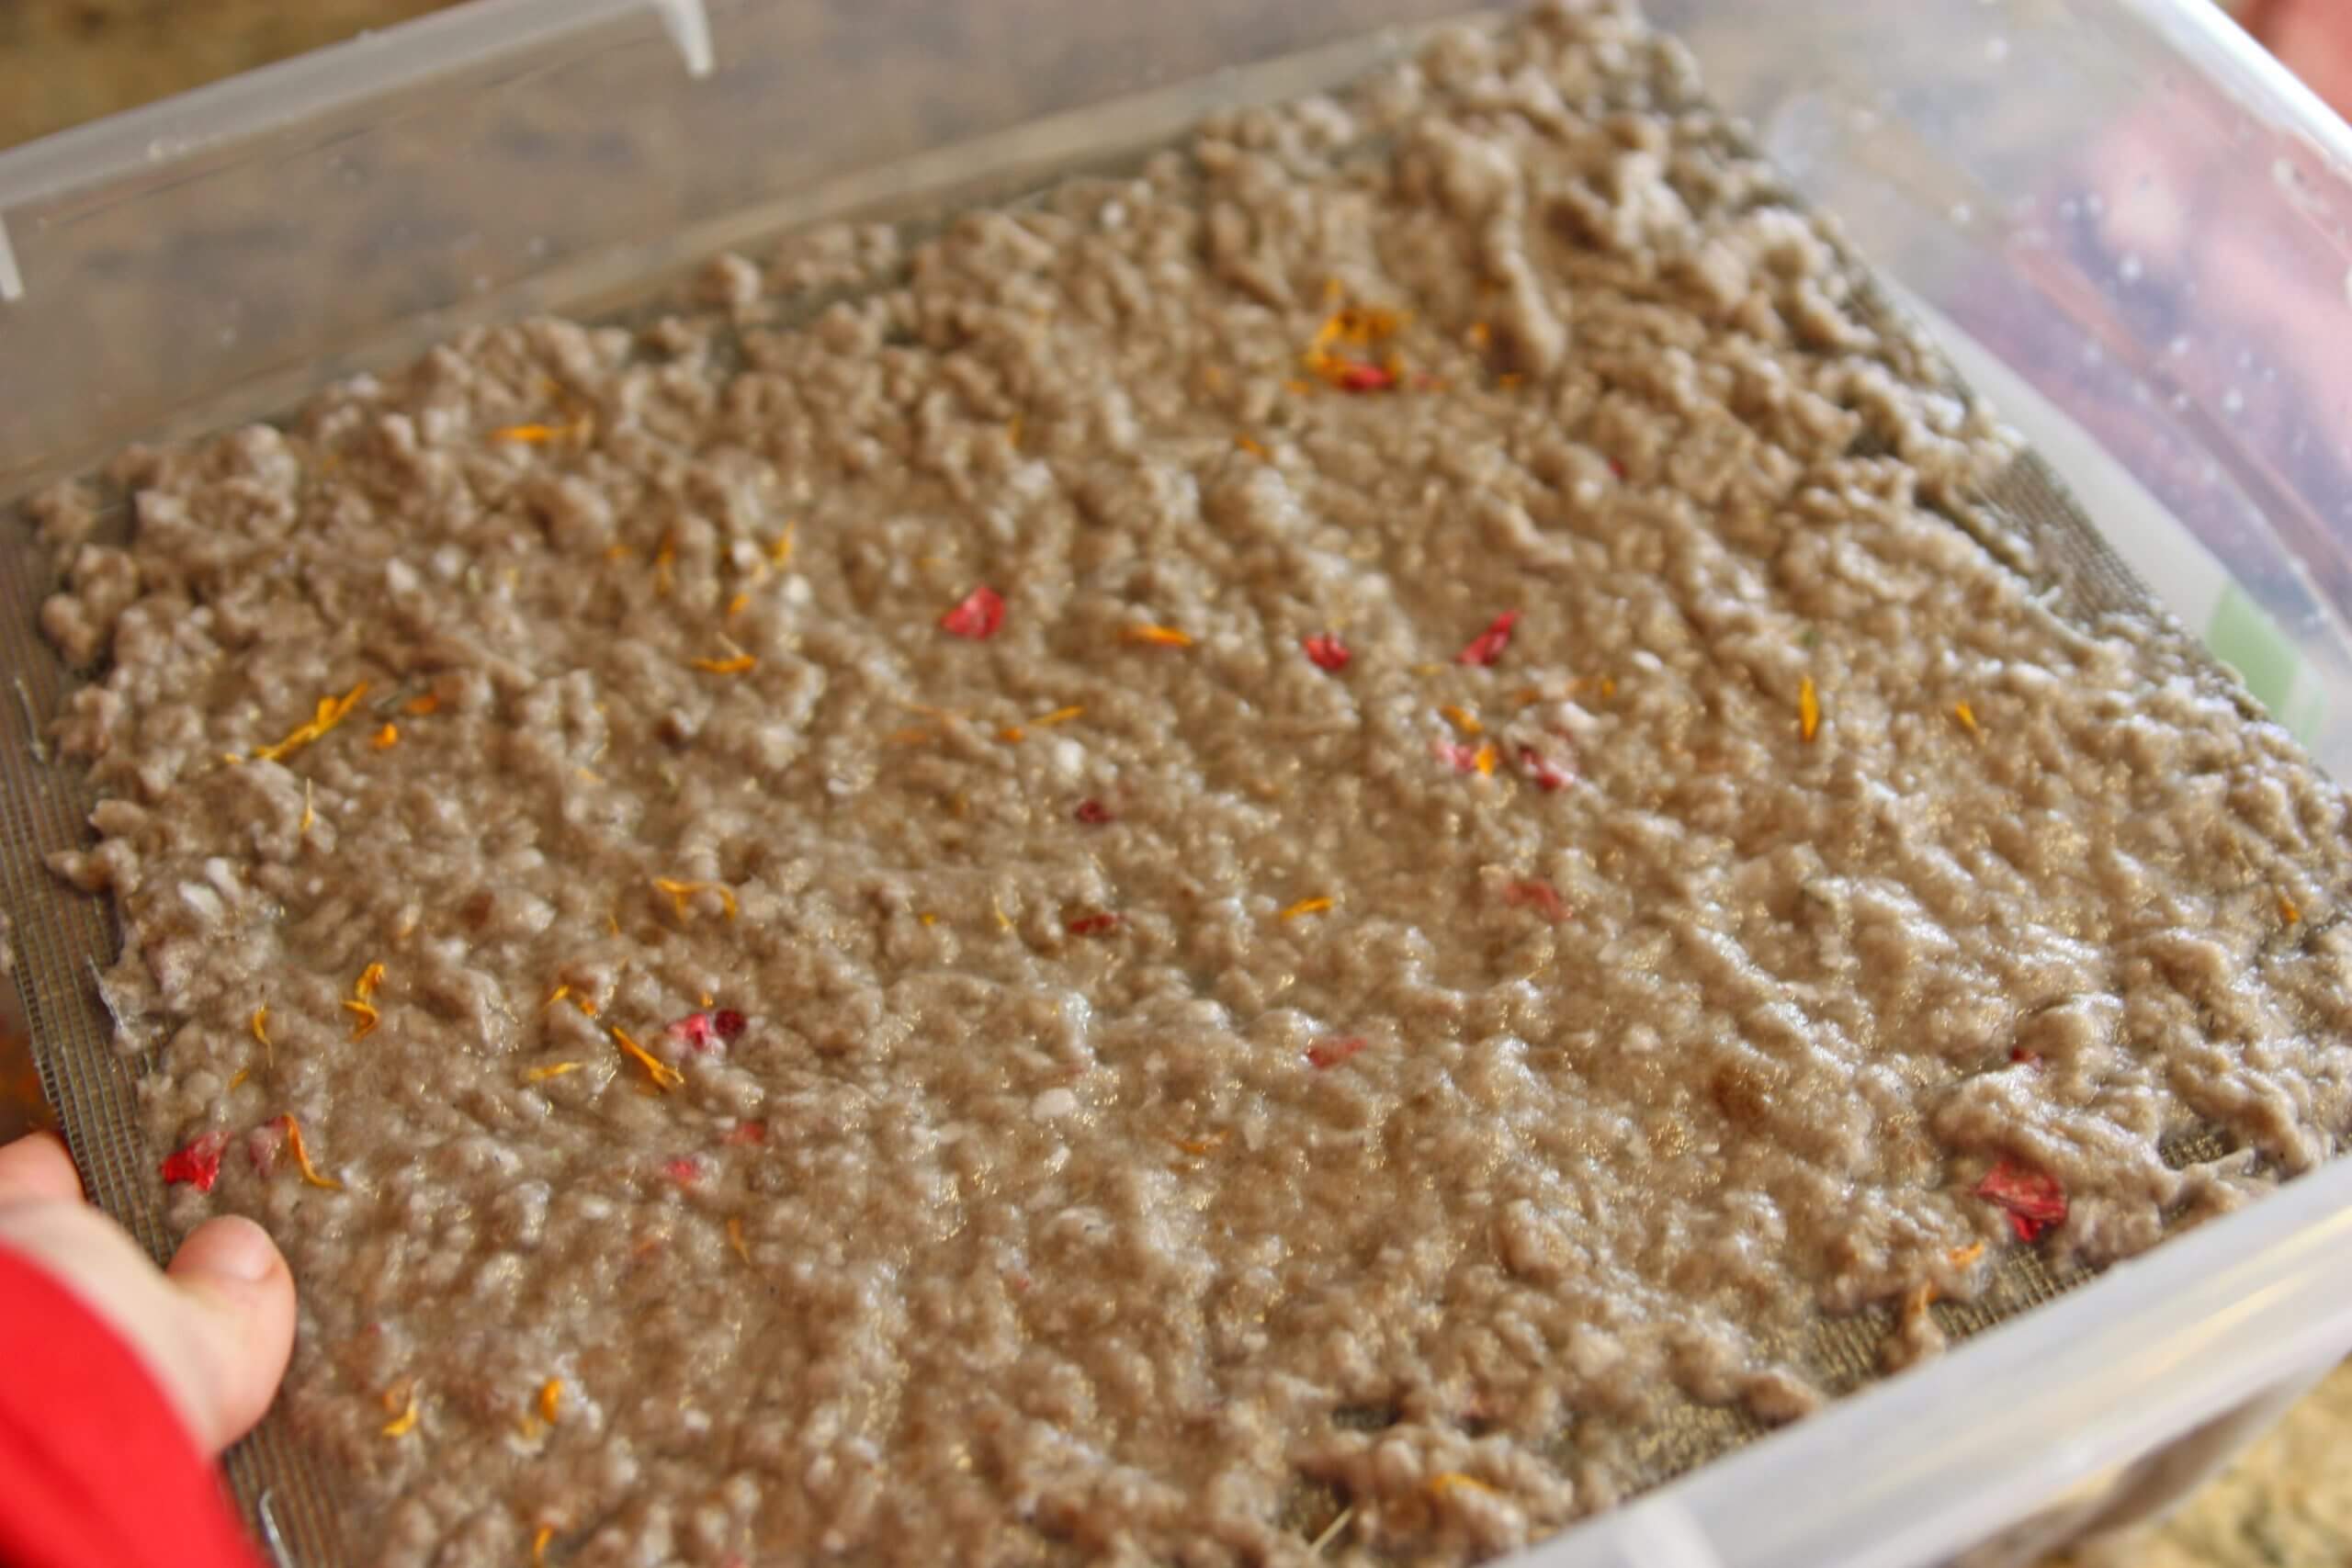
- Submerge the screened frame into the pulp mixture. Move it from side to side to evenly covering the screen with a layer of paper. Evenly smooth the pulp across the screen with your hand.
- Lift the frame and allow it to drain for a minute.
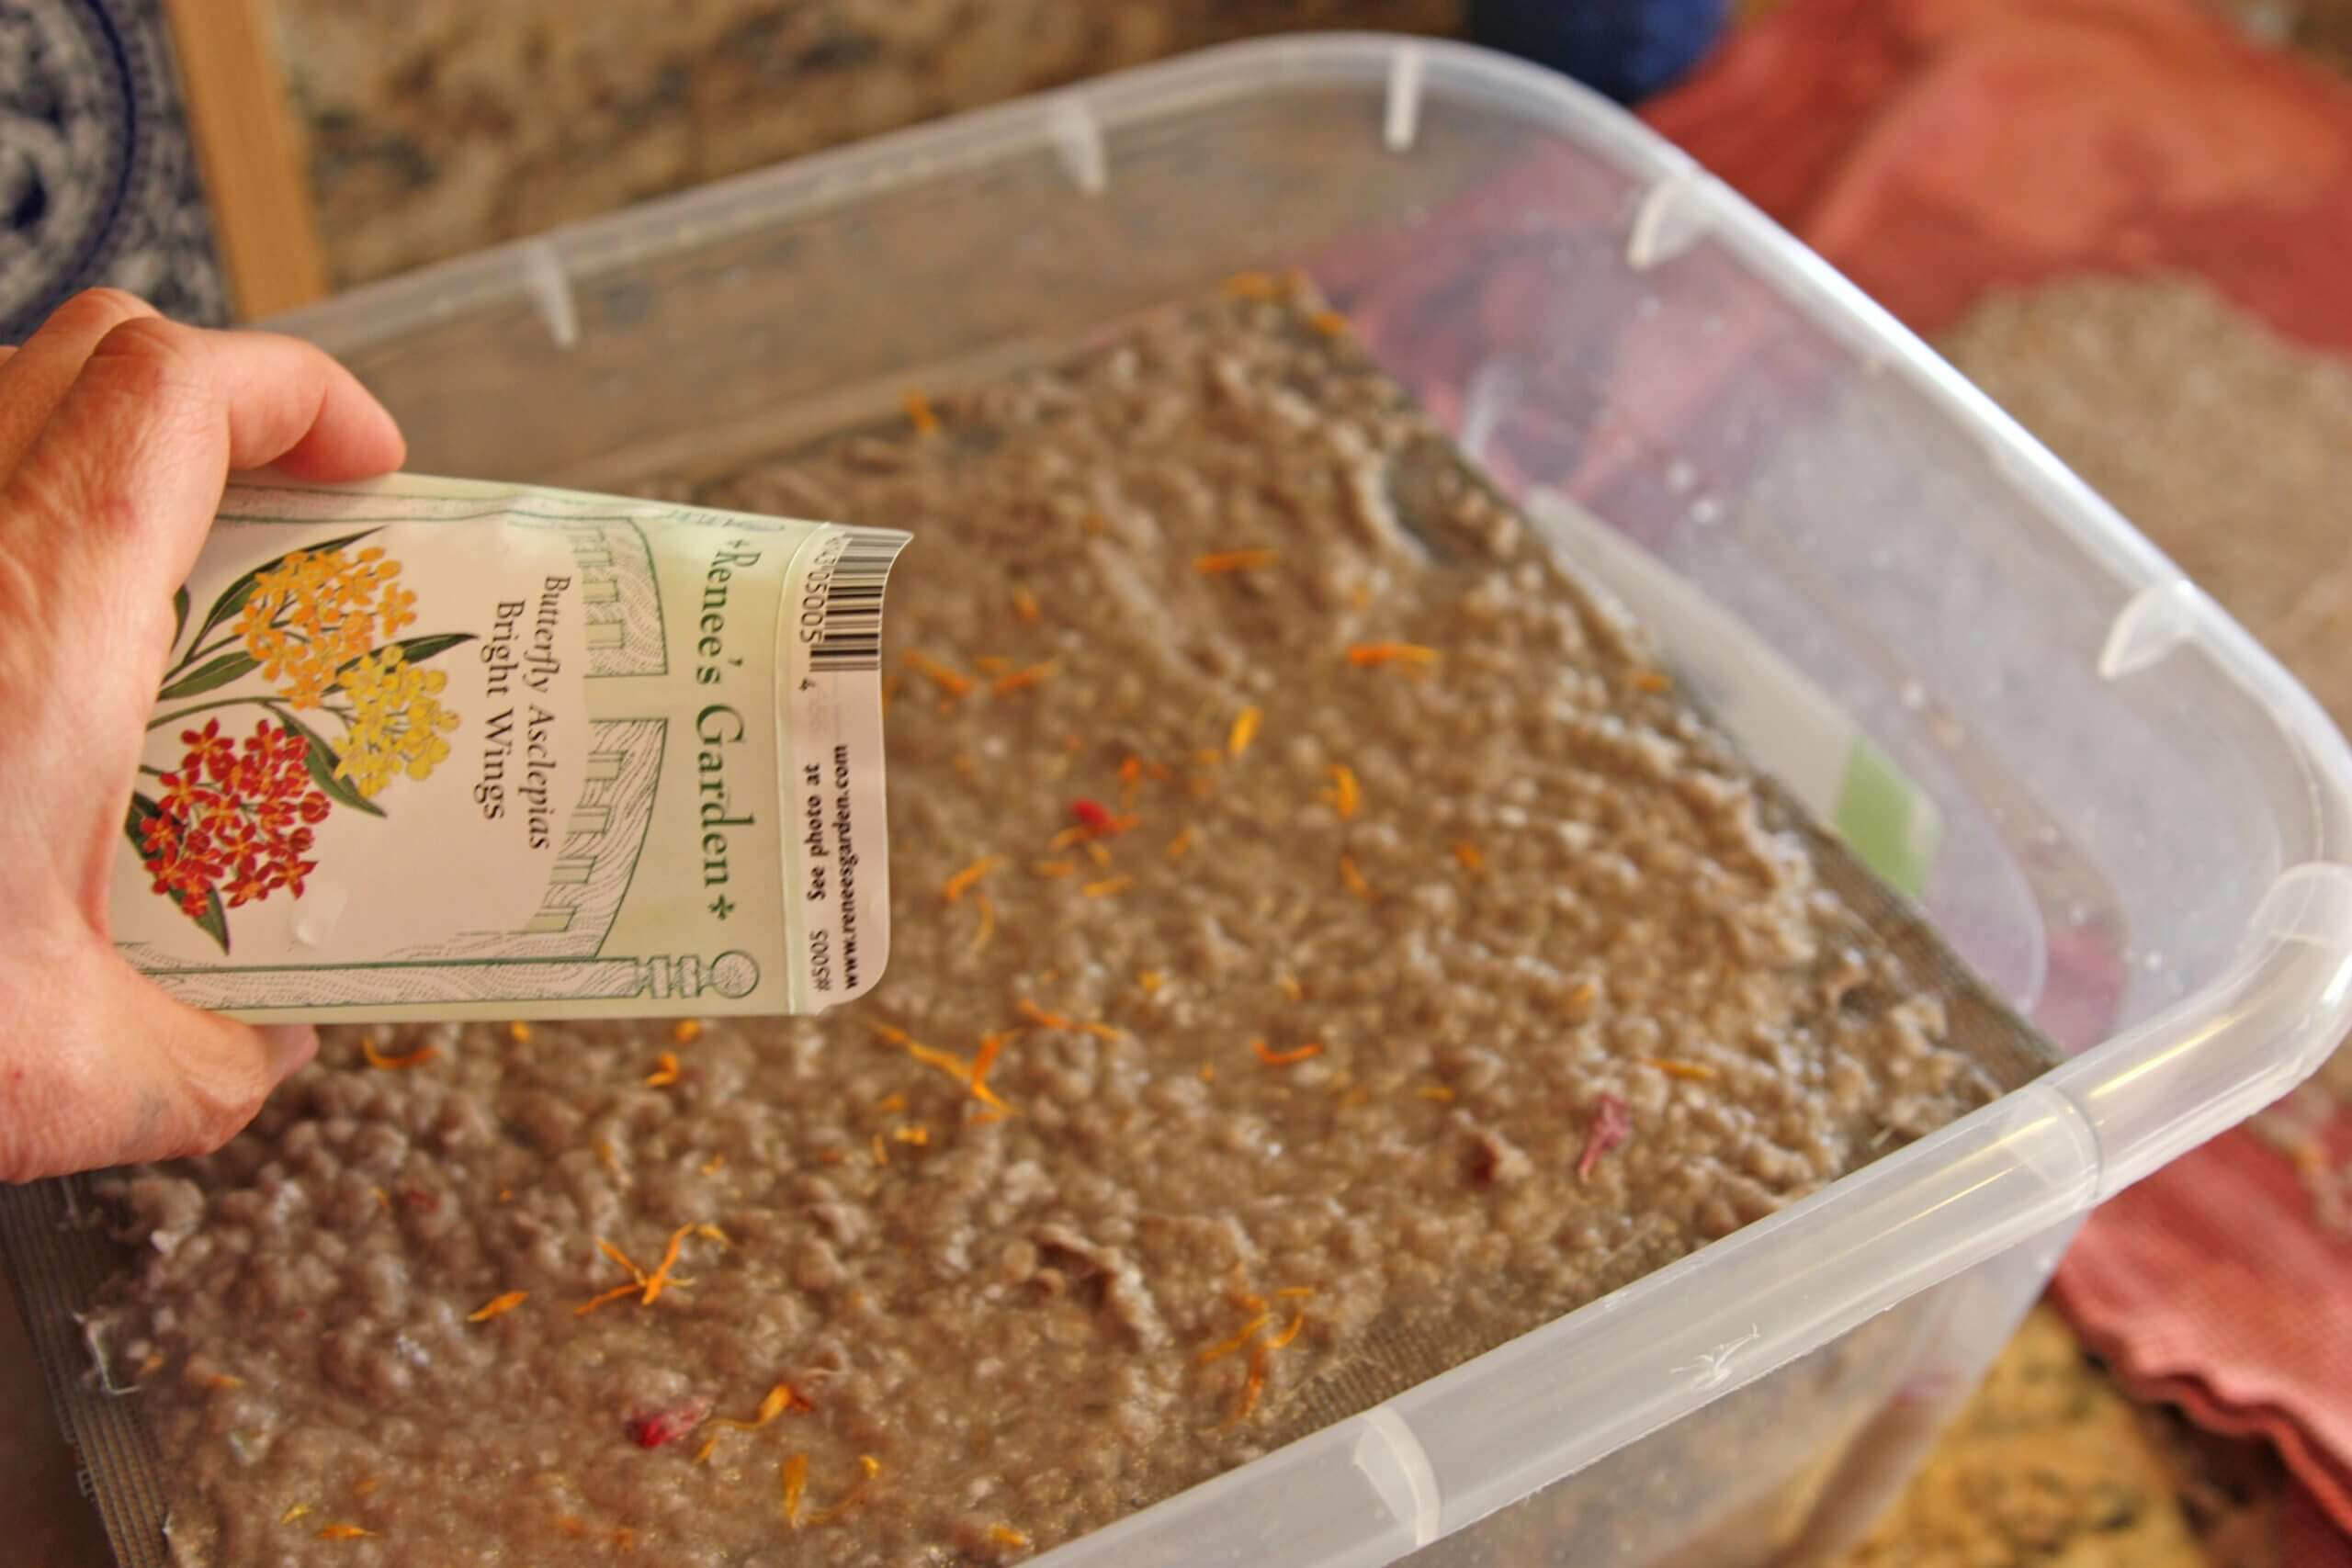
- For seed mixes, sprinkle them on the pulpy screen and gently press the seeds into the paper. For planned gardens, sprinkle the seeds in rows.
- Flip the frame onto a flattened, dry dishcloth. Let it sit for one minute, and gently lift. The paper should lay flat on the cloth. Gentle tapping may be needed for the whole piece to release. Repeat the above steps until you have made the desired number of card sheets.
- Make sure all the paper sheets and completely flat. (You may want to add notes to indicate what kind of seeds each card is studded with!) Allow them to dry for 24 hours.
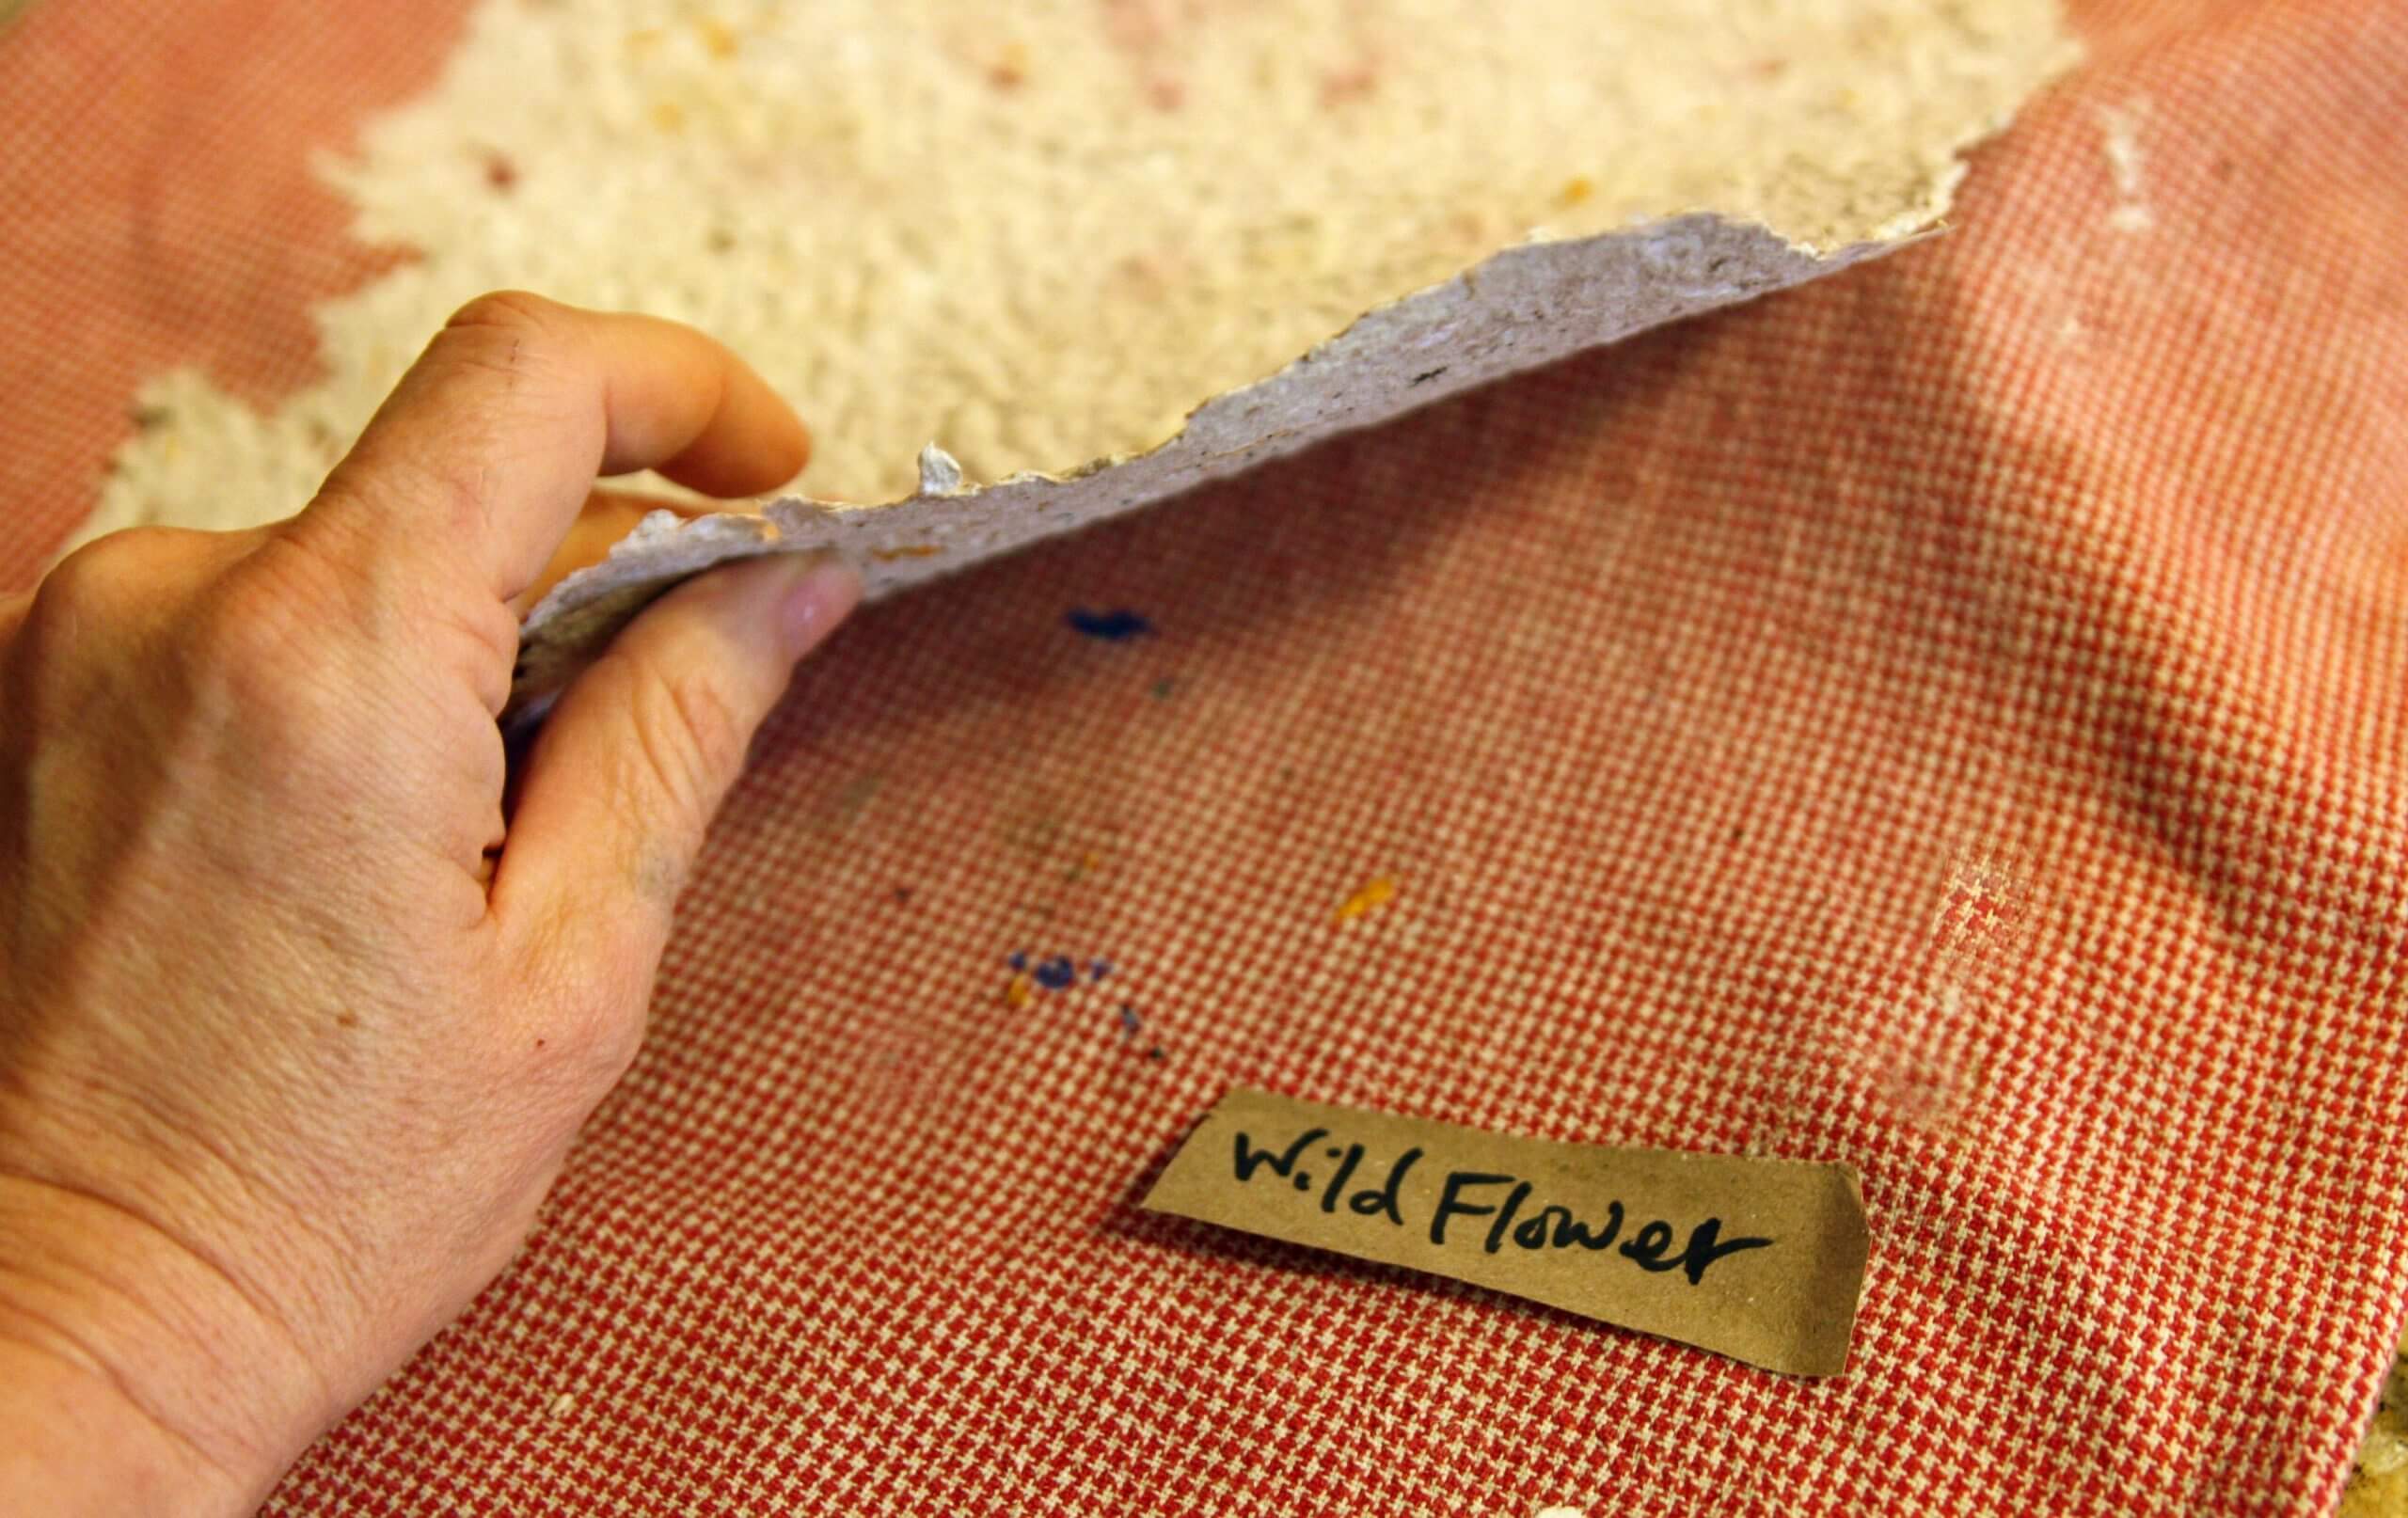
- Once dry, the paper can be gently peeled off of the towel. You may choose to keep the rugged edges or cut clean edges for your cards. When cutting the garden cards, size them to fit in a standard-sized card envelope.
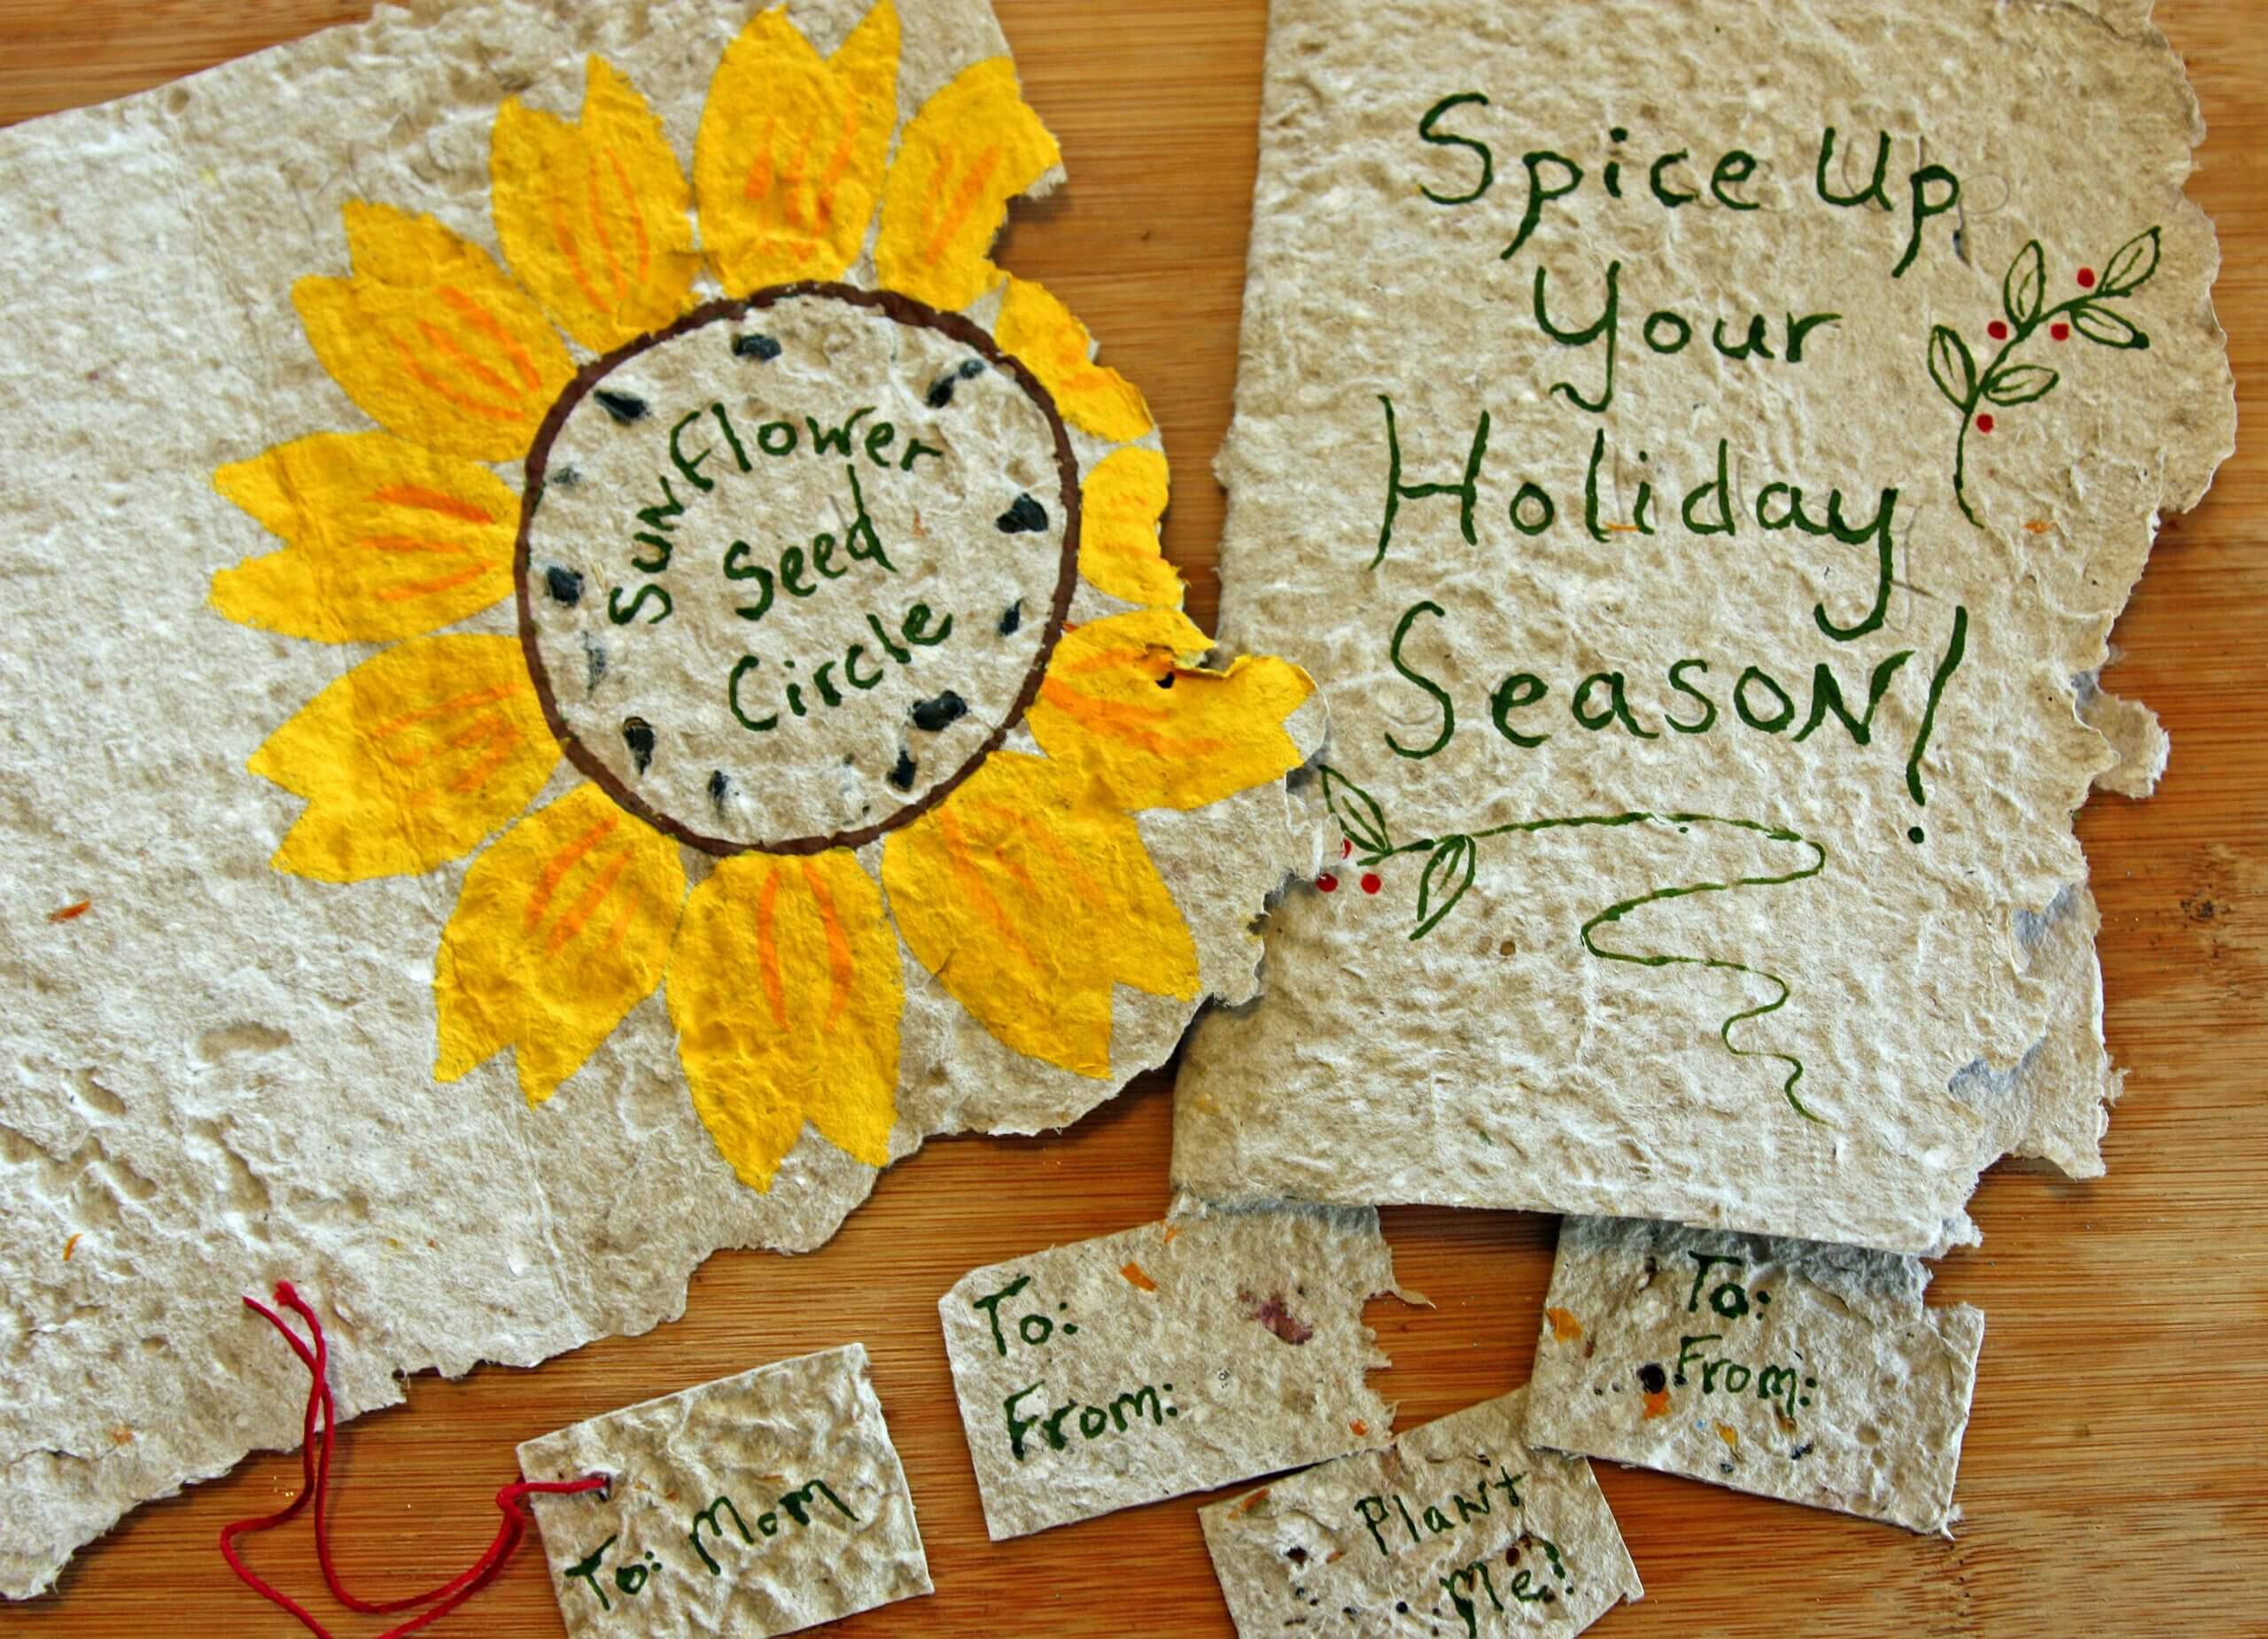
- Brush pens or quality watercolors make card notes look extra pretty. Note the garden type, and offer a happy greeting. If you created seed rows on your card, label them for easy planting.
To make a garden basket gift, choose an attractive basket big enough to hold a small bag of Black Gold Seedling Mix, pretty pots, garden hand tools, and garden gloves. Cover the basket with transparent packaging wrap and tie the top with a colorful bow to make it look extra pretty!