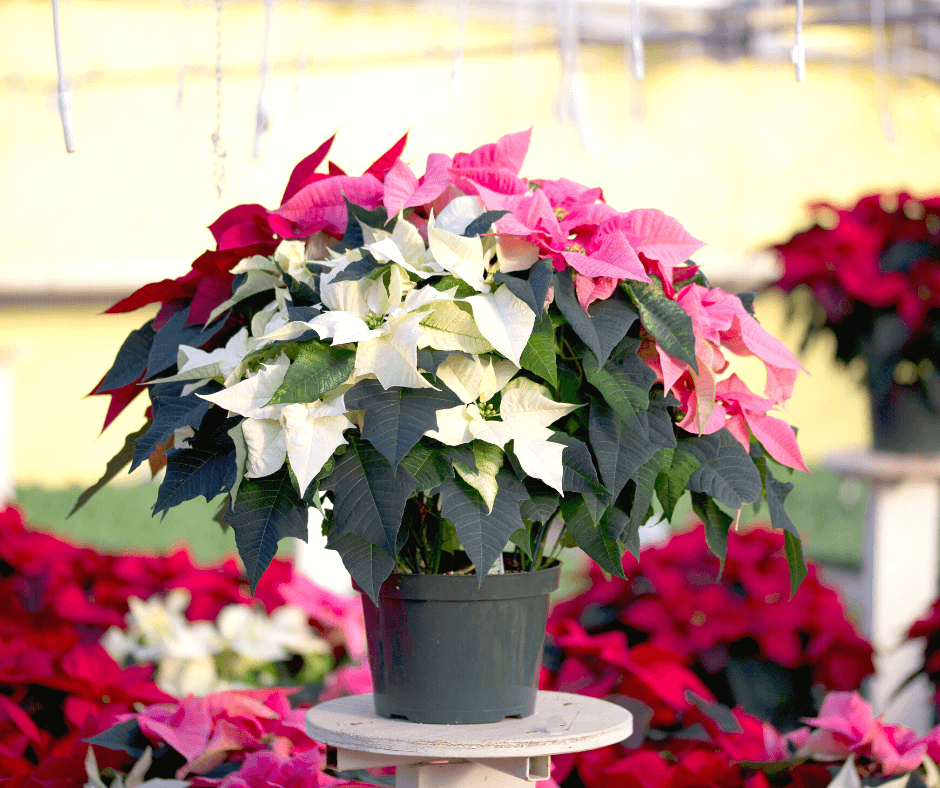
These days, poinsettias come in all shades of red, white, and pink. Some are even apricot and salmon hues.
‘Jingle Bells’, ‘Winter Rose Red’, ‘Whitestar’, ‘Cortez Burgundy’, etc., are just some of the names you might find on an exciting new poinsettia (Euphorbia pulcherrima) plant this year. There is probably no flower more associated with a holiday in the United States than the poinsettia is for the Christmas and New Year season. The red poinsettia certainly denotes the Christmas holiday season, but breeders have come up with lots of new, unique varieties that stand out from the mass displays of traditional poinsettias that you usually see at garden centers or grocery stores.
About Poinsettias
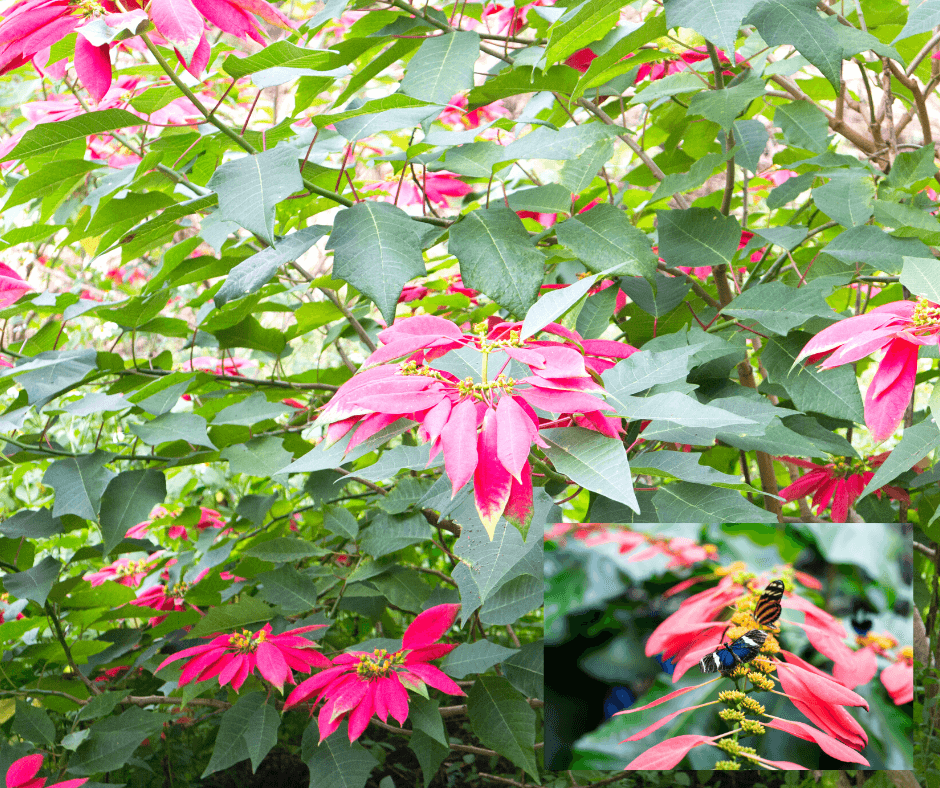
In tropical and subtropical regions, poinsettias grow as flowering shrubs that feed butterflies. If you live in southern California or Florida, you can grow them this way.
Poinsettias are winter-flowering shrubs that are native to Mexico, but the plants we see in stores are quite different than the tall, roadside plants seen south of the border. They were introduced to the United States in the 1820’s when Joel Roberts Poinsett, who was the first US Ambassador to Mexico, sent some cutting to his home in South Carolina. It was not an instant success as a potted plant because the flowers only lasted a few days.
With the new breed of poinsettias that we see today, the colorful bracts (colorful petal-like leaves) will last long past the holiday season. While the bracts are often called the flowers, the actual flower is in the center of the bract. Botanically speaking, it is Euphorbia pulcherrima, a member of the Euphorbia family, which is noted for often having a milky sap in the stems and leaves. This sap was considered poisonous for some time, but recent research has shown it is much less toxic than once believed. Some people might be allergic to it from skin contact and have a mild reaction and it can cause burning if there is eye contact. From reports that I have read, it is said to taste horrible and so it is unlikely a child would eat much. (Click here for more details about poinsettia toxicity from the Mayo Clinic.)
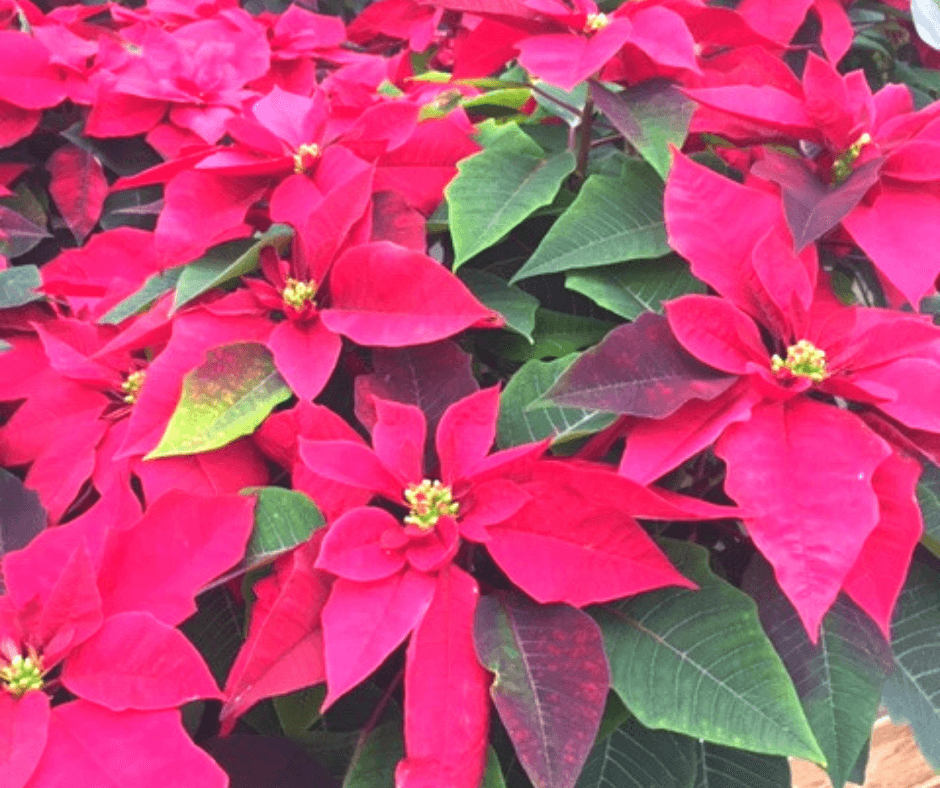
In their native southern Mexican habitat, the plants are tall shrubs (10-12 feet) with winter blooms that have smaller red bracts. Today, red poinsettias are the most popular and account for about 75% of sales, but plant breeders are constantly trying to create unique and more vibrant colors, so the color range continues to expand.
New Poinsettias
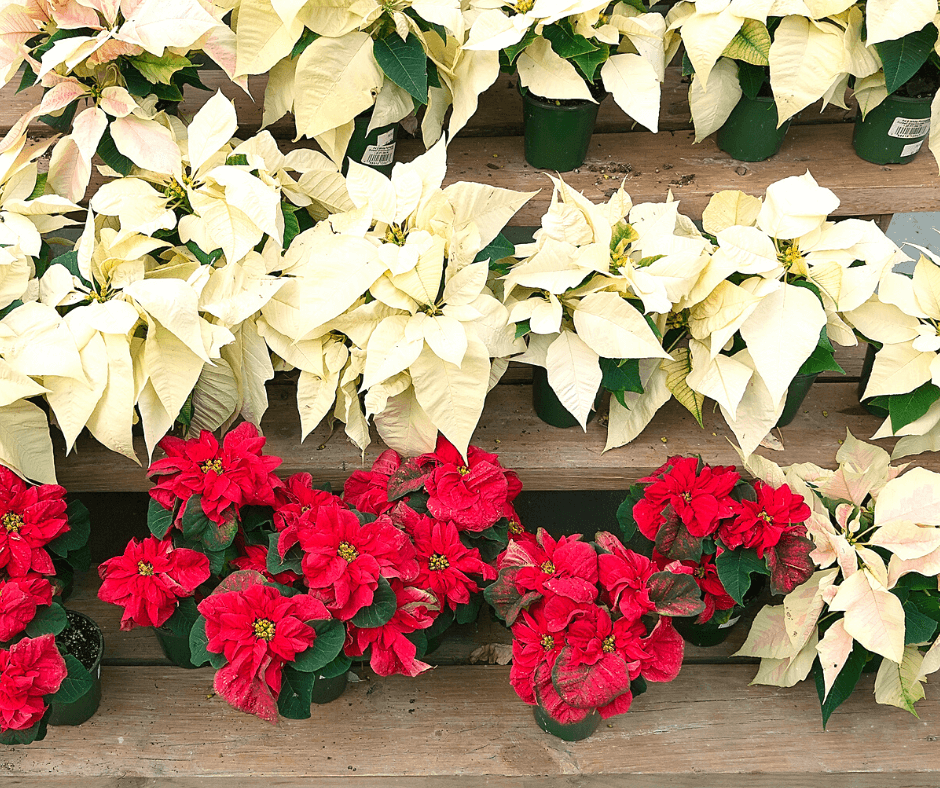
New poinsettias come in many colors and even have different floral shapes. You can find new, fun types at quality garden centers. ‘Christmas Beauty Marble’ is third back from the right. (Image by Jessie Keith)
After many years of plant breeding, poinsettias are now shorter and more compact, which makes them ideal for most homes. Plant breeding has also given us more choices for color, and the colorful bracts look good for weeks. I have seen gardeners overwinter these perennial shrubs in a bright home or greenhouse, set plants outside in the spring, and bring them indoors again in fall. Sometimes it also pays to give the plants a midsummer trim. If done properly, they will bloom again in winter, though flowers may appear after December, on occasion.
‘Cortez Burgundy’ is a much darker red than average. (Image by Mike Darcy)
Visiting a grower recently, I was amazed at the variety of unique poinsettias. The large bracts of ‘Jingle Bells’ were red with lovely white speckles across them. New rosette-style poinsettias, with smaller rose-like blooms have become popular, and ‘Winter Rose Red’ is a lovely red one that I saw. The bright ‘Whitestar’ has huge brilliant ivory bracts that really stand out, and the deepest burgundy red, ‘Cortez Burgundy’, was on the opposite end of the poinsettia color spectrum. ‘Christmas Feelings Pink’ had all large blooms with pink bracts whereas some plants have multicolored bracts, such as ‘Christmas Beauty Marble’ (image at bottom), which had pink bracts that were outlined in cream.
Growing Poinsettias
Some growers will add multiple varieties to a pot for extra punch. The plants can be later separated if you like to keep your poinsettias after the holidays.
When purchasing your poinsettia, make your poinsettia purchase the last stop before reaching your home because they do not like cold weather. The sooner you can get the plant out of your car and into your home, the better. Select an area that has uniform bright light and keep it away from forced air heater vents. The pots are often wrapped in a foil sleeve, which should be removed when watering. Place the plant in a sink and give it a thorough soaking. After the water has drained, put the sleeve back on.
Your poinsettia will probably last well past the holiday season. If you don’t want to keep yours, before throwing it in the compost bin check with a senior living center to see if there is interest. Gifting it, even after the holidays, might provide a resident with some much-needed happiness.
Lovely rose poinsettias look beautiful alongside the ivory-flowered ‘Whitestar’.
“Even though moss dries out in summers, will it make a good ground cover for dirt that is largely dark clay?” Question from Susan of Junction City, Oregon
Answer: If you live in an area with consistent moisture and lots of shade, then it can make a good ground cover, though we recommend amending any clay soils first. There are lots of different moss species that are sold by specialty moss nurseries, or mosseries. (Moss Acres is one and Mountain Moss is another.) Most mosses grow best in moist, fertile soil that holds water well and is more acidic (pH 5.0 to 6.0), though some mosses will tolerate some sunshine. (Click here for a list of shade-loving mosses and click here for sun-tolerant moss options.)
Steps for Growing Garden Moss
Here are five steps to getting moss to grow in your yard or garden.
Work up shaded lawn or garden areas that are bare.
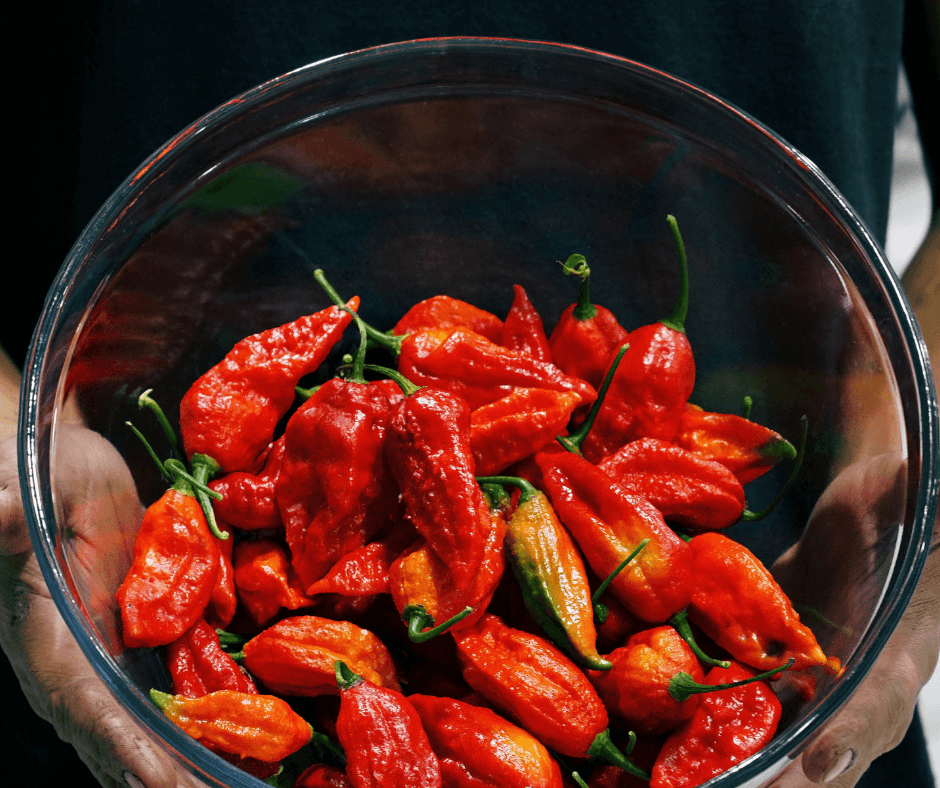
Hot peppers have a cult following. Those that eat, hybridize, and grow the hottest peppers in the world are all part of the wicked hot-pepper culture where Scoville Units below 1,000,000 are too cool to be cool. Breeders and growers choose only the most dangerously scorching Capsicum fruits on the planet. Each year, newer, hotter peppers appear in the pursuit of extreme heat.
Hot peppers comprise several important species that all originate from the tropical Americas. The hottest peppers in the world comprise habanero-types (Capsicum chinense) that include ghost or Bhut jolokia peppers and the dreaded ‘Carolina Reaper’, as well as Scotch bonnets. Small-fruited Tabasco peppers, piri piri African bird’s-eye peppers, and other mini hots are all members of Capsicum frutescens. Most cultivated peppers are Capsicum annuum species, which comprise everything from sweet bell peppers to poblanos, jalapenos, and many chili peppers like cayenne and serrano. Other peppers cultivated for their high heat include Capsicum baccatum, which has somewhat elongated chili peppers of yellow, orange, and red, and Capsicum pubescens, whose bulbous, rounded fruits are hot but not scorching.
Understanding the Scoville Scale
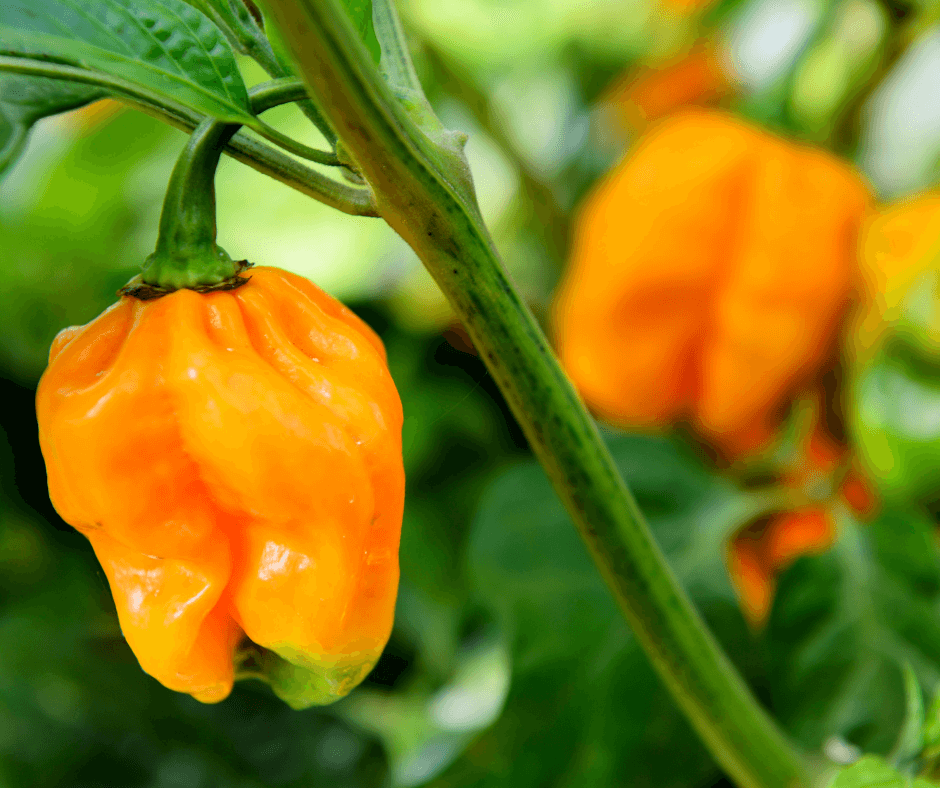
The hottest peppers are habanero-types (Capsicum chinense).
Pepper heat is measured on the Scoville Scale in Scoville Units (SHU). The units measure 22 pepper chemicals called capsaicinoids, which are generally referred to as capsaicins. Originally, Scoville Units were qualitatively measured by careful taste testing. The method of measurement was created in 1912 by Wilbur Scoville, a New England pharmacist interested in measuring chili pepper sensitivity in people. Scoville Units are now quantified using high-performance liquid chromatography (HPLC) where the capsaicin content in each pepper is fully measured in Pungency Units (one-part capsaicin per million parts dried pepper mass). Pungency Units are then mathematically converted to Scoville Units. For a more practical example, the hottest pepper in the world, the ‘Carolina Reaper‘, has up to 2,200,000 SHU while the average poblano pepper has only between 1,000 to 4,000 SHU.
Ten Notable Hot Peppers
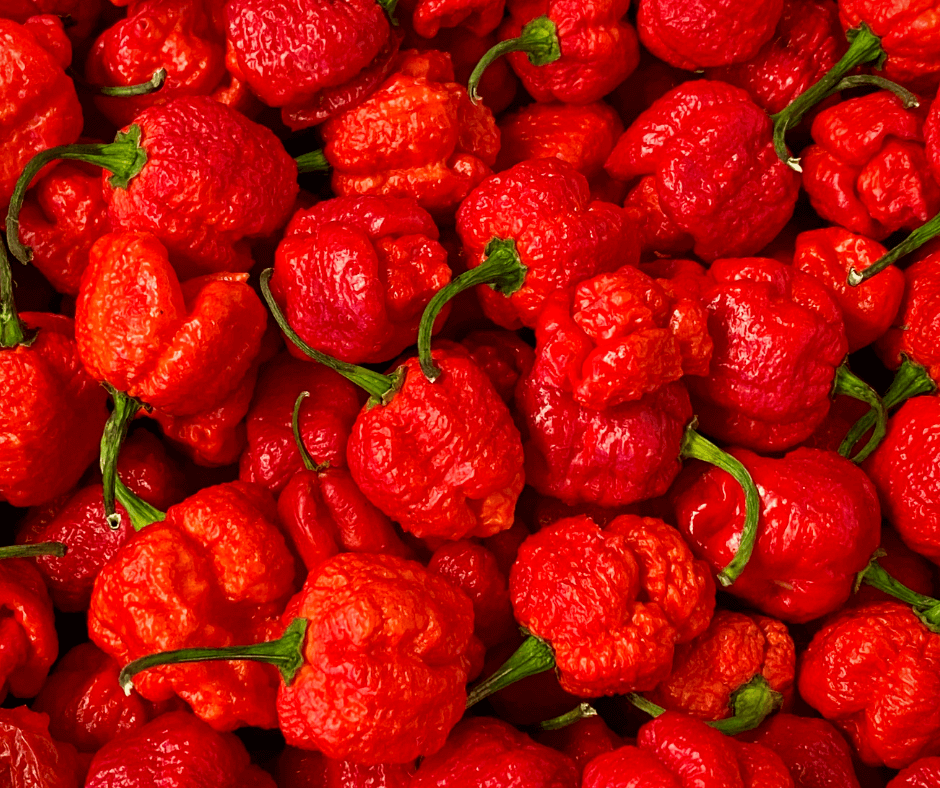
Carolina Reaper still holds the title of the hottest pepper on Earth!
The challenge to breed hotter and hotter peppers is put to the test by several chili pepper breeders. Many of their peppers are on this list. Do not grow any of these if you have small children or pets that might be attracted to their pretty fruits and get into them.
7 Pot Lava Pepper (Capsicum chinense ‘7 Pot Lava’, 800,000 to 1,000, 000 SHU): The wrinkled, bright orange-red peppers are very hot with a fruity flavor from the start.
‘Bhut Jolokia’ (Capsicum chinense ‘Bhut Jolokia’, 855,000 – 1,041,427 SHU): The classic ghost pepper was the World record-holder for four years! It was bred in northern India and is noted for its terrible heat.
Carolina Reaper (Capsicum chinense Carolina Reaper®, 1,641,300- 2,200,000 SHU): According to the 2020 Guinness Book of World Records, this is the hottest pepper in the world. It was bred by Ed (‘Smokin’ Ed) Currie, the founder, and president of the Puckerbutt Pepper Company. The bumpy red peppers are of nightmares. Beware!
Death Spiral (Capsicum chinense Death Spiral, 1,300,000+ SHU): Bred in the UK, this flavorful hot pepper has superheat.
‘Bhut Jolokia Chocolate’ (Capsicum chinense ‘Bhut Jolokia Chocolate’, 855,000 – 1,041,427 SHU): This red-brown ghost pepper is sweeter than the standard.
‘Hot Paper Lantern’ (Capsicum chinense ‘Hot Paper Lantern’, 150,000 – 400,000 SHU): The elongated, red habanero is really hot, but not quite as scorching as the others on the list, but I like it. Plants are prolific!
Jay’s Peach (Capsicum chinense Jay’s Peach, 1,000,000 SHU): The classic ghost pepper was crossed with Trinidad Scorpion to yield this pretty pink, screaming hot pepper.
Naga Viper (Capsicum chinense Naga Viper, 1,349,000 SHU): This UK introduction, is purported to be the fourth hottest pepper in the world.
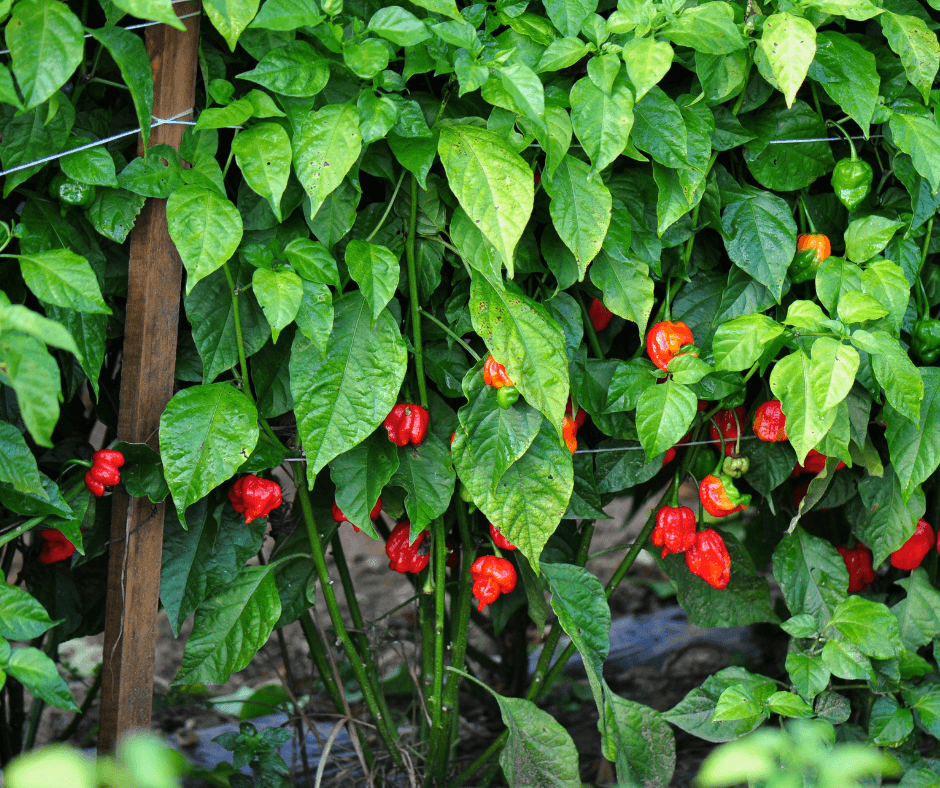
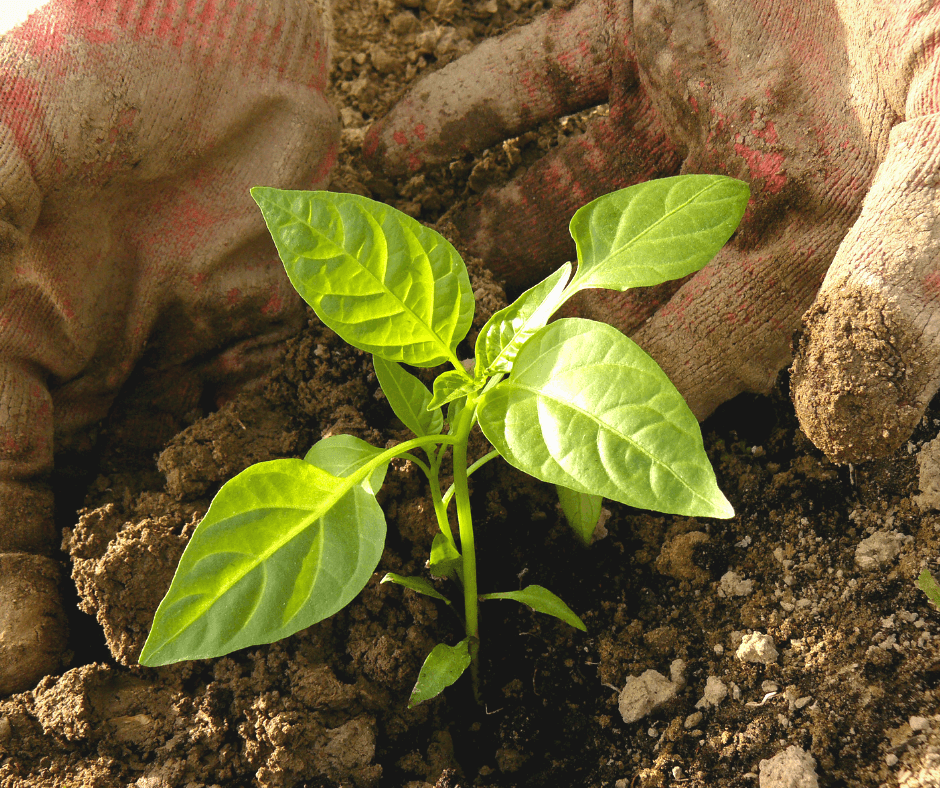
Plant pepper plants in spring when the soil has warmed and there is no chance of frost.
Peppers are warm-season vegetables, so plant sturdy, hardened-off seedlings outdoors when late-spring weather has heated up. Environmental factors truly impact the heat of hot peppers. Full, bright sun and hot weather will result in spicer peppers and happier, more productive plants. Slightly dry soil will also reduce pepper water content and increase the heat.
Give pepper plants loose, friable, soil with average fertility and a slightly acid pH. Amend with fertile Black Gold Garden Soil or Black Gold Natural & Organic Garden Compost Blend at planting time. Raised bed gardeners should try Black Gold® Natural & Organic Raised Bed & Potting Mix. In the absence of rain, make sure that they do not get too dry. Average water is recommended once plants are well-established and growing. Fertilize, using an OMRI Listed tomato and pepper fertilizer, as directed. Also consider applying a little garden-grade Epsom salt to protect against magnesium deficiency, a common pepper problem. Stake or cage taller plants to keep them from toppling. Don’t fear hot weather or even drought. Peppers are well-adapted to it, and hot weather increases pepper heat. (As I wrote in a previous article for Fafard about hot peppers: “Hot, dry weather tends to generate more intense fruits with more intense spice and “bite”, while cooler, moister weather yields milder peppers.”)
Harvesting and Processing Hot Peppers
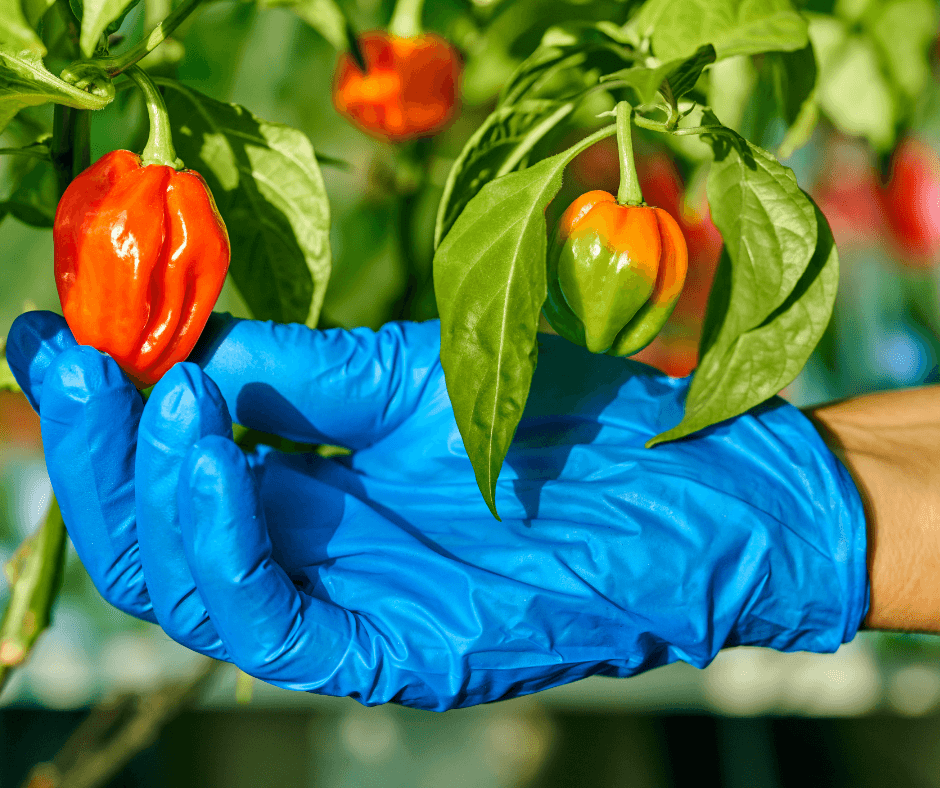
Bees pollinate the blooms for fruit-set. Green fruits have a sharp taste that becomes sweeter as they mature and change color. The color change occurs faster in hotter weather. Wear gloves when harvesting or chopping and processing hot peppers. You will thank yourself. They can burn the skin and fingers for days, otherwise. Peppers can be frozen whole, canned whole, or processed into pepper jam or hot sauce. Always cook the hot sauce, jelly, or any hot pepper product with lots of peppers OUTSIDE or in a location with lots of ventilation. The steam and fumes from the sauce or jelly can be dangerous to breathe in or get into your eyes. (Click here for a hot-sauce-making tutorial and recipes, click here for a hot pepper jelly recipe, and click here for freezing guidelines.
Hot Pepper Cautions
Stay out of pain’s way! Wear oil-impermeable gloves while handling hot peppers.
I may sound uncool, but approach faddish hot pepper challenges, eating contests, and high-voltage foodstuffs with caution and knowledge before diving in. Get an idea of how you react to them first. Sensitivity and allergic reactions have put many unfortunate persons in the hospital. After reading about various gastrointestinal blowouts and even esophageal ruptures, I felt that a word of warning was warranted. Handle and consume hot peppers with care. Always harvest and chop them while wearing oil-impermeable gloves. And, if you do eat them, taste a tiny bit first, and have a glass of milk and chunk of plain bread on hand to take the intense heat away, if needed. These are not dive-in fruits. Be wary.
Peppers do have some disease problems, so choose disease-resistant varieties when possible. Various vascular wilts, tobacco mosaic virus, and fungal problems can befall plants and fruits, but more often than not they are not needy. Good spacing (between 18″-28″, depending on plant size) will help with airflow and discourage most diseases. (Click here for a chili pepper disease guide.)
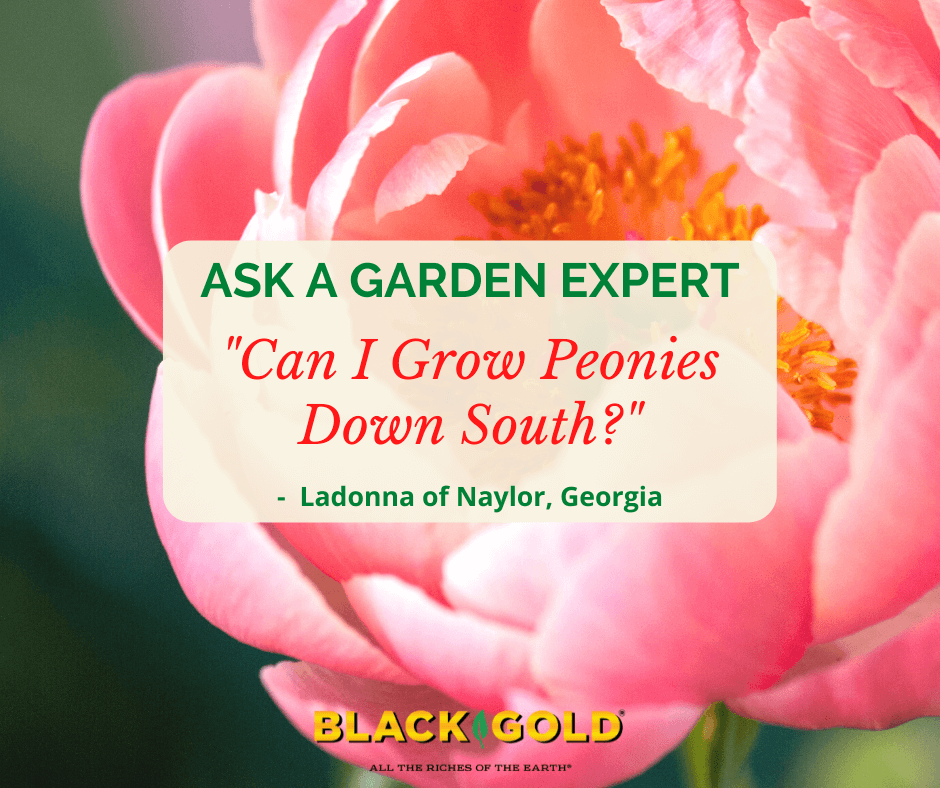
‘Coral Charm’ is a peony that grows better down South, and it is one of my favorites!
“I live in south Georgia and I would love to plant peonies, but I was told by a local nursery that they can’t survive here because we don’t have cold enough winters for them to reset, is this true?” Question from Ladonna of Naylor, Georgia
Answer: It is partially true. The most popular peonies in the US are common garden peonies (Paeonia lactiflora). The large, bushy plants produce loads of big, late-spring flowers and are hardy to USDA Hardiness Zones 3-7 (sometimes 3-8b), so you are on the edge of their hardiness. They do need winter cold for several months to produce blooms and survive in the long term, but Naylor, Georgia (USDA Hardiness Zones 8b) is cold enough to sustain some peonies. If you want to be on the safe side, there are other peonies that can survive with even less winter cold. This includes some tree peonies (Paeonia species and hybrids, varying zones, sometimes down to zone 9), and Intersectional (ITOH Hybrids (Zones 4-9), which are hybrids between common and tree peonies.
Peonies for Southern Gardeners
Here are seven good herbaceous peony varieties for southern gardens.
‘America’ (Zones 4-8b)- a single, red herbaceous peony that is award-winning and has HUGE blooms
‘Coral Charm‘ (Zones 3-8b) – a semi-double coral-pink award-winner (one of my favorites!)
‘Felix Crousse‘ (Zones 3-8b) – an herbaceous heirloom (1881) with fragrant double-red blooms
‘Festiva Maxima’ – an herbaceous heirloom (1881) with fragrant double-red blooms
‘Red Charm’ – an herbaceous peony with fragrant, deepest red, double blooms
‘Scarlet O’Hara’ (Zones 4-9) – Another exceptional single-red peony
‘Shirley Temple’ (Zones 3-8b) – a beautiful double peony of palest cream-pink
“What is the best for growing the juiciest plumpest fruits and veggies?” Dave from Springfield, Massachusetts
Answer: Give your fruits and vegetables the best care possible and make sure that you water and fertilize regularly. (Click here for a full vegetable garden growing guide.) It sounds obvious, but limiting environmental and physical stresses as well as those from pests and diseases will also ensure good production and well-developed fruits and vegetables. Uninhibited plants invest their energy into good growth and fruit development rather than self-protection. Happy plants produce happy fruits. Also, be sure to choose fertilizers that encourage flower and fruit development. (Click here for a full article about vegetable garden fertilization from Colorado State University.)
Variety selection is also an important consideration. Some vegetable and fruit varieties are plumper and juicier than others, so make sure that you choose those that are described as being large, juicy, and flavorful. For example, go for big beefsteak tomatoes rather than standard tomatoes, and choose extra blocky pepper varieties rather than thinner-walled types. (Click here to learn more about growing prize beefsteak tomatoes.)
One more tip: Refrain from overwatering when fruits are nearly ripe. Excess water late in the fruiting stage can cause fruit splitting and water down the flavor. This is especially the case with tomatoes and melons.
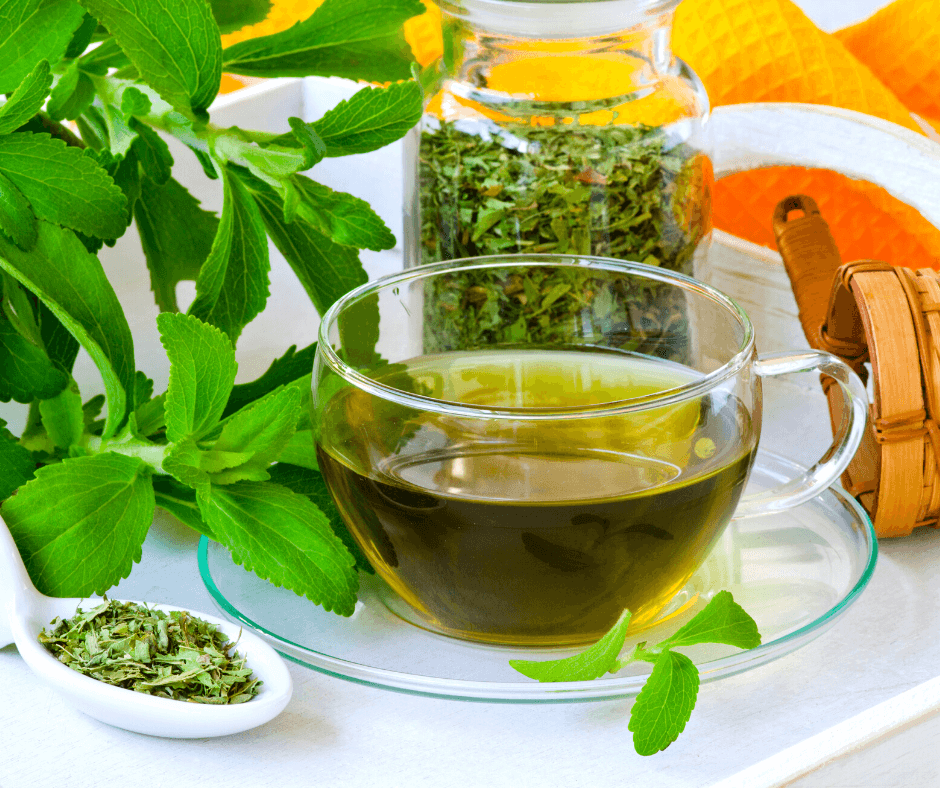
You’ve probably heard rumblings of stevia before. Found in many soft drinks and juices, many people find the taste strange and not at all like sugar. I agree completely with you! When tasting stevia in its white powder or liquid form, I found it to be bitter yet super sweet at the same time, but fresh stevia is different.
Green stevia (Stevia rebaudiana) is what I grow in the garden and it is completely different than what you will find in the store. Native to South America, it is a tender perennial herb with serrated leaves that is 200 times sweeter than sugar. The fast-growing plant is easily grown in northern climates as an annual.
How to Grow Stevia
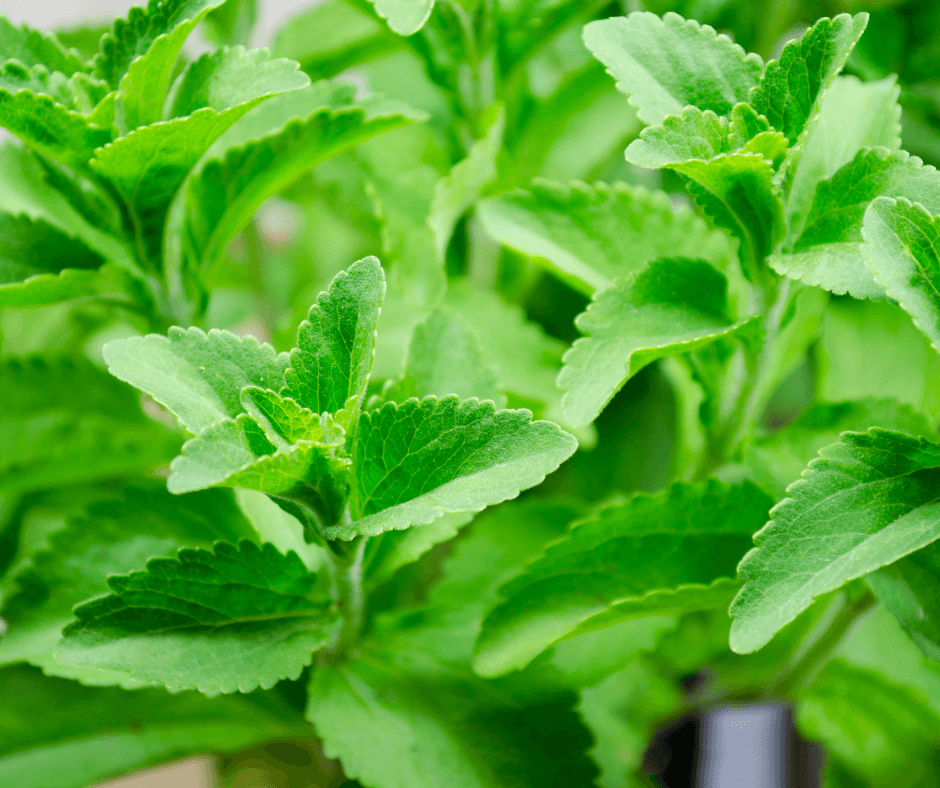
Stevia tastes best when the leaves are young and plants are not allowed to flower.
Stevia can be purchased as plants or can be grown directly from seed in OMRI Listed Black Gold Seedling Mix. Nearly every year I plant stevia seeds, and they always grow into happy, bushy herbs. Keep in mind, they like full sun and require lots of warmth to get growing. Plants can be grown in well-drained pots filled with Black Gold Natural & Organic Potting Mix.
You can plant your seeds in containers or in loose soil that drains well. Start your stevia indoors 8-10 weeks before planting outside or directly sow in the ground during late spring. They need warm soil to get growing.
Stevia plants can grow very large in a season, so space your plants 18 inches apart. Expect them to reach anywhere from 2-3 feet tall. Give them light to moderate water. Too much water will reduce leaf sweetness and can cause root rot. You should also pinch the plant back throughout the year to encourage bushier and stronger growth.
Harvesting Stevia
Fresh leaves can be easily dried in the sun or stems can be hung to dry.
Stevia can overwinter in Zone 8 or above, but I prefer to grow fresh stevia each year as the young plant’s leaves taste the best. During the summer, keep stevia cut back to stop flowering. Once the plant flowers, the leaf flavor is no longer tasty. The good news is, every time you prune it, you get to enjoy some fresh stevia!
You can also choose to dry the stevia by bundling stems together and hanging them to dry in a cool, dark place. At the end of the growing season, you will want to harvest the entire plant to dry. It is also best to harvest the stevia in the morning as that is when it is sweetest.
Using Stevia as a Sugar Replacement
I prefer using stevia to sweeten drinks and tea.
Speaking from experience, going sugar-free is not easy. Stevia is a natural way to get your sweet satisfaction without spiking insulin or causing inflammation. When grown organically in my garden, it feels so much healthier to me than synthetic sugar replacements. With that said, I don’t tend to use it as a complete sugar replacement.
Though many people do use stevia in place of sugar, it has its own unique herby taste that I find similar to sweet green tea, and since it is so much sweeter than sugar, a little goes a long way. I personally favor it for sweetening drinks, but it can also be used to sweeten other things.
How to Use Stevia
Stevia powder is easily used for cooking.
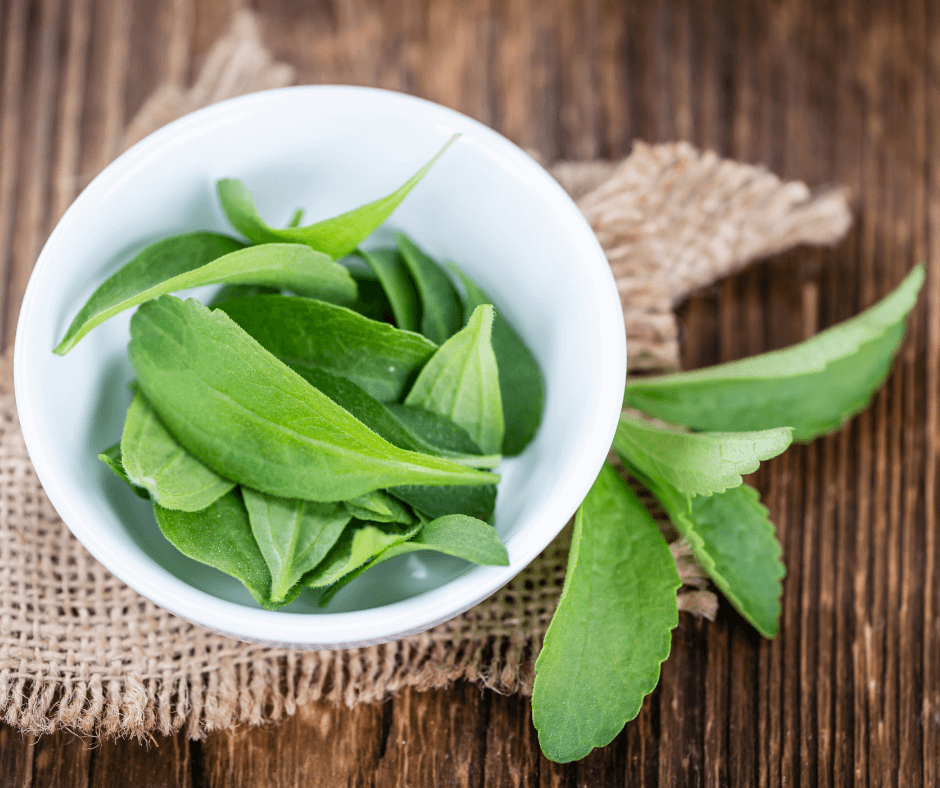
Sweetening up homemade baking, cooking, or drinks naturally is easy with stevia. And, the stevia does not need to be processed. Dried stevia leaf works just fine. Store stevia leaves in Mason jars until you’re ready to use them.
A single leaf in a hot cup of tea will bring a sweet, earthy flavor. You can also grind stevia leaves into a fine powder for baking or cooking. This can be done with a coffee grinder or a blender. I don’t recommend using the powder in drinks unless you want it floating at the top of your coffee–not nice.
The last way to enjoy stevia is by infusing it and using it as a liquid extract. To create the extract, stuff your dried herbs into high-proof drinking alcohol, such as vodka, and let sit for 24-36 hours. Any longer and it will get too bitter. Next strain out the leaves with a cheesecloth. You can enjoy it like this or heat the liquid to evaporate the alcohol. Be careful, however, as boiling the mixture will affect the flavor. Keep the heat low and evaporate slow. The final infusion can be added to drinks or used for cooking.
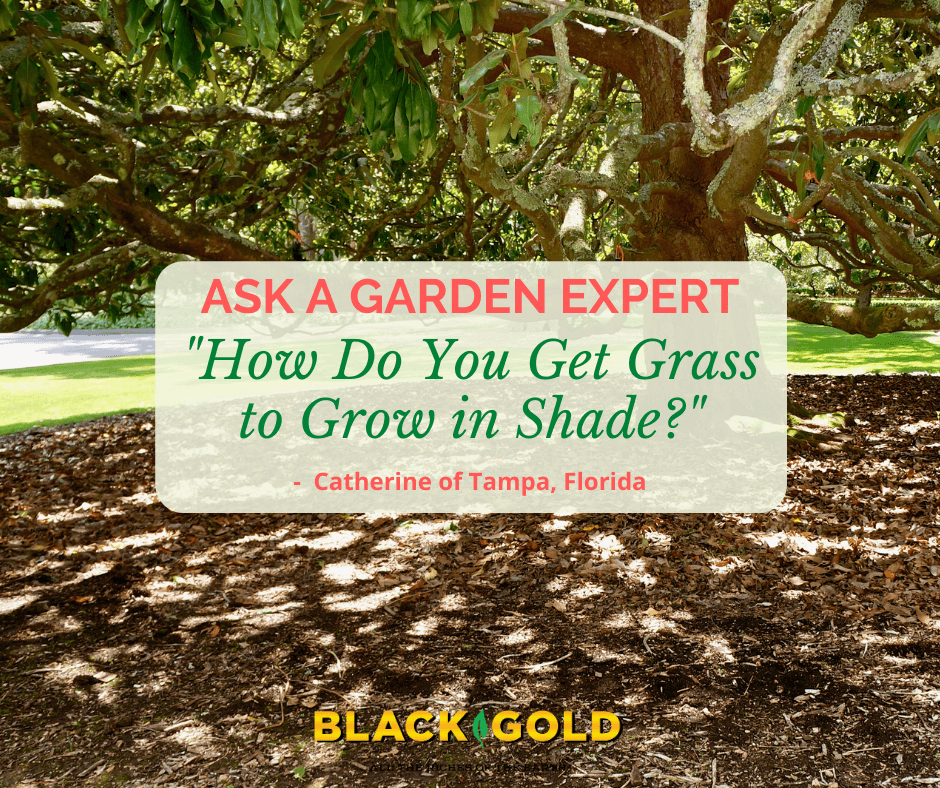
“How can you grow grass when you have so many trees you get no sunlight on the ground?” Question from Terry of La Place, Louisiana
Answer: Sadly, the best thing to do is to grow something else. Grasses are notoriously sun-loving and none of the common lawn varieties will grow well in deep shade. Beds of attractive, low-growing groundcovers for deep shade are a much better choice. Some options are even grass-like, such as sedges. Here are some of the finest groundcovers for deep shade in Louisiana. You may even mix these up to create a more textural, interesting planting.
Southern Groundcovers for Deep Shade
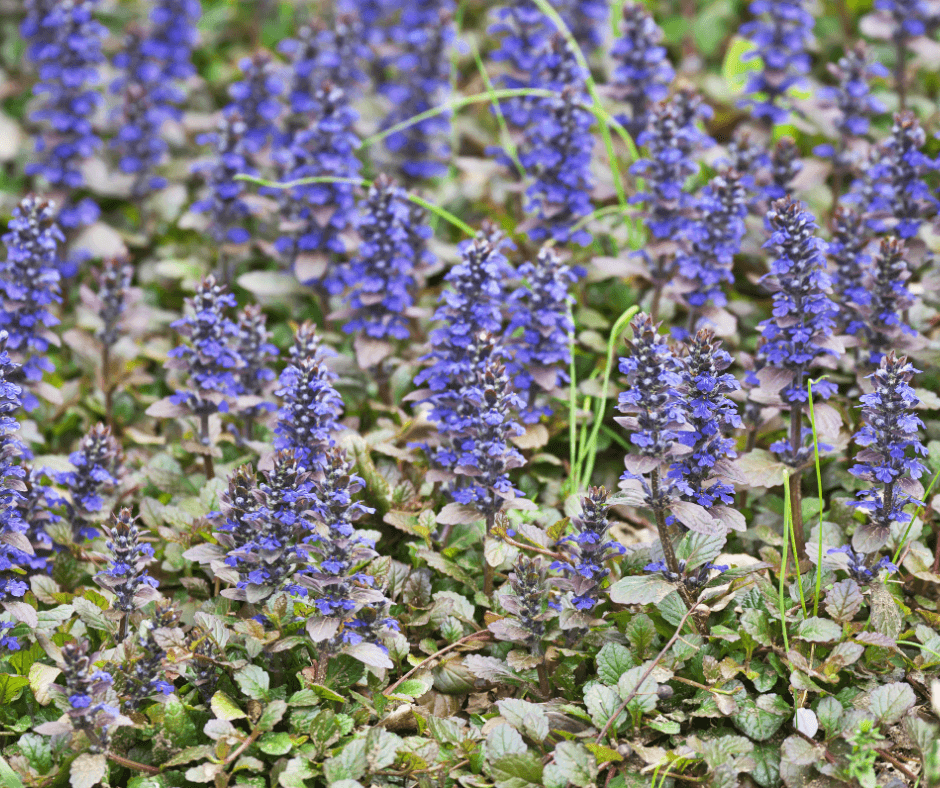
Ajuga is an easy-to-find, spring-blooming groundcover for deep shade.
Ajuga (Ajuga reptans, use in small areas as it is prone to crown rot)
Green-and Gold (Chrysogonum virginianum, a cute, pretty spreader)
Little brown jug (Hexastylis arifolia, evergreen, compact, beautiful)
Strawberry begonia (Saxifraga stolonifera; best used in shady, damp small areas)
Partidge berry and little brown jug are my favorites because they are native, cute, tough, and feed wildlife. There are also lots of ferns to consider if the soil is not too dry beneath your trees. These include wood fern (Thelypteris kunthii) and Autumn fern (Dryopteris erythrosora).
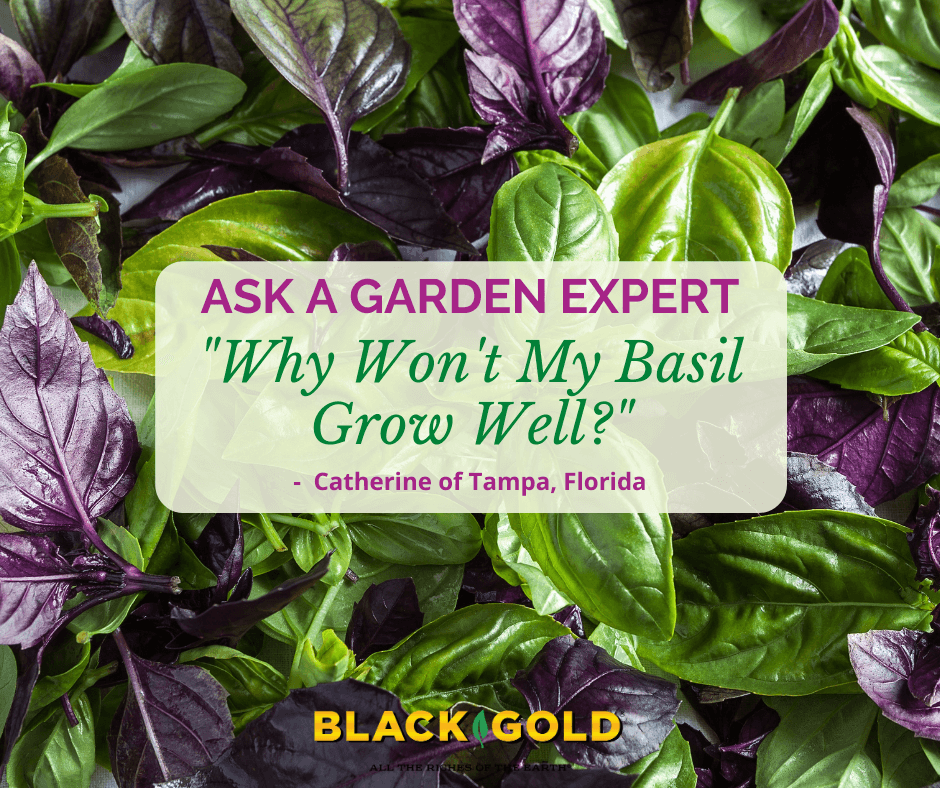
“My basil always is short and flowers. It is in full sun, and I suspect it’s too much sun. I would like lots of succulent leaves, but the leaves are small and thin 🙁 How many hours of direct sun is enough? or maybe I should move it to part shade?” Question from Catherine of Tampa, Florida
Answer: Basil needs just a few things to really grow well. These are.
Well-drained, fertile soil with a neutral pH
Full sun (6 hours or more)
Average water
Fertilizer for vegetables and herbs (follow product instructions)
Regular deadheading to keep it from flowering
Thai basil is compact, beautiful, and tasty!
Check your soil and make sure that it is porous and fertile. Amending your herb garden with Black Gold Garden Compost Blend will certainly improve its texture and quality.
There are some basils that have been bred to refrain from flowering while producing non-stop flavorful leaves. Proven Winners Amazel Basil and the tall, gorgeous, variegated Pesto Perpetuo Basil are two excellent varieties that are sure to perform beautifully and DO NOT FLOWER. I also recommend that you try Thai basil, which is pretty, tasty, and very heat tolerant. ‘Cardinal’ is a super beautiful variety that I am growing this year. You can let Thai basil flower with no ill effect. Its purplish-red flowers are fantastic and delicious!
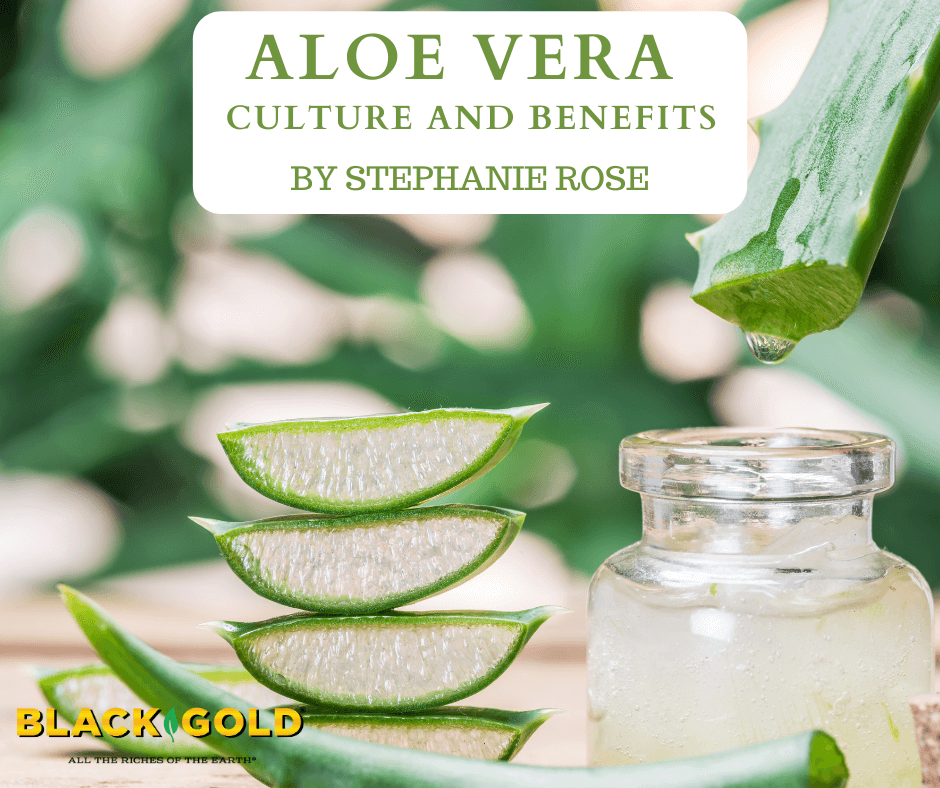
With gorgeous thick leaves and sparsely spiny edges, the aloe vera plant (Aloe vera, USDA Hardiness Zone 9-11) is renowned for its healing properties. Native to eastern and southern Africa, it is one of the oldest-known healing plants used by humans. Aloe grows wonderfully in dry regions because its succulent leaves hold moisture and make it incredibly drought-tolerant.
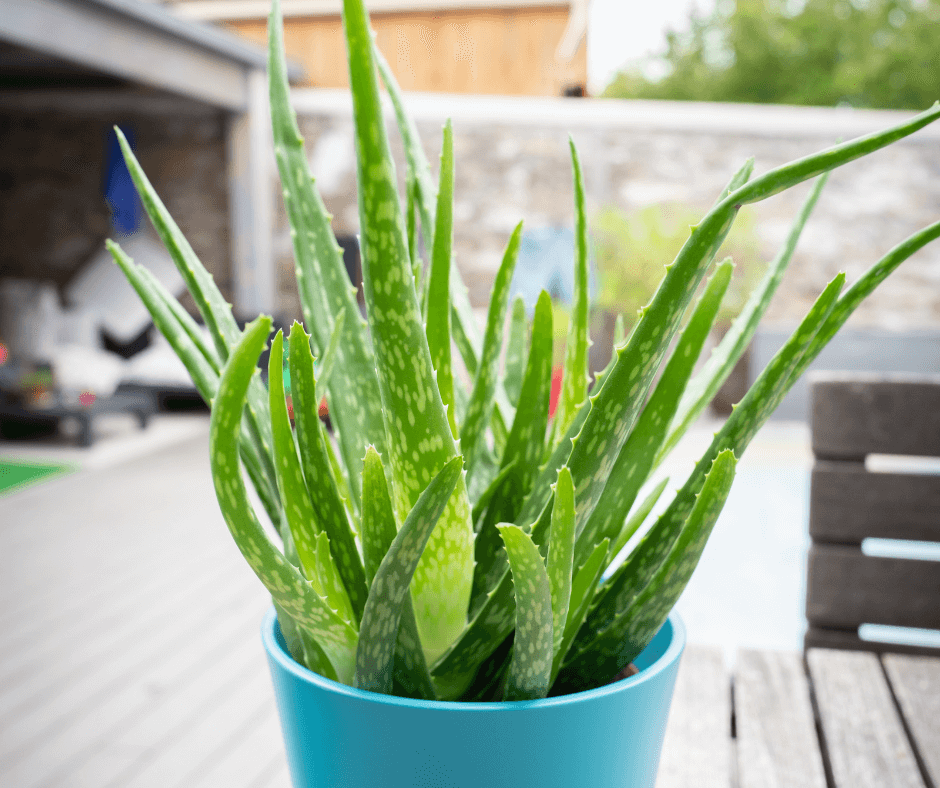
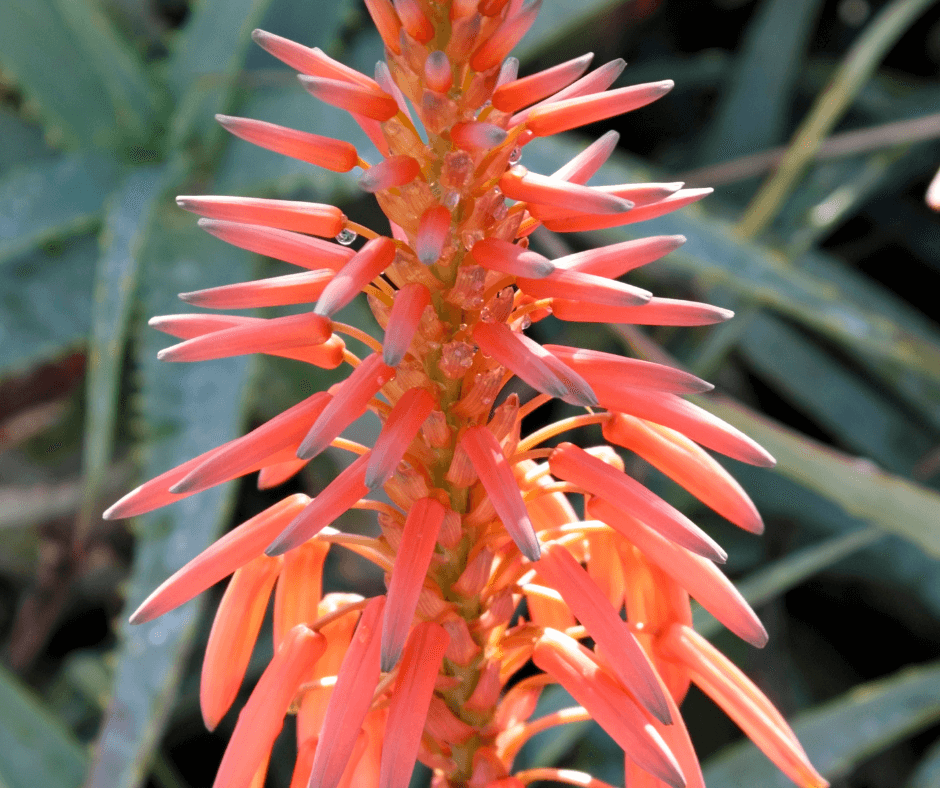
In temperate regions, many households, including mine, contain potted aloe vera as a house plant. It’s attractive as an indoor plant and very handy for the quick topical skin treatment of burns and scrapes. During the warm months, it is nice to bring it outdoors in a partially sunny spot where it can thrive in the fresh air and brighten a porch or patio. Southwestern gardeners have the advantage of being able to grow it outdoors as a landscape specimen. In warmer climates, the plants form robust clumps that produce spikes of reddish-orange, tubular flowers that attract hummingbirds.
One of the best things about the plant is how easy it is to grow and use medicinally. Aloe’s healing, anti-inflammatory properties are most potent when they come directly from the plant. No need to make a tincture or steep some tea in order to get treatment.
How to Care for Aloe Vera Plants
Pots and potting soil must drain well to encourage good.
Aloe vera is a succulent in the lily family (Liliaceae) that is easy to maintain. In fact, too much attention and watering will result in an unhappy aloe. Imagine the spare water that they receive in arid, tropical Africa. They don’t need too much. (Pro growing tip: only water your Aloe vera when the soil is completely dried out. I recommend watering every two weeks or so, but this can change based on the season and growing conditions. Outdoor plants typically need more water, especially in dry climates.)
When planting, pot them up in very well-drained soil–Black Gold Cactus Mix is an ideal choice. Good pot drainage is also a necessity. Place your potted plant in a spot where it can receive bright, indirect sunlight. Aloe is one of the more low-light tolerant succulents out there, but it should still get some sunshine to keep the leaves strong and robust. Plants receiving too much sunlight tend to take on a purplish color. Too little light results in thin, floppy leaves.
Aloe Vera Benefits
When grown outdoors in the American Southwest, Aloe vera will produce beautiful spikes of orange-red flowers.
The anti-inflammatory properties of Aloe vera are especially helpful for healing skin. Most know it for treating sunburns, but it also can help with frostbite, wounds, dermatitis, and other skin issues. It will also reduce redness, inflammation, and even itchiness caused by bug bites and poison ivy. (Cautionary note: It is very rare, but some people can be allergic to aloe. Test a little on your skin, and wait an hour or so to check for a reaction if you have never used it before.)
Aloe vera contains antiseptics and anti-bacterial properties, making it beneficial for treating small wounds. You can also apply it after a wound has healed to promote skin tissue repair and prevent scarring.
Outside of the skin, Aloe can be digested and work as a laxative. (Fair warning: it’s a strong laxative so use it sparingly.) Some new drinks on the market even contain Aloe vera juice, which can aid with digestion. Some studies even show the juice can help to prevent and reduce the size of kidney stones.
How to Treat a Sunburn with Aloe Vera
Let cut aloe leaves sit for 10 minutes before using them for first aid.
As a child, I loved playing outside and was very prone to sunburns. Obviously, it was not a great combination for summer fun. In those days, sunscreen was not available like it is today. My sunburns oftentimes kept me cooped up inside when I would rather be out playing. That was until the day my grandmother brought out the Aloe vera plant.
Placed on my sunburnt and freckled shoulders, the aloe brought my sunburn quick relief. I also saw the sunburns fade much quicker. Here are four steps to getting sunburn relief from an Aloe plant.
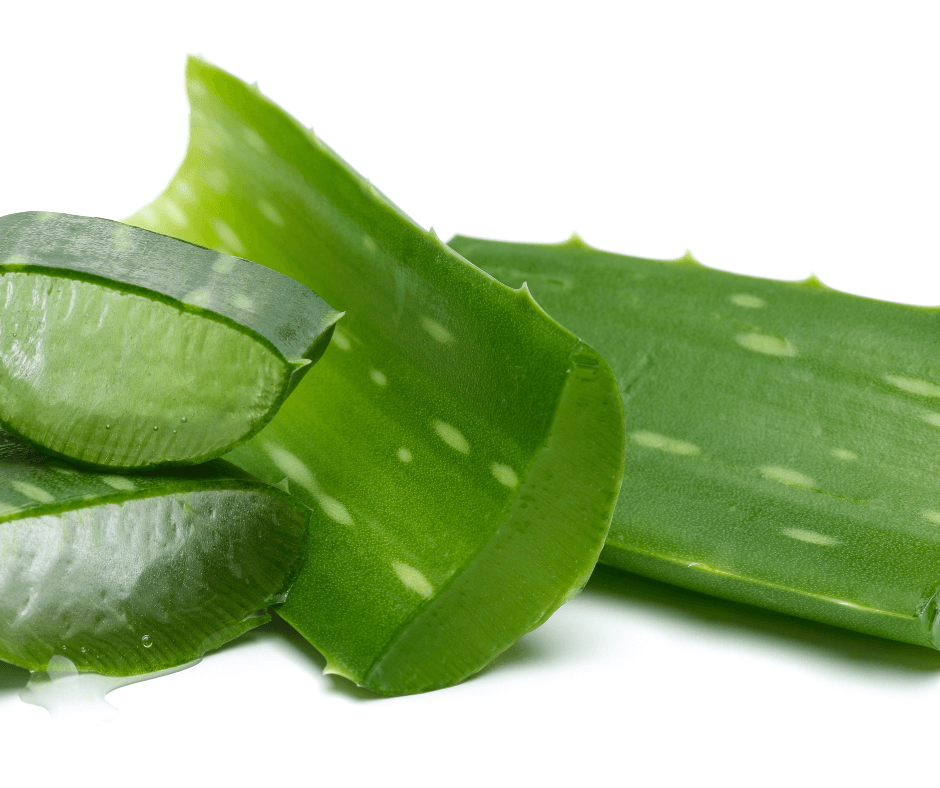
Using a sharp knife, remove a portion of an aloe leaf. Depending on how much you need, this can be as big as a whole leaf or as small as the tip of the plant.
Place the leaf on a paper towel and let it sit for ten minutes. This helps the dark, yellow latex to drain from the leaves. The latex can stain clothes or rarely cause reactions for people with sensitive skin.
Wipe the sides of the cut to remove the remaining latex. Next, take your knife and cut the leaf down the center to get more gel.
Apply the leaf directly to the skin. If your sunburn is hot and irritating, you can place the leaf in the fridge beforehand. The cold gel is extra soothing! Once you’re all done, compost the leaves.
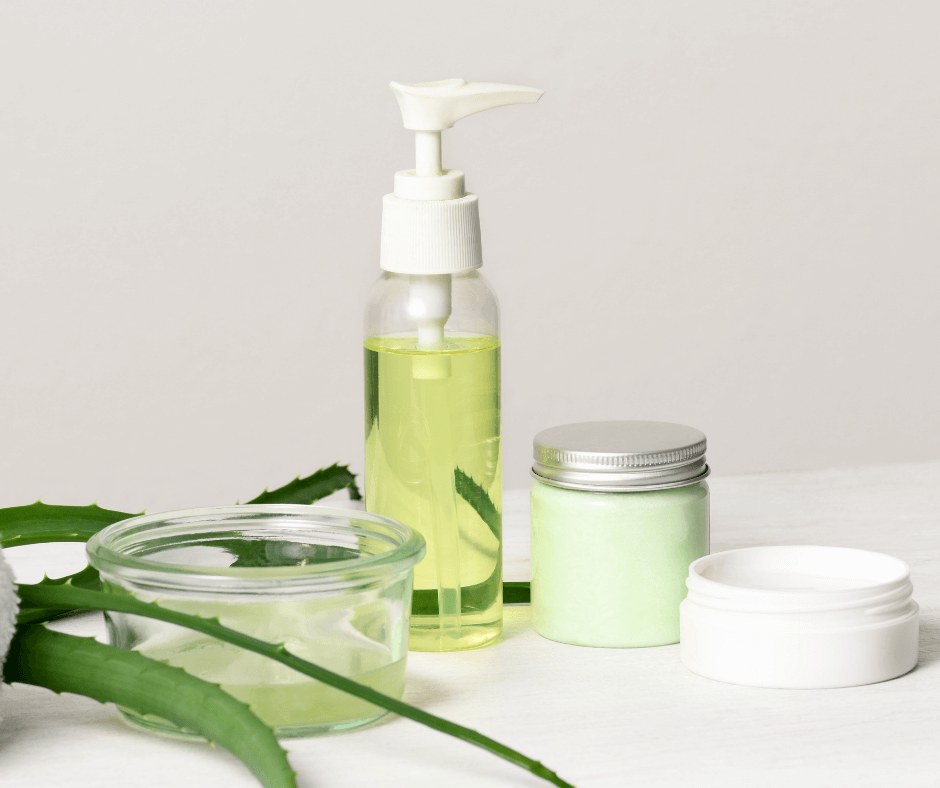
Recipes for Using Aloe Vera in Homemade Skin Care Products
Aloe vera can be used in lots of useful skincare products.
If you have healthy Aloe vera plants, then these recipes are a great way to use some of the wonderful properties on your skin.
Aloe vera liquid soap:With hand washing being essential around the globe these days, this healing aloe soap will also help repair skin.
Aloe vera hand sanitizer: When you can’t be near a sink, this healing sanitizer cleans hands on the go.
Aloe vera after-sun salve: When the summer sun gets the best of you, this salve is a great option for cooling the skin and helping with sunburn relief.
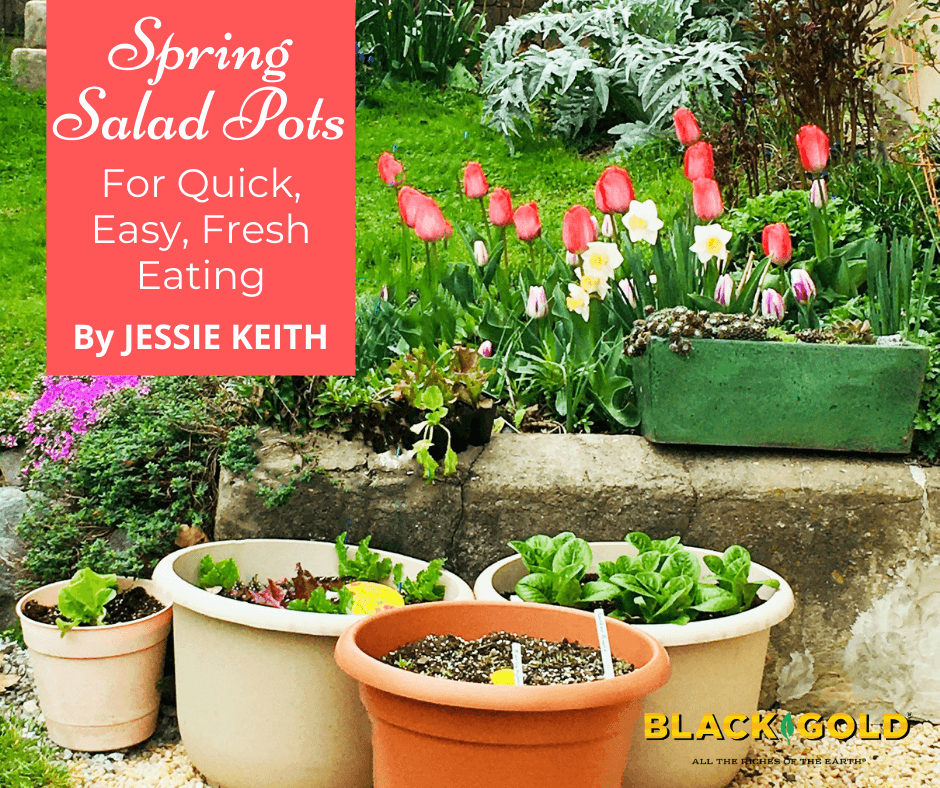
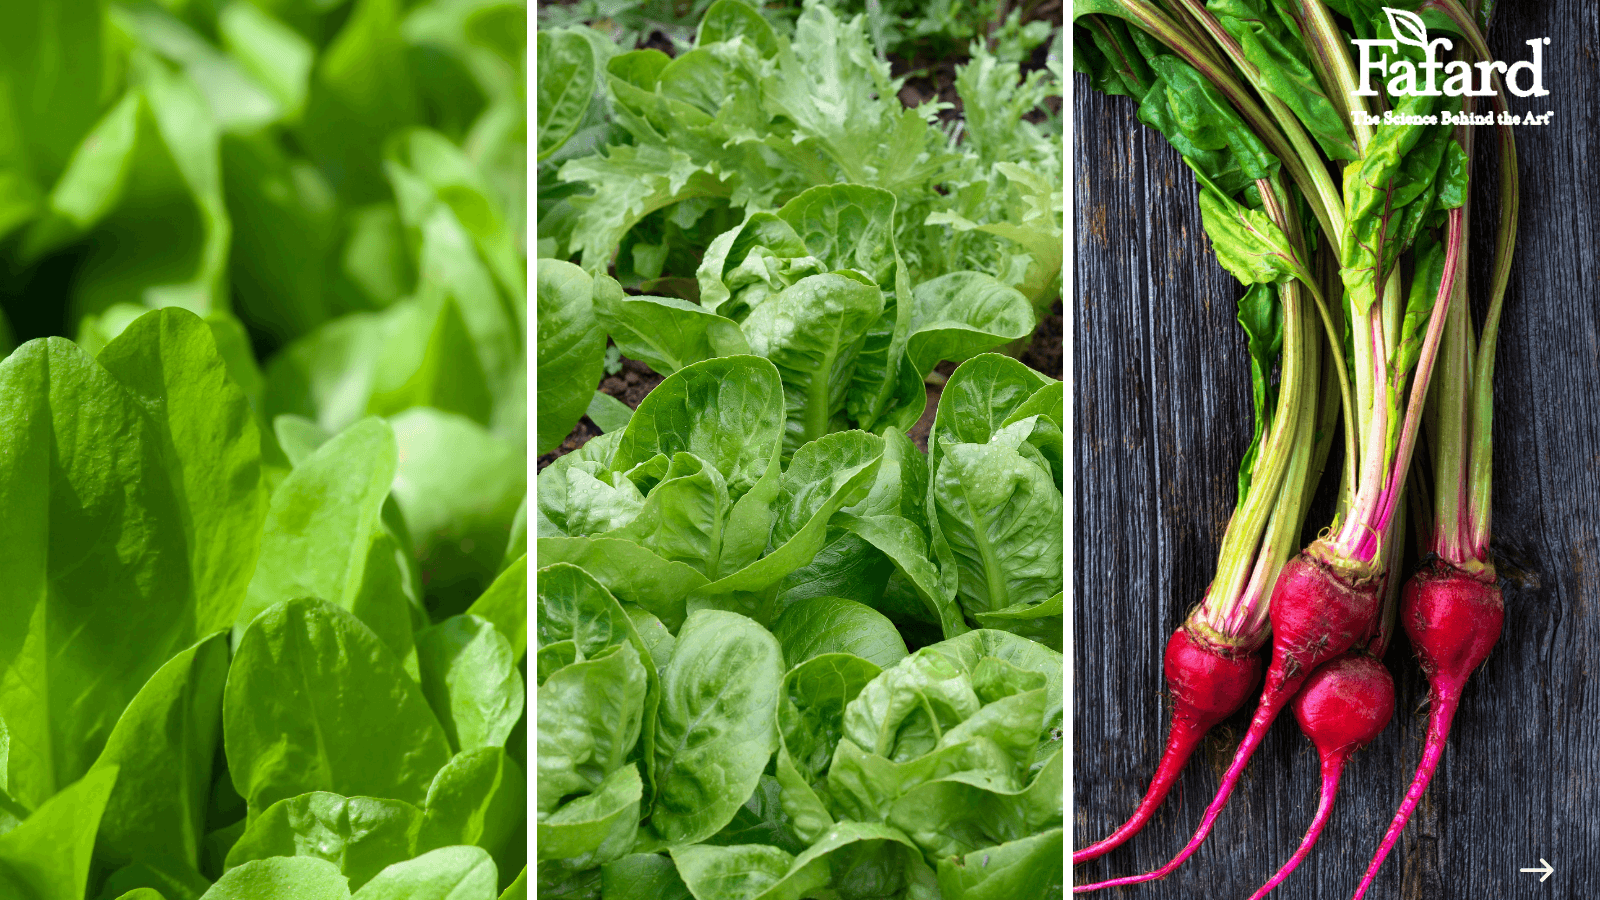
Last year I experimented with salad pots with great results. This shows some of the pots just after planting. They contain mixed lettuce, bok choi, and beets. Another pot contained six large Romaine lettuce plants.
My first spring salad pots were grown in large, inexpensive plastic containers that I bought from the garden center. I filled them with some Black Gold Natural & Organic Potting Mix and added a little fertilizer. They performed so well that I couldn’t believe it. Just a few pots provided delicious salads through spring, so this year I decided to redo this year’s salad containers with a little more flair.
I took it up a notch by creating suites of well-paired greens and herbs for custom-made salad containers–one with an Asian theme, another French, and the last for the Italian palate. Large (18″ or 24″) pots are ideal for these plantings. This will ensure that you can plant enough vegetables in each pot to make several spring salad bowls. As I said, I planted mine in Black Gold Natural & Organic Potting Mix, but this year I plan to try Black Gold Raised Bed & Planting Mix. Both mixes are OMRI Listed for organic gardening. My plant food of choice is a slow-release fertilizer for vegetable growing, though I often hit my plants with some water-soluble fertilizer a week after planting to help them take off.
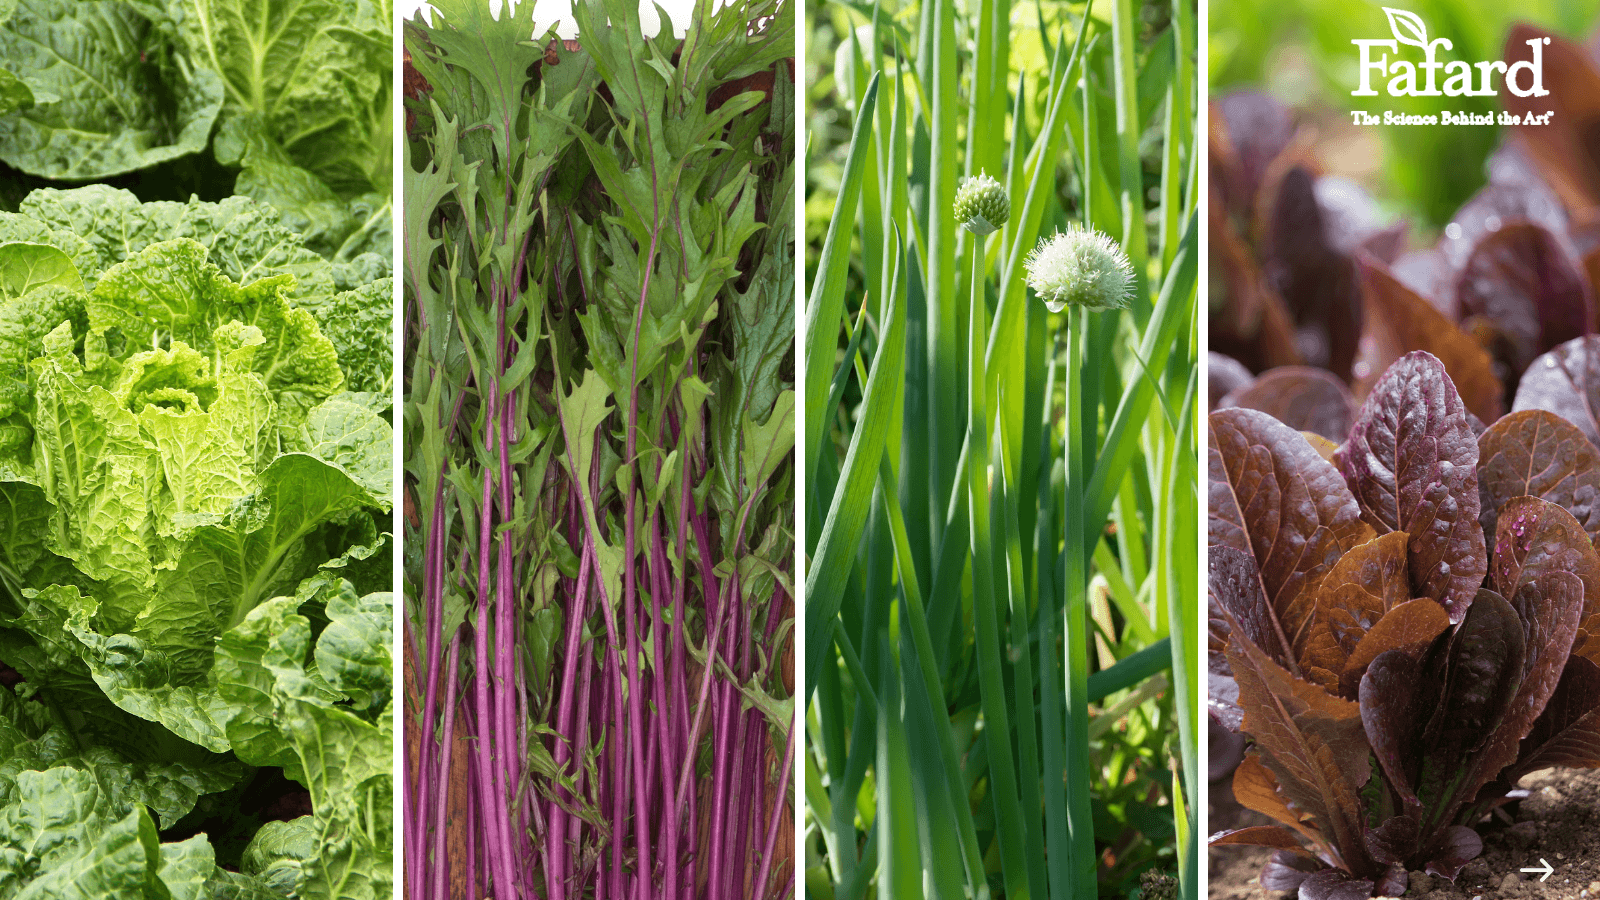
Asian Salad Pot
There are many varieties of Chinese cabbage, mizuna, scallions, and romaine to try.
About the blend – This is a two-pot salad mix because Chinese cabbages are bulky. I am confident that the outcome will be worthy of a very tasty sesame salad dressing. The crisp, flavorful Chinese cabbage will combine nicely with the mustardy kick of the mizuna, the mild green-onion flavor of the bunching scallions along with the crunchy, sweet taste and bright color of the red romaine.
Planting tips– I recommend filling one pot with three Chinese cabbage heads with a sprinkling of mizuna around the exterior. Another pot can contain the romaine with scallions planted along the side. Be sure to space the scallions 2-3 inches apart. I always start cabbage, scallions, and lettuce plants indoors several weeks before planting outdoors. I start the seeds in 4-inch pots under grow lights. (Click here for growing tips.) Then I acclimate my seedlings to cool spring temperatures in my enclosed back porch. Scallions are often tender and slender at planting time, so be gentle with them and don’t plant their bulbs too deeply. One-half inch is perfect. The mizuna is a mustard green that can directly be sown in the pots at the time when you plant your seedlings–generally in late March or early April in my USDA Hardiness Zone 7 garden.
This spacing is approximate, depending on the varieties you choose. Just be certain to thin your scallions properly.
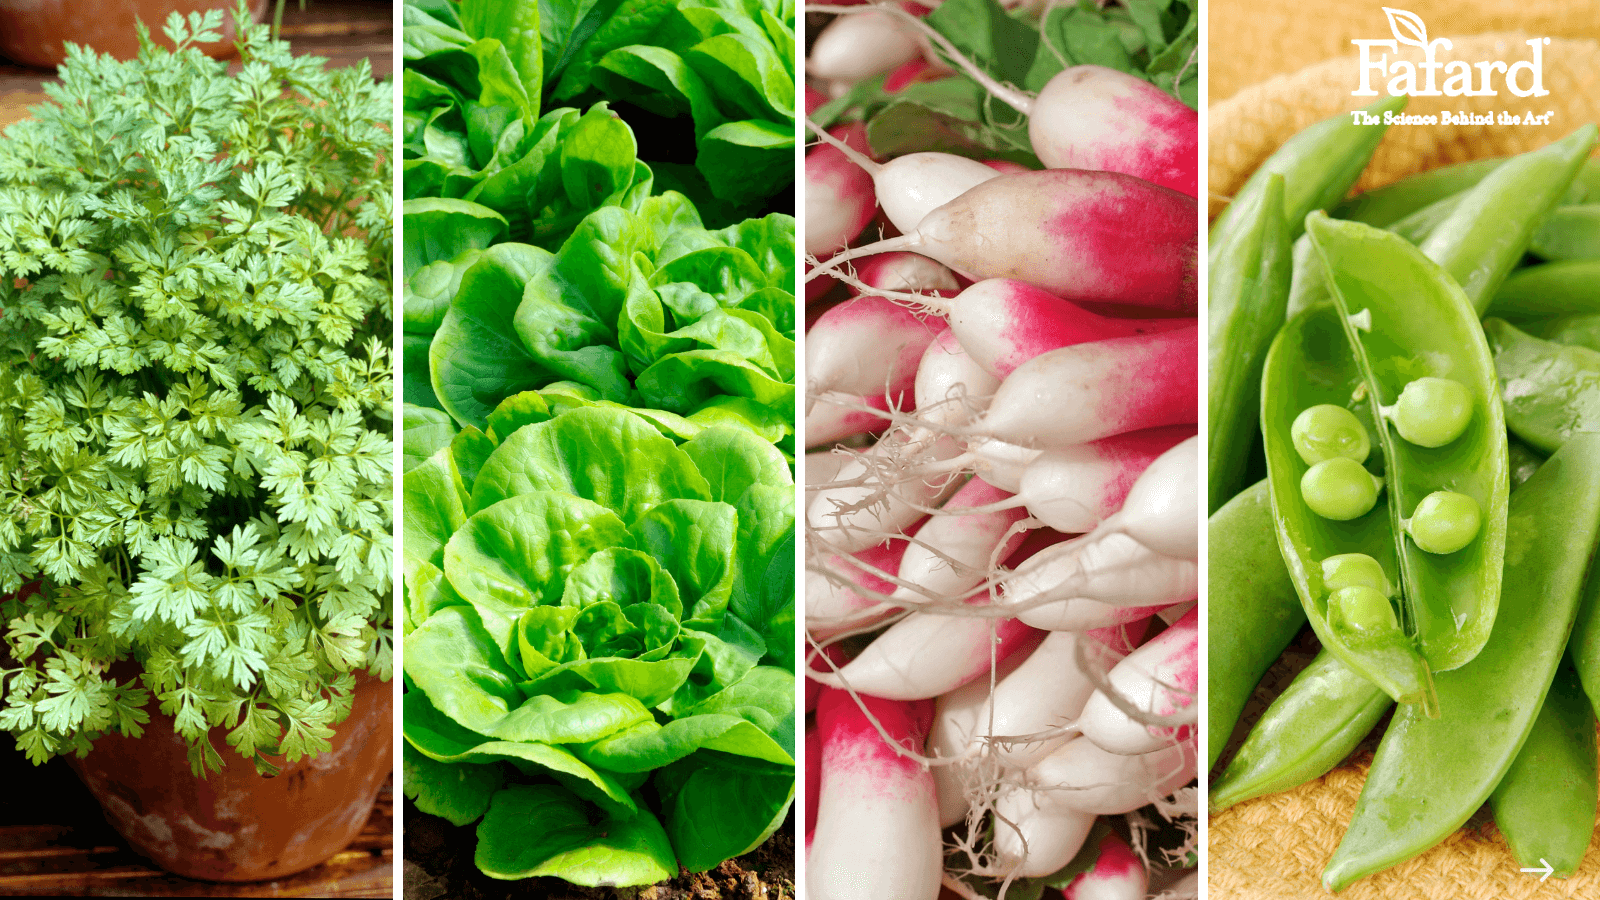
French Salad Pot
Chervil, butterhead lettuce, French radishes, and crunchy snap peas are a taste of France in a bowl.
About the blend -The sweetness of the snap peas and butter lettuce blend well with the slight heat of the fresh French breakfast radishes. Chervil is added to provide a fresh, slightly anise flavor–much like the flavor of fennel. Together they taste very excellent with a classic French dijon vinegarette. If you are not partial to uncooked snap peas, try blanching them for a minute and then immersing them in an ice-water bath.
Planting tips– I recommend three large pots for this salad blend–one for the peas (a tomato cage makes an easy pea trellis), one for the radishes, and one for the butter lettuce with two chervil plants on the side. It is best to start the chervil and lettuce indoors under grow lights, as recommended for the greens above. The radishes and peas can be directly sown in the pots. Surface-sow the radish seeds and cover them with 1/8 inch of potting mix. Plant them in circular rows 6 inches apart and then thin them to 3 inches apart after they have sprouted. The peas should be planted in a circle at a distance of 3 inches apart and 1 inch below the soil surface. Time everything well, keeping in mind that the peas and greens need more time than the fast-growing radishes.
This spacing is approximate, depending on the varieties you choose. Just be certain to thin your radishes properly.
Italian Salad Pot
A salad of fresh chicory, romaine, and roasted Chioggia baby beets taste great with a fresh balsamic dressing and a touch of Parmesan cheese.
About the blend – The bitter bite of the chicory tastes nice with the sweet crunch of the romaine lettuce and sweetness of the baby beets. Chioggia beets are candy-striped with red and white bands inside, so they are as beautiful as they are delicious. The three taste very good with honey balsamic vinegarette and shaving of Parmesan cheese.
Planting tips– Two large pots are sufficient for this salad blend–one for the chicory and romaine lettuce, and one for the beets. The lettuce and chicory can be started as seedlings indoors, using the same recommendations for the two previous gardens. The beets should be directly sown in the pots. Keep in mind that the beets may germinate more slowly in cool weather, so you may want to plant them a week earlier than recommended on the packet.
This spacing is approximate, depending on the varieties you choose. Just be certain to thin your beets properly.
To learn more about great lettuce varieties, please watch this helpful video!