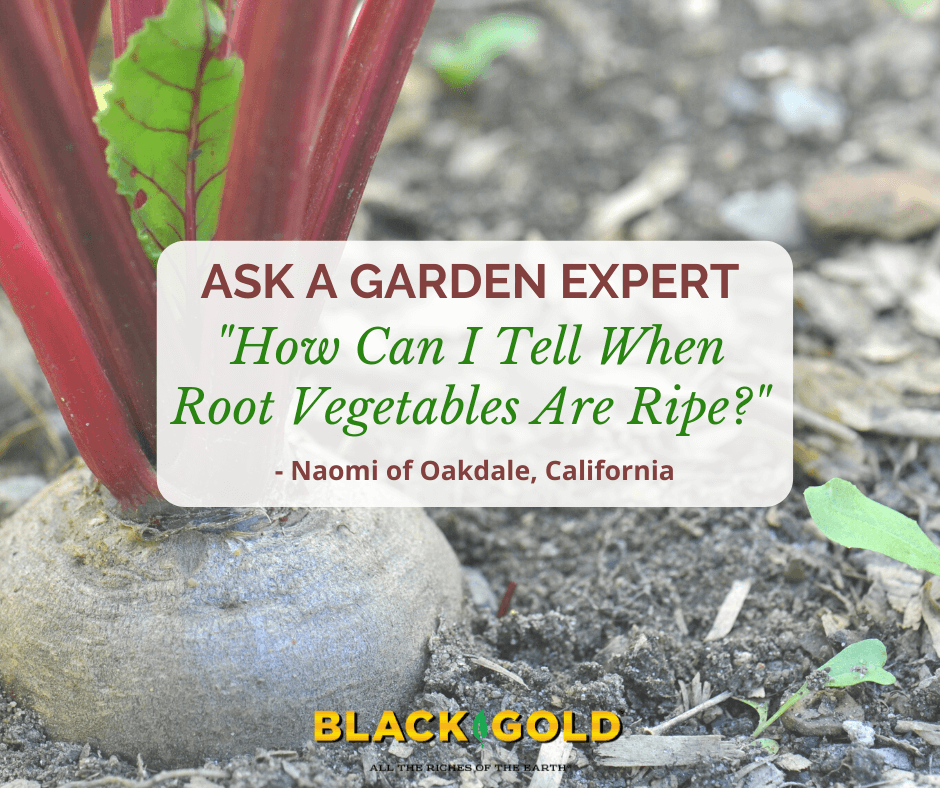
“How can I tell when an underground veggie (onion, potato, etc) is ready to harvest. I have tried growing onions and I get large green growth above ground and there is basically a marble-sized onion bulb underneath — or smaller!” Question from Naomi of Oakdale, California
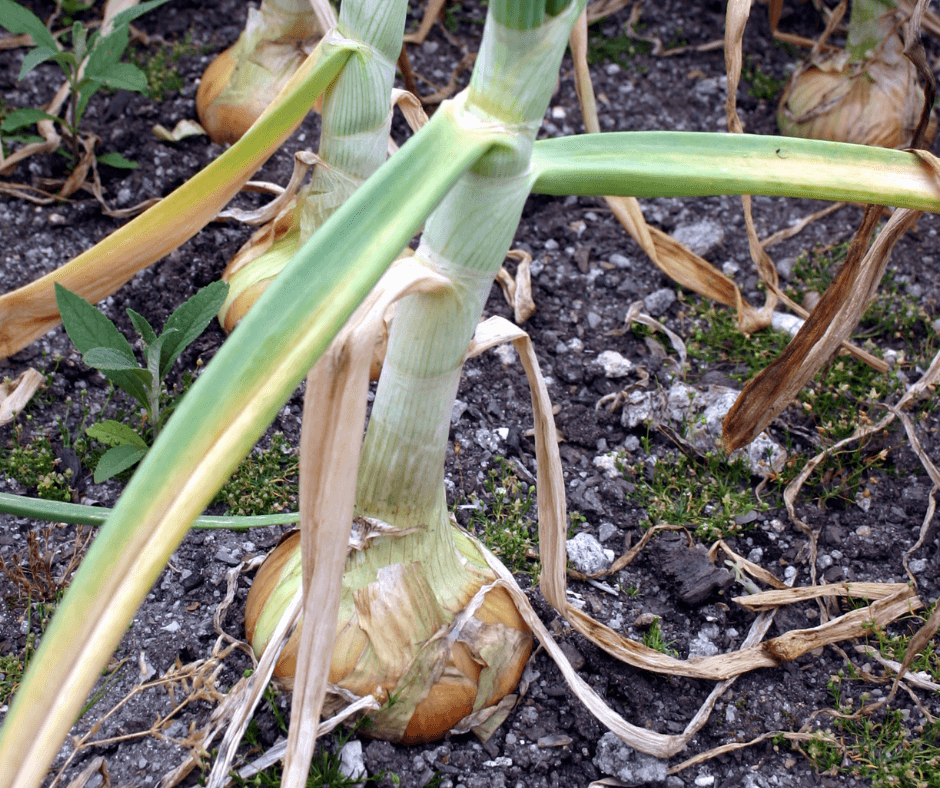
Answer: It’s an excellent question. In most cases, it is pretty easy to tell because most root crops bulb up at the top. You can expect this to happen with beets, onions (see image below), radishes, turnips, and rutabagas. It also happens to carrots and parsnips, though sometimes their bulbous tops are less prominent.
Potatoes, sweet potatoes, and garlic are different matters. These tuberous (or bulbous in the case of garlic) crops remain underground, so you need to gauge how the plants up top are growing to determine harvest time. Here are guidelines for harvesting each.
Potatoes: “New Potatoes can be harvested as soon as the plants begin to bloom. Wait for larger potatoes. These can be harvested after the plants have fully died away. You can harvest all of your potatoes at this time for storage, or just harvest them as needed. Be sure to get them all out of the ground shortly after the first frost of the season. Otherwise, they will develop an unpleasant sweet flavor.” (Click here to read the full Ask a Garden Expert.)
Sweet Potatoes: “Sweet potatoes are harvested 90-120 days after transplanting or immediately after a frost has blackened the tops of the plants.” (Click here to read the full article.)
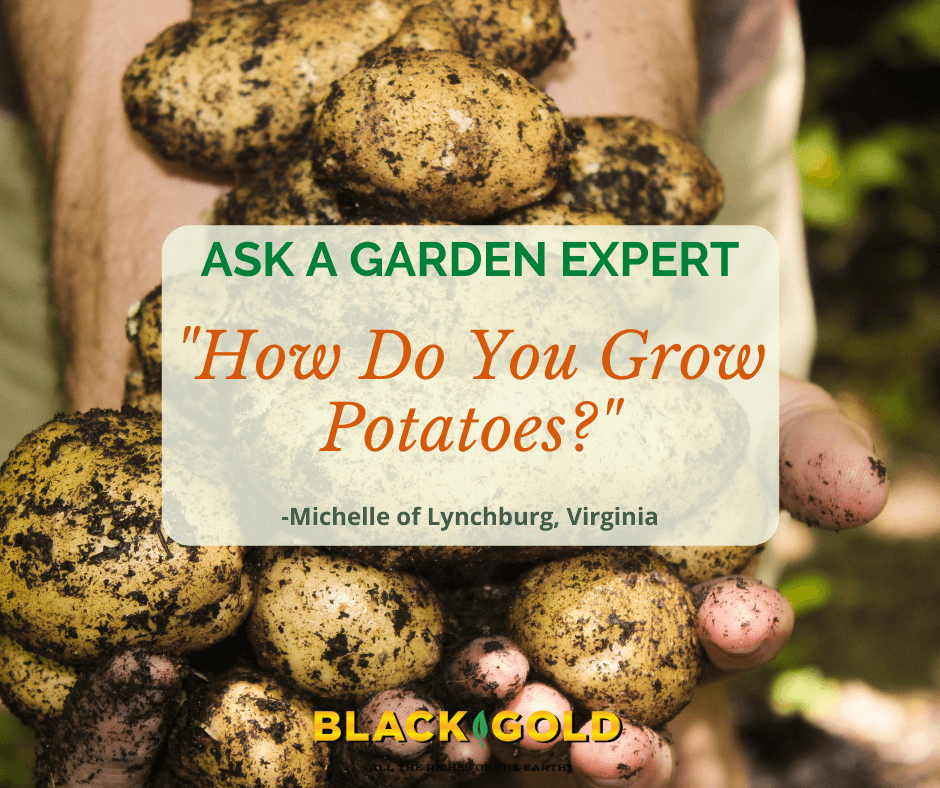
“I grew potatoes this summer. I planted them the correct way and they started to grow. I kept covering the leaves with dirt (leaving the top leaves uncovered.) The vines grew like weeds. It kept covering them but a few days later they would be out of control again. I had them in containers. Eventually, I had no way to build up the sides of the containers and I had to stop covering them. When I stopped covering them the covered vines were about 4-5 feet tall. I went to harvest them a few days ago and I had three minuscule potatoes. It was a lot of work for very little reward. I just wonder why they grew so fast. Obviously I did something wrong.” Question from Michelle of Lynchburg, Virginia
Answer: It sounds as though your potatoes put all of their energy into leaf and stem growth and hardly any energy into developing storage tubers, or potatoes. The plants should have died back before harvest. That is the indicator that they are ready to dig.
There are several reasons why your potato harvest was unsuccessful. Let me provide an overview of how to grow potatoes and increase tuber development to help you troubleshoot.
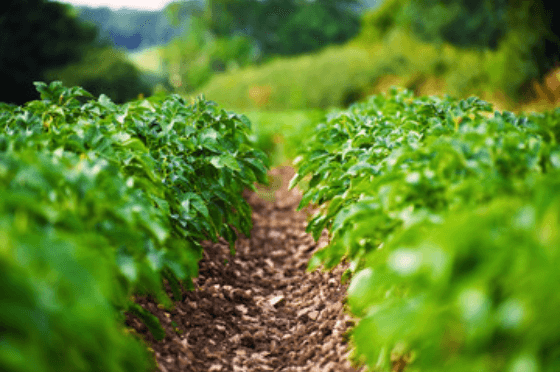
How to Grow Potatoes
Place straw of leaf mulch between berms for easy weed care and walking.
Potatoes need full sun, fertilizer, average water, cool, and then warm growing conditions to produce well. Grow a known potato variety, so you can determine when to harvest. Some produce potatoes early, midseason, or late. ‘Yukon Gold’ is a good mid-to early-season yellow variety to try, ‘Carola’ is a good late yellow variety, and ‘Dark Red Norland’ is an excellent mid-to early-season red-skinned type. Knowing the variety gives you information about expected performance, yields, and harvest time.
Start beds as soon as the soil is workable–often a month or more before the last frost date. Till the soil and work in lots of organic matter, like Black Gold Garden Compost Blend and peat moss. Finally, create a 3-inch furrow down each row for planting the potatoes.
Four Steps to potato planting.
Plant potatoes in furrows five to six weeks before the last frost date of the season. Place robust seed potatoes in furrows 6 to 12 inches apart in rows 3 feet apart. Sprinkle in a fertilizer formulated for potatoes, and them berm soil over them to a height of 12-18 inches. (The berming process reduces the hilling process.)
After several weeks, potato shoots should rise from the berms. Once they are 8-10 inches tall, start hilling. Cover the stem bases with 3-6 inches of soil. Do this twice. (This is also the time to manage Colorado Potato Beetles. Click here to learn more about managing potato beetles naturally.)
If conditions are dry, irrigate moderately, as needed, until the potato plants flower. Keep beds hoed and weeded. It helps to place straw or leaf mulch between the rows to reduce weeds.
Once the plants flower, let them be and withhold water. Within a couple of weeks, the tops should turn yellow, die, and dry out.
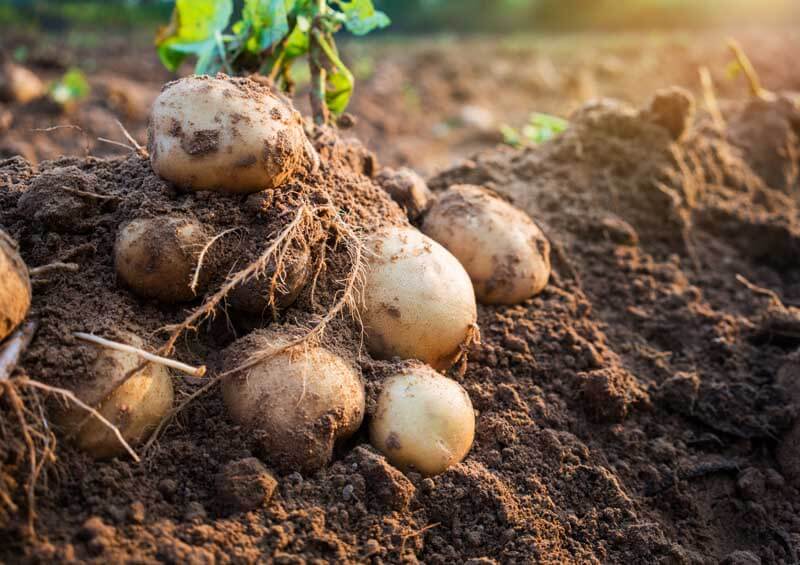
How and When to Harvest Potatoes
At harvest time, you should have lots of potatoes to fork up from your planting mounds.
New Potatoes can be harvested as soon as the plants begin to bloom. Wait for larger potatoes. These can be harvested after the plants have fully died away. You can harvest all of your potatoes at this time for storage, or just harvest them as needed. Be sure to get them all out of the ground shortly after the first frost of the season. Otherwise, they will develop an unpleasant sweet flavor.
If you are growing potatoes in a container, adapt these growing principals to your potted garden situation. If I were to harbor a guess, I would say that you kept watering and nurturing your plants, which caused them to look robust and happy but discouraged tuber development.
“Can potatoes survive in the ground if they are not harvested when the above-ground foliage is removed? If yes, how long will they last?” Question from Ed or Coats, North Carolina
Answer: It’s an interesting question. The answer is yes and no. Potatoes (Solanum tuberosum) are perennial plants and some cultivated potatoes can be quite hardy. The ability of cultivated forms to survive winter cold depends on the variety (there are over 4,000 known types), but most will not withstand hard freezes. And, you would not want to eat the tubers from plants touched by frost. They quickly become sickeningly sweet and inedible.
Another point is that potatoes are notoriously susceptible to soil-borne diseases, and need to be rotated yearly for the best production. Proper cultivation from seed potatoes to harvest takes work. Potato rows must be hilled and amended with organic matter (Black Gold Garden Compost Blend is a great choice of amendment) to keep the soil light and fertile for superior potato development. Fresh seed potatoes planted in newly plowed hills will grow best and yield tubers by early, mid, or late summer, depending on the variety. At harvest time, all the tubers should be removed from the soil to eliminate any potentially diseased potatoes. Legumes or a green manure crop should follow the rotation cycle.
With that said, those living further South, like you, can potentially grow potatoes as perennial crops for a limited period of time. Because it’s not done or recommended in practice, I cannot say how long they would survive and yield for you. Yukon Gold is a common, hardier variety (USDA Hardiness Zones 3-9) that may be worth experimenting with if you want to give it a try. Let us know how it works out for you.
“How early can potatoes be planted in zone 5?” Question from Lisa of Berwick, Maine
Answer: Your last frost date is May 10th, and you have a growing season that is approximately 142 days long, according to the Old Farmer’s Almanac. You can plant potatoes in the ground as early as four to five weeks before your last frost date, so that would be early April in Berwick, Maine. You can also plant them a bit later. Potatoes grow well in your cool summers. Keep in mind that there are early, mid-season, and late-season potatoes that take varying amounts of time to be ready for harvest, so consider this when choosing the best potato varieties for your garden. Generally, earlier types are better for northern climates. (Johnny’s Selected Seeds is a great potato source for your region.)
Planting Potatoes
Potatoes should be planted 6 to 12 inches apart in rows around 2 to 3 feet apart. They like deep, friable soil, so consider planting them in mounds amended with quality compost, such as Black Gold Garden Compost Blend, which is OMRI Listed for organic gardening. Cover each seed potato with at least 3 inches of soil. In your cold region, planting them a bit deeper might be wise.
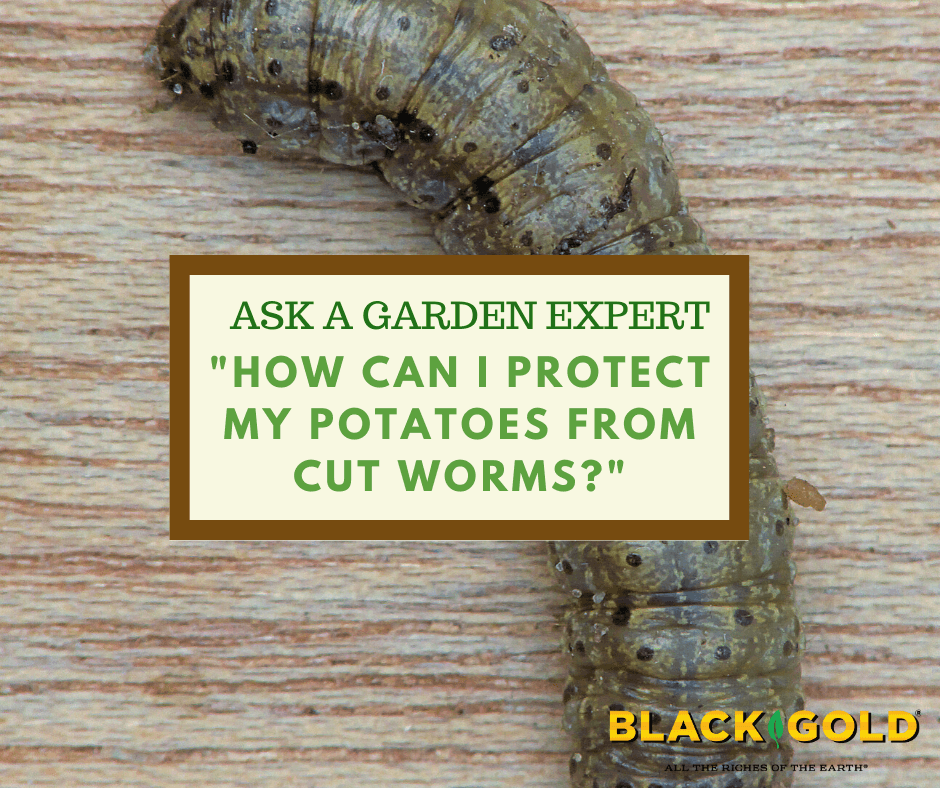
“What is the best way to organically protect potatoes from the fat, grey larvae that wiped out my potatoes last year? I forget the bug’s name, but I looked it up last year. My organic gardening book said to use bran bits and molasses.” Question from Kit of Fairless Hills, Pennsylvania
Answer: I think your pest is the cutworm. Cutworms (Agrotis spp.) are the destructive caterpillars of nocturnal moths, and there are many kinds that attack practically every vegetable crop, including potatoes. Cutworms are fat, gray and curl into a C-shape when disturbed. They tend to feed along the ground at night and are called “cut” worms because of their ability to cut off seedlings and small stems. They will also eat into tubers, roots, and fruits. Several cultural steps and products can help control them.
Cultural Steps to Stop Cutworms
Weeds are a cutworm’s first food, so keep your beds weed-free. Tilling has also be shown to smother and kill cutworms early in the season, so consider tilling your beds under before planting your potatoes. Placing plastic collars around the base of plants has also been shown to ward off cutworms. And, sprinkling a layer of food-grade diatomaceous earth around the bases of plants has also been shown to help. Diatomaceous earth has sharp points that we can’t feel, but these cut into the flesh of soft-bodied caterpillars.
Hand-picking also helps. Cutworms tend to hang out below plants in shady spots during the day. Look for them, and smash or drown them in a glass of water for easy removal.
Pesticides to Stop Cutworms
The use of molasses and bran traps appears to be one old-time method gardeners have used to kill cutworms. The theory is that cutworms are lured to the mix and trapped and/or damaged by the thick molasses. I cannot testify to this method, but I can advocate the use of BT (Bacillus thuringiensis), which is an all-natural insecticide approved for organic gardening. The beauty of BT is that it only damages harmful insects that chew on your plants. Bees and other beneficials are not impacted by BT.
Take some or all of these steps, and your cutworm troubles should be over.
“Can I grow potatoes in a 4’X4′ raised bed or do I need something deeper like a garbage can with holes in it? Thanks!” Question from Patricia Froehner or Newton, New Jersey
Answer: Absolutely! Large, soil-filled cans and tubs are convenient for growing potatoes in small-space gardens, but they are not necessary at all. The key to growing really nice potatoes is providing rich, lightweight, porous soil with some depth. That is very easy to provide in a raised bed. If you already have soil in the bed, it is always good to amend it each year with a quality compost to lighten it and add fresh organic matter. Potatoes are also heavy feeders, so be sure to add a quality fertilizer formulated for vegetable growing.
There is one other thing that you need to know about growing potatoes. They are prone to a very destructive insect called the Colorado Potato Beetle. If you grow potatoes, these pests are almost certain to show up. If left unmanaged, they can absolutely destroy a potato crop in no time. Here is more about managing these pests.
Colorado Potato Beetle IPM
Colorado potato beetles mating on top of a potato plant.
The surest way to attract Colorado potato beetles to your garden is to plant potatoes. The fat, striped adult beetles emerge from the soil in late spring to feed on emerging potatoes and then lay clusters of orange-yellow eggs on the leaf undersides. The eggs yield highly destructive little orange larvae that eat foliage nonstop and grow very quickly. You can kill the insects at any stage, but it’s easiest to pick off the adults and eggs. (Click here to view the full life cycle of these beetles.) The beetles can complete up to three life cycles in a single season, so once you have them, you generally have to fight them all summer.
Colorado potato beetle larvae (left) on tomato.
These pests are highly resistant to insecticides, so it pays to choose non-chemical methods of control. Time and time again, well-timed cultural control, and good fall cleanup (removing old plant pieces and leaves) have proven to be the best means of battling them. Cultural control is essentially “picking”off the adults, eggs, and larvae and/or pruning off egg- and larval-covered leaves and stems. I generally smash the beetles as I pick them off, but you can also drown them in a bucket of water. Good picking should start in mid to late spring and continue until all signs of these pests are gone. (To learn everything there is to know about Colorado Potato Beetles, visit potatobeetle.org.)