
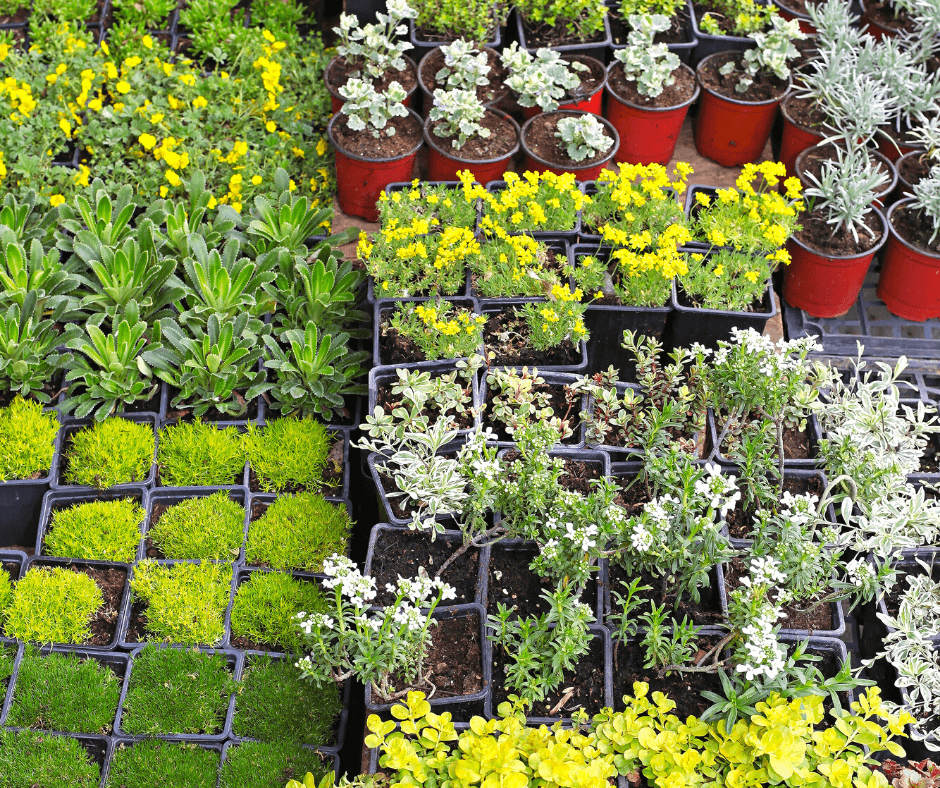
Spring will be here before you know it, and this means it is time to buy this year’s perennials, whether old favorites or new ones you haven’t tried before. The problem is how much they cost. To plant a modest new bed of perennials, you can expect to pay over $100 for just eight to ten plants. Growing them from seed is much more cost-effective if you know what to grow and how to grow them.
As a lifelong gardener and former perennial nursery manager, I am sensitive to the cost of these garden staples. Perennial plants seem to get more expensive year after year. For example, I planned to buy several butterfly weeds (Asclepias tuberosa) this season to help the struggling Monarch butterflies. But, even small pots are $8 to $10 per plant or more. Most designers recommend planting garden flowers in groups of three or more, so that is a minimum of $30.00 for just three plants, and more is always better. That is a lot of money! In turn, butterfly weed seeds are usually no more than $3.50 for a packet of 50 seeds. Wouldn’t it be nicer if you could grow them from seed and save a fortune? Here’s how to do it.
Perennial Seed-Starting Materials
There are a few essentials that home growers need if they are not fortunate enough to own their own greenhouse, conservatory, or sunroom. The items are low-cost and most can be used year after year. I do not recommend windowsill seed starting if you intend to grow seedlings to planting-sized plants because even south-facing windows don’t provide enough uniform light to keep seedlings from stretching and becoming spindly. Fancy seed starting racks or systems can be purchased, but I have always found the following materials to work just fine for all of my seed starting needs, and I’ve been doing this for nearly 50 years.
Grow Lights and Fixtures
 First of all, you need to buy grow lights. Plants require most wavelengths of light to feed themselves and grow, so the more full-spectrum the bulb the better. Four-foot-long shop light fixtures fitted with fluorescent grow bulbs is the most economical option, though other bulb and fixture options exist. (Click here to learn more about different grow bulbs, and Click here to learn the difference between shop light bulbs and grow light bulbs.) The best prices I have found online are for the AntLux 4ft Full Spectrum LED Shop Lights and Fixture, and the Durolux 4Ft Full Spectrum Fluorescent Lights and Fixture.
Seed Starting Trays and Labels
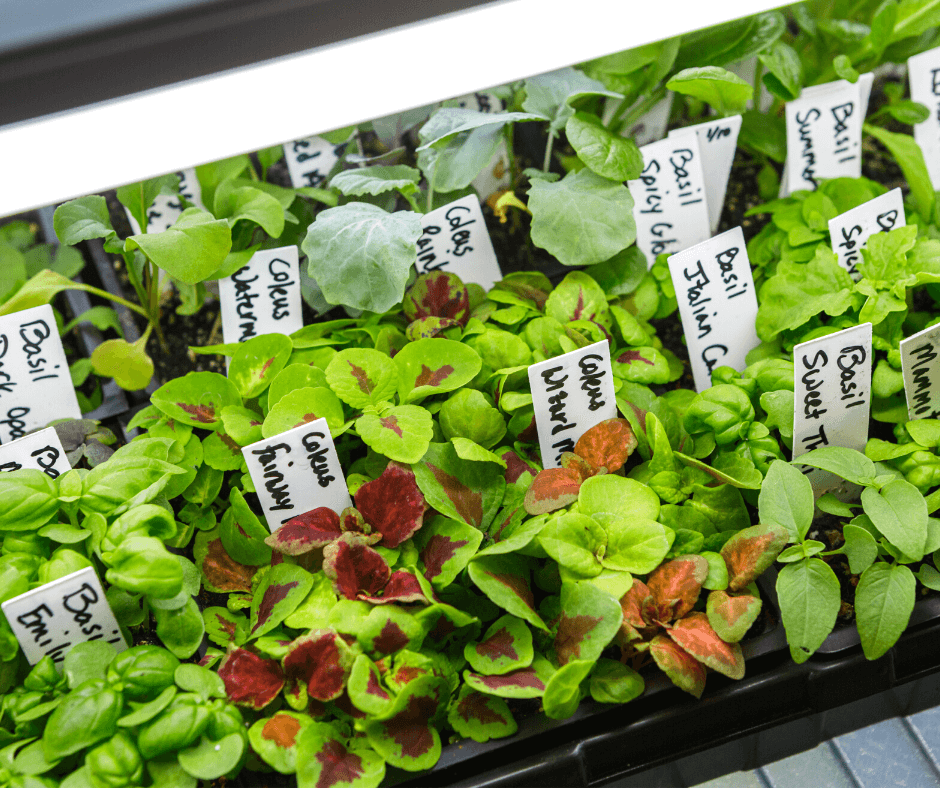
Then you will need special seed starter trays. It is a small investment, but quality starter trays can be washed and reused for many years. I recommend Delxo Seed Starting Kits with trays that have 48 individual planting cells for lots of seedlings and a watertight base tray. The kits also come with plastic covers with air vents at the top to control temperature and humidity, plus small tools, to help plant the seeds, and remove the seedlings. The kit even comes with its own labels, though I always like to have extra wooden planting labels because they are always handy.
If you reuse your trays or labels from year to year, be sure to scrub them out with hot water, dish soap, and a little bleach before using them again. Remember to rinse them well to remove any bleach residue.
Seed Starting Mix, Fertilizer, and Waterer
 And lastly, you need a special seed starting mix, such as Black Gold Seedling Mix, which is extra fine for small or large seeds and lacks added fertilizer or salts, which can inhibit sprouting in some seeds. Our OMRI Listed Black Gold Seedling Mix also has an added organic wetting agent, to keep it from repelling water when dry, and it contains RESiLIENCE, a special silicon additive that is believed to promote better root growth, denser branching, and faster recovery should you forget to water.
Once seedlings start to put out their true leaves, you can start fertilizing them. I always choose quality, all-purpose, water-soluble fertilizer, such as Proven Winners Water Soluble Plant Food. Seedlings need gently water from the top in addition to bottom watering. Misters or small watering cans are very useful for seed starting.
Perennial Seeds
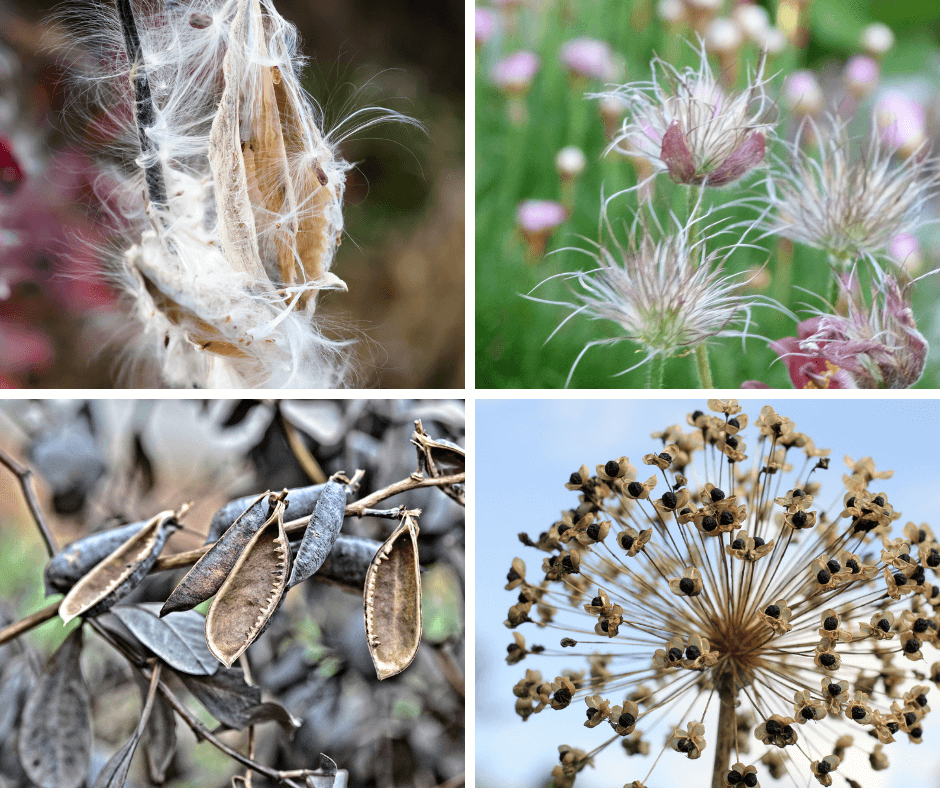
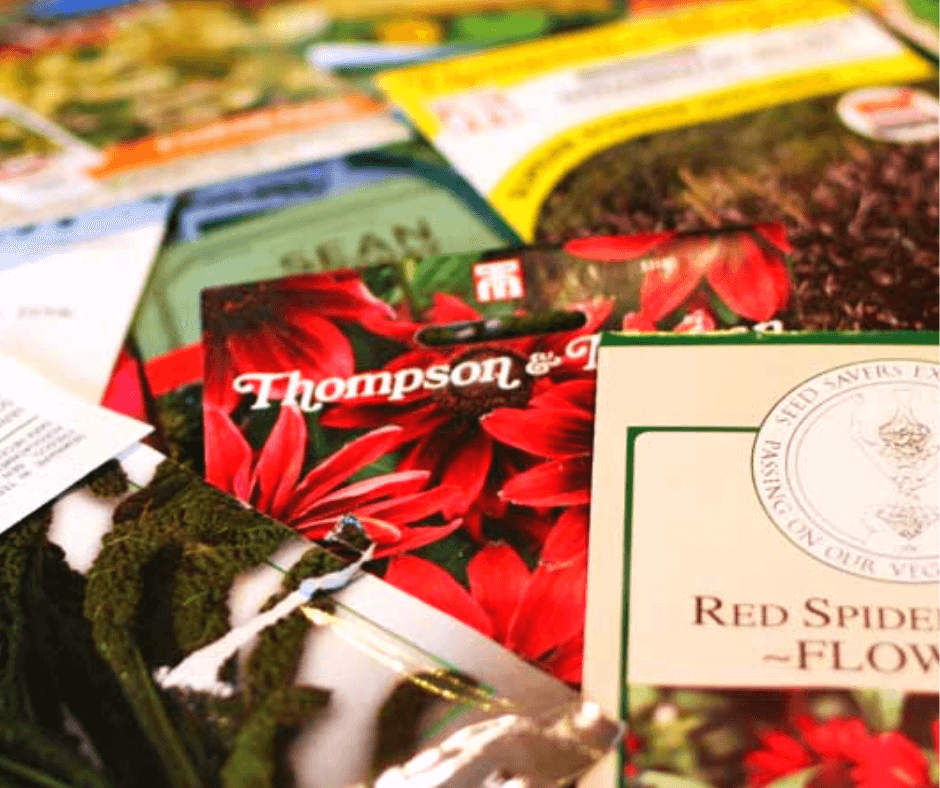
Before addressing what to grow, there are two sources for perennial seeds that I always use and highly recommend. The first is Park Seed (visit their website to request a catalog). They have a huge collection of seeds, and I have been buying from them since the early 1970s. Their seeds are always fresh, well packaged, and germinate well. The other perennial source I adore is Select Seeds. They are the only company I know of that has heirloom flower seeds, some going back to the 1600s. Their packets are filled with many seeds, and they always do well for me. Swallowtail Seeds has lots of varieties and comes highly recommended. Finally, my oldest daughter grows lots of native perennials and has recommended Prairie Moon Nursery to me on many occasions for their quality seeds. You might also try your hand at seed collecting from year to year, if you feel adventurous.
Perennial Seed-Starting Steps
Read Your Seed Packets
Start by reading your seed packets from cover to cover. Some perennial seeds can be planted with no preparation, but some need to be nicked or chilled in the refrigerator for several weeks to properly germinate. Those that I highlight below are not challenging to start, but It is good to know that some seeds need a little more attention.
Gather Your Materials and Prepare Seedling Area
Next, gather all of your materials. Make sure to hang your lights and prepare your growing area. I like to put down a plastic table cloth to protect any tables from leakage and for easy cleaning. Fill up your watering cans and misters, and get going.
Prepare Your Planting Trays
Wash your hands before starting, to avoid any contamination. Put the seedling mix into a bowl, and wet it until uniformly moist. Fill the cells in the trays with the moistened seed starting mix, and be sure to leave a little space at the top for large-seeded perennials. (After reading the back of your seed packets, you will know if the seeds need to be covered or not.) I like to determine how big seeds are before I start planting. Some seeds are dust-like (Begonia seeds), while others are very large (perennial sunflower seeds), so some are simply sprinkled on the soil surface while others must be covered.
Sow Your Seeds
I like to sow two seeds per cell to make sure I get at least one seeding per cell. When working with small to medium seeds, I sprinkle two into the cell, making sure that they are separated, and then gently press the seeds down into the mix. (If both seedlings pop up, I either remove the weakest seedling after the seedlings have grown a bit, or I gently move one of the seedlings to an empty cell.)
Label, Water, Cover
Label the cells, either as groups or individually, marking each different flower you are growing and the date planted. Mist the seeds, but make sure that the soil is moist, not saturated. Saturated soil will cause seeds and seedlings to rot before they get a chance to grow. Put the cover on the tray, and lower the lights as close to the tray as possible. The plastic cover keeps the mix from getting dry, but aeration is also important. Sometimes I lift the cover for several hours in the day to let things dry out a little.
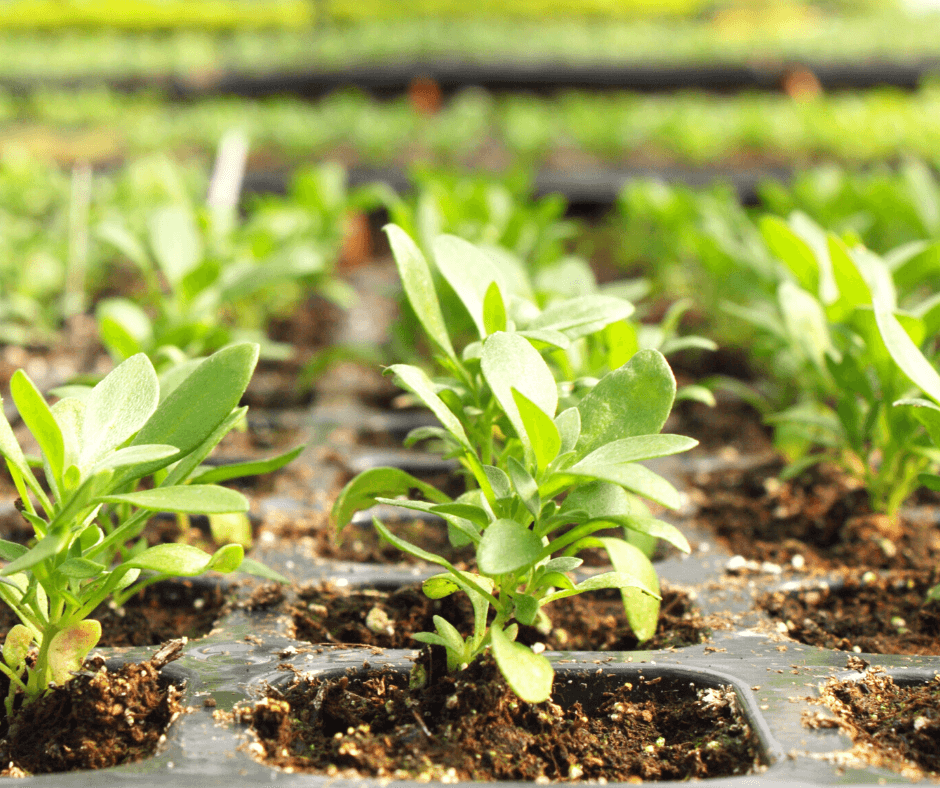
Seedling Care
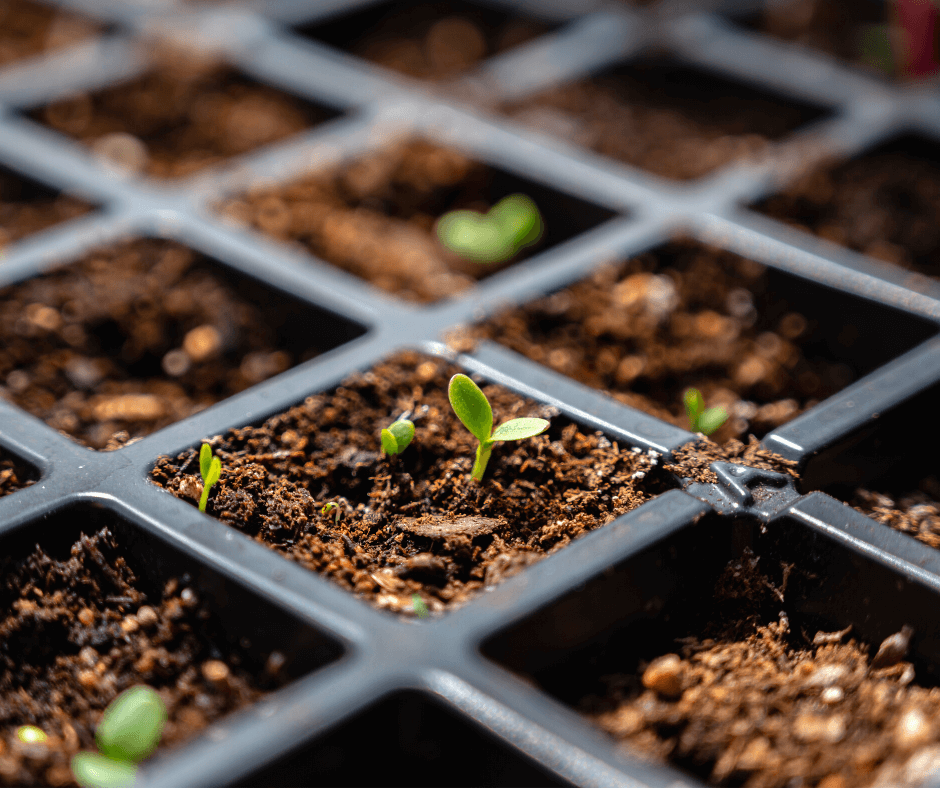
Once the seedlings have all popped up, remove the lid entirely. Too much moisture will cause damping off, or seedling rot. When you have removed the lid, keep the grow lights just inches above the small plants. This will encourage the densest growth and keep plants from becoming leggy. This is also the time to start feeding the seedlings weekly with a 1/2 strength solution of fertilizer. Fast-growing perennials may need to be upgraded into larger, 4-inch pots, some won’t. They will also require a little more water, so make sure you don’t let them get dry. Lightly moist soil is recommended. When your seedling is large enough to plant, usually 5-8 inches, and the spring weather allows, it is time to harden them off and get them planted.
Harden Seedlings Off
When the threat of frost has passed, it’s time to move the seedlings outdoors for hardening off, which reduces shock and helps perennials acclimate them to a sunny, outdoor environment. Start by bringing the trays outside, starting with a couple of hours, and increasing it until they are well adapted to the light, wind, and temperatures of the outdoors. After a week or so of hardening off, you can plant your perennials in the garden!
Planting
New plants always grow best in a prepared bed (OMRI Listed® Black Gold® Garden Compost Blend will increase organic matter and drainage) or container filled with quality potting soil. Be sure to plant your seedlings in locations with the right sun and soil for their needs.
At planting time, be careful with your little perennials. When removing one from a cell never pull it out from the top. Instead, tip the tray partway over and push up from the bottom to release the roots. A butter knife can also be used to lift small plants from cells or loosen perennials from a 4-inch pot. fertilize time-released fertilizer for easy summer feeding.
What Perennials to Grow from Seed
There are lots of easy perennials that will bloom in the first year from seed. I have grown and enjoyed ‘Gay Butterflies’ butterfly weed, black-eyed Susans (Rudbeckia spp.), phlox, catmint (Nepeta spp.), asters (Symphyotrichum spp.), perennial geraniums, salvias, blanket flower (Gaillardia x grandiflora), and many other wonderful, easy perennials from seed. Over the years, they have brought me much joy and saved me lots of money! Here are growing details for a few of these.
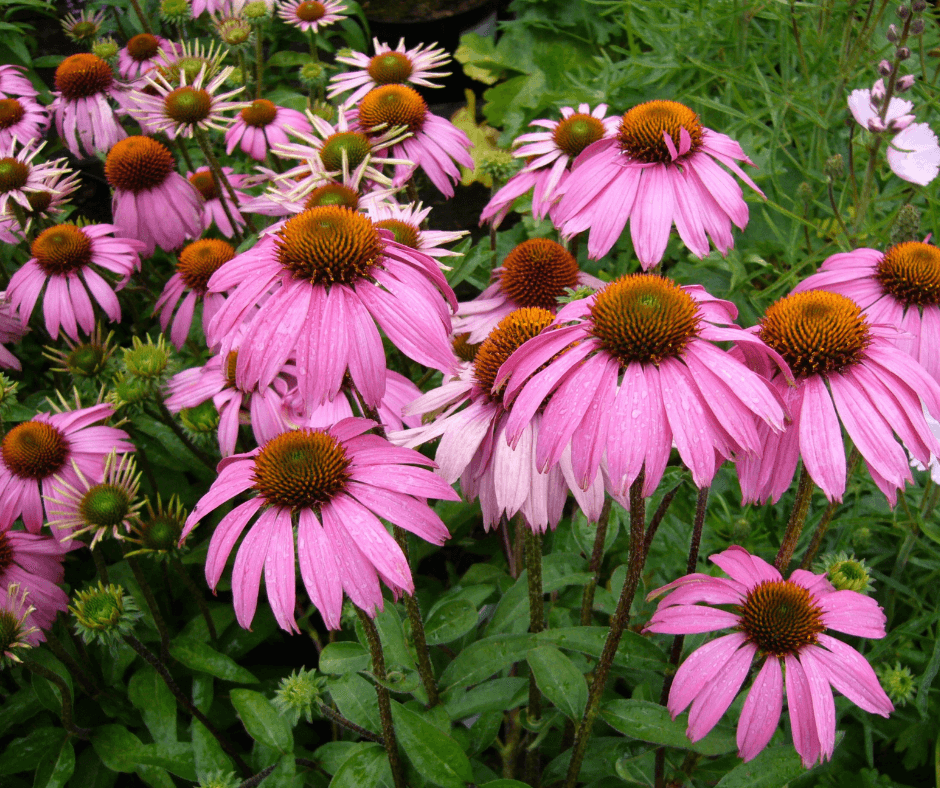
Purple Coneflower (Echinacea purpurea)

First, I recommend growing varieties of coneflower (Echinacea spp), which is one of the easiest perennials to grow from seed. I especially recommend the AAS award-winners, ‘Pow Wow Wildberry‘, which has large, bright pink flowers, and ‘Cheyenne Spirit‘ with its mixed coneflowers in lovely sunset colors. Both will sprout in no time and bloom in the first summer. Bees and butterflies will cover the blooms. (Click here to see more varieties.)
Seed Starting: Cover seeds lightly with seed starter, and keep them lightly moist. average room temperatures between 65º and 70º F encourage good germination. Seeds should sprout within three weeks.
Blanket Flower (Gaillardia x grandiflora)

This tough, North American native blooms through summer with deadheading and can take the heat. Perennial blanket flower is also very easy to start from seed. There are lots of pretty varieties available, just be sure that the ones you choose are G. x grandiflora cultivars because most others are annuals. The sunny peach-flowered ‘Mesa Peach‘ is a very pretty one to try as is the red and gold ‘Arizona Sun‘.
Seed Starting: Cover seeds with a little seed starter, keep lightly moist, and maintain a fairly warm room temperature. Germination often takes one to two weeks.
Salvia (Salvia nemorosa)

Purplish salvia flowers line the upright stems of this salvia through summer with deadheading deadheaded. If plants are started in February or March, they should bloom in the first year. (Click here to see lots of seed options!)
Seed Starting: Lightly cover the seeds with seed starting mix and keep slightly moist. Place seed pots 4 inches from grow lights for best results. A heat mat can also be useful. Germination should take three weeks or more.
Click here for an article about how to grow Lavender from seed.
Click here for an article about growing milkweed from seed.
Click here for an article about growing award-winning annuals from seed.