“What kind of fertilizer should I use to grow vegetables in a big container pot with potting soil?” Question from Susan of Union City,Pennsylvania
Answer: For containers, I always opt for a slow-release fertilizer that will feed plants well all season long. Choose one that is formulated for vegetables, fruits, and herbs. Most of these will have either a balanced N-P-K (Nitrogen-Phosphorus-Potassium) ratio, such as 10-10-10, or a ratio that’s more geared towards foliage growth (12-10-5) or fruiting (4-6-3). Just as a reminder, nitrogen encourages foliage growth, phosphorous generally supports flower, fruit, and root development, and potassium supports overall growth. Read the label and make sure the fertilizer you choose will accommodate the vegetables you want to grow. If you garden organically, pick an OMRI Listed fertilizer.
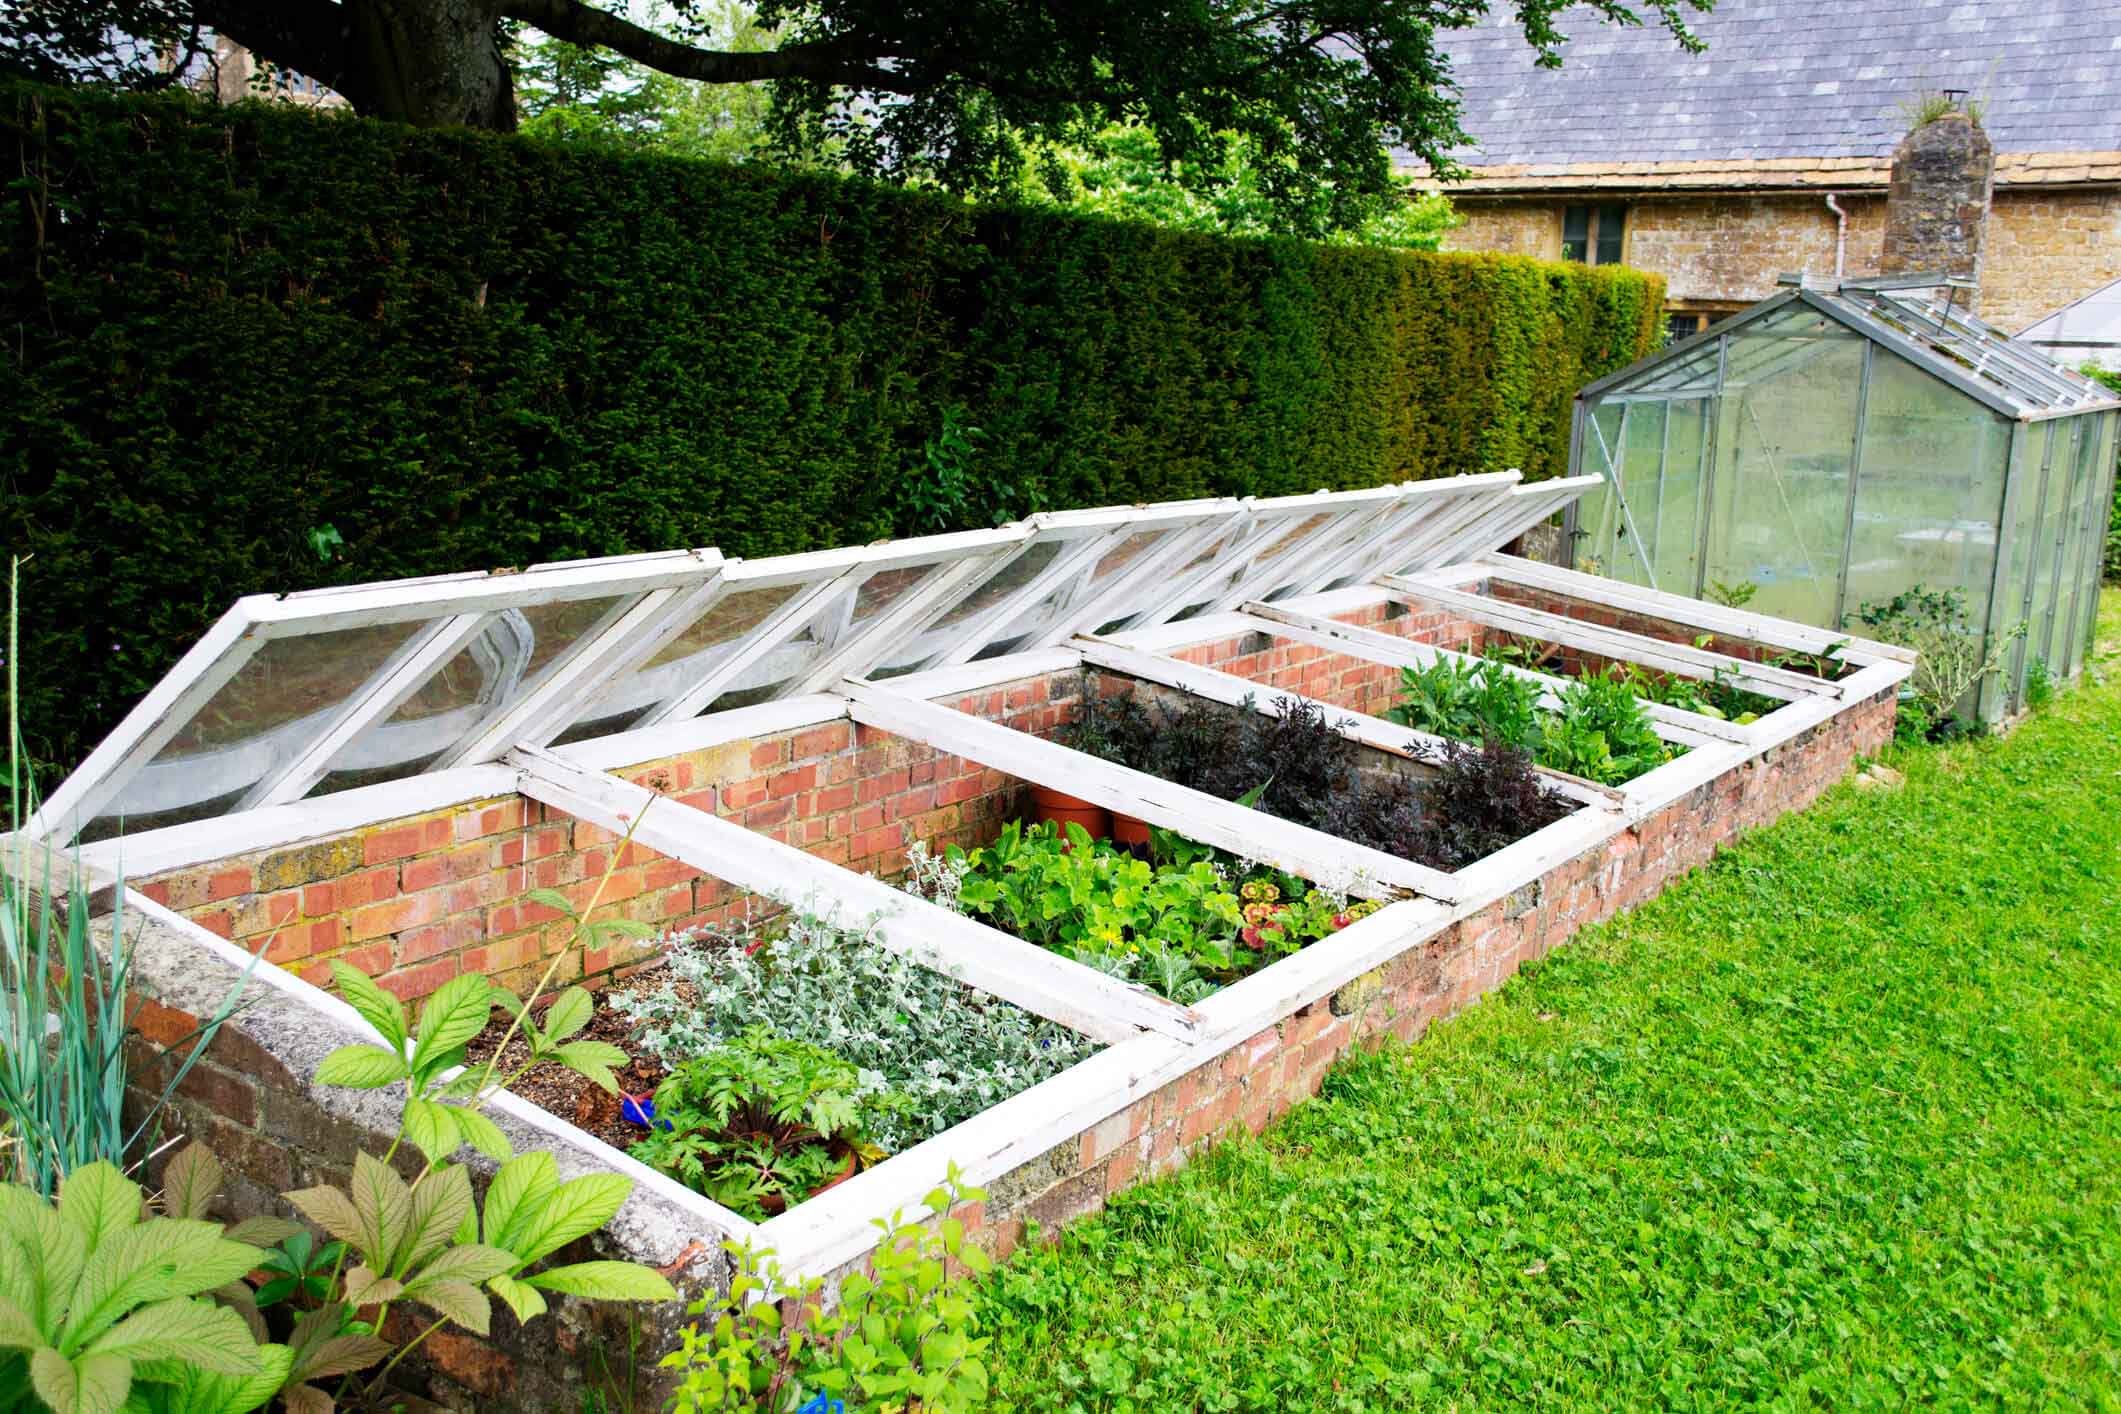
To enrich a full raised bed, use low volume, high potency organic fertilizers before planting time in early spring.
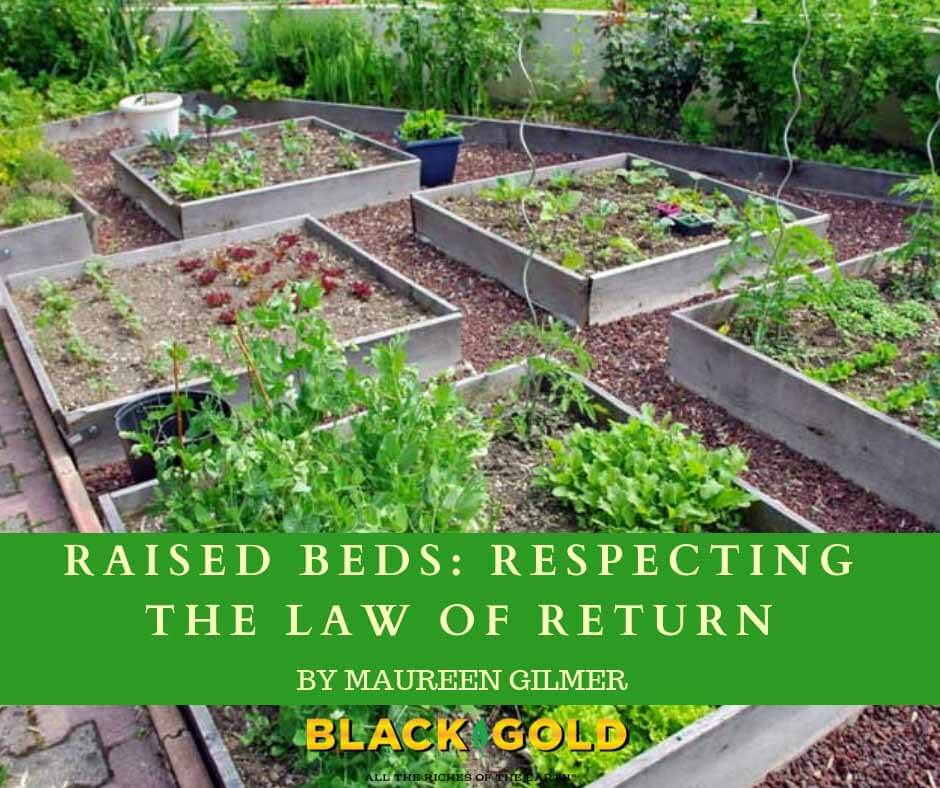
If you’re growing vegetables in raised beds, you must respect the Law of Return. This law states that nutrients extracted from the soil by growing plants must be compensated for by tilling their dead remnants back into the soil or fertility loss will result. Because plants are often grown more densely in small or raised beds, proportionately more nutrition is drawn from the soil each year than in in-ground gardens. The chances of running a deficit are very real, and your plants will show it, but by then it’s too late.
The challenge of raised beds is that there’s no room for adding gobs of compost to the box because it was filled to the top in the first place. The fertility of all raised beds will decline each year unless you return it with fertilizer to compensate for these losses.
Add Organic Matter
High-density gardening in raised beds draws proportionately more nutrition from the soil over the course of each season.
To keep microbe populations high, organic matter is needed. If your potting soil is decomposing so the soil level has dropped, can you refill it with any of the Black Gold potting soils with RESiLIENCE® or just use Black Gold Garden Compost and work it into the old stuff. But if your soil mass is maxed out, use fertilizers that provide higher levels of nutrition without much volume. Older soilless mixes can also acidify, which will inhibit plants from taking in needed nutrients while reducing soil microbes and overall soil health. A simple soil pH test should be conducted to determine soil acidity/alkalinity. To return acid soils to a neutral ph is ideal, a liming agent is required.
Fertilize
Organic fertilizers are slower to become available to plants than synthetics, so preparing your raised bed soil well in advance of planting time. Fall is ideal, but early spring works just as well. This allows time for the various raw materials to decompose, interact and create the synergy between plants, microbes, and earth to give your garden everything it needs, naturally.
For gardens where there’s little space, two organic fertilizers offer everything needed to fuel this year’s vegetable crops. They’re like ordering a la carte or choosing a combination plate at a Mexican restaurant. The combination is a tomato & vegetable fertilizer with added alfalfa meal.
An organic tomato & vegetable fertilizer, with a balanced ratio of nitrogen, phosphorus, and potassium should be added. Estimate at least one bag of fertilizer for each 4′ by 8′ raised bed to calculate how much you need.
Rose growers have always been keen on using alfalfa Meal a la carte, which contains about 3% nitrogen plus other benefits. What makes it doubly valuable is that alfalfa is a legume, a nitrogen-fixing plant, so all of its remnants from baled hay to this byproduct of milling also contain vestiges of the mycorrhizae, unique fungi that live symbiotically within these plants.
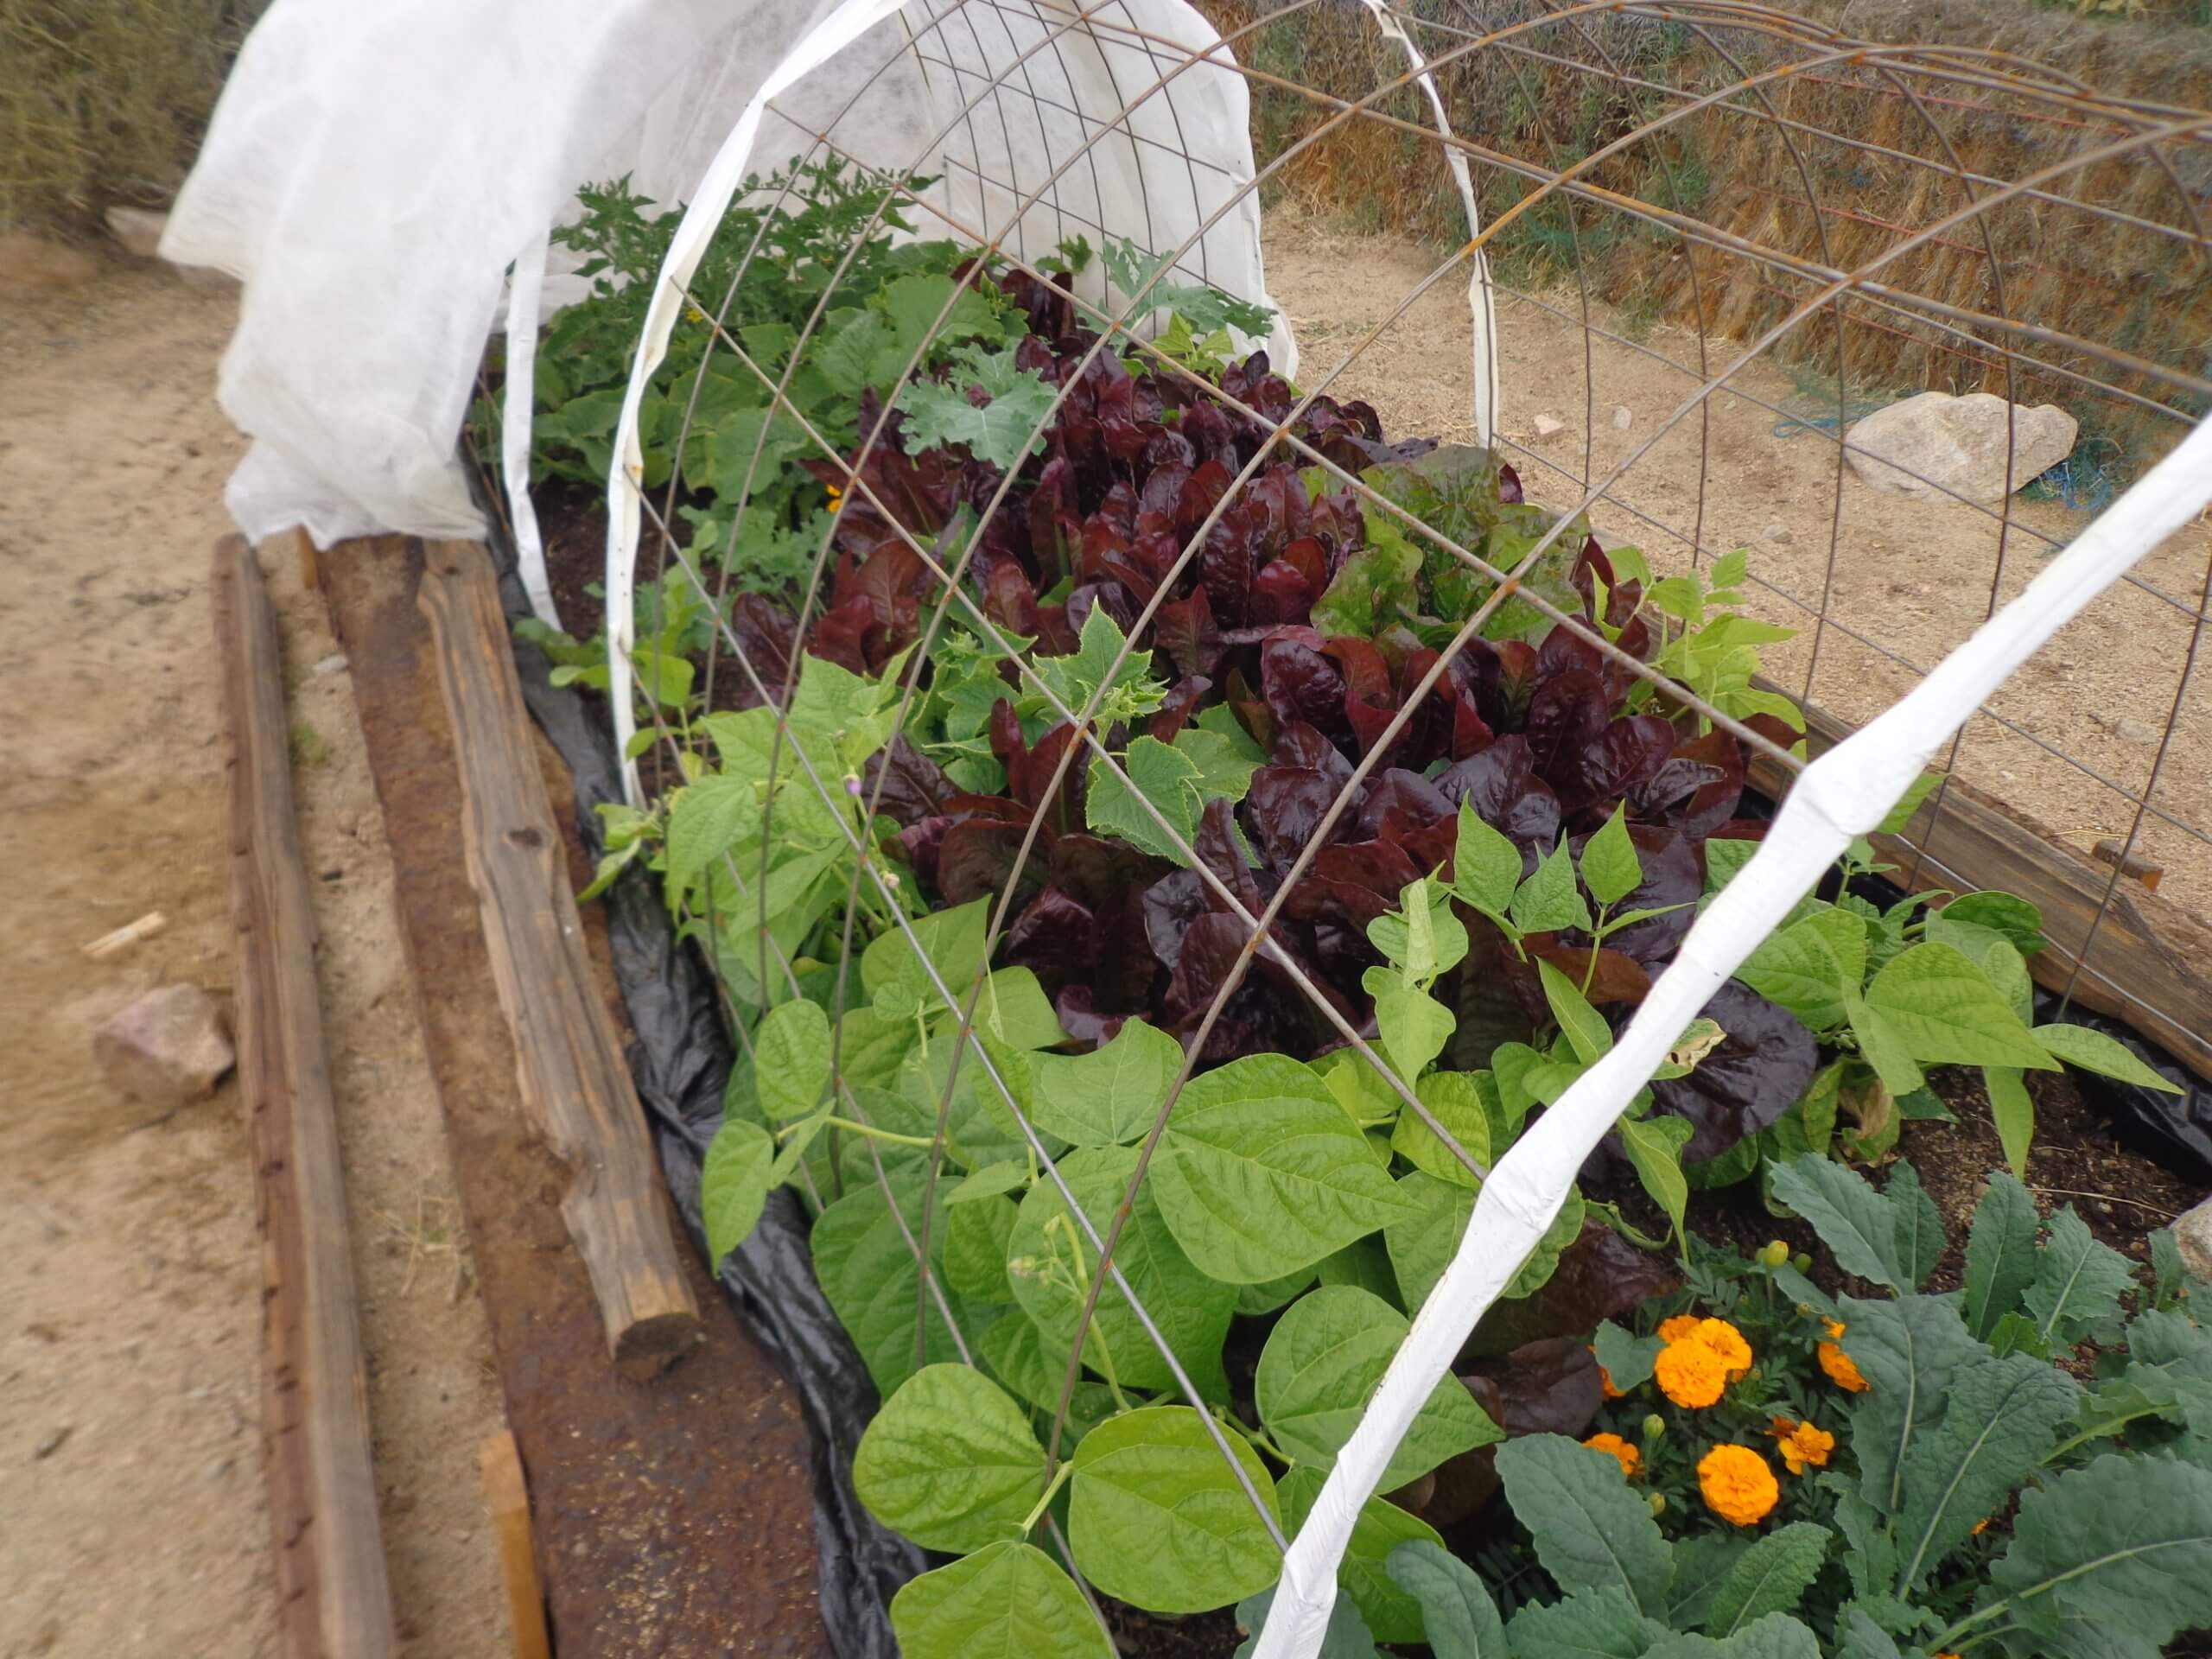
To apply these fertilizers, spade up your raised bed with a fork to open it up a foot or so deep, then sprinkle the fertilizers evenly over the soil. Let them filter down into the nooks and crannies, then spade over each bed again to help the soil tighten around the fertilizer. Once thoroughly blended, rake the surface smooth so it’s ready to plant. Water deeply, if there has not been sufficient rain.
The Law of Return
Replenished raised beds perform better!
The longer the garden sits after you’ve returned nutrients to the soil, the more fertile it becomes. As temperatures warm, microbes activate and enrich the soil further. So when it’s time to plant your peas in March, and anything else after that, complying with the Law Of Return will guarantee you vegetables show their appreciation with the most generous harvests you can imagine.
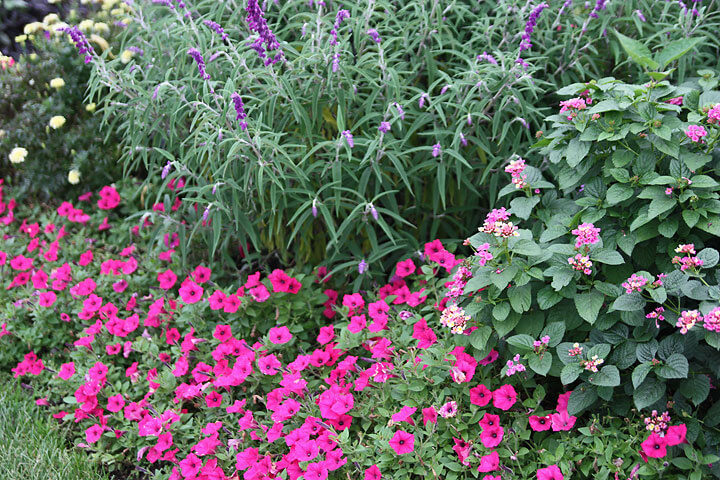
Feeding fall beds is important. This fall garden of Supertunia Royal Magenta, Salvia leucantha and Lantana camara is well fertilized and glowing!
It always pays to know when to fertilize your plants. Remember to use fertilizers only as directed. Avoid over feeding your plants, adding a little extra fertilizer is not a good thing. Always follow the directions!
ALL PURPOSE FERTILIZER
Plant Type
Application Rate
Frequency
Vegetables, Annual Flowers and Perennials
New Plantings: 4 cups per 50 sq. ft. 2 cups per 25 foot row
Fertilize at time of planting and every 6-8 weeks throughout the growing season. For perennials, feed at first bloom and then every 6-8 weeks.
Established Plants: 3 cups per 50 sq. ft. 1 ½ cups per 25 foot row
Fruit Trees and Vines, Ornamental Shrubs and Trees
New Plantings: 2 cups per 16 sq. ft. ½ cup per 1 gallon pot 2 cups per 5 gallon pot
Fertilize at time of planting, and every 8 weeks throughout the growing season.
Established Plants: 2 cups for every inch in trunk diameter (measured at 4-6 inches above the soil line). Mix thoroughly in the soil just inside the drip line of the plant.
Container Plants
New Plantings: 1 tablespoon per quart of soil or 1 cup per cubic foot of soil
Fertilize at time of planting and every 6-8 weeks throughout the growing season.
Established Plants: 2 tablespoons per gallon of potting soil or ½ cup per 5 gallon container
ROSE & FLOWER FERTILIZER
Plant Type
Application Rate
Frequency
Roses and Flowering Shrubs
New Plantings: 2 cups per 16 sq. ft. 3 ½ cups per 25 foot row ¼ cup per 1 gallon pot 1 cup per 5 gallon pot Mix thoroughly in the soil to a depth of 6-8 inches
Fertilize about every 8 weeks throughout the growing season – first, at time of planting, or in spring before bud break, then again as first blooms fade, and then again in midsummer.
Established Plants: 1-2 cups per plant depending on size 5 cups per 50 sq. ft. 1 3/4 cups per 25 foot row Mix thoroughly in the soil to a depth of 6-8 inches, just inside the drip line of the plant
Annual Flowers and Perennials
New Plantings: 4 cups per 50 sq. ft. 2 cups per 25 foot row Mix thoroughly in the soil to a depth of 6-8 inches
Fertilize at time of planting, after first bloom and every 8 weeks throughout the growing season. For perennials, feed at first bloom and then every 8 weeks.
Established Plants: 2 cups per 50 sq. ft. 1 cup per 25 foot row Mix thoroughly in the soil to a depth of 6-8 inches
Container Plants
New Plantings: ¼ cup per gallon of soil, or 1 cup per cubic foot of soil
Fertilize at time of planting, and every 8 weeks throughout the growing season.
Established Plants: 2 tablespoons per gallon of potting soil or ½ cup per 5 gallon container
TOMATO & VEGETABLE FERTILIZER
Plant Type
Application Rate
Frequency
Tomatoes & Pepper
New Plantings: 3 cups per 50 sq. ft. 1 ½ cups per 25 foot row
Fertilize at time of planting and again at first bloom set.
Established Plants: 1 cup per 50 sq. ft. ½ cup per 25 foot row
Other above ground vegetables: Lettuce, Bean, Squash, etc.
New Plantings: 4 cups per 50 sq. ft. 2 cups per 25 foot row
Fertilize at time of planting and in the middle of the growing season.
Established Plants: 4 cups per 50 sq. ft. 2 cups per 25 foot row
Root Crops: Carrot, Beet, Radish, Potato, Onion, etc.
New Plantings: 4 cups per 50 sq. ft. 1 cup per 25 foot row Use half rate for carrots
Fertilize at time of planting and in the middle of the growing season. Feed carrots only at time of planting.
Established Plants: ½ cup per 50 sq. ft. 1 cup per 25 foot row
Container Vegetables
New Plantings: 4 tablespoons per gallon of soil, or 1 2/3cups per cubic foot of soil
Follow guidelines listed above for the specific vegetables.
Established Plants: 4 tablespoons per gallon of potting soil or 1 ¼ cups per 5 gallon container
ALFALFA MEAL
Plant Type
Application Rate
Frequency
Vegetables, Annual Flowers, Perennials
New Plantings/Established Plants: 5 cups per 50 sq. ft. 2 1/2 cups per 25 foot row
Fertilize at time of planting, and every 6-8 weeks throughout the growing season. For perennials feed at first bloom and then every 6-8 weeks.
Roses, Ornamental Shrubs, Trees, Fruit Trees, Vines
New Plantings: 2 1/2 cups per 16 sq. ft. 1/2 cup per 1 gallon pot 2 1/2 cups per 5 gallon pot
STARTER & TRANSPLANT
Plant Type
Application Rate
Frequency
Vegetables, Annual Flowers and Perennials, Groundcovers (includes plants and direct seedling)
1.5 cups per 10 sq. ft. 3.5 cups per 25 foot row
Fertilize at time of planting.
Ornamental Trees and Shrubs, Fruit Trees and Vines (includes transplants)
2 tablespoons per 4″ pot 1/4 cup per 1 gallon container 1 1/4 cup per 5 gallon container
Fertilize at time of planting.
Container Plants (includes plants and direct seedling)
2 tablespoons per quart of soil, or 1 cup per cubic foot of soil, mix thoroughly
Fertilize at time of planting.
CITRUS, AVOCADO & VINE FERTILIZER
Plant Type
Application Rate
Frequency
Citrus and Avocado Trees
New Plantings: ½ to 1 cup for the fill-in soil, then 1-½ cups in the area around the tree
Fertilize established plants in February and again in late May and August.
Established Plants: 2 cups for every inch in trunk diameter (measured at 4-6 inches above the soil line). Mix thoroughly in the soil just inside the drip line of the plant
Container Plants
New Plantings: 1 tablespoon per quart of soil or 1 cup per cubic foot of soil
Fertilize every six weeks from January to April and then again in July.
Established Plants: 6 tablespoons per gallon of potting soil or 1½ cups per 5 gallon container
Berries and Ornamental Vines
New Plantings: ½ cup for the fill-in soil
Fertilize established plants when growth begins in spring and again when flowers form.
Established Plants: 1 cup around each plant. Mix thoroughly beneath drip line.
Now that the spring season is over and we are already into August, I wonder “where did the summer go”? With so many things going on in the spring and early summer garden, now is certainly the time to relax a bit and enjoy the fruits of your labors. I am not suggesting you do nothing in your garden, as there is always some maintenance to do, but at this time of year the labor is not so intense. And if you follow a few late summer gardening tips you will be sure to enjoy those fruits well into the fall season. Feeding the late summer garden is a good start.
If you have rose bushes, between now and mid-September, it is a good time to give them a final application of rose fertilizer for the year. I particularly like to use an organic fertilizer that is slow release. A quality flower fertilizer is ideal and applying now will encourage flowering throughout the fall season. I like to cultivate the fertilizer lightly into the soil and then give the plants a thorough watering.
As I visit other gardens this season, I see more and more vegetable gardens being planted. Home vegetable gardens are cropping up in landscapes with limited space and not necessarily in what we think of as a traditional vegetable garden. Just within my immediate neighborhood there are two rather unique vegetable gardens. One is in the space that was previously a lawn and another is in a space that is directly along the road. We would probably not have seen either of these locations used for vegetables a few years ago.
LEFT: A raised bed created at a local garden center. RIGHT: An example of vegetable garden along a roadside.
Another example of a unique vegetable is one that appeared recently at a local garden center. A raised bed vegetable garden was created in a space that had formerly been part of the garden center walkway. It was made by using pavers for the sides and then filled with top soil and then amended with organic soil conditioner and organic fertilizers. This proved to be an ideal demonstration garden to show home gardeners how easy it is to make a raised bed and that one can be built over almost any type of surface, even a driveway.
‘Joe’ harvesting cucumbers in his community garden.
For those with limited space, or perhaps limited sunlight, consider a community garden. I am amazed at the prolific community vegetable gardens that are scattered throughout the city. These community gardens have become so popular in Portland that there is almost always a waiting list for those wanting their own plot. I have a friend, ‘Joe’, that was able to get two plots at his local community garden and he has diverse plantings and reaps a prolific harvest. The other huge benefit of a community garden is that it becomes an opportunity to meet other gardeners from your neighborhood and helps as a community building tool. Most gardeners love sharing ideas and it is hard to think of anything better than growing vegetables side by side with someone of like interests. Not only can you share the harvest, but sharing ideas on what you grow and how can be a great way to pick up new ideas for your own plot and to meet a new gardener.
For vegetables that continue to produce into the fall, consider giving them a final application of an organic fertilizer formulated for vegetables. I always like to lightly work the soil, apply the fertilizer and then water.
Janet’s vegetable garden is example of vegetable garden cut into lawn area.
Late summer can be a stressful time for many container plants and hanging baskets. With the container being a limiting factor with regard to a plants source for fertilizer plus the constant watering required, nutrients in a container garden can easily be depleted. This is a good time to add some all-purpose organic fertilizer as this can give plants a much needed boost.
While this is just August, it is time to be thinking about a fall vegetable garden. As summer crops fade, consider the space as potential for an entirely new crop to grow and harvest in the fall and winter. If the soil has been used for a summer vegetable garden, it would be wise to amend it by adding organic matter with a product such as Black Gold Garden Compost Blend. This same time would also be an ideal opportunity to add in some fertilizer. Then as you remove your summer vegetable plants, and the soil is prepped, you are ready to plant. As a general rule, it is best not to plant the same crop in the same location year after year. Mix things up and perhaps, where you had tomatoes, plant peas.
Always remember that gardens are meant to be enjoyed. In my own garden, while there are always many tasks that need to be done, I do like to take some time, especially in the morning, and casually walk through it. What a delight it is to see plants in the coolness of the morning, hear the birds chirping and letting my mind relax.
Whether you’re growing a family food garden or cultivating your favorite roses, the key to developing quality garden soil is always organic matter. This material is vital to plant life whether you are growing all organic, partially so, or using standard horticultural practices. Consider this the panacea to many problems that routinely plague home gardens during the growing season.
1.Organic matter is vital to improving soil structure. When mixed into clay soils it opens up the tiny particles of heavy clay soils to help them drain, and it helps to retain such drainage over time. This is also the case for adding organic matter to porous soils, which helps retain moisture like a million tiny sponges. This first step is accomplished with Black Gold Garden Soil for structural changes to soil for fantastic organic food and outstanding flowers.
2.Organic matter feeds microbes. When organic matter is partially decomposed and fine textured as is the case with fine textured Black Gold Garden Compost Blend, think of it as fuel for the huge populations of microorganisms that live in your soil. This invisible life force in topsoil includes fungi, bacteria and algae. They work symbiotically with your plants to help them grow faster and fruit more abundantly. Microbes in the soil are much like intestinal flora in the human body. Both are directly related to a healthy functioning immune system. Organic matter is Nature’s perfect pro-biotic.
3.Organic matter adds fertility. All soils contain nitrogen, phosphorus and potassium, but there’s not enough to feed a garden year after year. Make it a practice to fortify the soil each year with a healthy dose of Black Gold Soil Conditioner, which offers organic matter as well as slow release fertilizer in a single all-organic package. It contains plenty of compost for organic matter, but what boosts this amendment is a variety of natural nutrient sources such as kelp and guano. Kelp is vital to adding lesser known micro-nutrients thereby resolving any lack of trace elements. Where Soil Conditioner may not be available, combine Black Gold Garden Compost Blend with healthy additions of a starter and transplant fertilizer for similar results.
Remember: organic matter isn’t forever. Whether you add Black Gold Natural & Organic Soil Builder or Black Gold Garden Compost Blend to your garden, consider this your soil’s annual meal. Be generous to ensure the entire garden receives a good sized portion. During the growing season, this organic matter is broken down and used by both microbes and plants. Unless you replace it on a regular basis, your garden will not produce the same results the following year. Without regular applications, soil may revert to heavy clay, the microbe population will drop off and fertility declines.
Plan on two large feedings a year with smaller applications as needed in between. Apply the largest quantity in spring before planting time. Till it in before hand so microbes have time to increase their numbers prior to arrival of plants and seed. Use it again as a summer mulch around individual plants to retain moisture and keep roots cool. Then till in a final dose at the end of the year, which feeds microbes all winter.
Stick with Black Gold quality organic matter and you’ll find the keys to perfect garden soil in the palm of your hand. Whether it’s structure, fertility or to grow microbe populations, the result is always beneficial, your yields always abundant.
If you have any gorgeous, red amaryllis left over from the holidays, treat it well and it will reward you with blooms again next year. After the current flower fades, cut the stem off at the base but leave any newly forming leaves to remain. The foliage carries on photosynthesis to store energy in the bulb before it goes dormant.
Move the potted bulb to new sunny location and keep it adequately watered until the leaves die back naturally. Then remove the bulb from its pot, clip off all residual roots and leaves, then store it in your refrigerator. Replant in new pots next fall with Black Gold All Purpose Potting Soil.
There is no reason we need to stop gardening just because summer is ending and winter will soon be here. Many gardeners that I know ‘switch gears’ and set up a special place where they can continue to garden indoors. It might take a little more effort but it is worth it, not only with what you can grow, but the idea you have accomplished what some perceive as difficult.
Think for a moment of the many summer herbs we have enjoyed in our outdoor gardens. Wouldn’t it be great to extend the season with new plants that you have grown in the winter but are perceived as summer plants? If you can supply similar conditions to what the plant has been accustomed to in growing outdoors, then you are off to a good start. One of my favorites is basil and this is an example of a plant that can also be easily started from seed indoors as long as the right conditions are present. The right conditions include the proper soil mix, artificial light, warmth, and space. Artificial light may or may not be a requirement depending on your location and whether you have strong winter light. In Western Oregon and Western Washington, we could certainly need supplemental lighting for most indoor herb plants or plants that are generally perceived as outdoor plants. There are some low light house plants, but I am not including them.
Some garden centers carry indoor lighting kits for homeowners but if you are going to be growing any quantity of plants, you will probably need to find a store that sells materials for hydroponic gardening. Hydroponic garden supply stores will have a good selection of indoor lighting and can give you tips and information depending on your particular circumstances. If you do not know a hydroponic store in your local area, I suggest you go to Sunlight Supply, Hydrofarm or Bloomington Wholesale websites to find a store near you.
If your home has a basement, this can often provide ideal conditions for starting seeds. I have a friend with a basement and he sets up a table with artificial lights, heating pad and everything he needs to start seeds in the winter. He has used this method for many years to start seeds ahead of the season and then he sets plants out when the weather is appropriate for whatever crop he has. Often he grows some of his favorite herbs from seed and then harvests them and uses them in cooking throughout the winter.
Once you have done some research and have the basic supplies, you will need to start with a seedling tray and a good soil. Most garden centers will stock seedling trays which will allow you to plant many seeds in a small area. For soil, Black Gold Seedling Mix is an ideal choice. Black Gold Seedling Mix is formulated with a wetting agent to provide quick water penetration and is a very fine texture to help with germination. It also contains perlite to provide good drainage which is very important with indoor grown container plants. One of the problems that can arise from starting seeds indoors is a disease called damping off. It affects young seedlings and causes them to die. A listener on my radio program once told me of an organic way of preventing damping off. This listener grew many of his plants from seed and used fine grade chicken grit and lightly coated the soil with this after the seeds had been planted. Most farm or feed stores would carry chicken grit and it can usually be purchased by the pound.
Once the seeds have germinated and the young seedlings have developed their true leaves, it is time to transplant these seedlings into an individual pot. Gently lift them out of the plant tray and place them in their new home. I usually use a four inch pot as this size is large enough for the plants to grow for several weeks and the pots are large enough that they are easy to move around. My soil of choice for this four inch pot is Black Gold Natural & Organic Potting Soil. This is 100% organic and contains screened earthworm castings, which Black Gold is famous for using, as well as sphagnum peat moss, compost, forest humus, perlite, and pumice. The perlite and pumice are added to insure good drainage and good aeration, both essential for optimum plant growth. It is important to water these newly transplanted seedlings immediately. If you are a novice at this, be sure you have a tray to hold the four inch pots and to act as a reservoir for holding the excess water as it drains out from the pots.
Always make sure your plants have adequate light. With indoor plants, light is a crucial issue. If plants begin to stretch and become ‘leggy’, that is a signal they are probably not getting enough light. After several weeks and the plants are established and growing, it is probably a good time to fertilize them. I like to use some type of water soluble fertilizer, meaning I can dissolve the fertilizer in a watering can and then fertilize my plants as I water. The fertilizer you select will be dependent on the particular plant and what you expect from it. If you are growing a plant for foliage, you will probably want high nitrogen (first number of fertilizer analysis). If you are going a plant for root development, then look for an analysis with a higher middle number (phosphorus). There are some plants you may want to encourage growth in the early stages and then switch to high phosphorus for bloom and/or root development. Talking with other gardeners that have had experience with indoor gardening can be a wealth of information.
It may sound difficult, but it really is not. It is always fun to try something new in gardening and perhaps this is your year to try growing plants under lights.
With the advent of Black Gold® All Purpose, you are now able to enjoy the benefits of a premium quality potting soil with a fertilizer that will feed your plants for up to six months. Sun Gro sells this same fertilizer product to professional growers. By incorporating Multicote® into your potting soil, your plants will have a consistent supply of nutrients throughout the entire season.
Multicote®, a controlled release fertilizer, has been coated with a polymer that slowly breaks down to release the nutrients over time. Unlike other controlled release fertilizers in the marketplace, Multicote® will not release excessive nutrients in higher temperatures, thus ensuring your plant will thrive no matter what the weather. This baseline of fertilizer allows your plants to grow all season long, not just when you remember to fertilize. Additional fertilizations with a liquid fertilizer, starting a couple weeks after planting, will ensure your plants get all the nutrients they need, particularly if your plants are heavy feeders.
Ideal for all types of plants, Black Gold® All Purpose with Multicote® is a great choice for house plants, patio containers and hanging baskets. Canadian Sphagnum Peat Moss with earthworm castings, forest humus, compost and pumice combine to provide your plants with both moisture retention and good drainage. Since this potting soil has a higher amount of peat moss, it is ideal for gardeners looking to reduce their fertilizer and water usage.
Think of all the benefits – you start with a premium potting soil; add a controlled release fertilizer that will lessen the frequency of fertilizing; and you get improved plant performance by using Black Gold® All Purpose Potting Soil with Multicote®.
The term “worm castings” seems to confuse everyone but the plants. Earthworms have been hard at work for centuries rejuvenating soils and helping to convert various types of organic matter into one of nature’s best soil conditioners. Black Gold® has had worm castings as the cornerstone of its product line long before worm castings became the vogue in gardening. Our Earthworm Castings are OMRI Listed, making them a cut above the rest for both traditional and organic gardening.
Black Gold® Earthworm Castings contain a fertilizer charge. In fact, they are so nutrient-charged that we actually have to register them as a fertilizer in some states. Minerals and nutrients from earthworm castings are in a water-soluble form, making them readily available to plants.
Do your houseplants need to be re-potted? If so, Black Gold® offers a wide variety of product choices. We have four specialty mixes to choose from in addition to three standard all-purpose mixes. They are the perfect house plant potting soils.
Black Gold® African Violet Mix – Finicky African violets thrive in this blend of Canadian Sphagnum Peat Moss, compost, pumice, earthworm castings and screened forest humus. The pH has been balanced to create the optimal rich and porous medium for growing foliage and flowers. African Violets must be pot-bound to bloom, so it is important to choose the correct size of pot. You should choose a pot that is 1/3 larger in diameter then the plant, and keep in mind African Violets need to be repotted every six months. The new potting soil will give the plant new organic matter and nutrients, and will reduce the build-up of salts.


 Now that the spring season is over and we are already into August, I wonder “where did the summer go”? With so many things going on in the spring and early summer garden, now is certainly the time to relax a bit and enjoy the fruits of your labors. I am not suggesting you do nothing in your garden, as there is always some maintenance to do, but at this time of year the labor is not so intense. And if you follow a few late summer gardening tips you will be sure to enjoy those fruits well into the fall season. Feeding the late summer garden is a good start.


