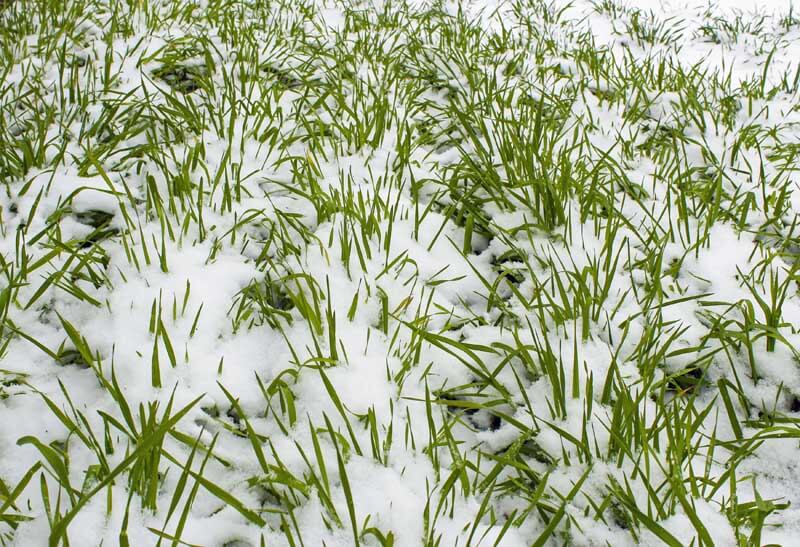
Now that fall has passed, it is a dismal thing to look out the window and see no color. But, this does not have to be the case if you plant beautiful trees that still offer bright colorful fruits to the garden in winter. The first one everybody thinks of is holly, but there are several more that fit the bill.
American Holly
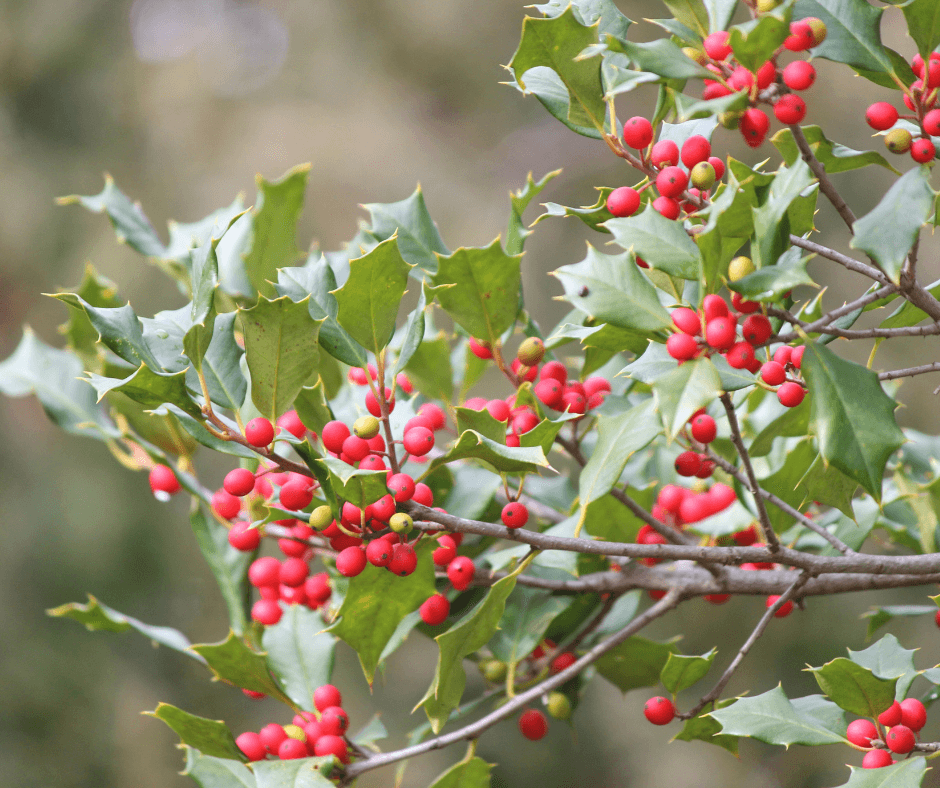
American holly (Ilex opaca, USDA Hardiness Zones 5-9) is an eastern native tree that can survive in some shade but grows and looks best in an open area with full sun. The pyramidal tree can reach up to 50-60 feet tall, so find a big place in your yard or garden to plant it. It has leathery evergreen leaves and bright red berries that turn from green to red in fall that stay on through the winter. A caveat is that it is a dioecious tree, which means that plants have either female or male flowers, never both. That means that both male and female plants are needed to produce fruit. One of the oldest and best varieties is the heavy-fruiting, ‘Jersey Princess‘, which was bred at Rutgers University. It fruits heavily and has a neat, narrow habit. A good pollinating partner is ‘Jersey Knight‘. Be aware that the leaves are very prickly, so wear thick garden gloves with gauntlet sleeves when handling them.
Yaupon Holly
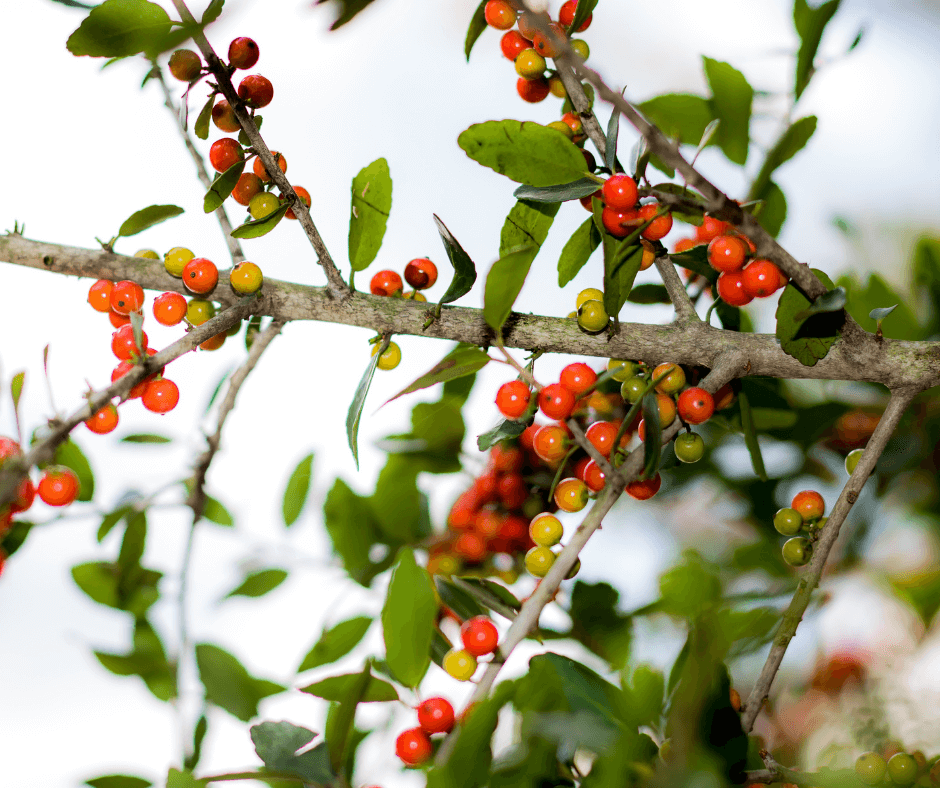
The more southern sun-loving yaupon holly (Ilex vomitoria, Zones 7-9) has smooth-edged leaves and female trees develop copious red berries that remain on the stems through much of winter. It is a native species that naturally exists in open coastal woods from Virginia down to Florida and across to Texas. Wild specimens can reach up to 45 feet high, on rare occasion, but generally do not exceed 25 feet. The golden-berried ‘Anna’s Choice‘ is a lovely female variety reaching 15 feet that bears lots of sunny fruits against its fine, scalloped leaves. ‘Will Flemming‘ is an unusually upright narrow male yaupon holly tree that reaches 12-15 feet. Its spring flowers will pollinate female trees, like ‘Anna’s Choice’.
American Wahoo
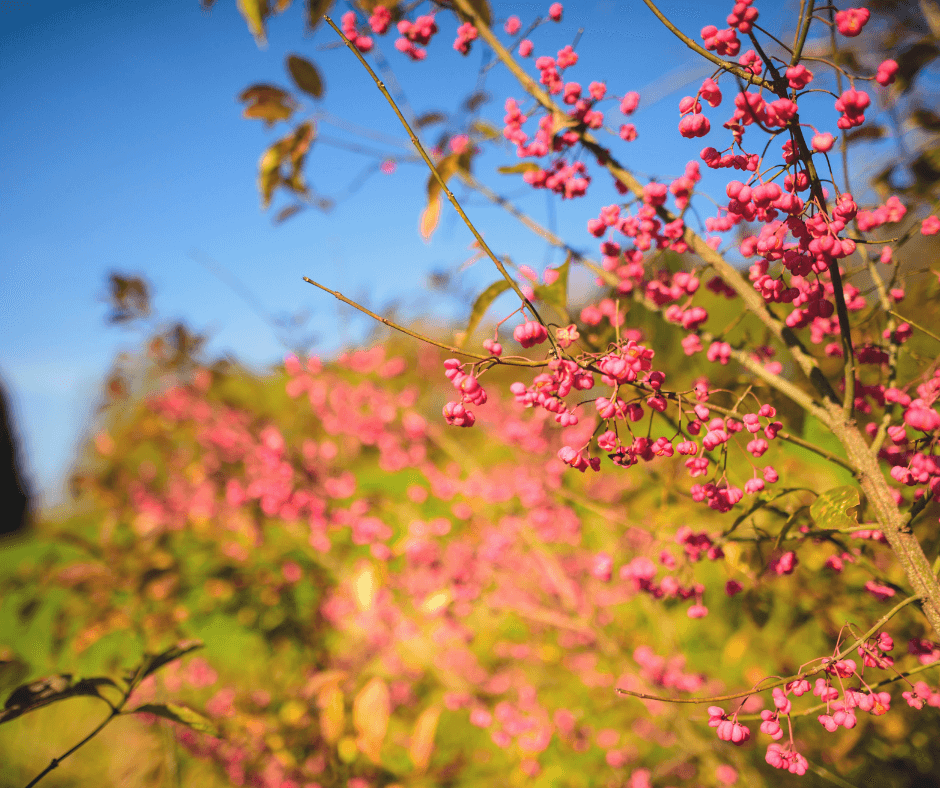
American wahoo (Euonymus atropurpureus, Zones 3-10) is a relative of the invasive non-native burning bush (Euonymus alatus), but in fall this non-invasive eastern native shows off exceptional pinkish-red fruits with orange inner seeds as well as purplish-red leaf color. In spring it bears purplish flowers. The multi-stemmed tree can reach up to 20 feet and looks best when planted as specimen trees in a sunny, open lawn. Well-drained, fertile soil is needed. Some stem pruning must be done to encourage an open trunk. Birds love the fruits.
Green Hawthorne
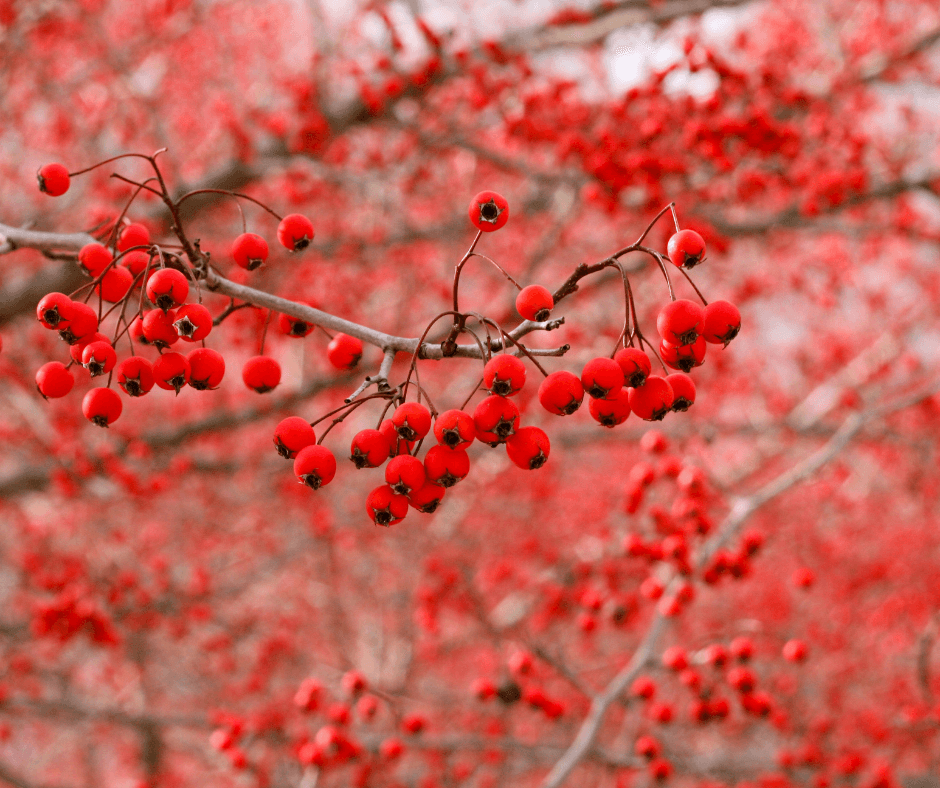
The green hawthorn (Crataegus viridis, Zones 4-7) is a small native tree that exists across much of the eastern United States. Wild specimens have large thorns up and down stems, so approach this tree with caution. ‘Winter King’ is an improved variety with spectacular red fruits in winter, profuse white flowers in spring, very few thorns, and silvery bark. The scarlet fruits (called “haws”) resemble very little apples, and technically they are edible, but most gardeners leave them to the birds. (European hawthorns (C. monogyna) are a bit larger and often used to make jams and jellies.) In fall, the leaves turn purple and scarlet, and the brilliant red fruits last well into winter. ‘Winter King’grows 15 to 20 feet tall, adapts to any kind of well-drained soil and is drought tolerant and disease resistant.
Crabapples
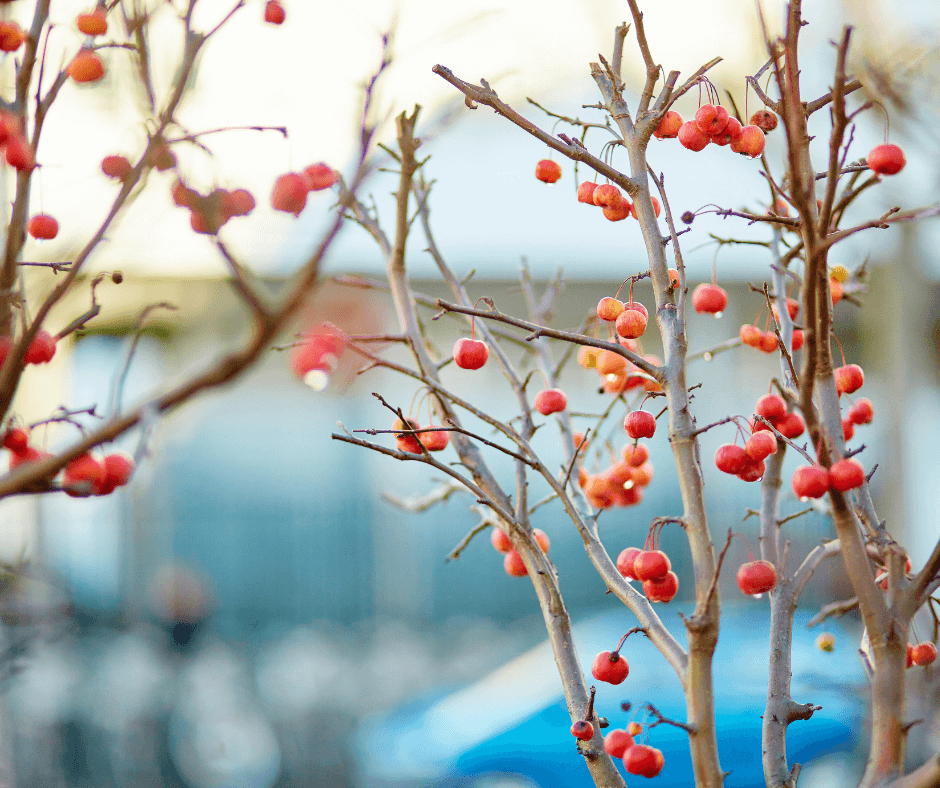
There are literally thousands of flowering crabapple varieties. The best flower and fruit beautifully and are very disease-resistant. One that comes highly recommended by my daughter is ‘Prairifire’ (Malus ‘Prairifire’, Zones 4-8), a highly disease-resistant variety first introduced in 1982 and developed by Dr. Daniel Dayton of the University of Illinois. It displays some of the most stunning hot-pink spring blooms against purplish-red spring leaves that turn dark green in summer and bronze-red in fall. Its fall crabapples turn bright red and are held into winter until birds pick them off. The tree reaches about 20 feet tall, needs full sun, and resistants many foliar diseases that attack crabapples. Plant it in full sun for best growth and flowering.
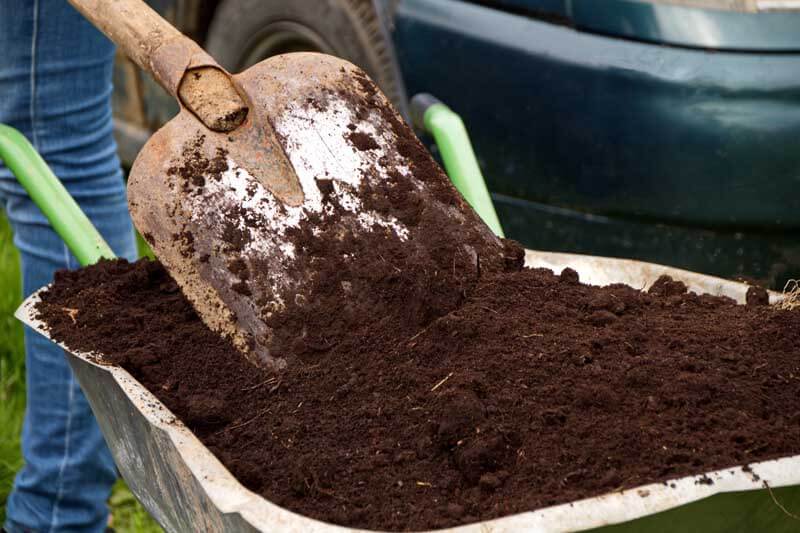
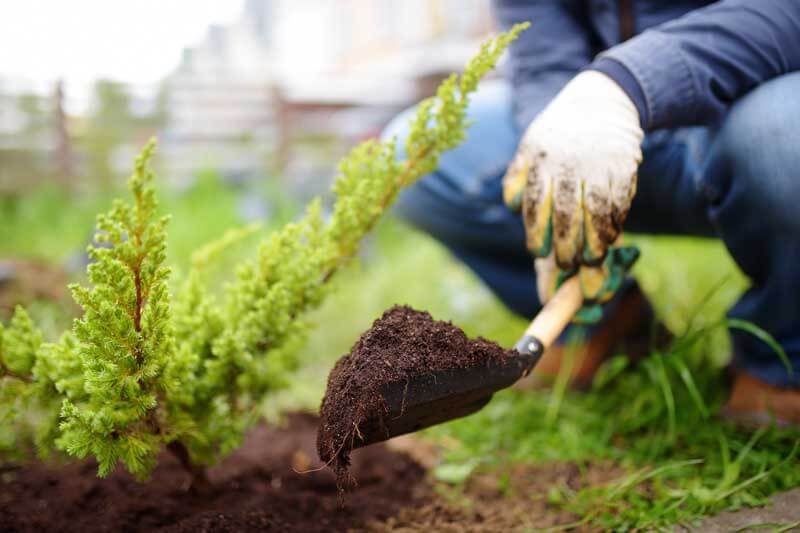
Click here for a full overview of how to properly plant a tree. Its steps will ensure that any tree you plant will grow beautifully in your landscape. Rich amendments, such as Black Gold Peat Moss and Garden Compost Blend, will ensure their roots will grow deeply in the first year.
Any one of these trees, or all of them, will brighten your winter landscape. I hope this has given you some plants to buy when planning for any garden additions for next season.