“Is it possible to grow any vegetables indoors in a sunny room with a grow light? I live in NE PA and we have long cold winters. I would love to grow veggies over the winter. I have a room that I think would work.” Question from Melanie or Susquehanna, Pennsylvania
Answer: What a nice space! You can certainly grow container vegetables in your bright, sunny room. It offers so much natural sunlight that only some supplemental grow lights will be needed, if any. Vegetables will grow best in the sunniest window. A south-facing exposure is optimal.
Supplemental light may only be needed if you grow fruiting vegetables that need extra sunlight, like tomatoes and peppers. Greens and herbs should not need supplemental light; your bright windows and skylights should be enough. As far as grow light options, if you need to supplement choose a tall, adjustable grow light (click here for an example). (Click here for more information about different grow light types and options.)
From there, I recommend that you watch the video and read the article below. They should give you all the details that you need to grow vegetables inside.
Fresh or dried herbs or herbal flowers can be used to make wonderful medicinal, culinary, or fragrant herbal wreaths in almost any season.
An herbal wreath is a fragrant and decorative way to dry your culinary herbs. While wreaths are most commonly used throughout the holiday season, especially pine or fir wreaths for their fresh scents, herb wreaths can bring aroma and ambiance indoors throughout the year.
Harvesting Herbs for Drying
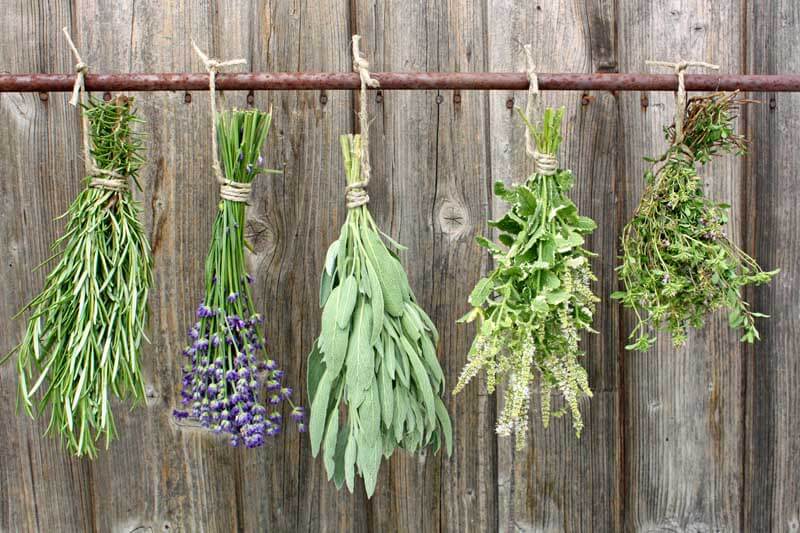
Drying bundles of herbs
Choose herbs to harvest that have not yet flowered. Cut the stems in the morning after the dew has dried, but before the heat of the day. Use clean, sharp scissors, or pruners. bundle them together in stems of five to ten, and hang them to dry. Once they are 3/4 of the way dry, they are ready to work with. At this point, they are not crisp. To dry bay leaves, place them between two paper towels and set a book on top of them. After a week, they should be ready to use. Here are four potential wreaths to make:
Herbal Tea Wreath–Pineapple Mint or Peppermint, Lemon Balm or Lemon Verbena, Chamomile Flowers, and Flowering Bergamot (Monarda didyma) are all perfect herbs for drying and teamaking. (Click here to learn more about growing and making tea.)
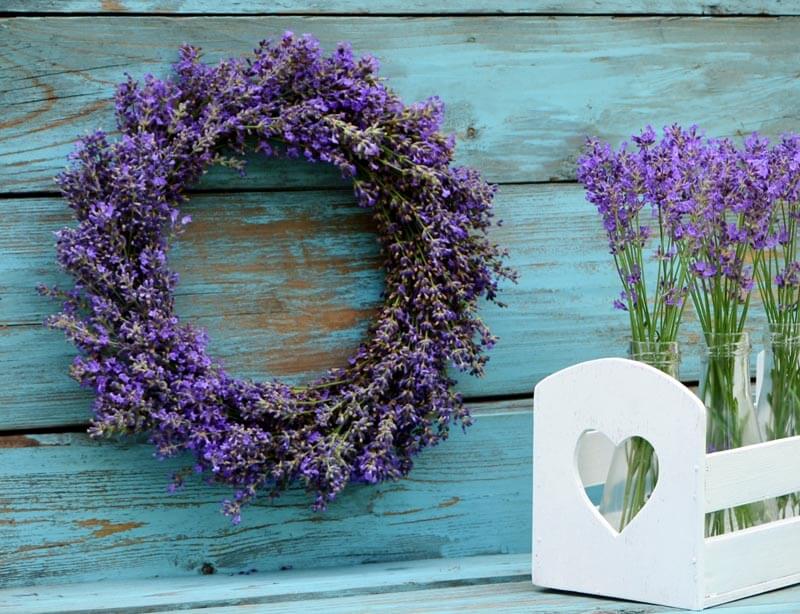
Lavender Wreath— Nothing smells better than a dried lavender wreath in the home.
Mediterranean Wreath–Bay stems, Rosemary, Sage, and Thyme make this a wonderful culinary wreath for any time.
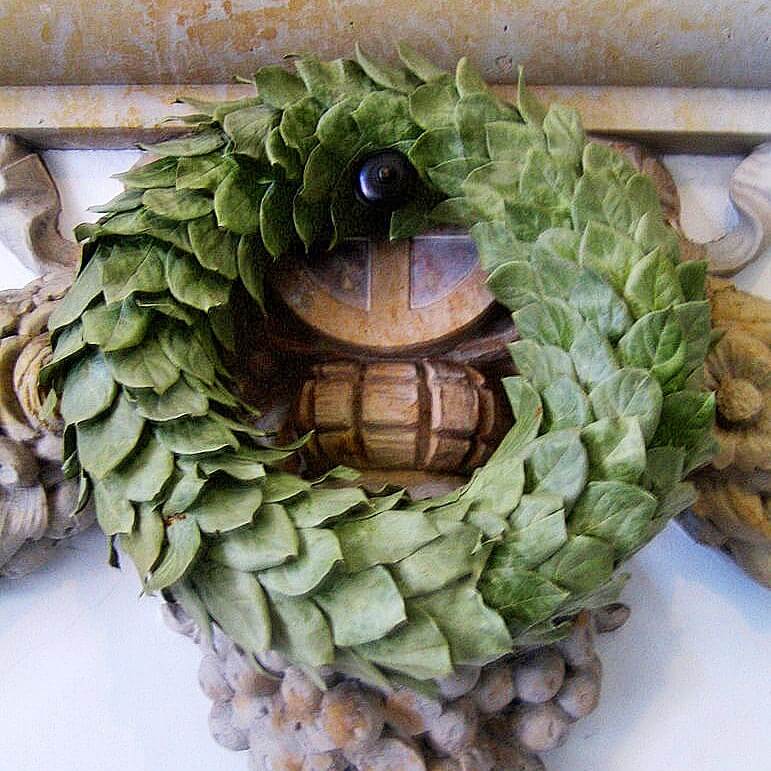
Bay Wreath–Bay leaves can be dried to make a fragrant, culinary wreath to enjoy through winter.
Harvesting Fresh Herbs
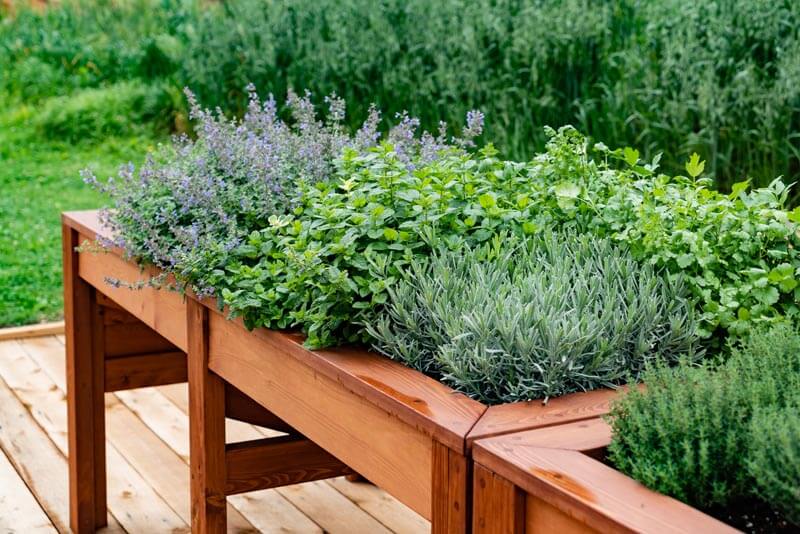
Grow lots of fresh herbs for wreath making. Be sure to grow them organically if you intend to consume them.
Some herbs last longer than others in fresh herbal wreaths. Good herbs to choose include evergreens, such as bay stems, lavender, rosemary, sage, and even thyme stems. Flowering herbs, like chamomile, tansy, rosebuds, and yarrow, also work well. Avoid more tender herbs, like dill, parsley, or basil; they do not last and look poorly after just a couple of hours.
Making a Fresh Herb or Dried Herbal Wreath
Twig or grapevine wreath forms make the best bases for herb wreaths, fresh or dry.
Once you have collected a variety of herbs, you can dry them in a beautiful wreath. I like to contrast needles with broad leaves and vary the color, but a wreath made of entirely one type of foliage can also be pretty.
Materials:
Grapevine wreath form
Rosemary, thyme, oregano, lavender, bay, sage, or other garden herbs
Everlasting flowers for color
Floral wire or twine
Scissors or snips
Make it!
A lavender wreath can perfume a home for a full year.
Lay the grapevine wreath on a table, and set out the freshly cut herbs and florist wire.
Build a bundle of herbs in your hands, like gathering a bouquet. I like to incorporate woody-stemmed herbs like rosemary as the base of bouquet because the stems can hold the shape of the softer stems layered on top. Be sure to add a touch of color with lavender flowers or fennel blossoms.
Snip off any long stems and tie the first bundle with florist wire, leaving one end of the wire long. Wrap the long end of the wire around the wreath form to secure the first bundle in place.
Gather the second bunch of foliage. Lay this bunch with the tops overlapping the first one, and secure it to the wreath form with the wire.
Continue adding bundles of herbs to the wreath by overlapping the previous bunch and securing with wire until there are no more gaps to fill.
Secure the final bunch by gently lifting the herbs from the first bunch and tucking the stems underneath it. Secure with wire by twisting it together.
Take a last look at the wreath. You can tuck in a few more greens to even out the design and hang in your kitchen.
As the herbs dry, use needle-nose pliers to twist the wire on the back of the wreath to tighten the hold on the herbs.
Harvest herbs from the wreath for cooking for up to three months or until they lose their flavor and aroma.
When making a bay wreath, use a solid wreath base of straw and arrange the leaves in the same direction all around.
“[I] have a question regarding my chives. They have flowered. Should I cut them back now this time of year or leave them be?” Question from Jeanne of Coldwater, Michigan
Answer: The foliage of edible chives (Allium schoenoprasum) will remain attractive and clippable until the first frost causes the strappy leaves to flop. You can cut them back at this time if you wish. Otherwise, leave them up to enjoy through fall. The same goes for summer-flowering ornamental onions.
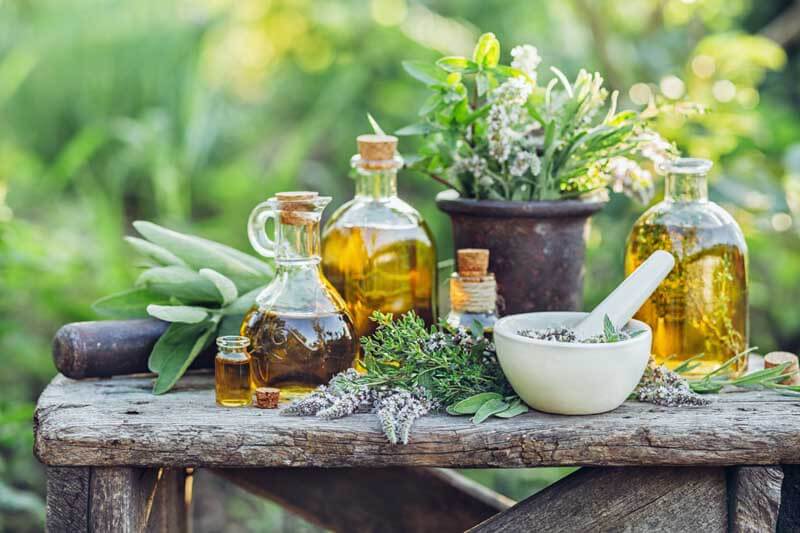
Making your own herbal infusions in oils and vinegar is a great way to preserve herb flavors from your garden. Since comparable store-bought bottles can be pricey, you’ll save money and have some delicious artisanal gifts to give to friends and family.
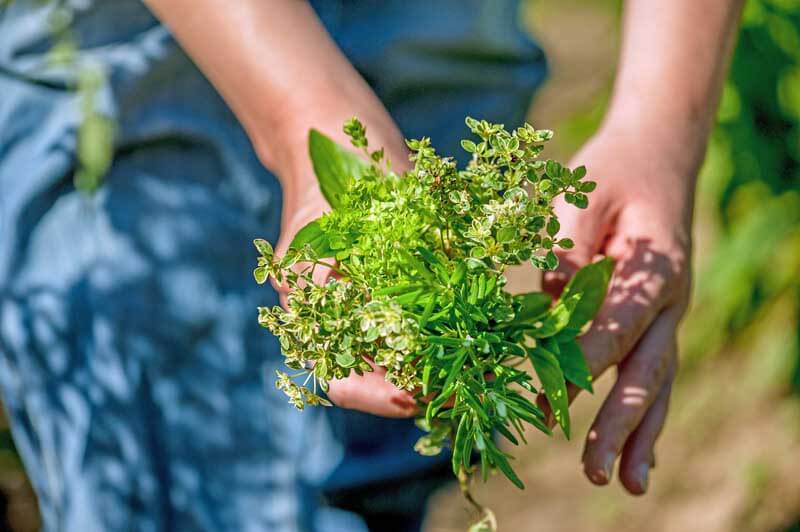
Harvesting and Drying Herbs
Bundles of rosemary, lavender, sage, pineapple mint, and thyme are easy to dry and retail their flavor.
Some herbs can be infused dry; others should be infused fresh. Dill, oregano, thyme, rosemary, and sage are all suited for dry infusion. Basil, cilantro, chili, and chives have the most flavor when infused fresh.
Harvest herbs from your garden early in the morning using clean, sharp scissors or pruners. If you plan to use fresh herbs, start your infusion immediately after cleaning the stems. To prepare dry herbs, hang them upside down in bundles or lay them in a single layer on trays in a dark, cool area. (Click here for some other drying methods.)
Which Herbs to Infuse
Choose herbs that are fresh from the garden in pleasing combinations that suit your taste.
The herbs you choose are entirely up to you! What are you growing? What’s freshest in the garden and best for your flavor palate? You can make single herb infusions, like basil oil or rosemary vinegar, or you can blend flavors together, like citrus zest, chili, and thyme. Choose a few options, and you’ll have plenty of ways to add spice to your kitchen creations.
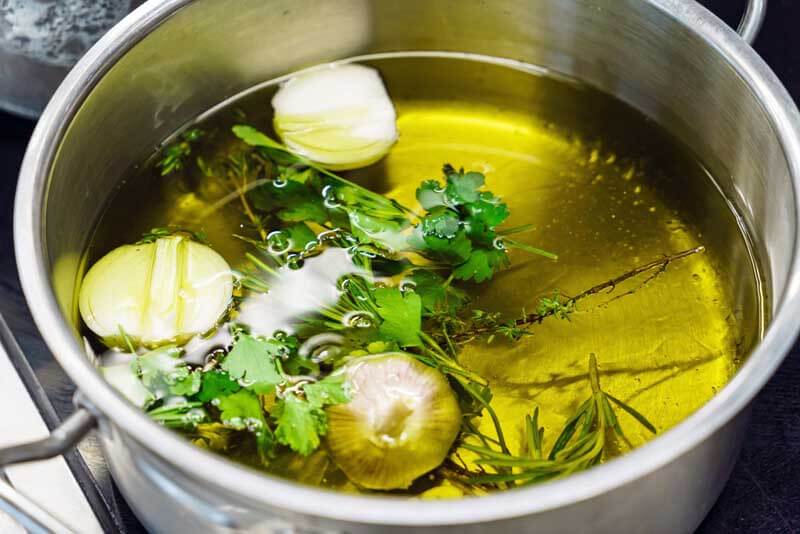
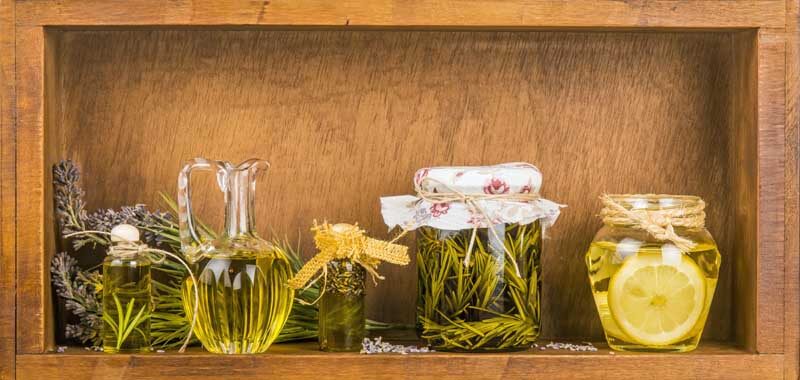
Oil Infusion Methods
The stovetop method is one way to infuse herbal oil. A double boiler or saucepan set on low heat also work. Cilantro, garlic, rosemary, and thyme are in this infusion.
Infusing the flavors of herbs in oil is most effective when the oil is warmed. This can be done on the stovetop, in the sun, or a Crockpot. The infused oils will be ready in just a few hours this way. You can also place herbs in oil for a cold infusion as long as you have the time to wait for six weeks to get your finished herbal oil.
Safety notes: When infusing herbs into oil, be sure to use dried herbs for the stovetop and sun-infused methods. Jars and bottles must also be dry and sterile. (Click here to learn how to sterilize jars and bottles.) Clean, dry, chopped or processed fresh herbs can be used for the slow-cooker method, as long as the oil is heated to a temperature just over 140 degrees F, which is hot enough to kill bacteria.
Stovetop Oil Infusion
Slowly heat the oil and herbs in a double boiler. Pack as many herbs as possible into the boiler top. Then, pour the oil over them–enough to fill your jars or bottles. Pour an inch of water into the bottom of the double boiler. Heat the double boiler on medium-high for a few minutes. Reduce the heat to low for a few hours until the oil becomes aromatic. If you do not have a double boiler, you can use a saucepan set on the lowest heat setting.
Sun Oil Infusion
Pack herbs into a large mason jar and pour oil over them, covering the herbs completely. Screw the top onto the jar, and leave it out in the sun for up to eight hours. To avoid overheating the herbs and eliminating some of their benefits, don’t use this infusion process during the height of summer. This method works best during the warm parts of late spring and early fall.
Slow Cooker Oil Infusion
Place the dried herbs into the Crockpot. Cover them with oil. Heat on low (190 degrees F) for a few hours or until the oil becomes fragrant. To create multiple oils at the same time, place the herbs in mason jars, cover with oil, and add a lid to each jar. Fill the Crockpot with a couple of inches of water and heat.
Editor’s note: If using fresh herbs, such as basil, start with a large bunch–maybe six big stems. Clean the stems and pat them dry. Blanche them in boiling water for 5-10 seconds, place them on a towel and lightly pat them dry, then put them in a food processor with a pinch of salt and puree them. Add the puree to a clean 16 oz. canning jar, fill with light olive oil, and cover with a lid. Fill the Crockpot with a couple of inches of water, place the jar in the water, and heat for a couple of hours. Finally, place three layers of cheesecloth over a bowl, pour the mixture through, and squeeze out all of the basil oil. Pour the oil in a fresh, clean jar and store it in the refrigerator for a couple of weeks. Another option is to store it in the freezer in a well-sealed plastic freezer container until use. A lidded silicon ice cube tray also makes a good container.
Cold Infusion
Pack dry herbs into a jar, lightly compacting them until filled to the top. Pour olive, canola, or grapeseed oil over them, gently pressing them down with a spoon to release some of the air bubbles. Completely cover the herbs with oil. Set the jar in a cold, dark room for four to six weeks.
Vinegar Infusion Methods
Apple cider vinegar makes lively herbal infusions.
The method you use to infuse vinegar depends on whether you are using herbs alone or adding fruit. In either case, the herbs do not need to be dried first. Pick fresh, clean herbs from the garden, and add them to the vinegar of your choice. Keep in mind that better quality vinegar will result in a better final product. White wine, apple cider, and coconut vinegars are lively when infused. If you have a sweet tooth, white balsamic is good for fruity infusions.
Herb and Fruit Vinegars
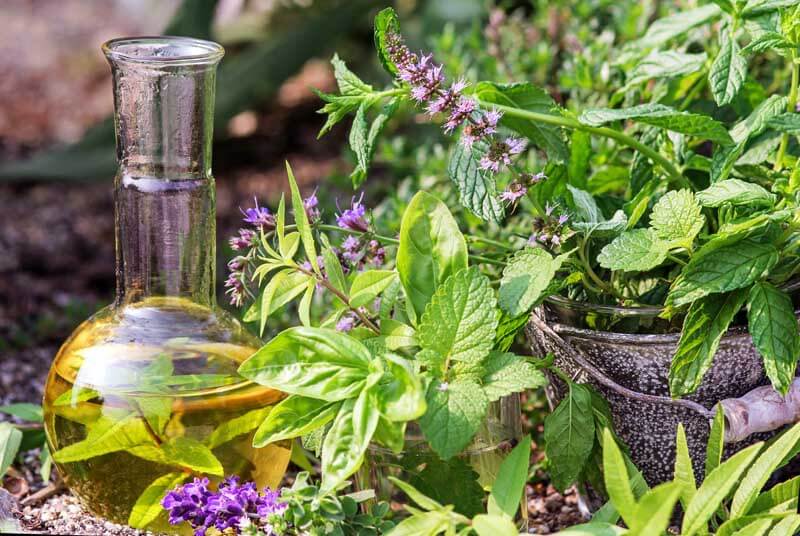
Herbs such as basil, lemon balm, and mint can make refreshing vinegars.
If you’re infusing vinegar with both herbs and fruit, such as strawberries, choose fruit that is ripe and free of blemishes. Wash it and cut off any stems. Harvest and wash fresh herbs. Bruise them with the back of a knife to release their scent and taste. Pack the fruit and herbs together into a jar. Cover them with vinegar and secure the top of the jar. Place it in a cool, dark room for ten days. Strain the solids out of the vinegar. Stire it in the fridge for up to a month.
Pack washed and bruised herbs into a jar. Cover them completely with vinegar and secure the top. Place it in a cool, dark room for about two weeks. Strain the herbs out of the vinegar. Store the finished vinegar in the fridge.
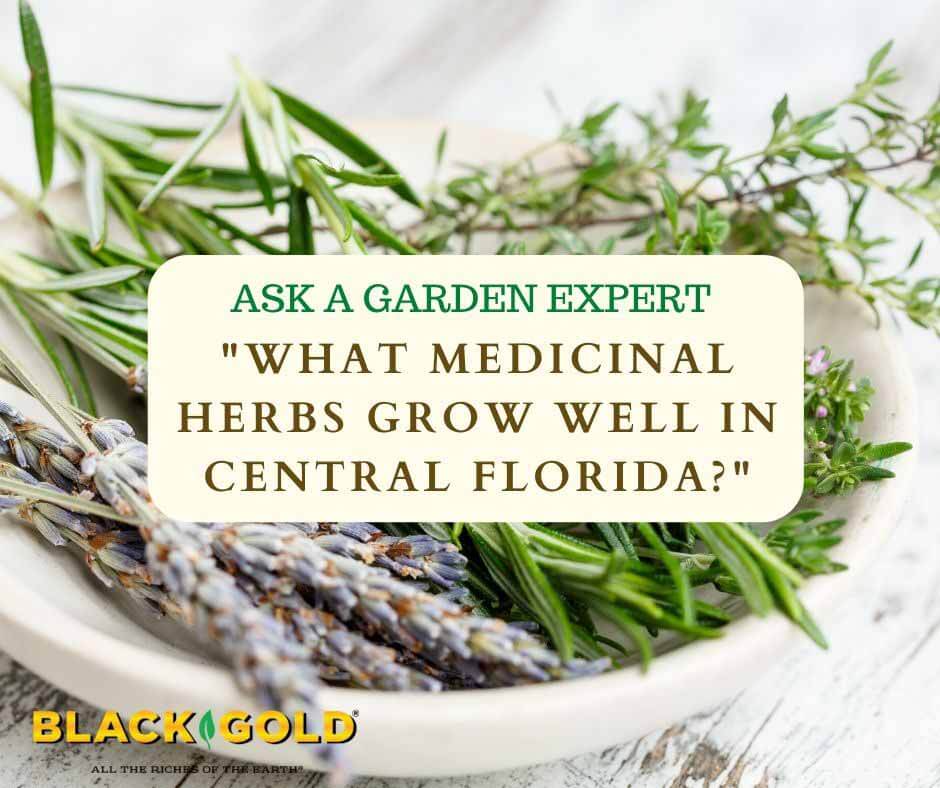
What Medicinal Herbs Grow Well in Central Florida?
“What Medicinal Herbs Grow Well in Central Florida? I moved to Florida and I want to know which native medicinal herbs to look for and grow here at my new home.” Question from Susan of St. Pete Beach, Florida
Answer: There are lots of medicinal herbs that will grow well in your Zone 9 garden. I recommend that you read our article titled Grow anApothecary Garden: Flowers and Herbs for Healing as well as our article about growing an Herbal Tea Garden and one titled Garden Cold and Flu Remedies. Most of the herbs in these articles will grow well in your area. You can even grow your own healing fresh ginger indoors or outdoors in pots in Florida (click here to learn how)! I hope that these resources help.
“I know a lot of herbs spread on their own. Do I need to put barriers in the ground to keep them from taking over?” Question from Glenda of Sewell, New Jersey
Answer: Barriers are required to keep spreading herbs in bounds. The worst spreading perennial herbs are mints of all kinds and oregano, another member of the mint family. They spread by underground runners and some are so aggressive that they will take over a garden space in no time to noxious proportions. The runners can move their way around rocks and under stone edging to invade further garden spaces or lawns. Sometimes they can even escape from the bottom holes of pots!
Confining Mints
Confine mints in large pots on pavement or within deep collars in herb gardens. If you choose to grow your mints in pots, it is wise to place a piece of window screen across the bottom to keep the roots from escaping. (Black Gold Natural & Organic Potting Mix is a great growing mix for potted herbs.) A collar can be created by cutting the bottom off of a large nursery pot and sinking it in the garden; be sure to keep 2 inches of the lip above ground. Plant the mint in the center. Most herbs grow best in full sun and well-drained soil. (Click here to learn more about growing herbs.)
Confined mints will outgrow pots and collars and need to be divided or thinned every couple of years to keep them happy and healthy.
[What are the] best herbs for anti-viral use? Question from Jason ofProvidence, Rhode Island
Answer: What a timely question. We hesitate to give medicinal advice regarding herbal remedies for viral infections, but we do recommend that you read a useful medical article about “Antiviral Natural Products and Herbal Medicines” published in the US National Library of Medicine National Institutes of Health in 2014. It provides a full review of effective anti-viral herbals at that time. Click here to read it, and check out Table 1. Elderberry (Sambucusnigra), dandelion (Taraxicum officinale), and basil (Ocimum basilicum) are among the more common, safe herbal plants mentioned that have extracts with demonstrated anti-viral activity.
What are the best herbs for Central Florida? Question from Sherry of Silver Springs, Florida.
Answer: You can grow common, heat-loving herbs well in Florida. These include basil, lavender, oregano, rosemary, sage, and thyme. The only potential caveat is that these popular herbs are Mediterranean and don’t like excessive moisture. For this reason, I would plant them in raised beds or containers, which tend to drain more quickly. Choose a fast-draining garden soil, like Black Gold Natural & Organic Potting Mix, for best results. Another important factor is that common perennial herbs like these require cool or cold winters to survive for years. This means that you will have to plant fresh starts a little more often.
Tropical lemongrass, which loves heat, humidity, and moisture, is an ideal herb for your climate if you like its lemony flavor (click here for a full list of lemony herbs). It should grow year-round for you. (Watch the video below about how to grow lemongrass.)
Here’s a little more about these heat-tolerant herbs.
Basil
Basil (Ocimum basilicum) is grown as an annual but will survive for several years where winters are mild. It is one of the best herbs for growing down South. (Watch the video below about growing basil in containers.)
Oregano
Oregano (Origanumvulgare, USDA Hardiness Zones 4-10) needs full sun and has low, rooting stems that spread, so be sure to give it space to grow. I recommend a low, wide pot.
Thyme
Thyme (Thymus vulgaris, USDA Hardiness Zones 5-9) is a common herb across Europe with a low, spreading, shrubby habit and pungent evergreen leaves. It requires well-drained soil and a sunny spot.
Sage
The leathery, gray, evergreen leaves of sage (Salvia officinalis, USDA Hardiness Zones 4-8) are tasty, and this hardy shrubby perennial bears pretty lavender-blue flowers in summer, which are also edible, and attract bees. Give it plenty of sun and soil with good drainage.
Lavender
Of all the lavenders, I like ‘Provence’ (Lavandula x intermedia ‘Provence’, USDA Hardiness Zones 6-9) because it is very fragrant and flowers heavily. It is a vigorous hybrid between English lavender (L. angustifolia) and Portuguese lavender (L. latifolia). (To learn more about growing lavender, click here.)
Rosemary
In the Mediterranean, rosemary (Rosmarinus officinalis , USDA Hardiness Zones 8-10) is a favorite in landscapes and edible gardens. This sun and drought-loving herb has needle-like leaves that are resinous and fragrant. I recommend protecting is from excessive rain in Florida (click here to read more).
“How do you know when herbs are really ready to pick for use? I never seem to get it right.” Question from Jim of Peoria, Illinois
Answer: By in large, the best time to harvest many herbs is when their leaves are healthy and lush in spring and midsummer. This is particularly the case with chives, chamomile, lemon balm, mint, parsley, and oregano.
In many cases, herbs taste best before they have flowered, although the flowers of some herbs are edible (Click here to learn more about edible herb flowers.). This is especially important with basil. Once the plants have flowered, the leaves turn from sweet, aromatic, and lightly fragrant to strong, pungent, and kind of unpleasant. That’s why gardeners pinch their buds off to keep them from flowering. (See the video below.)
Many evergreen herbs, like rosemary, thyme, and sage, continue to taste great all season and mellow out in the cool weather of fall. This is when I like to harvest them most.
Here are a few other articles about growing herbs:
You don’t need a huge garden to make an abundance of herb crafts to benefit your home, garden, and artistic inclinations. Starting with just a few common and versatile herbs is an easy way to get your hands dirty and feel the magic of plants. I’ve chosen three herbs that are perfect for herb crafting because you can turn them into all sorts of potions, lotions, recipes, and garden crafts. Wait until you see all that you can create with these three familiar garden herbs: lavender, rosemary, and calendula.
English Lavender (Lavandula spp.)
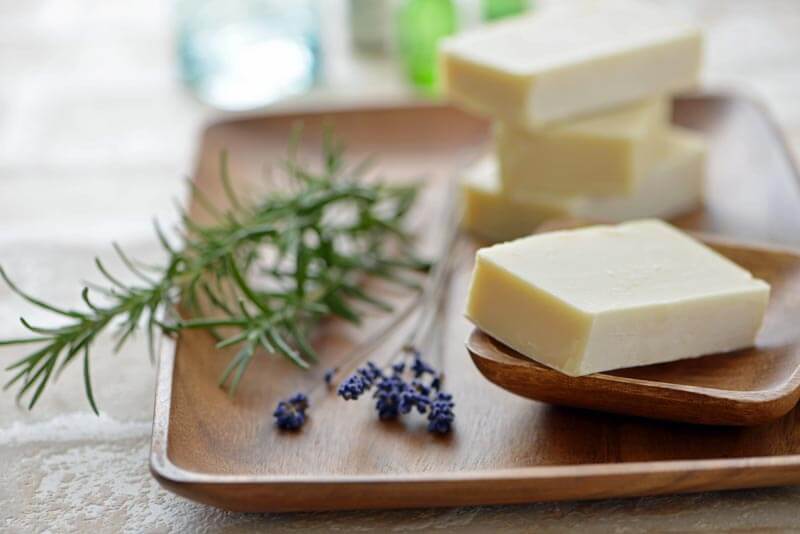
Homemade lavender soap leaves one fragrant and refreshed.
Lavender is my all-time favorite scent. It’s light, floral, and soothing, but even more, it has helpful herbal properties that can be used in your home, garden, on your skin, and also in the kitchen. The scent of lavender has a balance of sweetness and spice that makes it appetizing and appropriate for baking, tea, soda-flavoring, and all kinds of body care recipes. The scent promotes relaxation and exudes cleanliness, which makes it ideal for scentings linens and clothing. And its antiseptic and antibacterial properties make it a perfect aroma to freshen the air, your skin, and your home.
Grow
English lavender (Lavandula angustifolia, USDA Hardiness Zones 5-8) is native to the Mediterranean, so it loves climates with hot, dry summers and cool winters. It is drought-resistant and thrives in well-drained soil with some organic matter and a neutral to slightly alkaline pH (6.4 to 8.2). Plant English lavender in full sun and prune in both early spring and late summer to keep a neat and productive plant. Cut it back up to one-third while pruning and reserve the unopened flower buds and leaves to use in recipes around the house. (For a more detailed growing guide, read more here.)
Harvest
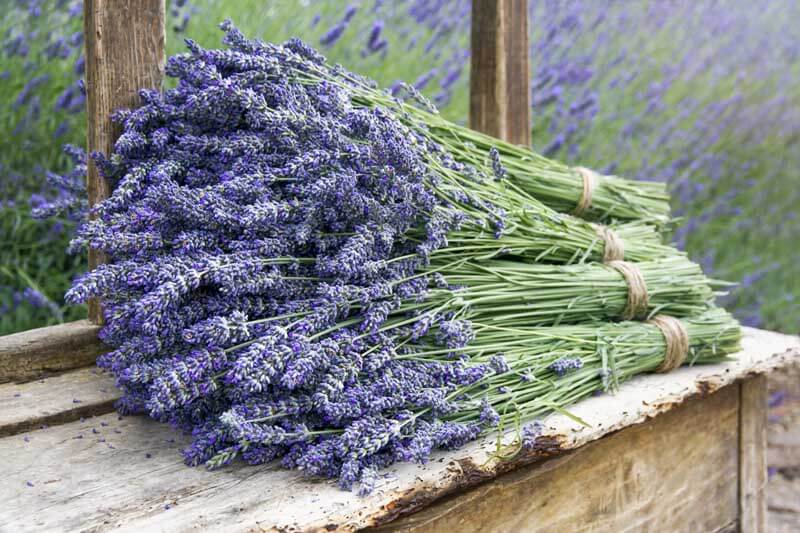
Harvest Lavandula angustifolia when it has visible purple buds but before the flowers open.
For dried flowers, harvest Lavandula angustifolia when it has visible purple buds but before the flowers open; buds retain better color and fragrance. Harvest the stems in the morning when the oil content of the leaves and flowers is the highest. Use sharp, clean pruners. (Leave some of the shorter bud stems on the plant for bees.) Gather the harvested stems into a bundle, tie them together with twine, and hang the bundle upside down to dry in a cool place away from direct sunlight.
When dry, roll the stems between your palms over a plate to catch the buds. You can also remove the leaves to infuse the oil, vinegar, and make tea. Store the dried flowers and leaves separately in airtight containers for up to one year.
Make
Fill small muslin drawstring bags with dried lavender buds for sweet-smelling sachets. Tuck them into your pillow, linen closet, sock drawer, or anywhere that could use a little refreshing.
Make a lavender eye pillow with unpopped popcorn or flax seeds and lavender buds.
Make a decorative lavender wreath that adds fragrance and beauty to the indoors.
Add dried lavender buds to your favorite herbal tea blend for a floral flavor and soothing effect that can help with insomnia. It pairs wonderfully with chamomile and rose.
Rosemary (Rosmarinus officinalis)
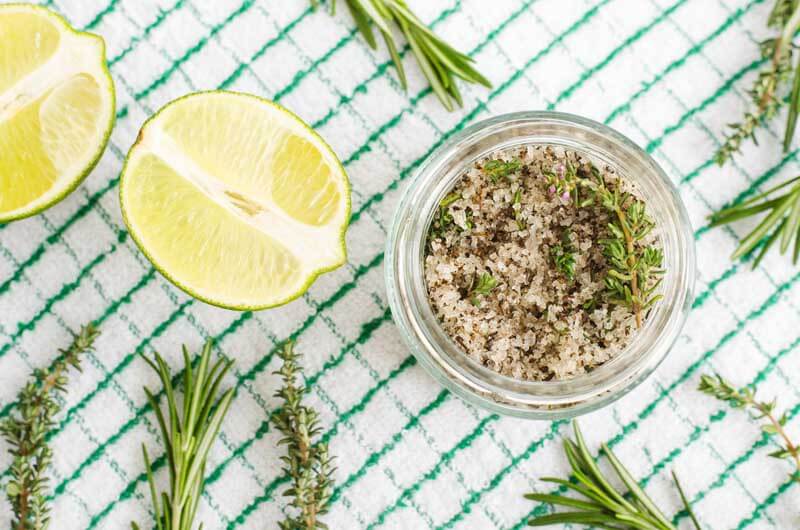
Homemade rosemary lemon salt is delicious and easy to make.
Rosemary has long been prized for its antiseptic and antibacterial properties. It is excellent for deodorizing and cleaning; the scent is purported to help focus and memory. In ancient times, scholars wore crowns of rosemary when studying for exams, so imagine how it can help you perk up in the morning shower! Did you know that rosemary is also well known to be THE herb for healthy hair? It stimulates hair growth and adds shine.
Most of all, rosemary is beloved for its delicious flavor in recipes. It ramps up a roast and cooked root vegetables and adds an earthy punch to soups and stews. Whether you are freshening up your home, trying to wake up or adding oomph to hearty recipes. Rosemary can’t be beat!
Grow
Rosemary cultivars have variable hardiness. Most overwinter in USDA Hardiness Zones 8-10, but some hardier varieties, like ‘Arp’, may survive in Zones 6 or 7. Otherwise, grow rosemary in a pot that you can bring indoors in fall or grow it as an annual. It likes well-drained soil and full sun. Rosemary does well in dry conditions, so be careful not to overwater it. Overwatering rosemary can commonly lead to root rot.
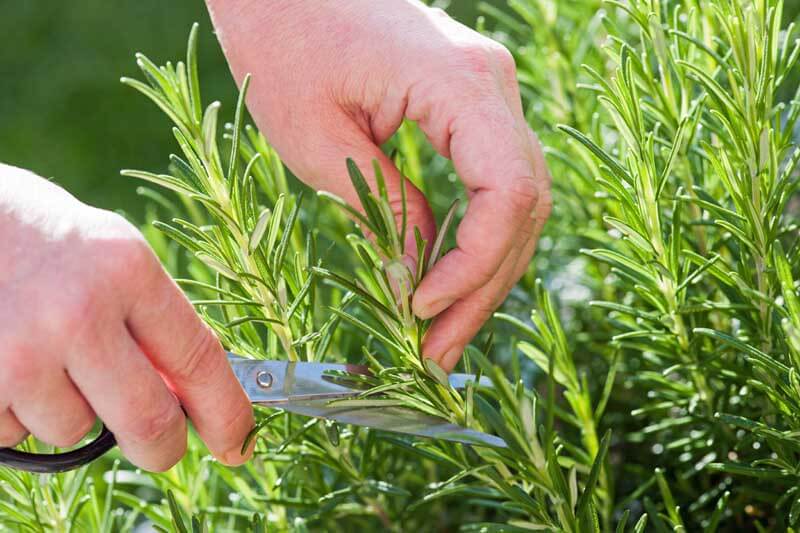
Harvest
Cut rosemary springs and dry them as you would lavender.
Cut sprigs of rosemary to use fresh or tie them up in a bundle to dry, the same way you would with lavender. When dry, remove the leaves by pinching the top of the stem with your finger and thumb and running it along the stem to the bottom. The leaves will pop right off. Keep dried rosemary sealed in an airtight container for up to one year.
Make
Make rosemary sachets to deodorize any place in your home that needs it, like gym bags and stinky shoes.
Add the leaves to homemade soap recipes or a morning salt scrub for exfoliating skin treatment and energizing scent that will help you start the day with a spring in your step.
Make a rosemary hair rinse by infusing three fresh new stems of rosemary in one cup of apple cider vinegar for 2-3 weeks. Apply to the scalp, massage in, and rinse thoroughly to add shine and softness. Here are a few more rosemary hair care recipes.
Chew a rosemary leaf for an instant breath-freshener.
Calendula, Pot Marigold (Calendula officinalis)
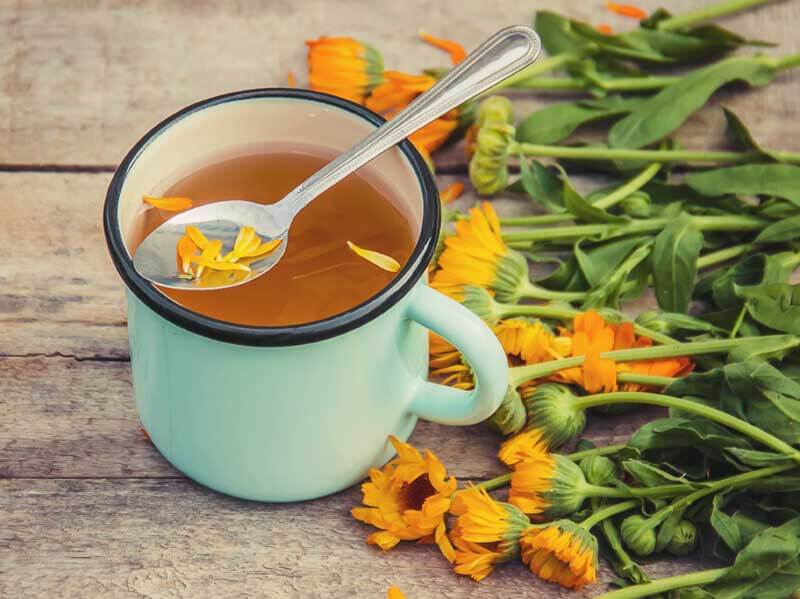
Calendula tea is healthful and effortless to produce and store.
Many people view calendula as an annual garden flower, but with so many healing properties and beneficial uses, herb nerds see it more as a versatile garden herb. It’s been used for thousands of years to help heal minor wounds and inflammations, has a bright and sunny personality that attracts a host of beneficial insects to the garden, and it could not be easier to grow. Include calendula in your herb garden this year for some pops of color and fun herbal crafts.
Grow
Calendula is an annual that grows easily from seed either sown directly in the garden or indoors. Begin seeds indoors about eight weeks before transplanting calendula in the garden. Plant your calendula somewhere in the garden with good soil amended with fertilizer-boosted Black Gold Earthworm Castings that gets a lot of light but isn’t extremely hot. Deadhead and harvest the flowers liberally throughout the season, and you’ll have continual blooms to pick from spring to fall.
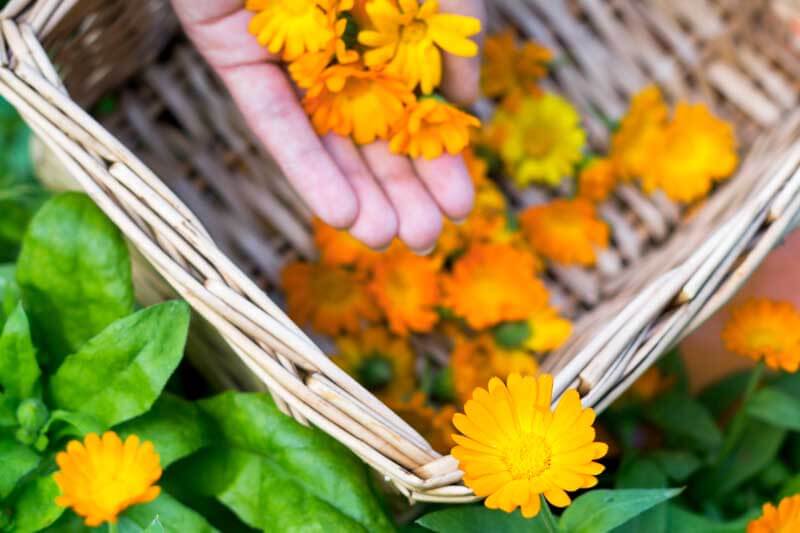
Harvest
Harvest calendula flowers when they are freshly open.
Harvest the full flower heads from new blooms and spread them out in a single layer in a drying screen (which can be as simple as using a window screen) or setting them in one layer in a shallow basket. Leave the flowers in a well-ventilated area that is cool, dry, and away from direct sunlight. After a few days, test for dryness. The petals should sound crunchy and not feel cool to the touch. Store the dried flowers in an airtight container for up to one year.
Make
Use fresh calendula petals to decorate cakes or other desserts. The bright orange and yellow ray florets are a festive natural way to add color that is appealing on sweet treats.
Calendula petals have a mildly spicy taste that pairs with savory foods as well. When entertaining, add them to salads and pizza for a fresh summer presentation that also helps to aid in digestion. They also make a soothing, healing tea.
Add dried petals to bath salts for natural colors and a spa-bathing experience amongst floating flowers.
Infuse your favorite oil with calendula petals and then add it to any skincare recipe that calls for oil.
Make a healing salve for minor cuts, bruises, and scrapes.


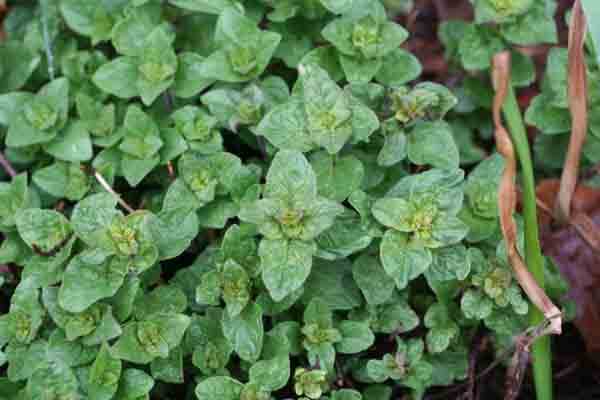 Oregano (Origanum vulgare, USDA Hardiness Zones 4-10) needs full sun and has low, rooting stems that spread, so be sure to give it space to grow. I recommend a low, wide pot.
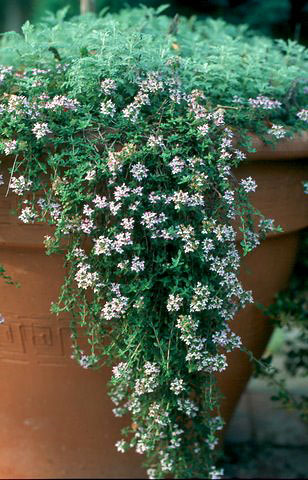 Thyme (Thymus vulgaris, USDA Hardiness Zones 5-9) is a common herb across Europe with a low, spreading, shrubby habit and pungent evergreen leaves. It requires well-drained soil and a sunny spot.
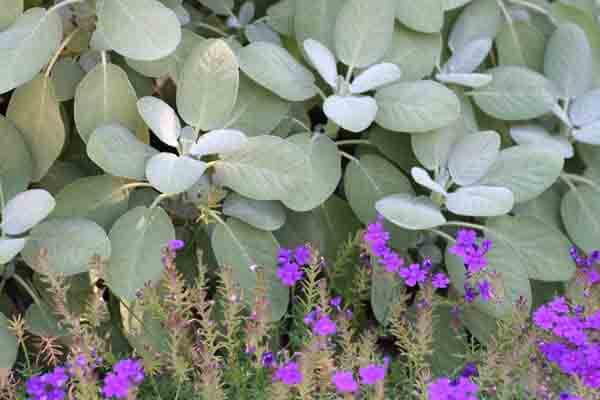 The leathery, gray, evergreen leaves of sage (Salvia officinalis, USDA Hardiness Zones 4-8) are tasty, and this hardy shrubby perennial bears pretty lavender-blue flowers in summer, which are also edible, and attract bees. Give it plenty of sun and soil with good drainage.
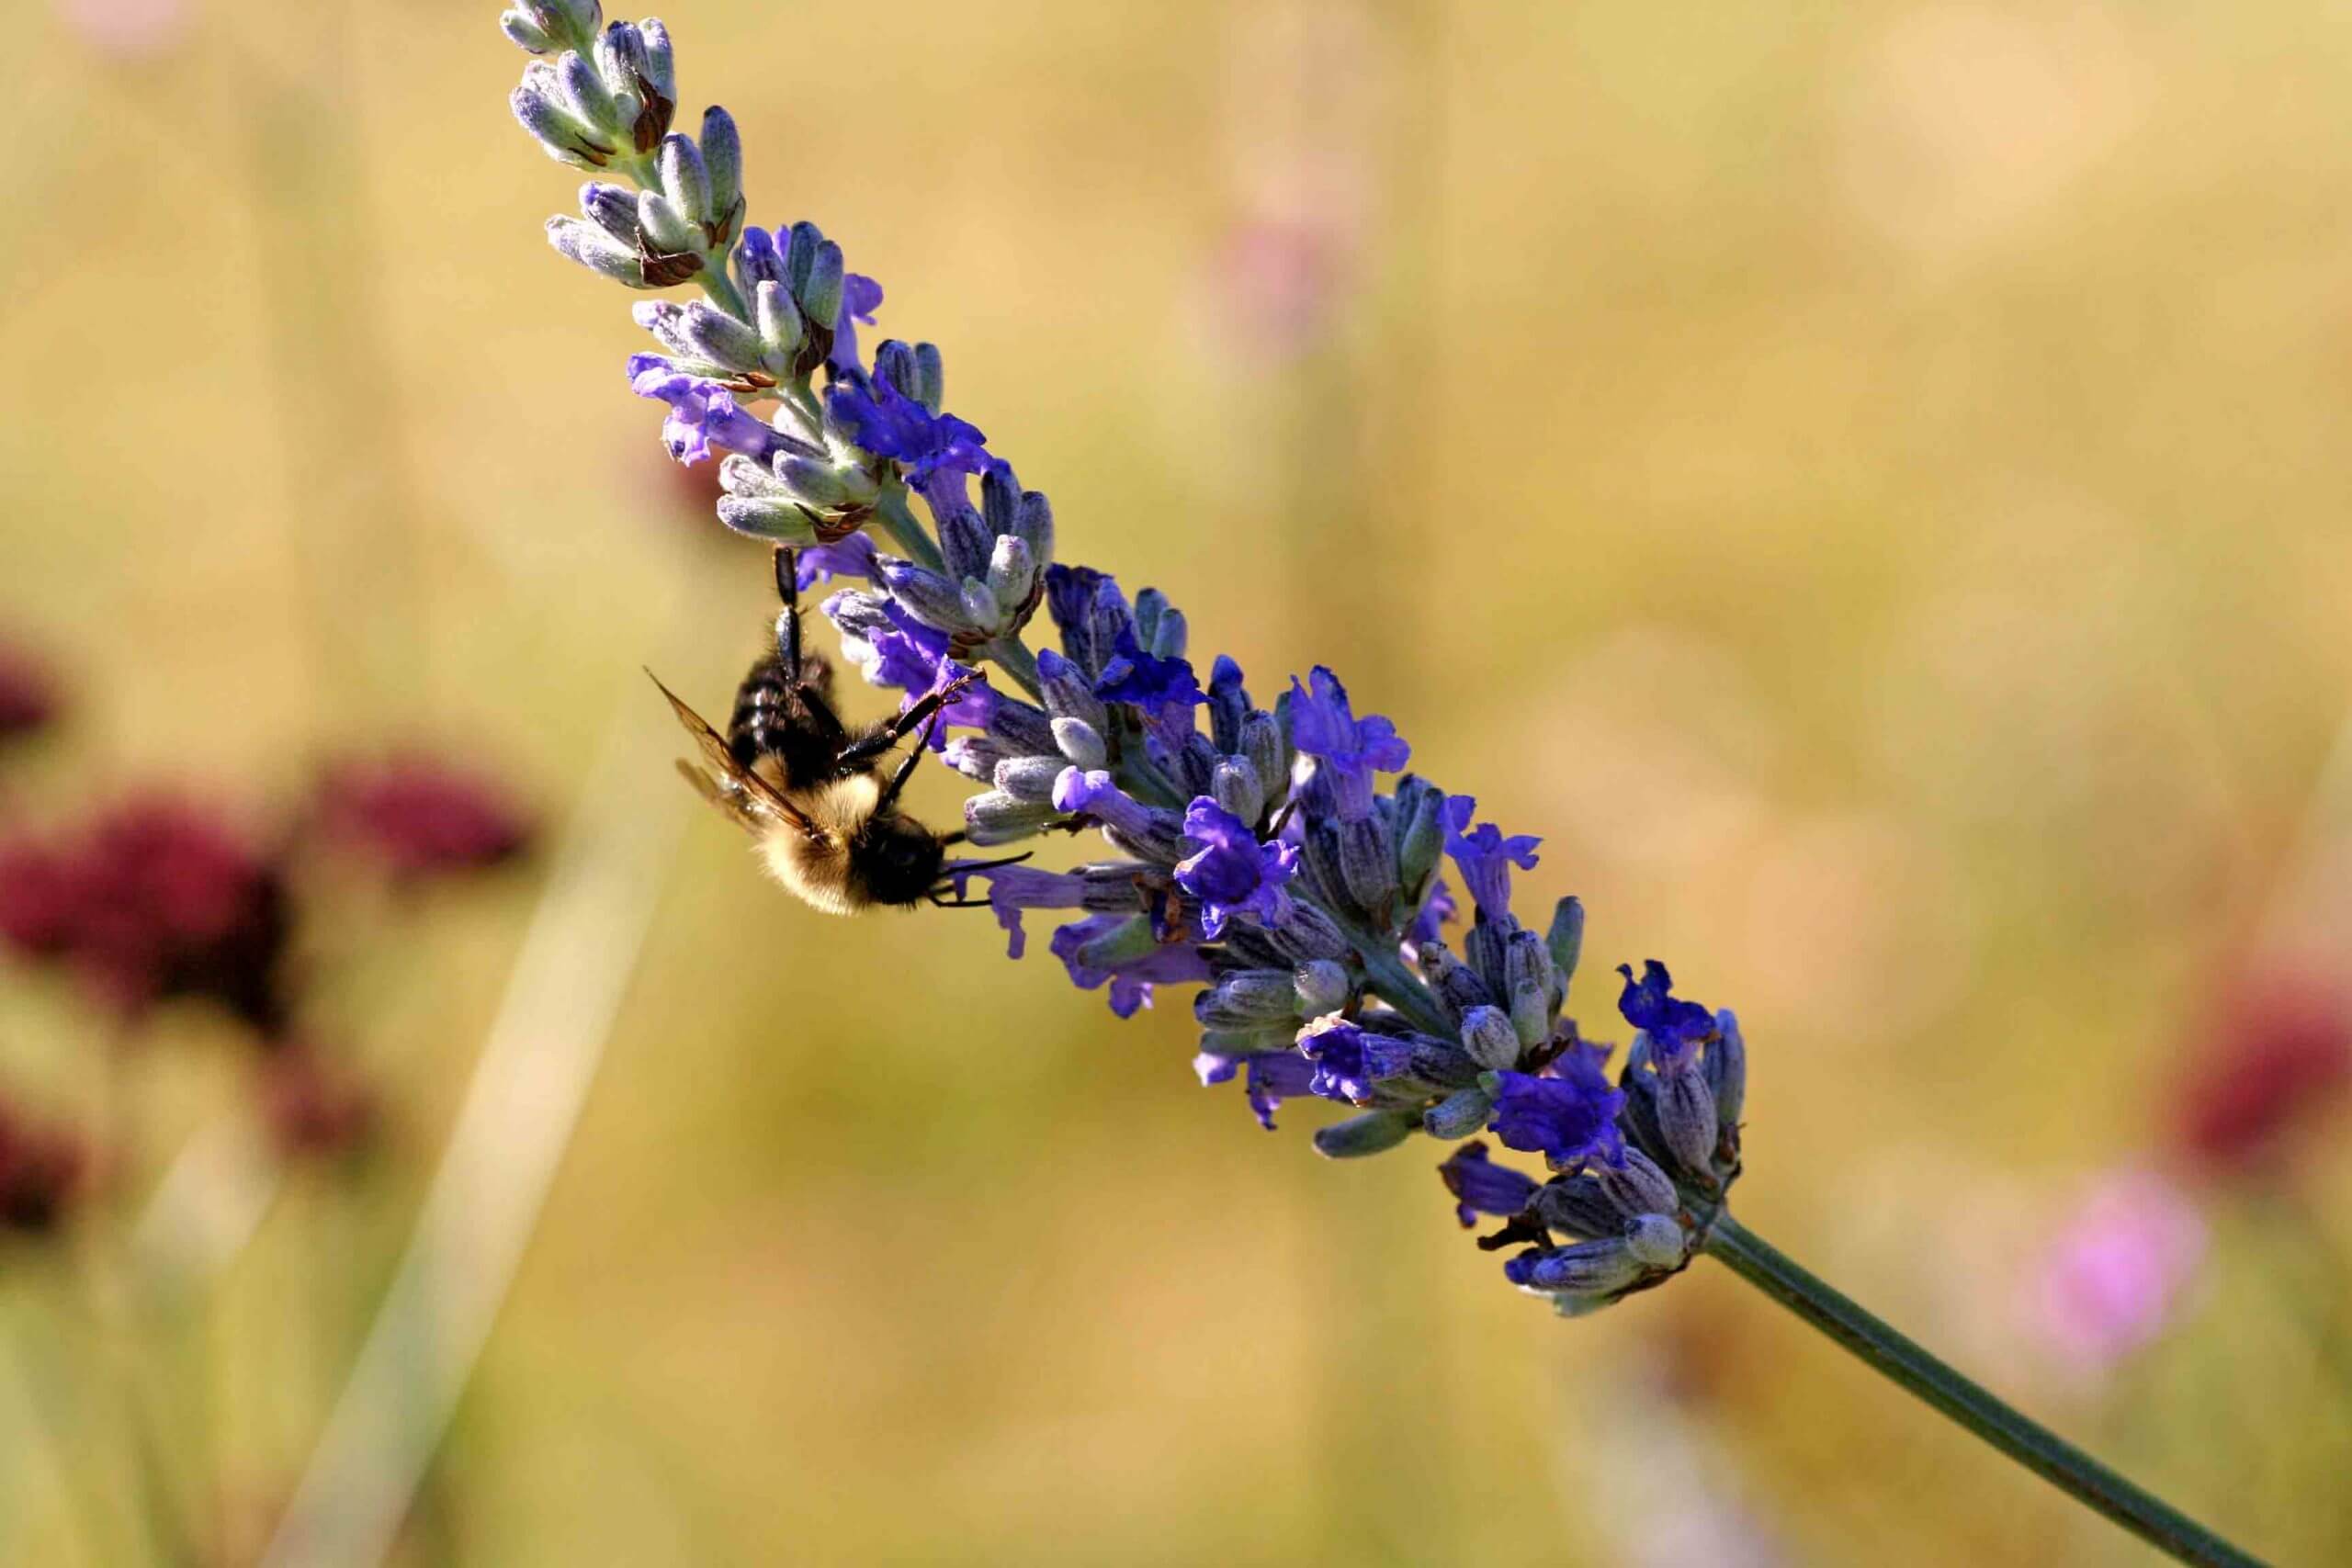 Of all the lavenders, I like ‘Provence’ (Lavandula x intermedia ‘Provence’, USDA Hardiness Zones 6-9) because it is very fragrant and flowers heavily. It is a vigorous hybrid between English lavender (L. angustifolia) and Portuguese lavender (L. latifolia). (
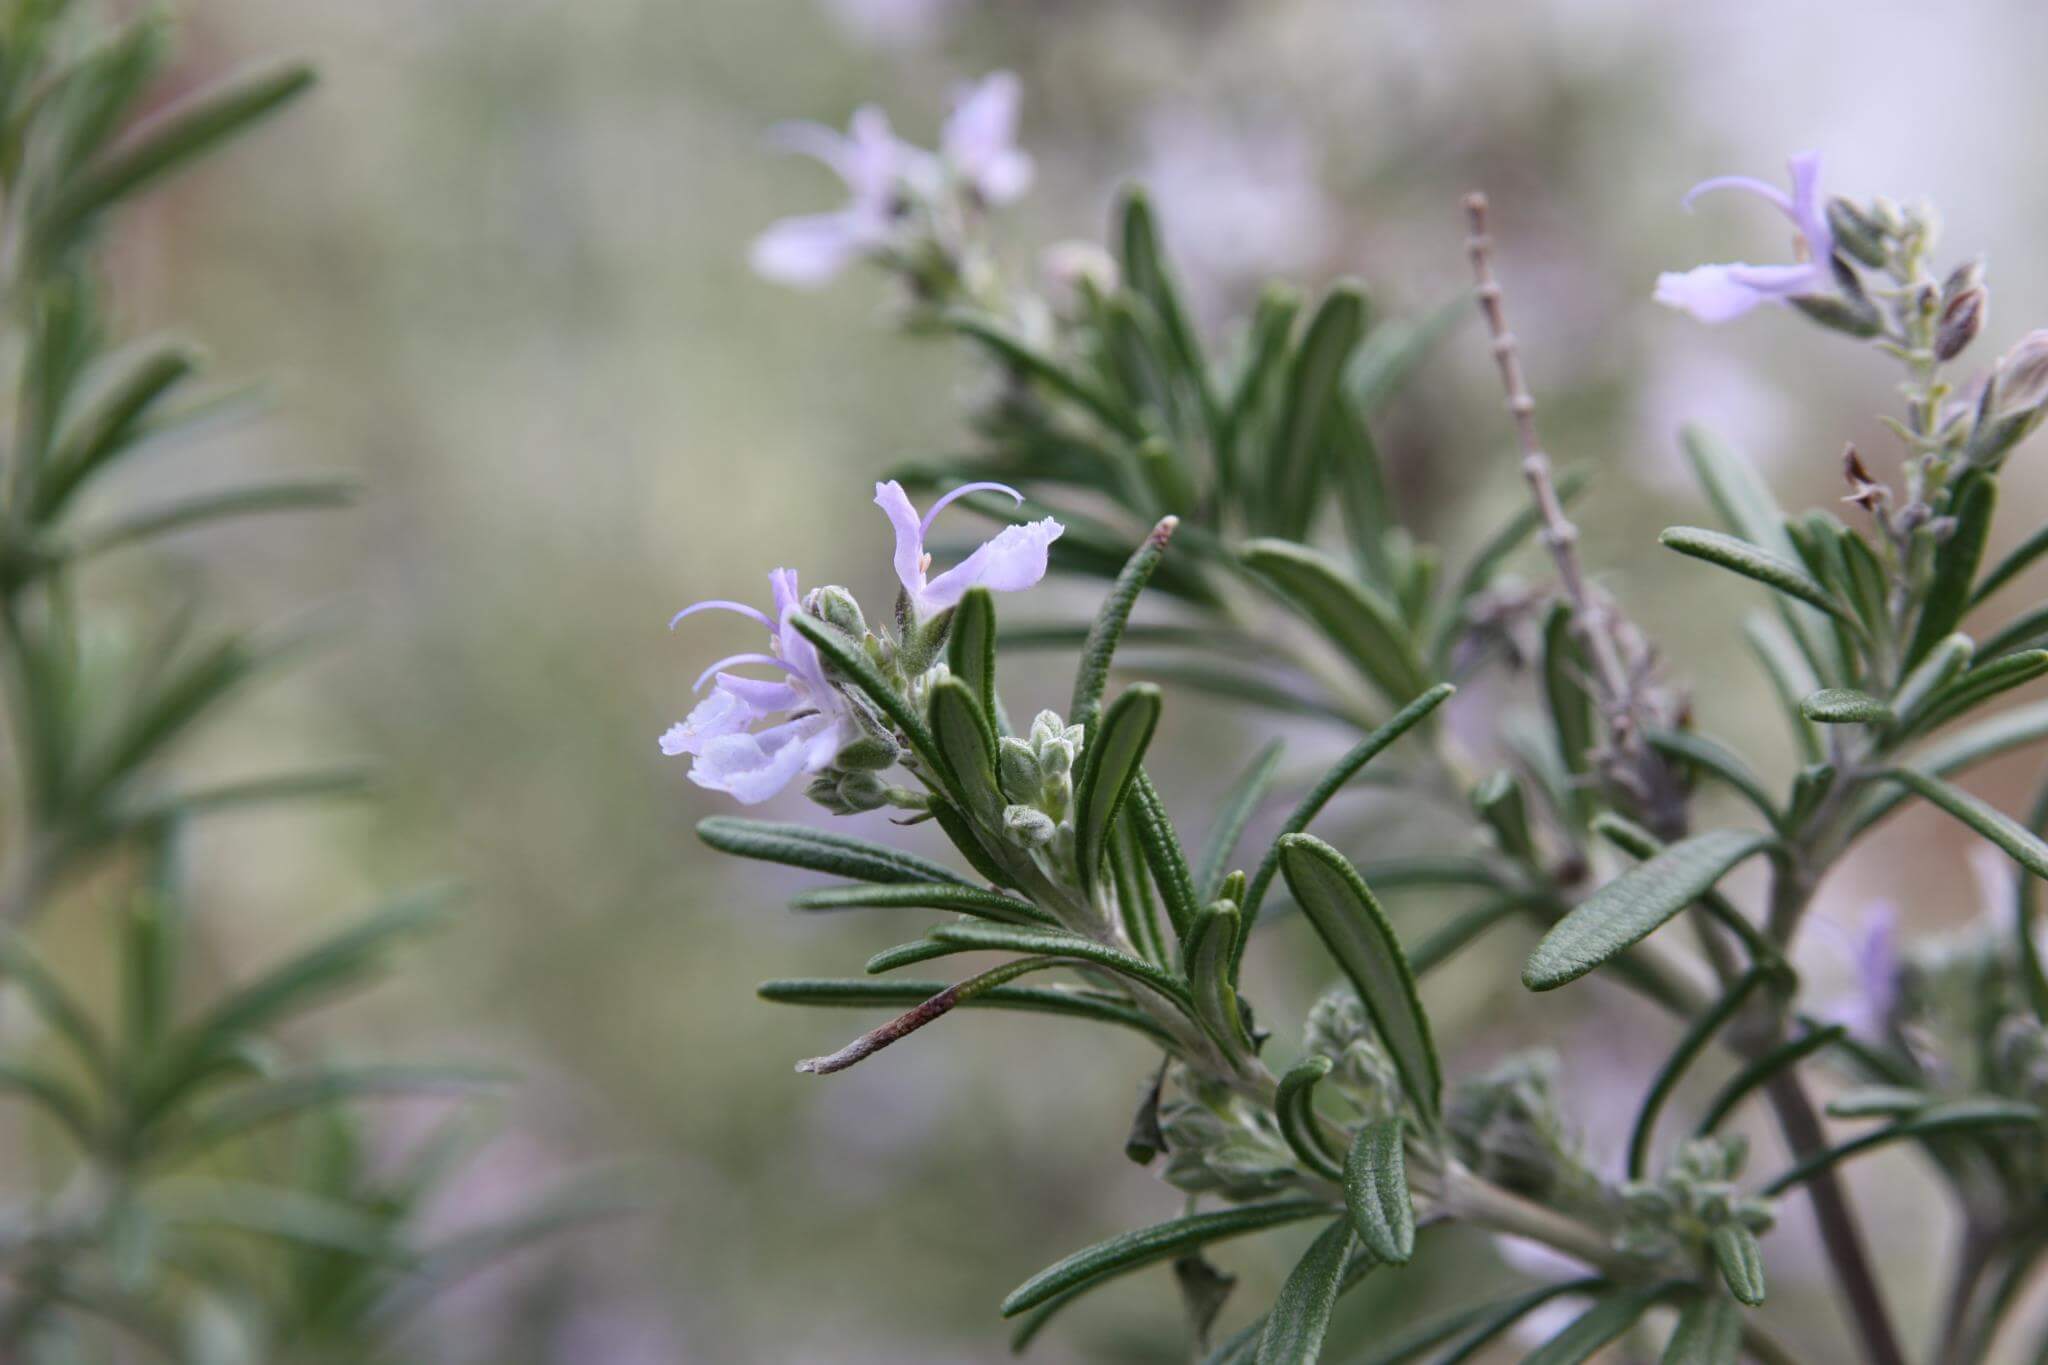 In the Mediterranean, rosemary (Rosmarinus officinalis , USDA Hardiness Zones 8-10) is a favorite in landscapes and edible gardens. This sun and drought-loving herb has needle-like leaves that are resinous and fragrant. I recommend protecting is from excessive rain in Florida (