Articles

Why Are My Tropical Hibiscus Leaves Dropping?

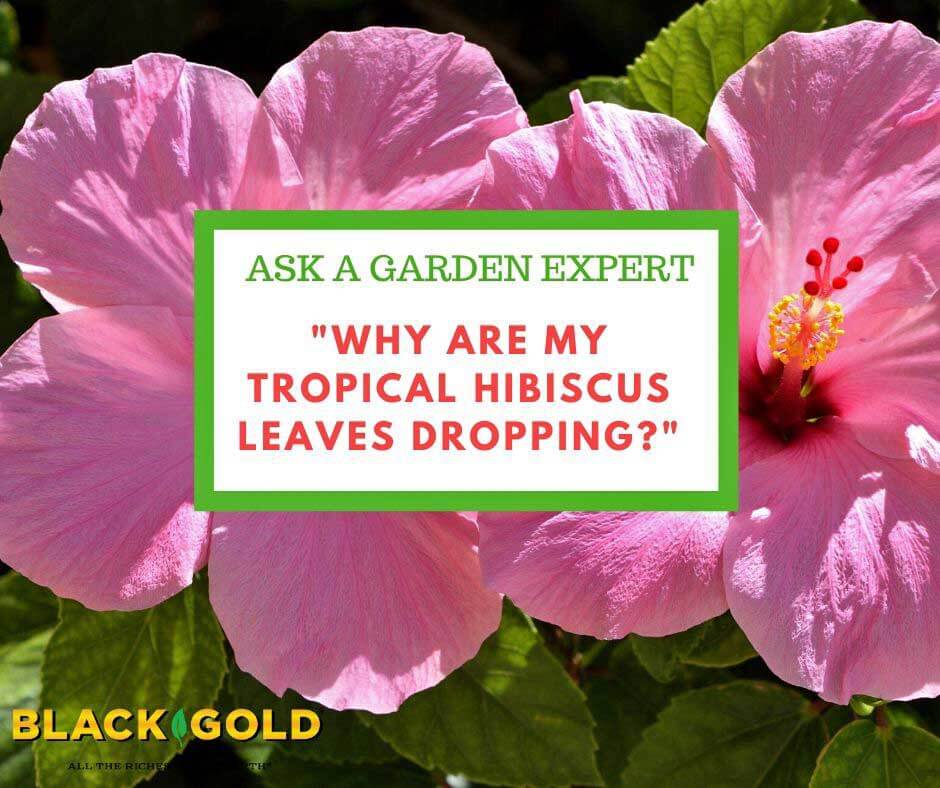
“What are the reasons leaves drop from [tropical] hibiscus?” Question from Brenda of Miami, Florida

Answer: Tropical hibiscus (Hibiscus rosasinensis) are lovely shrubs when they are healthy and happy, but they look so dismal when they’re in poor shape–especially when they start dropping their leaves. There are LOTS of problems that can lead to leaf drop. Some of these depend on whether your plants are potted or in the ground.

Here are several common leaf-drop causes in potted hibiscus.

  1. Bound Roots – This means the plant has overgrown its pot and needs an upgrade. In this situation, the roots cannot access proper water and nutrients, and plants begin to decline. Poor growth, wilting, and leaf drop are just a few of the signs. Watch the video below to learn how to identify and repot pot-bound plants.
  2. Overwatering or Underwatering – Watering too little or too liberally can stress plants out. Tropical hibiscus need good soil moisture, but they can’t stand waterlogged soil. Irrigate when the top inch or two of the potting mix feels dry, and then water the pot thoroughly until the plant’s saucer is full. Your soil must also drain well while holding lots of moisture (Black Gold Moisture Supreme Container Mix is a good choice).
  3. Change of Scenery – If you recently moved your hibiscus to a shadier, windier, or indoor location, changes like this can cause stress and subsequent leaf drop. Give them good care, and they will snap out of it.
  4. Spider Mites – These tiny, destructive pests are nearly impossible to see but cause discoloration of leaves and eventual leaf drop. If you have them, you might also see little webs on the leaves and tender stems of infested plants. To determine if you have mites, take a clean piece of white paper, hold it beneath the leaves, then tap the leaves onto the paper. If you have mites, lots of tiny specs will fall and eventually, they will start crawling around. These are spider mites! (Click here for everything you need to know about getting rid of these pests.)
  5. Diseases – There are lots of diseases that can cause leaf drop. If your leaves show spots or mottling, then they are most certainly diseased. (Click here to learn about potential hibiscus diseases, pests, and solutions.)
  6. Poor Soil and Lack of Fertilizer – Be sure to refresh your plant’s soil every two years, and provide it with ample fertilizer for lush growth and flowering (follow manufacturer’s recommendations).

If your plants are growing in the ground, sharp temperature changes and high winds can cause leaf drop as can pest and disease problems. Considering that you live in Miami, I doubt that temperature changes are an issue.

Please let me know if any of these solutions help!

Happy hibiscus growing!

Jessie Keith

Black Gold Horticulturist

How Do I Stop Powdery Mildew?

This zinnia has a severe case of powdery mildew.

“Every year I get white mold on the leaves of various plants in my vegetable garden. I don’t use any fertilizer or pesticide, other than an organic compost in the soil. It usually doesn’t cause a great deal of problems but is there something I could or should be doing?” Question from Lynda of West Warwick, Rhode Island

Answer: It sounds like you have powdery mildew, a common fungal infection that attacks leaves, causing white, powdery looking surfaces and blotches, particularly towards late summer. Some flowers and vegetables are more prone to it than others. For example, squash, melon, zinnia, and cosmos leaves typically develop powdery mildew, unless you have chosen mildew-resistant varieties.

The disease acts on leaf surfaces, disabling a plant’s ability to respire and gather sunlight. This weakens them and reduces productivity. Severe cases will kill plants. Here are four things that will stop or reduce the disease.

1. Choose powdery-mildew resistant varieties. Before buying a garden flower or vegetable that typically gets this disease, search for resistant varieties. Choosing vigorous, highly disease-resistant varieties will always result in a happier garden. You can often find lists of resistant varieties at university websites, like Cornell University (click here to view).

2. Provide plenty of sun, water, and airflow. Take good care of your plants and give them lots of sun and air, two things that discourage mildew development. Refrain from planting too closely together.

3. Remove diseased leaves as you see them. Simply prune off bad leaves on sight. Be sure to clean your pruners well after cutting any diseased plant.

4. Apply an organic fungicide. The all-natural product, Green Cure, stops powdery mildew. Apply it when you first see any signs to stop the disease in its tracks.

I hope that this information helps!

Happy gardening,

Jessie Keith

Black Gold Horticulturist


How Do I Get Rid of a Groundhog?

“What is the best way to get rid of a groundhog?” Question from Glenn of Parsippany, New Jersey

Answer: Groundhogs can be very destructive creatures as well as smart and evasive. I have dealt with a few around my vegetable garden, and they are real pests! Here are several removal methods that I recommend.

1. Remove cover. Groundhogs dig dens where there is ample green cover. If you can find the den entryways, cut back any cover you can. It will encourage your groundhog to move on. (Some will tell you to pour things down a groundhog’s den hole or smoke them out, but these methods are rarely, if ever, effective. Groundhogs can have as many as 4 to 5 escape exits and can always create a new den.)

2. Live trap: Live trapping them is an iffy venture but worth a try. Offering desirable food within the trap your best bet. Groundhogs are most attracted to tasty, aromatic fruits and vegetables. Contact your local Department of Natural Resources to find out where you can drop off a captured groundhog. (Be sure to wear thick gloves to protect your hands while moving a live-trap cage.)

3. Use motion-activated deterrents: There are motion-activated repelling devices that will scare groundhogs away from your yard or garden when you are not there. These can be quite effective.

4. Get a dog or cat: A dog will do more to scare away a groundhog, but cats can also be helpful, especially large male cats. Groundhogs will clear out if threatened or frightened by a pet.

5. Use copious repellents: If you use some of the methods above in combination with bad-smelling granular or liquid repellents around your yard or garden, you will create a truly undesirable place for groundhogs to reside.

I would also recommend fencing (at least 5-feet high and sunk at least 1-foot below ground), but this can be very expensive. One thing that I do not recommend is the use of poison, which can harm pets, wildlife, and children. Poisons are a real liability and danger.

To get more good ideas, I recommend that you read the article below.

I hope that these tips help!

Happy gardening,

Jessie Keith, Black Gold Horticulturist

Managing the Six Worst Garden Animal Pests

I Need Organic Solutions for Vegetable Pests and Powdery Mildew

“Which is the natural and most efficient solution against pests, aphids, white powder, etc. that year after year destroy our vegetables?” Question from Doina of Bothell, Washington

Answer: I wish that I could give you a simple answer. There are so many vegetables and so many pests and diseases that attack them that it is impossible to know where to start. You specifically mention aphids and powdery mildew, so I will give you guidelines for managing these. It will be followed up by two general steps that you can take to discourage veggie pests and diseases.

Aphid Management

Aphids are slow-moving insects that suck the juices out of tender plant parts, like stem tips and leaves. When aphid populations are high, they cover the tips of growing plants in masses. It looks creepy and can seem overwhelming. Lucky for you, they are easy to manage organically.

I always start by putting my hose setting on jet or center, then I spray. Aphids are delicate and can be spritzed off a plant in no time. To keep them from returning, follow up by spraying your plants with an insecticidal soap that is OMRI Listed for organic gardening. Keep them spritzed as you see more aphids. This method will put them in check quickly.

Powdery Mildew Management

This one is really simple! Powdery mildew is a leaf surface mold that can be removed with all-natural products containing the mild chemical potassium bicarbonate, which is similar to baking soda. GreenCure® is one of the most popular commercial examples on the market.  Just spray your mildew-ridden squash or cucumber leaves with these products and the spots disappear. It’s a remarkable transformation.

Two Steps For Disease- and Pest-Free Vegetables

Here are two more steps towards protecting your plants from pests and diseases. Both may sound deceivingly obvious.

1. Don’t stress your vegetables. When plants become stressed, they create stress chemicals that are detected by insect pests that are then attracted to the plants. What’s worst is that many common pests, like cucumber beetles and leafhoppers, spread common vegetable diseases. Stress also makes plants far more susceptible to disease. Weak plants have weakened immunity. So, grow your plants in well-fortified soil (see our long list of Black Gold soil amendments), provide them with good fertilizer throughout the season, and keep them well watered.

2. Choose resistant vegetable varieties (!!!). Choosing good varieties is the single most important way to protect your crops. When selecting varieties to grow in your garden, look for descriptions of pest and disease resistance. Award-winning plants also tend to be resistant and robust. Plants bred for resistance are the easiest to care for naturally and organically.

I also suggest you read the Fafard (our sister brand) article, Beating Vegetable Garden Pests Naturally, as well. It has even more information to help you. I hope that these tips help!

Happy gardening,

Jessie Keith

Black Gold Horticulturist

How Do I Manage Aphids Without Chemicals?

“How to keep aphids away each gardening season without chemicals?” Question from Steven of New England

Answer: Aphids are delicate pests and quite easy to manage, believe it or not. When I have an infestation, I use these four pesticide-free methods of removal.

1. Spray them off with a sharp stream from your hose. This actually removes them fast and will kill quite a few. It’s a good first step for management.

2. Prune off really badly infested flowers or stems and place them in soapy water. This will remove damaged parts of the plant and greatly reduce aphid populations.

3. Spray plants with OMRI Listed insecticidal soap to tackle any lingering aphids. This mild product is approved for organic gardening and will kill aphids fast. If you are worried about it harming other insects, you can rinse off plants a few hours after application.

4. Nurture ladybugs, and other beneficial insects that comsume aphids, in your garden. Refrain from using any harsh pesticides, and the beneficials will come. (Click here to read more about beneficial insects.)

I hope these tips help you better manage your aphid problems. They are annoying insects, but they won’t stand a chance if you continue with these methods.

Happy gardening,

Jessie Keith

Black Gold Horticulturist

How Do You Manage Japanese Beetles?

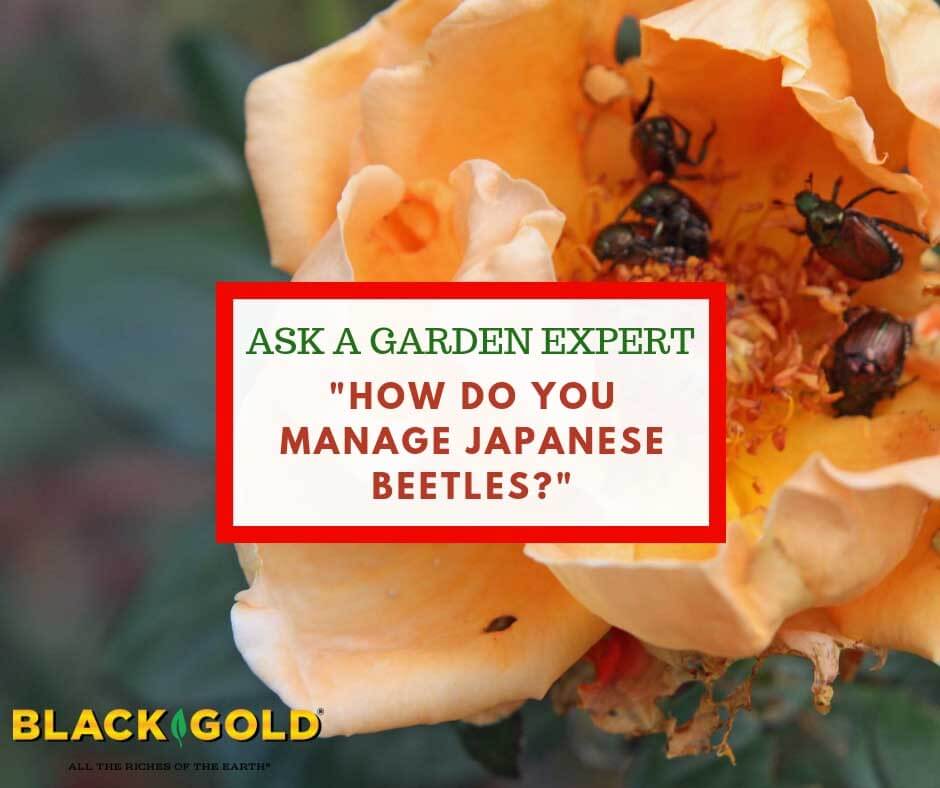
 “How do you recommend dealing with Japanese beetles?” Question from Debbie of Lapeer, Michigan

Answer: I know that Japanese beetles (Popillia japonica) are a chronic seasonal problem in Michigan, laying in wait to devastate roses, hibiscus, and many other ornamentals in the summer months. These voracious eaters are known to feed on over 300 plant species. They skeletonize leaves and flowers, weakening plants, and making beautiful specimens look terrible in no time. The key to their management is understanding their life cycle and how to tackle them at different stages of development.

Japanese Beetle Life Cycle

You will begin to see the metallic bronzy green adult beetles from late spring to summer when their underground grubs pupate and emerge to begin their destructive adult period of the cycle. This is when the beetles chomp on leaves and flowers and mate. By midsummer, female beetles will lay between 40 to 60 eggs in the ground. These will hatch into translucent, white, burrowing grubs/larvae that feed on plant roots. Turfgrass roots are a common food source, and the grubs can do significant damage to heavily infested lawns. Larvae develop for around 10 months until the following year when they emerge as adults once again.

Japanese Beetle Management

Integrated pest management (IPM) guidelines for homeowners set by the USDA’s Agricultural Research Service and Animal and Plant Health Inspection Service (APHIS) are the most proven management methods. They’re backed by years of research, and though there is no perfect Japanese beetle cure for infested areas, these steps will limit their destruction.

Beetle Management

Traps– There are several traps designed to attract and capture Japanese beetles. These generally use sex pheromones or floral lures to draw in the beetles. These are effective, but be careful where you place them. Hang traps away from susceptible flowers and shrubs to help lure them away from (not towards) your garden.

Foliage controls– Use caution when using strong chemical controls for adult beetles because most will kill almost anything they come into contact with, including beneficial bees, butterflies, and ladybugs. Spraying plants with OMRI Listed® neem oil is the recommended solution for organic gardeners. It repels Japanese beetles while not harming birds, pets, people, or beneficial pollinators. Bacillus thuringiensis (Bt) is another organic option that will just harm the grubs and beetles chewing on your beloved plants. New Bt products for adult beetles, such as beetleGONE!®, are very useful.

Manual removal-Adults are slow-moving and easy to catch and drown in jars of water or smash on the ground. If you have a minor infestation, this can be a useful method of removal. Japanese beetles are not a big problem where I live, so this is what I do to control them.

Parasites– There are several commercially available parasitic wasps that will attack Japanese beetles as well as desirable beetle species.

Grub Management

Treating the ground for Japanese Beetle grubs in fall or early to mid-spring will also keep populations in your yard down, though this may not be super helpful if your neighbors don’t treat their lawns, too. The favored organic control is milky spore, a fungal bio-control treatment that will kill underground grubs. grubGone® is Bt from grubs and is also very useful!

Plant Resistant Plants

A final method of control is planting landscape and garden ornamentals that Japanese beetles don’t like. Here are a few flowers they dislike: ageratum, begonia, coreopsis, coral bells, hosta, sedum, nasturtium, poppies, and pansies. Trees and shrubs that Japanese Beetles won’t consume include red maple, boxwood, redbud, holly, dogwood, magnolias, and evergreens. (Amending your soil with Black Gold Garden Soil will help all of these plants perform better in the yard and garden.)

Click here for a complete Japanese Beetle Management Guide!

I hope this helps!


Jessie Keith

Black Gold Horticulturist


Managing Watermelon Black Rot

“I lost all of my watermelons to black rot. How can I prevent this next year?” Question from Tina of Holley, New York.

Answer: I am so sorry! The excess moisture of the season has caused extra problems for fruit and veggie growers out East. Black rot on watermelon (more commonly called “gummy stem blight” (GSB)) is a nasty disease caused by the fungus, Didymella bryoniae. Not only does it attack watermelon, but it infects all cucurbits (cantaloupe, squash, cucumbers, etc.). Thankfully, there are several steps you can take to managing it in the future.

  1. Clean up: Remove all vines and debris infected with GSB, and bag and dispose of them in a sanitary manner. Never compost them. GSB will hang out on any old infected crop litter, ready to infect more veggies.
  2. Rotate: Refrain from growing melons for at least three years in the spot where you experienced GSB.
  3. Seed: Purchased seed can be infected with GSB without you knowing it. Be sure to buy seeds from good seed companies that will ensure their seed is GSB-free.
  4. Nursery seedlings: If you buy your watermelon as seedling starts from a nursery, inspect them first. Seedlings with GSB will show several telltale symptoms: dead areas on leaf edges, and oozing-water-soaked areas on the stems. Basically, if seedlings don’t look perfectly healthy, something’s wrong.
  5. Raise planting areas: Raising your planting area can help keep roots from becoming waterlogged and plants drier. Also, plant them in full sun and areas with high air flow. This may help them better resist the disease in the field.
  6. Keep beds well weeded: Some weeds are carriers of GSB, so clean beds are better beds.
  7. Monitoring: Monitor plants for any signs of GSB. Look for oozy, gummy stem lesions, leaves with dead edges and spots (with concentric circles in the spots), and the beginnings of fruit lesions. (Click here for images.) Remove plants immediately if they have GSB.
  8. Fungicide application: Several fungicides can manage GSB, but all are highly toxic. (Learn more here.) Sadly, no organic options work, yet.
  9. Post-harvest storage: GSB infection can also occur on the skin of just-picked watermelon that look okay. Avoid damaging melon skins after harvest, and store fruits at 45°F–50°F to prevent black rot after harvest.

Work is being done to find resistant watermelon varieties, but none have hit the market so far. Good luck, and keep us posted on your melon growing next year.

Best, Jessie

Watermelon black rot is a devastating disease!


How Do I Safely Kill Poison Ivy?

“What’s the best way to kill poison ivy?” -Question from Grace of Raleigh, North Carolina

Answer: It’s the age old question. The best method depends on your infestation–do you have lots of seedlings, a big vine or shrub, or all of the above? Either way, there are several consistent “dos” and “don’ts” when it comes to effective poison ivy removal. The important thing to remember is that you can get a poison ivy rash from any “dead” portion of the plant, whether it be brown leaves or an old stem or vine. The toxic oil (urushiol) that causes the rash is stable and will remain toxic for years, even on old, dead plants. For this reason, I rely on mechanical removal because it’s the safest method if you do it right. A herbicide-sprayed plant can still cause a rash and is still dangerous!

Removing Poison Ivy

Here’s my removal method: Wear thick long pants, a long thick shirt that covers your wrists and body, and wear thick rubber gloves. The tools you will need will depend on the size of your plants. But, generally, I use a sharp spade, trowel, pruners or loppers, and plastic bags for effective removal.

The key is removing the whole plant and root system. For smaller plants, I simply cut the root base with a spade, cover the plant/s with the plastic bag, and pull the plants within the bag without touching them. For lots of smaller plants, I do the same with a trowel and plastic bag. For vines growing up trees, I cut the base of the vine with pruners or loppers, remove as much of the vine from the tree as possible by cutting, not pulling (you don’t want a poison ivy vine toppling down on you!). Then I dig out the roots with a spade and put the pieces in a large plastic bag. (Once again, it’s best if you surround the plant with the bag and pick it up that way.) Then I dispose of the poison ivy pieces in the trash.

During this process, take note of everything that may have become contaminated with poison ivy oil: your tools, clothes, gloves, trashcan lid, door handle, etc. These will need to be cleaned.

It also pays to scout out any large vines that may be fruiting nearby. Birds are immune to urushiol, so they eat the fruits and spread the seeds. Simply cutting vines at the base can stop this year’s fruits.

Cleaning Up After Poison Ivy

Here’s my cleanup method: Change your gloves and wash all tools and surfaces that may have been contaminated with a coarse cloth and soap. Degreaser can be very effective. Next, remove all possibly contaminated clothing and washcloths and put them in the washer, choosing a long, hot water cycle and plenty of detergent. Finally, wash your hands and body with strong soap and a textured washcloth, using lots of friction. The combination of friction and good, strong soap will remove all the oil from your skin. (I usually wash twice!) Technu soap is specially made to remove poison ivy oil. [Here’s further information about rash prevention from the USDA.]

Here are two important poison ivy “don’ts”: Never compost poison ivy because its oils can contaminate your compost. Never burn poison ivy, because its toxic oils become airborne, causing a rash on the skin and in the lungs.

Mowing and chemical sprays can cut poison ivy back, but they will not remove it, or its dangers, completely. Take the time to carefully remove your plants, and your yard will be poison ivy free in no time.