To till or not to till? Why ask this question? Tilling does good things for the soil. It increases needed aeration and porosity, allows the easy incorporation of organic amendments, and it makes all the little green weeds at the top of the soil go away. But it also has its disadvantages. Tilling draws dormant weed seeds from the soil’s subterranean seed bank to the surface, which can mean more weeds. It encourages soil erosion and disrupts all manner of beneficial creatures and microbes underground, which support healthy soils and plant roots. In time, the no-till approach can save time, money, and greatly reduce weeds. These are the reasons it is trending.
Soil Quality Determines the No-Till Approach
There is more than one way to establish a no-till garden. And one’s approach is often related to soil quality and topography. Those with good garden soil can opt to simply clear weeds from the ground, add thick compost and fast-to-degrade mulches for vegetable gardening (straw, leaf mulch, etc.), fertilize, and start planting. Others with poorer clay (or sandy) soils, like me, need to feed the soil for the beforehand. It’s ironic, but my successful no-till garden needed to start with, well, tilling, in addition to double digging, and amendment. Lifting or berming the soil is also important, especially if your garden’s topography is low.
Creating a No-Till Garden
For me, creating a good no-till garden started with a big investment. I dug deep, enriched my beds to the hilt, and lifted and bermed my planting areas. For excellent no-till bed longevity, I started by lifting and aerating the soil as deeply as possible.
Materials
- Tiller
- Amendments, such as peat, compost, and castings (add at least a 1:4 ratio of amendments to ground-soil)
- Hard rake and shovel
- Straw
- Mycorrhizae
- Fertilizer
- Tarp
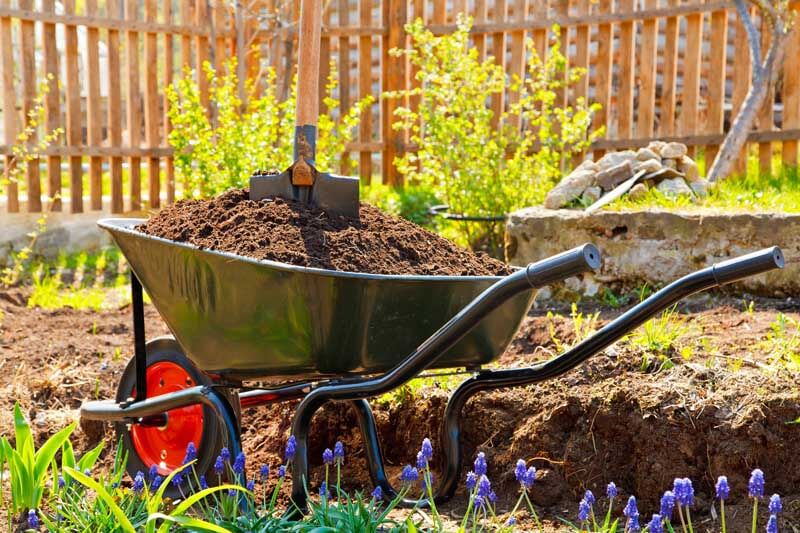
- Wheelbarrow (for moving mulches and amendments)
Here are the five steps that I took to establish my no-till garden.
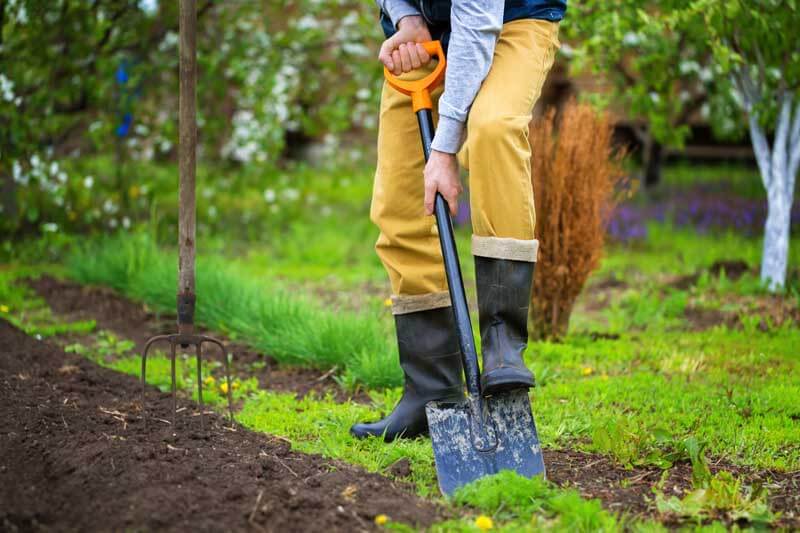
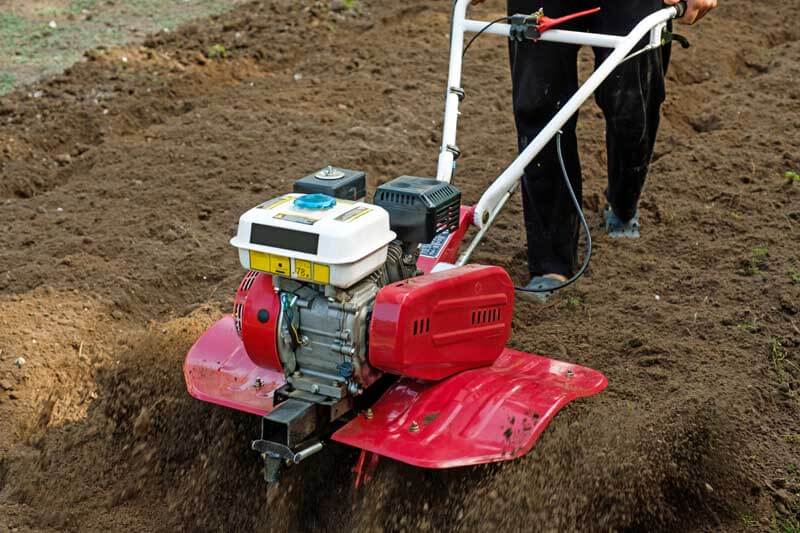
- Till deeply: Creating good garden soil is all about adding air pockets, loft, and good fertility to encourage drainage and deep rooting. If you have heavy soil, you cannot accomplish this without initial tilling and amendment with lots of organic matter. Till on a day when the soil has enough moisture to sink a shovel into but is also a bit dry. I recommend double or triple tilling the new garden area to break up the soil as much as possible.
- Double dig: Extra deep digging is time-intensive and should be reserved for areas where you plan to plant deep-rooting vegetables, such as carrots, parsnips, and other root crops. Move the lofty tilled topsoil onto a tarp beside the bed and dig another few inches deeper and break up the soil further. (Click here to read more about double digging.)
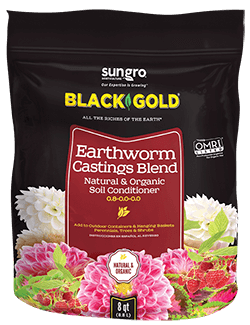 Amend all of your backfill: Amendments rich in organic matter and microbes are essential for the longterm health of your garden. Shovel lots of organic matter, like Black Gold compost, earthworm castings, peat moss, and even composted manure and mushroom soil, into your backfill, and till it in. I also recommend adding a granular vegetable fertilizer and an endomycorrhizal inoculant, which can be purchased in powder form. Beneficial mycorrhizal fungi help plants grow better by allowing them to more efficiently access water and nutrients.
- Define pathways, fill, and berm: If you have a large or relatively large garden space, it’s nice to establish paths for easy garden access and harvest. Most gardeners choose a row or block design. I always like my pathways to stand a bit lower than my beds, so I berm up fill in the bed areas using a hard rake. This gives beds an even deeper pad of lofty soil and ensures that they will not be walked upon.
- Cover: As a final step, I cover my walkways with black & white newspaper or non-waxed corrugated cardboard and cover the paper with a thick layer of seed-free grass clippings, straw, or even leaf mulch or pine straw. You can even plant nitrogen-fixing clover in the walkways. Then I add a thick layer of compost to the beds to detur weeds, and fresh straw to the pathways to stop weeds and keep them from getting muddy after rain.
Each year, I clean up and refresh the walkways, and add fresh compost as a mulch in lieu of tilling. Invest in your no-till garden like this in the beginning, and you will be wowed by the results.
Raising Beds to New Heights
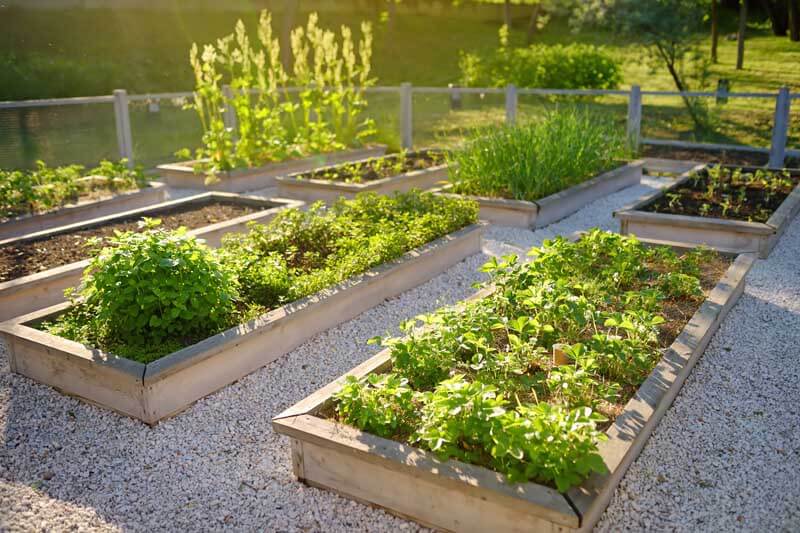
There are other no-till options for vegetable gardening, but I prefer the freedom of a large garden bed with tidy straw walkways. Traditional raised beds, hugelkultur, strawbale gardening, even container gardening don’t require tilling. Here are articles about each gardening type, if you want to learn more.
Raised Beds: Respecting the Law of Return
Hugelkultur Layered Vegetable Gardens
Do You Have Tips for Straw Bale Gardening?
Succeed with Container Vegetable Gardening
Invest in your no-till garden from the beginning, and it will reward you in the future. Support it with fresh mulch, feed it well, and watch your harvests explode!