

Victory Gardens inspired millions of Americans that had never gardened to grow food to feed their families. Everyday people learned to garden on a homesteading scale. And, my family was no exception. My maternal grandparent’s Victory Garden taught them to fend for themselves, and eat well when wartime rations were most limited.
Tag: organic gardening
Beating The Five Most Common Vegetable Garden Pests Naturally
For the past 14 years, I have grown my vegetables in a community garden plot, which has provided a real education in plant pests, diseases, and weeds. Why? Because these mega veggie gardens are pest hot spots, and summer is the worst time of year for the beasties. Bad insects always attack my beans, cucumbers, tomatoes, and eggplants–threatening to destroy fruits and foliage, and sometimes spreading disease as they munch and crunch along. I must use every tool in the toolbox to fight them. And, if they beat my crops, I often start them again, if there’s time and the season allows. Sometimes beating pests is just a matter of retooling planting time.
The five most common vegetable garden pests that I battle in mid to late summer are Colorado potato beetles, striped cucumber beetles, flea beetles, Mexican bean beetles, and harlequin cabbage bugs. (Cabbage loopers and squash vine borers are also a problem. Click here to read about cabbage looper control, and click here to read about squash borer control.) Each return year after year with regularity, but some years are worse than others. The severity of the previous winter usually indicates the severity of my pest problems–the milder the winter, the harsher the pest problem.
Last winter was pretty warm, so this summer, the pests are rampant. Here are some ways that I have learned to overcome them.
Colorado Potato Beetle

The surest way to attract Colorado potato beetles to your garden is to plant potatoes, but if you don’t have potatoes, they will go for your tomatoes and eggplant secondarily. (Fortunately, they don’t appear to be attracted to tomatillos.) The fat, striped adult beetles emerge from the soil in late spring to feed on emerging potatoes, and then lay clusters of orange-yellow eggs on leaf undersides. They yield highly destructive little orange larvae that eat foliage nonstop and grow quickly. You can kill the insects at any stage, but it’s easiest to pick off the adults and eggs. (Click here to view the full life cycle of these beetles.) The beetles can complete up to three life cycles in a single season, so once you have them, you generally have to fight them all summer.
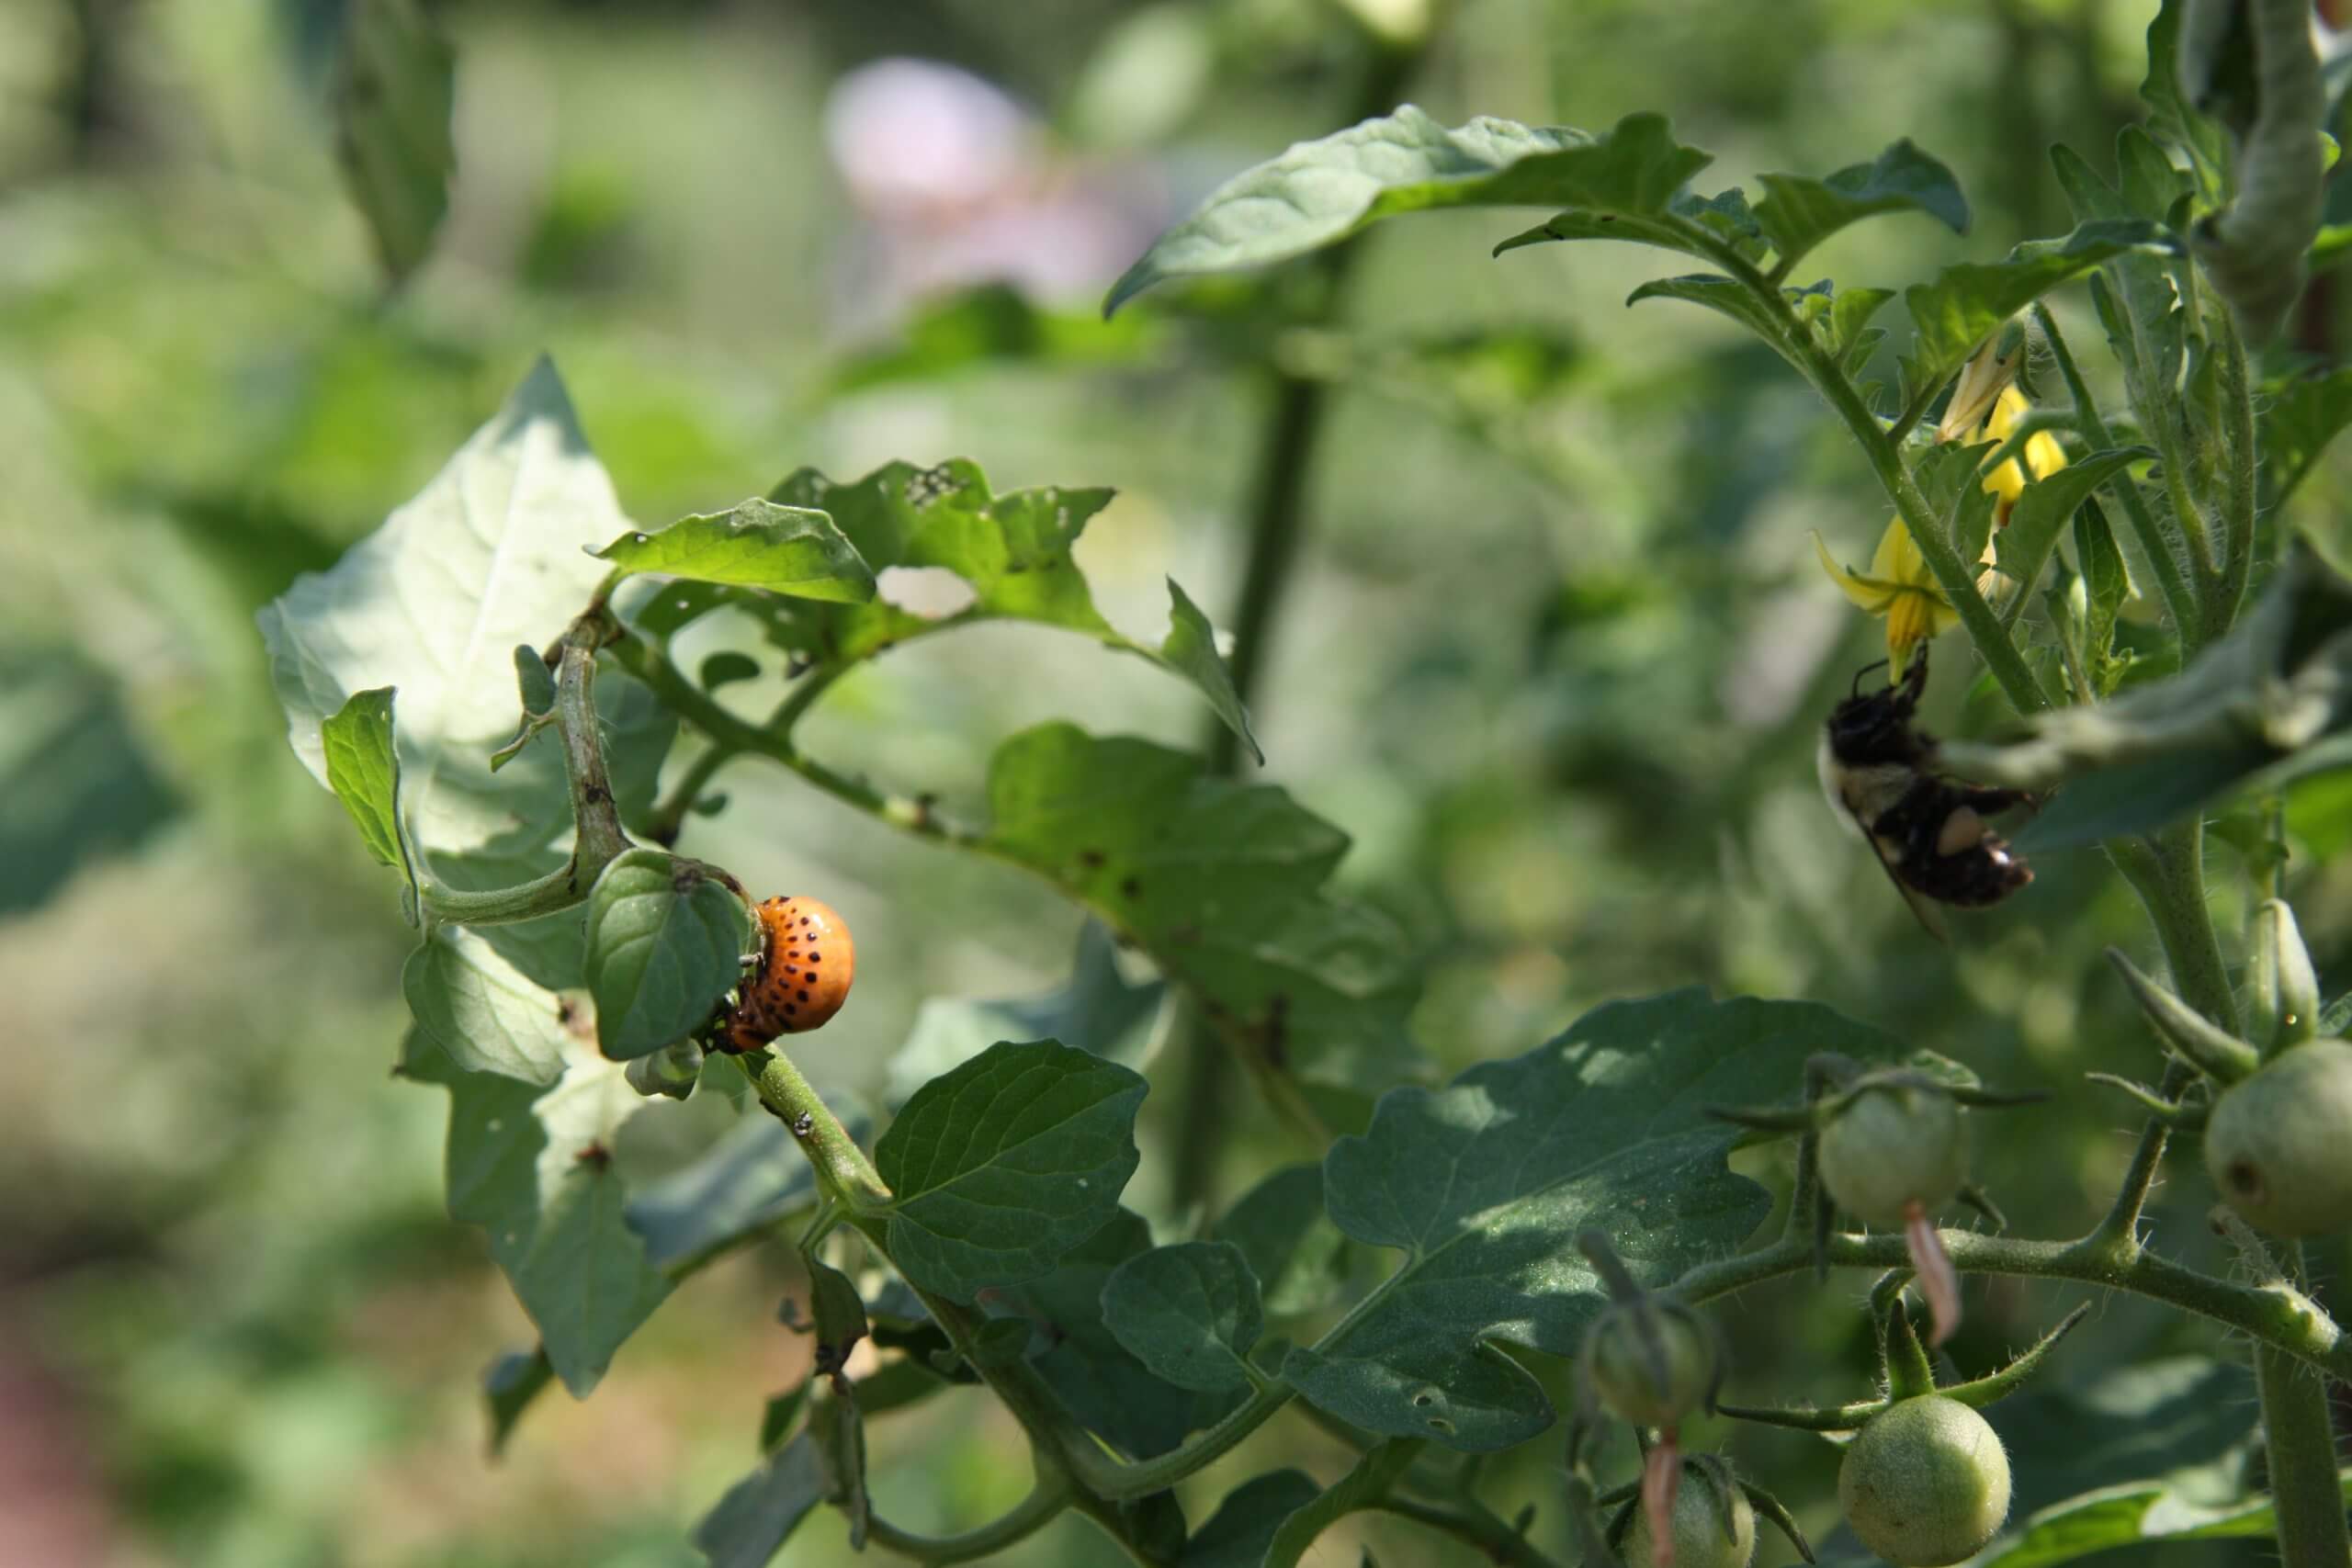
These insects are highly resistant to insecticides, so it pays to choose non-chemical methods of control. Time and time again, I’ve found that well-timed cultural control and proper winter cleanup are the best means of battling them. Cultural control is essentially picking off the adults, eggs, and larvae and/or pruning off egg- and larval-covered leaves and branches. I generally smash picked specimens, but you can also drown them in a bucket of water. Beetle picking should start in mid to late spring and continue until all signs of these pests are gone. (To learn everything there is to know about Colorado Potato Beetles, visit potatobeetle.org.)
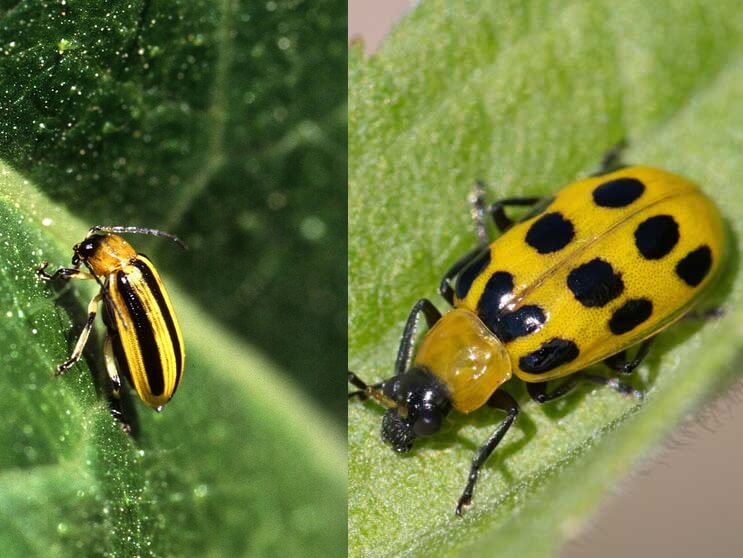
Spotted and Striped Cucumber Beetles

As their names suggest, striped and spotted cucumber beetles favor cucumbers, but they also attack melon vines. Small, striped or spotted cucumber beetles look so cute and innocent, but they are so destructive. Every year my cucumber crop is a crapshoot. Why? It’s not because of the damage they cause by feeding on plants and fruits. It’s the catastrophic bacterial wilt that they spread from plant to plant. Once cucumber vines get cucumber bacterial wilt, there is no turning back. The leaves will start to show droop, and eventually, whole stems will collapse, and the vine will die.
These pests may have two to three cycles in a season and are next to impossible to control, even with harsh chemical insecticides. Floating row cloth cover can keep them at bay, but it’s a hassle and does not allow pollinators to reach the plants, though some cucumbers are self-pollinating, particularly Beit-Alpha types like ‘Diva’.
When striped cucumber beetles are a chronic problem, the best course of action is to choose bacterial-wilt-resistant cucumber varieties. Cornell University Extension offers a great list of resistant cucumber varieties from which to choose. Of these, I have grown the short-vined slicer ‘Salad Bush,’ which is great for container growing. Two more reliable varieties are ‘Marketmore 80‘ and ‘Dasher II.’ (Click here to learn more about striped cucumber beetles. And click here to watch a video about how to grow cucumbers.)
Eggplant Flea Beetle

Tiny jet-black eggplant flea beetles are the smallest summer pests in this list, but they can devastate an eggplant in a matter of days. They attack many other veggies, like radishes, potatoes, turnips, and spinach, but with less ferocity. The small but numerous insects leave little pockmarks all over a host plant’s leaves. Badly damaged leaves barely function, resulting in poor, weak plants that produce puny fruits.
If you want to grow eggplant, you have to protect them from eggplant flea beetles. There are plenty of insecticides that will kill these insects, but only a few non-chemical cultural practices will stop them. The best method that I have found is protecting plants with summer-weight floating row covers that transmit a lot of sunlight while physically keeping insects from the plants. The key is covering plants early and then securing the row covers at the base, so the tiny beetles cannot crawl beneath them. Holding cover edges down with bricks, pins, and even mulch or compost works. The only caveat is that you may need to hand-pollinate plants for fruit set.
Good fall cleanup of infested crop plants will also keep populations down from year to year. On average, eggplant flea beetles will complete up to four generations in a single season. (Click here to learn more about these pests.)
Harlequin Cabbage Bug

These ornamental stink bugs are the worst enemy of summer kale, broccoli, and other brassicas. They suck the juices from the leaves, causing pockmarks all over them. The most striking destruction I have ever witnessed was with enormous Portuguese kale that I had nurtured to a bold 2′ in height through spring. Once the numerous beetles started to attack in early summer, the plant had no chance.
There are a few management practices that will help stop these bugs. Floating row covers can also be used, as was suggested for the eggplant flea beetles, but harlequin cabbage bugs are big enough to pick off by hand if you have the time and can handle the slightly stinky smell they emit when disturbed. Spraying them off with a jet of water will also help knock them back. Small nymphs are also susceptible to treatment with OMRI Listed® insecticidal soap.
Two to three generations of harlequin cabbage bugs can occur each season. By late summer, they are no longer a problem, so that you can plant your fall cabbages and kales with confidence. (Click here to learn more about these pests.)
Mexican Bean Beetle

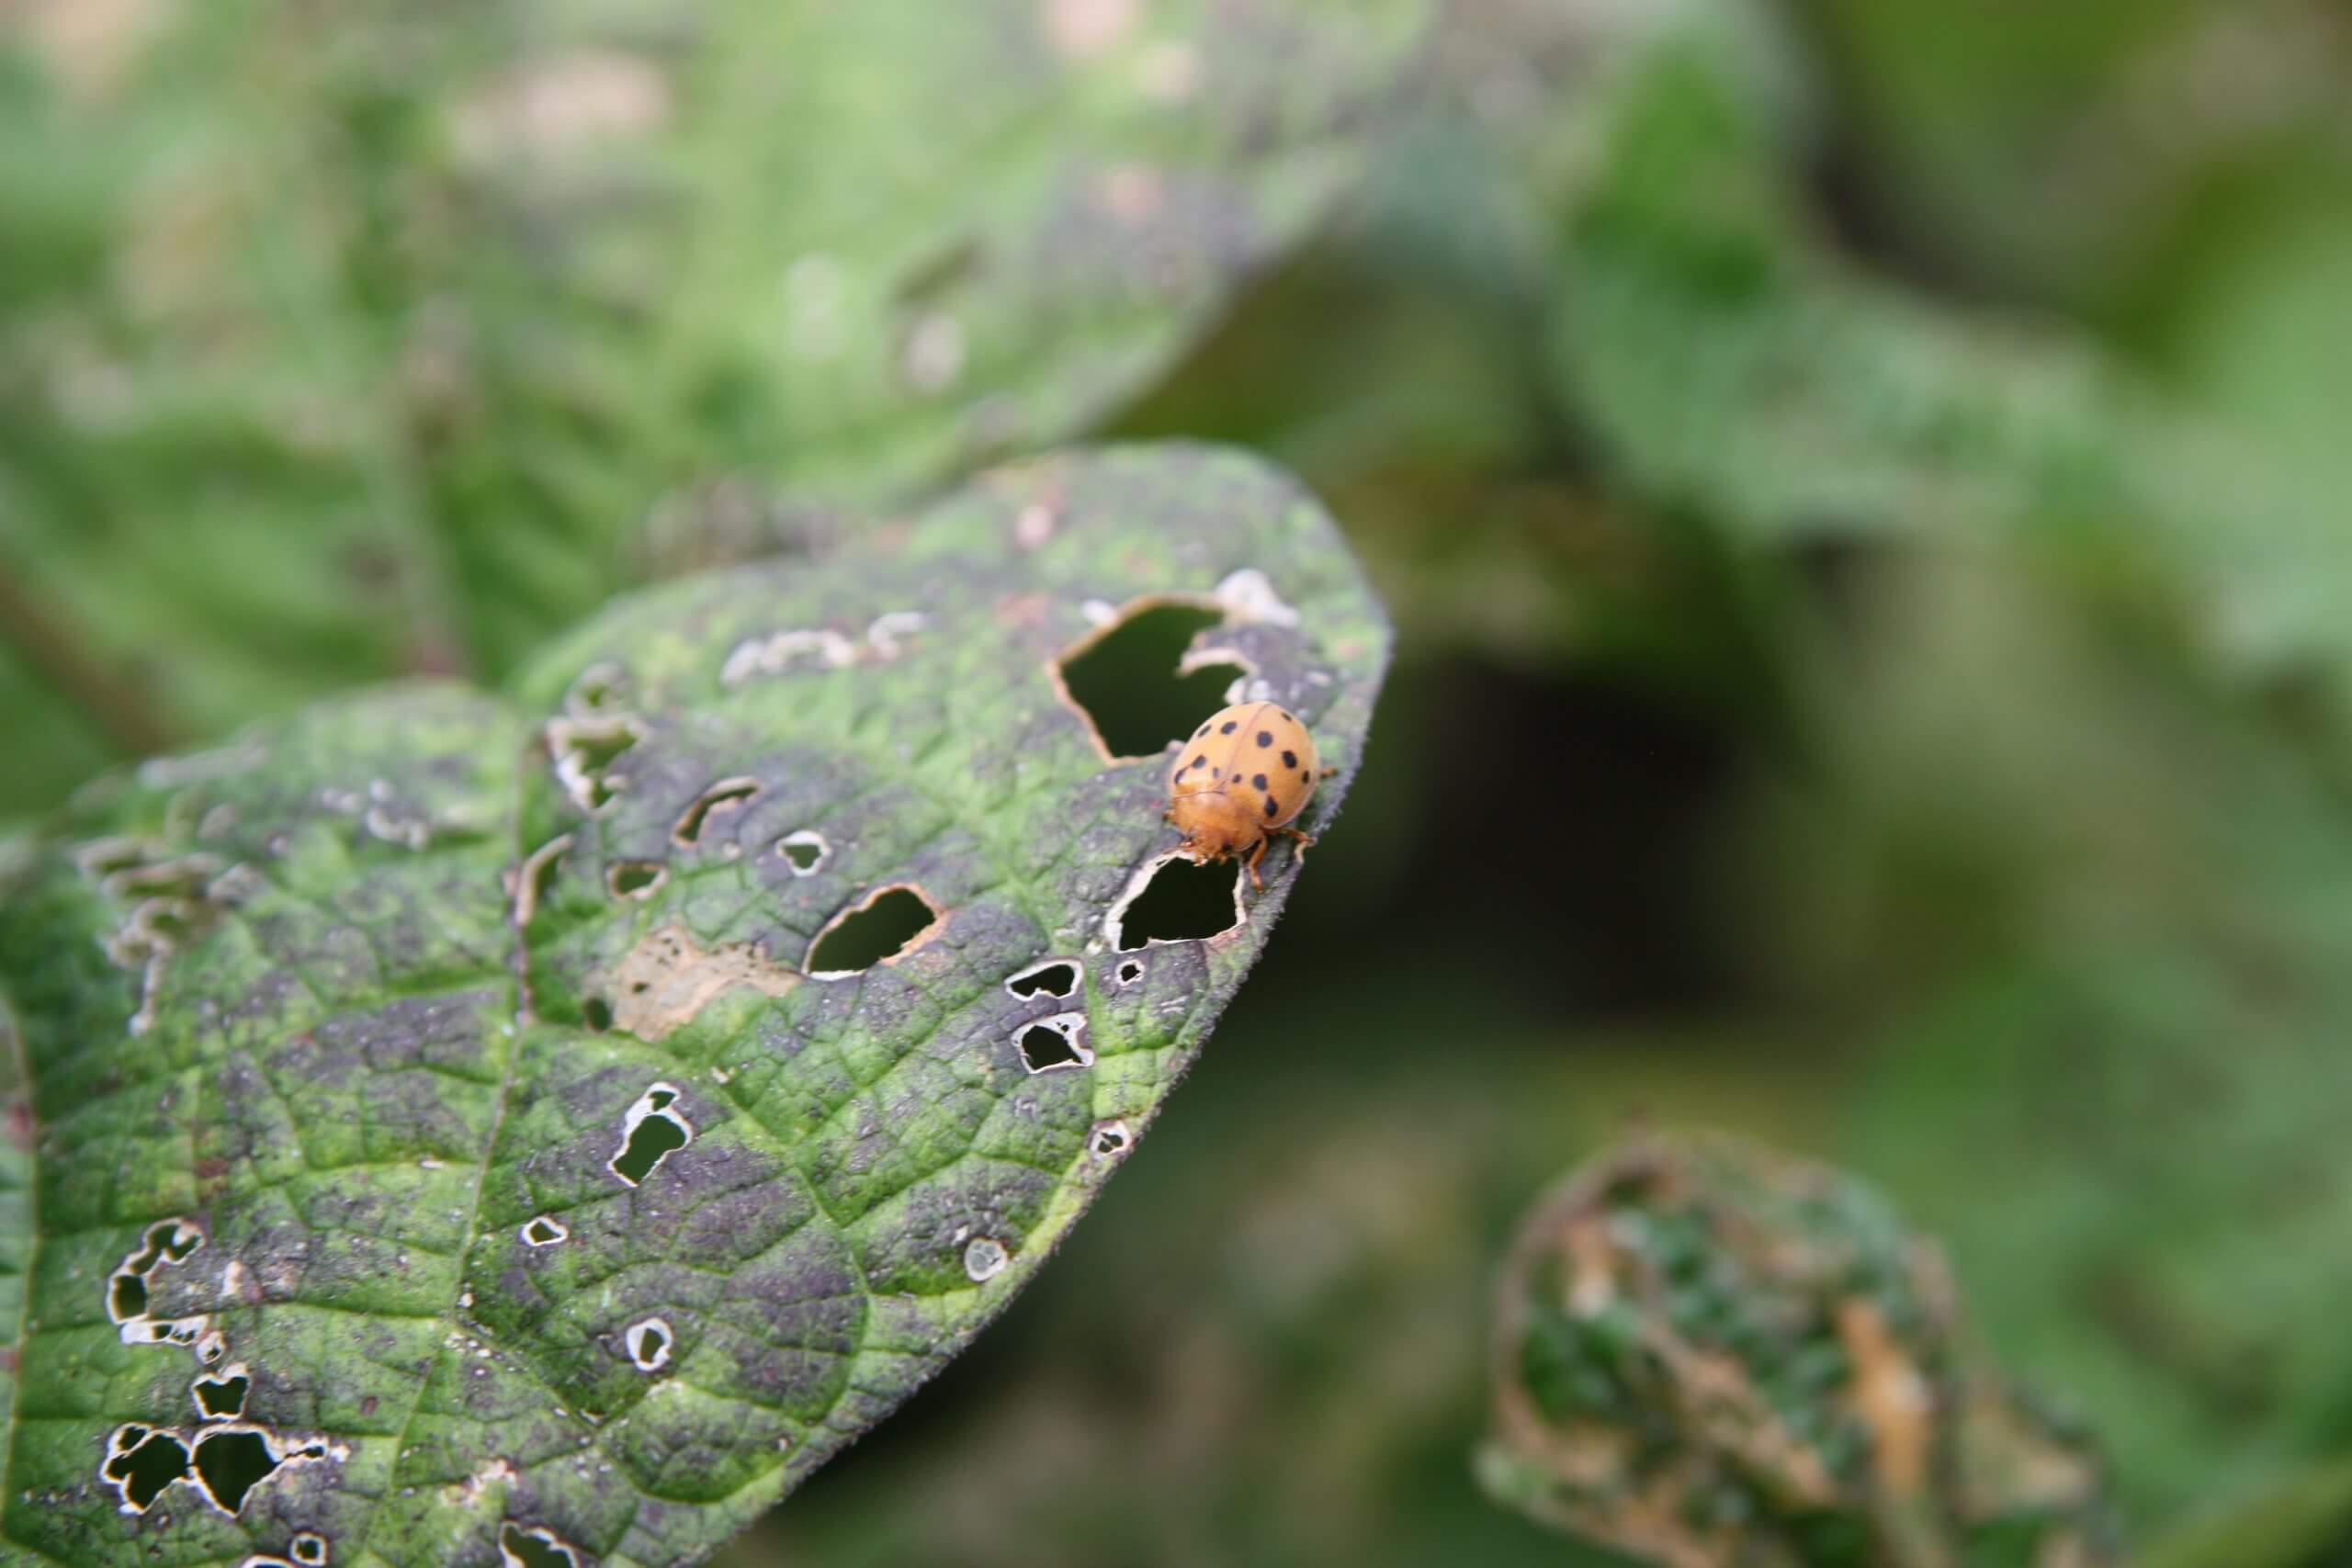
Like Colorado potato beetles, it’s the larvae of Mexican bean beetles that do the harshest damage to bean plants. The adults emerge in late spring, but they rarely cause major problems on bean plants until midsummer. The adults are orange, black-spotted beetles that lay clusters of orange-yellow eggs below the leaves, much like the Colorado potato beetle. The unusual larvae are fuzzy, bright yellow, and devastate leaves as they feed along the leaf bottoms.
You can control these pests as you would Colorado potato beetles with one exception – destructive harvesting. Destructive harvesting is the harvest and total removal of infested plants from the garden. After picking all the beans from an infested plant, the whole plants should be pulled, bagged, and taken far from your garden. (Click here to view a YouTube video from the University of Maryland about destructive harvesting.) Beans can be replanted as late as mid-August for early fall harvest.
In general, regular weeding, good plant care, and excellent garden clean up, in summer and fall, will help keep pest populations down. Clean the ground of all leaf litter and weeds as needed, and amend the soil with top-quality amendments for vegetables, such as Black Gold® Garden Compost Blend and Garden Soil, and your plants will be more robust to resist the many garden pests that threaten to destroy them.
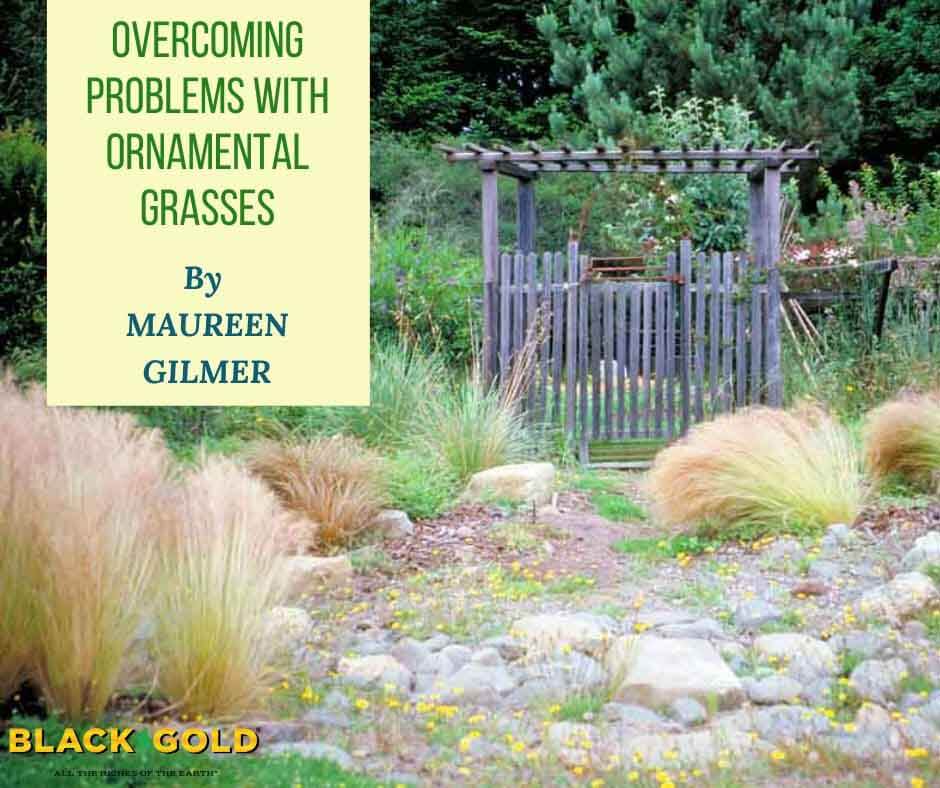
Overcoming Problems With Ornamental Grasses
When landscape grasses take on full autumn color in the western states, they are always the focal point of the late season. It is the driest part of the year when their life cycle peaks after flowers pollinate, seeds form and are finally released into the wind to repopulate the land. These annual reproductive structures are why ornamental grasses own the fall garden when few other plants bloom. Even in the early winter, the standing flower stalks offer attractive interest through the snow.
It’s the less desirable grass habits that are less understood. These influence selection, placement, and other issues you won’t hear about elsewhere. Here are some tips to help you select and design grasses into your landscaping, so they don’t become problems later on.
Grass Litter

After pollination, grasses shed their flower parts. When the seed is released, they shed their hulls. A lot of fine litter is dispersed over a long period. If the grasses are located upwind from a swimming pool or water feature, the litter is blown directly into the water. This can make it challenging to keep pumps and equipment clear and the water quality sparkling.
Therefore, know the direction of your prevailing winds and storm winds before you decide where to plant grasses. Limit planting areas downwind or away from the pool. However, it’s common for wind direction to change with the seasons, so if you plant them poolside, planting them downwind is not foolproof. Cutting the seedheads back may be necessary.
Invasive Grasses
The reason you hear so much bad press about fountain grass (Pennisetum species and varieties) is that they love our climate and sprout anywhere there is enough moisture to grow. There are many ornamental species with weedy tendencies. Some garden favorites are hardy perennials, like foxtail fountain grass (Pennisetum alopecuroides), but in milder western climates tender perennial forms, like purple fountain grass (Pennisetum setaceum ‘Rubrum‘), will survive several seasons, too. Perennial forms don’t die back and are long-lived. Pennisetum such as these are displacing less aggressive native species in low, moist areas.
The same applies to your yard. If the seeds fall near irrigation heads, they sprout into weeds. It may have been open ground, but now it’s become a longterm weed problem. Such introductions are hard to stop and take a few seasons of dedicated handwork to clean out.
Runner Grasses
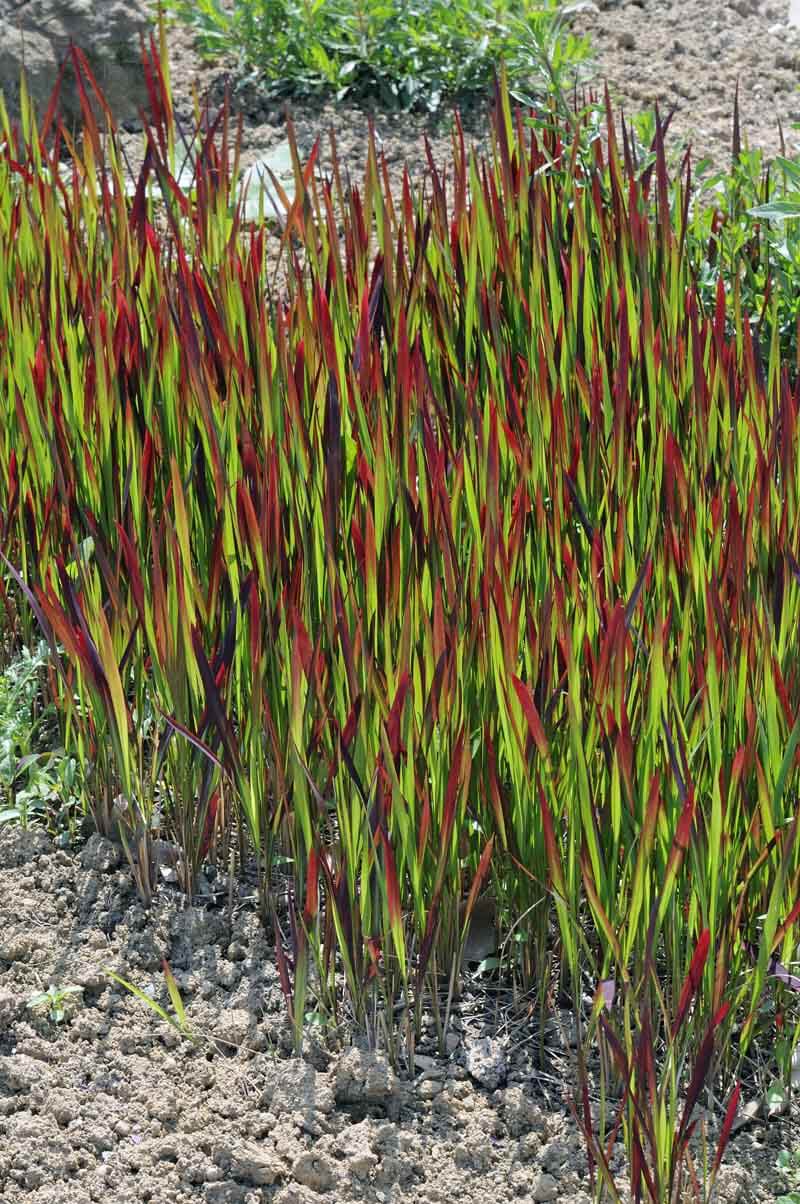
Runner grasses spread, unlike stayput bunch grasses. The common southern lawngrass, Bermuda grass (Cynodon dactylon), is the poster child for a host of aggressive runner grasses that spread fast and invade perennials and well-behaved bunchgrasses. Another ornamental grass to add to the equation is Japanese bloodgrass (Imperata cylindrica), with its red-tipped blades and fast-spreading runners that will quickly overtake moister beds. The problem is the worst when runner grasses overtake bunch grasses. They creep unseen beneath a garden grass, and then once well rooted, the runner grass becomes nearly inextricable. If the bunchgrass is large and broad, the two grasses will forever be bound together, foliage plaited into a nest, and there’s no separation once established. Prevention is everything. Beware adding these, or any aggressive runner grass, to your yard or garden.
Short-Lived Grasses
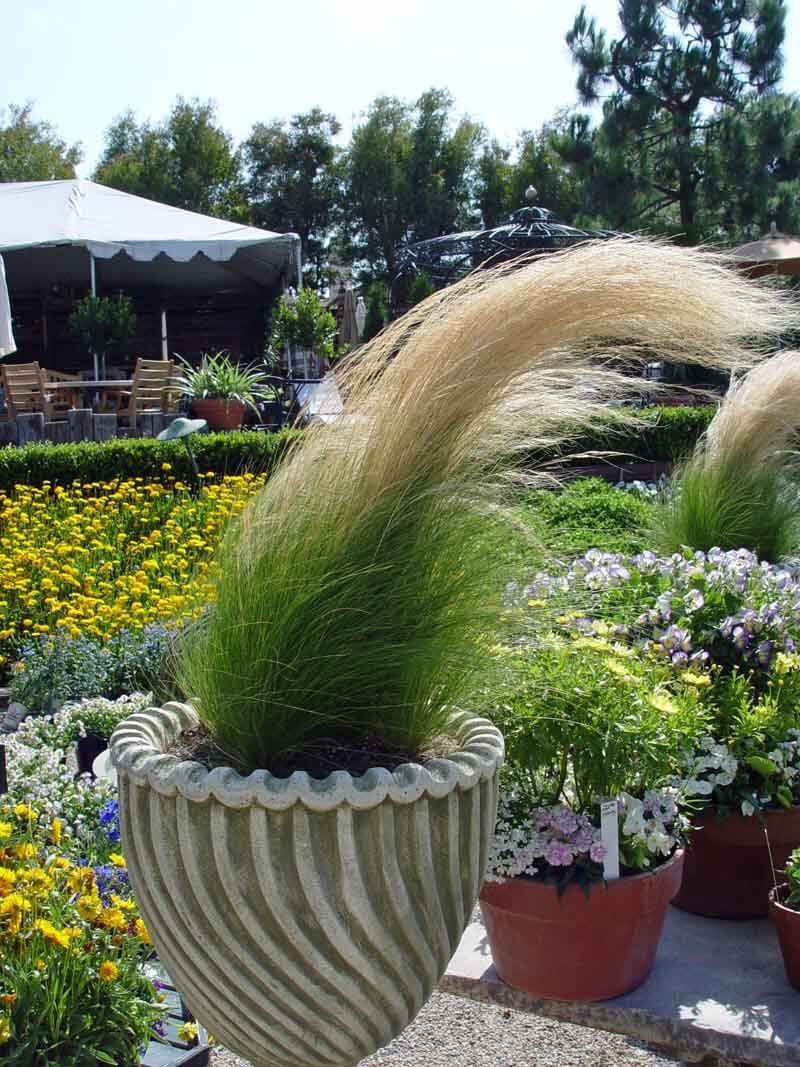
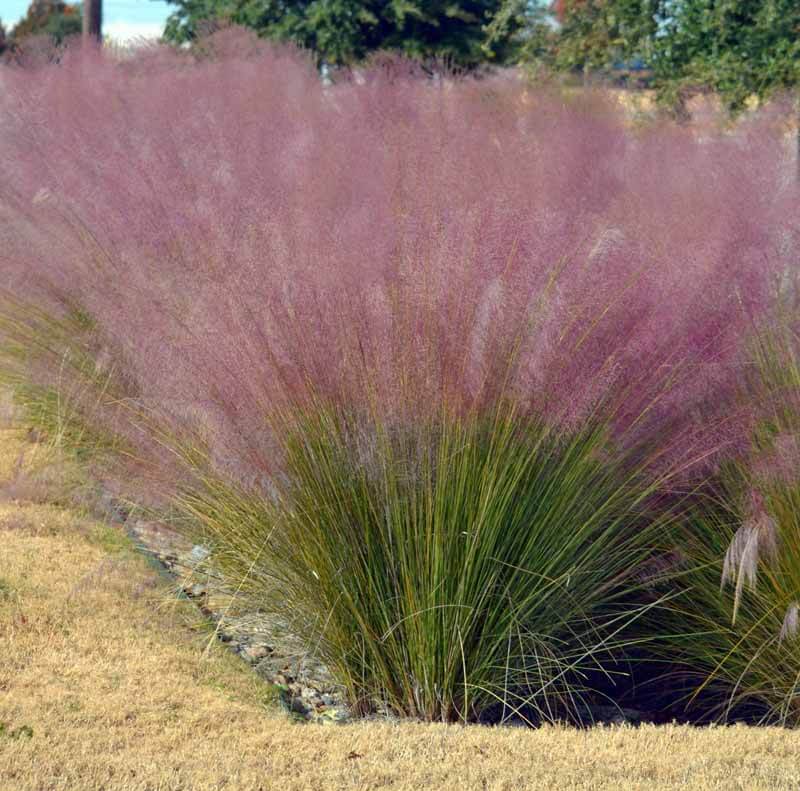
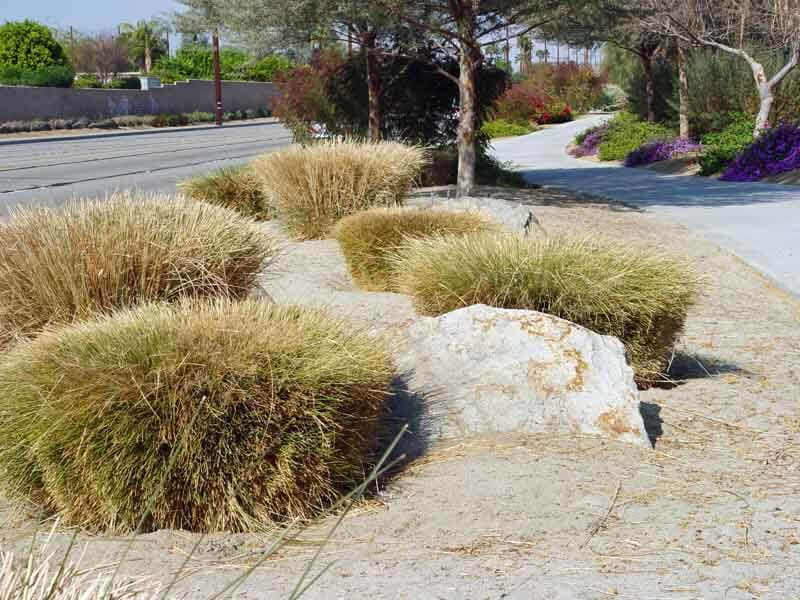
Grasses are ephemeral plants by nature, adapted to range fires in the wild, grazing, floods, and landslides. Those that evolved with a long life span prove that they have adapted to climate change, since well before the Pleistocene, and are still super adapted for the future. The most long-lived, resilient grasses to grow in arid gardens are native deer grass (Muhlenbergia rigens) and its kin (Muhlenbergia group). But, more short-lived species, such as the windswept Mexican hair grass (Nassella tenuissima) or purple fountain grass, die out in just a few years.
Clump Splitting
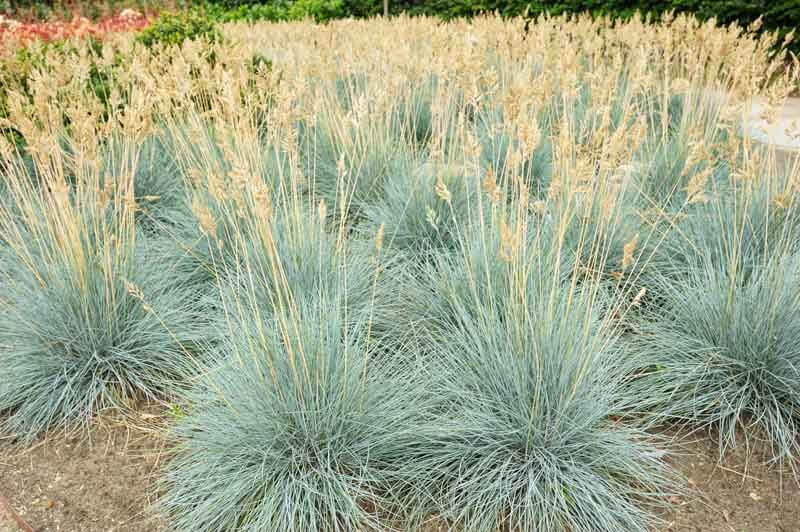
Early in the life span of blue fescue (Festuca glauca varieties), the mounds of icy blue needles are perfect hemispheres. Like many other grasses, fescues grow too tall and heavy then split down the middle, allowing light to reach the root crown at the center of the clump. The direct sun sears those formerly shaded crown stems, causing premature aging while the rest of the plant is perfect. Replacement is often required if the plants are depended upon to create full geometric domes. This is a natural process for fescues, so they are best planted with other species that take up the slack visually if they decide to split.
Midwinter Decline
As dramatic as sweeping monocultures of grasses are, they are best used with ever-beautiful support plants due to an unattractive period in midwinter, even if not fully dormant. The grasses are routinely cut back to just a few inches to simulate a cold event. This removes dead and dormant growth as well as detritus inside the clump to make way for the renewal of foliage. To avoid the barren ground, it’s wise to choose other evergreen plants to carry this composition until green grass shoots start up again in spring. Renewal is part of grass biology, so cutting back is regenerative and makes them healthier overall.
 Ornamental grasses are an important cornerstone of today’s arid-zone gardens. Those species adapted to warmer climates without summer rain offer a change in texture as well as wind-blown beauty in containers on porch or patio. They require lots of nutrition, so be sure to use Black Gold Moisture Supreme Container Mix when planting for efficient water-holding potential and water conservation. The best grass for containers and garden at higher elevations or further north are Miscanthus varieties, which ask for a bit more water. (Choose low-seeding or sterile forms, such as giant miscanthus (Miscanthus x giganteus).)
While shrubs and succulents can be inanimate, the slightest breeze begins the gentle sway of a thousand soft grass blades. The animation of the nodding flower spikes liven up a dying landscape in the dry autumn winds.
Does Black Gold Carry Earthworm Castings?

“Does Black Gold carry worm castings?” Question from Holly of Idaho Falls, Idaho
Answer: Yes! We do carry Black Gold Earthworm Castings. Many of our potting mixes contain castings as well. These include Black Gold Natural & Organic Potting Mix and Black Gold Waterhold Cocoblend. All of these products are OMRI Listed for organic gardening! They are best added to potting mixes or ground soil for extra organic matter and fertility.
Happy gardening,
Jessie Keith
Black Gold Horticulturist
What are Some Good Root Vegetables for Containers?
“I need ideas for growing root vegetables in containers.” Inquiry from Karen of Randolph, Vermont
Answer: You can grow just about any root vegetable in containers, but I choose smaller varieties for greater yields–petite French Breakfast radishes rather than giant Korean daikon radishes. Here are some excellent small, fast root vegetables for pots:
D’Avignon French Breakfast Radish: This traditional radish always tastes crisp and sweet when I grow it, and it is fast! Give the roots just 21 to 30 days for full development.
Adelaide Baby Carrot: These are the most crisp and sweet baby carrots ever! Give them around 50 days to mature from seed.
Boro Beets: Harvest these deepest red beets as baby beets or wait until they are a bit larger. They are very fast growing–ripening in about 50 days from seed.
Scarlet Ohno Turnips: Red exteriors and pink interiors make these crunchy, sweet turnips extra special. Like the other root crops mentioned, they take about 50 days before they are ready to harvest.
All of these root crops are just right for spring. Be sure to plant them in containers that are deep and wide enough for a good crop. Plant them in Black Gold Natural & Organic Potting Mix, which is OMRI Listed for organic gardening and holds moisture well. To learn more about growing beets, take a look at our video below!
Happy root gardening!
Jessie Keith
Black Gold Horticulturist
How Do I Amend My Garden Soil for Top Performance?
“Hi! I just moved into a new home, and my back yard is a blank slate, with sod throughout. I want to build some flower beds for roses, as well as raised beds – one for pollinator attraction and others for veggies. What would be my go-to soil and amendments, please? Thank you!!!” Question from Nancy of Denton Texas
Answer: For amending in-ground soil, my first amendment of choice is always compost, and Black Gold Garden Compost Blend is a great option that’s OMRI Listed for organic gardening. Our earthworm castings and peat moss are also great additives for enriching soil with needed organic matter.
Start by removing sod from your planned garden areas. Next, work the soil up deeply, add a 2- to 3-inch layer of your amendments, and either till them in or work them down with a garden fork. Organic matter will lighten your soil and help it hold water and nutrients better for improved vegetable and flower growth.
For raised beds, add bulk top soil and amend it similarly with compost, peat, and castings. Black Gold Natural & Organic Potting Mix is also recommended for raised bed growing and is OMRI Listed for organic gardening. I also suggest adding a quality OMRI Listed fertilizer before planting. Just make sure your fertilizer of choice is formulated for the plants you intend to grow.
To make the most of your rose growing, I suggest you watch the video below.
Happy gardening at your new home!
Jessie Keith
Black Gold Horticulturist
How to Rid an Organic Garden of White Mold
“What is the best way to get rid of white mold in an organic garden? I pulled the plants this summer but I’m curious if there’s something I can do if it happens next year.” Question from Lynda of West Warwick, Rhode Island
Answer: White mold (Sclerotinia spp.) is a real problem, particularly with legumes (plants in the bean family), sunflowers, and many veggies and bedding plants. When it takes hold, it can cause flower blight, stem rot, fruit rot, and crown rot. If you adopt a multi-step, integrated approach to the problem, you can tackle it without the use of fungicides.
This fungal pathogen overwinters in the soil, so don’t expect it to disappear quickly. Here are several steps that will help you manage it next year.
- Clean all plant debris from your vegetable bed this fall.
- Space your vegetable rows and vegetable plants widely next year to increase aeration and hasten foliage and soil drying. If you avoid dense plantings of susceptible plants, you will discourage the disease from taking hold.
- Drip irrigate your plants and prolong the time between watering them; let your soil have a longer drying period between watering to discourage the disease and its spread.
- Rotate with non-susceptible crops, like corn, alfalfa, and wheat cover crops.
- Till the crop area after growing and harvesting susceptible crops, and refrain from tilling the area after planting non-susceptible crops.
- Control weeds well. Applying black row cloth can help control weeds and the spread of the disease.
- Keep a lookout for the disease and remove infected plants as you see them.
I hope these tips help! Good luck in controlling your white mold problem. To learn more about this disease, click here to visit The American Phytopathological Society’s page about it.
Happy gardening!
Jessie Keith
Black Gold Horticulturist
DIY Garden Project: Organic Rose Growing in Nine Steps
Learn how to grow beautiful roses with these nine simple steps. It’s easy to grow amazing roses organically. Here are nine steps for growing roses the organic way without the need of non-organic pesticides and fungicides.
Organic Rose Growing in Nine Steps
Download the Step-by-Step PDF
5 Sustainable Ways Your Garden Can Help the Earth

By default, gardens help the Earth by providing vital green space, but there are smart ways to boost a garden’s overall value—environmentally, socially, and economically. Some steps are small. For example, growing your own food organically takes little effort and offers big rewards with fresh, low-cost produce. Composting your own food scraps and fallen leaves reduces landfill waste and results in rich compost for your garden. Similarly, choosing the right garden plants will feed wildlife and make your yard more ecologically sound.
Though often overused and misunderstood, the word “sustainable” is essential in describing Earth-friendly approaches to gardening. As an ecological and social term, the word “sustainable” refers to “the long-term ability to maintain an ecosystem or human society” (Ecology Campus Network, John C. Ayers). In more practical terms, a sustainable home or garden is in a state of balance, consuming no more resources than it produces. A healthy garden that’s in balance ultimately gives back with good food and attractive green space that fuels local flora and fauna.
Here are five easy, important ways to bring sustainability to your yard or garden, no matter what the size.
(1) Create a Certified Wildlife Garden

The National Wildlife Federation has made it easy to create a Certified Wildlife Garden in your own yard by providing a list of the steps needed to naturally feed wildlife. Several factors need to be considered if you want to certify your garden.
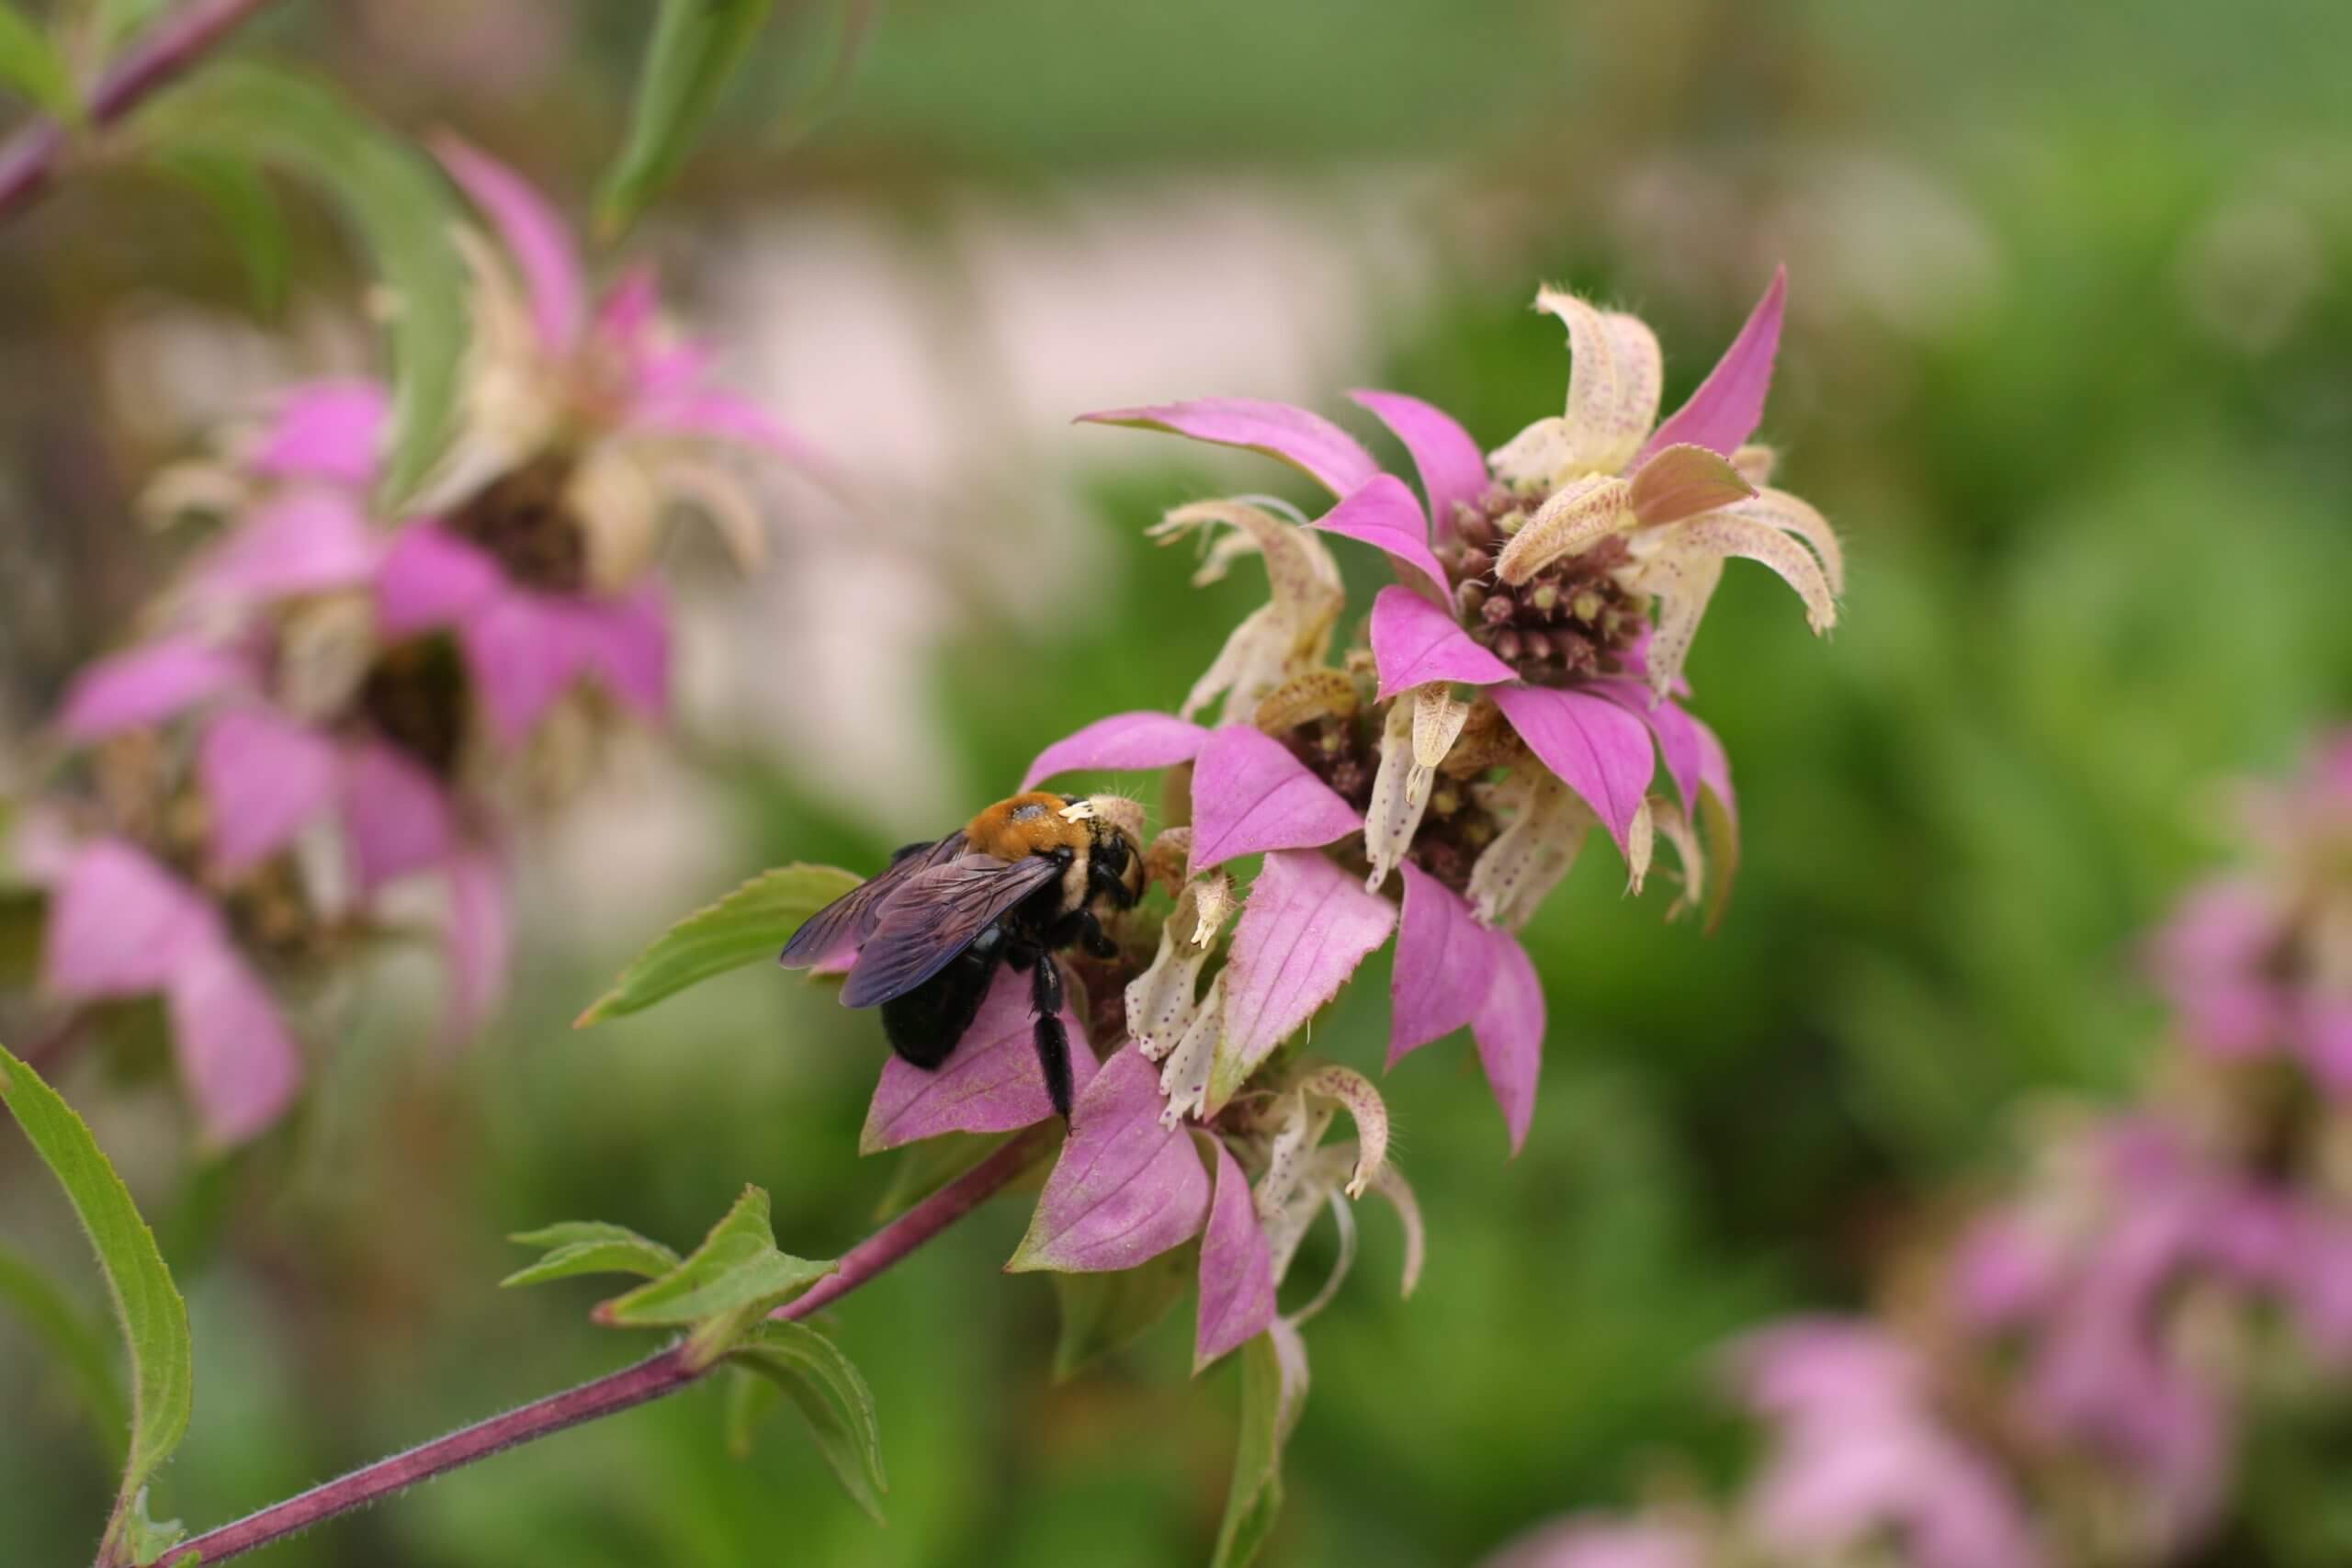
The first step is to ensure there are several types of natural, native food types in your garden, to include pollen/nectar, berries, nuts, and seeds. Next, you need a freshwater source for wildlife in your yard; this could mean a birdbath, fountain, or any natural water source near the house. Some form of natural cover is required, which could include shrubby areas, thickets, or wooded areas. The creation of spaces for animals to raise their young, via cover plants, larval food plants, or nesting boxes, are also required. Those with little space may choose to plant milkweed (the food plants of monarch caterpillars) or install a nesting box for songbirds. Finally, those with Certified Wildlife Gardens must commit to gardening sustainably. That means gardening organically, managing invasive exotic weeds, and helping to manage natural rainwater.
(2) Garden Organically
It is far easier to garden organically than most think. The key is to naturally feed your soil and plants, and choose resistant plants able to grow in your yard without the need for chemical fertilizers, pesticides, or herbicides. (Read more about resistance gardening and smart plant choices here.) Good plant care and management are also needed to safely stop unwanted pests and diseases from taking over your garden beds.
Feeding your soil with OMRI Listed amendments and fertilizers approved for organic gardening is essential. (Learn more about OMRI standards by clicking here.) Black Gold offers a wide array of OMRI Listed Amendments and Potting Mixes ideal for organic gardening. Just adding enriching compost and earthworm castings into your soil can make the difference between a mediocre gardening experience and a great one. Supplemental organic fertilizer will encourage your plants to grow and product to their fullest. Feeding plants with mixes enriched with the RESiLIENCE® additive has also been shown to boost their natural defenses.
Integrated Pest Management (IPM) is the long-term approach taken to safely managing pests, and organic growers achieve it without the need of unapproved chemical pesticides. (Click here to view the list of green pesticides approved for organic gardening.) Techniques include pest monitoring, biological controls, preventative garden cleanup, and the use of approved natural chemical controls. (Click here to download the full Organic IPM Field Guide.)
Finally, smart, chemical-free weed management will ensure your plants will have space and resources to really shine. Choose great weeding tools, such as the sturdy Rogue Prohoe or efficient Korean ho-mi (hoe-mee) hand tool, to make weeding easy. Manage weeds when they are still small, and apply lots of organic mulch to keep them from emerging. We recommend placing a 2″ layer of Black Gold Garden Compost Blend around your vegetables and garden flowers to keep weeds down. Other recommended natural mulches include seed-free hay, pine straw, and composted leaf mulch.
(3) Grow Your Own Food, & Share Your Harvest!
 If you garden using organic methods, then any food crops you grow will be pesticide free. What’s essential is choosing garden plants that are tough, resilient, and worry-free. Lots of fruits and veggies are easy-to-grow choices great for new gardeners. Carefree tree fruits for the garden include disease-resistant strains, such as crisp, sweet ‘Liberty’ and spicy golden PRISTINE® apples, fireblight-resistant ‘Moonglow’ pear, and darkest red. Easy spring vegetable crops include fast-growing lettuces, carrots, radishes, snap peas, and beets. The best non-stop summer crops for novice gardeners include tomatoes (Click here for tomato growing tips!), peppers, basil, and summer squash/zucchini. Finally, easy fall veggies include broccoli rabe, turnips, beets, and Swiss chard.
If you have a healthy harvest, share it with your friends or the local food bank. Most communities have avenues for crop sharing. One of the best is Plant a Row for the Hungry (PAR), an effort sponsored by the Garden Writers of America and promoted by Sun Gro Horticulture. To find a local PAR representative and make a donation, click here. Local food banks are always willing to take extra produce from overly successful gardeners. Feeding America also has a Food Bank Finder that will make finding your nearest food bank easy.
(4) Choose Regional Native Plants
Regional natives and adapted landscape plants grow best in local landscapes and have the added bonus of feeding local wildlife. There are many good resources gardeners can turn to to find the right ornamental plant choices for their landscapes. One such resource is Landscape for Life, a national effort dedicated to helping gardeners garden sustainably. The principals of the program are based on the Sustainable Sites Initiative™ program (SITES™), a comprehensive program used by industry professionals to maintain sustainability standards. Landscape for Life offers guidelines for choosing the best natives for your landscape. The partnering organization, the Lady Bird Johnson Wildflower Center, has a comprehensive Native Plants Database that allows gardeners to search for desirable regional natives for their area.
(5) Compost Green Scraps & Yard Waste
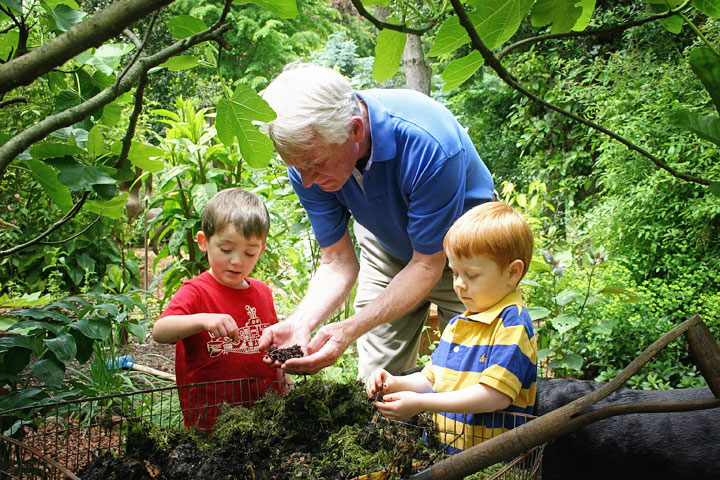
Composting takes less effort than most gardeners think. It’s a fast, easy way to get rid of organic kitchen scraps, grass clippings, and autumn leaves, and the end result is a great natural amendment for the yard and garden. Start by choosing a composter—whether purchased or made. Spacious, self-made composters are great if you have the space for them (Click here for plans).
There are three things required to make good compost fast: small organic waste, water, oxygen, and nitrogen. Add vegetable scraps, grass, and leaves, but refrain from adding large sticks, bones, or meat products (unless you want a smelly pile that attracts raccoons and rats.) The pile needs to be at least 4 feet high and wide to generate enough internal heat to properly compost. Refrain from  packing pre-composted scraps tightly; good aeration helps the composting process.
For fast breakdown, piles must be kept moist, occasionally turned for aeration, and intermittently treated with supplemental nitrogen to help the process. An occasional sprinkling of Black Gold Earthworm Castings, which is rich in nitrogen, can aid the composting process.
After a month or so, the pile should be hot in the center and start breaking down into compost. Properly decomposing piles will shrink. Well-tended compost takes 4 to 8 months to mature. The final product should be dark, soil-like, and crumbly.
Make a Resolution!
Embrace the New Year by upping your garden’s value through sustainable practices. Taking one or two of these steps to increase your garden’s “green” value may seem small, but imagine the impact if all gardeners took a similar approach. As gardeners, we truly can help the Earth one step at a time!
Resistance Gardening in Five Steps
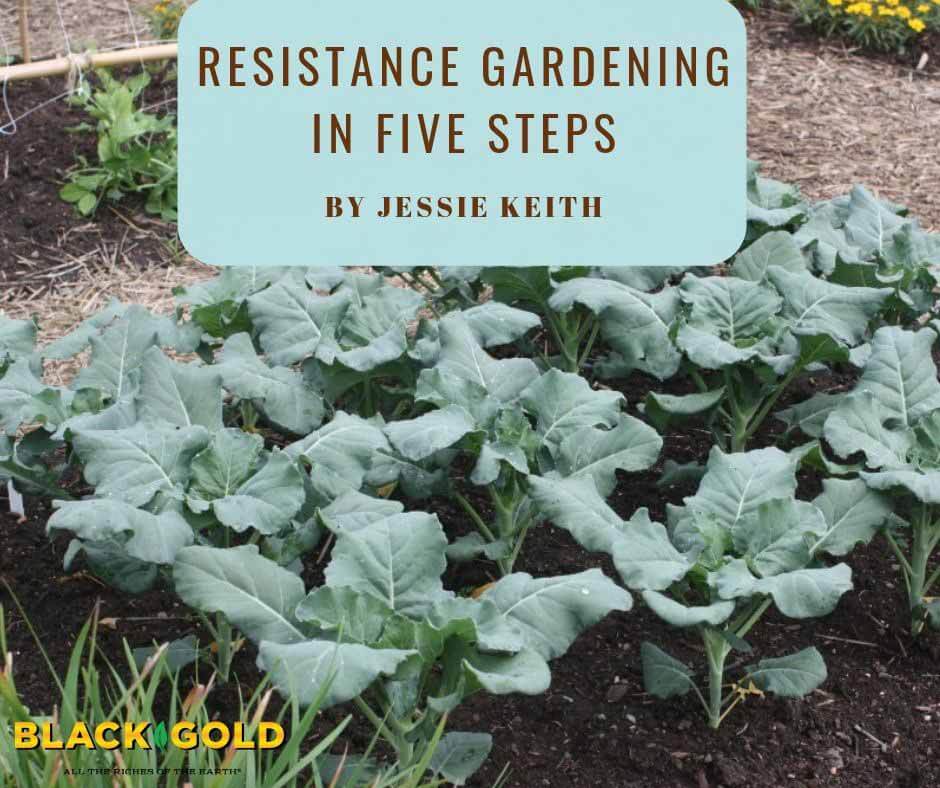
So many factors can put stress on garden plants—heat, drought, insects, disease—that’s why it’s smart to plan ahead to ward off possible garden debacles before they occur. This is done by cultivating tough, resistant crops through chemical-free preparative gardening in anticipation of heat, drought, pests, and disease with bountiful results.
Start early in the season when you choose your garden plants. Pick your plants carefully, choosing those proven to perform well while withstanding the harsh conditions you can expect in your home garden. Here are the five steps that will put you on the road to resistance gardening:
- Choose Great Plants
- Give Plants a Good Head Start
- Prepare Your Soil
- Keep Plants & Beds Clean
- Rotate
Choose Reliable Plants

Be choosy when selecting new plant varieties for your garden. The higher performing and more resistant a plant is to diseases and other environmental stresses, the more resilient your garden will be. Plant trials are a great source of information when it comes to picking good veggies for the garden. Many plant trials are conducted at land grant universities (check out Purdue University’s yearly Midwest Vegetable Trial Bulletin Report for details) and formal trial programs, like All-America Selections, but many seed companies, such as Johnnie’s Selected Seeds, also conduct their own research and trials. Choose winning plants noted for their disease resistance and strong performance under stressful conditions.
Give Plants a Good Head Start

Strong starts can have a big impact on your garden’s success. If growing plants from seed, be sure to give your seedlings plenty of light and room to develop stout, dense growth and ample root systems. Planting one seedling per pot will help avoid competition. Fertilize starts lightly, so they are as strong and healthy as can be at planting time. (Click here for seed starting tips.)
If choosing vegetable starts at your local nursery, pick those with good top growth and check their roots to avoid plants that are root bound. Bound roots will show a solid, interwoven network of roots with little potting mix to see. The root systems of root-bound plants must be cut and separated at planting time, which puts undue stress on transplants.
Prepare Your Soil

Beautifully prepared soil will make a garden flourish all season. Start with organic matter—working in as much Black Gold® Garden Compost into the soil as possible. Amendments rich in organic matter will help the soil maintain moisture as well as porosity—two things that plants need for good growth. The more deeply you improve your soil, the deeper your vegetable’s roots will grow—something that gives plants an edge in heat and drought.
As added reinforcement, work in some Black Gold® Natural & Organic Potting Soil with RESiLIENCE® to give your plants stronger stems, improved root mass and to reduce wilting time under stress. The all-natural RESiLIENCE® additive has been approved for organic gardening and also been shown to help plants flower earlier. (Click here to learn more about RESiLIENCE®.)
Keep Plants & Beds Clean

A clean, weed-free garden with open spaces between plants yields better fruit by increasing light exposure and airflow. Under clean, open conditions, pests and diseases are slower to take hold and easier to manage. Walkways covered with straw, leaf mulch or compost also make is nicer and easier to walk through the garden and care for plants in all weather.
Keep plants clean! Bushy veggies, such as tomatoes, peppers, and eggplant, are especially important to clean and prune to minimize spread of disease and pests. Remove dying, diseased, or infested leaves and stems and remove any unwanted unwieldy branches that inhibit airflow or light where it needs to reach. When pruning, be sure to clean pruners between plants by dipping them in a 10% bleach solution to ward off any cross contamination of potential diseases. At the end of the season, clean all litter and plant material away from the soil for a fresh start next season.
Rotate
Keep your vegetable garden healthy and productive from year to year with crop rotation. This means moving vegetables to different locations in the garden each season—preferably alternating heavy feeders prone to  pests and diseases—such as tomatoes—with fortifying veggies, such as green beans that add nitrogen to the soil. Planting crops in the same spot year after year will increase soil-borne diseases and insects and cause real problems.
The guidelines for resilience gardening are simple. Choose your plants well, give them good care, and you should be set with fresh vegetables for the season. Chemicals aren’t needed, just a little preparation, elbow grease, and upkeep.