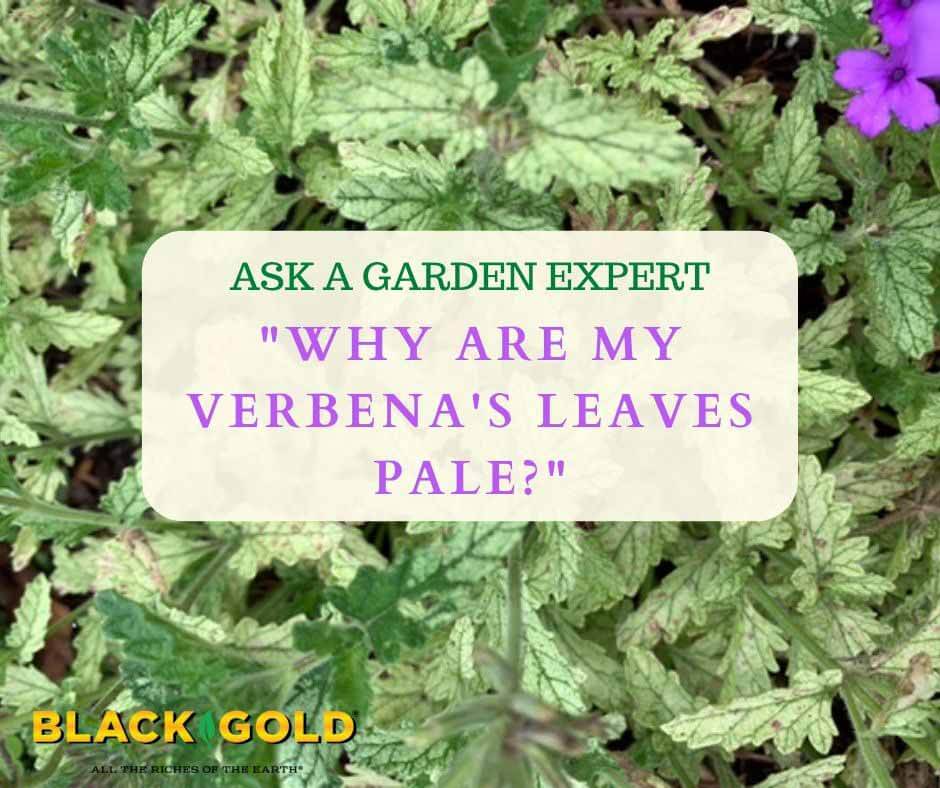
“Most of the leaves on my verbena have become very pale. Not yellow, just faded looking. The plant is still blooming, but the foliage doesn’t look healthy. Any thoughts on what’s going on?” Carlene of Conroe, Texas
Answer: Pale leaves are often a sign of stress, whether it be stress caused by excess heat, excess water, too little water, poor soil, a nutrient imbalance, or some other malady. Yours appear to be chloritic, but the discoloration is white and almost speckly, which is most likely spider mite damage. There also appears to be additional spotting. It is very challenging to provide a definitive diagnosis from a photo, so let me start with what Verbenas need for good growth and follow up with some additional suggestions for the possibility of mites.
Tips for Growing Verbena Successfully
Verbenas grow best in full to partial sun, and even though they are tolerant of hot weather, they should be provided partial sun during the hottest time of the day down in Texas. Plant them in average to fertile soil with excellent drainage. Once they are established, they will tolerate drought, but regular water makes plants happier. If they are in containers, water them daily and make sure the pots drain freely from the bottom. Fertilizer is recommended to keep them blooming all summer long. I recommend feeding them with Proven Winners Premium Continuous Release Plant Food because it is formulated for flowers, and you won’t need to feed weekly. If they become a little overgrown, consider cutting the old stems back to encourage new branches and flowers.
Identifying and Managing Spider Mites
These are tiny plant pests, and once you notice their damage, they are numerous and have already become a large problem. You will notice the damage when the tops of leaves look like they have little white spots across them. These are dead leaf cells that the mites have sucked dry. You might also see little webs on the leaves and tender stems of infected plants.
To see if you have mites, take a clean piece of white paper, hold it beneath the leaves, then tap the leaves onto the paper. If you have mites, lots of tiny specs will fall, and eventually, they will start crawling around. These are spider mites!
To manage them, remove the worst of the damaged leaves if you can. Then spray, wash, and wipe the remaining stems and leaves thoroughly. For potted plants, remove the top inch of potting soil and replace it with fresh. (We recommend using Black Gold All Purpose Potting Mix.) It also helps to wipe the container down, in case any mites have strayed. Finally, spray the plants with insecticidal soap or Neem oil (especially underneath the leaves). Continue to do the tap test and wipe and spray leaves as needed. In time you will overcome your spider mite problem.
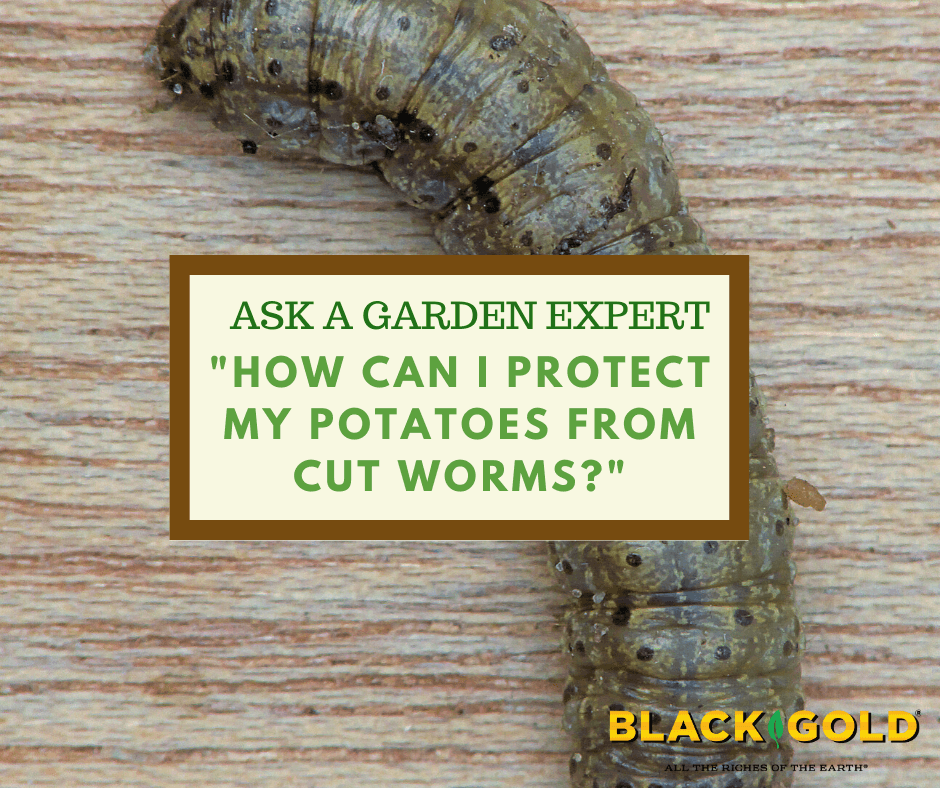
“What is the best way to organically protect potatoes from the fat, grey larvae that wiped out my potatoes last year? I forget the bug’s name, but I looked it up last year. My organic gardening book said to use bran bits and molasses.” Question from Kit of Fairless Hills, Pennsylvania
Answer: I think your pest is the cutworm. Cutworms (Agrotis spp.) are the destructive caterpillars of nocturnal moths, and there are many kinds that attack practically every vegetable crop, including potatoes. Cutworms are fat, gray and curl into a C-shape when disturbed. They tend to feed along the ground at night and are called “cut” worms because of their ability to cut off seedlings and small stems. They will also eat into tubers, roots, and fruits. Several cultural steps and products can help control them.
Cultural Steps to Stop Cutworms
Weeds are a cutworm’s first food, so keep your beds weed-free. Tilling has also be shown to smother and kill cutworms early in the season, so consider tilling your beds under before planting your potatoes. Placing plastic collars around the base of plants has also been shown to ward off cutworms. And, sprinkling a layer of food-grade diatomaceous earth around the bases of plants has also been shown to help. Diatomaceous earth has sharp points that we can’t feel, but these cut into the flesh of soft-bodied caterpillars.
Hand-picking also helps. Cutworms tend to hang out below plants in shady spots during the day. Look for them, and smash or drown them in a glass of water for easy removal.
Pesticides to Stop Cutworms
The use of molasses and bran traps appears to be one old-time method gardeners have used to kill cutworms. The theory is that cutworms are lured to the mix and trapped and/or damaged by the thick molasses. I cannot testify to this method, but I can advocate the use of BT (Bacillus thuringiensis), which is an all-natural insecticide approved for organic gardening. The beauty of BT is that it only damages harmful insects that chew on your plants. Bees and other beneficials are not impacted by BT.
Take some or all of these steps, and your cutworm troubles should be over.
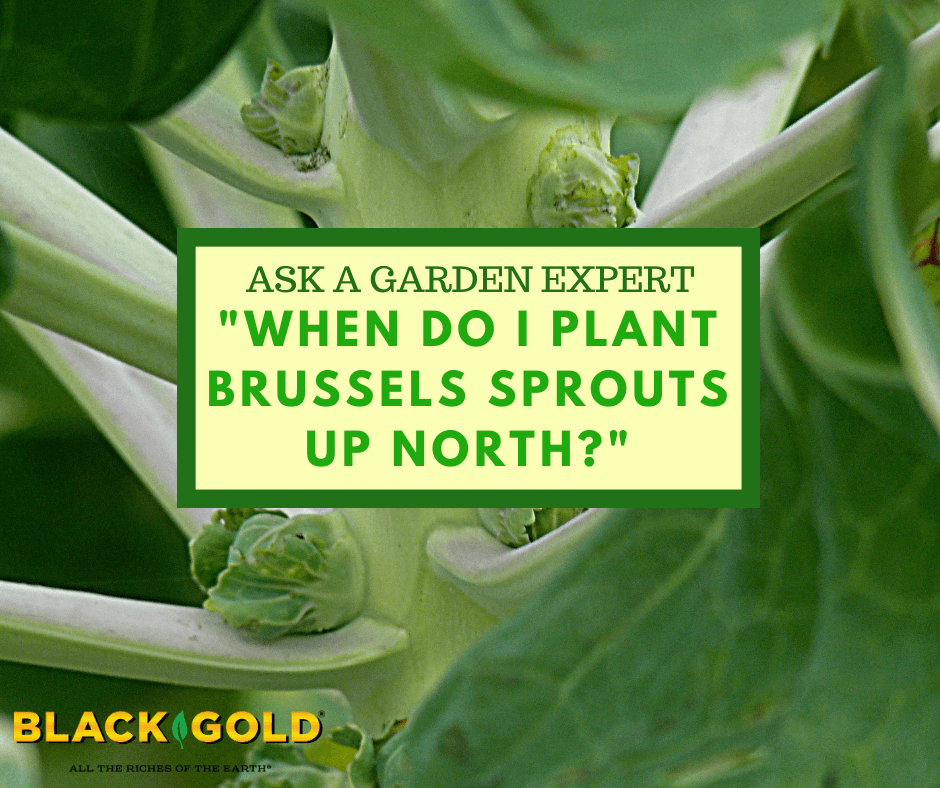
Brussels sprouts are a fall crop. (Photo by Jamain)
“I’d like to grow Brussels sprouts in my garden for the first time this year. When do I plant, and how much water do they need?” Question from Amber of Bay City, Michigan
Answer: Brussels sprouts are a cool-season crop for fall. This means that they need cooler temperatures to grow well and set Brussels sprouts, and they do this best in the long, cool period of fall. In your northern zone, start plants from seed in early summer, and get them in the ground no later than August first. When starting plants from seed, it can take as long as two months to grow seedlings to planting size. You may also be able to purchase starts at your local garden center.
Grow Brussels sprouts in full sun and light, fertile, well-drained soil amended with compost, such as Black Gold Garden Compost Blend. Feed them with an all-purpose vegetable fertilizer at planting time, and give them plenty of water if weather conditions start to become dry. They like soil with light, even moisture. As they grow upward, they may require staking. (Click here to view a few good varieties available from seed.)
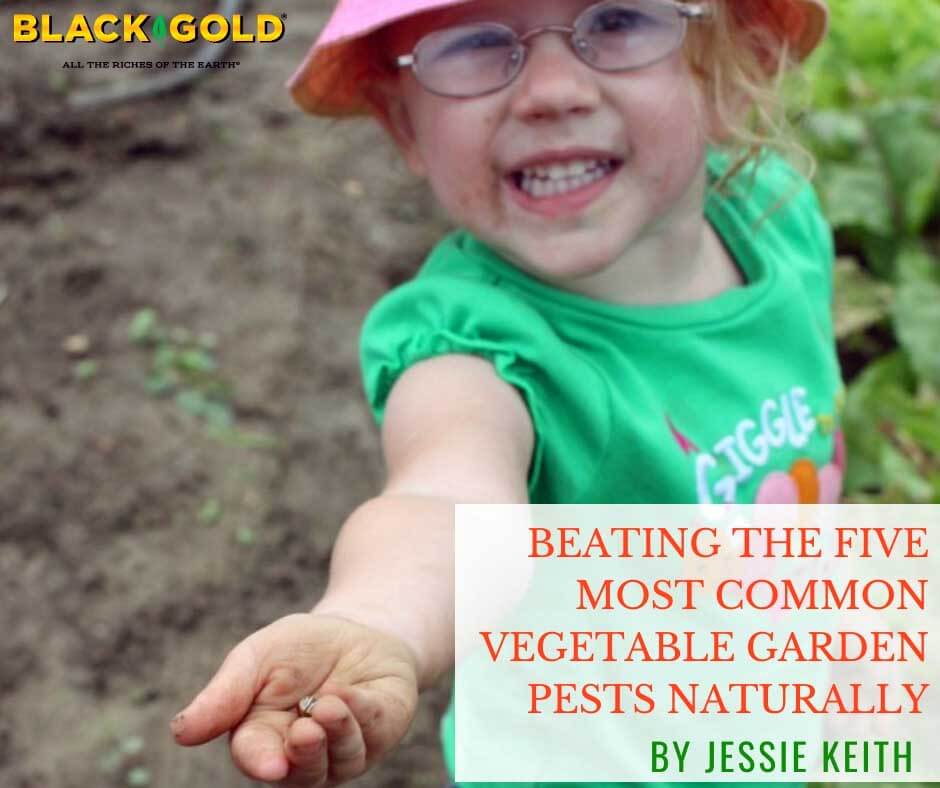
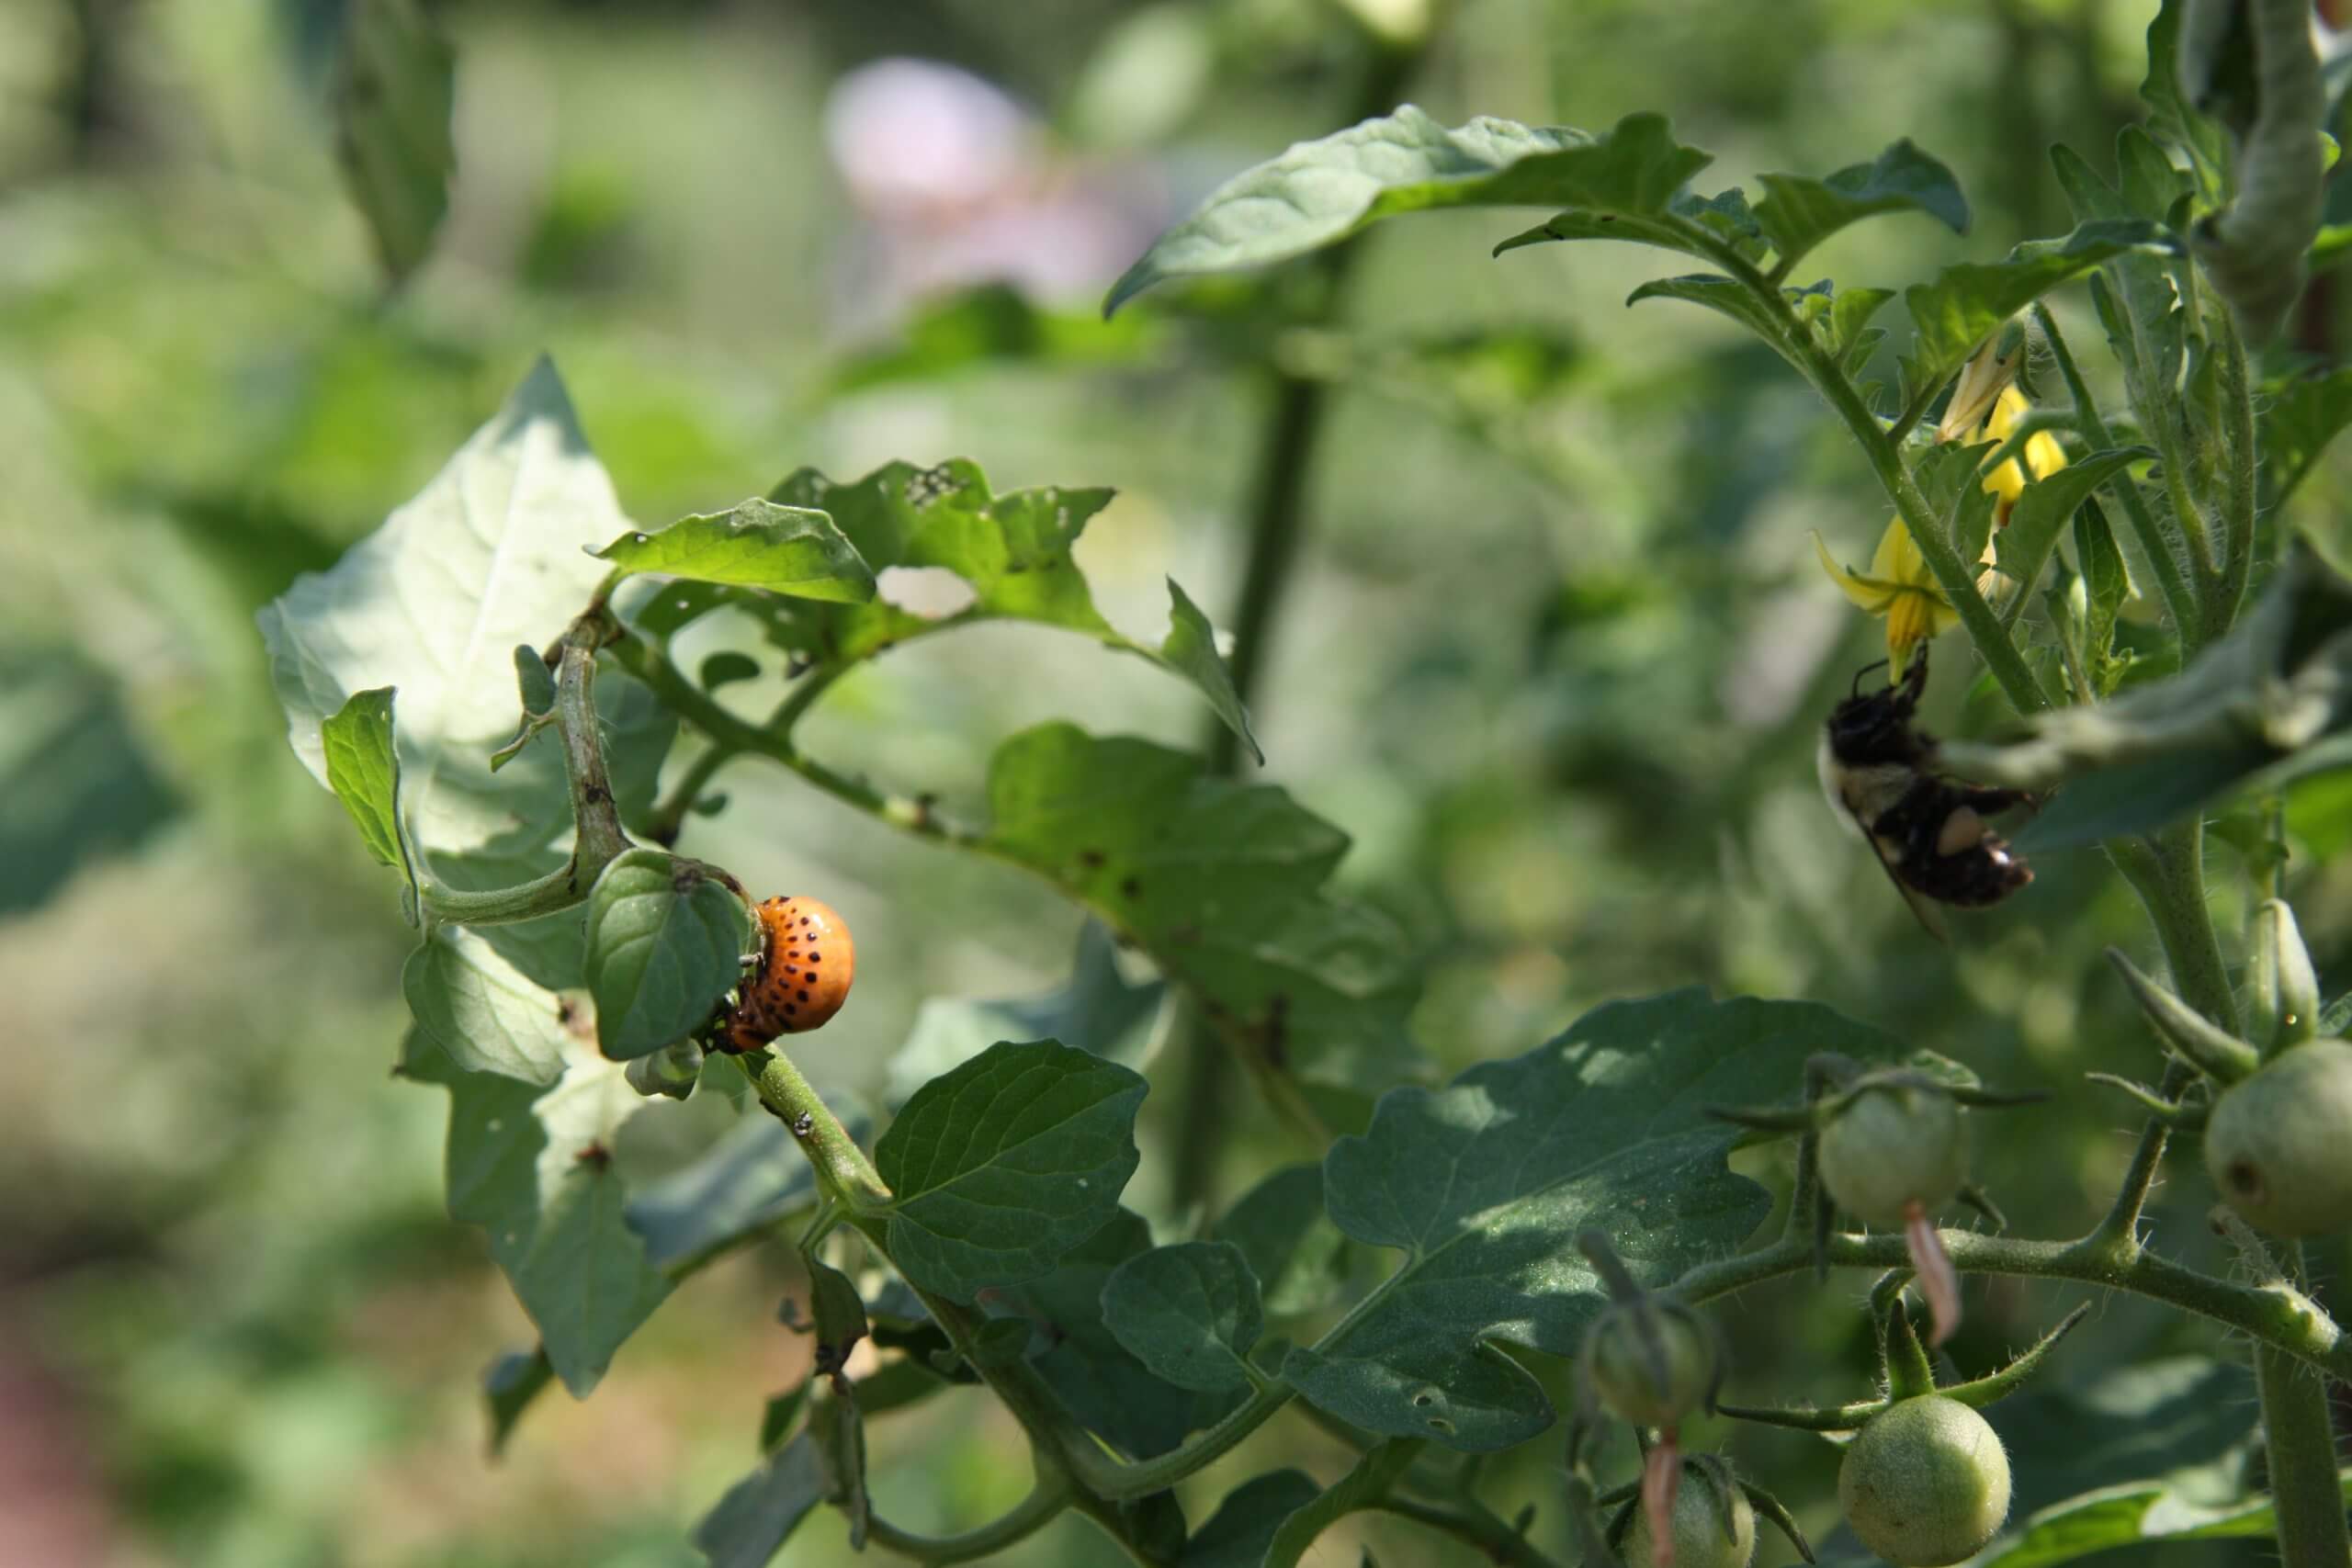
My daughter is picking off Colorado potato beetles from potato plants.
For the past 14 years, I have grown my vegetables in a community garden plot, which has provided a real education in plant pests, diseases, and weeds. Why? Because these mega veggie gardens are pest hot spots, and summer is the worst time of year for the beasties. Bad insects always attack my beans, cucumbers, tomatoes, and eggplants–threatening to destroy fruits and foliage, and sometimes spreading disease as they munch and crunch along. I must use every tool in the toolbox to fight them. And, if they beat my crops, I often start them again, if there’s time and the season allows. Sometimes beating pests is just a matter of retooling planting time.
The five most common vegetable garden pests that I battle in mid to late summer are Colorado potato beetles, striped cucumber beetles, flea beetles, Mexican bean beetles, and harlequin cabbage bugs. (Cabbage loopers and squash vine borers are also a problem. Click here to read about cabbage looper control, and click here to read about squash borer control.) Each return year after year with regularity, but some years are worse than others. The severity of the previous winter usually indicates the severity of my pest problems–the milder the winter, the harsher the pest problem.
Last winter was pretty warm, so this summer, the pests are rampant. Here are some ways that I have learned to overcome them.
Colorado Potato Beetle
One often sees Colorado potato beetles mating on top of a potato plant.
The surest way to attract Colorado potato beetles to your garden is to plant potatoes, but if you don’t have potatoes, they will go for your tomatoes and eggplant secondarily. (Fortunately, they don’t appear to be attracted to tomatillos.) The fat, striped adult beetles emerge from the soil in late spring to feed on emerging potatoes, and then lay clusters of orange-yellow eggs on leaf undersides. They yield highly destructive little orange larvae that eat foliage nonstop and grow quickly. You can kill the insects at any stage, but it’s easiest to pick off the adults and eggs. (Click here to view the full life cycle of these beetles.) The beetles can complete up to three life cycles in a single season, so once you have them, you generally have to fight them all summer.
A Colorado potato beetle larvae eating tomato leaves.
These insects are highly resistant to insecticides, so it pays to choose non-chemical methods of control. Time and time again, I’ve found that well-timed cultural control and proper winter cleanup are the best means of battling them. Cultural control is essentially picking off the adults, eggs, and larvae and/or pruning off egg- and larval-covered leaves and branches. I generally smash picked specimens, but you can also drown them in a bucket of water. Beetle picking should start in mid to late spring and continue until all signs of these pests are gone. (To learn everything there is to know about Colorado Potato Beetles, visit potatobeetle.org.)
Spotted and Striped Cucumber Beetles
Here are the symptoms of bacterial wilt, which is spread by the striped cucumber beetles.
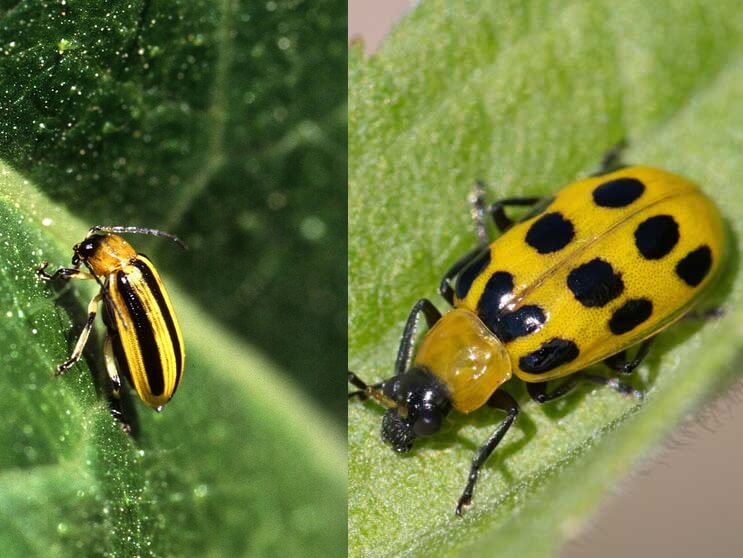
As their names suggest, striped and spotted cucumber beetles favor cucumbers, but they also attack melon vines. Small, striped or spotted cucumber beetles look so cute and innocent, but they are so destructive. Every year my cucumber crop is a crapshoot. Why? It’s not because of the damage they cause by feeding on plants and fruits. It’s the catastrophic bacterial wilt that they spread from plant to plant. Once cucumber vines get cucumber bacterial wilt, there is no turning back. The leaves will start to show droop, and eventually, whole stems will collapse, and the vine will die.
These pests may have two to three cycles in a season and are next to impossible to control, even with harsh chemical insecticides. Floating row cloth cover can keep them at bay, but it’s a hassle and does not allow pollinators to reach the plants, though some cucumbers are self-pollinating, particularly Beit-Alpha types like ‘Diva’.
Striped and spotted cucumber beetles are similar in size and color.
Tiny jet-black eggplant flea beetles are the smallest summer pests in this list, but they can devastate an eggplant in a matter of days. They attack many other veggies, like radishes, potatoes, turnips, and spinach, but with less ferocity. The small but numerous insects leave little pockmarks all over a host plant’s leaves. Badly damaged leaves barely function, resulting in poor, weak plants that produce puny fruits.
If you want to grow eggplant, you have to protect them from eggplant flea beetles. There are plenty of insecticides that will kill these insects, but only a few non-chemical cultural practices will stop them. The best method that I have found is protecting plants with summer-weight floating row covers that transmit a lot of sunlight while physically keeping insects from the plants. The key is covering plants early and then securing the row covers at the base, so the tiny beetles cannot crawl beneath them. Holding cover edges down with bricks, pins, and even mulch or compost works. The only caveat is that you may need to hand-pollinate plants for fruit set.
Good fall cleanup of infested crop plants will also keep populations down from year to year. On average, eggplant flea beetles will complete up to four generations in a single season. (Click here to learn more about these pests.)
Harlequin Cabbage Bug
Harlequin bug adults will quickly destroy broccoli, kale, cabbage, and other brassicas.
These ornamental stink bugs are the worst enemy of summer kale, broccoli, and other brassicas. They suck the juices from the leaves, causing pockmarks all over them. The most striking destruction I have ever witnessed was with enormous Portuguese kale that I had nurtured to a bold 2′ in height through spring. Once the numerous beetles started to attack in early summer, the plant had no chance.
There are a few management practices that will help stop these bugs. Floating row covers can also be used, as was suggested for the eggplant flea beetles, but harlequin cabbage bugs are big enough to pick off by hand if you have the time and can handle the slightly stinky smell they emit when disturbed. Spraying them off with a jet of water will also help knock them back. Small nymphs are also susceptible to treatment with OMRI Listed®insecticidal soap.
Two to three generations of harlequin cabbage bugs can occur each season. By late summer, they are no longer a problem, so that you can plant your fall cabbages and kales with confidence. (Click here to learn more about these pests.)
Mexican Bean Beetle
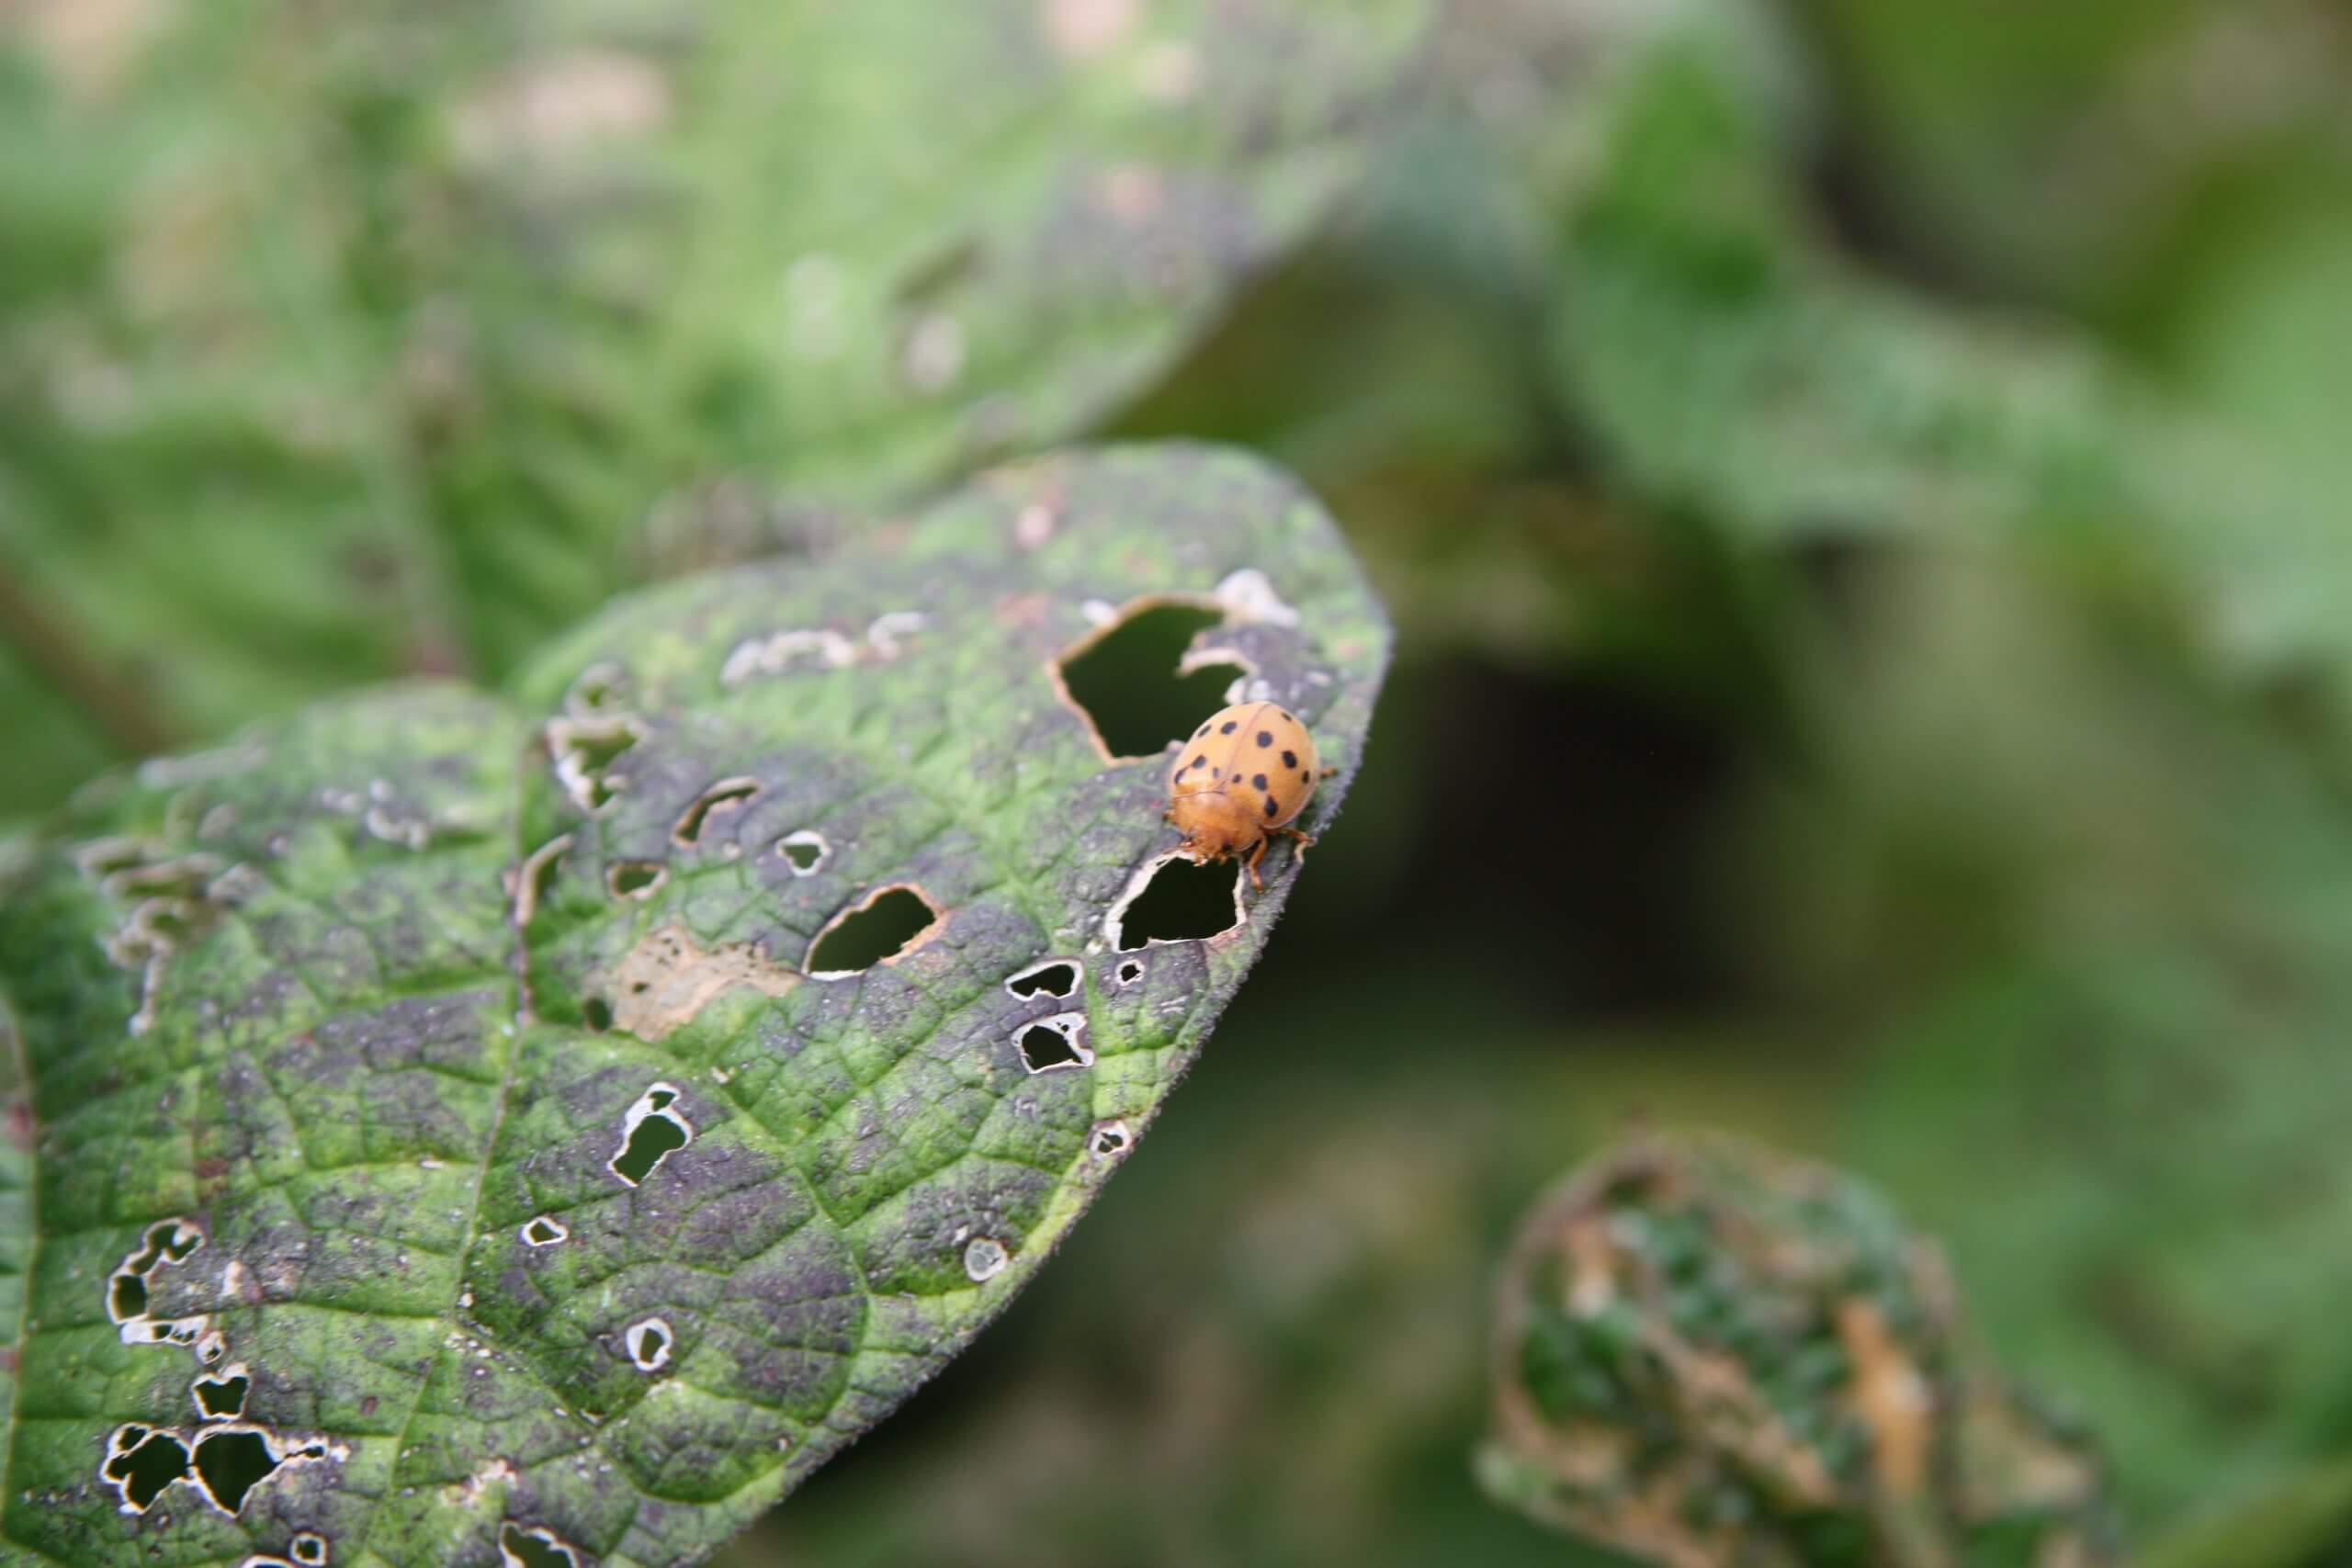
Mexican bean beetle larvae do serious damage to bean leaves.
Like Colorado potato beetles, it’s the larvae of Mexican bean beetles that do the harshest damage to bean plants. The adults emerge in late spring, but they rarely cause major problems on bean plants until midsummer. The adults are orange, black-spotted beetles that lay clusters of orange-yellow eggs below the leaves, much like the Colorado potato beetle. The unusual larvae are fuzzy, bright yellow, and devastate leaves as they feed along the leaf bottoms.
You can control these pests as you would Colorado potato beetles with one exception – destructive harvesting. Destructive harvesting is the harvest and total removal of infested plants from the garden. After picking all the beans from an infested plant, the whole plants should be pulled, bagged, and taken far from your garden. (Click here to view a YouTube video from the University of Maryland about destructive harvesting.) Beans can be replanted as late as mid-August for early fall harvest.
A Mexican bean beetle adult on a bean leaf.
In general, regular weeding, good plant care, and excellent garden clean up, in summer and fall, will help keep pest populations down. Clean the ground of all leaf litter and weeds as needed, and amend the soil with top-quality amendments for vegetables, such as Black Gold® Garden Compost Blend and Garden Soil, and your plants will be more robust to resist the many garden pests that threaten to destroy them.
“In an effort to keep down the insect population of my indoor veggie garden, I’ve been sterilizing my soil in the oven or microwave. I’ve had whitefly and fungus gnat infestations from using Miracle Gro and other soils right out of the bag, so someone told me to sterilize, and it seems to work. However, if there are beneficial microorganisms in your Black Gold soil, I fear that sterilization may kill them. So, my question is this… should I heat sterilize my Black Gold organic soil before using it indoors? Or is that defeating the purpose of the soil’s ingredients?”Question from Holt of Georgia
Answer: Theoretically, fresh, straight-out-of-the-bag potting mix should be pest and disease-free. Black Gold® gets good grades in this arena, but if a bag gets slashed or torn during transport or is improperly stored, the contents can pay the price. (Only buy Black Gold® bags that are undamaged with contents that are not waterlogged.) Otherwise, you shouldn’t have to worry. Still, if you prefer to play it safe, soil sterilization is certainly helpful with preventing damping-off (click here to learn more), and it would kill any harboring pest eggs, but beneficial microbes will also pay the price.
The chief potting soil beneficials to consider are mycorrhizae and the good microbes in earthworm castings and sometimes compost. Other soil components, like Canadian Sphagnum peat moss and bark, are not particularly rich in any worthy beneficial microbes accessible to plant roots. Currently, we do not add mycorrhizae to any of our Black Gold® soils (unlike some of our Sunshine® mixes), but we do add earthworm castings and compost to quite a few, including our Black Gold® Natural & Organic Potting Mix. Sterilization would certainly kill any soil good guys, but if you are determined to sterilize, it should not impact your growing dramatically. And, you can always beef up your soil after sterilization by adding Black Gold® Earthworm Castings Blend from a well-sealed bag, or dry mycorrhizae spores, which are available at most garden stores.
Even after the sterilization of greenhouse pots, surfaces, and soil, pests may come. Every open door, window crack, or new plant brought indoors is a threat. When it doubt, fight back early using smart IPM. We have lots of blogs on the topic. (Click here to read an article about managing the worst indoor plant pests, and watch our video below about beating fungus gnats.)
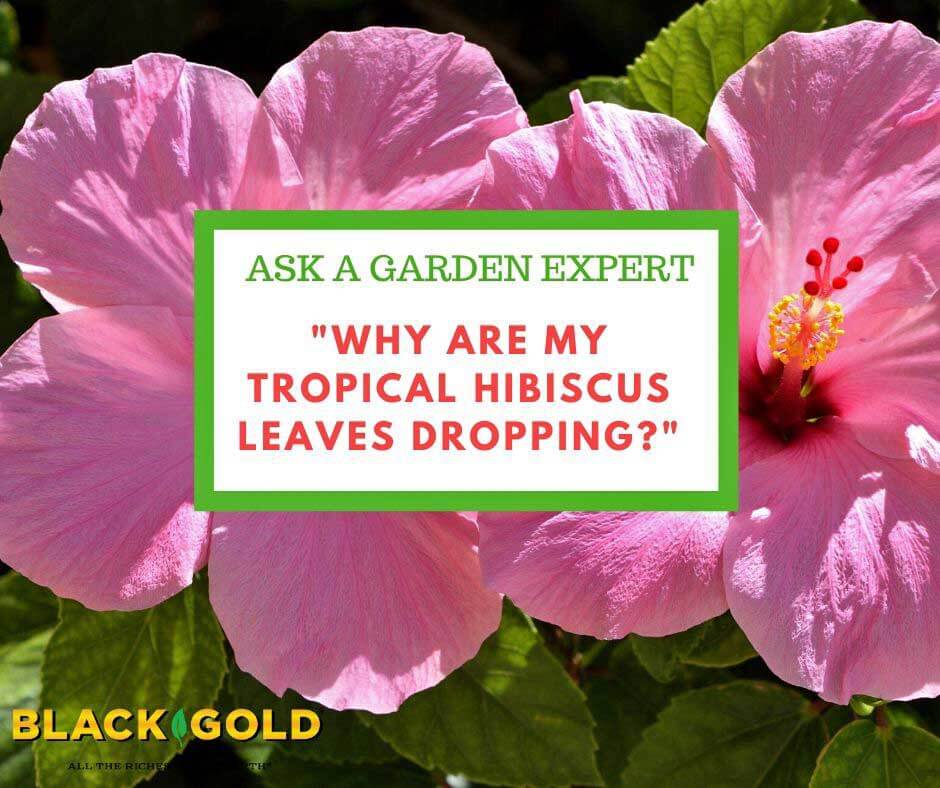
“What are the reasons leaves drop from [tropical] hibiscus?” Question from Brenda of Miami, Florida
Answer: Tropical hibiscus (Hibiscusrosa–sinensis) are lovely shrubs when they are healthy and happy, but they look so dismal when they’re in poor shape–especially when they start dropping their leaves. There are LOTS of problems that can lead to leaf drop. Some of these depend on whether your plants are potted or in the ground.
Here are several common leaf-drop causes in potted hibiscus.
Bound Roots – This means the plant has overgrown its pot and needs an upgrade. In this situation, the roots cannot access proper water and nutrients, and plants begin to decline. Poor growth, wilting, and leaf drop are just a few of the signs. Watch the video below to learn how to identify and repot pot-bound plants.
Overwatering or Underwatering – Watering too little or too liberally can stress plants out. Tropical hibiscus need good soil moisture, but they can’t stand waterlogged soil. Irrigate when the top inch or two of the potting mix feels dry, and then water the pot thoroughly until the plant’s saucer is full. Your soil must also drain well while holding lots of moisture (Black Gold Moisture Supreme Container Mix is a good choice).
Change of Scenery – If you recently moved your hibiscus to a shadier, windier, or indoor location, changes like this can cause stress and subsequent leaf drop. Give them good care, and they will snap out of it.
Spider Mites – These tiny, destructive pests are nearly impossible to see but cause discoloration of leaves and eventual leaf drop. If you have them, you might also see little webs on the leaves and tender stems of infested plants. To determine if you have mites, take a clean piece of white paper, hold it beneath the leaves, then tap the leaves onto the paper. If you have mites, lots of tiny specs will fall and eventually, they will start crawling around. These are spider mites! (Click here for everything you need to know about getting rid of these pests.)
Poor Soil and Lack of Fertilizer – Be sure to refresh your plant’s soil every two years, and provide it with ample fertilizer for lush growth and flowering (follow manufacturer’s recommendations).
If your plants are growing in the ground, sharp temperature changes and high winds can cause leaf drop as can pest and disease problems. Considering that you live in Miami, I doubt that temperature changes are an issue.
Please let me know if any of these solutions help!
“Which is the natural and most efficient solution against pests, aphids, white powder, etc. that year after year destroy our vegetables?” Question from Doina of Bothell, Washington
Answer: I wish that I could give you a simple answer. There are so many vegetables and so many pests and diseases that attack them that it is impossible to know where to start. You specifically mention aphids and powdery mildew, so I will give you guidelines for managing these. It will be followed up by two general steps that you can take to discourage veggie pests and diseases.
Aphid Management
Aphids are slow-moving insects that suck the juices out of tender plant parts, like stem tips and leaves. When aphid populations are high, they cover the tips of growing plants in masses. It looks creepy and can seem overwhelming. Lucky for you, they are easy to manage organically.
I always start by putting my hose setting on jet or center, then I spray. Aphids are delicate and can be spritzed off a plant in no time. To keep them from returning, follow up by spraying your plants with an insecticidal soap that is OMRI Listed for organic gardening. Keep them spritzed as you see more aphids. This method will put them in check quickly.
Powdery Mildew Management
This one is really simple! Powdery mildew is a leaf surface mold that can be removed with all-natural products containing the mild chemical potassium bicarbonate, which is similar to baking soda. GreenCure® is one of the most popular commercial examples on the market. Just spray your mildew-ridden squash or cucumber leaves with these products and the spots disappear. It’s a remarkable transformation.
Two Steps For Disease- and Pest-Free Vegetables
Here are two more steps towards protecting your plants from pests and diseases. Both may sound deceivingly obvious.
1. Don’t stress your vegetables. When plants become stressed, they create stress chemicals that are detected by insect pests that are then attracted to the plants. What’s worst is that many common pests, like cucumber beetles and leafhoppers, spread common vegetable diseases. Stress also makes plants far more susceptible to disease. Weak plants have weakened immunity. So, grow your plants in well-fortified soil (see our long list of Black Gold soil amendments), provide them with good fertilizer throughout the season, and keep them well watered.
2. Choose resistant vegetable varieties (!!!). Choosing good varieties is the single most important way to protect your crops. When selecting varieties to grow in your garden, look for descriptions of pest and disease resistance. Award-winning plants also tend to be resistant and robust. Plants bred for resistance are the easiest to care for naturally and organically.
I also suggest you read the Fafard (our sister brand) article, Beating Vegetable Garden Pests Naturally, as well. It has even more information to help you. I hope that these tips help!
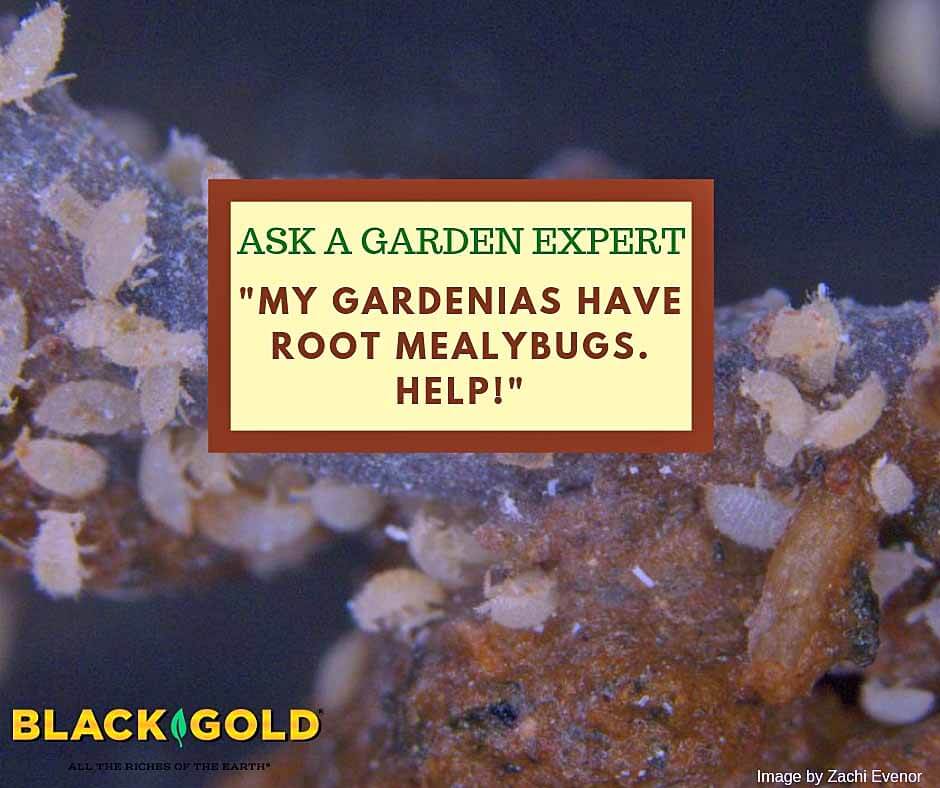
“I have tried growing gardenias, but they always die. When I pull them up there are white bugs all over the roots. What are these and how do I get rid of them?” Question from Sheila of Tampa, Florida.
Answer: There are several pests and diseases that will attack gardenia roots. I am glad that we narrowed yours down to root or ground mealybugs (Rhizoecus spp.) in our email communications. Here is a little more about these pests.
About Root Mealybugs
Root mealybugs also feed on the roots of African violets, grasses, palms, citrus, pineapple, mangoes, and other plants. The sucking insects suck the life out of the roots. This eventually will kill a plant. These pests will live for 27 to 57 days on a host plant, but cannot live off of a host for long. The females lay eggs and live young, called crawlers, hatch in just one day. Crawlers are microscopic but can travel several feet in search of a plant to feed on.
Root mealybugs are certainly a serious pest to manage, but there are some safe management practices that will enable you to get rid of them. Here are some cultural and organic treatment methods for their removal.
Cultural Controls
1. Remove all infected and surrounding plants and dispose of them far from the garden.
2. Do not replant gardenias where you had them previously planted without allowing the soil to remain unplanted for at least several weeks.
3. Check the roots of all new potted gardenia or other plants that you bring into the garden. Ants like to feed on the sugary dew created by mealybugs, so you will often see ants in infected pots or around infected plants.
Organic Treatment Methods
These pests are REALLY difficult to control, as you have already discovered. Here are some methods that are approved for organic gardening and have been shown to work. All products need to be applied as drenches.
1. Insecticidal soap drench: Apply insecticidal soap as a drench, being sure to apply enough to reach all of the infected plant’s roots. Be sure to follow the manufacturer’s recommendations.
2. Standard soap root drench for potted or uprooted specimens: Mix one teaspoon of Ivory liquid into 1 quart of water and drench the roots. This can kill the mealybugs at all stages. Repeat every couple of weeks until the problem appears to be gone.
2. Pyrethrin drench: Apply standard pyrethrin as a soil drench rather than a spray. Be sure to follow the manufacturer’s recommendations.
Some advocate digging up plants, treating their roots with a bowl/tub of drench, and replanting them elsewhere.
I hope that these tips help you tackle destructive root mealybugs.
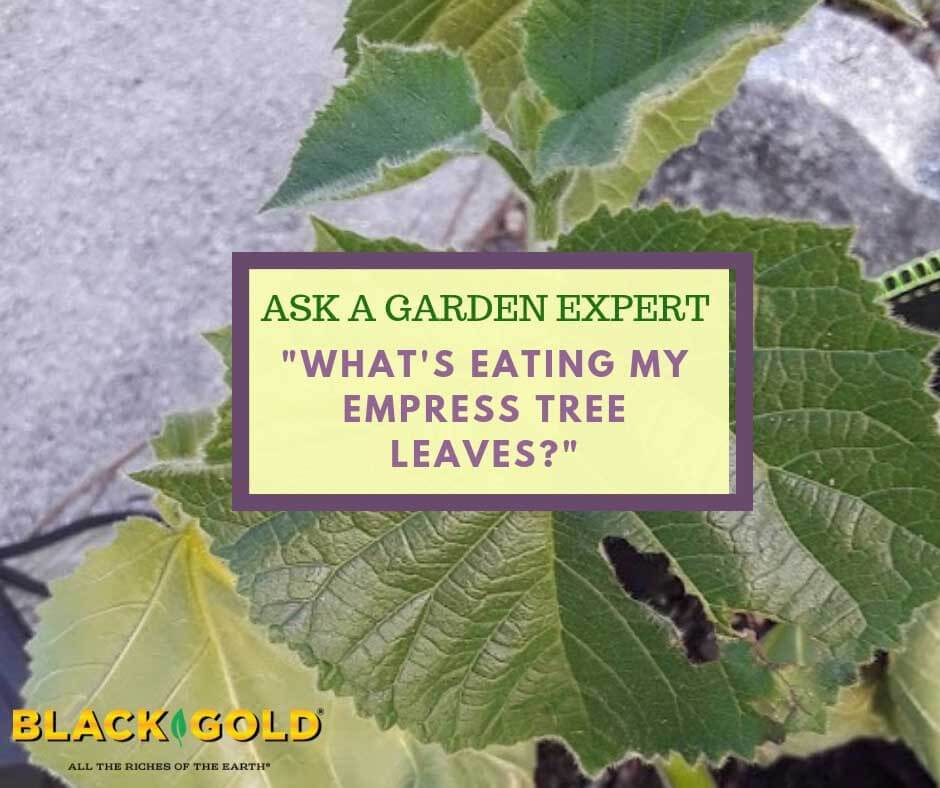
“I have two baby royal empress trees, something is eating at the leaves. Any tips on how I can kick start these for maxim growth each season?” Question from Lizzy of Ocala, Florida.
Answer: Empress tree (Paulownia tomentosa) is a fast-growing tree from China with lovely violet-purple flowers in spring. Surprisingly it does not have any serious known pests here in the United States, but there are a few that can cause limited damage. The only pests you may have to worry about when trees are at the young stage are slugs, snails, and possibly rabbits. Your damage looks like slug or snail damage, but it does not look bad. The new growth appears to be healthy and thriving. If you are really concerned, you can try putting down some of the organic slug control, Sluggo (follow manufacturer’s instructions). I would also check the bottom of the pots or pot edges for slugs, remove the pests on sight, and keep the plants in full sun. Once the trees are large enough, be sure to plant them in the yard.
Once your trees start to flower and set fruit, they will self-sow pretty aggressively. Be sure to remove any seedlings that pop up. This tree is listed as invasive in Florida and can really become a problem in your yard and beyond.
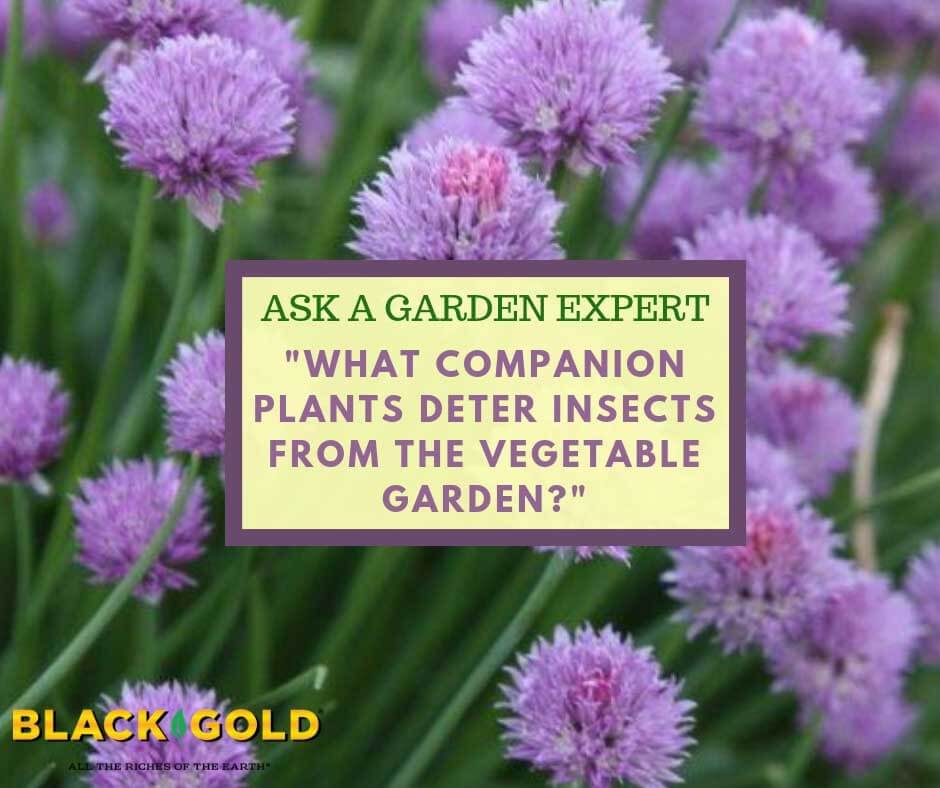
“What are the best plants and/or flowers to deter insects from a vegetable garden?” Question from Vesta of Fort Oglethorpe, Georgia
Answer: Research has shown that some companion plantings will reduce the number of insect pests that attack specific vegetable crops. These companions fall under two categories: trap crops and insect-repelling companion plants. Trap crops are plantings that attract insect pests, luring them away from favorite vegetables. These take up a lot of space and are not practical for most home gardeners, so I will just cover repellent companion plants that have been shown to really help ward off vegetable pests.
Insect-Repelling Companion Plants
These are plants that emit chemicals that deter insects. Repelling plants will never totally protect vegetables from the pests that attack them, but they can reduce pest numbers. Here are a few good examples of vegetable pests and the companion plants that repel them.
Some culinary herbs have been shown to offer repellent protection to specific veggies. For example, plantings of tall basil (Ocimum basilicum) can reduce the number of tomato hornworms on tomatoes and thrips on flowers. Plant-damaging moths, aphids, and mites may also be repelled by chives and other onion (Allium spp.) relatives. These pests attack a wide host of vegetable plants, such as brassicas (collards, cabbage, broccoli, and cauliflower), beans, and squash, so a border of chives might be really helpful in the garden. Sage (Salvia officinalis), rosemary (Rosmarinus officinalis), hyssop (Hyssop officinalis), thyme (Thymus vulgaris), dill (Anethum graveolens), and chamomile (Chamaemelum nobile) may also provide brassicas some protection against common pests.
Catnip (Nepeta cataria), wormwood (Artemisia absinthium), southernwood (Artemisia abrotanum), and tansy (Tanacetum vulgare) reduce damage by flea beetles, a pest that attacks eggplant, brassicas, tomatoes, and other common crops. One downside is to these repellent plants is that they tend to spread and become weedy. Of these, I recommend catnip the most. Just clip it back occasionally to keep it from flowering and setting seed.
A few common garden flowers also have repelling qualities. Nasturtiums (Tropaeolum majus) may help brassica crops, and marigolds help tomatoes by repelling the tomato root-knot nematode, a debilitating underground pest. (Click here to learn more about how marigolds help tomatoes.)
All of the companion herbs and flowers mentioned will flourish in soil amended with fertilizer-enriched Black Gold Garden Soil. I hope that some of these tips. When planting to protect, it is most helpful to plant a close row or ring of repelling plants near the vegetables that you want to protect.