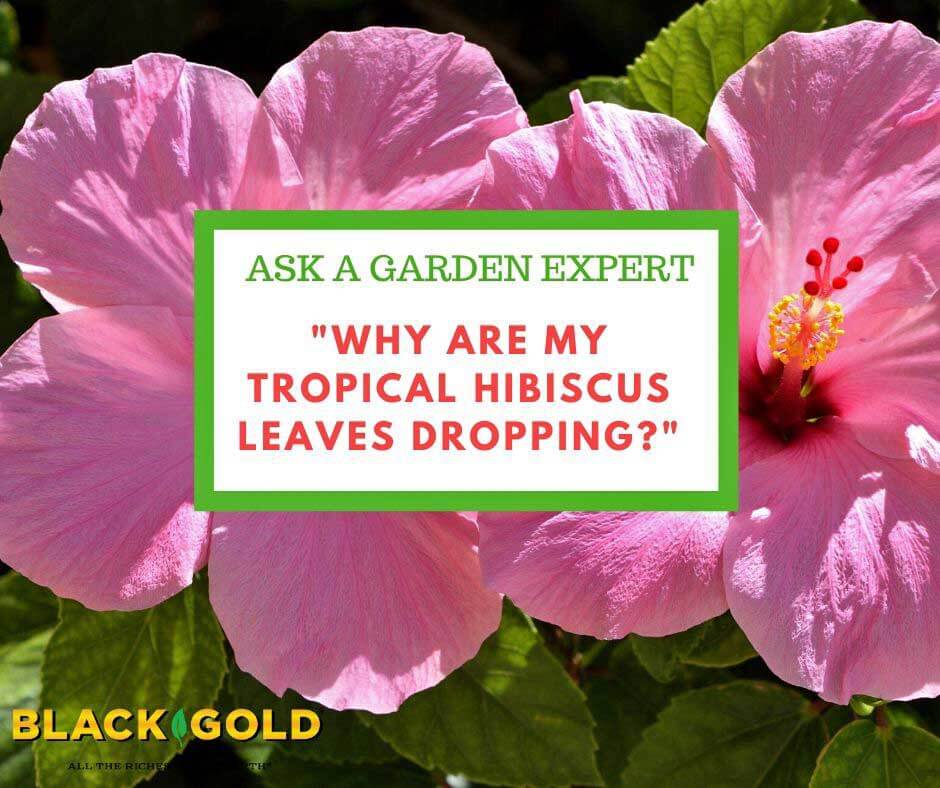
“What are the reasons leaves drop from [tropical] hibiscus?” Question from Brenda of Miami, Florida
Answer: Tropical hibiscus (Hibiscusrosa–sinensis) are lovely shrubs when they are healthy and happy, but they look so dismal when they’re in poor shape–especially when they start dropping their leaves. There are LOTS of problems that can lead to leaf drop. Some of these depend on whether your plants are potted or in the ground.
Here are several common leaf-drop causes in potted hibiscus.
Bound Roots – This means the plant has overgrown its pot and needs an upgrade. In this situation, the roots cannot access proper water and nutrients, and plants begin to decline. Poor growth, wilting, and leaf drop are just a few of the signs. Watch the video below to learn how to identify and repot pot-bound plants.
Overwatering or Underwatering – Watering too little or too liberally can stress plants out. Tropical hibiscus need good soil moisture, but they can’t stand waterlogged soil. Irrigate when the top inch or two of the potting mix feels dry, and then water the pot thoroughly until the plant’s saucer is full. Your soil must also drain well while holding lots of moisture (Black Gold Moisture Supreme Container Mix is a good choice).
Change of Scenery – If you recently moved your hibiscus to a shadier, windier, or indoor location, changes like this can cause stress and subsequent leaf drop. Give them good care, and they will snap out of it.
Spider Mites – These tiny, destructive pests are nearly impossible to see but cause discoloration of leaves and eventual leaf drop. If you have them, you might also see little webs on the leaves and tender stems of infested plants. To determine if you have mites, take a clean piece of white paper, hold it beneath the leaves, then tap the leaves onto the paper. If you have mites, lots of tiny specs will fall and eventually, they will start crawling around. These are spider mites! (Click here for everything you need to know about getting rid of these pests.)
Poor Soil and Lack of Fertilizer – Be sure to refresh your plant’s soil every two years, and provide it with ample fertilizer for lush growth and flowering (follow manufacturer’s recommendations).
If your plants are growing in the ground, sharp temperature changes and high winds can cause leaf drop as can pest and disease problems. Considering that you live in Miami, I doubt that temperature changes are an issue.
Please let me know if any of these solutions help!
In-ground, grasses are perfect for planting in dry stream beds and among wildflowers. (Photo by Maureen Gilmer)
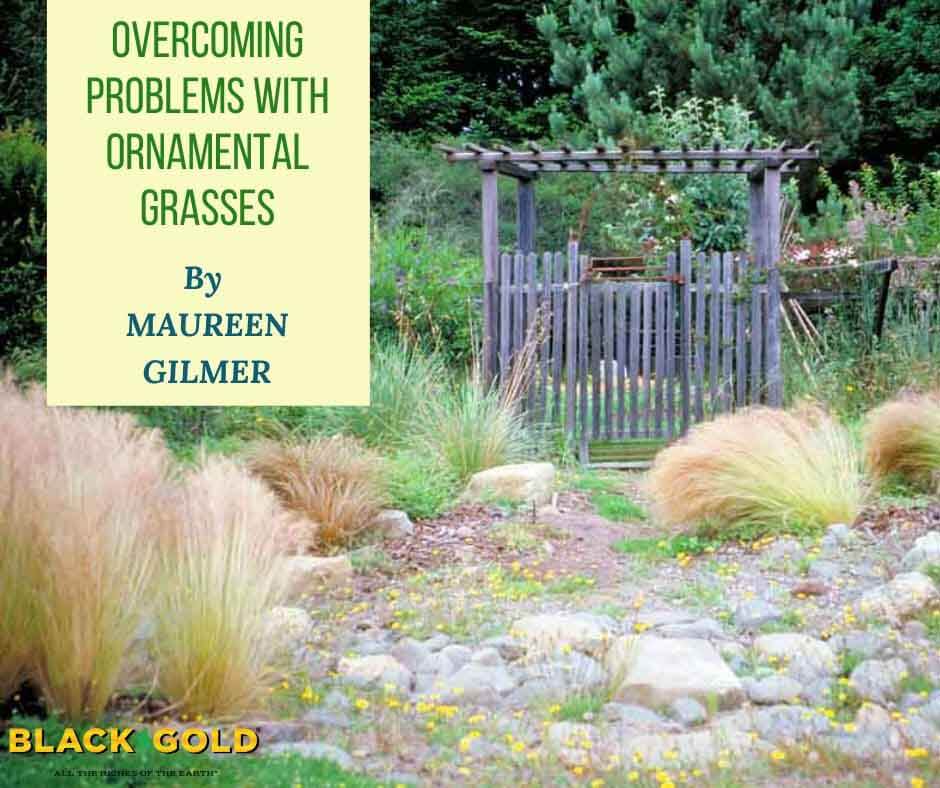
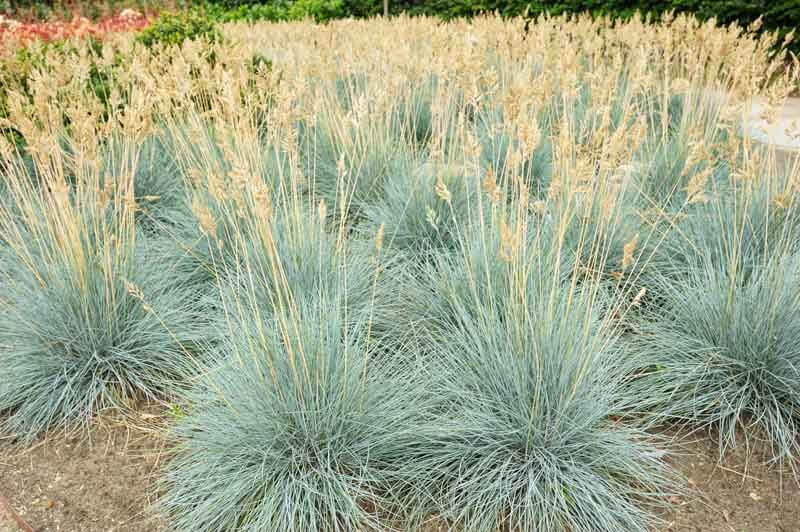
When landscape grasses take on full autumn color in the western states, they are always the focal point of the late season. It is the driest part of the year when their life cycle peaks after flowers pollinate, seeds form and are finally released into the wind to repopulate the land. These annual reproductive structures are why ornamental grasses own the fall garden when few other plants bloom. Even in the early winter, the standing flower stalks offer attractive interest through the snow.
It’s the less desirable grass habits that are less understood. These influence selection, placement, and other issues you won’t hear about elsewhere. Here are some tips to help you select and design grasses into your landscaping, so they don’t become problems later on.
Grass Litter
When this Pennisetum sheds flower parts and seeds, it goes right into the pool. (Photo by Maureen Gilmer)
After pollination, grasses shed their flower parts. When the seed is released, they shed their hulls. A lot of fine litter is dispersed over a long period. If the grasses are located upwind from a swimming pool or water feature, the litter is blown directly into the water. This can make it challenging to keep pumps and equipment clear and the water quality sparkling.
Therefore, know the direction of your prevailing winds and storm winds before you decide where to plant grasses. Limit planting areas downwind or away from the pool. However, it’s common for wind direction to change with the seasons, so if you plant them poolside, planting them downwind is not foolproof. Cutting the seedheads back may be necessary.
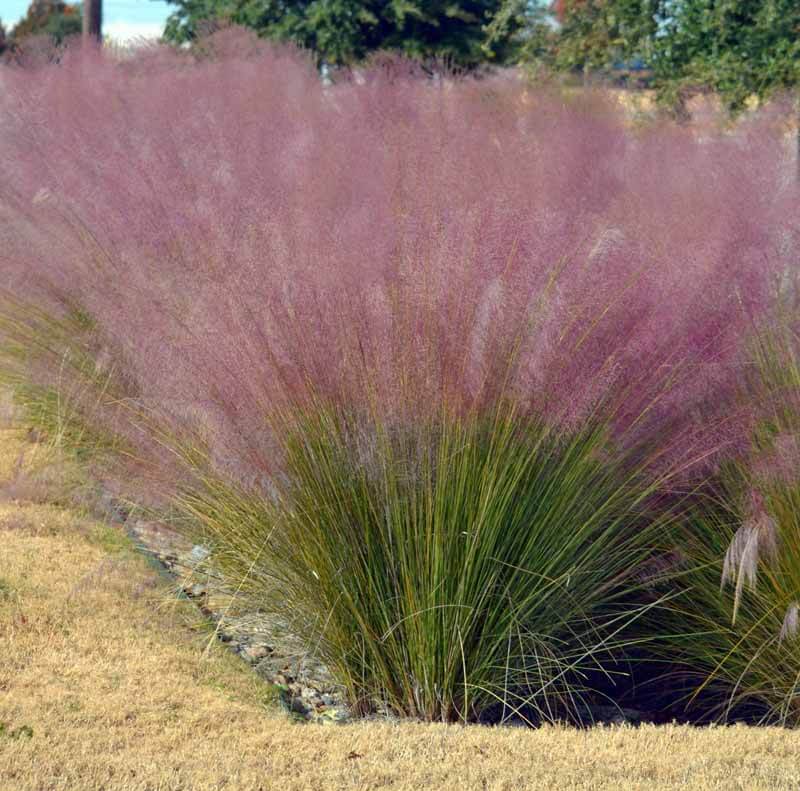
Invasive Grasses
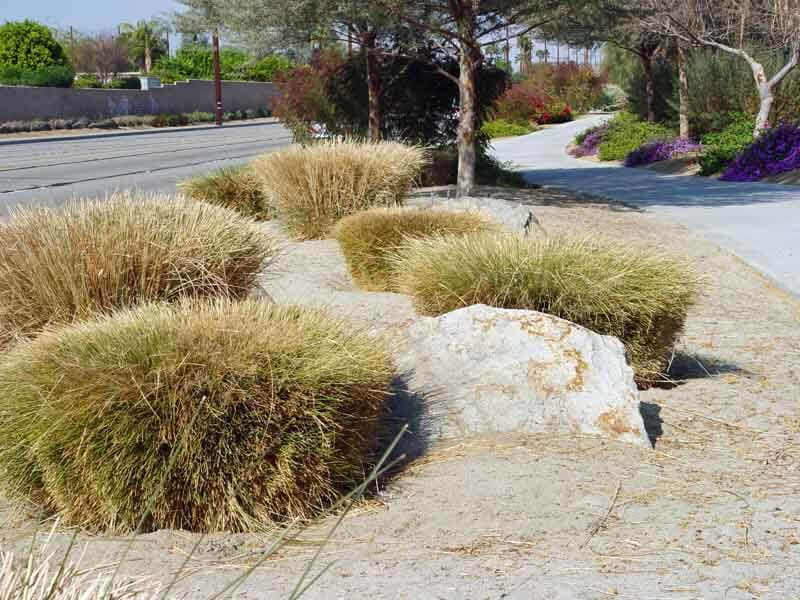
Native deer grass (Muhlenbergia rigens) is quite long-lived and fairly trouble-free.
The reason you hear so much bad press about fountain grass (Pennisetum species and varieties) is that they love our climate and sprout anywhere there is enough moisture to grow. There are many ornamental species with weedy tendencies. Some garden favorites are hardy perennials, like foxtail fountain grass (Pennisetum alopecuroides), but in milder western climates tender perennial forms, like purple fountain grass (Pennisetumsetaceum ‘Rubrum‘), will survive several seasons, too. Perennial forms don’t die back and are long-lived. Pennisetum such as these are displacing less aggressive native species in low, moist areas.
The same applies to your yard. If the seeds fall near irrigation heads, they sprout into weeds. It may have been open ground, but now it’s become a longterm weed problem. Such introductions are hard to stop and take a few seasons of dedicated handwork to clean out.
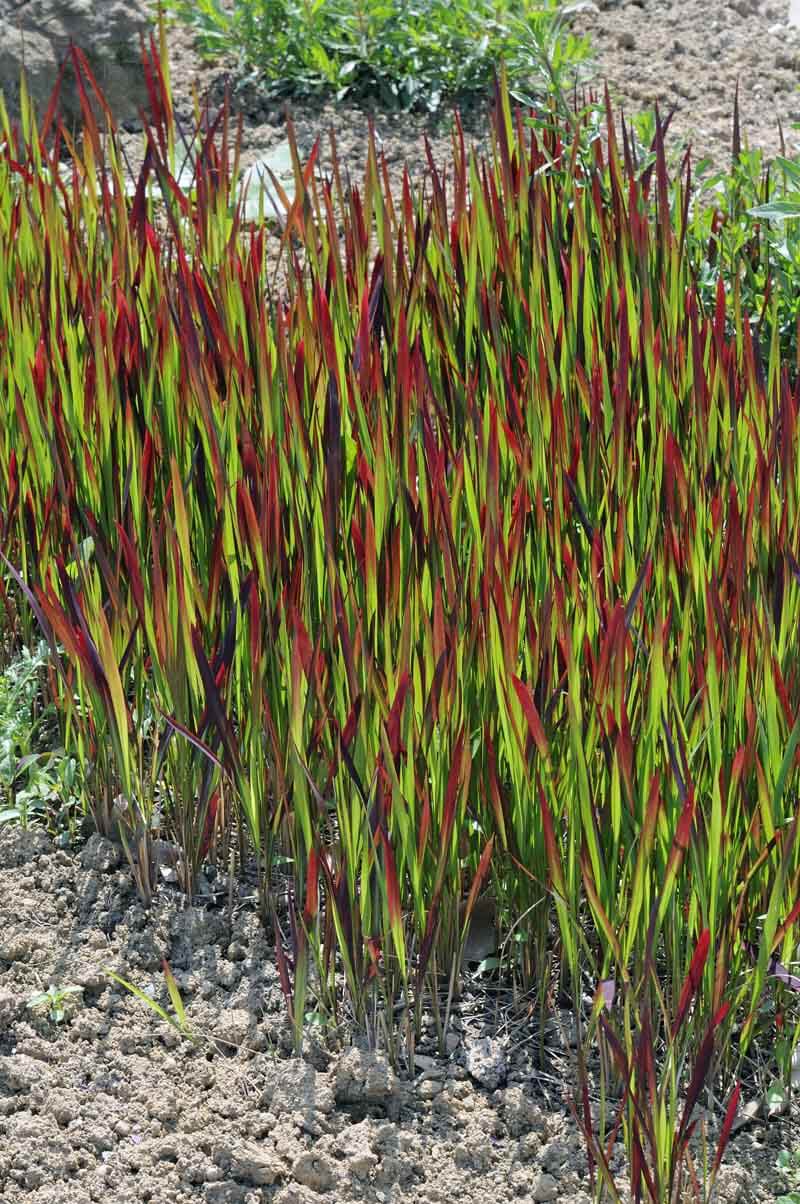
Runner Grasses
Runner grasses, like Japanese bloodgrass (shown) and Bermuda grass, will invade and become intertwined with perennials and other ornamental grasses.
Runner grasses spread, unlike stayput bunch grasses. The common southern lawngrass, Bermuda grass (Cynodon dactylon), is the poster child for a host of aggressive runner grasses that spread fast and invade perennials and well-behaved bunchgrasses. Another ornamental grass to add to the equation is Japanese bloodgrass (Imperata cylindrica), with its red-tipped blades and fast-spreading runners that will quickly overtake moister beds. The problem is the worst when runner grasses overtake bunch grasses. They creep unseen beneath a garden grass, and then once well rooted, the runner grass becomes nearly inextricable. If the bunchgrass is large and broad, the two grasses will forever be bound together, foliage plaited into a nest, and there’s no separation once established. Prevention is everything. Beware adding these, or any aggressive runner grass, to your yard or garden.
Short-Lived Grasses
This fine-textured Mexican hair grass in full flower and nodding in the breeze. (Photo by Maureen Gilmer)
Grasses are ephemeral plants by nature, adapted to range fires in the wild, grazing, floods, and landslides. Those that evolved with a long life span prove that they have adapted to climate change, since well before the Pleistocene, and are still super adapted for the future. The most long-lived, resilient grasses to grow in arid gardens are native deer grass (Muhlenbergia rigens) and its kin (Muhlenbergia group). But, more short-lived species, such as the windswept Mexican hair grass (Nassella tenuissima) or purple fountain grass, die out in just a few years.
Clump Splitting
These newly planted blue fescues have not suffered crown split yet.
Early in the life span of blue fescue (Festucaglauca varieties), the mounds of icy blue needles are perfect hemispheres. Like many other grasses, fescues grow too tall and heavy then split down the middle, allowing light to reach the root crown at the center of the clump. The direct sun sears those formerly shaded crown stems, causing premature aging while the rest of the plant is perfect. Replacement is often required if the plants are depended upon to create full geometric domes. This is a natural process for fescues, so they are best planted with other species that take up the slack visually if they decide to split.
Midwinter Decline
In warm-winter climates, grasses are cut back midwinter, in colder ones, late winter. (Photo by Maureen Gilmer)
As dramatic as sweeping monocultures of grasses are, they are best used with ever-beautiful support plants due to an unattractive period in midwinter, even if not fully dormant. The grasses are routinely cut back to just a few inches to simulate a cold event. This removes dead and dormant growth as well as detritus inside the clump to make way for the renewal of foliage. To avoid the barren ground, it’s wise to choose other evergreen plants to carry this composition until green grass shoots start up again in spring. Renewal is part of grass biology, so cutting back is regenerative and makes them healthier overall.
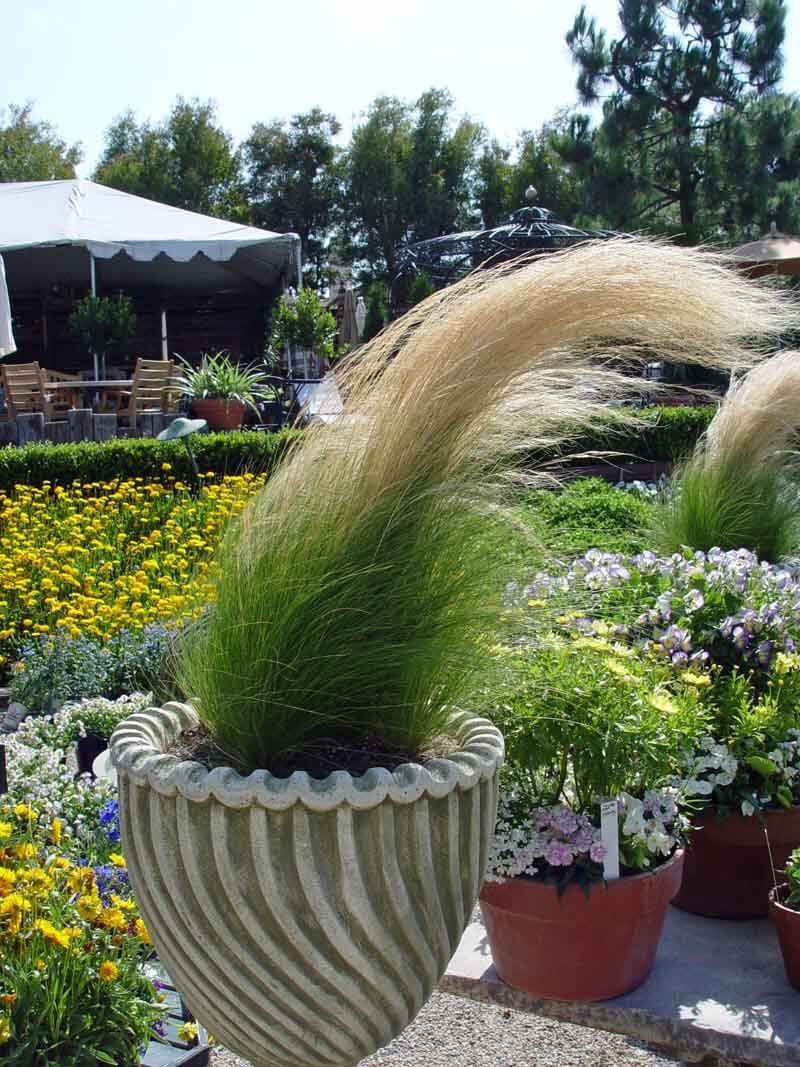
Ornamental grasses are an important cornerstone of today’s arid-zone gardens. Those species adapted to warmer climates without summer rain offer a change in texture as well as wind-blown beauty in containers on porch or patio. They require lots of nutrition, so be sure to use Black Gold Moisture Supreme Container Mix when planting for efficient water-holding potential and water conservation. The best grass for containers and garden at higher elevations or further north are Miscanthus varieties, which ask for a bit more water. (Choose low-seeding or sterile forms, such as giant miscanthus (Miscanthus x giganteus).)
While shrubs and succulents can be inanimate, the slightest breeze begins the gentle sway of a thousand soft grass blades. The animation of the nodding flower spikes liven up a dying landscape in the dry autumn winds.
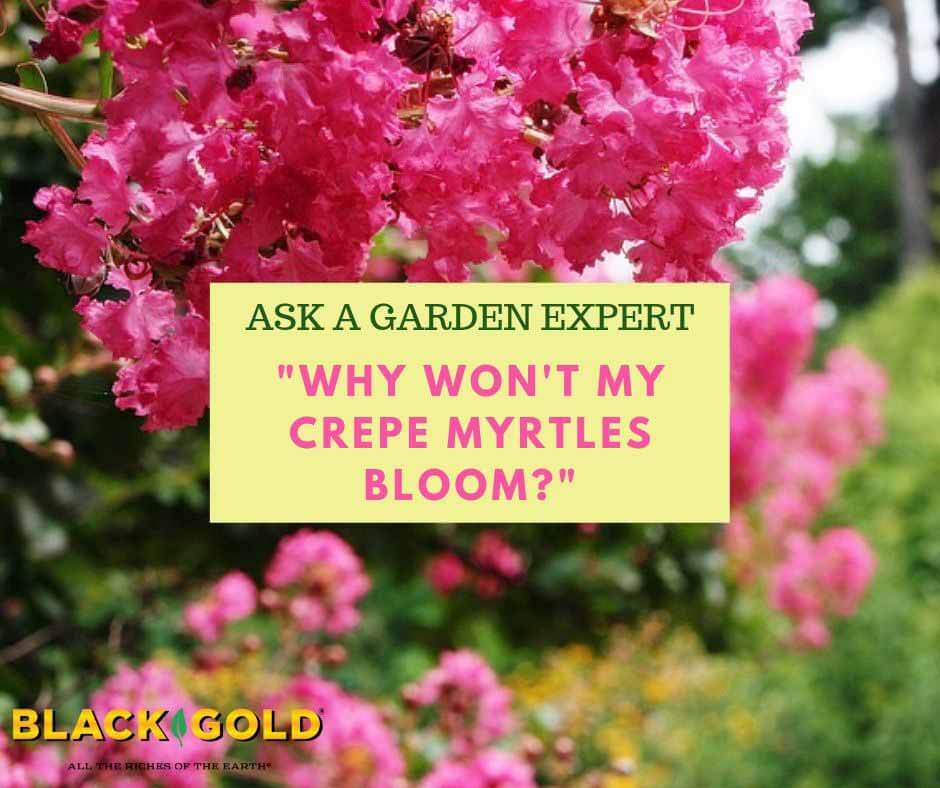
“My crepe myrtles don’t bloom. I’ve added “blossom booster,” but still no blooms. Any suggestions?” Question from Carol of Douglasville, Georgia
Answer: How frustrating! You plant one of these glorious flowering shrubs/trees and…no flowers. There are a few possible reasons why yours won’t bloom for you.
Light – One of the most common reasons is too little light. Crepe myrtles (Lagerstroemia indica) are sun lovers that need high light to bloom well. If yours gets a good bit of shade, little to no blooming can result.
Foodand Soil – Well-drained soil enriched with organic matter (peat moss or compost) will also encourage good growth and blooming. Fertilizer is also important. I would choose a slow-release fertilizer formulated for flowering. Work it in around the root zone at the beginning of each season.
Heat and Water – Parched summers that are extra hot can put a strain on these plants and reduce flowering. Does yours look otherwise healthy? If not, I would provide it with additional water when the summer weather is at its worst. Likewise, prolonged excess moisture can cause poor growth and root rot.
Disease – Several crepe myrtle diseases can put a damper on health and flowering. Powdery mildew, which appears like a whitish powdery dust on leaf surfaces, stresses plants and negatively impacts flowering. Likewise, Cercospora leaf spot, which results in spotty leaves that fall prematurely, can reduce flowering. If you suspect mildew, look into the effective fungicide, GreenCure. For leaf spot, try a copper-based fungicide spray. To reduce the impact of both diseases, prune out dense, internal branches to encourage airflow, and be sure to clean up fallen leaves in autumn.
Variety – Consider the variety. Some are more reliable than others. If yours just won’t flower well, then choose a tough, reliable variety with excellent flowering performance. I recommend three vigorous, disease-resistant varieties: the deep-red flowered Dynamite®, brilliant pink ‘Hopi’ and lavender-violet ‘Zuni’.
I also recommend that you contact your local UGA Extension Agent to get more tips for your growing area.
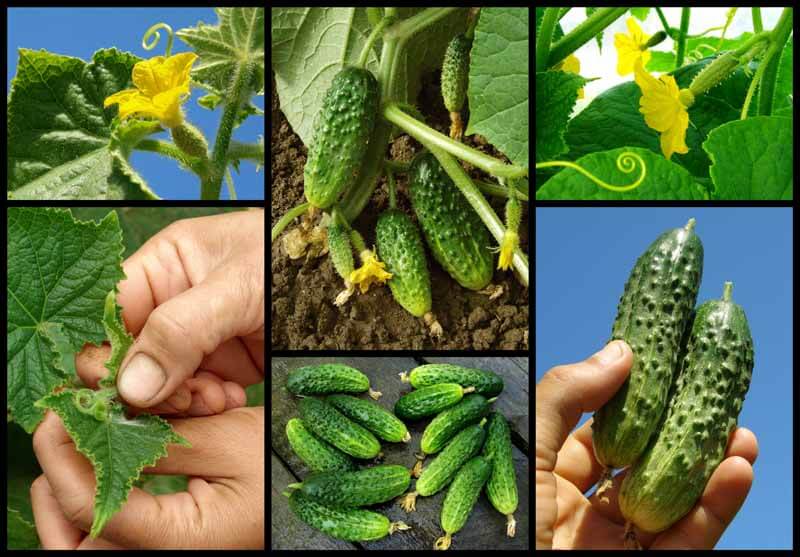
Female cucumber flowers have underdeveloped baby cukes at the base while male flowers do not.
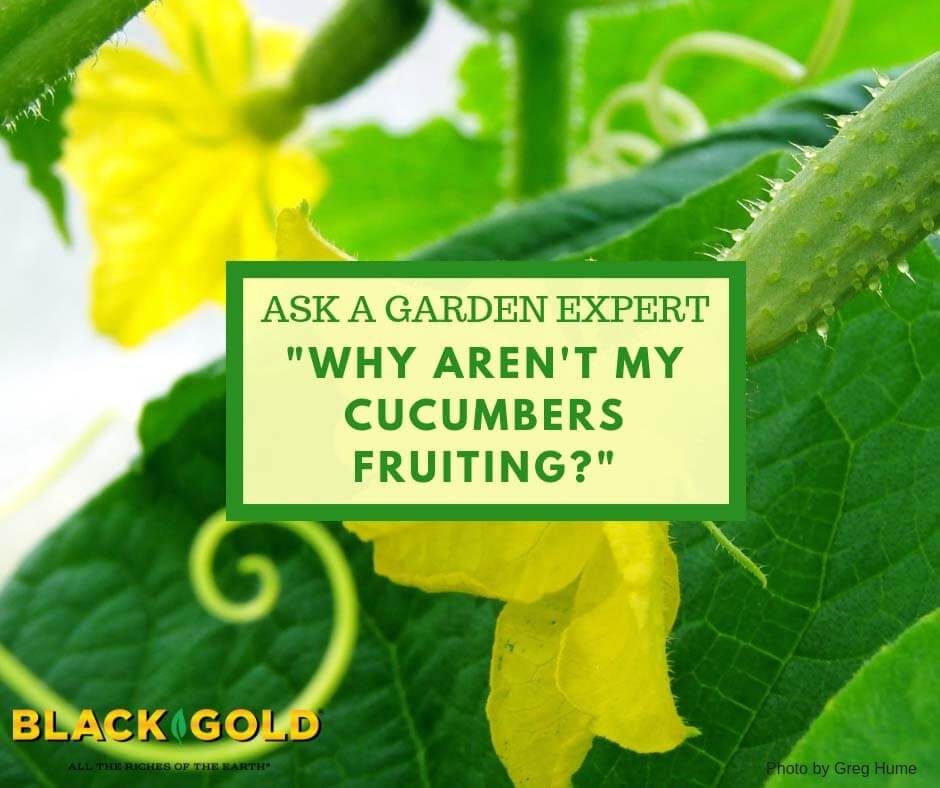
“Why are my cucumber plants not setting many cukes? The blossoms fall off before setting.” Question from Ron of Cashmere, Washington
Answer: There are several possible reasons that your cucumbers are suffering from blossom drop before fruit set. These include pollination issues, environmental stresses, and soil nutrient problems. Let’s take a closer look at these possibilities.
Cucumber Pollination
Cucumbers are dioecious. This means that they have separate male and female flowers on the same vine. Male blooms appear first on the vines and will open and drop. A week or two after the male flowers appear, you should start to see female blossoms on the vines. These are easy to spot because they have undeveloped baby cucumbers at the base of the flowers. It could be that not many of your female flowers have appeared yet. Check to see if the flowers that have dropped have little underdeveloped fruits at the base. If not, they are male flowers and your fruiting females may just be getting started.
Once you have both male and female flowers on your vines, bees pollinate the females. If your yard has few bees, fruit set can be a problem. Look for bees, and if you don’t see any, you may have to try moving pollen from the stamens of the male flowers to the central pistil of the female flowers. This is easily done with a small brush or Q-tip. Another option is to choose a self-fertile cucumber variety, like the award-winning ‘Diva’, which does not need pollinators for fruit set.
Cucumber Plant Stresses
Healthy vines will lack spots or wilting leaves.
Seasonal temperature extremes–above 90 degrees Fahrenheit and below 60 degrees Fahrenheit–can induce flower drop and inhibit fruit set. Too little or too much water can too, though in both instances you will see overall vine decline. There are also many cucumber diseases that can inhibit plant vigor and fruit set (click here for an expansive cucumber disease list), but once again, you will see signs of poor plant health.
Cucumber Nutrient Needs
Choose a vegetable fertilizer formulated for fruiting crops for vigorous fruiting. Soil that is too high in nitrogen can inhibit flower and fruit set. Cukes also need organic-rich soil with a near-neutral pH (6 to 7) grow to their fullest (Black Gold Garden Soil is a great soil amendment).
I hope that this info will help you determine the root cause of your cucumber problems. To learn more about cucumber growing success, watch the video below.
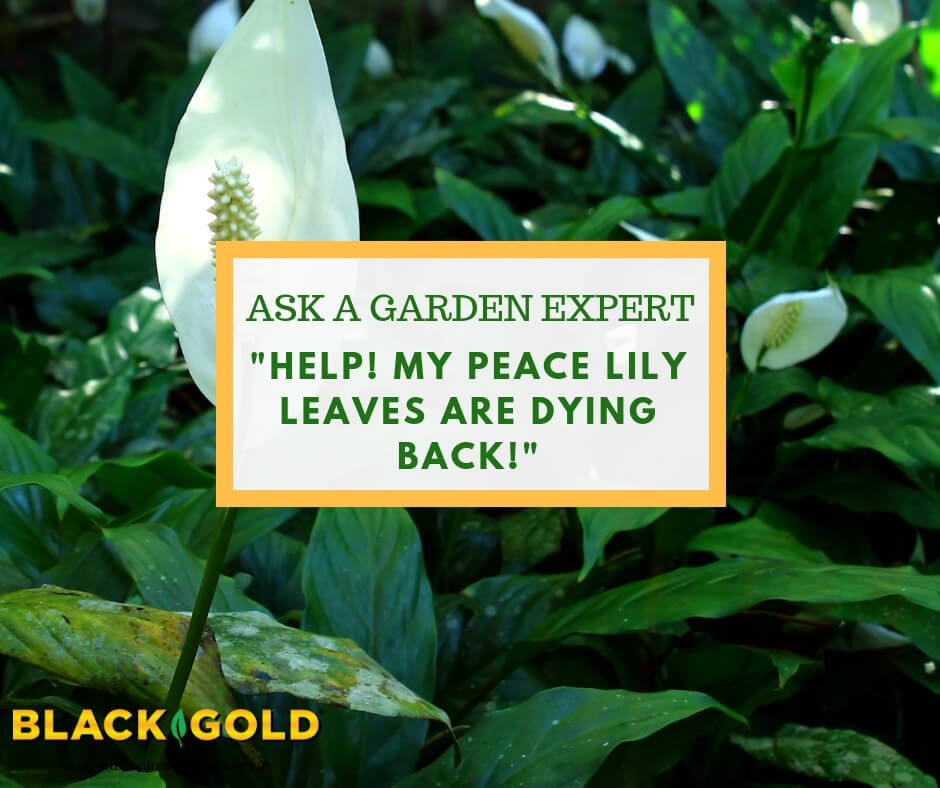
“I have some large peace lilies that the leaves sprout up like crazy but then start to turn completely brown, they are been doing this for over a year. What is causing this?” Question from Mary of Huntington, West Virginia
Answer: Several problems may be at play regarding your peace lily (Spathiphyllum spp.). Over watering, under watering, planting too deep, and fungal diseases can all cause leaf decline in newly emerging foliage or existing foliage. So, let’s start with what these plants need to grow well.
1. Bright, filtered sunlight or partial shade (never direct sunlight);
5. Warmth (temperature between 65 and 80 degrees Fahrenheit (18-26 degrees Centigrade).
Here are factors that can cause decline and eventual plant death:
1. Over watering;
2. Deeply planted plants;
3. The fungal diseases Cylindrocladium spathiphylli and Phytophthora parasitica, which both cause foliar decline and root rot disease (both are encouraged by over watering and deep planting).
4. Under watering
I recommend starting fresh and repotting your plant. Start by removing your peace lily from its current pot and discard the old planting mix. Next, remove any dead or dying leaf or root tissue. Clean the planting pot in hot, soapy water and refill it with fresh potting mix (Black Gold All Purpose Potting Mix or Black Gold Natural & Organic Potting Mix are great choices). When replanting, make sure your peace lily’s upper roots are close to the surface. Then water it well and place it in a location with bright, indirect light. Allow the soil to dry quite well between watering.
“I’d like some info on why my pumpkin seeds didn’t produce pumpkins. There were lots of leaves and flowers, but no pumpkins. I planted them plenty early enough, and there wasn’t any frost. The leaves just started dying out by mid-September.” Question from Kimberly of Vancouver, Washington
Answer: Sorry to hear your pumpkin vines did not produce pumpkins! First, make sure that all of their growing requirements are met. Pumpkins need to be planted in spring, after the threat of frost has passed, for fall harvest. Full sun, summer warmth, and space (a 12’ x 12′ to 15 x 15’ patch) are essential for vining varieties. It pays to plant them on berms (click here to read all about berming) amended with lots of organic matter. Feed them with a fertilizer formulated for vegetables, and be sure they get plenty of moisture (probably not a problem in Vancouver).
If all their growing requirements were met, there are four more possible reasons why your pumpkins did not develop.
1. Lack of pollinators
Pumpkins have two flower types, male and female, and these are bee-pollinated. The male flowers are produced first, followed by the female blooms, which have small, underdeveloped pumpkins at the base of each flower. If you see female blooms on your plants, and no bees, this could be the problem. Without pollination, the developing fruits just shrivel and drop. If you think this is the cause of your troubles, try a hand-pollination method. Simply use a small brush to move pollen from a newly opened male flower to a newly opened female flower. It’s fast, easy, and will yield pumpkins!
2. Time
Lots of pumpkin varieties require good growing conditions for more than 100 days to produce. Early pumpkins are a good choice for those living further north. The varieties ‘Flatso‘ (85 days to harvest), ‘Chucky‘ (85 days to harvest), and ‘Cinnamon Girl‘ (85 days to harvest) are all early to produce.
These pests bore into the stems of pumpkins and other squash and cause whole vines to die back because they are cut off their water. Usually, with vining pumpkins, some of the vines survive because they root along the ground and survive, so this is often less of a problem. Nonetheless, click here to read a great Q&A about squash vine borers to determine if this is your problem.