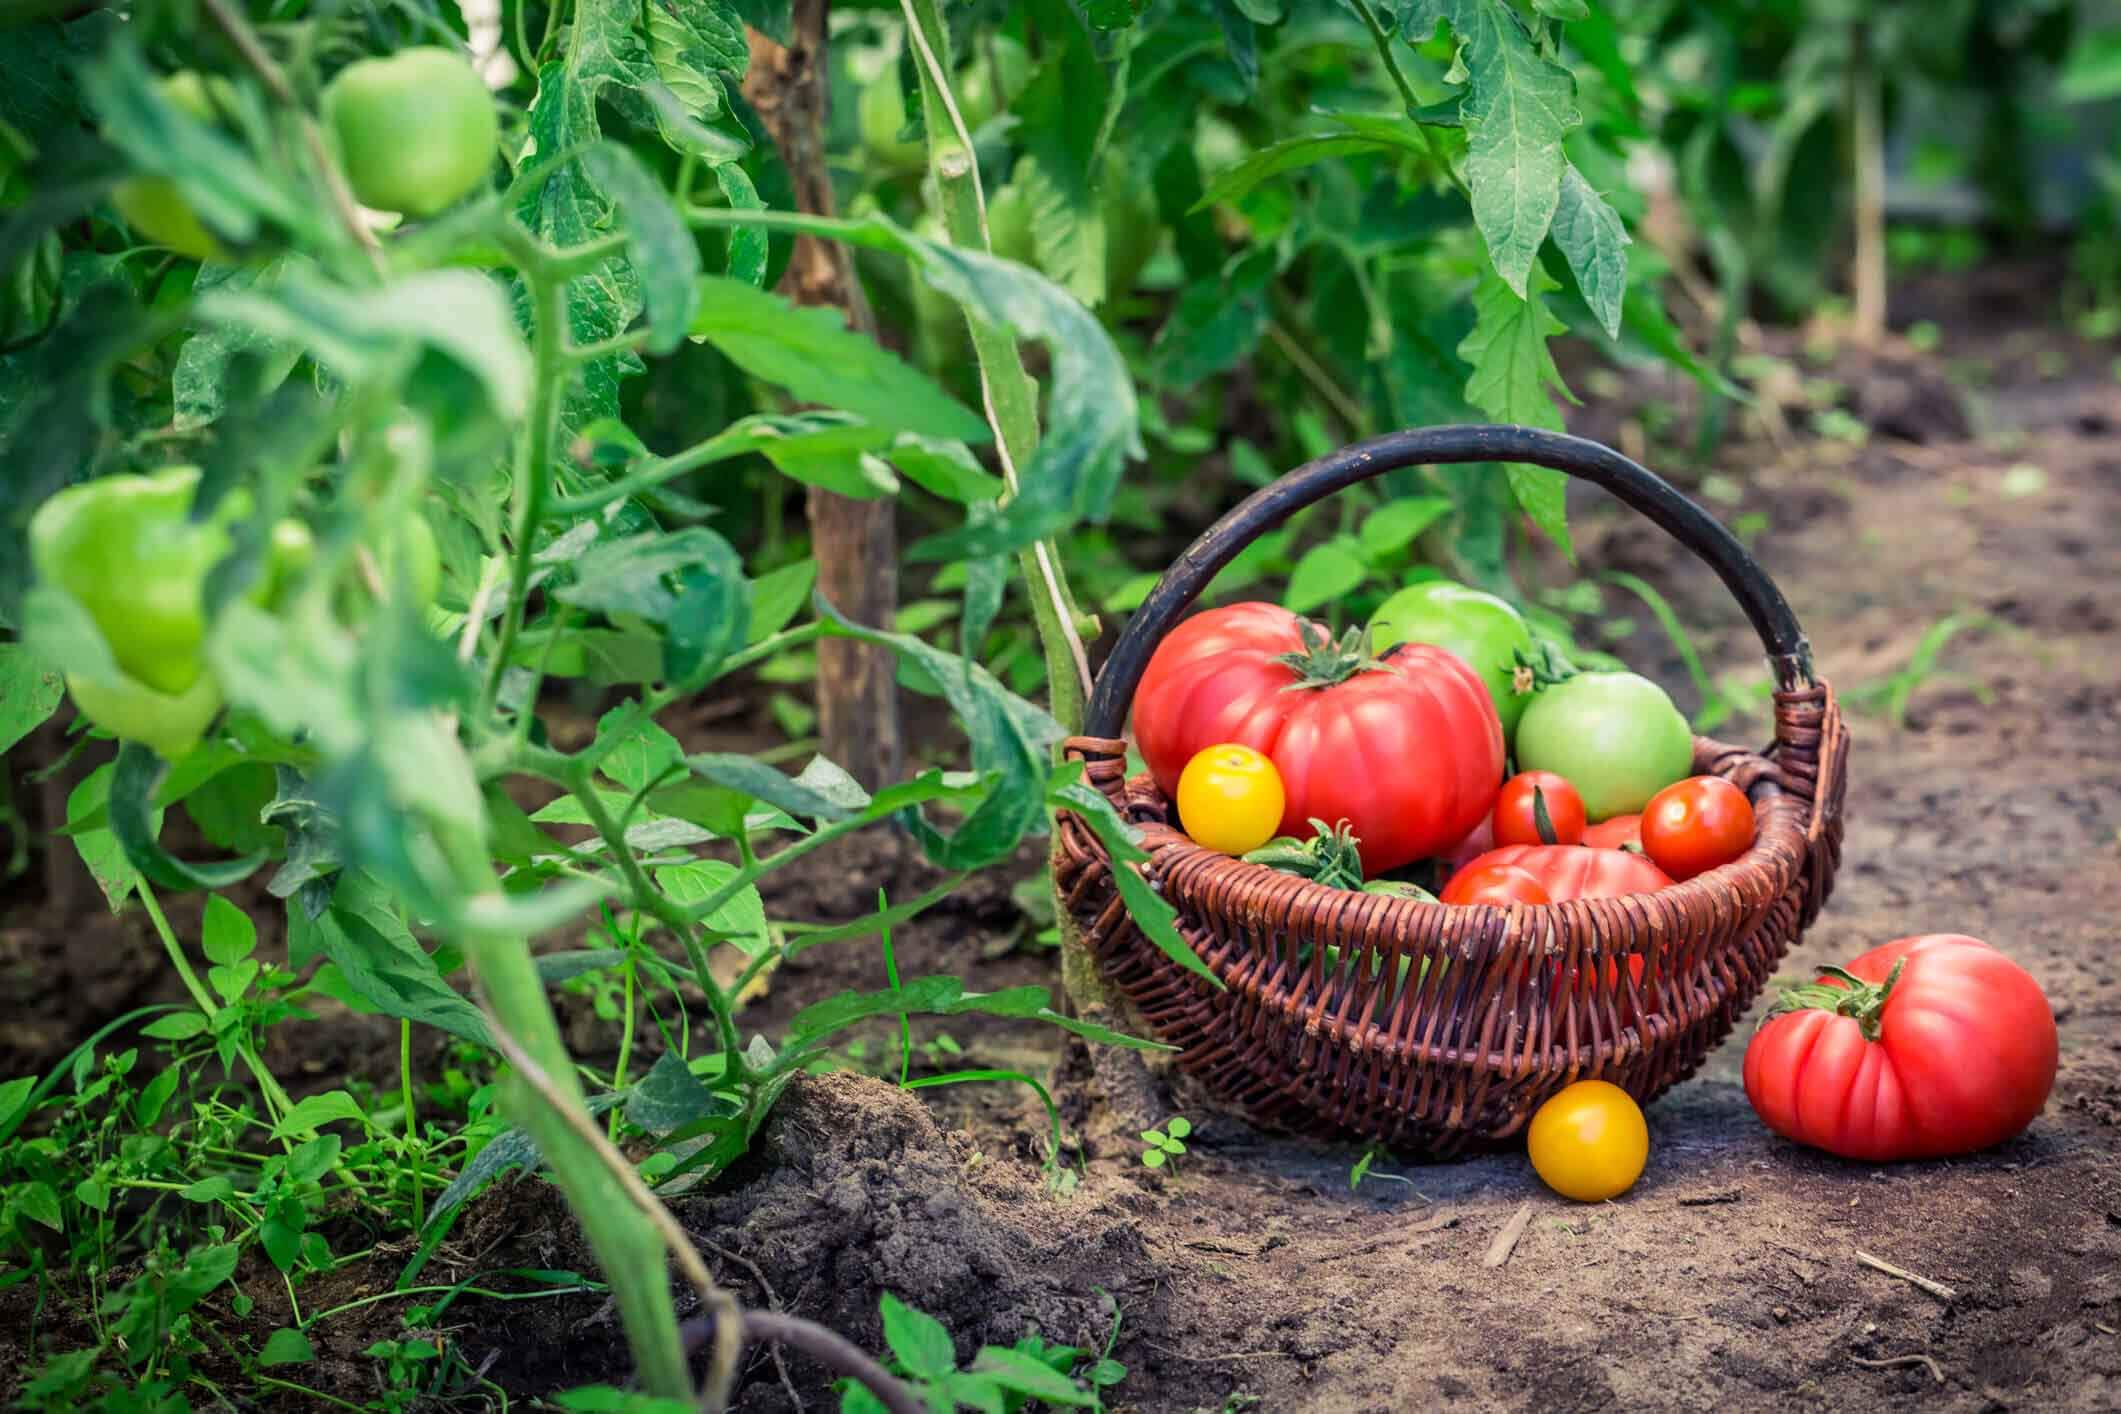
These tips will help gardeners yield giant beefsteak tomatoes!
Big, beautiful beefsteak tomatoes are what every avid tomato grower wants. Large yields of monster tomatoes are not difficult to achieve if you follow a few basic tips. Good growing practices will give you enough fruits to enjoy all summer and share with your friends.
Pomegranates are common fruits for southern California.
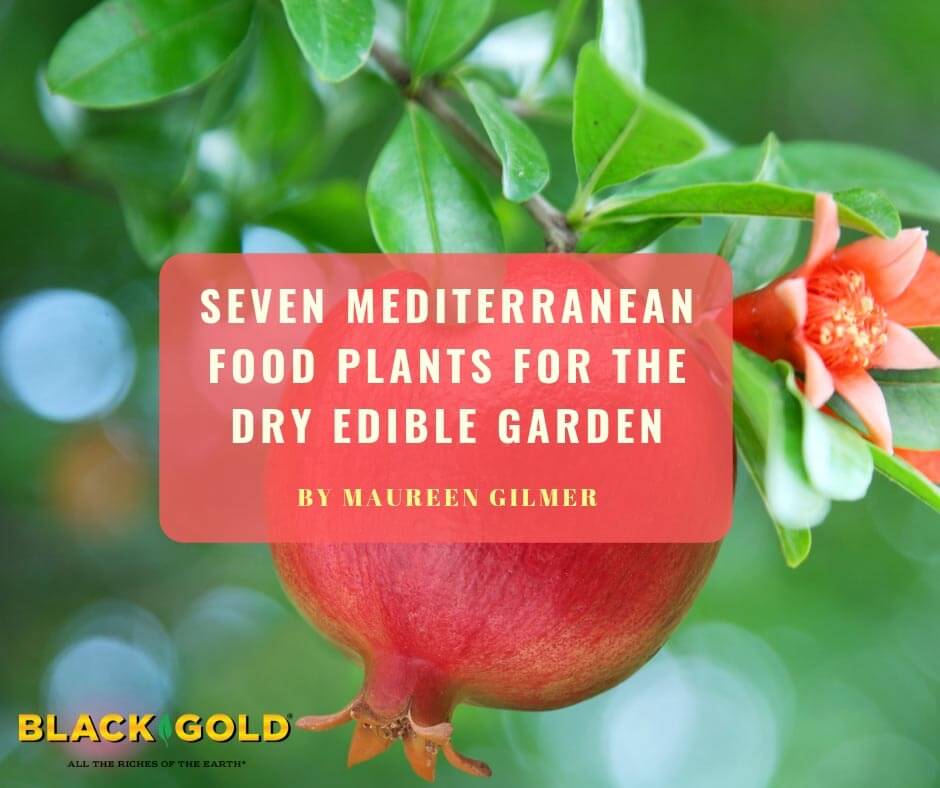
The dry edible garden is rooted in classical civilizations around the Mediterranean Sea. The Greeks, Romans, and Carthaginians shared their ancient local food crops throughout the western world. Some of the best are grapes, pomegranates, date palms, rosemary, artichokes, cardoons, and figs. All are still vital to contemporary agriculture in deserts and dry places around the world and make great choices for arid-zone gardens.
Growing Mediterranean Edibles
Because most of these Mediterranean edibles are not very cold hardy, you need to know their tolerances before trying to grow any outdoors. Further north, grow dwarf varieties in containers that can be brought indoors for the winter. Water-holding, Black Gold Moisture Supreme potting soil is an ideal mix for contained arid food plants.
One potential problem is that some of these plants, such as date palms, need long-term high heat for their fruit to ripen properly. Though fruits might appear in cooler temps, they aren’t nearly as sweet or just won’t fully ripen.
If you live where they are hardy, grapes, pomegranates, date palms, rosemary, artichokes, cardoons, and figs make outstanding landscape plants that thrive despite limited water and high heat. Keep in mind that sufficient irrigation is required, particularly in porous, fast draining soils, if they are to produce quality fruit. Here are additional tips for growing each.
1. 2. Artichokes and Cardoons
Artichokes have naturalized in arid coastal California, proving their adaptability. (Image by Maureen Gilmer)
Out in the garden, the easiest arid vegetables to start with are artichokes and their close relative, cardoon. Both act as ornamental and edible perennials. The artichoke we eat is the flower bud, which should be harvested when buds are full-sized with tight bracts. For a big floral show, leave the buds to mature into huge, purple thistle-like blooms. This plant also bears fabulous lobed grayish foliage that’s exceptional for gray gardens. [Click here to learn more about growing artichokes.]
Cardoons have flavorful stems that can be blanched and eaten. The bold silvery leaves also look great when planted in arid flower gardens, and are followed by large, purplish, thistle-like flowers.
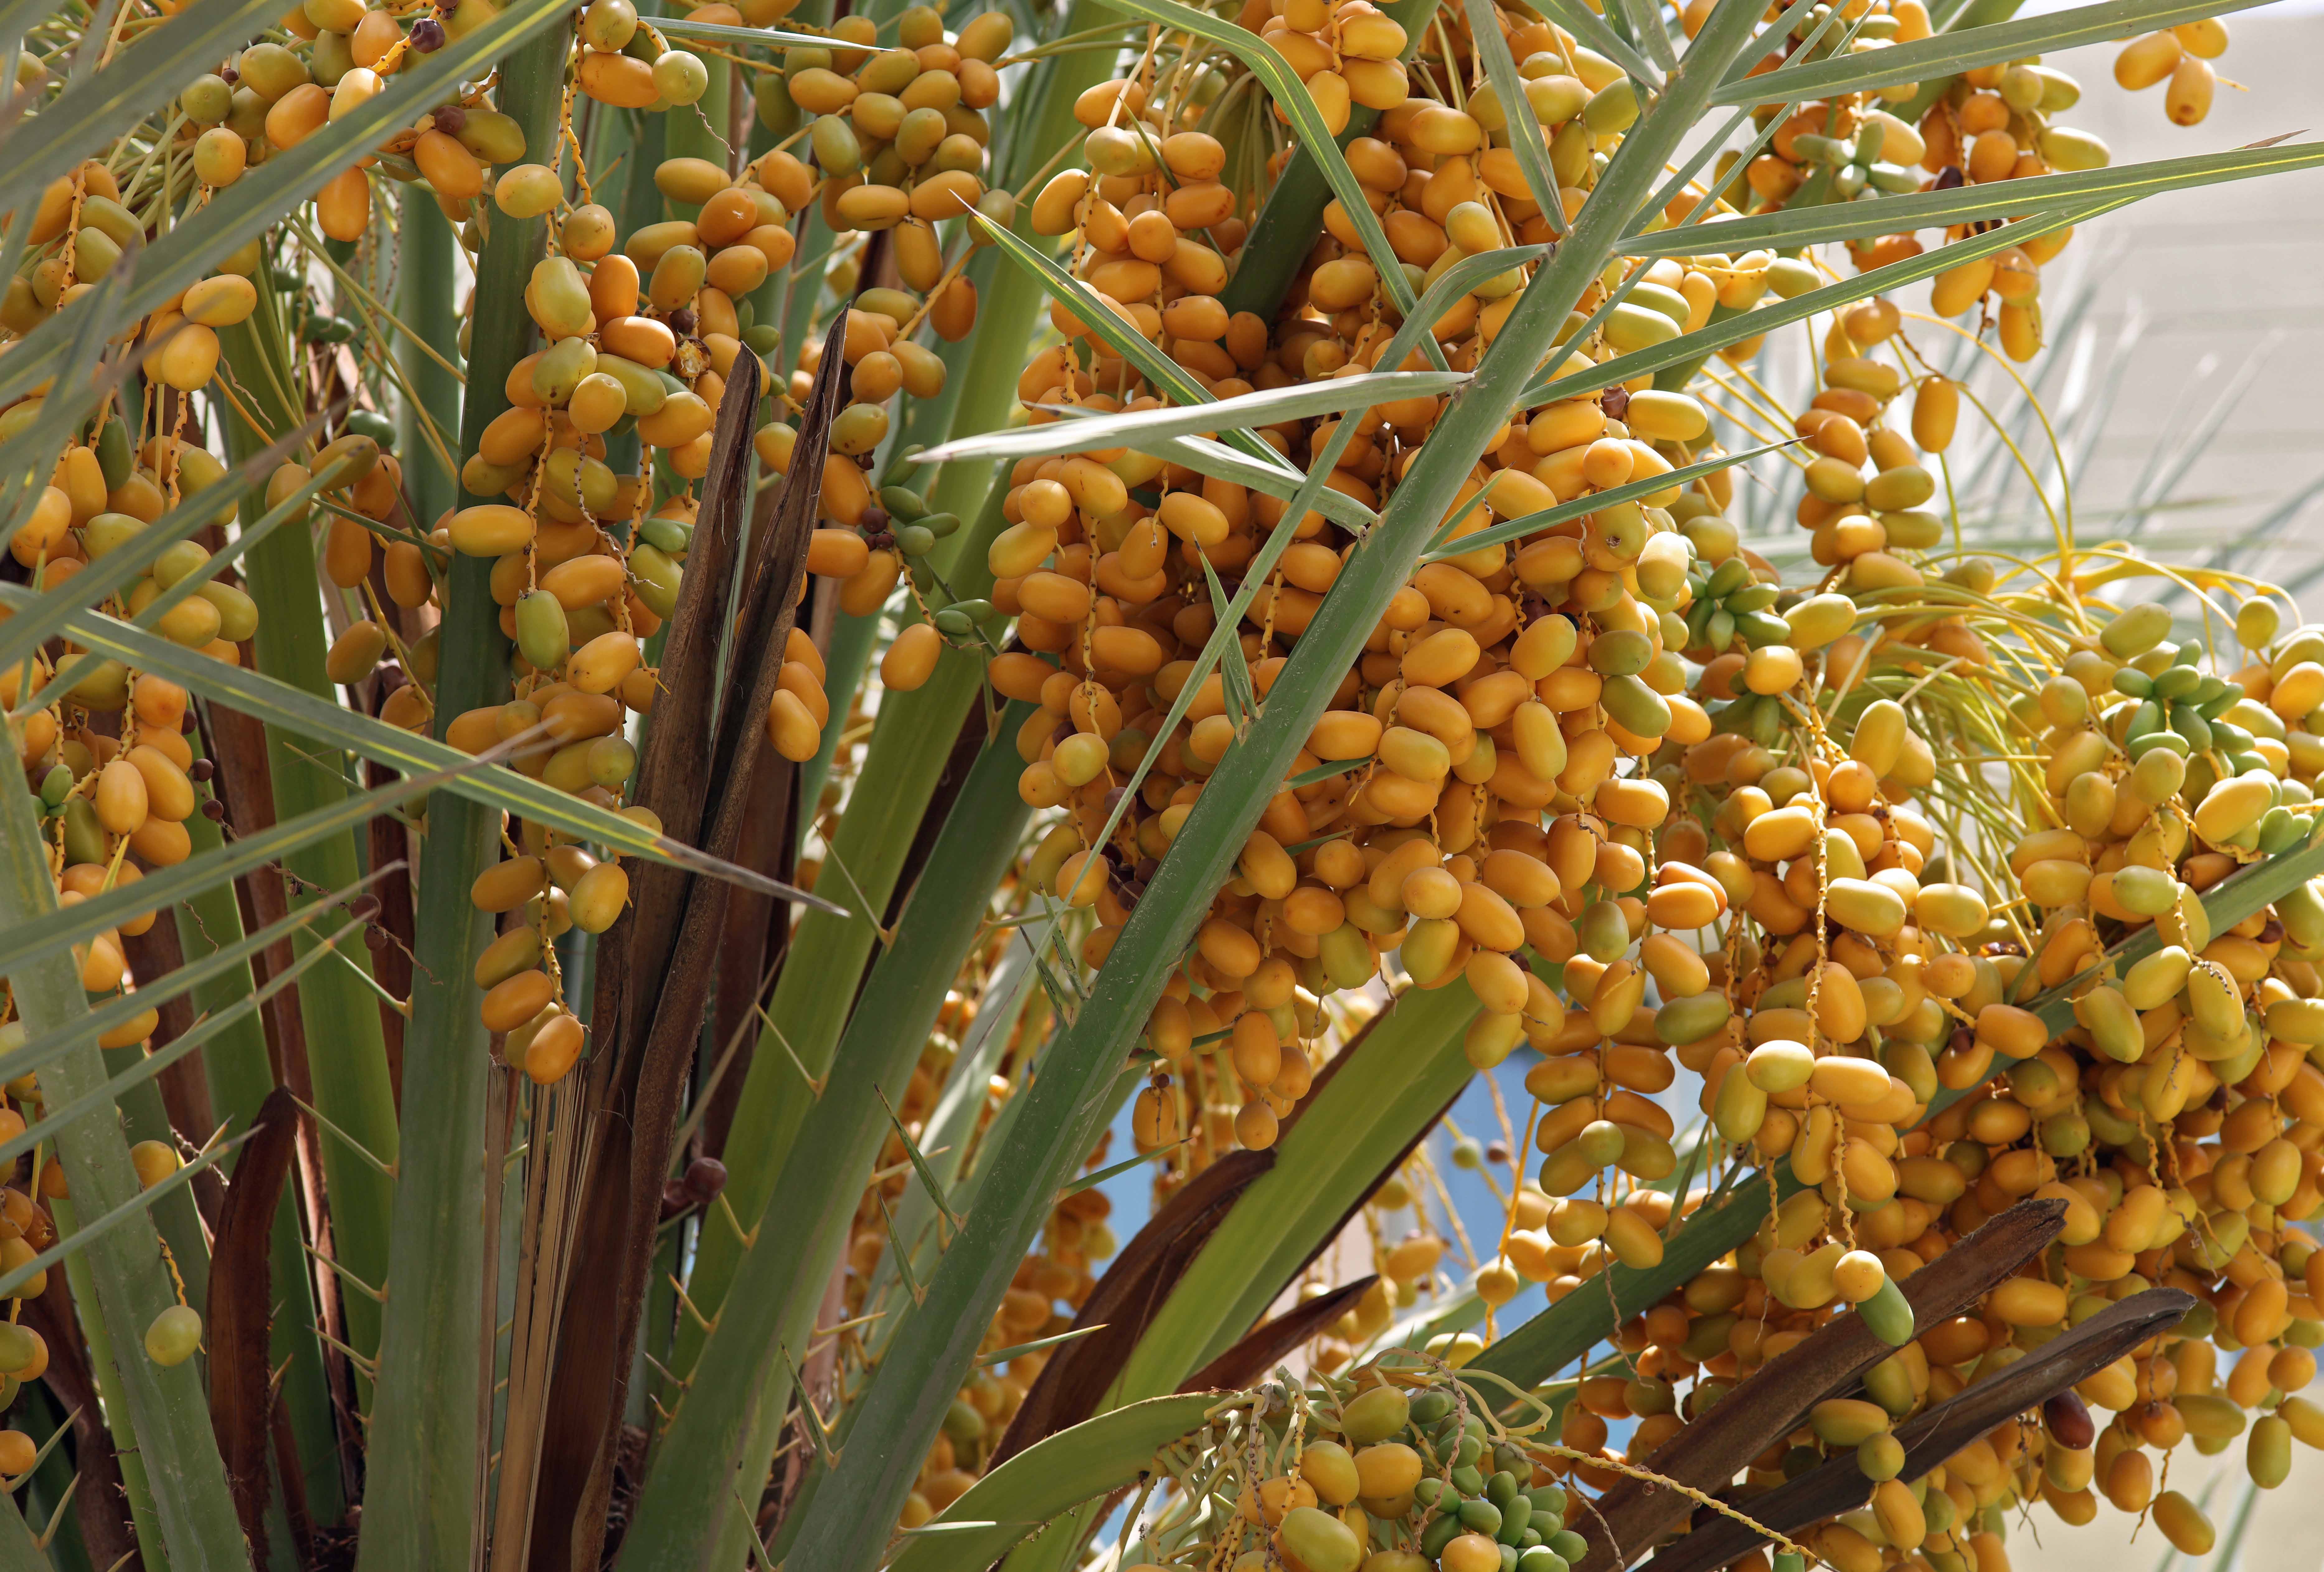
3. Date Palms
Fresh dates on a date palm tree.
Mediterranean date palms (Phoenix dactylifera) reach up to 100-feet and like heat and drought. They are hardy to USDA Zones 8b – 11, so they can only be grown in the hot and dry American landscapes of Arizona, California, Nevada, Texas, and Florida. Full sun and well-drained dry soil are required for good growth. Male and female flowers exist on separate plants, so at least one male and female plant are needed for cross-pollination and fruit set.
(Editor’s Note: If space is limited, try growing the Southeast Asian pygmy date palm (Phoenix roebelenii), which reaches 8-10 feet, can be container grown, and is hardy to USDA Hardiness Zones 9 to 11. Its dark purplish fruits are thin-skinnedbut edible.)
4. Figs
Many figs grow well in large containers.
Dwarf forms of fig (Ficus carica) are specially bred for small-space areas. They grow well in containers that are fit for small city gardens or high-density neighborhoods in hot climates. Hardiness depends on the variety. Some are hardy to USDA Zone 6, as is the case with ‘Chicago Hardy’, while most others are hardy to USDA Zones 8-11. Here too, learn if their fruit cycle works locally by checking with your local garden center. You want the plant to thrive in a large patio container during summer, then plan for winter protection strategies. You may need wheels or a good dolly to bring pots indoors.
5. Grapes
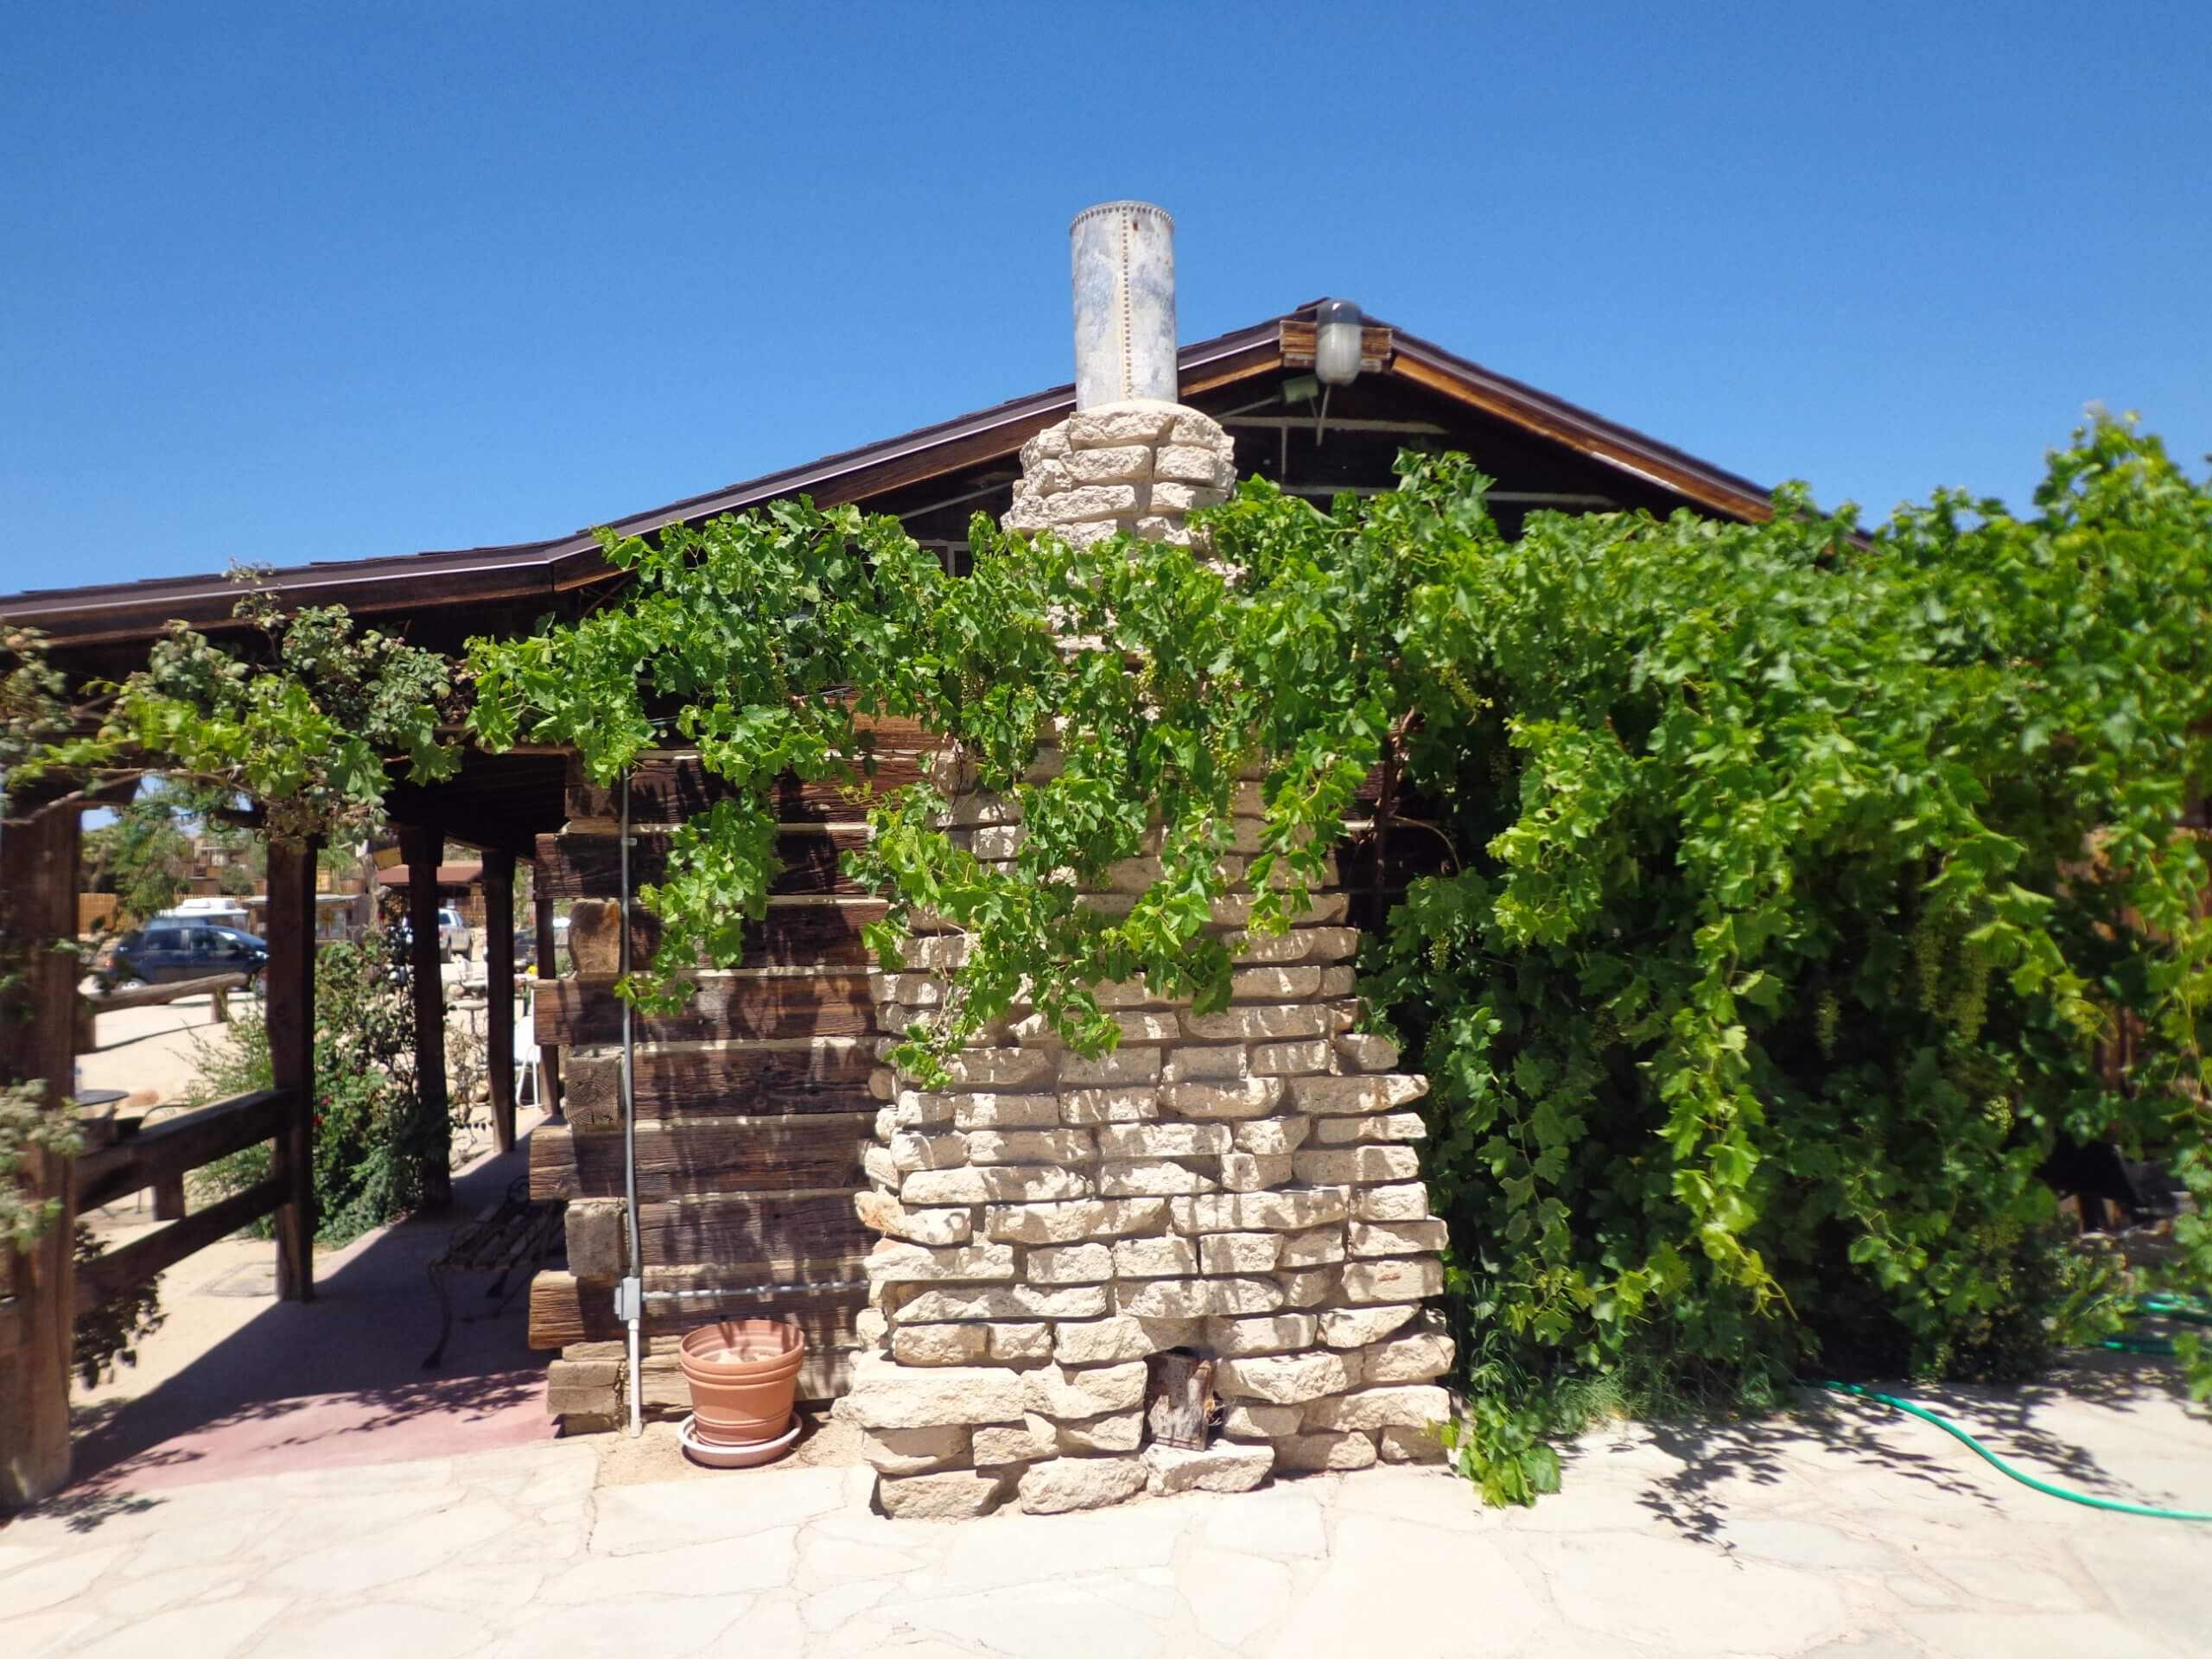
The green hose marks the single watering point for this grapevine in the high desert. (Image by Maureen Gilmer)
Common grapes (Vitis vinifera) are amazing vines that provide both extensive shade and an annual crop of fruit grown for fresh eating or winemaking. Grapevine covered ramadas were landscape fixtures in early California and served as the first true “outdoor rooms” in the region.
The beauty of grapes is that they have one stem per plant, making irrigation of single plants easy. Drip irrigation helps sustain vines that survive an average of 30-40 years and become enormous over time, even with pruning. Grapes offer more than fruit; the young leaves are easily canned for homemade stuffed grape leaves (dolmas) from scratch.
6. Pomegranates
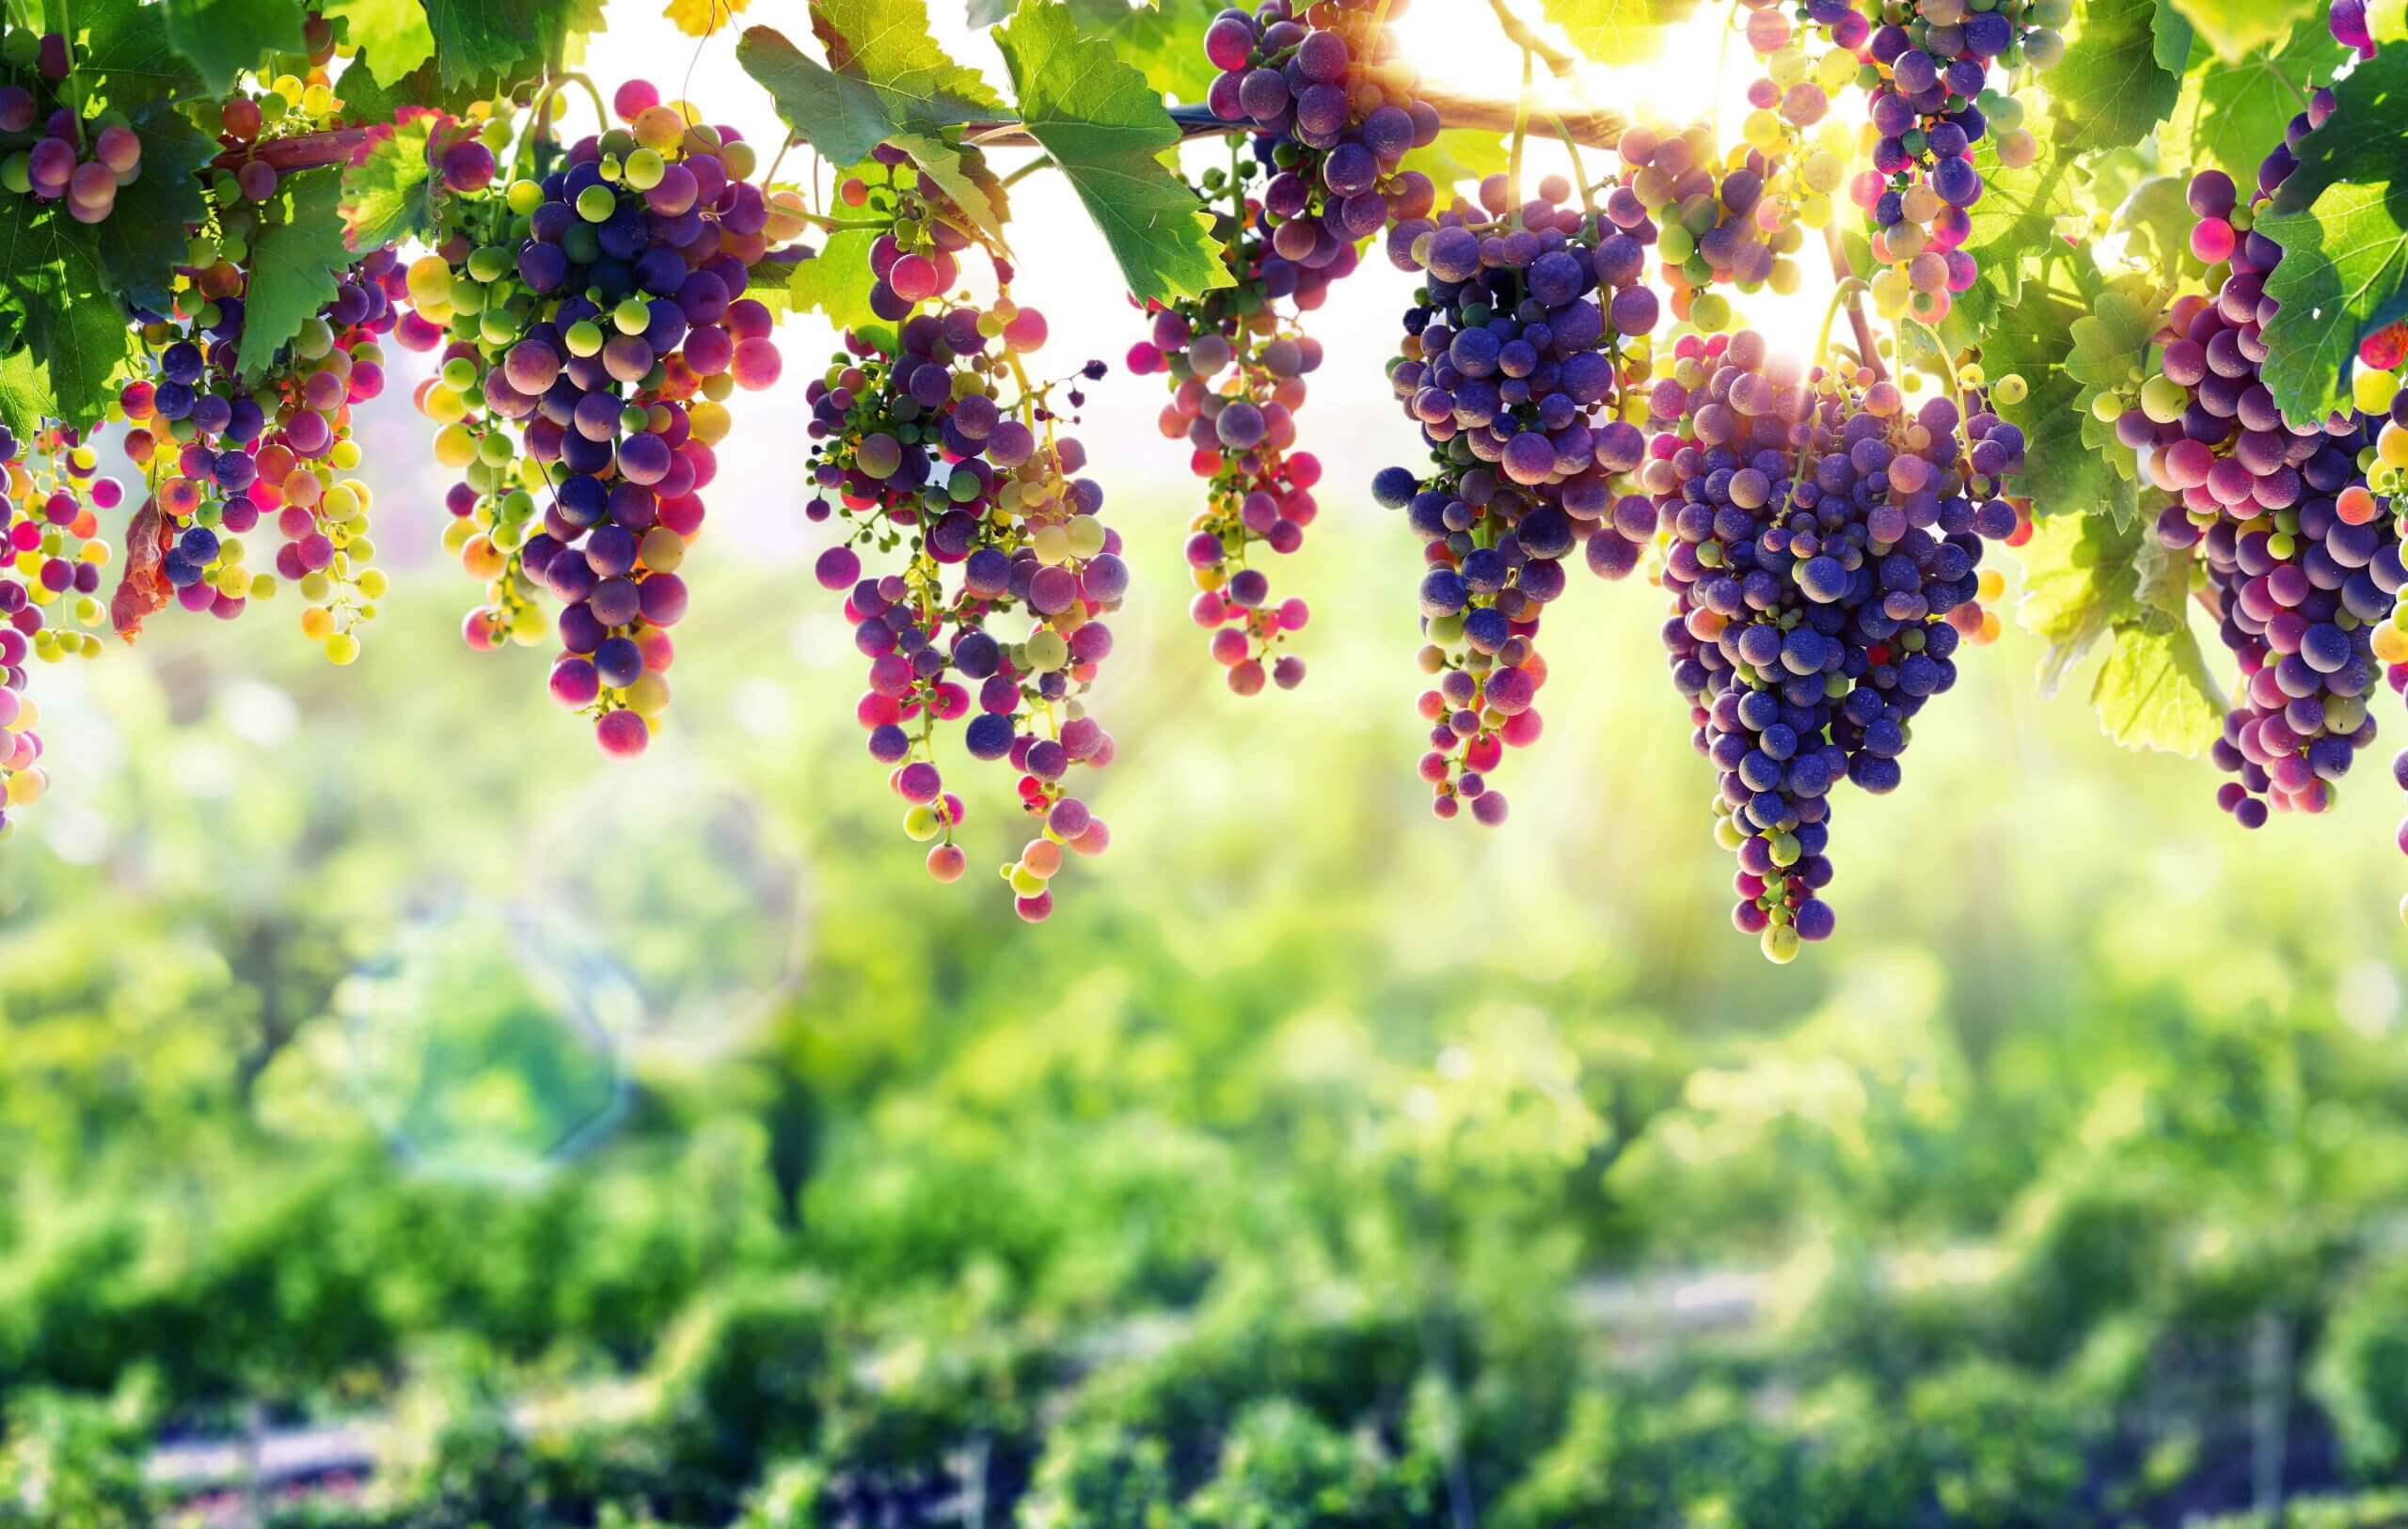
Grapes have been cultivated in the Mediterranean since ancient times.
Today’s pomegranate (Punica granatum) trees come in a huge range of sizes, with smaller trees for city yards or larger trees for orchards or spacious landscape plantings. So long as the local climate is within the cold tolerance range (USDA Hardiness Zones 8-11) and summers are not humid and rainy, pomegranates should thrive.
They grow well in poor, dry, rocky soils, but benefit from soils fortified with organic matter. (Commercial growers know that to achieve the largest juiciest fruits regular moisture and nutrition are needed.) If the soil drains well, a pomegranate will appreciate added soil amendment. The best choice is to blend Black Gold Garden Compost into the soil at planting time. This helps young potted trees transition from potting soil to native soil. [Click here to learn more about growing pomegranates.]
7. Rosemary
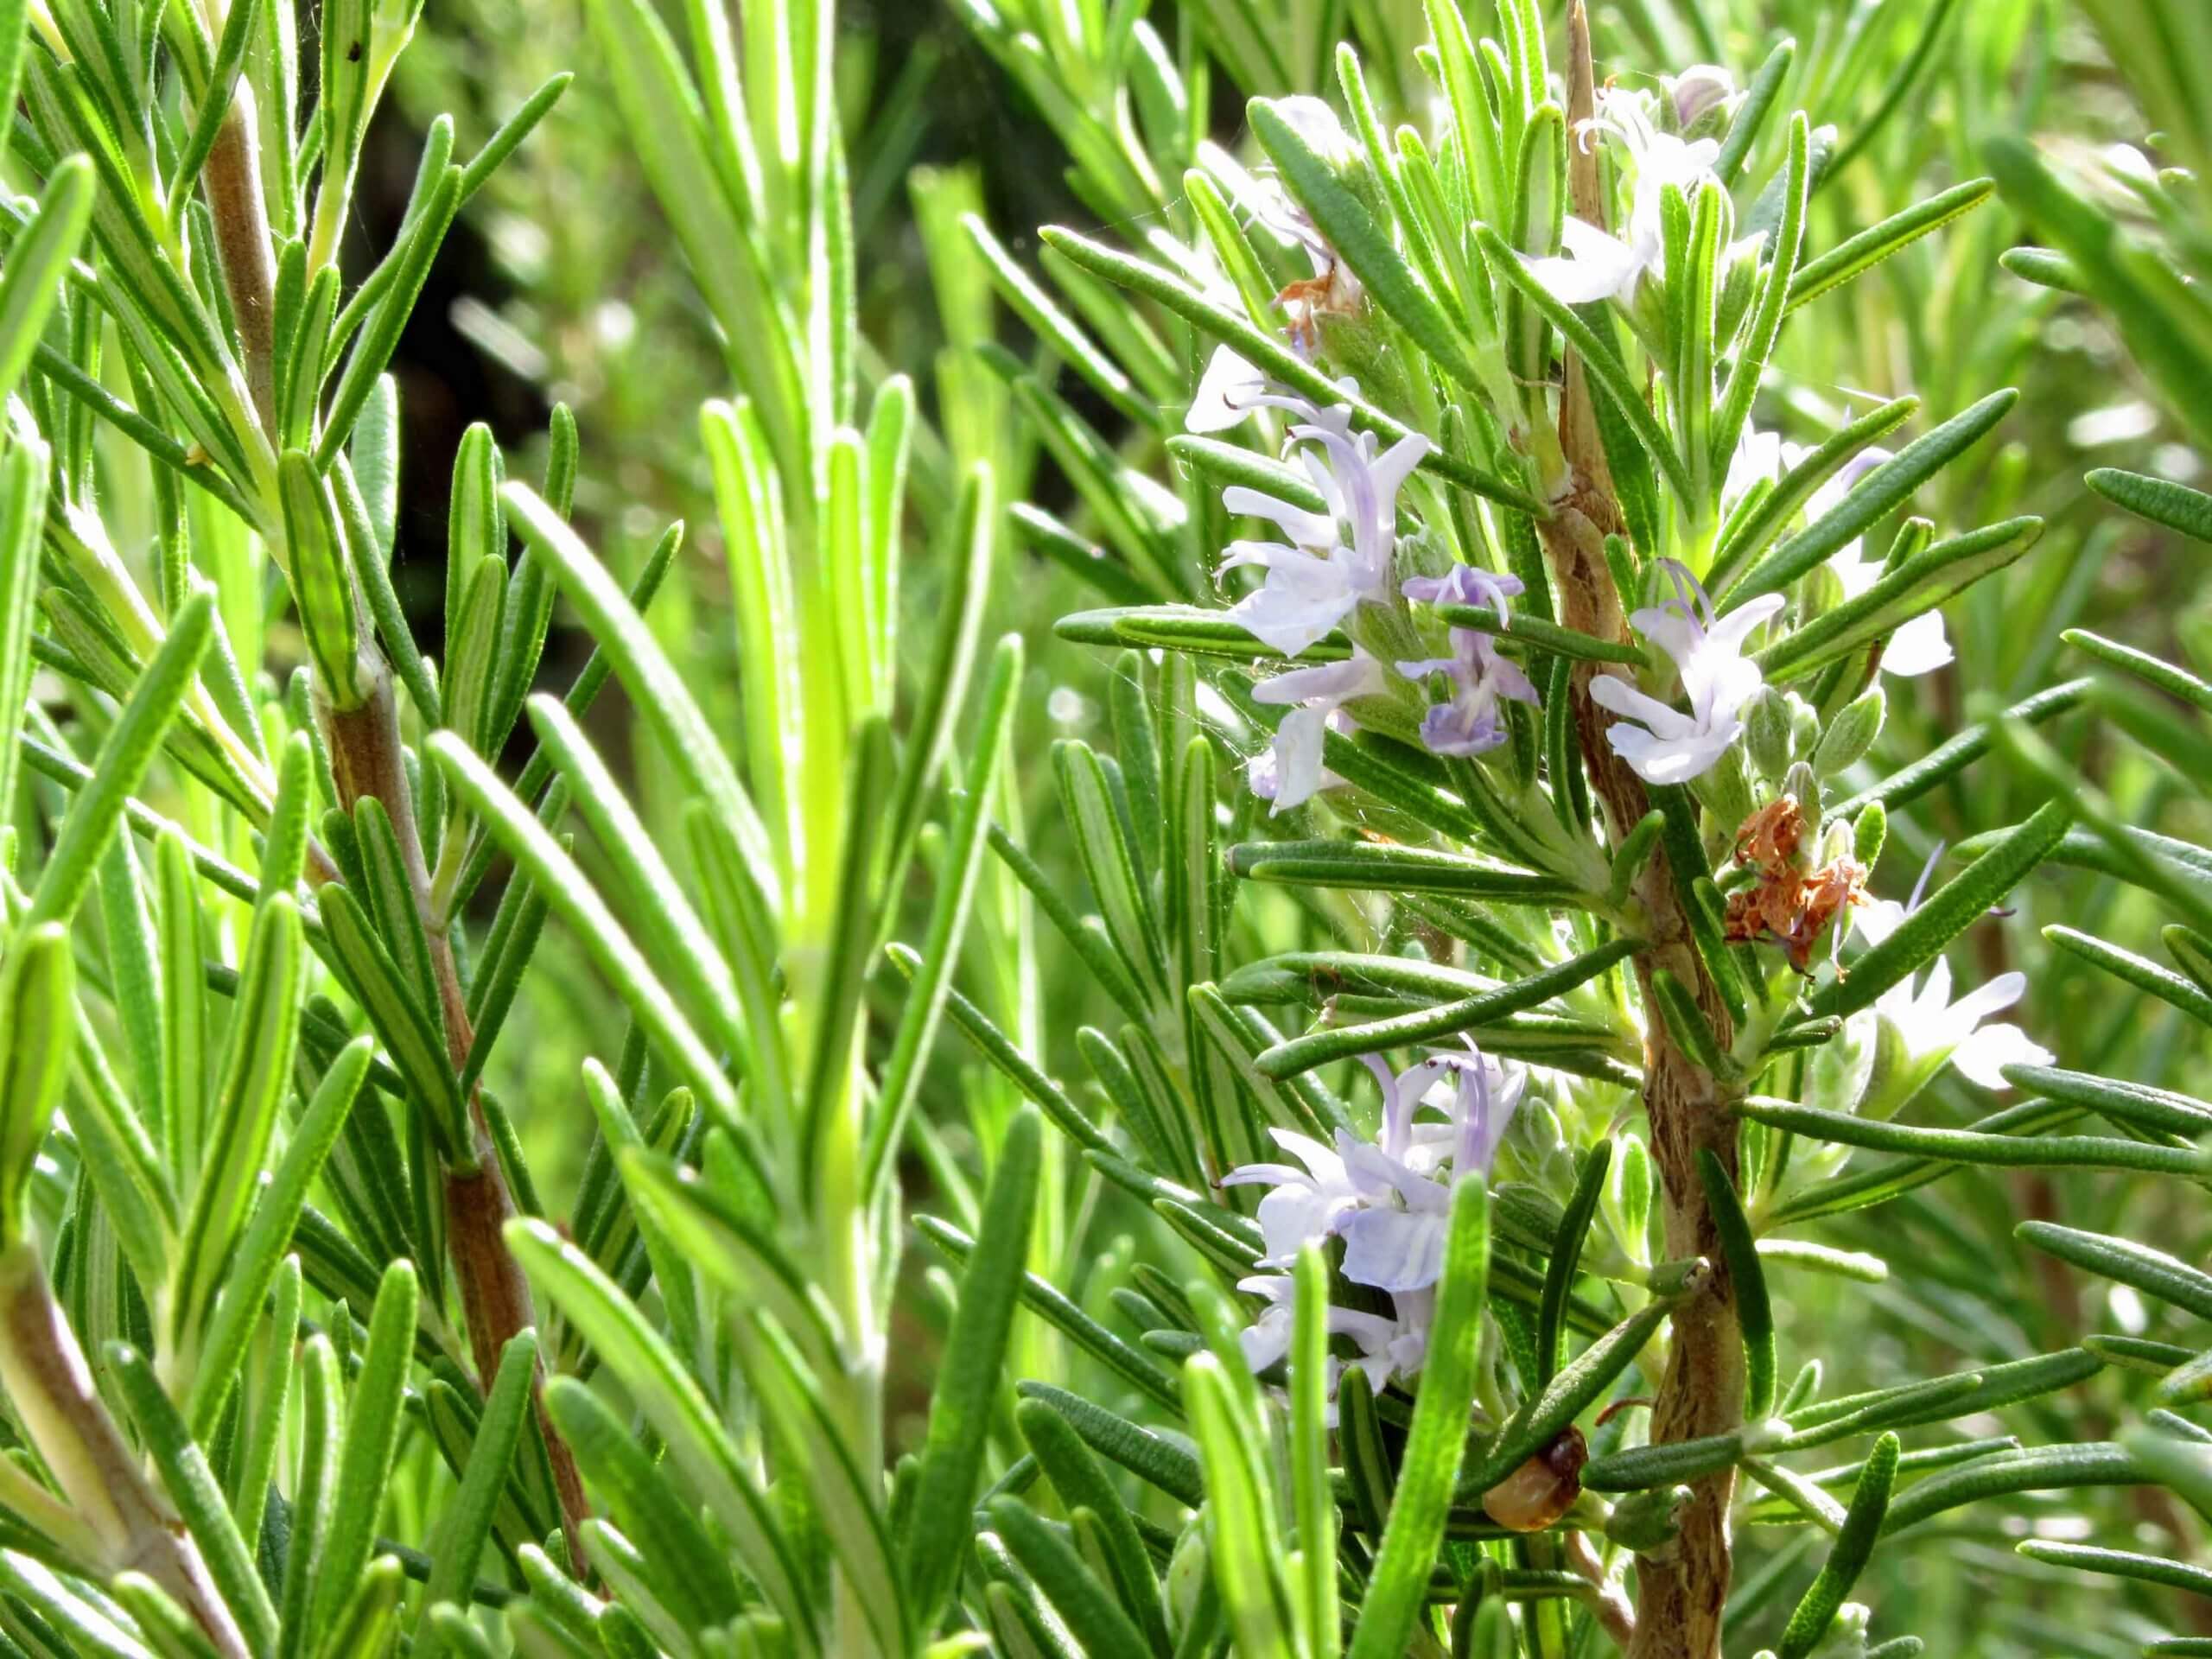
A rosemary shrub in flower.
The herb rosemary (Rosmarinus officinalis) is a large evergreen shrub that grows well in arid regions and tolerates intense sun. It has many uses. Enjoy it as a culinary herb, cut flower, and or essential oil scent. The fresh stems also make great flavored kebob sticks and/or barbecue brushes. Plant potted rosemary in Black Gold potting soil and place on a sunny, west-facing patio or deck.
Quality potting soils with high water-holding capacity are the best choice for growing edible plants with fewer irrigation demands. Good mixes rich in organics hold more water for longer than low-grade potting mixes. That means you can grow more with less water, and harvest fruit and veggies at a fraction of the price of shipped fruit from grocery stores.
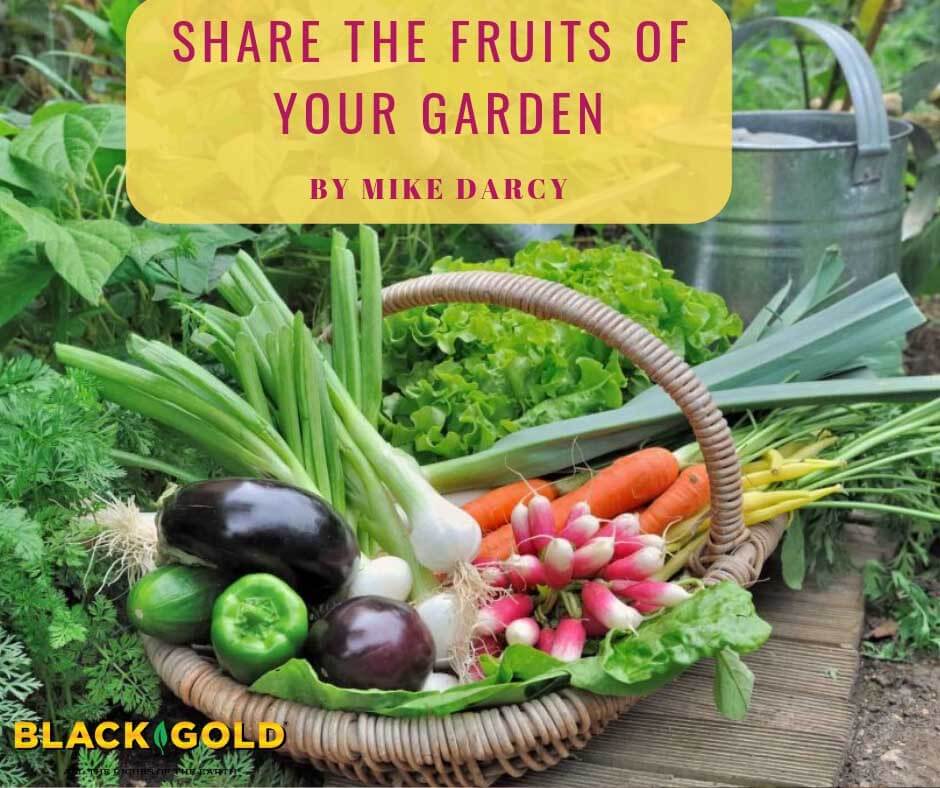
Garden abundance offers an opportunity to share food with your community!
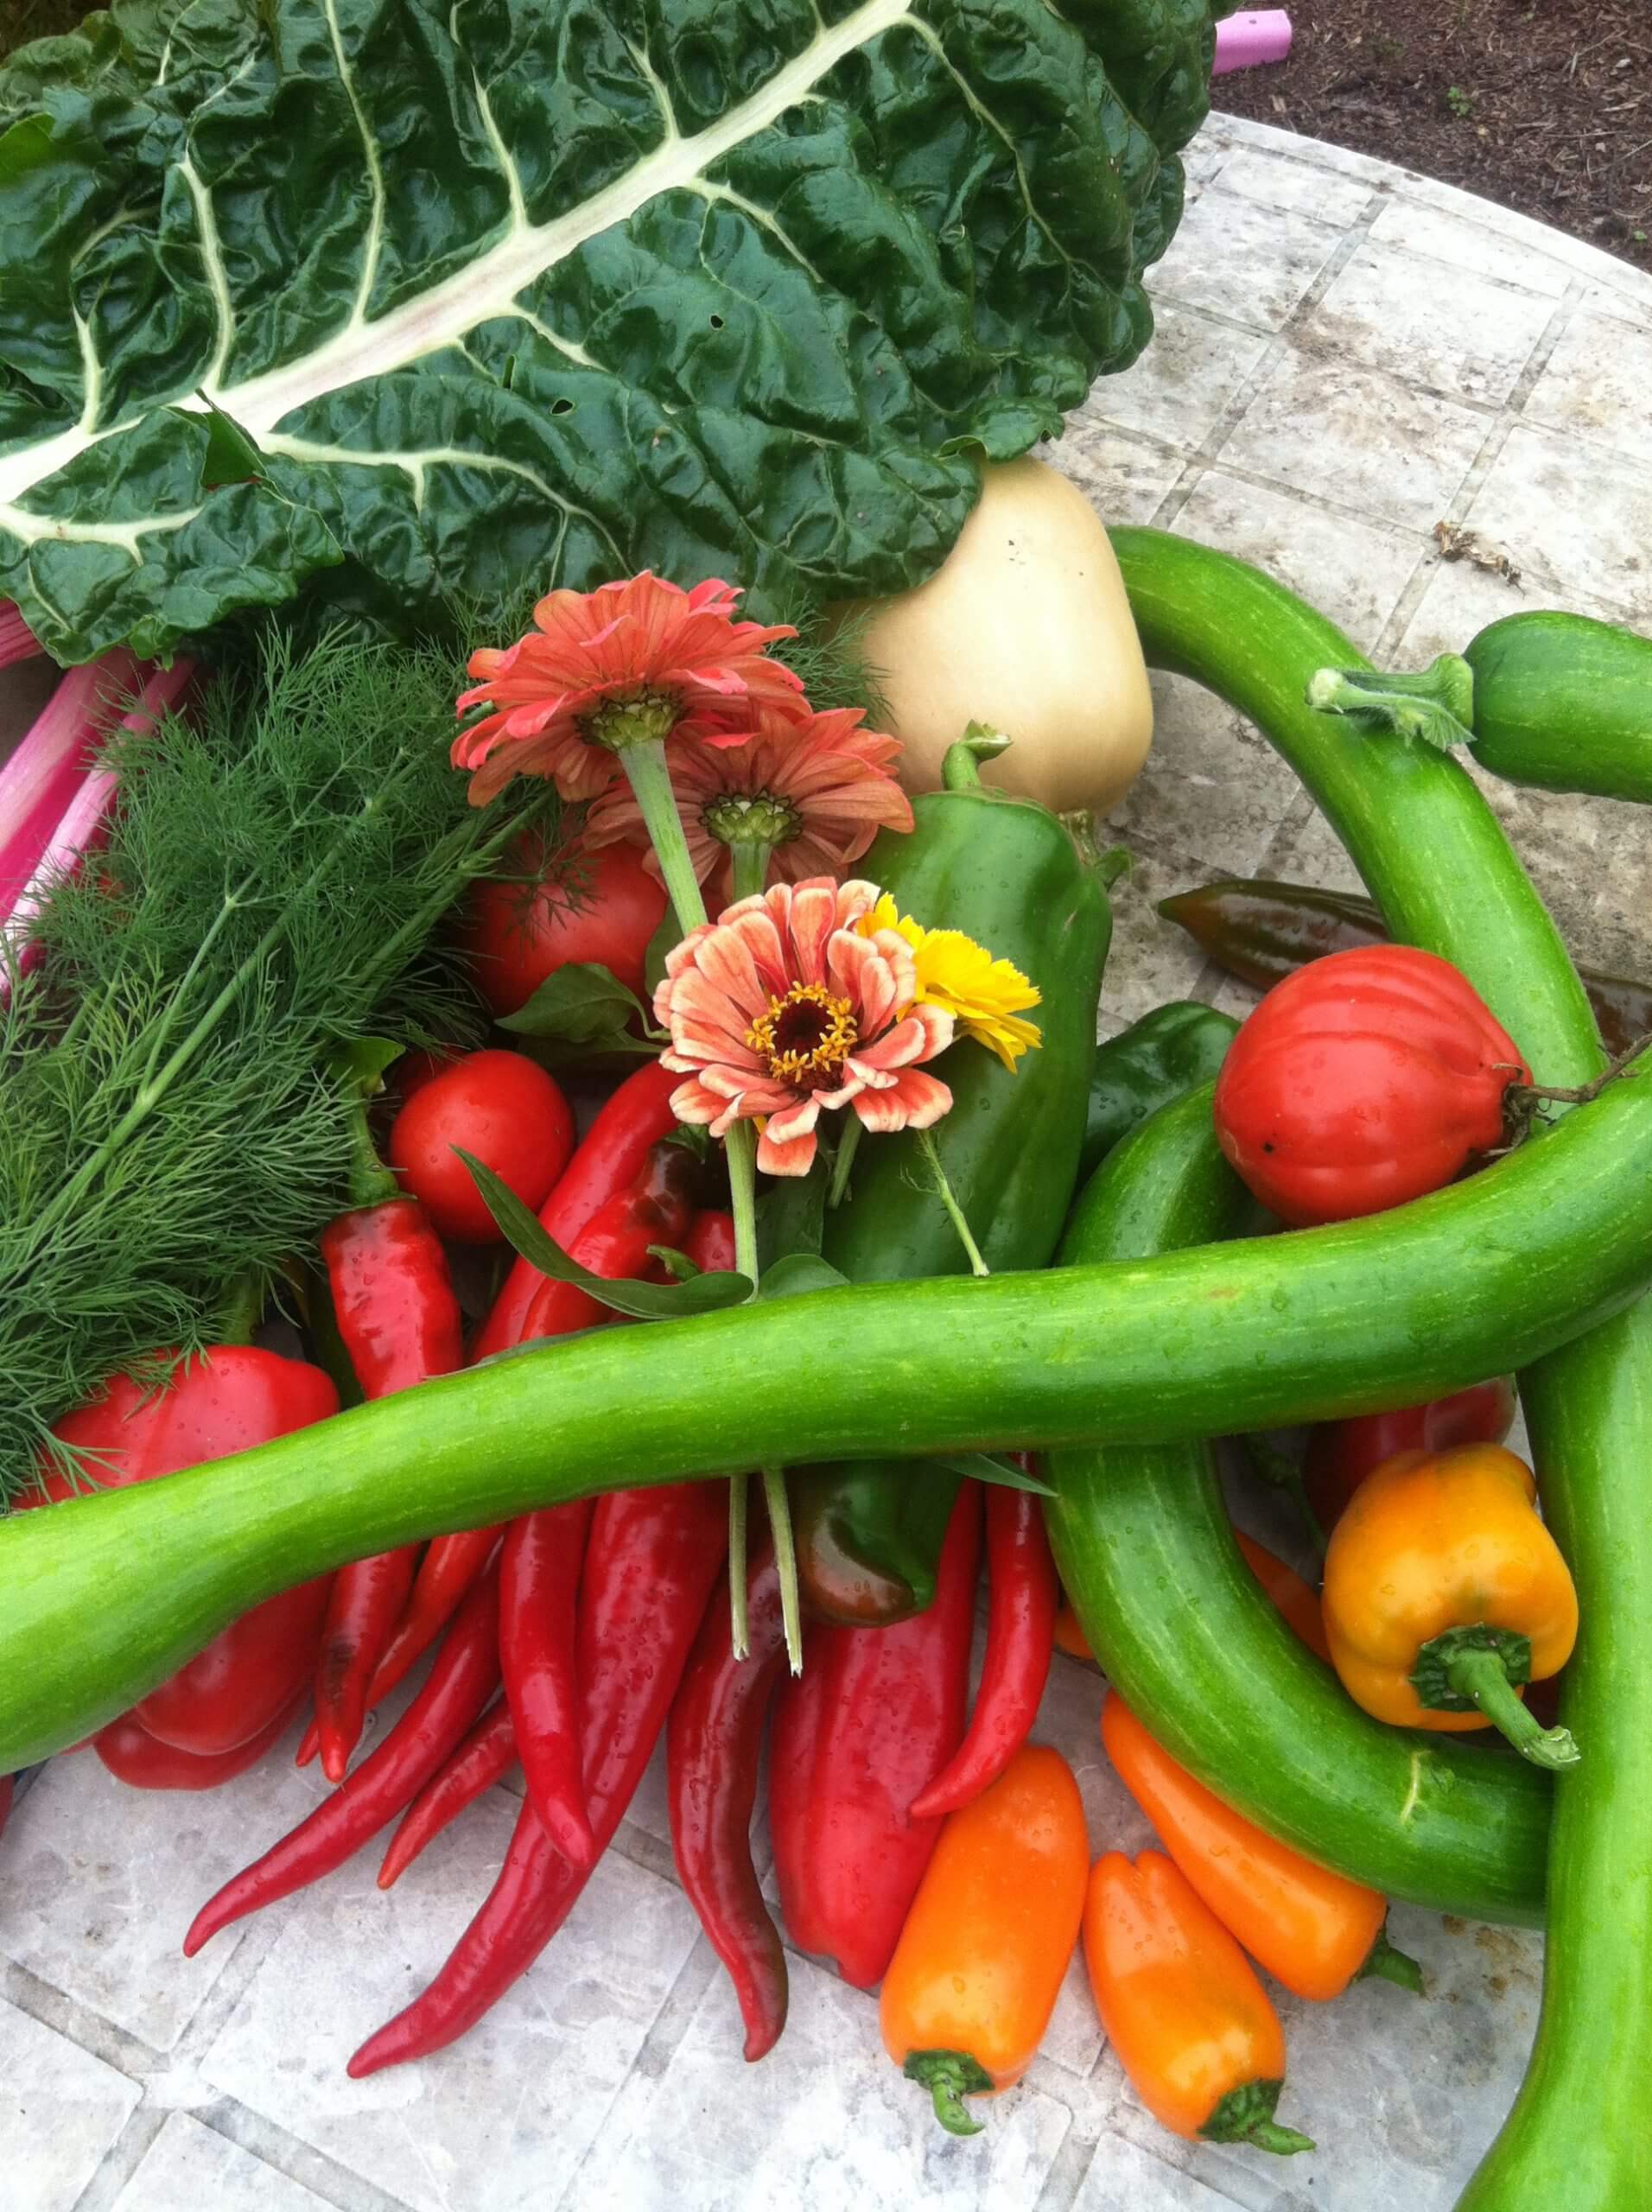
This is the time of year when home vegetable gardens reach their peak with summer produce ready for picking. Just walking around my neighborhood, I see that the tomatoes are turning color, a sure sign that the harvest season is upon us. Once summer vegetables begin maturing, they continue at a rapid pace, often too rapidly. Many home gardeners simply plant more than they can eat fresh, with much going to waste. It can be overwhelming. Of course, preserving food by canning or freezing is an option, but sharing one’s vegetable garden abundance is another alternative that has the added benefit of feeding the community.
Share Vegetables with Neighbors
Sharing tomatoes has become a neighborhood tradition in my community.
Prolific tomatoes, beans, zucchini, summer squash, and cucumbers are always welcomed by neighbors that don’t garden. In my neighborhood, sharing the fruits and vegetables of the summer season is a common practice, and it has proved to be a wonderful way for neighbors to connect. Once the tomato season starts, I do not think that anyone around us needs to buy a tomato from the store. And, it is fun to listen to neighbors conversing with each other about their favorite tomato.
If you are not sure who to give your veggies to in your neighborhood, try placing a vegetable sharing stand in front of your home. Once your community finds you have fresh veggies to share, they will check your stand regularly, and your vegetables will naturally reach the hands of appreciative takers.
Share Vegetables with Food Banks
Food banks are always willing to take extra fresh produce. (Image by Jessie Keith)
Fresh produce is expensive, which is why many communities offer other options for sharing garden abundance. For example, local food banks always need fresh produce. (Click here to find your closest local food bank.) Many other community service organizations also operate food-sharing services, which may be in closer proximity than a food bank. Local towns and cities often have drop-off places where fresh produce can be deposited, and some garden centers have specific days when they will accept produce.
There are even non-profit organizations geared towards helping home gardeners share their harvest with the hungry. Ample Harvest is a non-profit that helps home gardeners find local produce-sharing outlets, and Feeding America has a Produce Donation Portal that let’s produce donors connect with Feeding America network members.
If you are personally going to deliver to a food bank, it presents a wonderful teaching opportunity for young people. Children need to realize that not everyone has the benefit of having fresh fruits and vegetables in their diet every day. By taking vegetables from their garden and then delivering them to a food bank, children learn the benefits of both sharing and caring. Too often in our world today we are not really connected physically with others, especially those in need. Delivering produce to a food drop off center where people are present will provide a lasting impression.
Plant a Row for the Hungry
Gardeners can even start the season with the intention to share their produce with others! In 1955, The Association of Garden Communicators (GWA), began a program called Plant A Row for the Hungry (PAR). It encourages gardeners to plant an extra row of produce to donate to local food banks, soup kitchens, or other service organizations that might welcome fresh produce. Since its founding, the PAR campaign has donated over 20 million pounds of produce to those in need. There is no government subsidy, no red tape, just people helping people.
Gardening organizations and companies are also encouraged to get involved. Sun Gro Horticulture, the makers of Black Gold, have supported Plant a Row for the Hungry for years by providing donations of row markers, media, and
A happy tomato in the Sun Gro PAR vegetable garden.
other fundraising materials to other PAR gardens. The company has even maintained its own PAR garden at its headquarters in Agawam, MA for the past 17 years. In fact, in their best year they weighed in nearly 450 pounds of fresh produce, thanks to the high performance of Black Gold products! (Read the story of Sun Gro’s PAR garden here.)
With all of the resources that we have in this country, there is no excuse for a child, or anyone, to be deprived of an adequate meal with fresh food. One way to help is by sharing the wealth of your own home garden. Whether you give to your neighbors or to the larger community, you can make a difference in someone’s life by giving fresh, healthy produce.
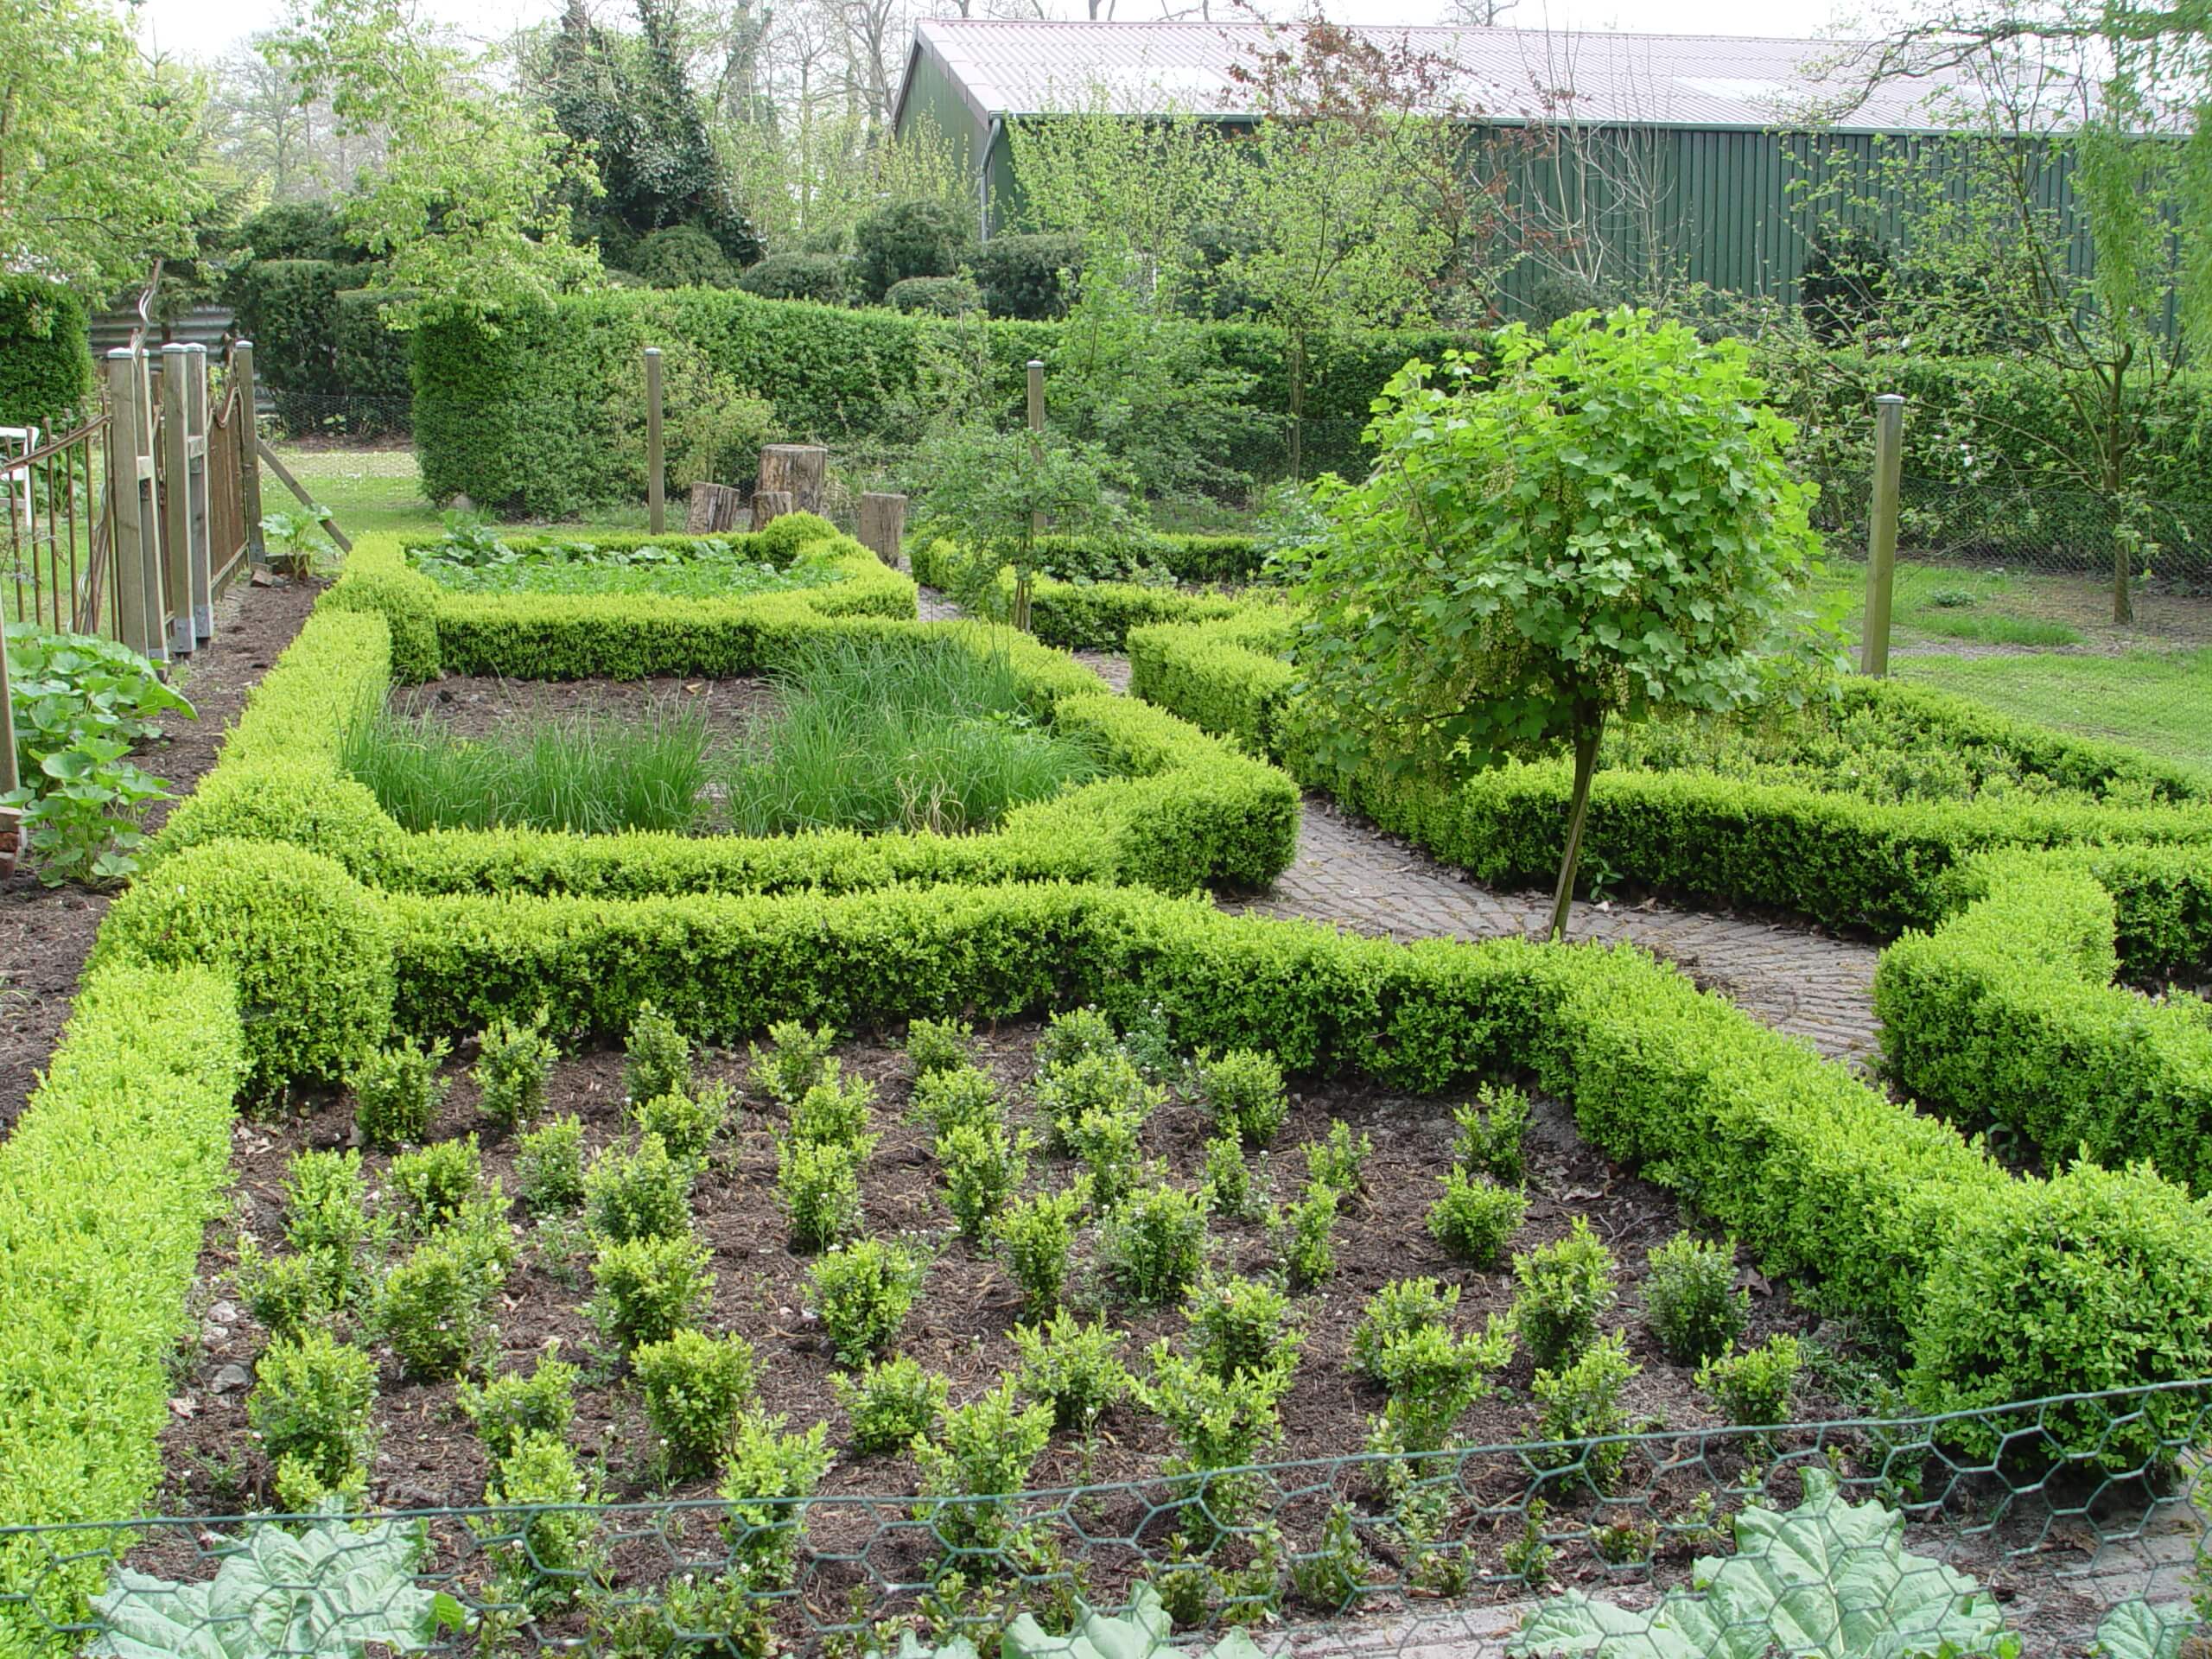
The grand French Chateau de Villandry Ornamental Parterre Garden is in the foreground with the Ornamental Kitchen Garden in the background. (Image by Maureen Gilmer)
As with most things French, even vegetable gardens can be decidedly beautiful. What makes them so special are parterre potagers, a practice of creating symmetrical, geometric patterns with beds of vegetables of different colors and textures. Within the geometric beds, which are often lined with trimmed boxwood, rosemary, or santolina hedges, are planted many different food crops over the season, sometimes formal, sometimes country casual. What they all share, however, is the highly geometric layouts and the diversity of plants grown there.
Grand Parterres
The vegetable beds at Villandry are edged in boxwood and filled with colorful edibles. (Image by Maureen Gilmer)
Parterres were originally created using clipped hedges and colorful ornamentals placed in grand designs for the French Aristocracy. They were to be appreciated from the high windows of a palace or chateau, such as the famous Chateau de Villandry built in the Loire Valley during the Renaissance. Patterns can be as simple as repeating squares and rectangles or consist of intricate designs, such as repeating Fleur de Lis, knotwork, and starbursts. The designs were created on a large scale, but their clean geometry also made them adaptable on a smaller scale with more functional plants.
Potager Parterres
The potager parterre doubles as both a kitchen garden and appealing ornamental garden and fits nicely into small spaces. Raised edging can create the same impact as low hedges without additional maintenance. This makes it easier to create a unique look with symmetrically designed beds delineated by edging and gravel walkways.
Simple, contemporary edging and gravel combine to create a French-inspired herb and vegetable parterre. (Image by Maureen Gilmer)
What makes the French garden so fun is that it’s rich in herbs as well as vegetables and other plants that contribute to the famous cuisine. Some may be perennial, such as lavender, rosemary, and thyme, while most others are annual vegetables of all kinds. Often the annuals are cycled in and out of the same ground, as the cool and warm seasons pass. In the South of France, where conditions are warmer, these hard-working gardens are packed with heavy feeding veggies most of the year. Unfortunately, many of these gardens experience a nutrient decline over time unless the soils are routinely fed with quality soil amendments and added fertilizer.
Amending Parterre Soil
When native soil is worn out and the microbial content depleted, it’s best to err on the side of overdoing it. It is rare to experience ill effects caused by too much compost, because it’s quickly consumed by soil microbes, in a healthy organic environment. The more the microbes feed, the more amendments you need to keep their numbers high for consistent soil fertility year in and year out.
Black Gold Garden Compost Blend is superb food for microbes.
The best choice for in-ground parterres is OMRI Listed® Black Gold Garden Compost Blend, which is superb food for microbes. Compost can be added to natural soil in spring and fall. Turn your earth gently with a fork and blend in the compost at least 6-inches deep before planting. This ensures there will be plentiful organic matter for crops to do their best.
For additional grow power and added nitrogen, amend with OMRI Listed® Black Gold Earthworm Castings Blend. At planting time, work a handful of castings into each planting hole to ensure the roots will encounter a boost of natural nitrogen and micro-nutrients derived from the earthworm’s diet.
For parterres with hedge edges, mulch them with the leftover compost and worm castings to keep them healthy, green, and beautiful. Just leave a 3″ ring of open ground around the base of the hedges to let their trunks breathe.
Petite parterres are a great way to create a formal look or one that’s rooted in history. They can be planted with vegetables, or flowers, or both. That’s what makes this garden style so inspiring. One can grow good food while never sacrificing great design.
This mid-sized parterre is a good solution for a functional backyard landscape. (Image by Maureen Gilmer)
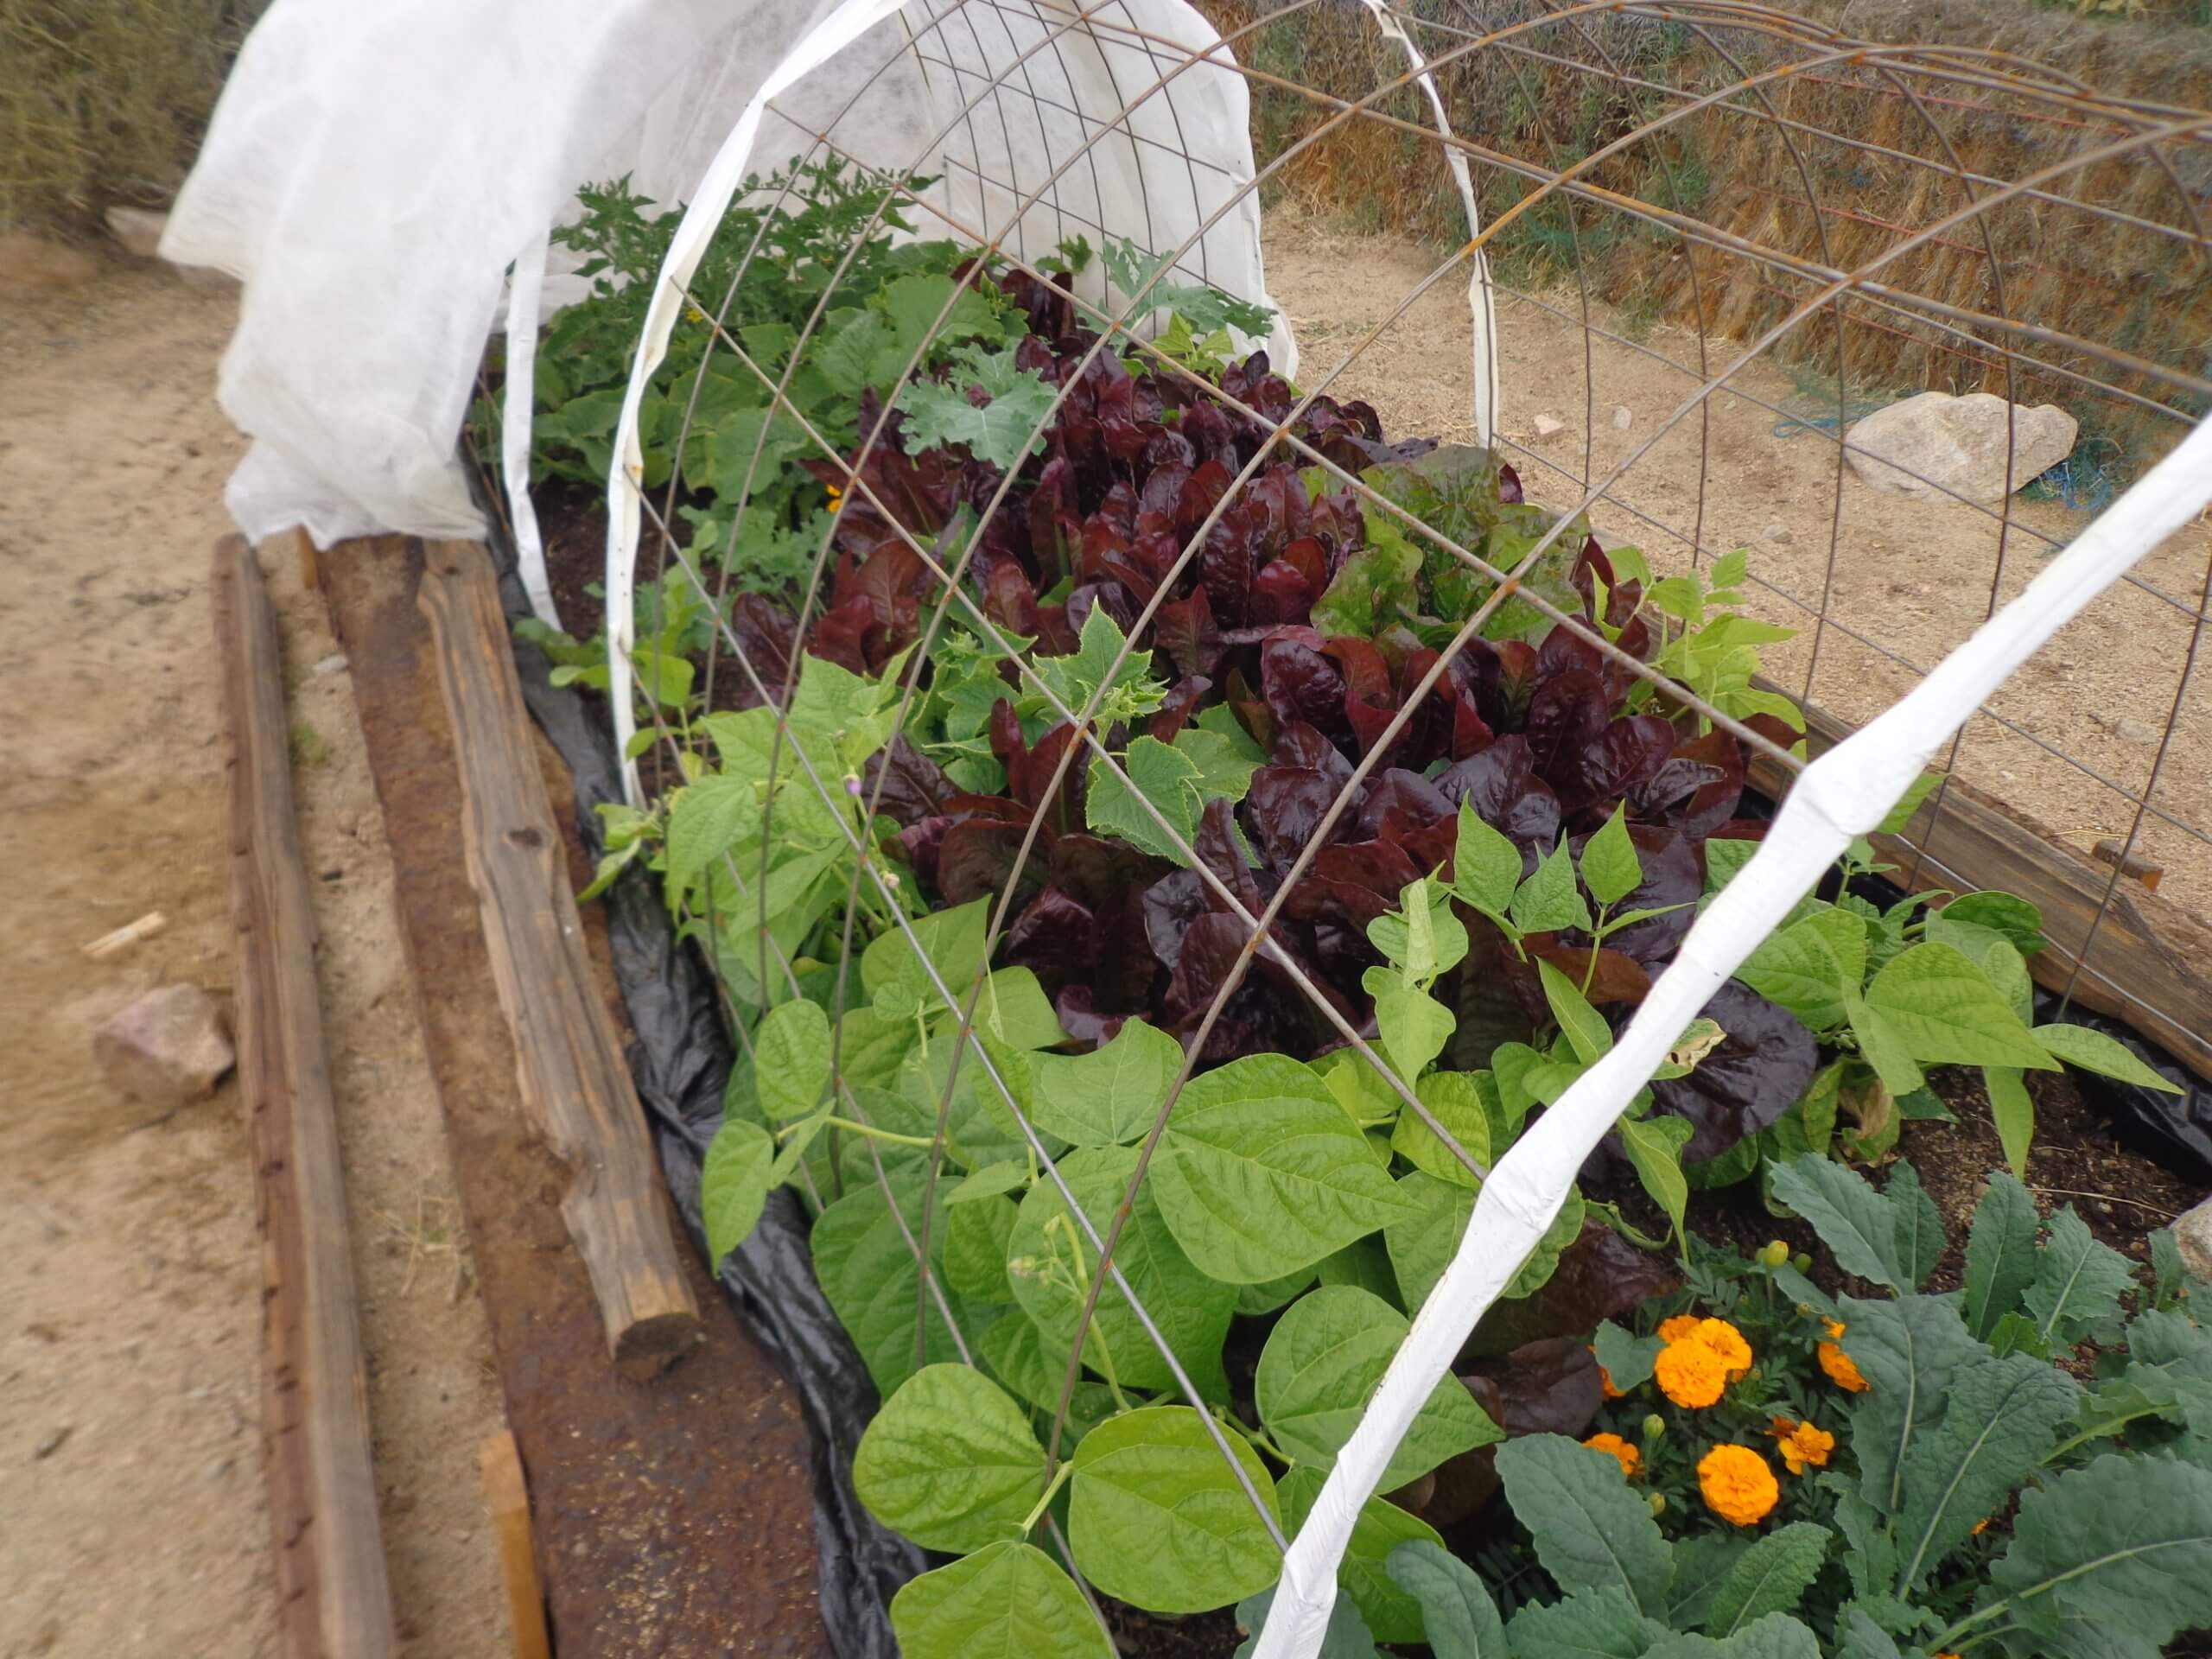
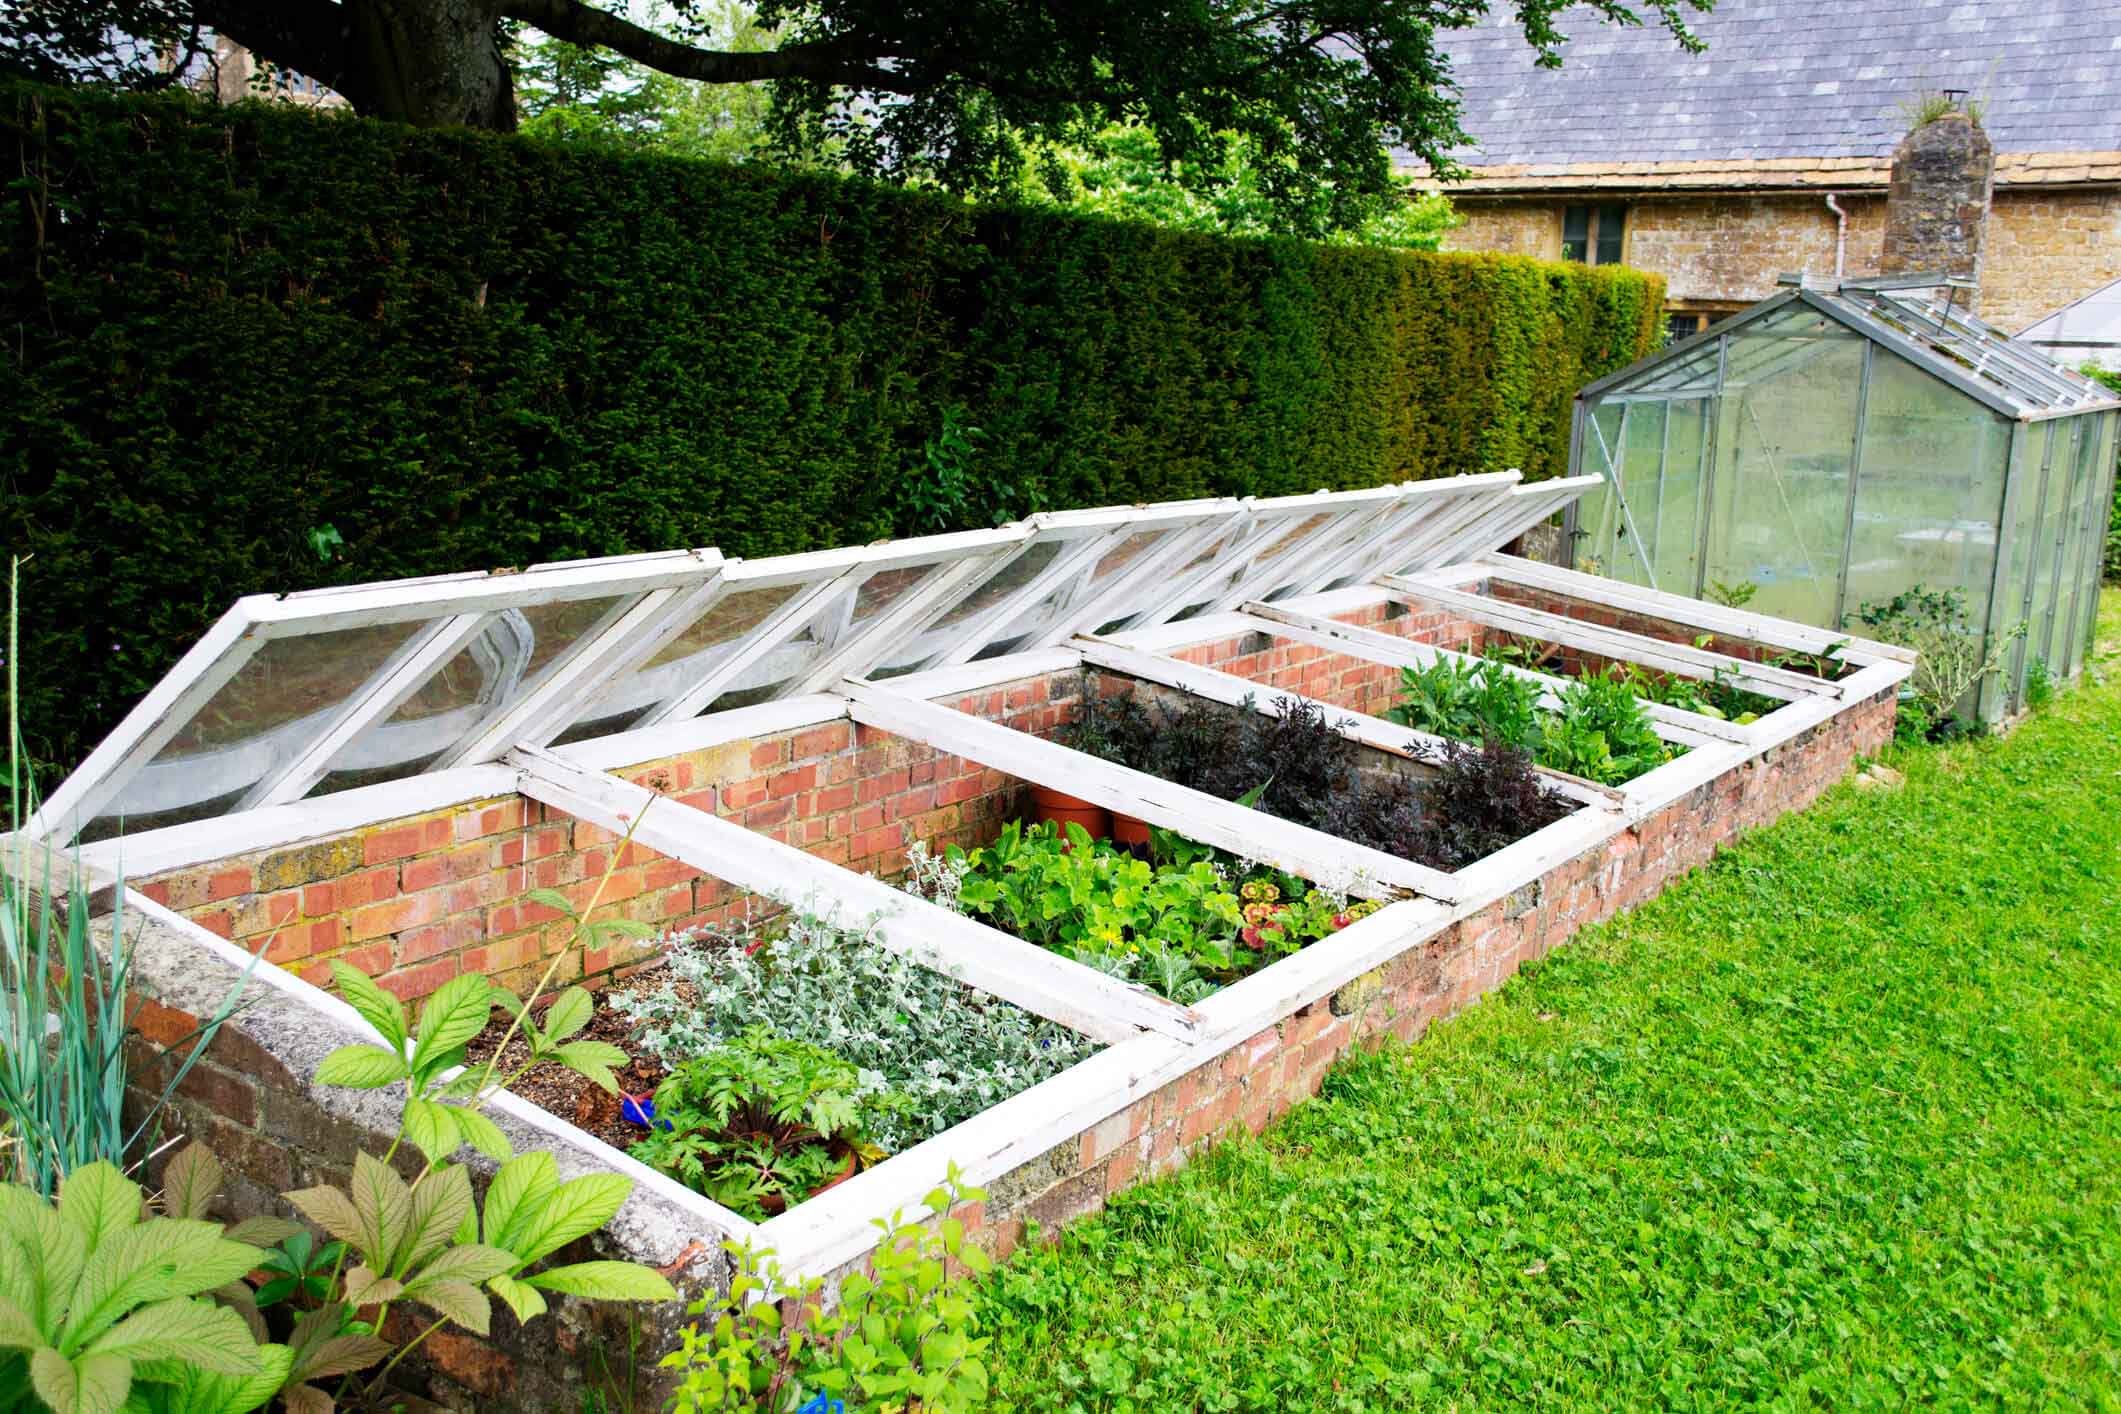
Raised-bed hoops and row covers can help you protect crops from harsh growing conditions and winter cold.
Second gardens are always better than first gardens. When those first gardens were your raised beds, then maybe it’s time to raise the bar. Bigger, better, and more prolific are garden characteristics that all gardeners want, so perhaps it’s time to rehab and expand in preparation for next year’s summer garden.
So many raised beds were at first experimental or created with the kids as a family project without long-term planning and smart design. That’s why they often don’t last as long as they should. Earth-to-wood contact (something forbidden in house building) introduces wood rot and invites pests, such as termites. You need to know what you are doing to get more life from your raised bed.
Choosing the Best Raised Bed Building Materials
Redwood ties are naturally rot resistant and great for raised bed building.
Early on, wooden railroad tie beds [read more about railroad tie beds] became popular and kept the rot problem at bay, but ties are made from heavily treated wood. They contain dangerous heavy metals and creosote, which can leach into the soil and be taken up by edible plants. Pressure treated wood has the same problem. It is treated with fungicides and other compounds to reduce rot that can leach into the soil.
Untreated woods are not all the same. Many break down fast, resulting in short-lived raised beds. If you want long-lasting beds, avoid soft or rustic reclaimed woods certain to rot quickly. Instead, choose long-lasting red cedar or redwood. Both decompose slowly and are the most recommended for beautiful frames that resist rot. Trex, and other polymer/wood alternatives, also last forever and look great. All of the rot-resistant options are initially more expensive but worth it if you plan to garden for years.
Rehabbing Your Raised Bed
Just Coir creates a good organic base layer for raised bed gardens.
If you already have raised beds made with fast-to-decompose wood, you may already be experiencing the unfortunate and very common results. They are rotting, bowing, or breaking open at the seams due to decomposing edges weakened by the weight of soil, plants, and mulch. This means it is either time to rebuild or refurbish the frames.
Moreover, if you have had your beds for a while, the soil will be low and in need of replacement. Like all garden beds, soil volume falls as microbes consume the fine humus, and nutrients are depleted by garden plants. Poor garden soil will produce poor garden plants.
Fall is the best time to replenish raised bed soil and fix repairs. Take advantage of the fabulous fall weather to replace all rotting or bowing boards or edges, and revive sad, tired soil. Here’s the five-step process in a nutshell:
Remove existing soil, if it’s degraded to mostly woody matter and perlite. Stockpile the old soil material for future use as summer mulch, or layer it into the compost heap.
Inspect the newly exposed sidewalls by stabbing questionable spots with a screwdriver. If the metal penetrates the wood, then there’s rot, and they need to be replaced. Also, check and reinforce loose corners.
Make repairs to sidewalls using Trex or long-lasting, untreated wood boards. Consider adding more height if you would like to grow plants with deeper root systems. Not only should you use strong, quality wood, but investing in heavy hardware will add to the longevity of your beds. Choose heavy wood screws tightened with an electric screwdriver to keep beds from loosening with the seasonal shrink and swell of the wood.
Replace the soil in stages. Black Gold Just Coir creates a 100% organic matter barrier that holds water and repels root-knot nematodes. The heart of the raised bed should contain a rich mix of local topsoil amended with Black Gold Garden Compost Blend and a soilless potting mix, such as Black Gold Natural and Organic Potting Soil. The combination depends on the quality of your local soil; great topsoil requires fewer amendments. In general, an even mix of 2 parts topsoil to 1 part compost and 1 part soilless potting mix will yield great results. If drought is a problem in your area, adding a mulching layer of Black Gold Just Coir or Garden Compost Blend will reduce surface water loss.
Add an all-purpose fertilizer, at the manufacturer’s prescribed application, to help drive explosive growth.
Irrigate and Sow
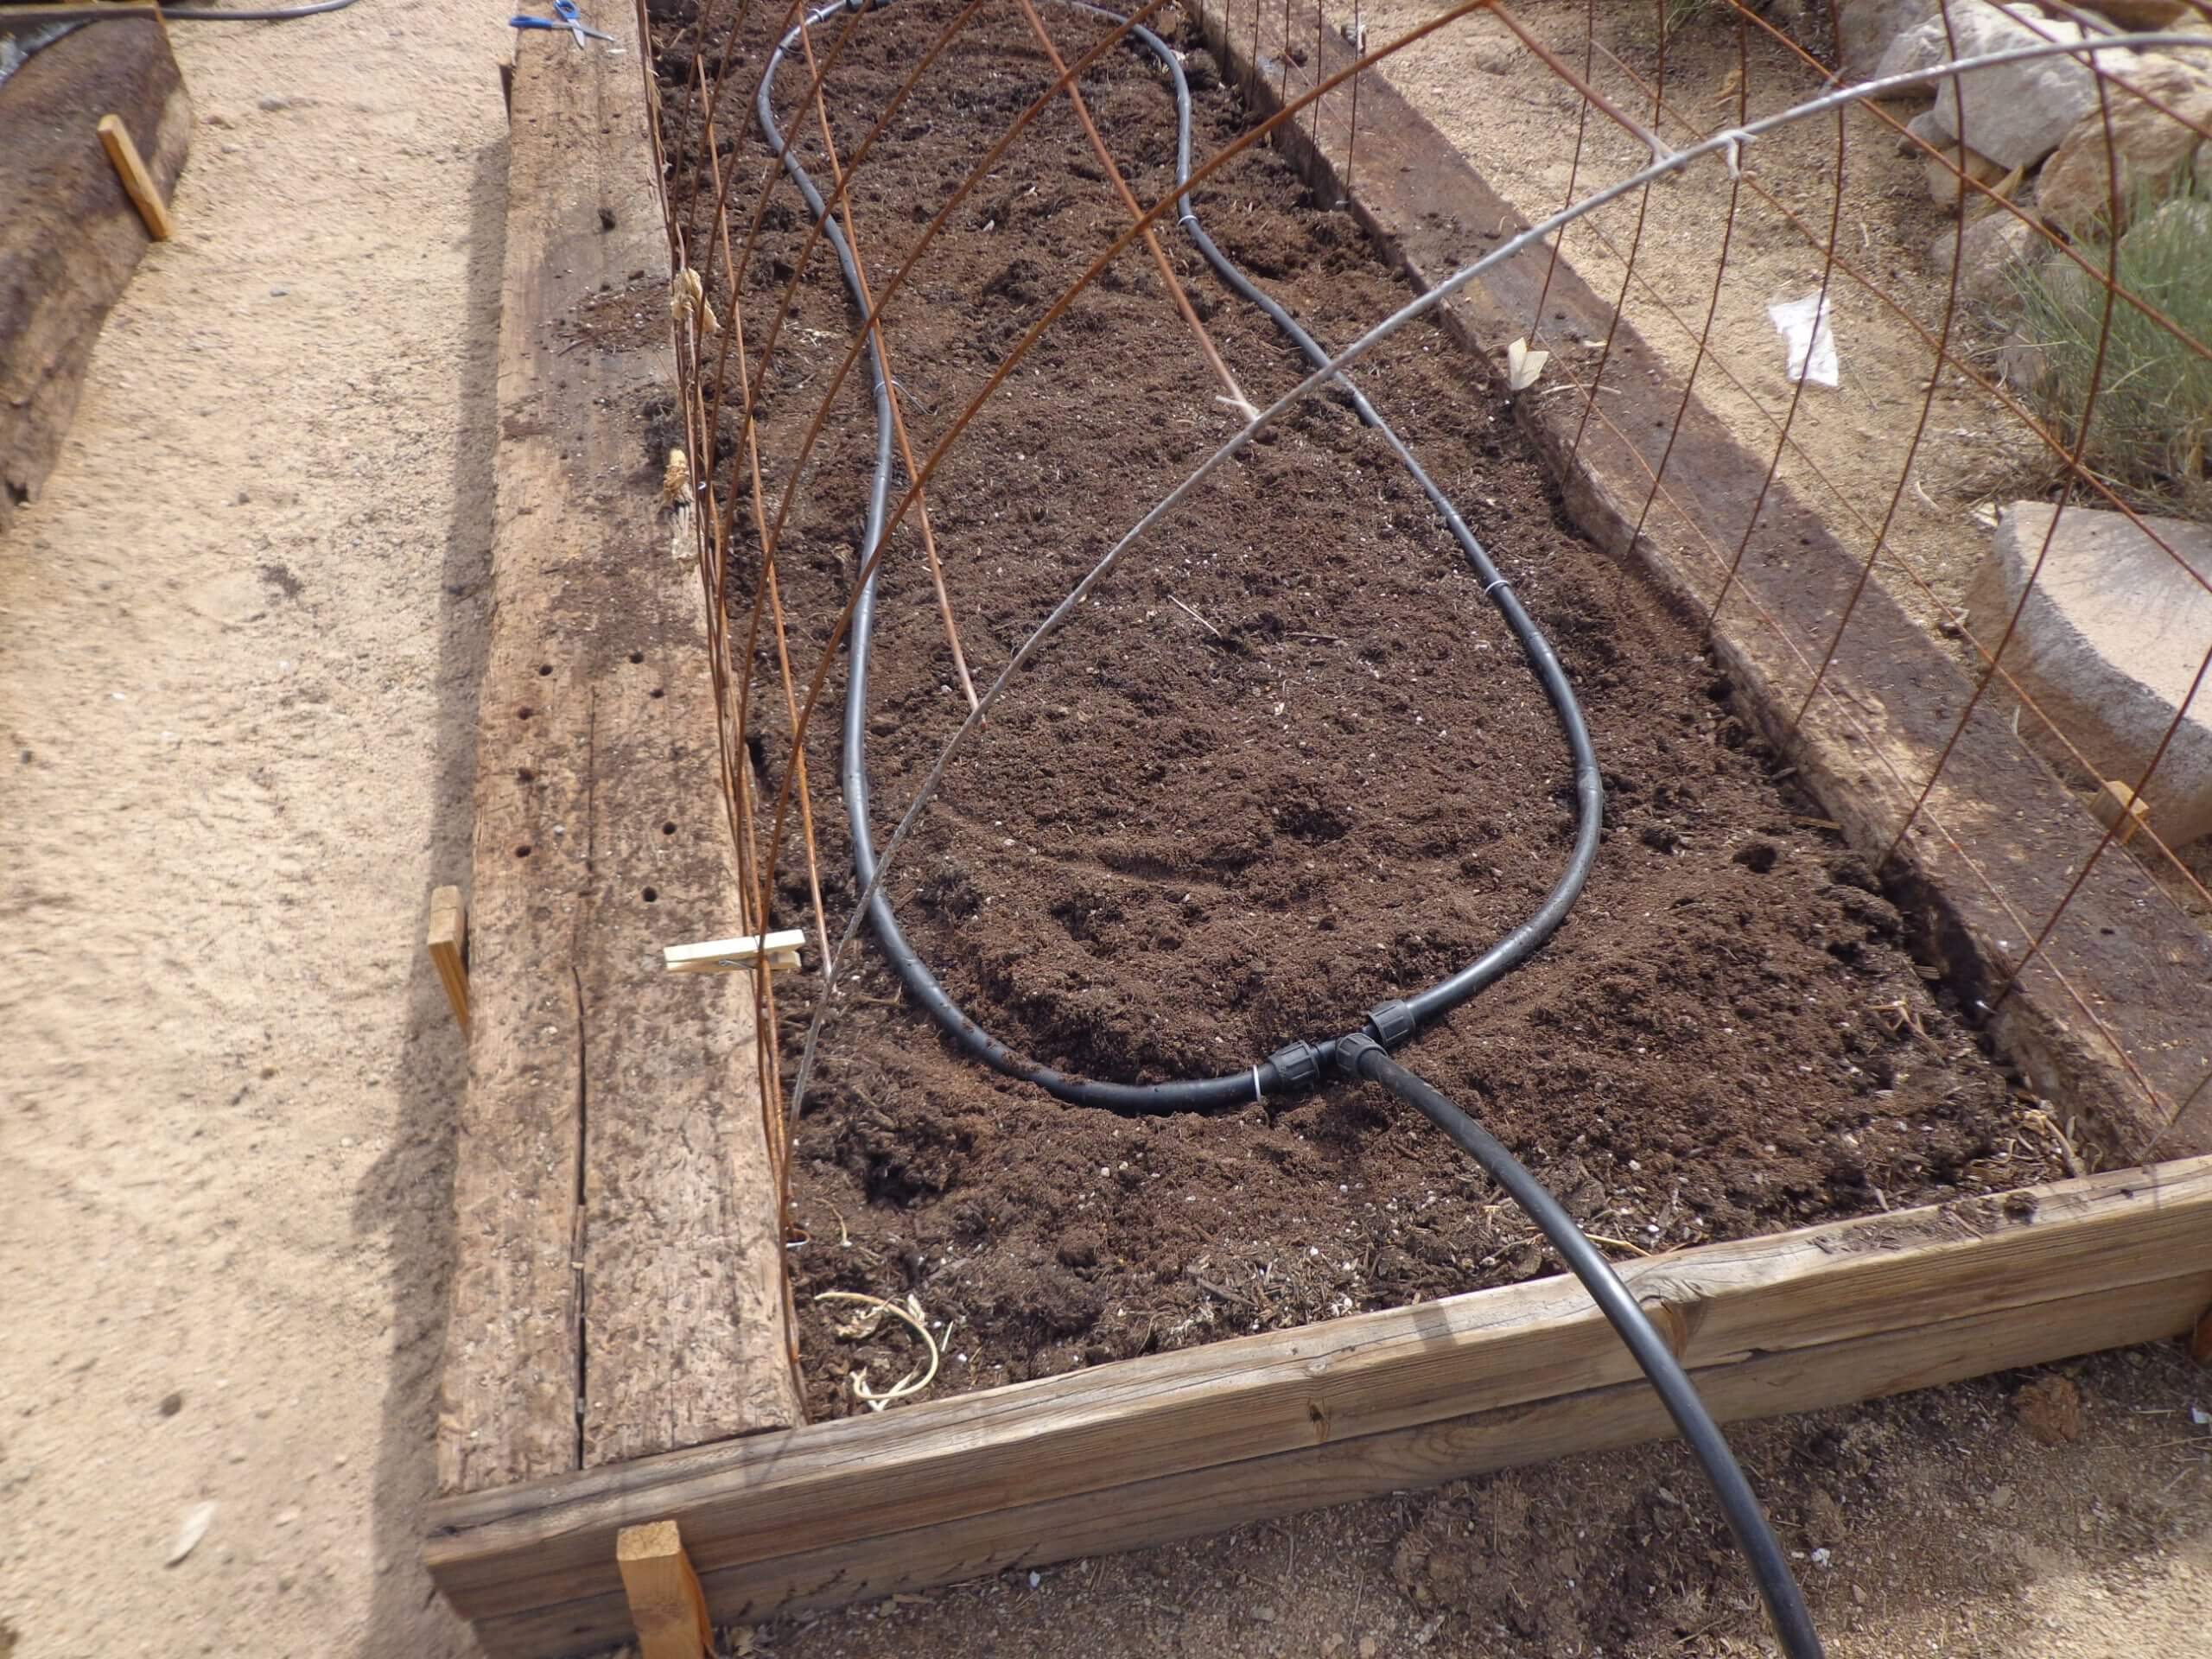
Inline drip tubing that invisibly waters your garden without ugly surface tubes and emitters.
Gently water your raised beds to allow them to settle and marry over the winter months. If you don’t already have it, drip irrigation is highly recommended for effortless raised bed gardening. Try soaker hoses or buried underground inline drip tubing that invisibly waters your garden without ugly surface tubes and emitters. If you want to expand next year, put in a new bed close to the old one and share the irrigation.
While watering your rehabbed raised beds, throw in some seeds for beets, radishes, turnips, and other root crops that germinate at temps down to 40 degrees F. The addition of row covers will protect cool-season crops well into winter. Harvest the leaves, eat the sweet roots, and enjoy long winter yields as your refreshed raised beds do all of the work for you.
Cut-and-come-again lettuce is the perfect cool-season crop for fall and winter gardens.
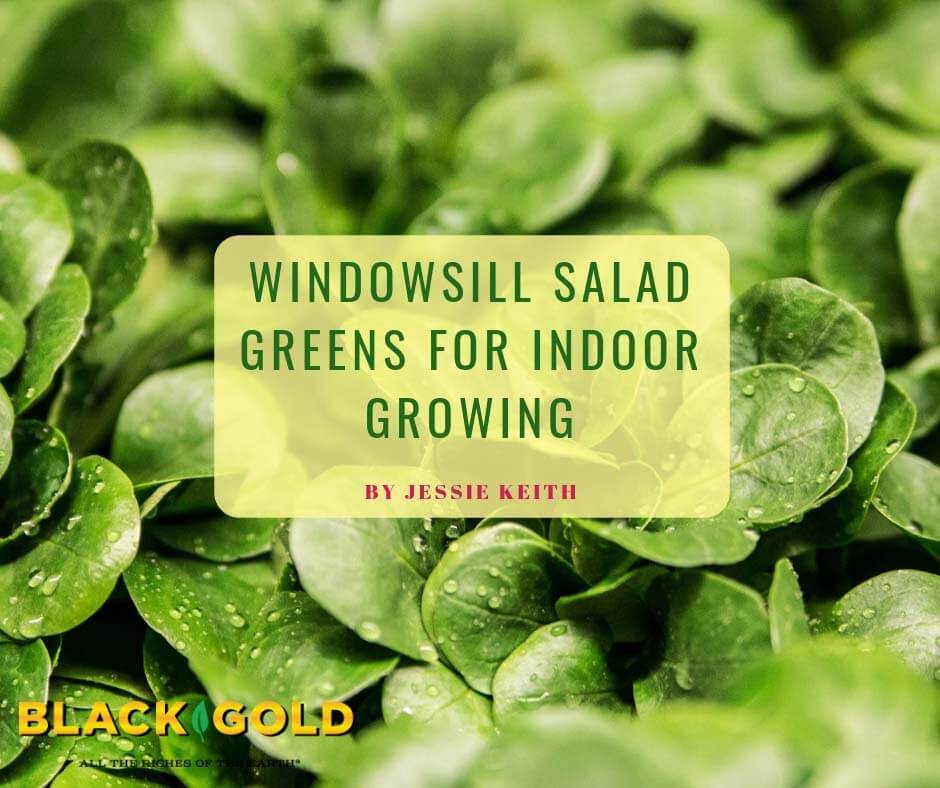
Windowsill greens, such as small lettuces and micro-greens, are fast-growing and gratifying. Growing them indoors is a piece of cake, as long as you have good sunlight, quality soil, the right watering regime, and some gardening know-how. Start with the right greens, master some of the cultural basics, and you’ll be eating fresh salad through even the coldest winter months.
Growing Windowsill Greens
Planter troughs or window boxes can be purchased in a variety of sizes and are best for growing windowsill greens. Adequate pot and soil drainage is a must for success. Black Gold Natural & Organic Potting Mix is a great mix choice. It provides superior moisture retention, excellent drainage, and is specially formulated with a controlled release fertilizer that feeds plants for up to six months. Just be sure to fill the pot to a depth that allows at least 2” of headspace at the top for watering and planting.
Planters should be placed in as sunny a location as possible. Supplemental light can be provided with the use of broad-spectrum grow lights, but natural light is best. When watering, provide just enough water to wet the soil—allowing the mix to dry slightly between. Once plants are actively growing, the need for water will increase. Just be sure to avoid wet soil, which can rot roots and encourage soil-borne pests and pathogens, such as shore flies and fungus gnats. (Click here to learn how to rid pots of fungus gnats.)
Salanova Red Incised Leaf grows well in pots and is pretty in salads.
Seeds can be directly sown on the soil’s surface or seedlings planted. The seeds of many greens require light to germinate, so surface-sow seed for best results. This means gently sowing the seeds along the soil’s surface and keeping them lightly moist. Once they have germinated, thin seedlings to around 2 to 3 inches apart. This is a little closer than outdoor-grown greens, but denser plantings yield more greens indoors.
Finally, be sure you choose the right crops for indoor growing. Here is a sampling of the types of salad greens you might consider:
Micro Lettuce
Mixed Salanova baby lettuces (55 days from seed) are a great, fast choice for indoor growers. They form dense, small heads that are sweet and crunchy. The mix offers a variety of purple- and green-leaved selections. Baby Leaf Mix is another great choice. Rather than heads, this mix offers cut-and-come-again looseleaf lettuces that produce edible greens in just 28-35 days from seed.
‘Red Russian’ is a lovely kale that can be harvested young and grown indoors. (Photo care of Johnny’s Selected Seeds)
Baby Kale
Looseleaf kales germinate fast, grow quickly, and can be clipped back regularly for home salads. There are several varieties to choose from—‘Red Russian’ and ‘Toscano’ being two of the best. Both are mild and produce edible leaves in just a few short weeks.
Baby Chard
Just about any chard can be grown inside. All are tender and can be harvested young. Most growers opt for colorful varieties because they are high in antioxidants and look pretty in salads. Bright Lights Mix and ‘Ruby Red’ are two festive chards that always taste great when young.
Mizuna
One of the fastest greens for growing is mizuna. Popular in Japanese cooking, its tasty leaves have a mild, spicy flavor and look feathery and pretty in salads. Purple mizuna is a popular choice that will begin to produce edible leaves in just 21 days.
Mustard Greens
The easy-to-grow micro mustard green ‘Green Wave’ is so easy and delicious that you will wonder why you didn’t start growing your own greens sooner. It produces harvestable microgreens just two weeks after germination. Grow plants a little longer to harvest larger leaves.
These are just a few of many salad greens for indoor growing. Gardeners new to indoor growing may want to try one or two greens, like lettuce and kale, before experimenting with other types. One good success will get you hooked.
Cut-and-come-again lettuce is the perfect cool-season crop for fall and winter gardens.
Windowsill greens, such as small lettuces and micro-greens, are fast-growing and gratifying. Growing them indoors is a piece of cake, as long as you have good sunlight, quality soil, the right watering regime, and some gardening know-how. Start with the right greens, master some of the cultural basics, and you’ll be eating fresh salad through even the coldest winter months.
Growing Windowsill Greens
Planter troughs or window boxes can be purchased in a variety of sizes and are best for growing windowsill greens. Adequate pot and soil drainage is a must for success. Black Gold Natural & Organic Potting Mix is a great mix choice. It provides superior moisture retention, excellent drainage, and is specially formulated with a controlled release fertilizer that feeds plants for up to six months. Just be sure to fill the pot to a depth that allows at least 2” of headspace at the top for watering and planting.
Planters should be placed in as sunny a location as possible. Supplemental light can be provided with the use of broad-spectrum grow lights, but natural light is best. When watering, provide just enough water to wet the soil—allowing the mix to dry slightly between. Once plants are actively growing, the need for water will increase. Just be sure to avoid wet soil, which can rot roots and encourage soil-borne pests and pathogens, such as shore flies and fungus gnats. (Click here to learn how to rid pots of fungus gnats.)
Salanova Red Incised Leaf grows well in pots and is pretty in salads.
Seeds can be directly sown on the soil’s surface or seedlings planted. The seeds of many greens require light to germinate, so surface-sow seed for best results. This means gently sowing the seeds along the soil’s surface and keeping them lightly moist. Once they have germinated, thin seedlings to around 2 to 3 inches apart. This is a little closer than outdoor-grown greens, but denser plantings yield more greens indoors.
Finally, be sure you choose the right crops for indoor growing. Here is a sampling of the types of salad greens you might consider:
Micro Lettuce
Mixed Salanova baby lettuces (55 days from seed) are a great, fast choice for indoor growers. They form dense, small heads that are sweet and crunchy. The mix offers a variety of purple- and green-leaved selections. Baby Leaf Mix is another great choice. Rather than heads, this mix offers cut-and-come-again looseleaf lettuces that produce edible greens in just 28-35 days from seed.
‘Red Russian’ is a lovely kale that can be harvested young and grown indoors. (Photo care of Johnny’s Selected Seeds)
Baby Kale
Looseleaf kales germinate fast, grow quickly, and can be clipped back regularly for home salads. There are several varieties to choose from—‘Red Russian’ and ‘Toscano’ being two of the best. Both are mild and produce edible leaves in just a few short weeks.
Baby Chard
Just about any chard can be grown inside. All are tender and can be harvested young. Most growers opt for colorful varieties because they are high in antioxidants and look pretty in salads. Bright Lights Mix and ‘Ruby Red’ are two festive chards that always taste great when young.
Mizuna
One of the fastest greens for growing is mizuna. Popular in Japanese cooking, its tasty leaves have a mild, spicy flavor and look feathery and pretty in salads. Purple mizuna is a popular choice that will begin to produce edible leaves in just 21 days.
Mustard Greens
The easy-to-grow micro mustard green ‘Green Wave’ is so easy and delicious that you will wonder why you didn’t start growing your own greens sooner. It produces harvestable microgreens just two weeks after germination. Grow plants a little longer to harvest larger leaves.
These are just a few of many salad greens for indoor growing. Gardeners new to indoor growing may want to try one or two greens, like lettuce and kale, before experimenting with other types. One good success will get you hooked.
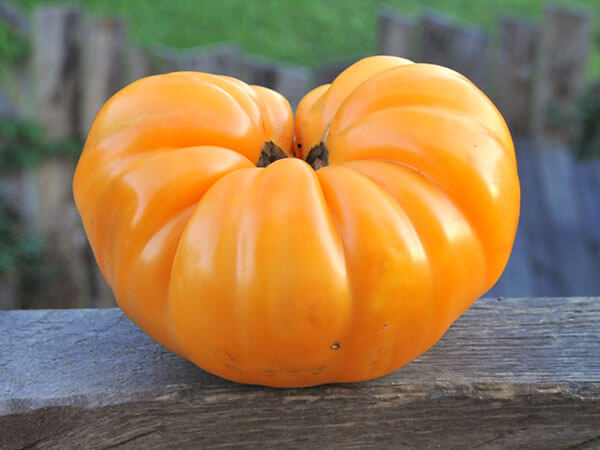
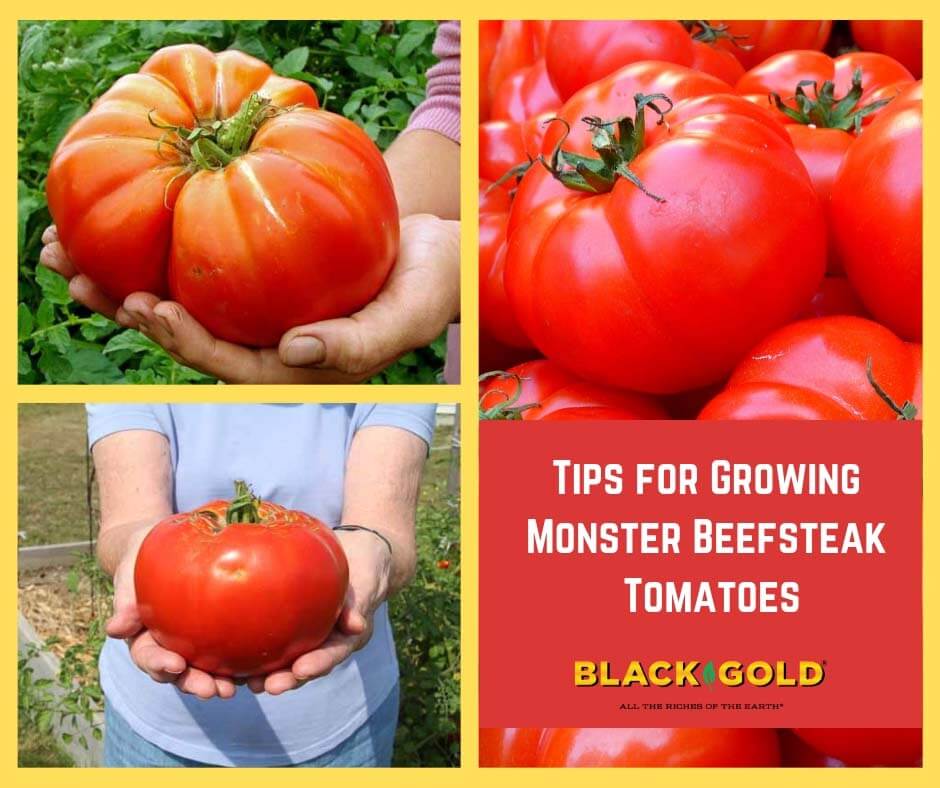
‘Janet’s Jacinthe Jewel’ is an exceptional and unusual large beefsteak offered by Baker Creek Heirloom Seeds. (Image care of Baker Creek Heirloom Seeds)
The bigger the better! This statement rings true with tomato breeders and heirloom collectors seeking to find bigger and better monster beefsteak tomatoes that don’t shirk on taste, productivity, or disease resistance. For many summer gardeners, nothing tastes better than the simple pleasure of a sweet beefsteak tomato slice drizzled with olive oil and balsamic and sprinkled with a touch of salt and pepper, and bigger just means more.
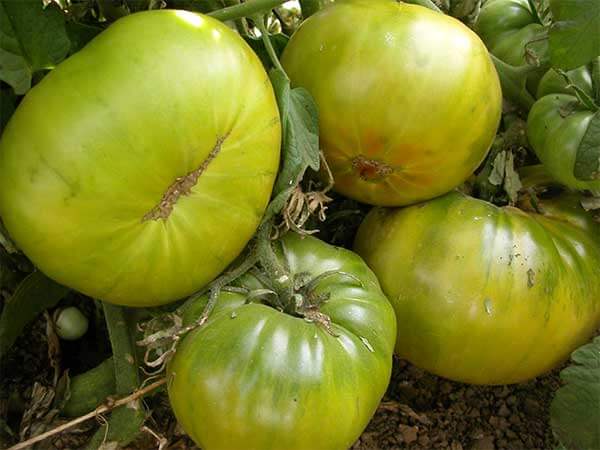
Beefsteak tomatoes are extra-large slicers that can reach a pound or more. There are a lot more to these tomato giants than reliable standards like ‘Big Beef’ and ‘Beefmaster’ grown by our parents and grandparents, as good as these varieties may be. Innovation and discovery have brought us a wealth of new beefsteaks fit for the garden. New variants come in novel and interesting colors, textures, and flavors desired by more discriminating gardeners and cooks.
Reds
The perfectly round fruits of ‘Mountain Fresh Plus’ are very large and tasty. (Image care of Johnny’s Selected Seeds)
Classic red tomatoes are the most sought after for their traditional looks and rich flavor. Like red wines, red and dark colored tomatoes tend to have the richest and robust flavor. With so many great red varieties to choose from, we chose some of our absolute favorites.
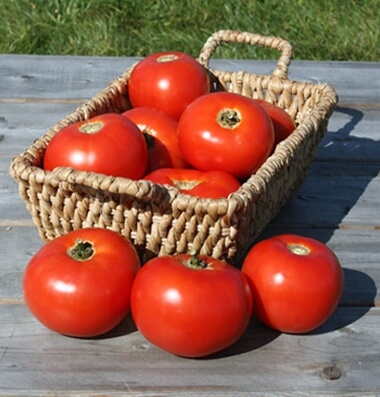
Said to be one of the largest beefsteak hybrids available, ‘Steakhouse Hybrid’ is a Burpee exclusive and has red, flavorful, lobed fruits that reach up to 3 pounds each. The indeterminate (vining) plants produce well through summer. Bred by New Jersey Gardener Minnie Zaccharia, ‘Big Zac Hybrid’ is another supergiant with flavorful red fruits known to reach up to 6 pounds each—almost enough for a whole pot of sauce! Another comparable big red with big flavor is ‘Italian Sweet’, a deep red Italian slicer with notably sweet fruits that average 3 pounds each. For flawless, disease-resistant beefsteak tomatoes with smooth red skin and great flavor choose ‘Mountain Fresh Plus’. Its fruits can reach 1.5 pounds and the plants are impressively resistant to fusarium and verticillium wilt as well as root-knot nematodes.
Pinks
The pretty pink ‘Dester’ bears loads of enormous fruits. (Image care of Seed Savers Exchange)
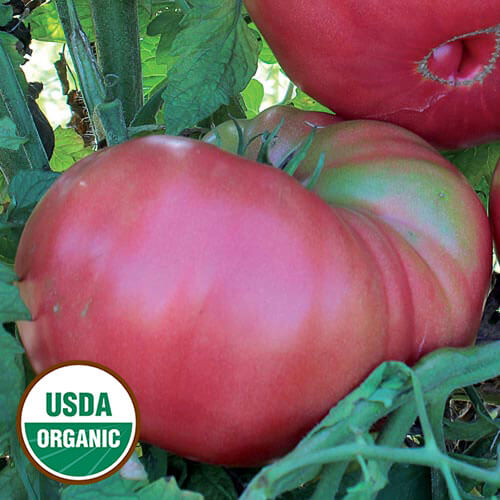
A number of pink tomatoes have robust flavor as well as good looks. Uniform in shape and with outstanding taste, ‘Mexico’ is a large beefsteak with dark pink skin that is also a high producer. Its fruits bear all season and consistently weigh around 1 pound each. Similarly, the pinkish purple ‘Boondocks’ bears 1 pound fruits with a good sugar to acid balance as does the truly pink ‘Dester’, which is very large, pretty and has an award-winning taste.
Oranges or Golds
The golden ‘Dr. Wyche’s Yellow’ has an exceptionally sweet flavor. (Image by Baker Creek Heirloom Seeds)
There are lots of gold, orange, and yellow beefsteak tomatoes, but many taste fairly bland or acidic. A few exceptions are huge and have a knock-your-socks-off taste.
Tangerine orange and weighing up to 2 pounds per tomato, ‘Kellogg’s Breakfast’ is a Michigan heirloom with very rich, sweet taste and dense flesh. The excellent quality of the fruit makes the moderate production of the vines worth the effort. Another American heirloom of comparable quality is ‘Kentucky Beefsteak’ with its equally brilliant orange fruits and super sweetness. As the name suggests, the meaty fruits of ‘Persimmon’ are the golden orange color of a ripe persimmon and beautifully round and uniform. One that’s a bit paler is color is the golden, sweet ‘Dr. Wyche’s Yellow’, which develops lots of 1 pounds fruits all season long.
Novelty Colors
The tangy fruits of ‘Aunt Ruby’s German Green’ are vivid green when ripe. (Image care of Baker Creek Heirloom Seeds)
Lots of notable, new, colorful, extra-large slicing tomatoes have hit the market. One of the prettiest and newest on the market is ‘Janet’s Jacinthe Jewel’, a real beauty with 1 pound fruits that have deep orange flesh and gold and green stripes. The classic, ‘Aunt Ruby’s German Green’ is a popular old heirloom with tangy fruits that mature to bright green and can exceed 1 pound each. Try ‘Cherokee Chocolate’ for its exceptionally large, dark chocolate purple fruits.
Planting Guidelines
There are several things you can do to ensure your slicing tomatoes produce their best all season long. Amend planting beds by digging and turning the soil deeply and adding rich Black Gold Garden Compost and a fitting tomato & vegetable fertilizer. Plant tomatoes around 4 feet apart and mulch with a 2- to 3-inch layer of compost. Young plants can be planted deep, but leaves should be gently removed from all stem parts that will be covered with soil. Fit indeterminate tomatoes with a sizable tomato cage right away to support vines and fruits as plants develop. Water daily on warm days in the absence of rain. Days to harvest vary, but plants usually begin to bear fruit 65 to 85 days after planting.
Choose at least one of these outstanding beefsteak tomatoes this season, for great fresh eating. Different colored slices look great on a plate and the prettier the fruits, the easier they are to share with friends and family.
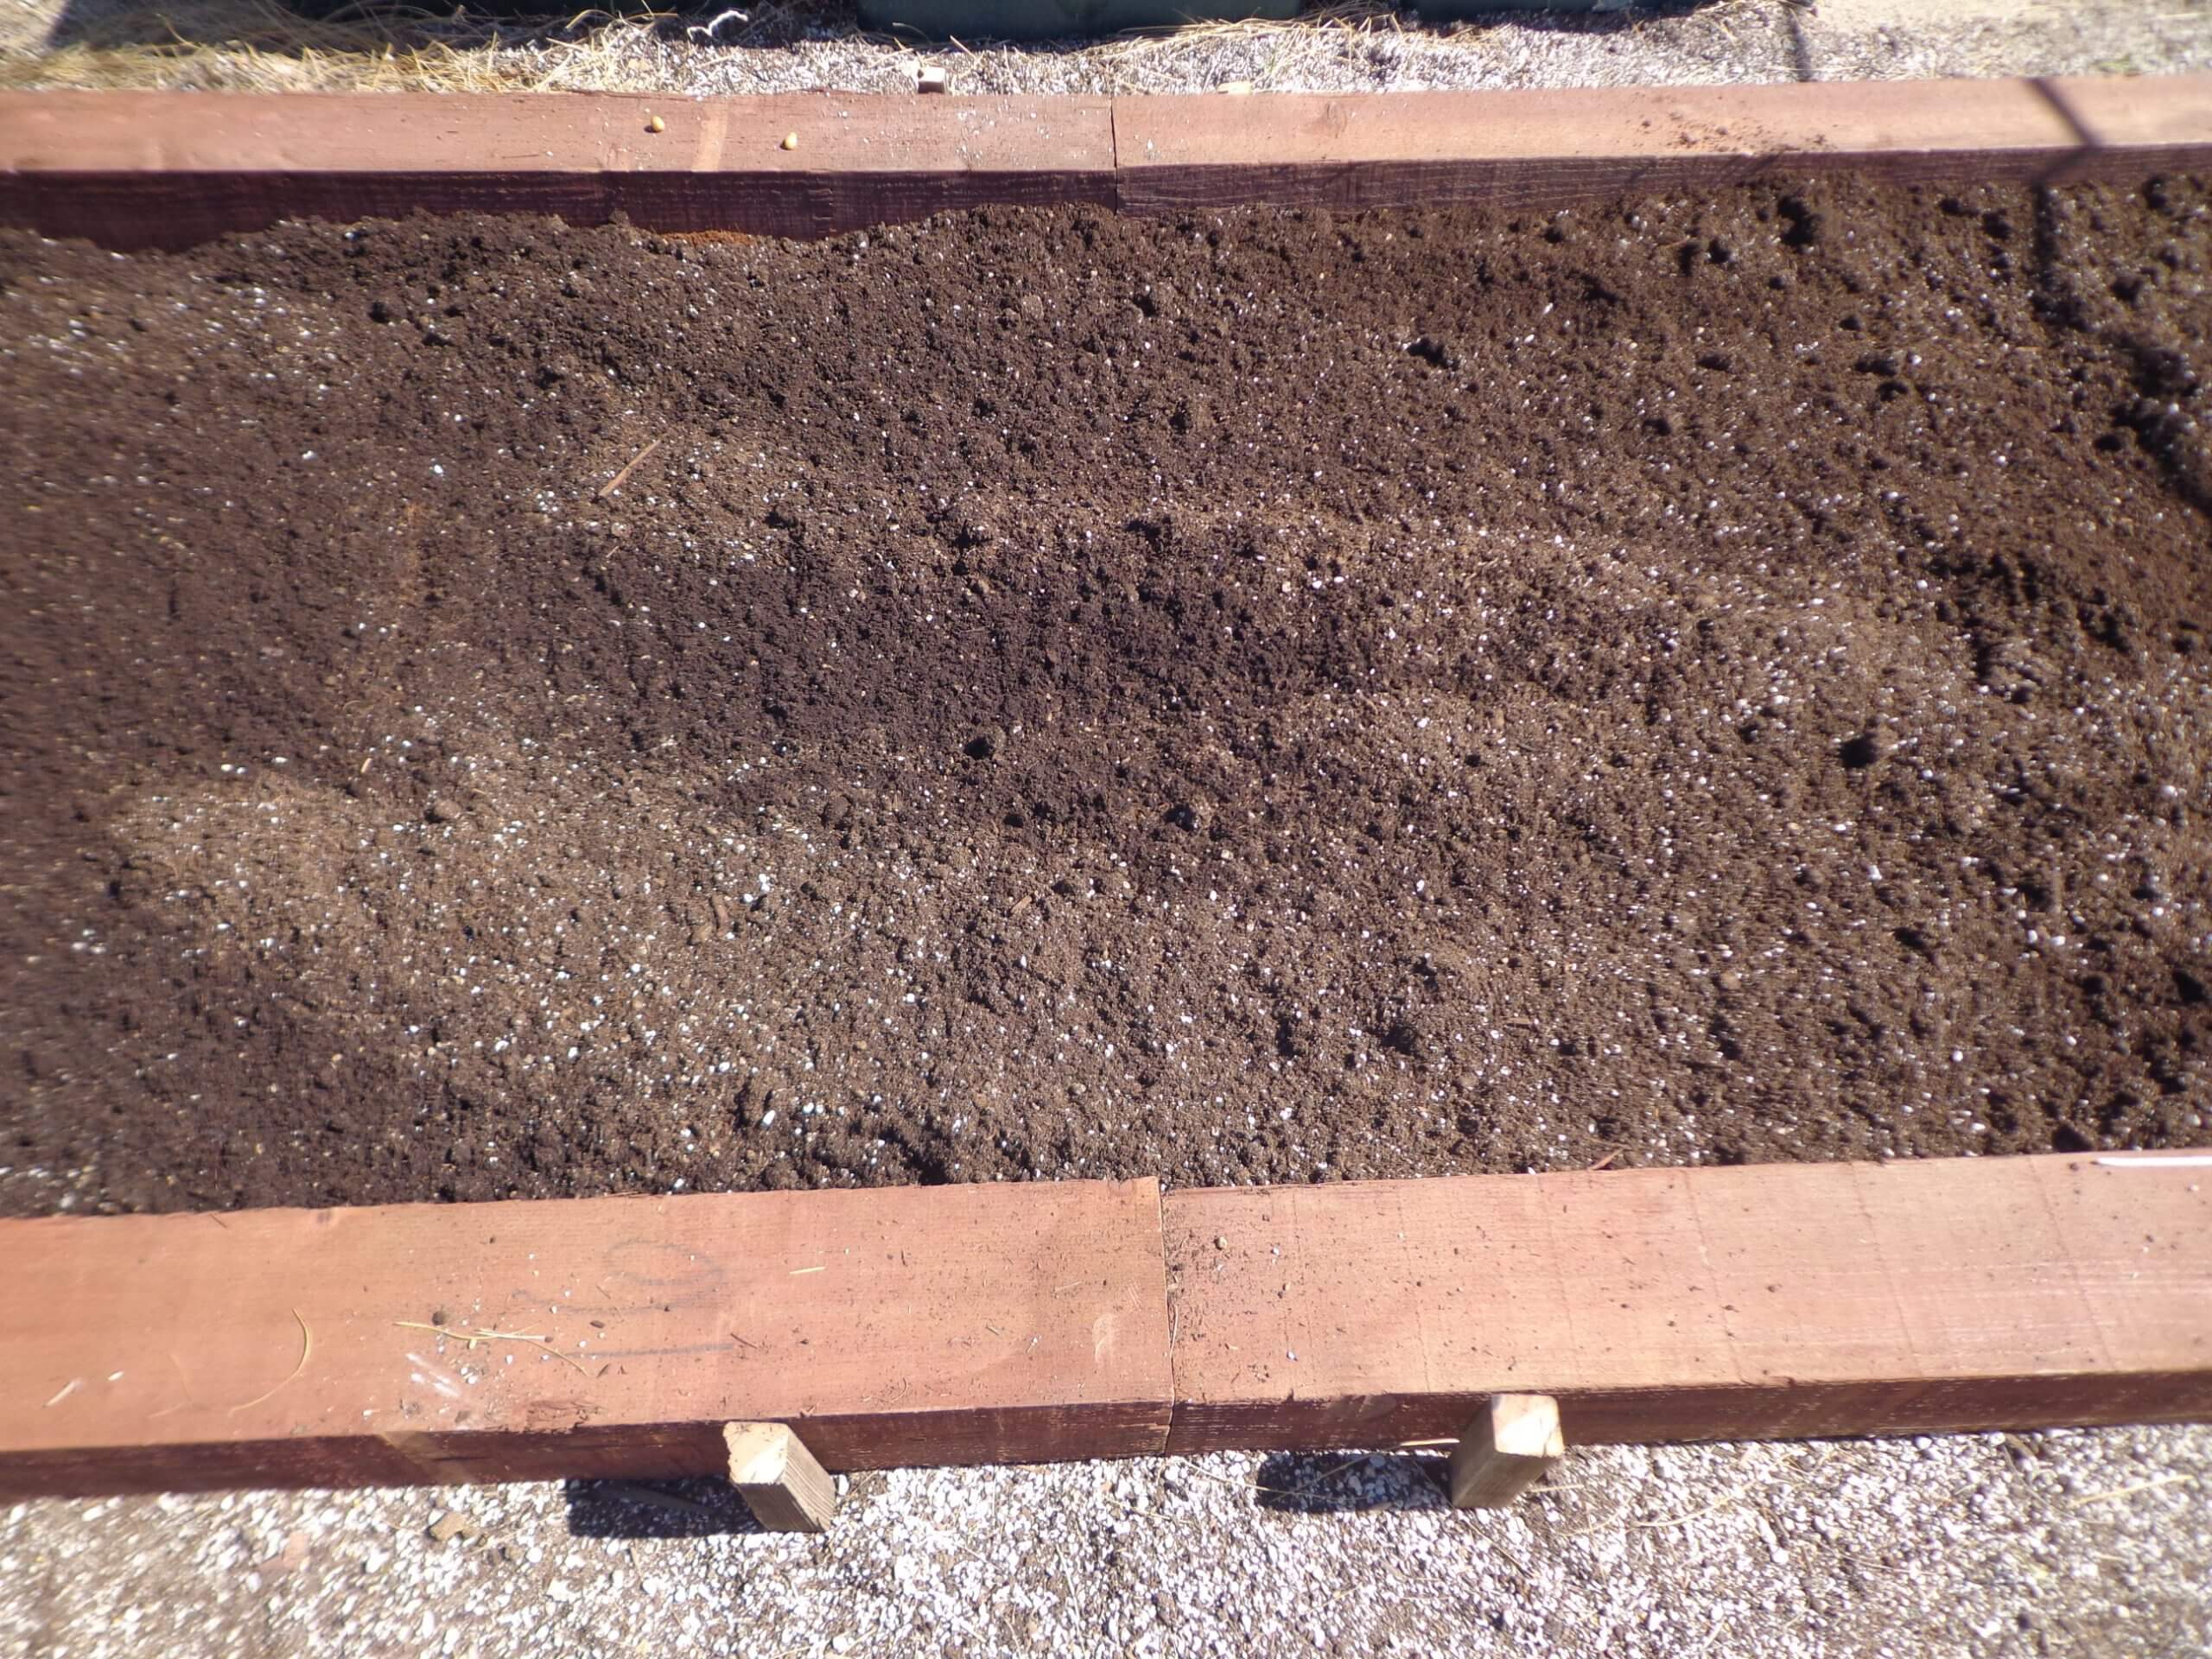
To enrich a full raised bed, use low volume, high potency organic fertilizers before planting time in early spring.
If you’re growing vegetables in raised beds, you must respect the Law of Return. This law states that nutrients extracted from the soil by growing plants must be compensated for by tilling their dead remnants back into the soil or fertility loss will result. Because plants are often grown more densely in small or raised beds, proportionately more nutrition is drawn from the soil each year than in in-ground gardens. The chances of running a deficit are very real, and your plants will show it, but by then it’s too late.
The challenge of raised beds is that there’s no room for adding gobs of compost to the box because it was filled to the top in the first place. The fertility of all raised beds will decline each year unless you return it with fertilizer to compensate for these losses.
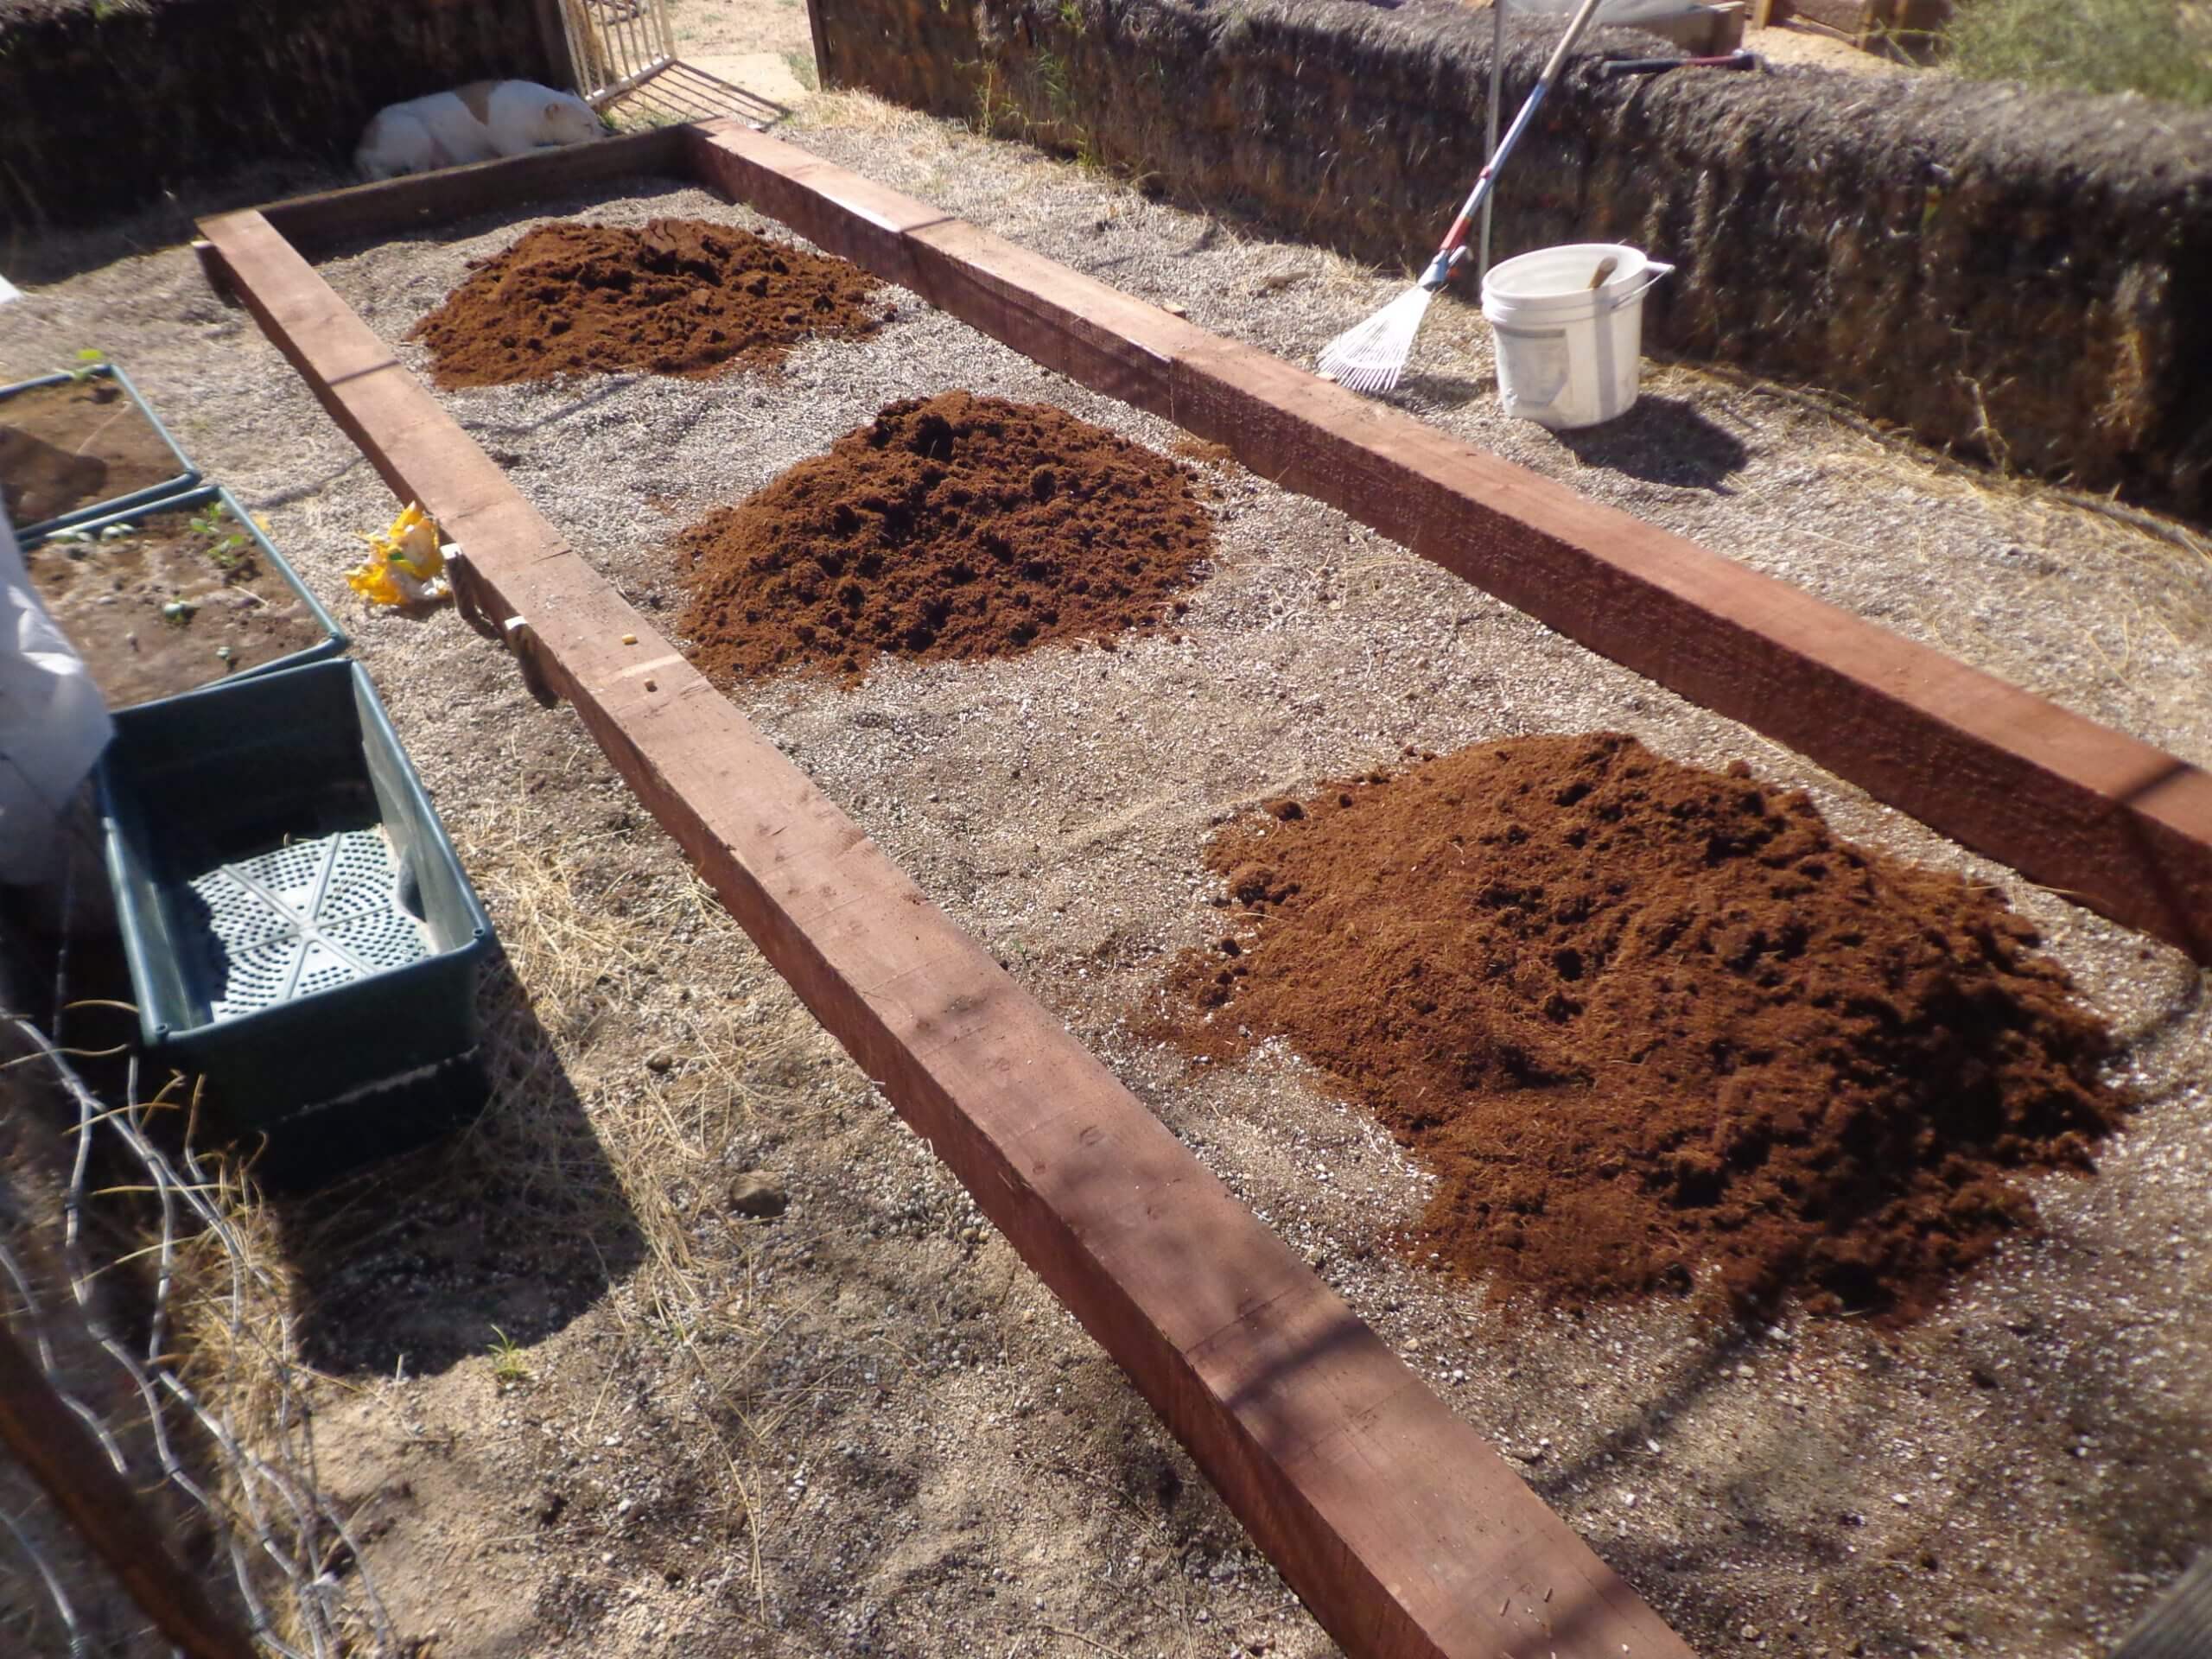
Add Organic Matter
High-density gardening in raised beds draws proportionately more nutrition from the soil over the course of each season.
To keep microbe populations high, organic matter is needed. If your potting soil is decomposing so the soil level has dropped, can you refill it with any of the Black Gold potting soils with RESiLIENCE® or just use Black Gold Garden Compost and work it into the old stuff. But if your soil mass is maxed out, use fertilizers that provide higher levels of nutrition without much volume. Older soilless mixes can also acidify, which will inhibit plants from taking in needed nutrients while reducing soil microbes and overall soil health. A simple soil pH test should be conducted to determine soil acidity/alkalinity. To return acid soils to a neutral ph is ideal, a liming agent is required.
Fertilize
Organic fertilizers are slower to become available to plants than synthetics, so preparing your raised bed soil well in advance of planting time. Fall is ideal, but early spring works just as well. This allows time for the various raw materials to decompose, interact and create the synergy between plants, microbes, and earth to give your garden everything it needs, naturally.
For gardens where there’s little space, two organic fertilizers offer everything needed to fuel this year’s vegetable crops. They’re like ordering a la carte or choosing a combination plate at a Mexican restaurant. The combination is a tomato & vegetable fertilizer with added alfalfa meal.
An organic tomato & vegetable fertilizer, with a balanced ratio of nitrogen, phosphorus, and potassium should be added. Estimate at least one bag of fertilizer for each 4′ by 8′ raised bed to calculate how much you need.
Rose growers have always been keen on using alfalfa Meal a la carte, which contains about 3% nitrogen plus other benefits. What makes it doubly valuable is that alfalfa is a legume, a nitrogen-fixing plant, so all of its remnants from baled hay to this byproduct of milling also contain vestiges of the mycorrhizae, unique fungi that live symbiotically within these plants.
To apply these fertilizers, spade up your raised bed with a fork to open it up a foot or so deep, then sprinkle the fertilizers evenly over the soil. Let them filter down into the nooks and crannies, then spade over each bed again to help the soil tighten around the fertilizer. Once thoroughly blended, rake the surface smooth so it’s ready to plant. Water deeply, if there has not been sufficient rain.
The Law of Return
Replenished raised beds perform better!
The longer the garden sits after you’ve returned nutrients to the soil, the more fertile it becomes. As temperatures warm, microbes activate and enrich the soil further. So when it’s time to plant your peas in March, and anything else after that, complying with the Law Of Return will guarantee you vegetables show their appreciation with the most generous harvests you can imagine.


 Gardeners can even start the season with the intention to share their produce with others! In 1955,


 JaKMPM")