Plants are the lens Jessie views the world through because they’re all-sustaining. (“They feed, clothe, house and heal us. They produce the air we breathe and even make us smell pretty.”) She’s a garden writer and photographer with degrees in both horticulture and plant biology from Purdue and Michigan State Universities. Her degrees were bolstered by internships at Longwood Gardens and the American Horticultural Society. She has since worked for many horticultural institutions and companies and now manages communications for Sun Gro Horticulture, the parent company of Black Gold. Her joy is sharing all things green and lovely with her two daughters.
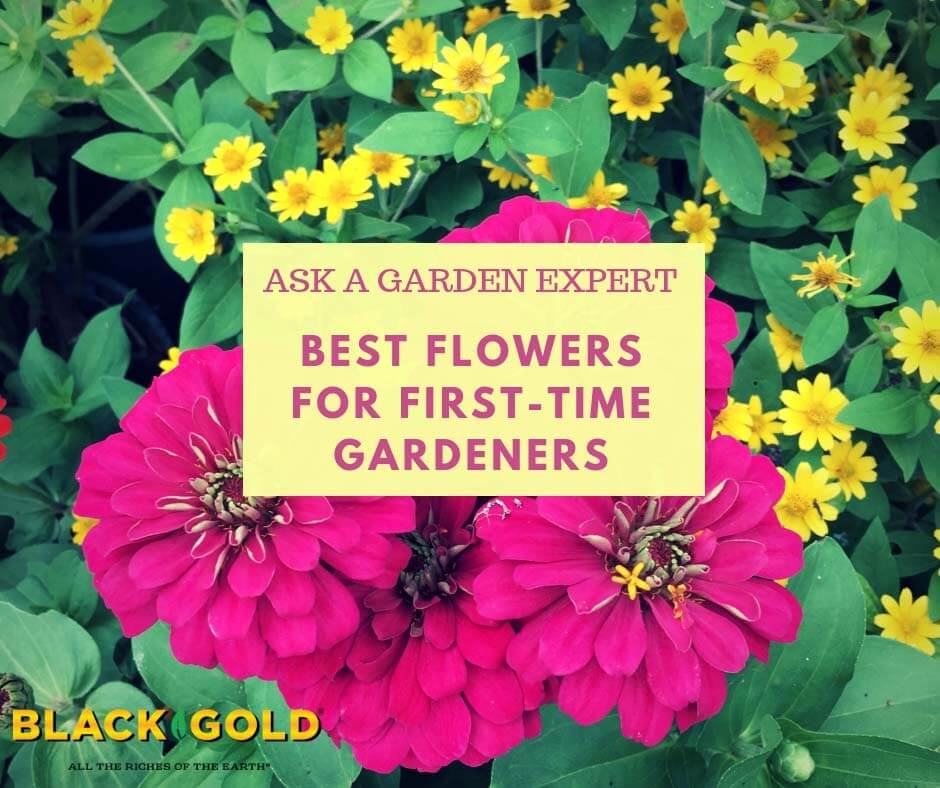
“I’m a first time [flower] gardener… do you have any pointers for me?” Question from Desiree of Vanceboro, North Carolina
Answer: What flowers you plant will depend on your garden’s light, soil, and whether you want to grow in containers or in-ground beds. Either way, the best advice for new flower gardeners is to stick with tried-and-true, easy-to-grow flowering annuals (live one year) and perennials (live several years) that will thrive in your North Carolina garden. Quick garden success will give you the gardening bug for a life! Here are my top flower picks for your North Carolina location, followed by some basic advice for their care.
Annuals
Some of the best garden annuals for new gardeners thrive in heat and drought. These include sun-loving beauties like classic marigolds (click here to read how to grow marigolds), summer snapdragons, hummingbird hyssop, periwinkles, and zinnias. If your garden is shady, grow New Guinea impatiens, coleus, and wishbone flowers (Torenia hybrids). To learn everything you need to know about the best annuals for southern heat and drought, read the gardening article (below) about our top 10 favorite bedding plants for drought! We also recommend you read our article about everblooming annual flowers for heat and drought (below)! All of these flowers will thrive in your climate!
If you want to grow flowers that return year after year, try sun-loving and colorful coneflowers (Echinacea spp.), black-eyed-susans (Rudbeckia spp.), Black and Blue Salvia (Salvia guaranitica‘Black and Blue), and tall sedums (read about tall sedums here), among others. All of these are easy and will grow well in your climate.
Also, if you think you may want to try your hand at growing your own perennials from seed, read our article about easy-to-start, fast-growing perennials from seed (article below). It’s a fun and inexpensive way to start your new garden.
First, discover whether the flowers your are interested in like full sun or shade. Most garden flowers need fertile, well-drained soil and even moisture. If you plan to grow your flowers in containers. Here’s what you need:
1. a large container with holes in the bottom and a saucer to catch water
If you plan to plant flowers in ground, first amend your beds with a quality compost, like Black Gold Garden Compost Blend, to ensure they have lots of organic matter for flower roots grow. Then fertilize them and keep the soil just moist. I usually water mine every few days in the absence of rain. During really hot periods, I water them more often.
I also recommend talking to friends in your area that like to flower garden. Ask them what flowers they like best. They may even be willing to share some with you!
Feel free to ask more questions, and I wish you the best on your new garden!
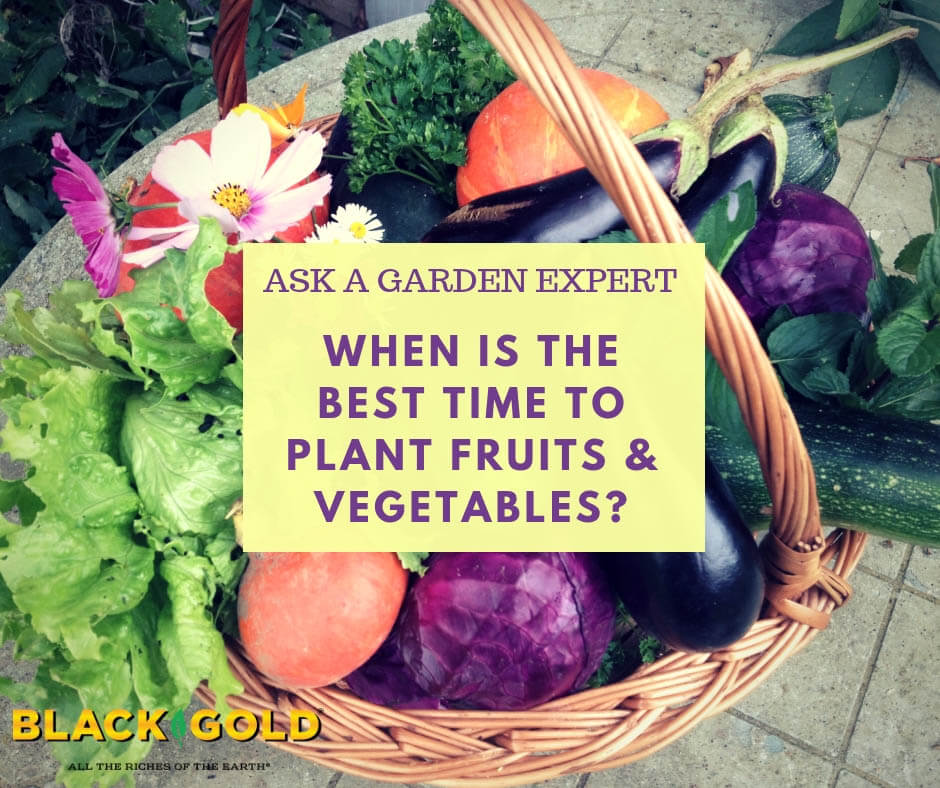
“When is the best time to plant fruits and vegetables?”Question from Brittany or Pound, Virginia
Answer: It depends on the fruits or vegetables you are planting, their preferred weather, life cycle, and how long they take to bear harvestable produce. Overall, annual fruits and vegetables are divided into cool-season and warm-season categories.
Cool-season annual vegetables grow best in the spring and fall when growing conditions are mild. Vegetables in the category include lettuce, peas, radishes, spinach, cabbage, broccoli, carrots, and turnips, among others. All of these grow pretty quickly, meaning they grow from seed to harvest in as little as one to three months. Start them in either early spring, for spring harvest, or late summer, for fall harvest.
Warm-season annual fruits and vegetables require warm growing conditions to produce well and generally require more days before they bear produce. These need to be started in spring and planted after the threat of frost has passed and garden soils have warmed up. During the hot days of summer, they will start to produce. Vegetables in this category include corn, tomatoes, peppers, winter and summer squash, beans, melons, sweet potatoes and cucumbers. Keep in mind that some of these, like pumpkins, can take as many as 110 harvest days before bearing fruit.
Perennial fruits and veggies for the garden, like strawberries, rhubarb, and asparagus, can be planted in spring or fall.
To learn more, I recommend you read some of the following Black Gold articles and videos about growing fruits and vegetables!
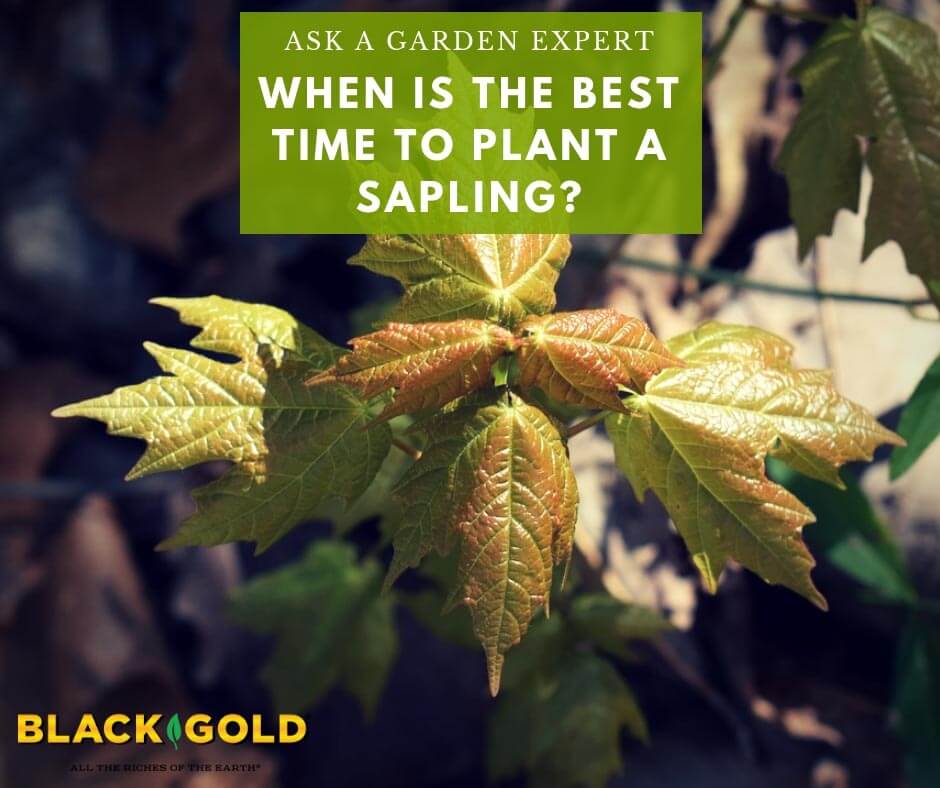
“When is the best time of year to plant a [tree] sapling?”Question from Julia of Montello, Wisconsin
Answer: Young trees, or saplings, are best planted in early spring before they have fully broken dormancy. The soil must be soft enough to dig before planting. Planting early will give your new sapling a full growing season to set deep roots and new top growth, allowing it to better withstand the cold winter weather of central Wisconsin.
Saplings of very hardy tree species (USDA Hardiness Zones 4 to 3) will overwinter if planted in fall, and larger balled and burlapped trees are also better able to withstand fall planting because they have more stored energy. But overall newly planted trees perform better from transplant shock if planted in spring.
For a good overview or tree-planting methods, read this article about How and When to Plant Trees! I hope this helps!
“Is 30-year-old decayed sawdust good for vegetable gardens?”Question by Jean of Elizabeth, Arkansas
Answer: It depends on how decayed your sawdust is and its wood type. First, be sure your sawdust is not from treated wood. (Hopefully you can ask the person who created all that sawdust!) Treated wood contains dangerous heavy metals that can leach into the soil and be taken up into vegetable plants, resulting in toxic produce. Treated wood also resists breaking down, so its sawdust would be a really bad to add to your garden.
If your sawdust is not from treated wood, it may be usable. Dig into it and see if it has a crumbly, soil-like texture below the surface. If it does, then it should be okay to use. If your sawdust has remained dry all these years and is comprised of slow-to-decay hardwood, then it must be composted first. (Sawdust that has not broken down is a poor garden soil additive because it initially binds soil nutrients, which is not good for plants.)
Here’s how to compost sawdust in five steps:
Invest in a composter or choose a bare corner of the yard for composting
Pile your sawdust along with layers of green (grass clippings or chopped leaves) and brown (Black Gold Earthworm Castings) organic matter to a height of 3-4 feet
Water weekly to keep the pile moist (in the absence of rain)
Turn the pile monthly, to ensure it gets plenty of air and breaks down evenly
The inside of the pile should warm up and break down to a soil-like consistency after a few months
“What needs to be done in the garden to prep for winter? Only in Wyoming for two years, and I have container gardened because I didn’t have land.” Question from Susan of Basin, Wyoming
Answer: Garden and container garden prep for winter depends on what you are growing, but there are a few steps you will want to follow, especially in really cold-winter climates like yours (USDA Hardiness Zone 4). But here are some general rules for pre-winter prep for gardens and containers.
Winter Prep for Gardens
Pre-winter garden prep is pretty simple. Here are the steps I follow:
1. Remove all dead and dying vegetables and bedding annuals
2. Rake away all fallen annual, perennial or veggie leaves from beds to reduce the chance of overwintering pests and diseases
3. Consider planting a winter cover crop over vegetable beds (winter rye, winter wheat, Austrian winter peas, and crimson clover all make great winter cover crops).
3. Prune off any dead or dying stems or branches from perennials, trees, and shrubs (Be sure to leave perennials that look pretty through winter, like ornamental grasses and cone flowers.)
4. Edge and mulch beds to protect overwintering perennials and keep beds looking pretty through winter (Click here for an edging tutorial.)
5. Plant spring flower bulbs (flowering bulbs like tulips, daffodils, crocus, etc, as well as edible bulbs like garlic, shallots, and winter onions)
6. Cover any marginally hardy shrubs, like prized roses, using the same covering method recommended for perennial containers (below).
I also like to collect, chop, and compost tree leaves that fall in my yard. Chopped leaves make excellent mulch and compost that breaks down quickly and adds lots of needed organic matter into garden beds.
Winter Prep for Annual Containers
If you only grow annual pots, simply cut back the old plant material and place containers under an eave or in a garage or covered storage area where they will stay dry through winter. Winter freezing and thawing of moist container soil will cause Terracotta or ceramic pots to crack and shatter. Exposure to harsh winter weather will also cause resin and plastic pots to visually age more quickly. Another pot-maintenance option is to remove their soil entirely and leave them dry and empty. Soil that is just one year old can be bagged and saved for use the following spring, just be sure to replenish pots with at least 50% fresh soil to ensure good plant performance. (We recommend Black Gold Natural & Organic Potting Mix, which is OMRI Listed for organic gardening).
You can also bring some annuals indoors. Begonias, coleus, and geraniums, can all be brought indoors as winter house plants. They key is cleaning them first to make sure they are pest free. Start by spraying their leaves with water, let them dry, spray them again with insecticidal soap, and then bring them inside. It also helps to remove and replenish the top 2 inches of potting soil to catch any pests hanging out in the upper soil layers. Though winter, care for them as you would any house plant, and trim them back if they become too large. (You can even take cuttings of them in spring to add to your container collection, here’s how!)
Winter Prep for Perennial Containers
Perennial containers have different care requirements. (I will assume that your potted perennials are established and hardy to your region.) The fact that their roots are raised makes them far more vulnerable to freezing, so it is important to provide them with extra protection.
Wait until plants are fully dormant, then clean up any fallen foliage on the pot’s soil surface and prune back any dead or dying top growth. Once clean, place pots in a protected spot outdoors (under a house eave, covered porch, or in a garage or storage area) where they will be shielded from the harsh winter elements.
I also recommend covering pots with a thermal covering. My favorite method is to cover the pot surface and exterior with a thick layer of straw and surround with a burlap bag or wrapping secured with a bungee cord or burlap twine. Once spring weather warms, you can uncover the pots and refresh their potting soil and fertilizer for great growth in the new season.
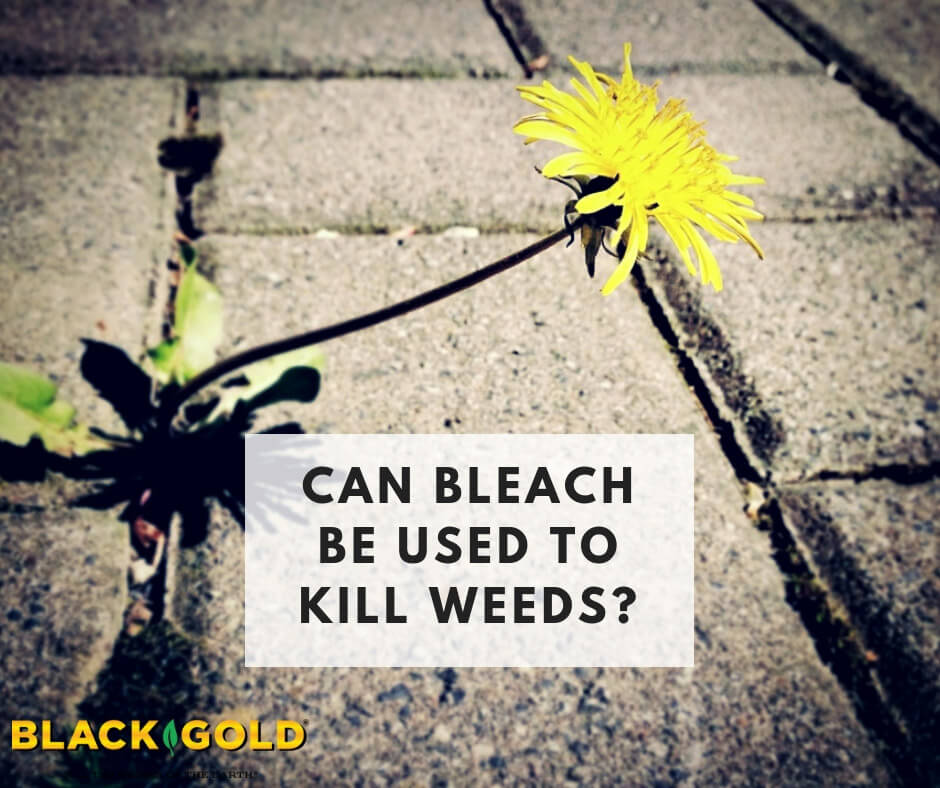
“Is it viable to use bleach to destroy weeds and flora that grows out from crevices in concrete, gaps in asphalt etc?” Question from Terrance of Eau Claire, Wisconsin
Answer: No. Save bleach for laundry washing only! Bleach is really bad stuff to use in the yard and environment. It is a broad-spectrum toxin, which means its deadly to everything (people included). It also does not break down quickly, which means it sticks around and continues to do damage. If it gets into waterways, it’s especially deadly to fish and other aquatic life. (Click here to learn more about the toxicity of bleach.)
If you prefer a chemical option, try BioSafe Weed Control, which is OMRI Listed for organic gardening and EPA registered as an effective way to stop stubborn weeds!
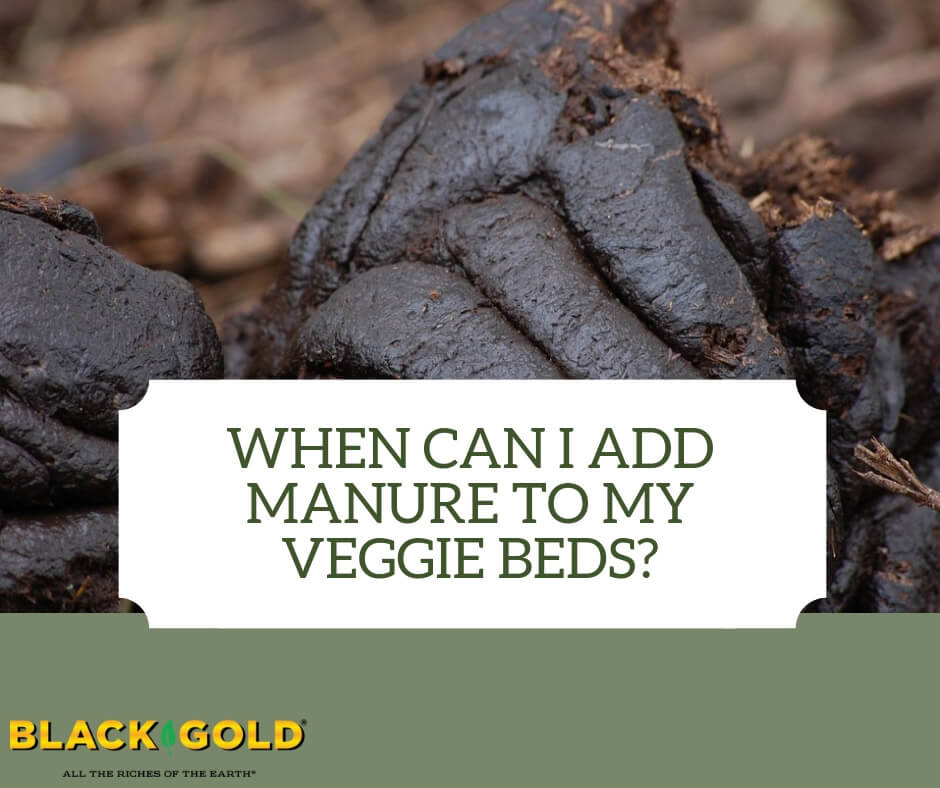
“When is the best time to put cow manure on your vegetable garden?” Question from Sylvia of Belle Plaine, Minnesota
Answer: Be careful when adding manure to your beds. Fresh manure is too “hot” with nutrients, particularly ammonia, to put directly around growing plants and can literally burn their foliage and roots. Fresh manure is also filled with weed seeds just ready to germinate and cause havoc in your beds. That’s why it is necessary to compost it before use.
During the composting process the manure will heat up, causing weed seeds to die, and some nutrients to be leached away, making it a better garden soil additive. Composted manure can be added to beds at any time as a top dressing or soil amendment, but most gardeners like to beef up their soil in spring, just before planting time.
To compost your manure, place it in a compost bin or pile it up to a depth of at least 4 feet. Keep the pile lightly moist and turn it every couple of weeks or so with a pitch fork. Feel free to mix in any additional organic matter, such as grass clippings or crushed leaves, to the mix. The addition of Black Gold Earthworm castings will further enrich your manure compost.
Maturing manure should be hot enough in the middle to steam, even in winter. So, if your pile is steaming up, you are doing the right thing. After several months, your manure will lose its harsh smell and adopt the scent of fresh earth. At this time, it is ready to use!
Let us know how your manure composting progresses. Happy gardening! Jessie Keith
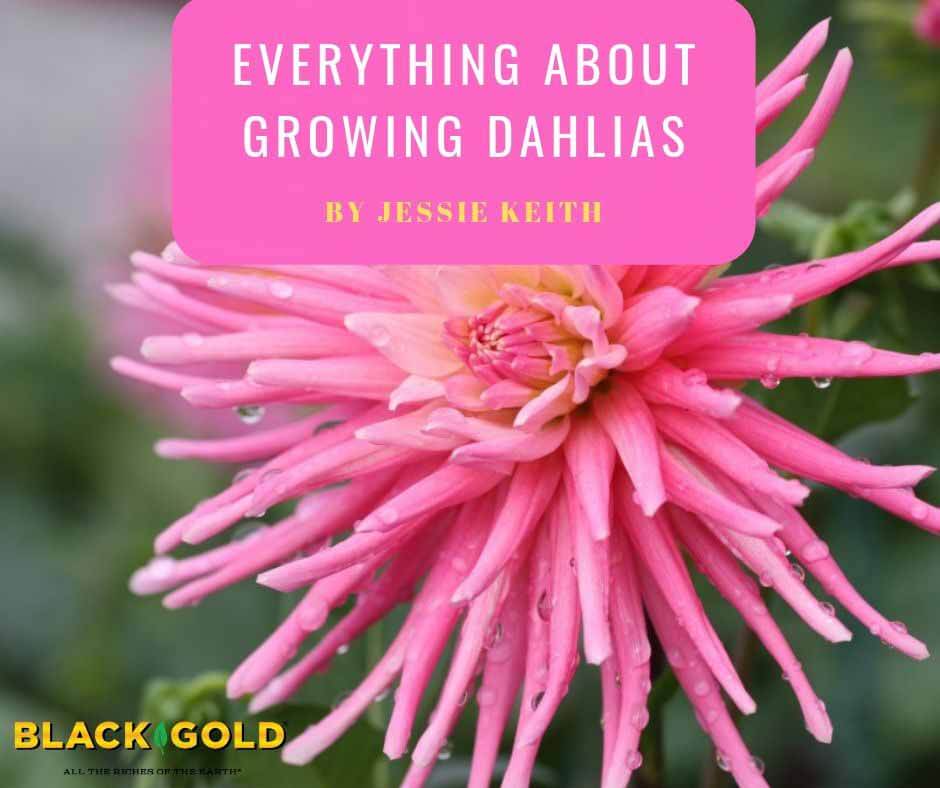
“How do u get dahlias to grow? I just get two scrawny limbs that never a bloom.” Question from April of Dresden, Tennessee
Answer: That must be frustrating! Southern gardeners often struggle with dahlias, unless they live in mountainous areas where summers are cooler. This is because most dahlias grow best under milder growing conditions and melt in high summer heat. Thankfully, there are select varieties tolerant of southern heat.
Either way, let’s start with the five basics that dahlias need to thrive:
1. Full to partial sun (6-8 hours of direct sunlight each day.)
4. Regular water (Soil should be kept just moist, never too wet or dry.)
5. During really hot weather, shade dahlias during the hottest time of day
Then there’s choosing the right dahlia. The Dahlia Society of Georgia has the best list of heat-tolerant dahlias for southern gardeners (click here to view the list). My favorite dahlia on their list, called ‘Bodacious’ (shown above), has big, beautiful red and creamy yellow blooms.
Follow these growing instructions and choose only heat-tolerant dahlias from the attached list, and your dahlia growing will really improve! We also suggest you watch our video on Dahlia growing. It provides even more in-depth instructions on how to make the most of your dahlia growing.
“What green bean variety would you recommend for Minnesota?” – Question from Van of Hendricks, Minnesota
Answer: Early, early, early varieties! With the short northern summers of Minnesota, you want to choose a top-performing bean that produces as quickly as possible. Choose bush beans or pole beans, depending on your garden’s size and your planting preference. When seeking good veggie varieties for northern growers, I tend to turn to northern seed vendors, like Pinetree Seeds or Johnny’s, which are both based in Maine.
For bush beans, I recommend the early, disease-resistant, green bush bean ‘Provider‘, which yields in just 50 days from seed and germinates in cool soil. The flavorful heirloom bush bean ‘Bountiful‘ is even earlier, bearing green beans in just 46 days.
For pole beans, I LOVE the early-to-produce ‘Fortex‘. It’s long, slender, delicious beans appear in just 60 days from seed and are high yielding. I’m also a big fan of Roma green beans, and ‘Northeaster‘ is a very fast Roma that’s stringless, very early (56 days), and delicious!
I hope that you have good luck with these exceptional green beans! Happy gardening, Jessie
I also recommend you watch this Black Gold video on successful bean growing!
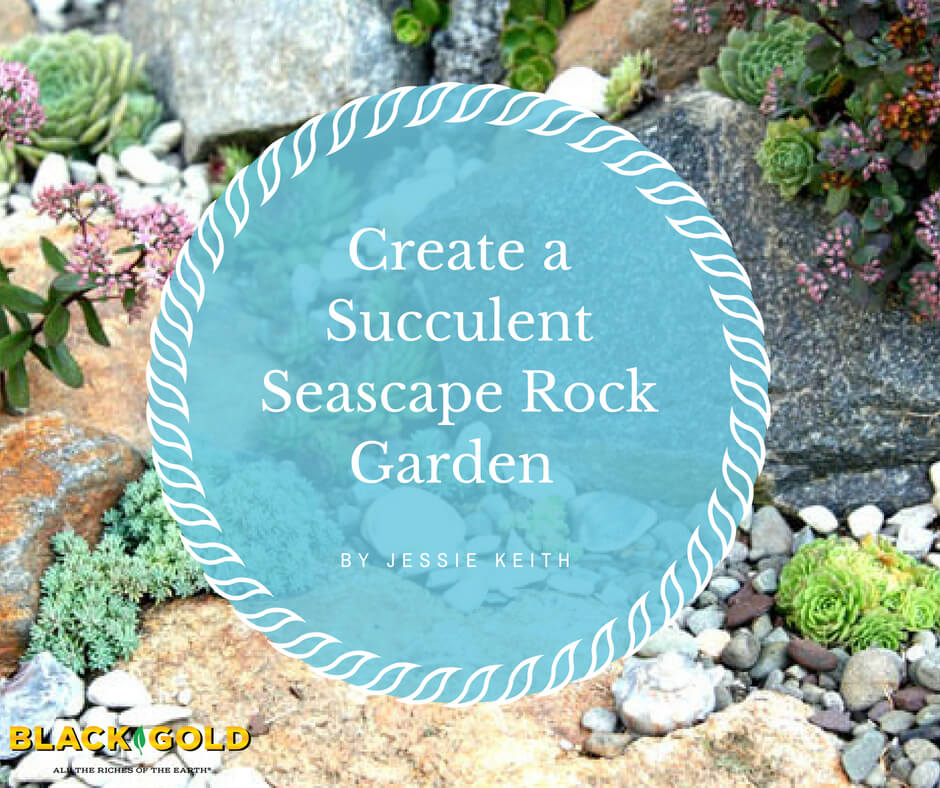
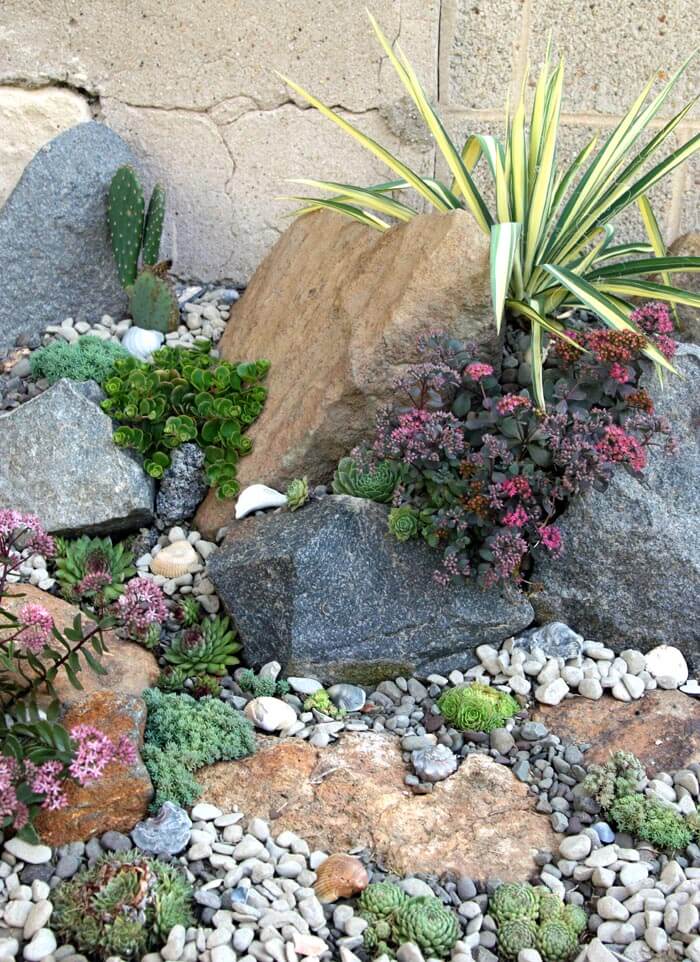
Well-chosen and placed succulents in picturesque rock gardens can have an underwater, seafloor appeal. The design key is selecting various dryland treasures with anemone-, coral-, and urchin-like forms and textures in shades of blue green, silver, gold and red. When arranged against a setting of bold rocks, lined with a ripple of pebbles and seashells, the effect is cool and inviting.
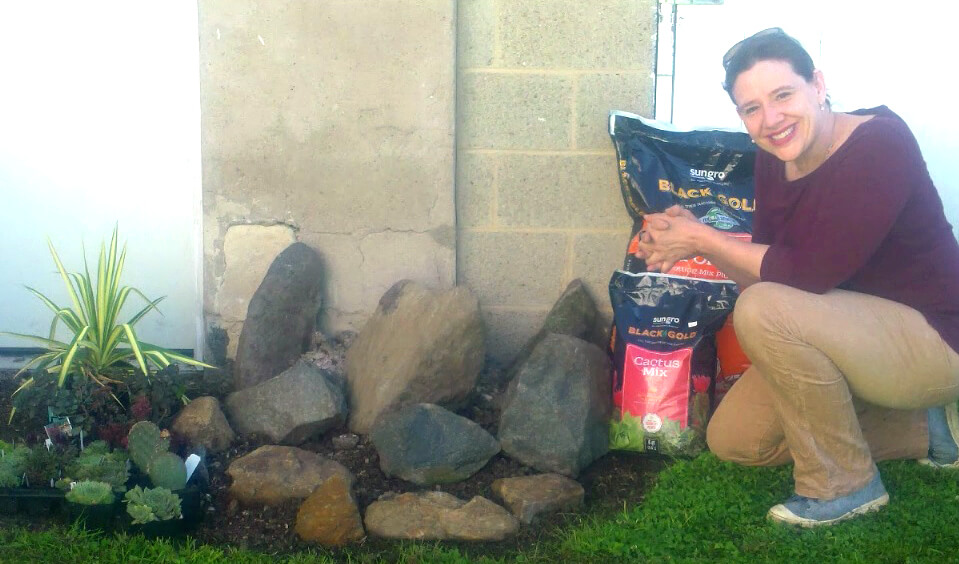
I created such a garden at my Delaware home to complement a stone and pebble patio being built along the south-facing wall of my 1920s Cape Cod house. The bed was constructed in four steps, and the plants were selected for their seascape appearance.
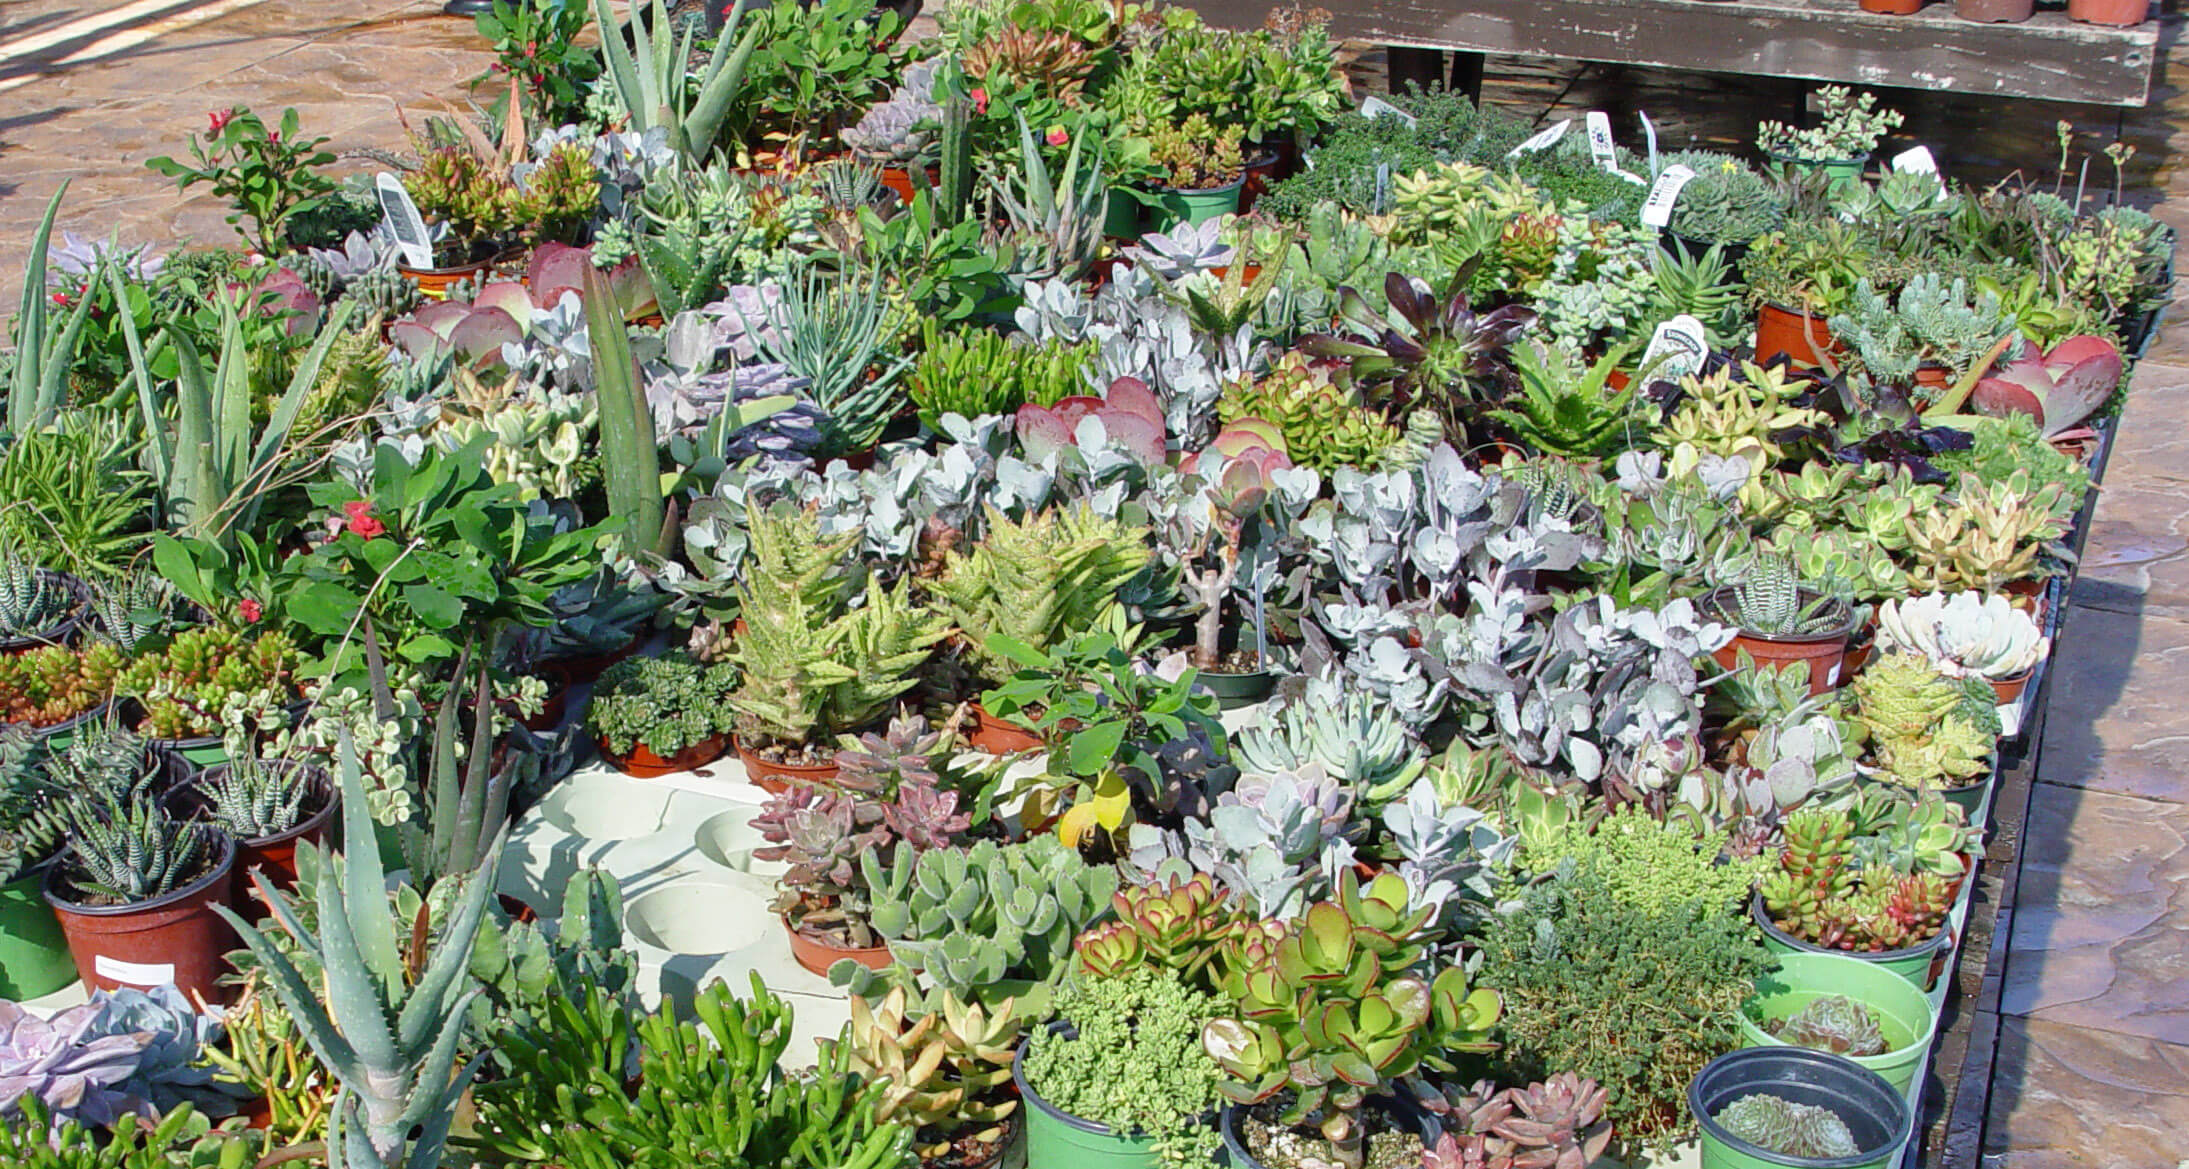
Most of the hardy succulents I chose for the project were purchased from the online nursery, Mountain Crest Gardens. Not only do they sell lots of hardy hens & chicks (Sempervivum spp.) and stonecrops (Sedum spp.), but they also offer hardy cacti (my favorite for spectacular spring flowers). And their succulents arrive thriving and ready to plant.
Rock Garden Materials
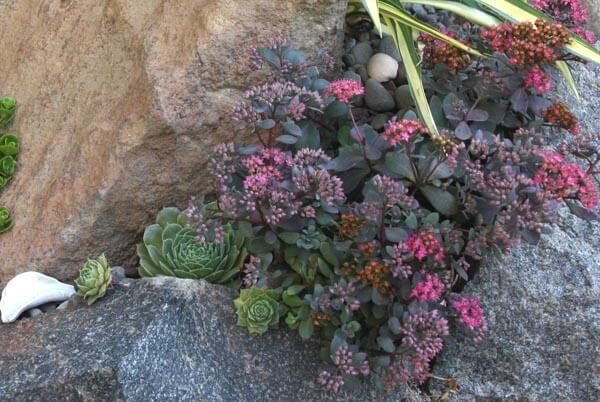
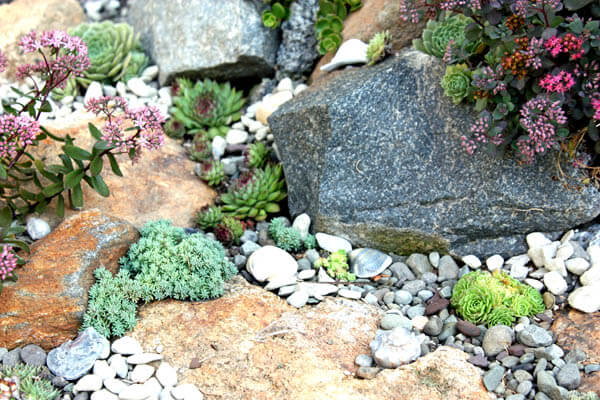
Nestle plants within crevices and gaps, making sure you leaves spaces for spreading succulents. (Sedum SUNSPARKLER® Dazzleberry and Sempervivum ‘Thunder’ shown)
My rock garden required the following materials:
Sharp spade
Trowel
Large plastic tub
Thick garden gloves
Large rocks (my garden is 4’ x 5’ and required 10 rocks)
Once I had my rocks in place, I amended the fill soil and started planting!
Sod and Soil Removal: The first step to preparing my garden was to remove the sod. Thankfully, my soil is high in organic matter, so removing the top layer of grass was relatively easy. I then skimmed a 2-inch layer of natural soil from the new bed layer to use as fill. I put the sod in a wheelbarrow for removal and the fill dirt in a plastic tub to keep the area tidy.
Rock Placement: Then I placed my rocks. The natural dark grey and tan stones I chose are prevalent in my area, so they were a good fit for my yard. They also offered a pleasing color contrast to the plants and pebble. I set the largest rocks high against the concrete and stone base of my home for maximum visual appeal and gradually layered the smaller rocks down to patio level. I placed them close together at the top for a tight fit, so they would hold soil without erosion.
Filling: Once my stones were in place, I mixed a liberal amount of Black Gold Cactus Mix and Garden Compost Blend into my fill. The final fill was pebbly and organic for excellent drainage and good water-holding ability. Then I filled in all the gaps between rocks, leaving enough space for my plantings.
Plant Placement: Finally, I placed my plants, arranging them based on height, texture, and color, and prepared to plant.
Plant Materials
Most of my succulents were purchased online from Mountain Crest Gardens.
Aside from making sure that my plant selections would survive Delaware winters (USDA Hardiness Zone 7), I made sure they met a suite of aesthetic requirements. I chose a few taller textural plants, several cascading stonecrops, and other selections that were mounding and prickly. All are remarkably drought tolerant and tough, able to take the high heat and sun of the garden. My plant picks included:
– Hybrid Prickly Pear (Opuntia ‘Coombe’s Winter Glow’, Zones 5-10). This hardy cactus has smooth paddles that lack the large spines of most, but beware those small spines! It has spectacular magenta blooms in late spring, and its paddles turn shades of rosy purple in winter.
– Rosularia(Rosularia platyphylla, Zones 5-10): This spreading succulent looks like a tiny hens & chicks and creates a mat of sea-green rosettes.
– Hens & Chicks(Sempervivum ‘Bronco’, Zones 5-10): This large hens & chicks has red and green rosettes that turn rich red in winter.
– Hens & Chicks(Sempervivum ‘Thunder‘, Zones 5-10): The summer rosettes of this larger hens & chicks are grey-green tinted with lavender. In winter, they turn shades of deep lavender and rose.
– Cobweb Hens & Chicks (Sempervivum arachnoideum ‘Pittonii’, Zones 5-8): This small hens & chicks has cobwebbed gray-green rosettes edged in dark purple.
– Hens & Chicks (Sempervivum calcareum ‘Greenii’, Zones 5-10): The medium-sized, blue-green rosettes of this sedum have maroon tips.
– Tiny Buttons Stonecrop(Sedum hispanicum ‘Blue Carpet’, Zones 5-9): This low, spreading sedum has tiny buttons of blue-grey foliage.
– Hybrid Stonecrop (Sedum SUNSPARKLER® Dazzleberry, Zones 4-9): Purplish leaves and summer-long flowers of deep rose make this a winning sedum.
– Hybrid Stonecrop (Sedum SUNSPARKLER® Jade Tuffet, Zones 4-9): This small, upright sedum has slender, dark green leaves and summer-long pink flowers.
– Chinese Stonecrop (Sedum tetractinum ‘Coral Reef’, Zones 5-9): This pretty sedum has yellow spring flowers and bright green leaves that turn pinkish with age.
– Adam’s Needle (Yucca filamentosa ‘Color Guard’, Zones 5-10): The gold-striped leaves of this 18-inch yucca are bright and bold.
My seascape rock garden includes stonecrops, hens & chicks, and other dryland succulents with coral-reef looks.
I put on my garden gloves and started planting the largest plants at the top, then moved down. During planting, I gently loosened the roots of any pot-bound plants, and dug a hole just big enough to ensure each plant’s roots were just at soil level. Then I sprinkled a small amount of slow-release fertilizer into each hole before planting. Once all of the plants were in the ground, I covered the soil with light pebbles and placed seashells here are there for a complete seascape look.
Garden Development
In just a couple of months my bed was blooming and growing, just as anticipated.
Within just a couple of months, my new garden started to take shape. The prickly pear put on new pads, the stonecrops and hens & chicks started to spread, and the SUNSPARKLERS began blooming beautifully. Come next summer, the full seascape effect should be in full sway, adding sunny, succulent interest to my new patio!