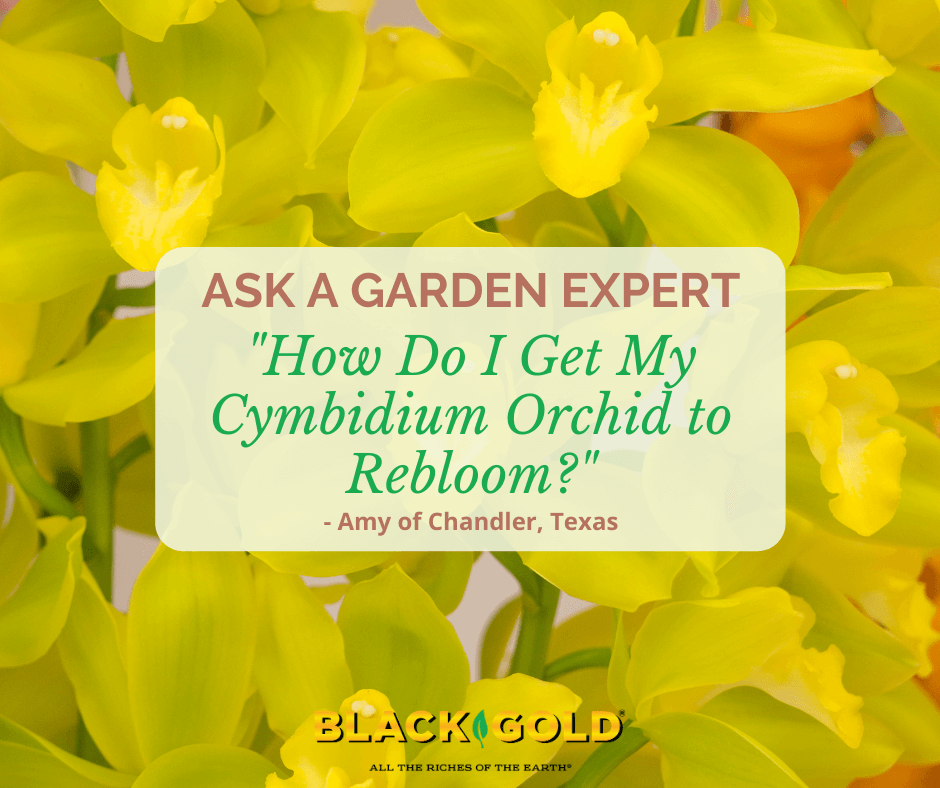
“I have an orchid plant that I have had for 8 years; it grows and duplicates (I had to get another container to separate it) but won’t grow the stalk to bloom. It hasn’t bloomed since the first year I got it. It isn’t the typical large rubbery leaf kind. I believe Cymbidium Orchid. When I got it, it had green flowers. It grows long leaves beautifully, but I would like to get some blooms. I have tried reducing water, changed organic potting, tried using orchid fertilizer… I even put them outside one year to try to cold shock it into bloom…After so many years you would think I would have done something right, but I have helped it grow and thrive so there is some hope. Do you have any suggestions?” Question from Amy of Chandler, Texas
Answer: As with any orchid, Cymbidiums require certain criteria to be met to flower. Timing and temperature must be managed to achieve blooming. Here are the recommended steps to take.
Flower spike initiation takes place in spring or summer when plants will get good light and a drop between warm daytime and cool nighttime temperatures. Placing the plants outside in spring after the threat of frost has passed will help, so that they can experience the warm days and cool nights for flower spike initiation. Once they have begun to set spikes, keep the plants cool (59-65 degrees F) until they begin to flower. Warmer temperatures and dry air and soil can cause the spikes to wither. Once flowering has begun, you can take your Cymbidium to a warmer spot where they can be enjoyed, if you desire. The spikes can become quite large and heavy, so support them with small wooden or bamboo stakes and soft plant ties. The long-lasting flowers can bloom for up to eight weeks. Cut them back to the base once they have stopped. (Click here for an excellent reference for Cymbidium care.) Semi-terrestrial orchids like these grow beautifully in Black Gold Orchid Mix!
“Hi, I have the worst time starting seeds and am not sure what I’m doing wrong. Do I need to put a heating pad under the tray and a light on top? If so, can I use a regular heating pad for under them? Can I use a regular shop light above them? I cover them with plastic wrap until the seeds sprout, which hasn’t been happening, and then it gets all moldy. I just tried a tray of rock wool with 50 seeds! All I’ve got so far is mold, no sprouts. Every year I end up giving up and buying plants from the garden center. I have a lot of seeds, I collect and trade and I’d like to be able to successfully start and grow them. Thanks for your help.” Question from Lucia of Huntington Beach, California
Answer: Seed starting takes patience. The most common mistakes that gardeners make are that they plant the seeds too deeply, they overwater them, or both. Too little water is another common problem, especially when they are just beginning to sprout. A little dry soil can mean instant death to a tiny seedling. Here are my recommendations for each of your questions followed by some excellent seed-starting resources we have.
Do I need to put a heating pad under the tray and a light on top? Yes, to both, though not all seedlings require bottom heat. It is best reserved for warm-season vegetables and flowers, such as tomatoes, peppers, marigolds, cleome, and salvias.
Can I use a regular heating pad under them? No, regular heating pads cannot be wetted and may short out and start a fire. Seedling heat mats are not too expensive, they are safe, and just the right size for a seedling flat. (Click here to learn more.)
Can I use a regular shop light above them? There are lots of lighting options, with shop-light fixtures being the most economical. Some shop-light fluorescent bulbs are specially designed for plant growth and cover more of the spectrum–up to 94%. These are the bulbs to use. In general, fluorescent bulbs are not very strong, so they must be placed just inches above seedling flats or plants for best light reception and growth.
I cover them with plastic wrap until the seeds sprout, which hasn’t been happening, and then it gets all moldy. Your soil and seeds are too wet, so the whole lot is rotting before any growth can happen. Wash your pots well before you try planting again to remove any mold spores. Then fill the pots with fresh, moistened Black Gold Seedling Mix, sprinkle the seeds on top, add a light sprinkling of the mix over the seeds, and then keeping the tops lightly misted daily. (Click here to see a nice plant mister.) The soil should be kept lightly moist, never wet. For larger seeds, plant them 1 to .5 inches down, no deeper. Most seed packets recommend that you plant seeds too deeply.
From there, try reading a couple of these great articles about seed starting. We also have a video about starting tomato seeds below.
“How can you stop dill from taking over your garden?” Question from Sylvia of Belle Plaine, Minnesota
Answer: The answer to this question is in the valuable flowers and seed heads of dill. Keep the seeds from dropping to the ground by eating the fresh flower heads in salads or dips, before they set seed. Of you can allow the dill seed heads to mature, and then collect the seed in bags to enjoy for pickling. It is fragrant, useful, and will last a long time in the spice cabinet.
As you have already found, if you let dill seeds drop to the ground, then they will sprout later in summer or even the following spring. If you have too many or do not like where they land, dig them and move them to your herb patch or simply scratch them away with a hoe. These delicate annuals are some of the easiest weedy herbs to weed out. Another option is mulching over garden beds in spring with a hefty layer of Black Gold Natural & Organic Compost. Dill seeds cannot germinate through several inches of compost.
Moth orchids, or Phalaenopsis, are the most commonly sold orchids and easiest to grow.
I think that most of us have walked into a grocery store or the houseplant section of a garden center and seen colorful displays of colorful blooming orchid plants. With their unique and beautiful flowers, it can be difficult not to buy one. Once purchased, it is easy to get hooked on these them because they are easy-care and their flowers can last for weeks, sometimes even months. But, getting them to bloom year after year can take a little more know-how. And, if you are not willing to try on your own, offer your plants to orchid-growing friends.
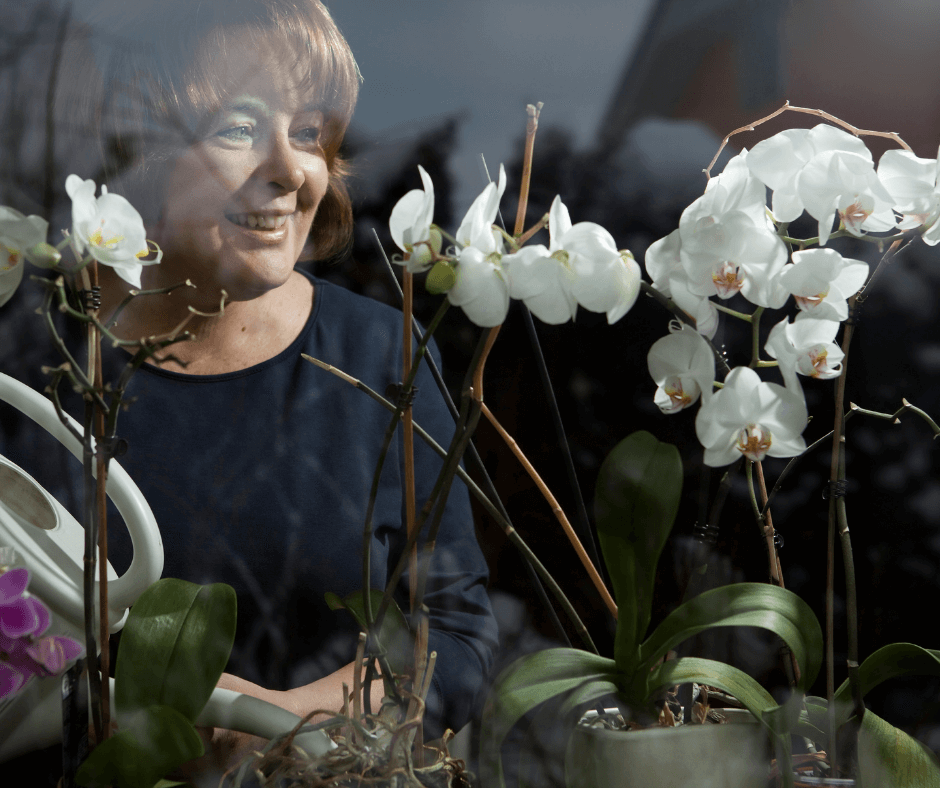
The Story of Nancy, the ‘Orchid Lady’
If you have lots of plant friends, you can always find someone willing to take an unwanted orchid.
Some indoor gardeners are ‘buy and toss’ types when it comes to orchids. My wife was one of these gardeners. She would buy an orchid plant for our entryway, nurture its blooms, and then throw it out when the flower stems stopped. Each year, I was amazed at the length of time the plant stayed in bloom. When one flower faded, another would soon appear and bloom for many weeks. After a plant had performed so well, it seems a shame to just throw it away because the flowers were gone.
Luckily for us, one day our friend Nancy Klein was visiting, and she noticed one of our flowerless orchid plants headed for the compost pile. I mentioned to Nancy how sad I felt throwing them out, and she offered to take it to see if she could get it to re-bloom. “Yes!” I replied, “of course, you can take it, and let me know if you have success.”
Well, Nancy had success with that plant and many more over the years. She has become our orchid recycle person, and her home is rarely without at least one orchid blooming. We are not the only household that she rescues orchids from, and she has gained a reputation as the ‘orchid lady.’
Nancy’s Five Growing Tips for Phalaenopsis and Oncidium
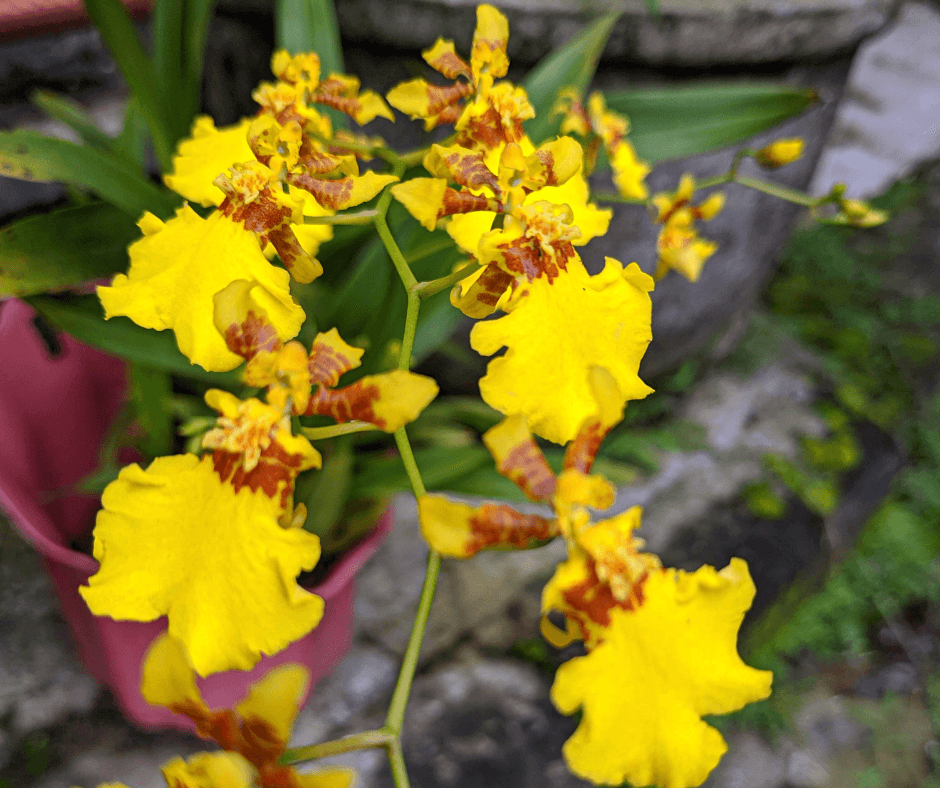
Smaller-flowered Oncidium is the second most commonly sold orchid available.
The two most commonly sold orchids are moth orchids (Phalaenopsis hybrids) and dancing lady orchids (Oncidium hybrids). Of the two, Phalaenopsis is the easiest to grow and rebloom. I recently talked with Nancy about her orchid success, and here are some of her tips for getting orchids to thrive and rebloom. She has had much better success with getting Phaelenopsis to rebloom as compared to Oncidium, but she still has some success with Oncidium. It can just take a little more work.
1. Provide Bright, Indirect Light: Nancy does have a sunroom in her house, which has proven to be ideal for growing orchids. She said that she notices that people often put a blooming orchid in a dark corner and orchids need plenty of light to survive and bloom.
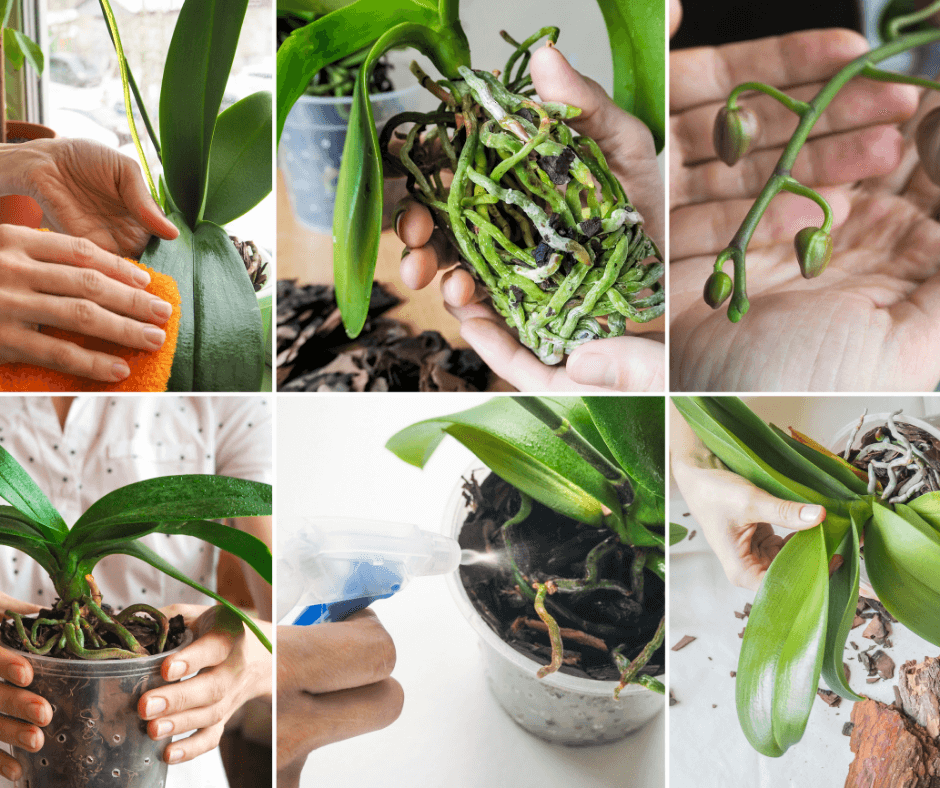
2. Trim Off Old Blooms: When someone brings her a Phalaenopsis that is through blooming, Nancy trims off the flower stem to the lowest node or bud below where the last flower was. A new flower stem will appear from this node and a new blooming stem will often appear in about three months.
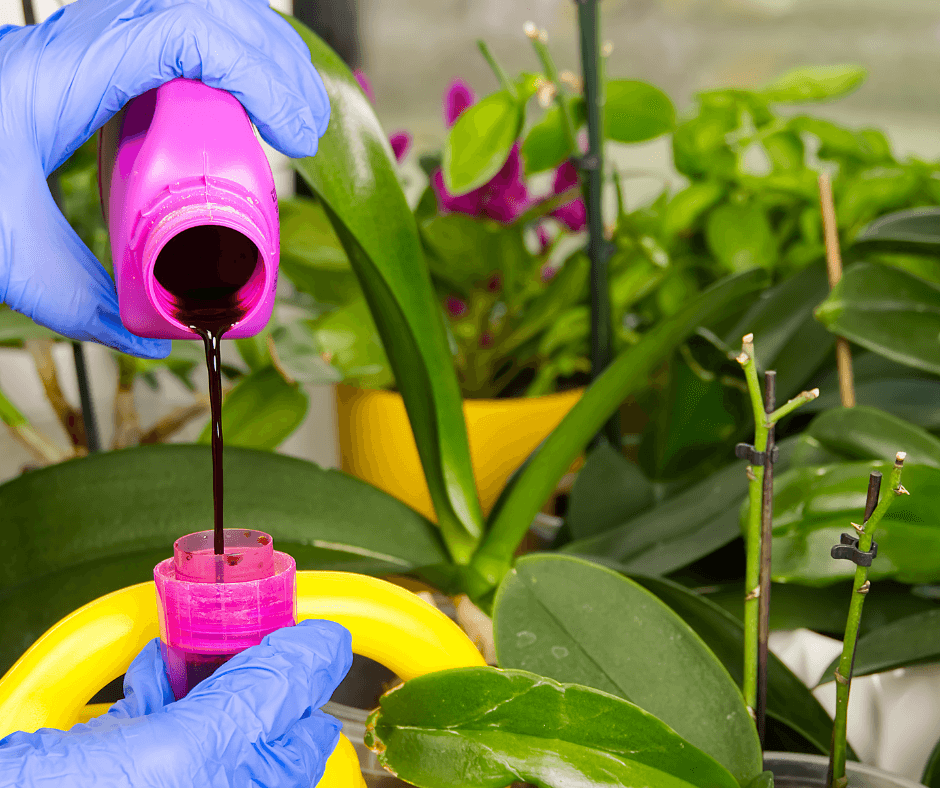
Each time Nancy waters her orchids, she includes diluted fertilizer formulated for orchids.
3. Plant Orchids in the Right Mix: Nancy uses medium-sized orchid bark as a growing medium, which is best suited for growing moth and dancing lady orchids. (If you grow ground, or terrestrial, orchids, plant them in finer Black Gold Orchid Mix). She repots her orchids every 3-4 years with new orchid bark. She keeps her potted plants in a tray with pea gravel and a small amount of water over the pea gravel to give the plants added humidity.
4. Water Properly. Nancy is lucky. She has low-mineral tap water for irrigating orchids, but most homeowners have hard, mineral-rich tap water which can damage and even kill sensitive orchids. If you have hard water, then watering orchids with distilled water is a better option. Water plants about once a week. She cautions that many people water too often, so once-weekly water is sufficient if you can maintain the humidity around your orchids. Each time she waters, she adds diluted orchid fertilizer.
4. Read About New Orchids and Their Care: Getting the Oncidium to bloom on a regular basis has been a challenge and they have not been nearly as reliable as the annual-blooming Phaelenopsis. This is partly due to the Oncidium genus being very diverse in nature as its habitat can be found from the tropics to areas of high elevation with growing conditions being obviously quite different. Nancy recommends checking the label for specific information. (Click here for The American Orchid Society’s helpful page on Oncidium care, and click here for their definitive page on Phalaenopsis care.)
You will know that it’s time to upgrade an orchid when the fleshy roots fill the pot. Provide it with a slightly larger, well-drained pot, gently release the roots and place them in new bark. Then water thoroughly.
5. Give Orchid Care a Try: After your orchid plant has finished blooming, instead of throwing it away, try holding it over and see if you can get a rebloom. For starters, I would suggest the Phalaenopsis. It can be a bit of a challenge, but the reward is great when you have new blooms coming from your plant and knowing that you were successful.
“Is it possible to grow any vegetables indoors in a sunny room with a grow light? I live in NE PA and we have long cold winters. I would love to grow veggies over the winter. I have a room that I think would work.” Question from Melanie or Susquehanna, Pennsylvania
Answer: What a nice space! You can certainly grow container vegetables in your bright, sunny room. It offers so much natural sunlight that only some supplemental grow lights will be needed, if any. Vegetables will grow best in the sunniest window. A south-facing exposure is optimal.
Supplemental light may only be needed if you grow fruiting vegetables that need extra sunlight, like tomatoes and peppers. Greens and herbs should not need supplemental light; your bright windows and skylights should be enough. As far as grow light options, if you need to supplement choose a tall, adjustable grow light (click here for an example). (Click here for more information about different grow light types and options.)
From there, I recommend that you watch the video and read the article below. They should give you all the details that you need to grow vegetables inside.
“What do you do with strawberry plants in the winter?” Question from Jacklyn or Portland, Oregon
Answer: In mild areas like yours, strawberries (Fragaria spp., USDA Zones 4-9) are very hardy, so no special overwintering measures need to be taken. You can, however, clean them up and thin clumps that are over 3 years of age to encourage strong fruiting. Central plants that are three or more years old start to produce less and less fruit. If you replace the main plants with one of the plant’s newer offshoots, you will get more strawberries the following year.
Start by weeding around your strawberry plants. You can also protect them with light straw or leaf mulch around the base of the plants. If you have older strawberries that need to be thinned and replaced, remove the central plant, and plant in its place one of the larger offshoots that have rooted. Fertilize your new strawberry plants with an all-purpose slow-release fertilizer to encourage good rooting and growth through fall and again late winter. Feed once more in early to mid-spring.
From there, I encourage you to watch our video about everything that you need to know about growing strawberries.
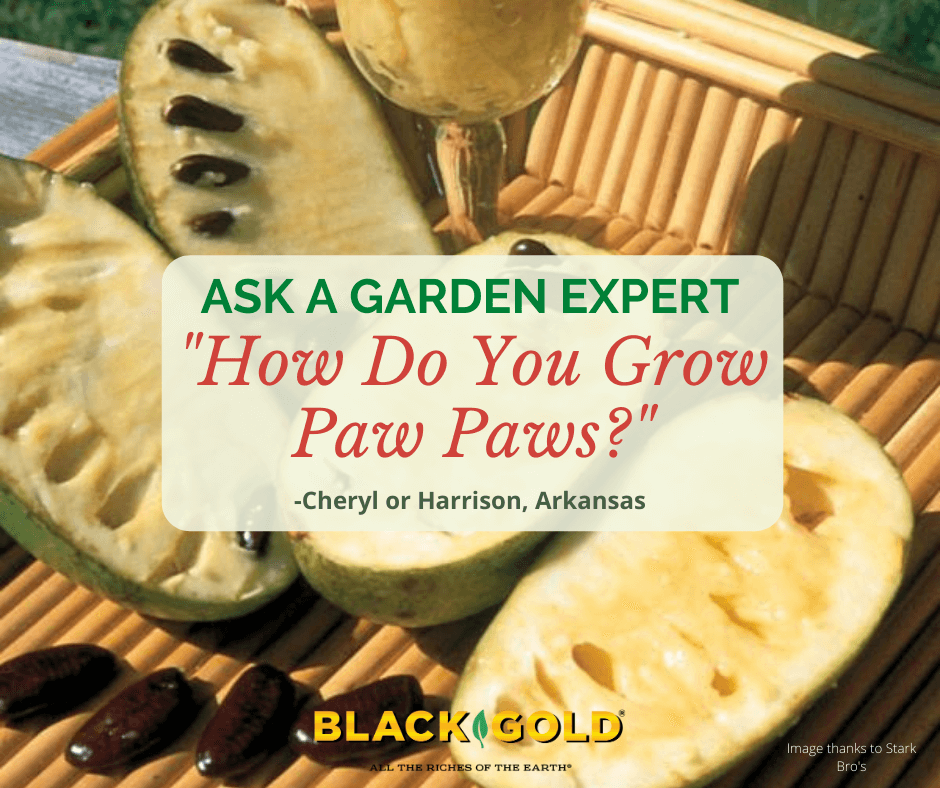
How Do You Grow Paw Paws? (Image thanks to Stark Bro’s)
“I have heard that it is almost impossible to grow a pawpaw tree. Is it possible for someone that is not a master gardener to grow this tree? I would love to have a few.” Question from Cheryl or Harrison, Arkansas
Answer: You are in luck! Pawpaws (Asimina triloba, USDA Hardiness Zone 5-9), also called custard apples, are easy to grow. Some varieties are self-fruiting, but most require cross-pollination, so you will need more than one tree for fruit development. Pawpaws are also growing in popularity, so there are more and more varieties with great tasting fruit from which to choose.
Pawpaws are native across eastern North America and look great as small specimen trees (15 to 30 feet) in sunny locations. In spring, the tidy, attractive trees produce unique, three-petaled purplish-maroon flowers, and in fall the large leaves turn shades of golden yellow. Pawpaw fruits are oval, greenish-yellow on the outside, and custardy, sweet and yellow on the inside with large black seeds. The fruits are ready to harvest by late summer or fall, depending on the variety. Wild fruits are sweet and taste somewhat like a ripe banana when mature, but new varieties have been selected for their improved flavor.
Five Great Paw Paw Varieties
‘Mango‘: The late-to-ripen fruits have extra flavorful, orange flesh.
These trees look very nice when planted in open, sunny lawns as specimen trees. They grow best in fertile soil with average drainage and a slightly acid to slightly alkaline pH of 5.5 to 7.5. At planting time, amend the soil with a little Black Gold Canadian Sphagnum Peat Moss. (Click here for more details about how to plant trees.) Keep the trees well irrigated in the late spring and summer of the first year, especially during hot spells. Fertilize with a granular fertilizer at planting time. Space the trees at least 20 feet apart in anticipation of their mature size.
“What is the best practice to ensure a window-sill cilantro plant will thrive? I have a green thumb and can grow or rehab practically any plant/flower/herb/garden. However, each time I’ve purchased a cilantro plant, it wilts after a few months. I only water when dry. Thank you!” Question from Ann of Raleigh, North Carolina
Answer: Cilantro (Coriandrum sativum) is a short-lived annual herb that grows best in full sun and cooler temperatures between 65–70°F. That’s why it dies away after a few months after flowering. It’s just what annuals do. My recommendation is to start it from seed in pots along a sunny windowsill and keep replanting as needed.
Growing Cilantro from Seed
Cilantro seeds germinate well in Black Gold Natural & Organic Potting Mix. Sow the seeds, cover them lightly with 1/8 of an inch of soil, and water them thoroughly. Then keep the seeds lightly moist by spritzing them with water. Expect them to sprout in a week to ten days. Then keep the soil just moist by watering from the bottom. It also helps to apply an application of water-soluble fertilizer weekly after they begin to grow. Typically, you can start trimming the leaves for cooking after a few more weeks. Microgreens can be harvested earlier.
Cilantro remains leafy for only a couple of months before it starts to send up stems of white, lacy flowers. If you let it flower and set seed, you can harvest and dry the coriander seeds for pickling and cooking. If you prefer cilantro, then pull the plants as they flower, and plant seeds anew. You might even maintain a couple of pots and plant them several weeks apart to ensure you have a constant flow of cilantro.
Some cilantro varieties stay leafy longer than others. ‘Calypso‘ is one of these. It is generally ready to harvest 50 days after planting.
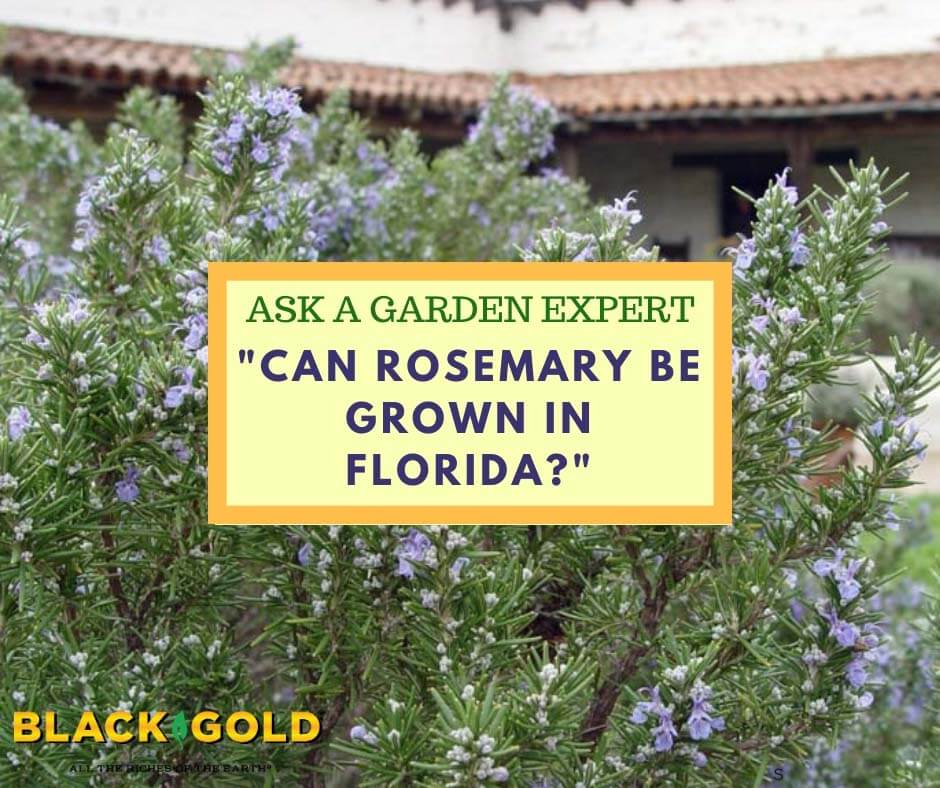
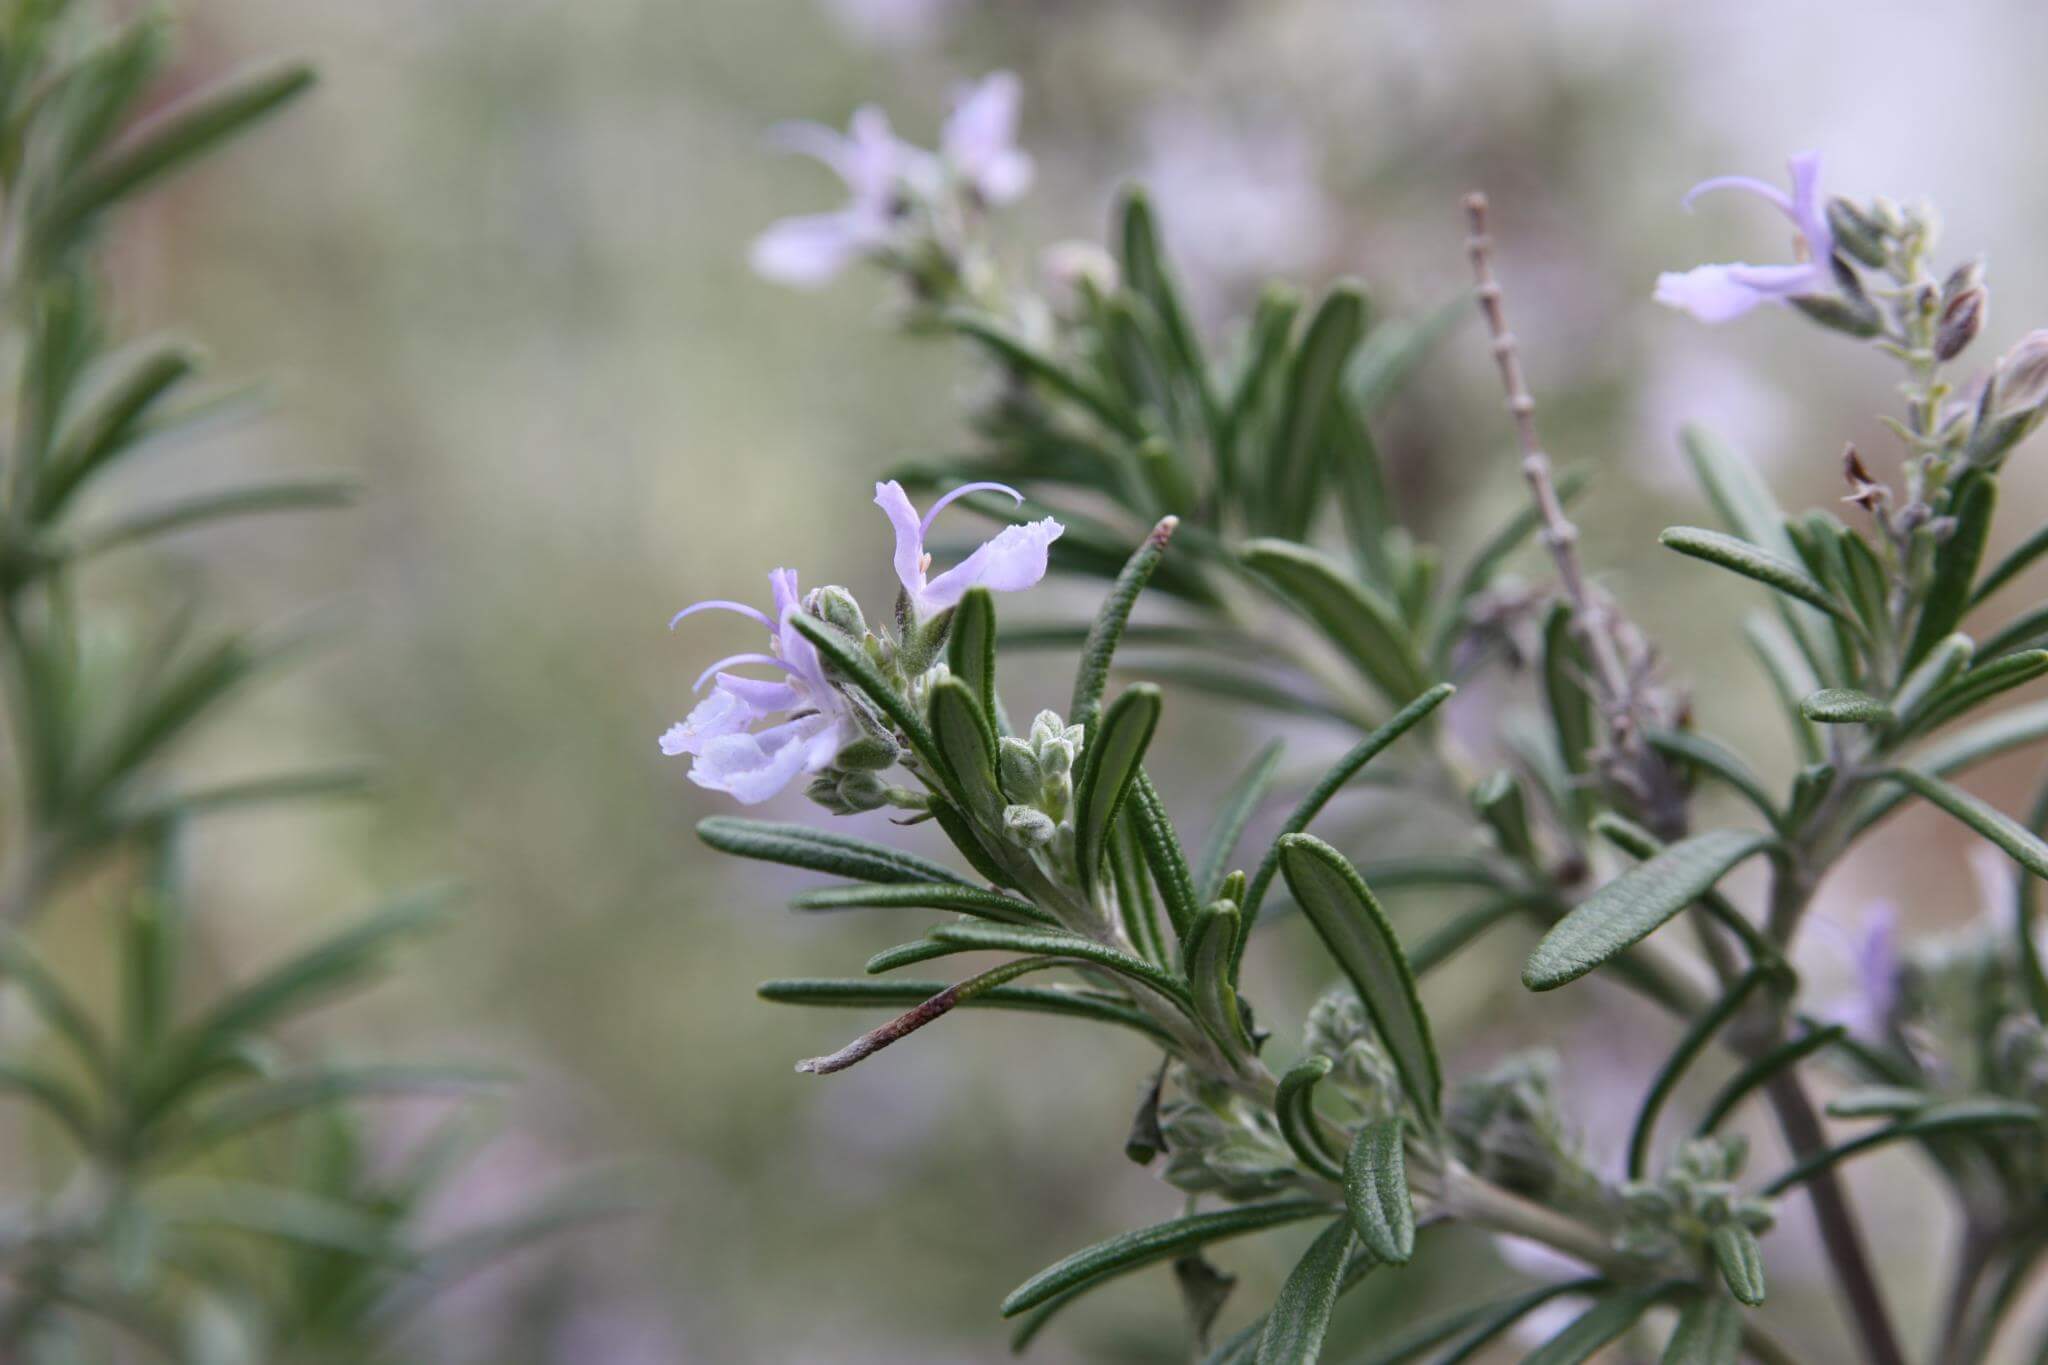
What Rosemary Varieties Survive in Southern California?
“Will rosemary plants survive a mild winter in Zone 9?” Question from Linda of Fresno, California
Answer: Yes! Rosemary (Rosmarinus officinalis) is a drought- and heat-tolerant Mediterranean shrub made for California growing. Here are my top four favorite rosemaries that will grow beautifully where you live. Each is unique in its own way.
Top Four Favorite Rosemary Varieties
‘Blue Boy’ dwarf rosemary (Zones 8-10): The low-growing ‘Blue Boy’ stays 6-8 inches tall and spreads to a foot and a half. It’s perfect for containers and flowers well.
‘Irene’ weeping rosemary (Zones 8-10): Plant this along the edge of a retaining wall or large pot. Its lavender-blue flowers, flavorful stems, and cascading habit make it a very impressive choice.
‘Arp’ hardy rosemary (Zones 6-10): Here’s the rosemary that I grow on the East Coast. It is big, bushy, flavorful, and will survive very cold winters.
‘Tuscan Blue‘ (Zones 8-10): Noted for its vigorous nature, bushy habit, and wealth of spring flowers, ‘Tuscan Blue’ is also exceptional for cooking.
I hope that some of these great rosemary plants interest you.