

Petunia plants are costly to buy and easily grown from seed, so grow them at home. Here’s how to start your own petunias from seed!
More seed starting resources:
Click here for more tips about how to start seeds on a budget.
Petunia plants are costly to buy and easily grown from seed, so grow them at home. Here’s how to start your own petunias from seed!
Click here for more tips about how to start seeds on a budget.
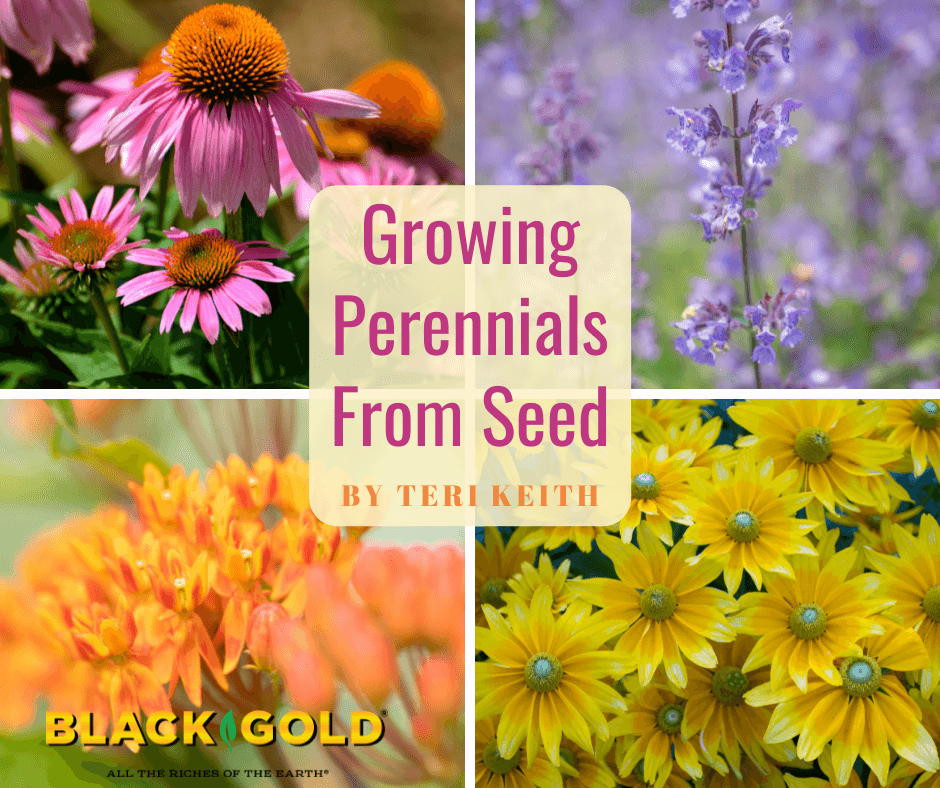
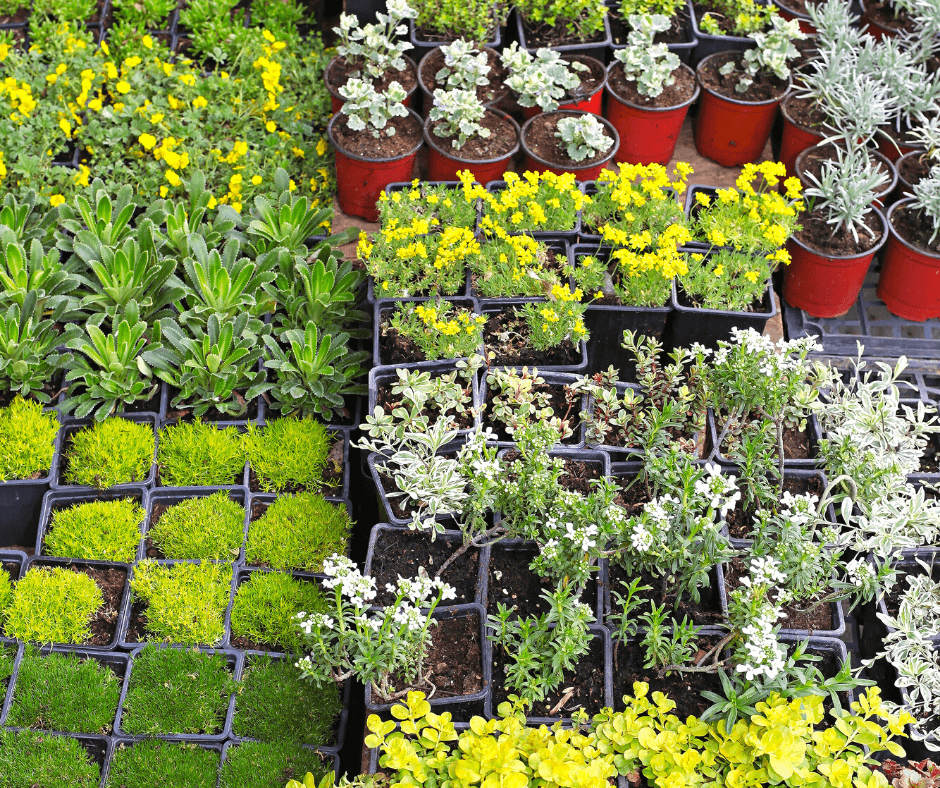
Spring will be here before you know it, and this means it is time to buy this year’s perennials, whether old favorites or new ones you haven’t tried before. The problem is how much they cost. To plant a modest new bed of perennials, you can expect to pay over $100 for just eight to ten plants. Growing them from seed is much more cost-effective if you know what to grow and how to grow them.
As a lifelong gardener and former perennial nursery manager, I am sensitive to the cost of these garden staples. Perennial plants seem to get more expensive year after year. For example, I planned to buy several butterfly weeds (Asclepias tuberosa) this season to help the struggling Monarch butterflies. But, even small pots are $8 to $10 per plant or more. Most designers recommend planting garden flowers in groups of three or more, so that is a minimum of $30.00 for just three plants, and more is always better. That is a lot of money! In turn, butterfly weed seeds are usually no more than $3.50 for a packet of 50 seeds. Wouldn’t it be nicer if you could grow them from seed and save a fortune? Here’s how to do it.
There are a few essentials that home growers need if they are not fortunate enough to own their own greenhouse, conservatory, or sunroom. The items are low-cost and most can be used year after year. I do not recommend windowsill seed starting if you intend to grow seedlings to planting-sized plants because even south-facing windows don’t provide enough uniform light to keep seedlings from stretching and becoming spindly. Fancy seed starting racks or systems can be purchased, but I have always found the following materials to work just fine for all of my seed starting needs, and I’ve been doing this for nearly 50 years.
 First of all, you need to buy grow lights. Plants require most wavelengths of light to feed themselves and grow, so the more full-spectrum the bulb the better. Four-foot-long shop light fixtures fitted with fluorescent grow bulbs is the most economical option, though other bulb and fixture options exist. (Click here to learn more about different grow bulbs, and Click here to learn the difference between shop light bulbs and grow light bulbs.) The best prices I have found online are for the AntLux 4ft Full Spectrum LED Shop Lights and Fixture, and the Durolux 4Ft Full Spectrum Fluorescent Lights and Fixture.
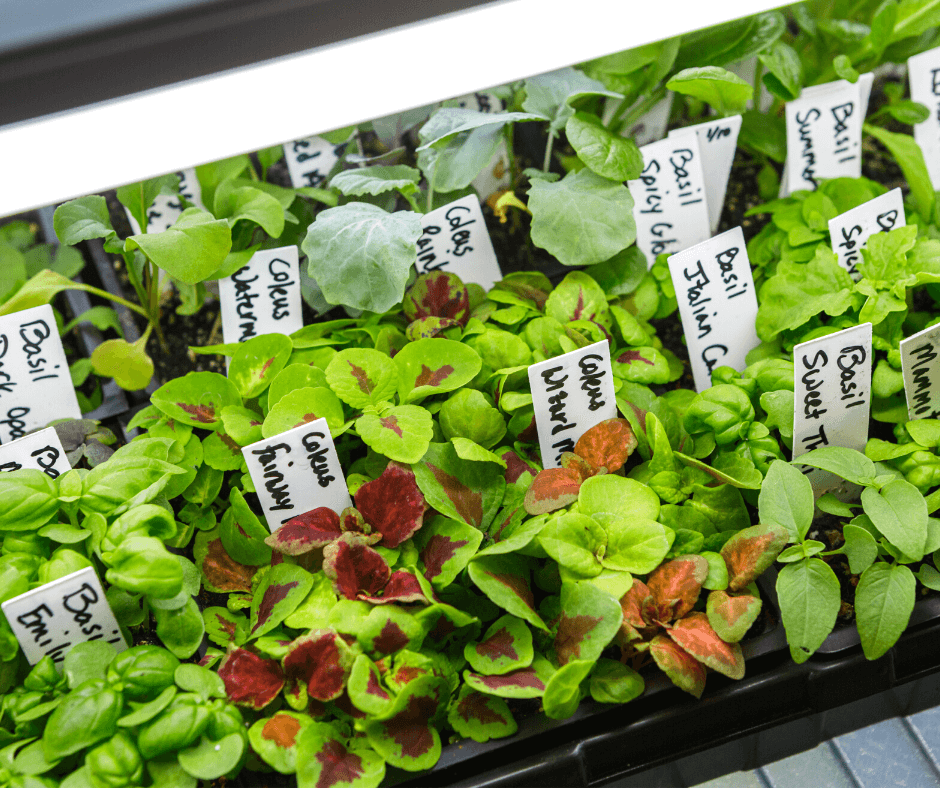
Then you will need special seed starter trays. It is a small investment, but quality starter trays can be washed and reused for many years. I recommend Delxo Seed Starting Kits with trays that have 48 individual planting cells for lots of seedlings and a watertight base tray. The kits also come with plastic covers with air vents at the top to control temperature and humidity, plus small tools, to help plant the seeds, and remove the seedlings. The kit even comes with its own labels, though I always like to have extra wooden planting labels because they are always handy.
If you reuse your trays or labels from year to year, be sure to scrub them out with hot water, dish soap, and a little bleach before using them again. Remember to rinse them well to remove any bleach residue.
 And lastly, you need a special seed starting mix, such as Black Gold Seedling Mix, which is extra fine for small or large seeds and lacks added fertilizer or salts, which can inhibit sprouting in some seeds. Our OMRI Listed Black Gold Seedling Mix also has an added organic wetting agent, to keep it from repelling water when dry, and it contains RESiLIENCE, a special silicon additive that is believed to promote better root growth, denser branching, and faster recovery should you forget to water.
Once seedlings start to put out their true leaves, you can start fertilizing them. I always choose quality, all-purpose, water-soluble fertilizer, such as Proven Winners Water Soluble Plant Food. Seedlings need gently water from the top in addition to bottom watering. Misters or small watering cans are very useful for seed starting.
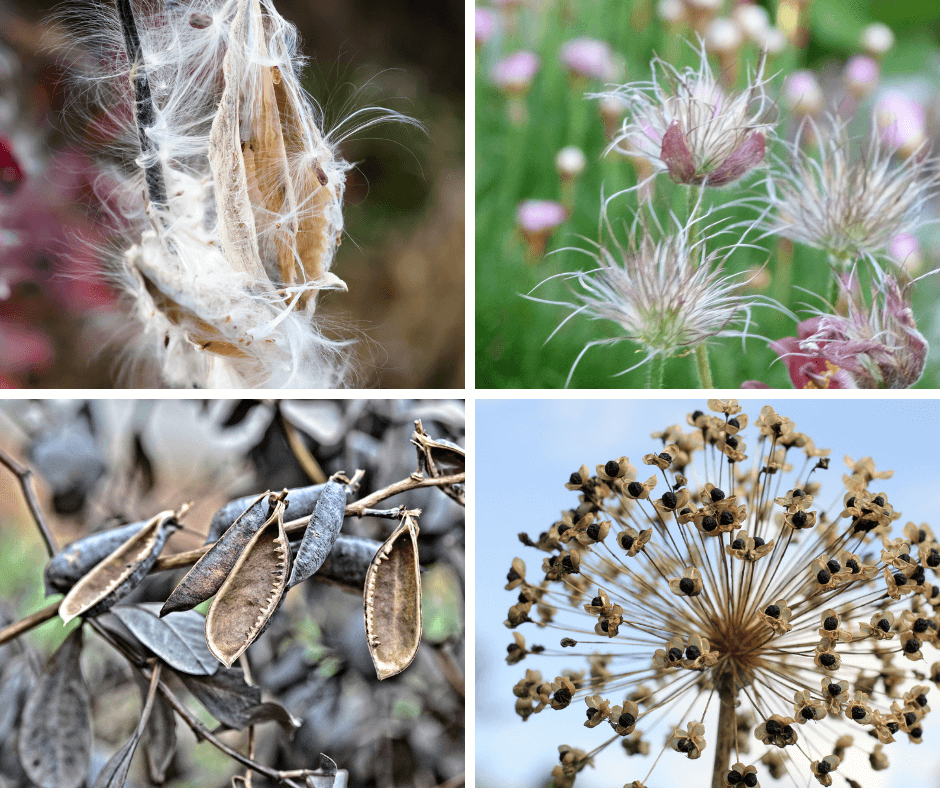
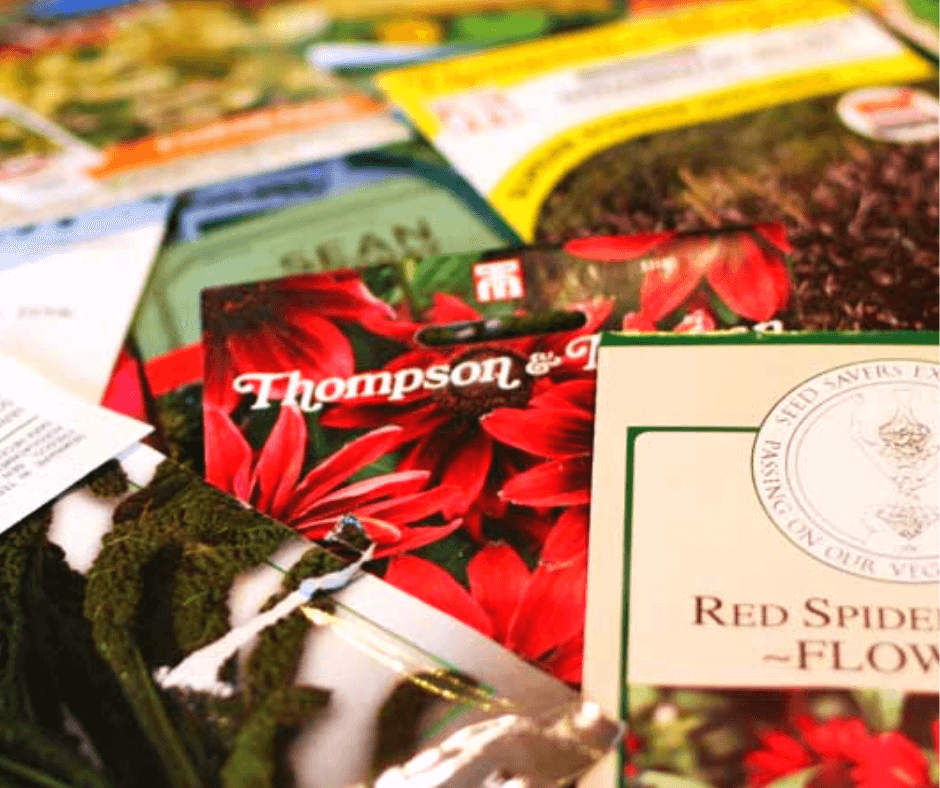
Before addressing what to grow, there are two sources for perennial seeds that I always use and highly recommend. The first is Park Seed (visit their website to request a catalog). They have a huge collection of seeds, and I have been buying from them since the early 1970s. Their seeds are always fresh, well packaged, and germinate well. The other perennial source I adore is Select Seeds. They are the only company I know of that has heirloom flower seeds, some going back to the 1600s. Their packets are filled with many seeds, and they always do well for me. Swallowtail Seeds has lots of varieties and comes highly recommended. Finally, my oldest daughter grows lots of native perennials and has recommended Prairie Moon Nursery to me on many occasions for their quality seeds. You might also try your hand at seed collecting from year to year, if you feel adventurous.
Start by reading your seed packets from cover to cover. Some perennial seeds can be planted with no preparation, but some need to be nicked or chilled in the refrigerator for several weeks to properly germinate. Those that I highlight below are not challenging to start, but It is good to know that some seeds need a little more attention.
Next, gather all of your materials. Make sure to hang your lights and prepare your growing area. I like to put down a plastic table cloth to protect any tables from leakage and for easy cleaning. Fill up your watering cans and misters, and get going.
Wash your hands before starting, to avoid any contamination. Put the seedling mix into a bowl, and wet it until uniformly moist. Fill the cells in the trays with the moistened seed starting mix, and be sure to leave a little space at the top for large-seeded perennials. (After reading the back of your seed packets, you will know if the seeds need to be covered or not.) I like to determine how big seeds are before I start planting. Some seeds are dust-like (Begonia seeds), while others are very large (perennial sunflower seeds), so some are simply sprinkled on the soil surface while others must be covered.
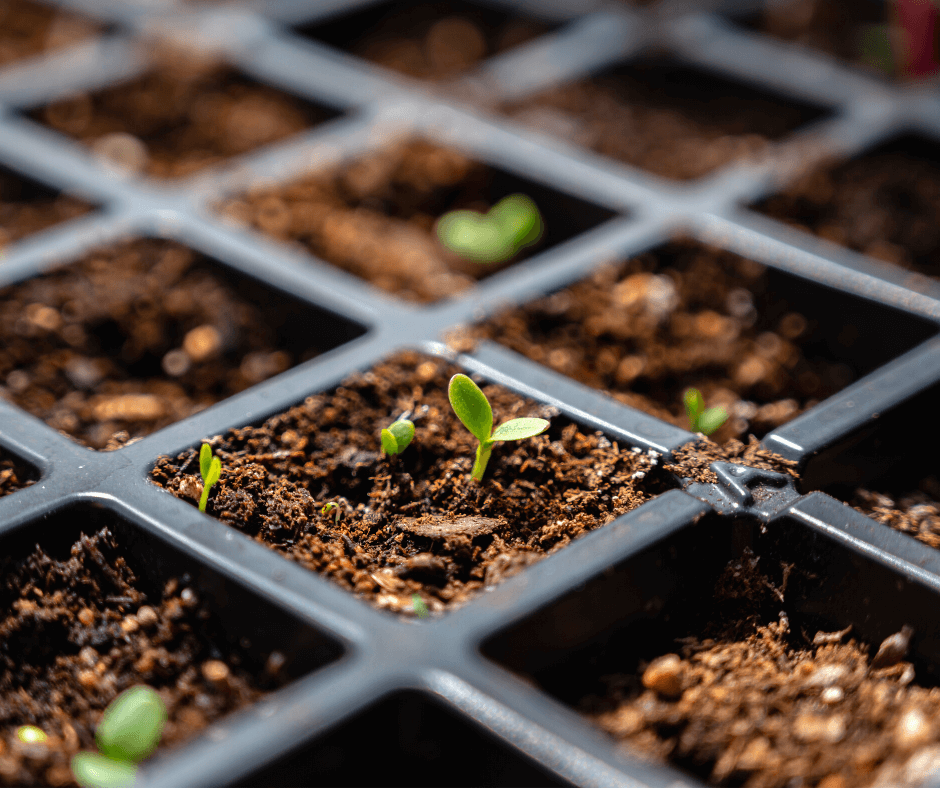
I like to sow two seeds per cell to make sure I get at least one seeding per cell. When working with small to medium seeds, I sprinkle two into the cell, making sure that they are separated, and then gently press the seeds down into the mix. (If both seedlings pop up, I either remove the weakest seedling after the seedlings have grown a bit, or I gently move one of the seedlings to an empty cell.)
Label the cells, either as groups or individually, marking each different flower you are growing and the date planted. Mist the seeds, but make sure that the soil is moist, not saturated. Saturated soil will cause seeds and seedlings to rot before they get a chance to grow. Put the cover on the tray, and lower the lights as close to the tray as possible. The plastic cover keeps the mix from getting dry, but aeration is also important. Sometimes I lift the cover for several hours in the day to let things dry out a little.
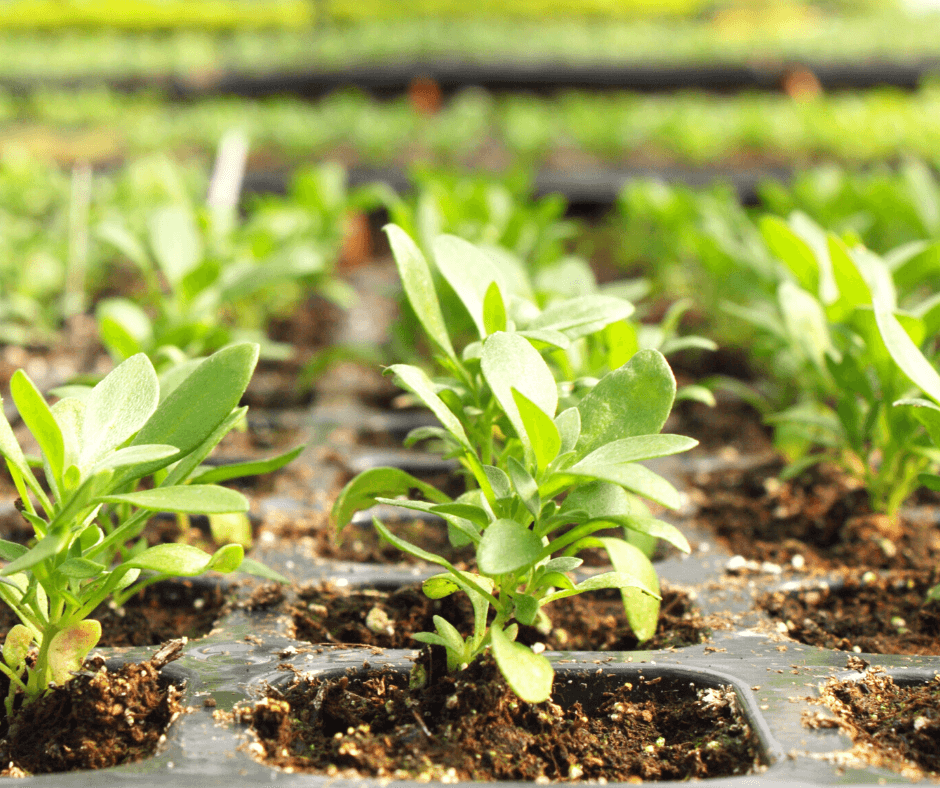
Once the seedlings have all popped up, remove the lid entirely. Too much moisture will cause damping off, or seedling rot. When you have removed the lid, keep the grow lights just inches above the small plants. This will encourage the densest growth and keep plants from becoming leggy. This is also the time to start feeding the seedlings weekly with a 1/2 strength solution of fertilizer. Fast-growing perennials may need to be upgraded into larger, 4-inch pots, some won’t. They will also require a little more water, so make sure you don’t let them get dry. Lightly moist soil is recommended. When your seedling is large enough to plant, usually 5-8 inches, and the spring weather allows, it is time to harden them off and get them planted.
When the threat of frost has passed, it’s time to move the seedlings outdoors for hardening off, which reduces shock and helps perennials acclimate them to a sunny, outdoor environment. Start by bringing the trays outside, starting with a couple of hours, and increasing it until they are well adapted to the light, wind, and temperatures of the outdoors. After a week or so of hardening off, you can plant your perennials in the garden!
New plants always grow best in a prepared bed (OMRI Listed® Black Gold® Garden Compost Blend will increase organic matter and drainage) or container filled with quality potting soil. Be sure to plant your seedlings in locations with the right sun and soil for their needs.
At planting time, be careful with your little perennials. When removing one from a cell never pull it out from the top. Instead, tip the tray partway over and push up from the bottom to release the roots. A butter knife can also be used to lift small plants from cells or loosen perennials from a 4-inch pot. fertilize time-released fertilizer for easy summer feeding.
There are lots of easy perennials that will bloom in the first year from seed. I have grown and enjoyed ‘Gay Butterflies’ butterfly weed, black-eyed Susans (Rudbeckia spp.), phlox, catmint (Nepeta spp.), asters (Symphyotrichum spp.), perennial geraniums, salvias, blanket flower (Gaillardia x grandiflora), and many other wonderful, easy perennials from seed. Over the years, they have brought me much joy and saved me lots of money! Here are growing details for a few of these.

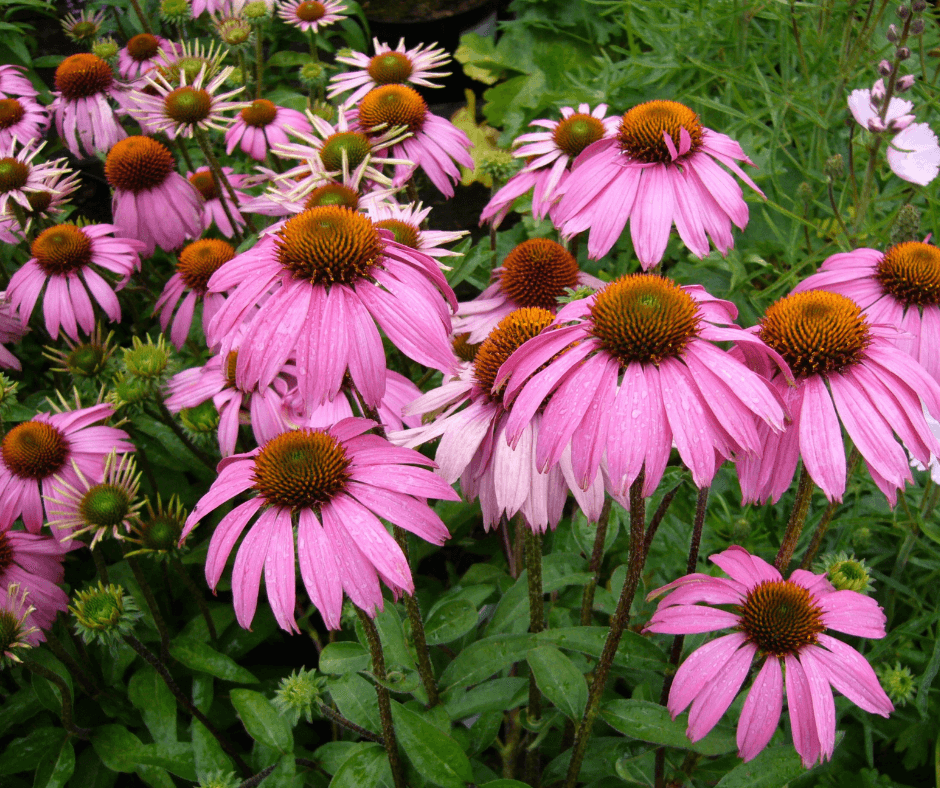
First, I recommend growing varieties of coneflower (Echinacea spp), which is one of the easiest perennials to grow from seed. I especially recommend the AAS award-winners, ‘Pow Wow Wildberry‘, which has large, bright pink flowers, and ‘Cheyenne Spirit‘ with its mixed coneflowers in lovely sunset colors. Both will sprout in no time and bloom in the first summer. Bees and butterflies will cover the blooms. (Click here to see more varieties.)
Seed Starting: Cover seeds lightly with seed starter, and keep them lightly moist. average room temperatures between 65º and 70º F encourage good germination. Seeds should sprout within three weeks.

This tough, North American native blooms through summer with deadheading and can take the heat. Perennial blanket flower is also very easy to start from seed. There are lots of pretty varieties available, just be sure that the ones you choose are G. x grandiflora cultivars because most others are annuals. The sunny peach-flowered ‘Mesa Peach‘ is a very pretty one to try as is the red and gold ‘Arizona Sun‘.
Seed Starting: Cover seeds with a little seed starter, keep lightly moist, and maintain a fairly warm room temperature. Germination often takes one to two weeks.

Purplish salvia flowers line the upright stems of this salvia through summer with deadheading deadheaded. If plants are started in February or March, they should bloom in the first year. (Click here to see lots of seed options!)
Seed Starting: Lightly cover the seeds with seed starting mix and keep slightly moist. Place seed pots 4 inches from grow lights for best results. A heat mat can also be useful. Germination should take three weeks or more.
Click here for an article about how to grow Lavender from seed.
Click here for an article about growing milkweed from seed.
Click here for an article about growing award-winning annuals from seed.
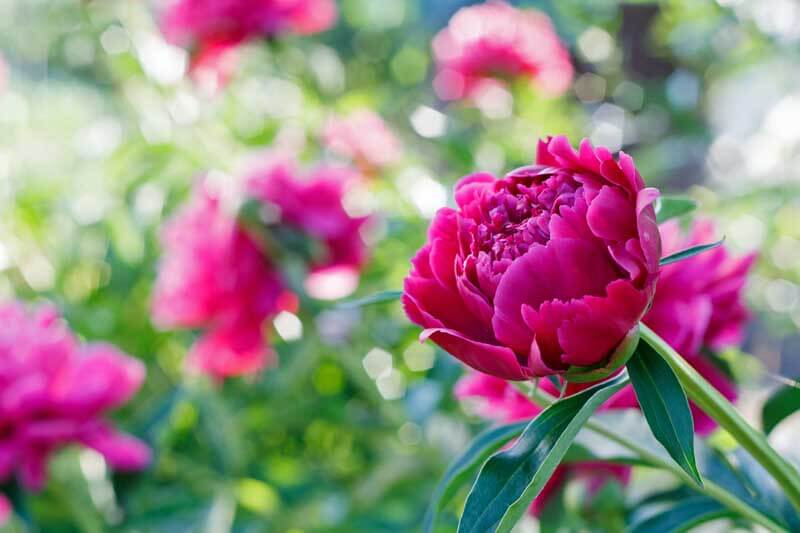 “How do you harvest and grow peony seeds?” Question from Mark of Barrie, Ontario, Canada
Answer: If your peonies successfully cross-pollinated and produced viable seeds that can be induced to sprout, then the plants will develop seed pods that should contain fully mature seeds in late summer or early fall. The round, tough seeds should be harvested as soon as the pods open and begin to turn brown. The seeds will be dark brown to black.
It takes time and patience to get peony seeds to sprout. Some seeds will produce seedlings in a year and others can take up to three years. Fresh seed will yield the best results. The seeds require a process called stratification, which involves a chilling period of a few months before one can try to induce the seeds to grow. In the case of peony seeds, they need a warm period, chilling period, and warm period. Stratification can be done indoors or outdoors.
The outdoor method is a little less precise and may take longer, but it often yields the best results. As soon as you harvest your seeds, soak them for three to four days in water. Change the water each day. Unhealthy seeds will float, sink, and become soft. Healthy seeds will swell, and remain round and firm.
Collect the healthy seeds, plant them 1.5 inches down, and 3 inches apart in a flat of Black Gold Natural & Organic Potting Mix. It contains peat as well as composted bark–a combination favored by peony seedlings. Count the seeds and note their placement to keep track of their progress. Also, be sure to label the flat with the planting date, name, and any other essential information. Place the flat in a safe location in partial shade. Keep it moist through the warm days of fall, then cover the top of the flat with plastic wrap in late fall, and let it remain over the winter. Remove the plastic in early spring, and keep the flat moist through spring. The seeds should begin to sprout by mid to late spring. When they emerge, feed them lightly with a water-soluble, all-purpose fertilizer as soon as their second (true) leaves emerge. Once they reach a few inches, you can transplant them to pots or a location in the garden with good soil. You will need to baby them as they grow. It may be wise to protect them with chicken wire or plastic collars. Placing diatomaceous earth around them should also keep snails and slugs away.
Some seeds may not sprout in the first year. If this is the case, keep the flat in place, maintain moisture through summer, and repeat the stratification process in fall and winter.
Take your healthy peony seeds indoors, place a few in a 4-inch pot filled with Black Gold Seedling Mix. Moisten the pot, and place it under grow lights for a month and a half. Keep the pot moist and make sure the indoor temperature is between 70 and 80 degrees F. After a month, place the pot in an air-filled plastic bag in the refrigerator. The best temperature for stratification is 40 degrees F. Moisten the pot every couple of weeks while it is in the refrigerator–don’t let it get dry. After three months, remove and place it under grow lights. Keep the pots lightly moist, maintain a temperature between 70 and 80 degrees F, and the peony seeds should sprout in a month or two. A heat mat set to warm can help. (Please click here for more detailed information about how to start seeds indoors.)
The American and European Peony Societies are great information resources for additional information. (Click here to read the EU Peony Society’s highly detailed PowerPoint about peony seed starting.)
Happy gardening,
Jessie Keith
Black Gold Horticulturist
“Is it too late to start turnips from seed in zone 7?” Question from Patricia of Warrenton, North Carolina
Answer: It depends on your weather and the turnip. On average, they take around 40-50 days to yield roots from seed. If your Novembers remain reliably mild, then plant them. Another option is to build a cold-frame for growing winter root vegetables and greens. (Click here for Tips for Cold Frame Gardening)
If you want to give them a try, here are four excellent varieties:
Make sure to work up the soil before planting them and amend it with Black Gold Garden Compost Blend. I generally cover the seeds with a light sprinkling of Black Gold Canadian Sphagnum Peat Moss to help them stay moist and sprout quickly.
Happy gardening!
Jessie

“Where can I buy Campari tomato seeds for plants?” Question from Rena of Morehead City, North Carolina
Answer: The seed for commercially available Campari tomatoes is generally difficult to find (click here for a possible source), but there are many comparable well-branched, tasty, cocktail tomatoes that taste even better. ‘Mountain Magic’ is one to try that rivals Campari. Another is one of my personal favorites, the Italian heirloom ‘Principe Borghese‘. Its large stems of delicious fruits look like those of Campari, taste great, are ideal for salads, and even make perfect sun-dried tomatoes.
From there, I encourage you to watch the video below about growing tomatoes from seed to harvest.
Happy tomato growing!
Jessie Keith
Black Gold Horticulturist
“I have packets of seeds from last year. One is a hummingbird mix, one a bee mix, 1 a honey bee mix etc. They’ve been stored in a plastic container in my basement, so they’ve been cool and dry. Should I refrigerate them from now until I’m ready to sow them or just leave them in the basement?” Question from Erin of Kirkwood, Missouri
Answer: Most annual and perennial seeds of temperate plants prefer similar storage conditions–as you said, they like it cool and dry. If properly stored, they can survive for several years with seed viability declining incrementally. In general, count on a storage life of around three to five years. (Click here for a detailed seed-storage chart from Johnny’s Seeds.)
Seeds store best when humidity is low and temperatures are around 40 degrees Fahrenheit. A cool, dry basement should be just fine, as long as it’s cool enough in winter and you store your seeds in a water-tight container. After planting them this spring, transition them into a well-sealed plastic container and keep them in the refrigerator because your basement will certainly be warmer through summer.
I hope that your flower seeds germinate beautifully!
Happy gardening!
Jessie Keith
Black Gold Horticulturist
“We have a short growing season here. I would like to get as big a head start as possible on my seedlings. I plan to start my seeds indoors but also have a pop-up greenhouse, and would like to know how early I can start seeds indoors (under lights) and then transfer to my garden before transplanting to the garden. I am interested most in times for tomatoes.” Question from Melissa of McDonough, New York
Answer: When planting tomatoes in areas with cooler, shorter summers, you need to consider the variety as well as starting/planting time. In general, it takes about six to eight weeks to yield ready-to-plant starts from seed. Using heat mats, keeping indoor conditions warm, and providing lots of light will hasten growth. Most tomatoes produce fruit between 60 to 85 days after planting, depending on the variety. Choose tomatoes that produce early and are shown to yield good-tasting fruits in cooler climates. Your average tomato colors up and gains its best flavor when days and nights are warm. You can’t count on these conditions further North, which is why the variety is important. (Click here on a full guide to growing tomatoes from seed to harvest.)
‘Juliet’ (60 days, paste tomato): The award-winning’Juliet’ is a red paste or sauce tomato that also tastes great fresh. It grows quickly and will perform well for you.
‘Golden Sweet’ (60 days, grape tomato): The elongated, grape tomatoes of golden sweet are orange-yellow, mild, and sweet. Vines yield fast.
‘Polbig’ (67 days, slicing tomato): Here’s a tasty, red slicing tomato bred for growing in cooler climates. It also has very good disease resistance.
These are just three of many early, cool-tolerant tomatoes you might consider.
Plant your finished tomato starts outdoors after the threat of frost has passed. Some eager tomato gardeners plant theirs earlier outdoors and protect plants with hoop covers and frost cloth. This is an option, but I find it safer to simply grow mine to a larger size indoors and then harden them off before planting. Your pop-up greenhouse sounds just perfect for the job.
Have a very fruitful tomato growing season!
Jessie Keith
Black Gold Horticulturist
“When is the best time to plant tomato seeds?” Question from Diana of Indianapolis, Indiana
Answer: This is an easy question to answer! It takes around six to eight weeks to grow tomatoes from seed to ready-to-plant starts. And, tomatoes produce fruit between 65 to 85 days after planting, depending on the variety, so you want to give them plenty of time to produce good fruit through the warmth of summer. It’s also good to know that determinate or bush-type tomatoes produce earlier than indeterminate or vining tomatoes.
I always start my tomatoes indoors for the best results. Then, once the threat of frost has passed, I plant them outdoors. Please read this great Black Gold article Growing Tomatoes from Seed to Harvest. It will tell you everything that you need to know to grow the best tomatoes possible from seed.
Happy tomato growing!
Jessie Keith
Black Gold Horticulturist
Is it really better to grow veggies from seeds or do buying big plants work just as well? Question from Donna of Newberry, South Carolina
Answer: It depends on the vegetable and your sense of adventure. Let’s start with the vegetables that should always be grown from seed.
Large-seeded veggies sprout and grow very quickly and are much cheaper to start from seed, so buying them as plants is a waste of money. These vegetables include cucumbers, melons, pumpkins, squash, and zucchini. I start mine in 4″ pots of Black Gold Natural & Organic Potting Mix (seedling mix is not necessary). Plant the seeds a half-inch to one inch down, depending on seed size and packet directions. Water them in, place them in a warm sunny spot outdoors, keep them moist, and they will sprout in days.
You can also plant these seeds directly in the ground, but I like the pots because I have found that this method encourages better germination, and I can protect the young plants from foraging pests. Once the seedlings are strong and have put on several new leaves, I plant them in the ground. (Check out the videos below about growing melons and cucumbers.)
I like to grow peppers, tomatoes, squash, and other vegetables from seeds because I always want to try new and exciting varieties that aren’t sold at local garden centers and nurseries. Some of my favorite vegetable seed vendors for cool varieties are High Mowing Organic Seeds, Baker Creek Heirloom Seeds, Johnny’s Selected Seeds, and Pinetree Seeds. Trying new, wonderful varieties makes starting plants from seed worth it.
I should also mention that some vegetables, particularly tomatoes, can get common diseases in the greenhouse and plant nursery–specifically early and late blights. It doesn’t happen very often, but I have unknowingly purchased diseased tomatoes in the past. Since then, I have grown almost all of my tomatoes at home from seed.
Happy vegetable growing!
Jessie Keith
Black Gold Horticulturist
“I purchased rose seeds on [online] and didn’t know they were from China till they shipped (rose image above). I’d love it if you could tell me if they are or are not rose seeds. I’m new to roses, and knowing if these are or are not rose seeds will be very helpful. Thank you so much! :)” Question from Bradley of Cleves, Ohio
Answer: You can plant your rose seed, but they will not mature, as shown in the picture. Many misleading plants and seeds are sold online, and this is one of them. The rose shown in the advertisement is a rambling hybrid climber with beautiful double red roses. It is not seed-grown. All hybrid roses available today are specially bred varieties grown from rooted cuttings or cuttings grafted onto a rootstock (probably a bit too much technical information). To put it plainly, rose cuttings are snipped off stem tips taken from hybrid roses. These are then dipped in a hormone that helps them root, and placed in lightly moist soil until they root and can be potted up and eventually planted into the ground.
Growing roses from seed is rare unless you are a rose breeder. Seed-grown plants will be variable in appearance and take a long time to grow. There are a few reliable seed vendors that sell rose seed, such those of ‘Angel Wings’ miniature roses from Renee’s Garden Seeds, but these sources are not common. Buy full-grown plants instead. They may be a bit more expensive but well worth the investment.
Buying from a trusted seed or plant source means everything. Here are my four favorite rose growers proven to provide healthy, beautiful plants.
1. David Austin Roses – This English rose company is famous for selling some of the most beautiful, vigorous, disease-resistant roses. (They are the best!!!)
2. Star Roses – If you want attractive, highly disease-resistant shrub roses, this is the go-to source.
3. Weeks Roses – Weeks is a famous American rose company with excellent varieties. You can’t go wrong with their selection and quality.
4. Jackson & Perkins – This old-American rose company has lots of wonderful varieties.
For a little extra information about choosing roses and growing them organically, watch the video below.
If you want to try starting your rose seeds, they need to be chilled to enable them to sprout. Plant them in pots or a small tray of vermiculite that is just moist, not wet. Place the pots or vermiculite in a plastic bag and then chill them in the refrigerator fr 10-12 weeks. Then remove them and place them under grow lights or in a sunny window. Keep the vermiculite just moist. Ambient room temperature is ideal. They may take several weeks to sprout. Placing them on a heat mat can encourage faster germination.
Happy rose growing!
Jessie Keith
Black Gold Horticulturist