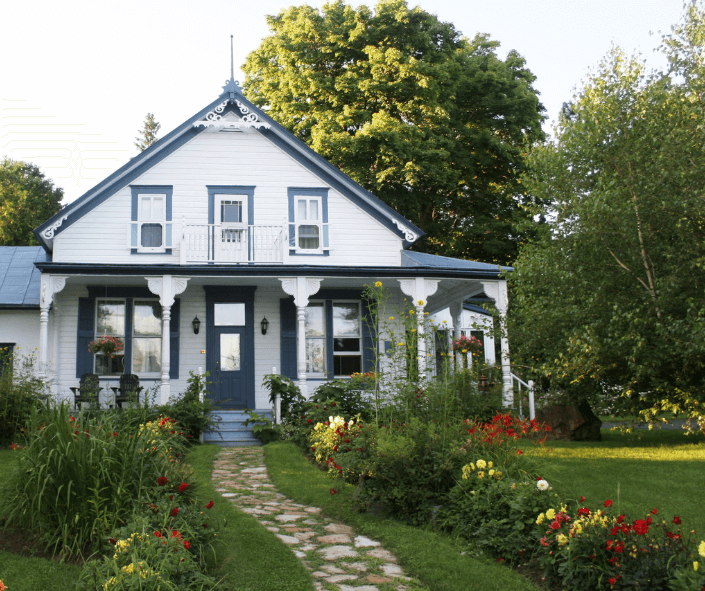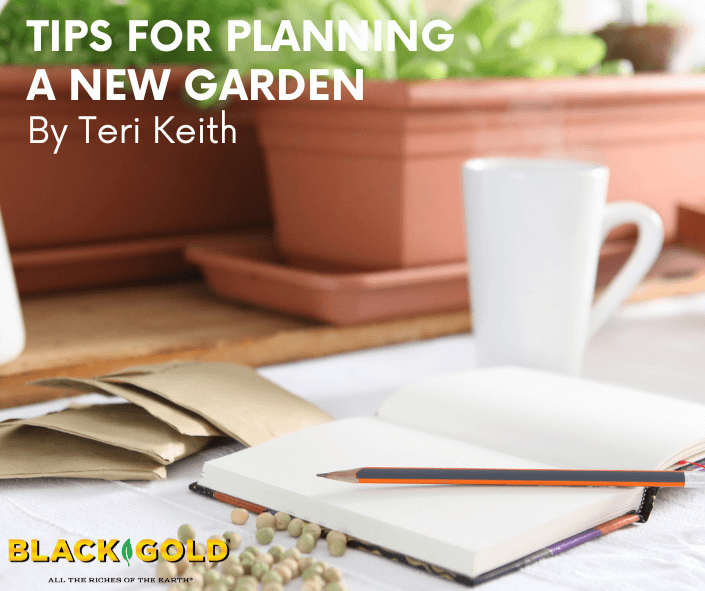
While gardeners in northern states must contend with harsh winter cold and icy winds, there are gardens in warmer states with less harrowing swings from one season to the next. Warmer climate zones mean they have their pick of choice small flowering shrubs and small trees impossible to grow in the north without the aid of a greenhouse. I have chosen those with big visual appeal throughout the seasons.
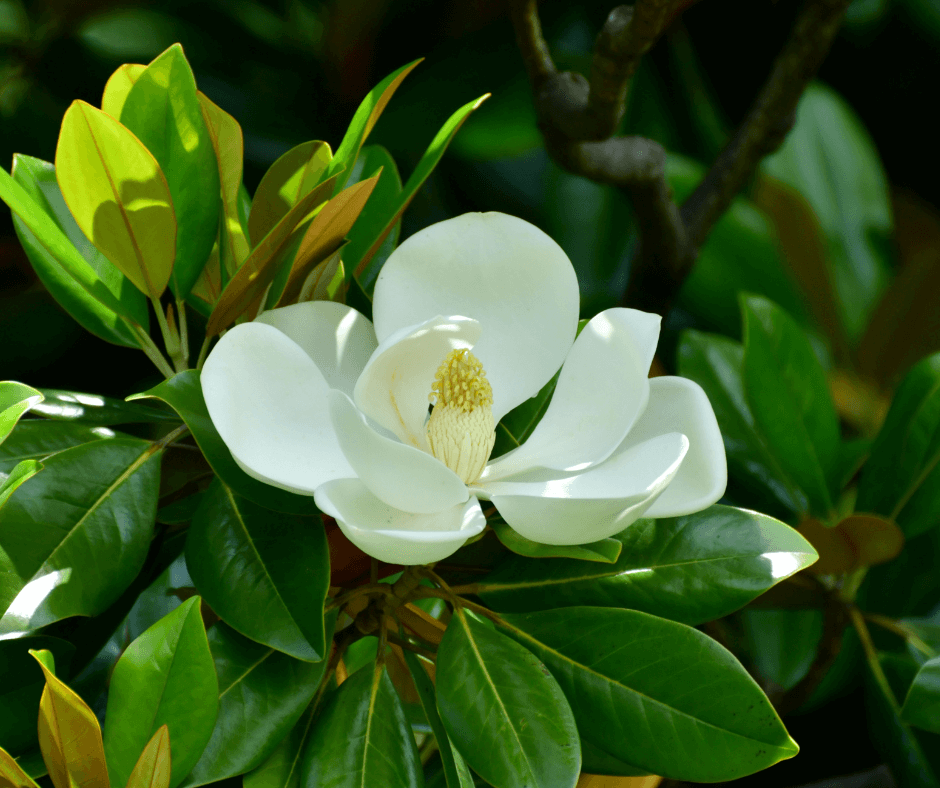
Southern magnolia (Magnolia grandiflora, USDA Hardiness Zones 7-9) has a natural distribution from North Carolina to West Texas. The moderate- to large-sized tree (to 80’) gains placement in the “small tree” category due to several desirable compact cultivars, such as the 20-25-foot ‘Little Gem‘ and 15-20-foot ‘Southern Charm‘. Both have all the beauty of their larger brethren, including large, 6-8-inch, bowl-shaped magnolia blooms of ivory and dark evergreen leaves with glossy tops and fuzzy fawn-brown undersides. The flowers may last for weeks in the mid- to late-spring, depending on the weather. Plant the trees in late winter to early spring in open areas with full sun and loose loam on the acid side. They do not appreciate locations with high winds.
American holly (Ilex opaca, Zones 5-9), is a small sub-canopy evergreen tree with a primary distribution from the Chesapeake Bay Watershed, along the Atlantic coast south to Florida, and west to Texas, with other scattered stands in the interior southeastern U.S., and north to the Ohio River. American Hollies get 15 to 30 feet tall. prefer full sun and well-drained neutral, to somewhat acidic soil. Plant in mid-spring or fall.
Mature specimens develop a pleasing pyramidal habit and have glossy, dark green leaves with sharp, undulating edges (don’t plant them in yards frequented by barefooted people or animals because the fallen leaves smart when stepped upon.) Holly trees are either male or female. Small greenish spring flowers appear on female plants in April-June and ripen to clusters of attractive red berries by the coming fall. Male trees bear male flowers at the same time, but produce no fruit. Therefore, gardeners must plant both a male and female tree to get fruiting trees (no female = no berries). The leaves and berries are often used as Christmas decorations.
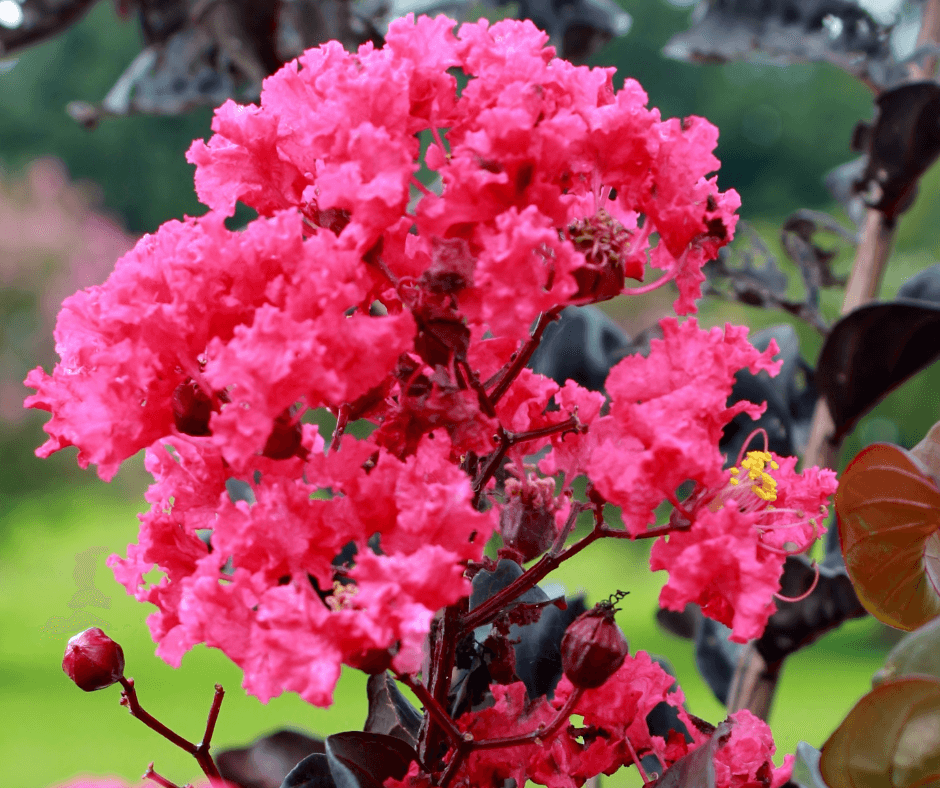
Crepe Myrtle (Lagerstroemia indica, Zones 7-10) is a beautiful, summer-flowering, small shrub or tree reaching 2 to 30 feet, depending on the variety. It is a favorite among southern gardeners due to its beautiful clusters of frilly summer flowers of either red, pink, lavender, or white. The low-maintenance plant likes well-drained soil. Originally from southern China, Southeast Asia, and Japan, crepe myrtle prefers full sun and is moderately drought-tolerant once established. One tall choice variety is the refined ‘Natchez‘ known for having light-tan and copper-brown marbled bark, an elegant vase shape, ivory summer flowers, and yellow, orange, and red fall leaves. The short, shrubby ‘Pocomoke‘ is a fine example of a super dwarf variety, reaching only 2 feet high and 5 feet wide and having lustrous green leaves, rosy-pink summer flowers, and burgundy-red fall leaves.

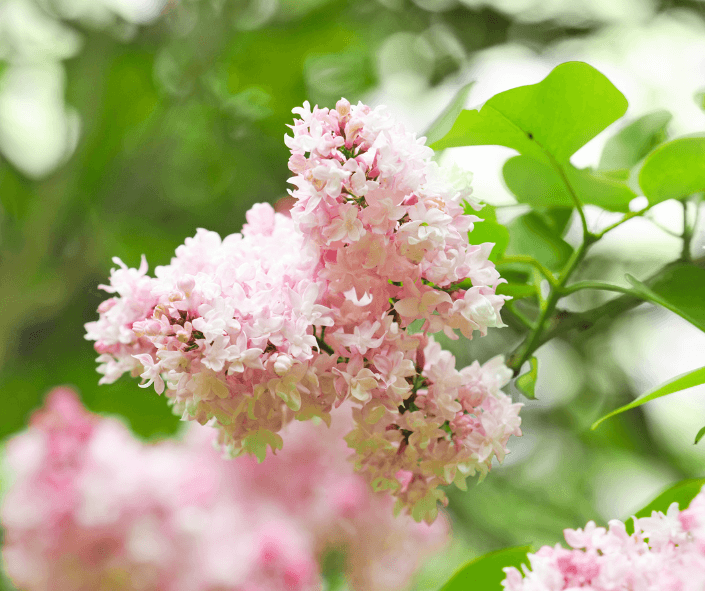
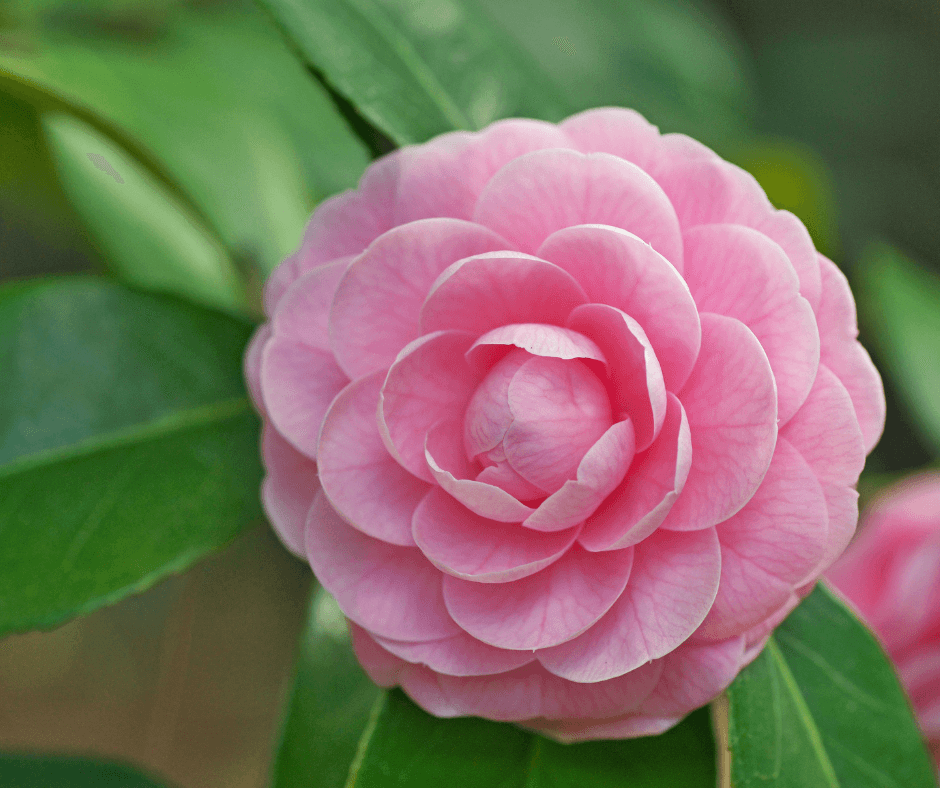
Japanese Camellia (Camellia japonica, Zones 7-9) is a native of Japan and adjacent Asia grown throughout the South for its floral displays. The small evergreen trees reach 10-14 feet and grow best where humidity is high. They are prodigious bloomers from November to April, and the flowers can last for weeks. Reds, pinks, and whites are the common floral colors, and they have a sweet fragrance. Plant them in acidic, organic-rich soil with good moisture and drainage. They grow best with shade in the morning and afternoon sun. Try the classic variety ‘Otome‘, which has pristine, double, shell-pink-flowers or ‘Higo Ohkan‘ with its striking single white flowers with edged in red.
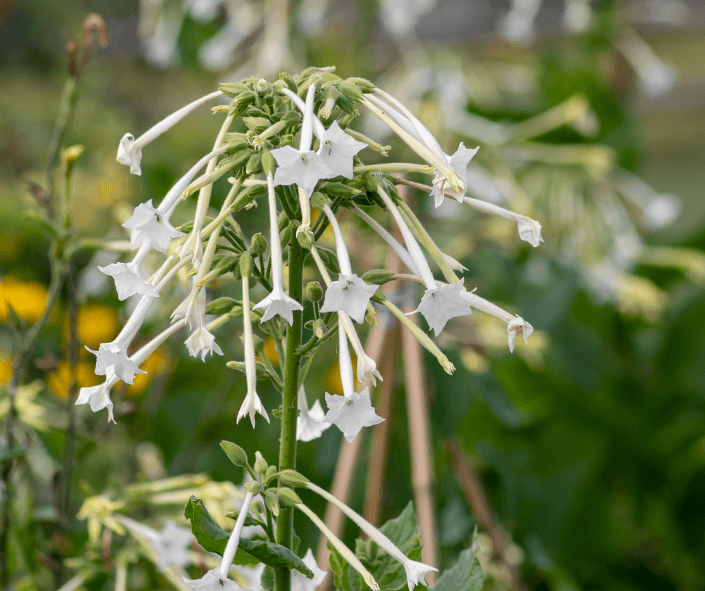
The fragrant Gardenia or Cape Jasmine (Gardenia jasminiodes, Zones 7-11) is a subtropical evergreen flowering shrub with thick, glossy leaves with wavy edges. A native of southern China and Japan, it prefers bright, indirect sunlight in the morning and full afternoon sun. While it can get to 30 feet, cultivated varieties are much shorter, most often reaching 4-8 feet. Its lavish white blooms may be single or double and have a heavenly intense floral scent. The semi-double blooms of the remarkably hardy, 3-5 feet Steady as She Goes® (Zone 7-10) is a good choice. ‘Belmont‘ grows to 4-6 feet and has large, fully double flowers reaching 4 inches across.
Plant gardenias in a location with acidic, fast-draining, loamy soil high in organic matter. The flowers bloom from summer to fall and the flowers can last for weeks. Deadhead to encourage more blooms.
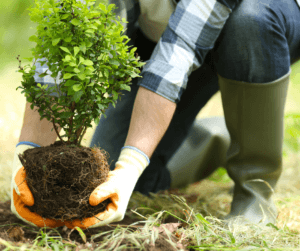
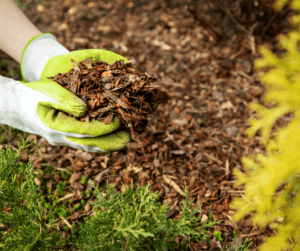
These southern superstars are a joy to grow. They reward top-notch care with years of satisfaction. You and your garden deserve the best of care. Black Gold® has spent years developing a line of quality garden products and products and soil amendments to meet your every garden need. When I order plants from online catalogs, I immediately plant them up using Black Gold® Garden Soil to allow them to grow larger before I plant them in the ground. When they are large enough for outdoor planting, add additional Black Gold® Garden Soil and Peat Moss to the hole before planting. Organic Black Gold® Canadian Sphagnum Peat Moss is especially important for plants requiring acidic soil. For more planting tips, read the following article about how to plant trees and shrubs.