Honeybees, (Apis milliflera) are in trouble in North America, and gardeners, farmers, beekeepers and industrial agriculture are in danger of losing their services. The decline has been going on since the 1940s. Factors include habitat degradation, introduced predators like giant wasps, climate change, and introduced parasites and diseases to name a few.
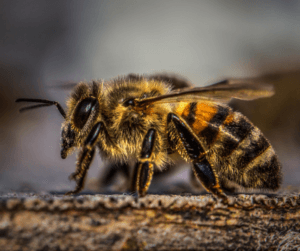
Honeybees are eusocial insects. That is, they have a tight-knit social order and caste system that revolves around a single queen who provides the offspring for the succeeding generations. The entire colony is powered by nectar and pollen collected from flowers in the vicinity of the hive. In 2005-2006 beekeepers noted that worker bees were quitting millions of hives, presumably dying as a result. This is termed Colony Collapse Disorder and its causes are still being investigated. Under suspicion are two mite species that can infect and kill entire colonies.
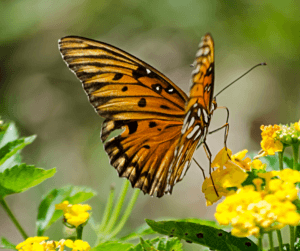
Honeybees are not natives of the New World. They were carried west by Old World settlers, clerics and explorers. They are highly efficient pollinators and they make and store honey as well. Honeybees are not the only organism that can pollinate plants. Birds, bats, ants, beetles, butterflies and moths, and native bees can all do it: they just do not tend to go after one species of plant at a time.
We now know now that there are literally thousands of other species of wild native bees, flies, wasps, ants and many others. One of them will pollinate a plant for you if you ask it nicely or at least make it feel welcome around your garden.
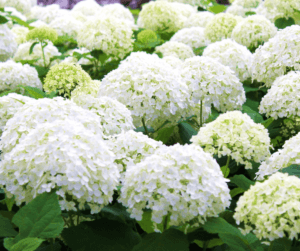
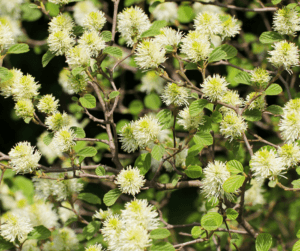
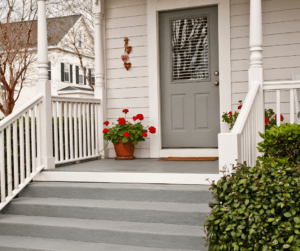
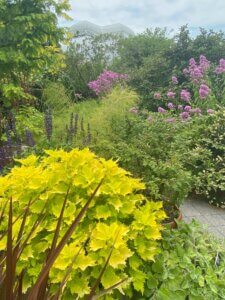
- Plant native perennial flowers that will provide the garden with a constant range of flowers lasting from spring into fall. Here are some suggestions: Spring blooners – crocus, hyacinth, borage, calendula and lilac; Summer- bloomers – bee balm, cosmos, echinacea, snapdragon, foxglove and hosta; Fall bloomers– zinnia, sedum, aster goldenrod, and milkweed.
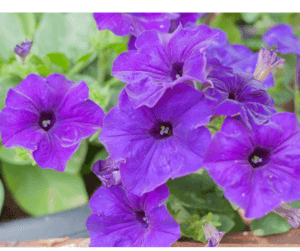
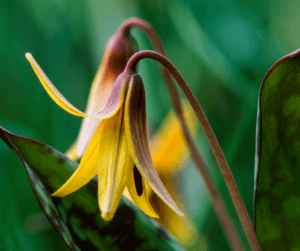
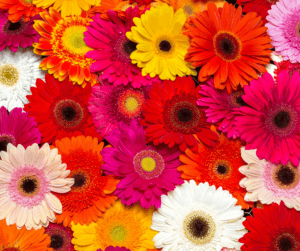
- Blossom colors Bees prefer white, yellow and blue blooms. Birds like red, orange and white. Bright, vivid colors, including red, yellow and purple, draw butterflies.
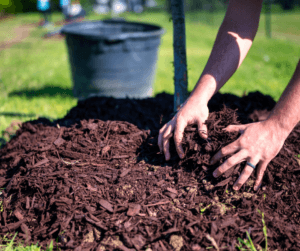
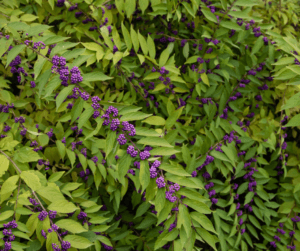
- Plant a few flowering shrubs nearby. This will attract birds and more types of potential pollinators.
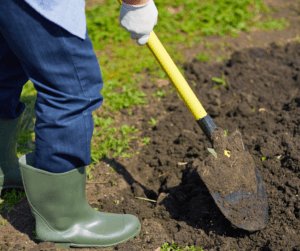
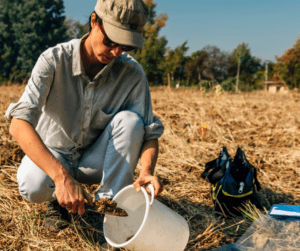
- To attract ground-nesting bees (e.g., bumblebees, miner bees or sweat bees) make sure there is a few clear, sunny, well-drained patches of loose soil. Such areas should not be mulched or covered in any way.
- Lay a shallow plate or two to collect rain or runoff and keep your pollinators happy.
- Carpenter bees are good pollinators, and are attracted to fence posts, wood siding, and old wooden sheds and outbuildings. Laying out or hanging up untreated lumber pieces will provide them with something to excavate.
- Consider making pollinator condos. These consist of bundles of small tubes of varying diameters (generally ¼ inch or less. Bamboo, hollow reeds, hollow weed stems, paper straws stems are common materials. They are often made with a small roof to keep them dry.
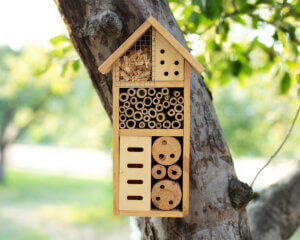
Photo credit USDA Forest Service
For a good start visit, “Gardening for Pollinators” in the Forest Service, U.S. Department of Agriculture website. https://www.fs.usda.gov/managing-land/wildflowers/pollinators/gardening
Honeybees have been successful because they can make a living on a wide range of plants over the growing season. Some other species can do the same, but others are active over only a short time period and still others may confine their activities to a limited set of plants.
A few comments:
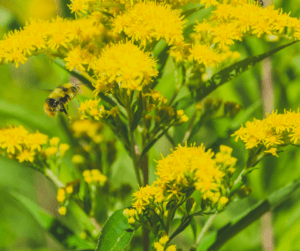
Please note that native goldenrods and common milkweed are favored pollinator targets. Monarch butterflies rely on milkweed both as a source of food and protection against predators.
I could not help noticing the repetitive refrain that ran through much of the source material for this piece, viz: “This (name species) does not sting! That is incorrect as written. If it has a stinger or a formidable set of mandibles, it will sting or bite when threatened, alarmed or trapped in a crease of sweaty flesh or clothing. Any person who is allergic to insect stings, and any child that is inexperienced around potentially stinging insects should be encourages to play elsewhere. This is also the reason I did not discuss attracting wasps or hornets.
Finally, to give all your hard work its best of success, remember Black Gold® lawn and garden products will be waiting at a local supply store. Find one on the Black Gold® website.