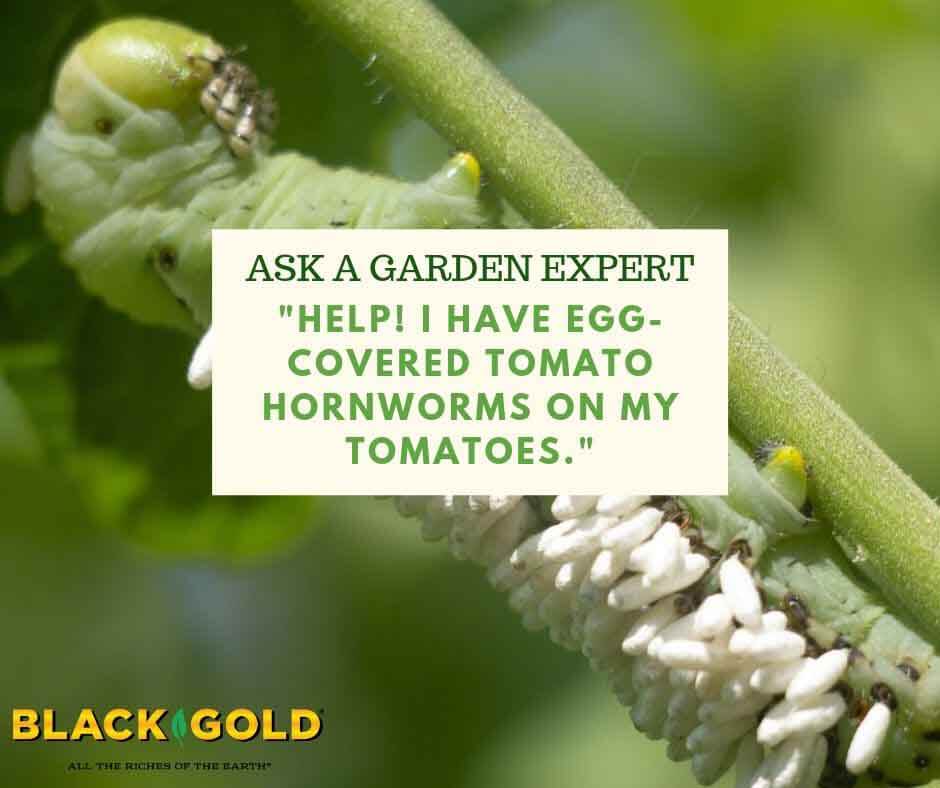
“I noticed two strange-looking caterpillars with eggs on their backs in my tomato garden this year and learned these were hornworms and they are terrible for tomato plants. I intend on moving my tomatoes elsewhere next year.” Question from Jennifer of Nesquehoning, Pennsylvania
Answer: You are in luck! You don’t need to worry about the tomato hornworms on your tomatoes because the eggs on their backs are those of parasitic wasps. They will kill a hornworm in no time, so nature has taken care of your problem!
Moving your tomatoes will not change whether you get hornworms or not. They are the caterpillars of a beautiful the five-spotted hawkmoth, which can detect tomatoes from afar and will lay eggs on your plants in the night.
The eggs may be placed on leaf tops or bottoms and are greenish, so they are very difficult to see. This means they are hard to remove before hatching. Just look for leaf chewing damage, then look for hornworms. When you find them, physically remove the caterpillars as you see them. It’s the easiest way to get rid of them fast if they are not already parasitized.
“Which is the natural and most efficient solution against pests, aphids, white powder, etc. that year after year destroy our vegetables?” Question from Doina of Bothell, Washington
Answer: I wish that I could give you a simple answer. There are so many vegetables and so many pests and diseases that attack them that it is impossible to know where to start. You specifically mention aphids and powdery mildew, so I will give you guidelines for managing these. It will be followed up by two general steps that you can take to discourage veggie pests and diseases.
Aphid Management
Aphids are slow-moving insects that suck the juices out of tender plant parts, like stem tips and leaves. When aphid populations are high, they cover the tips of growing plants in masses. It looks creepy and can seem overwhelming. Lucky for you, they are easy to manage organically.
I always start by putting my hose setting on jet or center, then I spray. Aphids are delicate and can be spritzed off a plant in no time. To keep them from returning, follow up by spraying your plants with an insecticidal soap that is OMRI Listed for organic gardening. Keep them spritzed as you see more aphids. This method will put them in check quickly.
Powdery Mildew Management
This one is really simple! Powdery mildew is a leaf surface mold that can be removed with all-natural products containing the mild chemical potassium bicarbonate, which is similar to baking soda. GreenCure® is one of the most popular commercial examples on the market. Just spray your mildew-ridden squash or cucumber leaves with these products and the spots disappear. It’s a remarkable transformation.
Two Steps For Disease- and Pest-Free Vegetables
Here are two more steps towards protecting your plants from pests and diseases. Both may sound deceivingly obvious.
1. Don’t stress your vegetables. When plants become stressed, they create stress chemicals that are detected by insect pests that are then attracted to the plants. What’s worst is that many common pests, like cucumber beetles and leafhoppers, spread common vegetable diseases. Stress also makes plants far more susceptible to disease. Weak plants have weakened immunity. So, grow your plants in well-fortified soil (see our long list of Black Gold soil amendments), provide them with good fertilizer throughout the season, and keep them well watered.
2. Choose resistant vegetable varieties (!!!). Choosing good varieties is the single most important way to protect your crops. When selecting varieties to grow in your garden, look for descriptions of pest and disease resistance. Award-winning plants also tend to be resistant and robust. Plants bred for resistance are the easiest to care for naturally and organically.
I also suggest you read the Fafard (our sister brand) article, Beating Vegetable Garden Pests Naturally, as well. It has even more information to help you. I hope that these tips help!
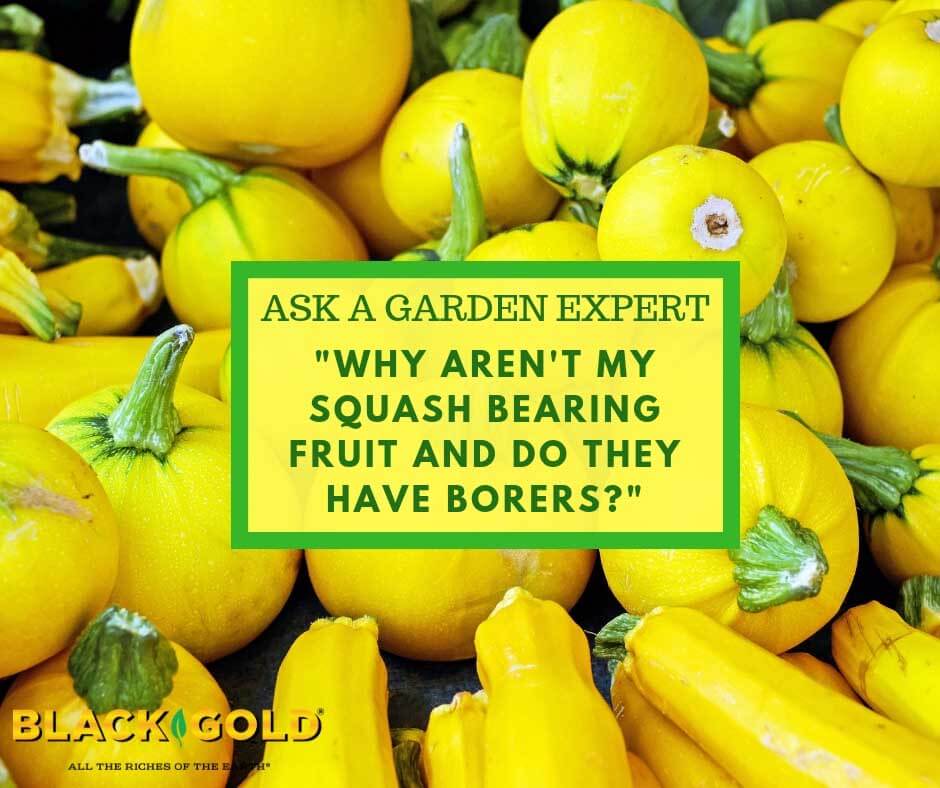
“How can I determine if a squash plant in my raised bed is just “doing bad,” or if it’s “doing bad because a squash vine borer might have gotten it?” And does one bad squash plant ruin all the rest in the same bed? Nothing seems to be bearing fruit now.” Question from Cat of Horse Shoe, North Carolina.”
Answer: You are in luck! Most of these common questions for squash growers have already been answered for Ask a Garden Expert inquirers. The answers are below. But, you also ask a question has not been addressed. This is about the idea of one squash plant damaging another.
One squash plant can only damage another if it is carrying a disease that can easily be spread. Do you see badly wilting leaves without the evidence of holes or damage on the stems (see the vine borer piece, which shows stem borer images.). Do you see white, dusty mold (powdery nildew) on the leaves or brown or yellow spots? If so, your plants likely have a disease. There are many that attack squash. Some, like powdery mildew, can be managed, while others are deadly. (Click here for a detailed article on all squash diseases.)
“How can I prevent damping off when I sow seeds? That is my problem.” Question from Bev of Philadelphia, Pennsylvania
Answer: This is a problem that I have faced many times starting seeds in university greenhouses, professional greenhouses, and at home. Thankfully, the solution is pretty simple, and it all involves keeping everything clean. Let’s start by covering the sources of damping off disease.
What is Damping Off?
Damping-off is a disease of sprouting seeds and seedlings that is primarily caused by two soilborne fungi, Pythium and Phytophthora spp. They cause rot and death in developing seeds and seedlings, usually at the roots or base of tender developing stems. Damping-off is a problem when growers keep the soil too moist and the disease is present.
To keep damping-off from taking hold you need to start with good soil, clean pots, and follow up with smart care.
Sterilizing Mix and Pots
Disease-carrying mix is the biggest concern. I used to work in large-scale greenhouses where they used big heater/steamers to sterilize mix at a temperature just high enough to kill any soilborne diseases (around 180°F). This is essential for growers that reuse mix, but careful growers sterilize new mix, too. Why? Because the airborne spores of damping-off fungi can be practically anywhere –especially in places where plants are being grown.
Additionally, unused seed-starting mix, like Black Gold Seedling Mix, is typically produced in clean facilities and bagged pathogen-free. But, if bags tear in transport and/or bags are not stored properly, Pythium and Phytophthora spores can infiltrate. Bags of seedling mix should be lightweight (meaning no water from the outside has seeped into the bag) and without tears. Improperly stored open bags at home can also be a danger. If you are not certain of your mix’s cleanliness, then it’s time for home sterilization.
I sterilize seed-starting mix using this fast and easy method.
Ingredients: Seed-starting mix, a 9″ x 13″ cake pan, 1/2 cup water, aluminum foil, and an oven.
Directions: Preheat your oven to 180°F, fill your pan with seedling mix, sprinkle it with the water, cover the pan with the foil, and bake it for 30 minutes. After baking, remove the pan from the oven and allow the mix to cool before using.
These diseases can also hang out on dirty old pots, so in the greenhouse, we’d also wash used pots and trays really well in hot water with good dishwashing liquid and sometimes a dash of bleach. I do this at home as well.
Seed and Seedling Care
Aside from starting with clean soil and pots, it is essential to discourage wet soils when starting and growing seedlings. I generally keep newly planted seeds gently sprinkled with a bottle waterer (see video below), so the soil is never over saturated. Once my seedlings pop up, I bottom water by adding 1/4 to 1/2 inch of water to the water-holding trays every two to four days, depending on seedling size. It also helps to encourage airflow, to help soil surfaces dry more quickly, and keep trays warm with a heat mat.
These cultural practices will definitely kick your damping-off problem away for life!
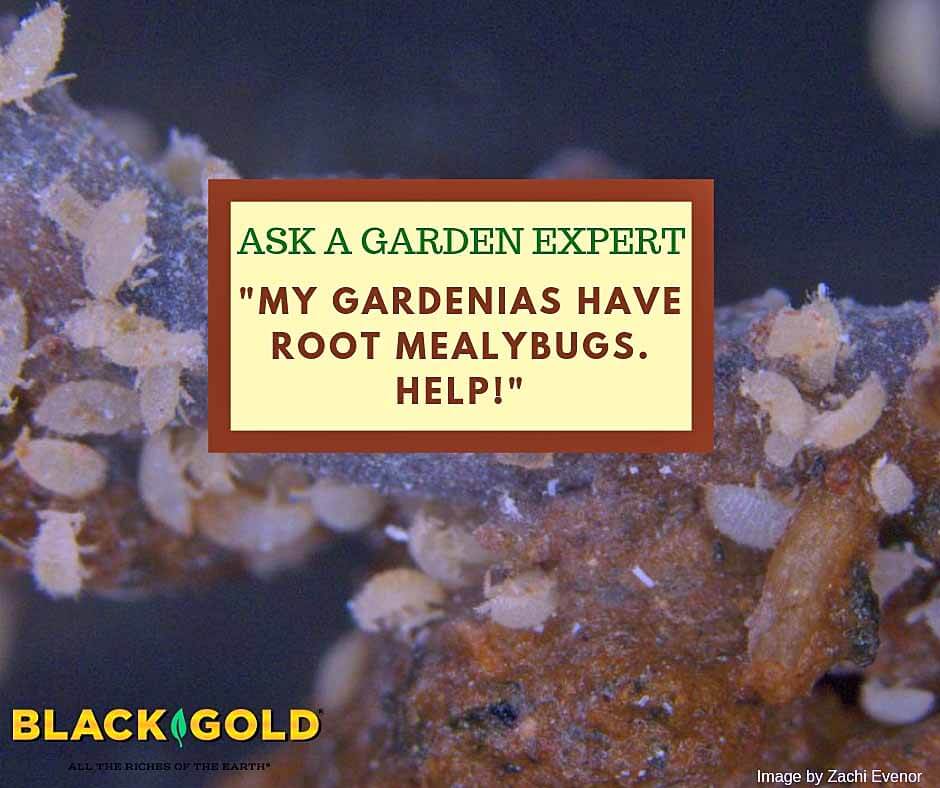
“I have tried growing gardenias, but they always die. When I pull them up there are white bugs all over the roots. What are these and how do I get rid of them?” Question from Sheila of Tampa, Florida.
Answer: There are several pests and diseases that will attack gardenia roots. I am glad that we narrowed yours down to root or ground mealybugs (Rhizoecus spp.) in our email communications. Here is a little more about these pests.
About Root Mealybugs
Root mealybugs also feed on the roots of African violets, grasses, palms, citrus, pineapple, mangoes, and other plants. The sucking insects suck the life out of the roots. This eventually will kill a plant. These pests will live for 27 to 57 days on a host plant, but cannot live off of a host for long. The females lay eggs and live young, called crawlers, hatch in just one day. Crawlers are microscopic but can travel several feet in search of a plant to feed on.
Root mealybugs are certainly a serious pest to manage, but there are some safe management practices that will enable you to get rid of them. Here are some cultural and organic treatment methods for their removal.
Cultural Controls
1. Remove all infected and surrounding plants and dispose of them far from the garden.
2. Do not replant gardenias where you had them previously planted without allowing the soil to remain unplanted for at least several weeks.
3. Check the roots of all new potted gardenia or other plants that you bring into the garden. Ants like to feed on the sugary dew created by mealybugs, so you will often see ants in infected pots or around infected plants.
Organic Treatment Methods
These pests are REALLY difficult to control, as you have already discovered. Here are some methods that are approved for organic gardening and have been shown to work. All products need to be applied as drenches.
1. Insecticidal soap drench: Apply insecticidal soap as a drench, being sure to apply enough to reach all of the infected plant’s roots. Be sure to follow the manufacturer’s recommendations.
2. Standard soap root drench for potted or uprooted specimens: Mix one teaspoon of Ivory liquid into 1 quart of water and drench the roots. This can kill the mealybugs at all stages. Repeat every couple of weeks until the problem appears to be gone.
2. Pyrethrin drench: Apply standard pyrethrin as a soil drench rather than a spray. Be sure to follow the manufacturer’s recommendations.
Some advocate digging up plants, treating their roots with a bowl/tub of drench, and replanting them elsewhere.
I hope that these tips help you tackle destructive root mealybugs.
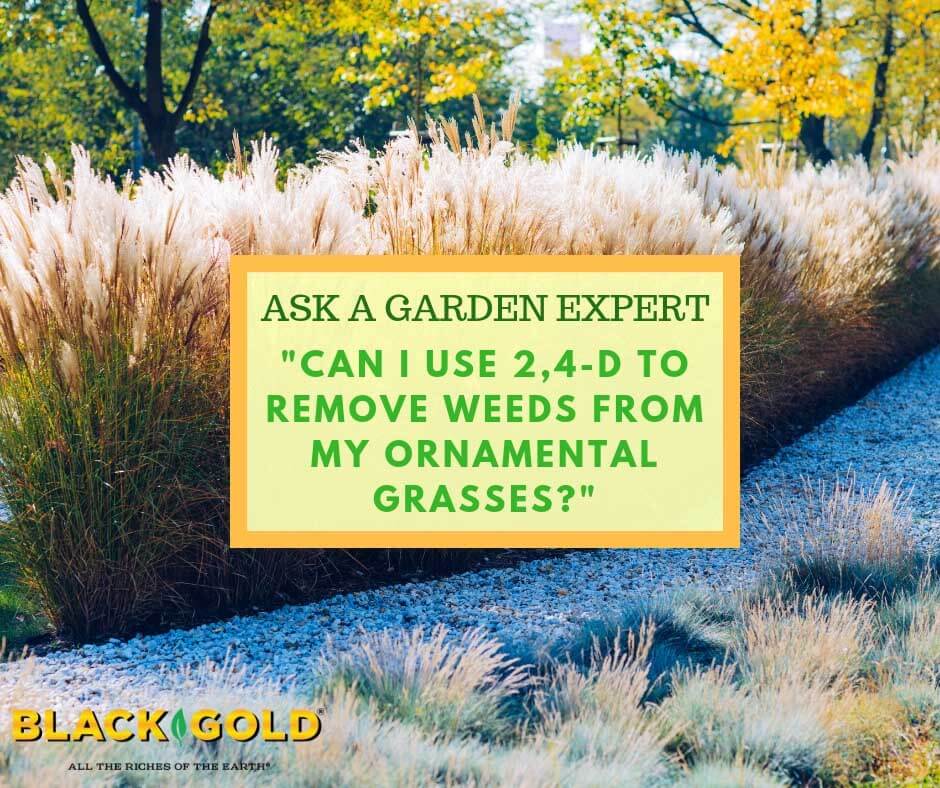
“I have a pampas grass – it grows in our ditches in Iowa. Unfortunately, I have had creeping jenny find it’s way into one area of it. Can you spray the grasses with 2/4D to kill the jenny without killing the grass?” Question from Brenda of Peterson, Iowa
Answer: Pampas grass (Cortaderia selloana) survives in USDA Hardiness Zones 8 to 10, so it is not hardy in your area. I bet you are talking about either Chinese silver grass (Miscanthis sinensis), which is pictured on the photo above, or hardy pampas grass (Erianthus ravennae). Both kinds of grass are non-native and tend to become weedy in natural areas. (Let me know if either of these grasses looks like yours!)
2, 4-D will kill broadleaf weeds, but I do not recommend using it to handle your problem. Here’s why. First, these grass clumps are so dense that you probably won’t be able to reach all of the creeping Jenny invading the clump. If applied, it would kill any weeds you could access, but there is no promise it would finish the job. Secondly, 2, 4-D is pretty toxic. Protective gear is required to apply it, and it can easily drift, which can damage other broadleaf garden plants in your yard, including trees. It also isn’t good for humans or other mammals, birds, fish, etc. Here are two other management suggestion you may consider.
Hand weed as much of the creeping Jenny as you can this season to keep it in check. I suggest investing in long, gauntlet gloves and a garden knife to make the process easier. Then next spring, give your grasses a low trim–6 to 8 inches above the crown. The easiest way to do this is with electric hedge clippers. Your broad-leaved weeds should start to appear before your grass really gets going. This is the best time to dig down and get those weeds at their base.
Once you get your weeds in check within your grass, weed and create a mulch ring around your grass to keep new weeds from invading. Sure, birds can drop seeds into your grass clumps, but at least ground weeds will be kept from entering.
Another option is to start fresh with bold, beautiful grasses that are either native or noninvasive. Starting fresh with weed-free grasses will save you time and headache in the long run if you continue to have weed problems with your current grasses. Here are three options that will pack the same punch as your tall, plumy grasses.
Hardy Sugar Cane: This big, bold grass has huge pinkish plumes and may reach 10 feet tall and wide. If you want a giant grass, choose this.
Switchgrass ‘Cloud Nine’: You will love the frothy seedheads that appear on this grass as summer wanes. It reaches 6 feet tall and turns burnished shades in fall.
Chinese silver grass ‘Morning Light’: This variety is said to produce very little seed, and it is very beautiful with its tall, frothy pink plumes.
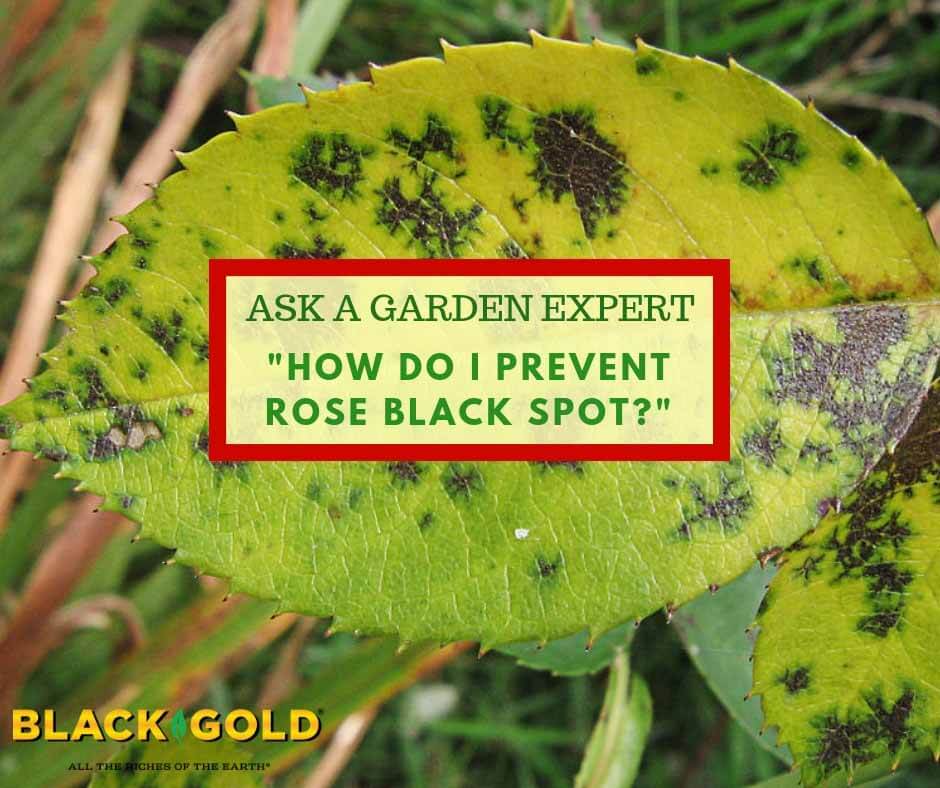
“Please give me advice on the prevention of black spot before it occurs.” Question from Carol of Drums, Pennsylvania
Answer: Black spot (Diplocarpon rosae) is such an annoying fungal disease of roses. Here are six measures to help prevent it:
1. Clean your bushes in fall and winter. Remove all fallen leaves and any dead branches from your rose bushes. The fungus overwinters on dead, infected plant material.
3. Prune roses to promote aeration. Moisture on the leaves helps fungal diseases, like black spot, take hold. (That’s why roses grown in dry climates have fewer disease problems.) Prune off extra branches and sprouts to open up plants and help prevent black spot. (Click here to learn more about how to prune roses.)
4. Space roses to promote aeration. Space your roses according to nursery recommendations. Overcrowding can encourage foliar moisture and subsequent fungal problems.
5. Plant roses in full sun. When you plant roses in full sun, their foliage dries faster, which creates a less favorable environment for black spot to proliferate.
6. Water roses from the bottom. Bottom water your roses to help keep their leaves dry.
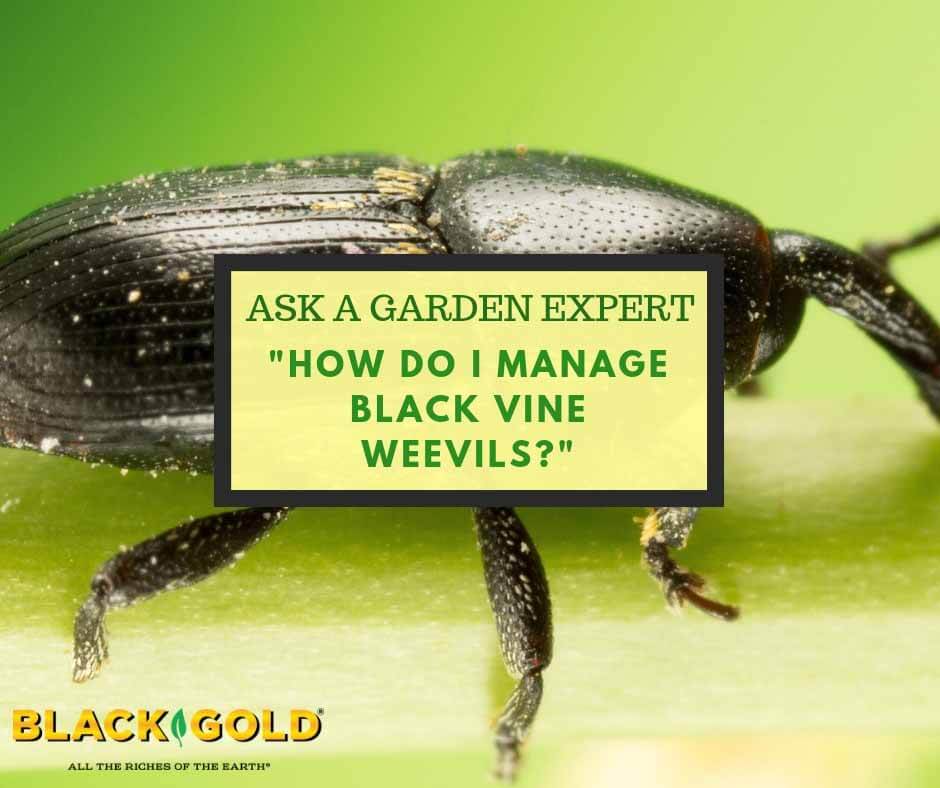
“How do I get rid of vine weevils in the garden without using expensive nematodes?” Question from Kathy of Sparks, Nevada
Answer: The greatest damage done to vines, like hops and grapes, and shrubs, like rhododendron and hydrangea, is caused by adult black vine weevils. The adults are also the most vulnerable to treatment. The larvae do chew on the roots of host plants, but their damage is minimal unless their populations are very high. Either way, I will offer management solutions for both life stages. None will involve the use of beneficial nematodes.
Black Vine Weevil Larvae Management
Black vine weevil adults emerge in April, and the females will start laying eggs at the base of host plants around two to three weeks after emergence and continue for another two and a half months. One female can lay up to 500 eggs. The eggs hatch shortly after and the larvae feed on roots for 10 months until the following spring season.
Cultivating the soil around the base of plants in early to mid-spring can damage some larvae and pupating adults. A soluble Neem oil drench can also be helpful in managing these weevils at the larval stage. Choose an OMRI Listed product that is approved for organic gardening, if you are an organic gardener. Some also claim that applying a thick layer of diatomaceous earth at the base of infested plants can also help.
Black Vine Weevil Adult Management
The adults can be very damaging, attacking host plant flower buds and blooms as well as foliage. They chew half-circle notches in leaf edges, making their damage easy to spot. It is easiest to manage the adults when they are emerging from the soil in spring. The University of California recommends you begin by monitoring emerging populations using cardboard tree wrap traps around the base of vines or shrubs. Neem oil and pyrethrin sprays can be used to kill the adults. Spinosad sprays have also been shown to be helpful. You can also pick them off by hand to manage smaller infestations.
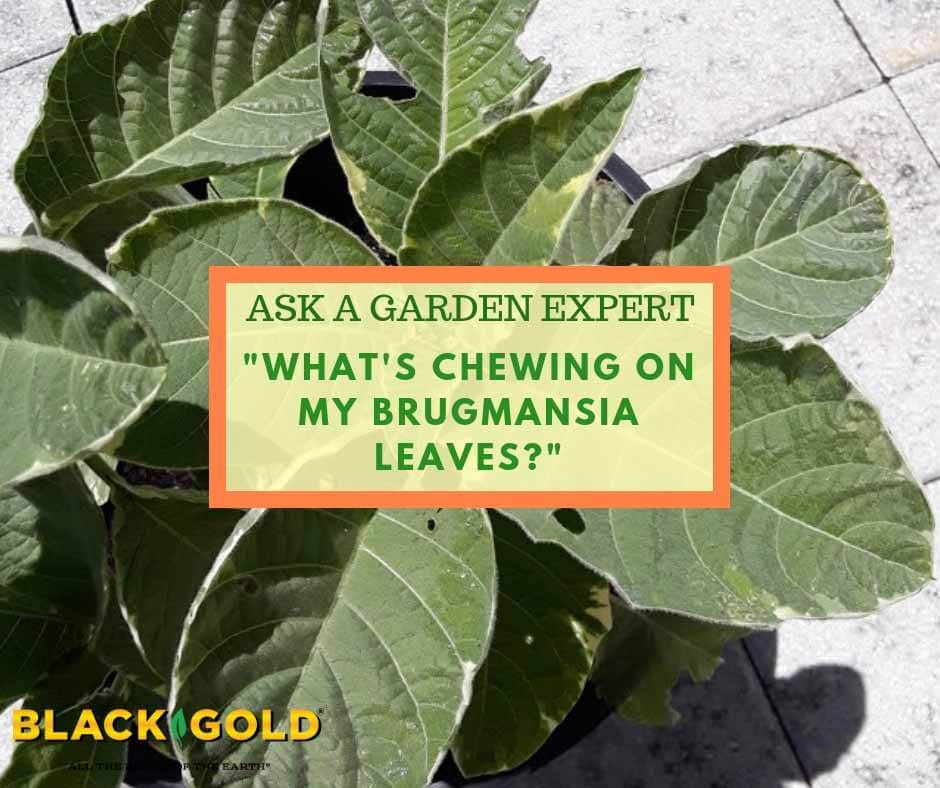
“I have a Brugmansia, and something is eating at the leaves. I have tried soapy water with oil, and I have tried broad-spectrum herbicides. Please Help!” Question from Lizzy of Ocala, Florida
Answer: Your pictures came through! The damage is caused by chewing pests and there are several that will attack Brugmansia. Cabbage moth caterpillars (cabbage loopers), snails, and slugs will all chew on Brugmansia. Tomato hornworms will too, but this looks more like slug or cabbage looper damage.
Cabbage Looper Inspection and Management
Start by checking the plants from top to bottom for little green caterpillars. If you find them, these are cabbage loopers. You might also see little white moths flittering around your plants. These are cabbage looper moths. The easiest way to get rid of loopers is to simply remove them by hand and put them in soapy water. If you find loopers, also check for clusters of small, round, yellowish eggs on the bottom of leaves. These are looper eggs and must be scraped off. To further manage loopers, you can sprinkle the plants with BT, which is approved for organic gardening and only harms the caterpillars chewing on your plants.
Slug or Snail Inspection and Management
Slugs or snails like to hang out beneath or just below the soil line of pots, so this is the first place to check for them. They come out at night to do their damage. There are several organic ways to keep them away from your Brugmansia. I would purchase some diatomaceous earth and sprinkle it liberally on the surface of your potting soil. To us, it feels like coarse sand, but to slugs, it is very damaging. It cuts their soft exteriors and keeps them away. You could also apply a thick layer of perlite on the top of your potting soil. Slugs don’t like it either.
Brugmansias grow so quickly that pretty soon a little chewing damage won’t do them any harm. In fact, I would upgrade your plant in a larger pot as soon as it bursts forth. In just a few months a plant can grow as much as three feet and eventually reach huge proportions (15-feet or more unless yours is a dwarf variety). I recommend planting in Black Gold® Moisture Supreme Container Mix. Also be sure to add extra flower fertilizer because they are really heavy feeders.
“What’s the best way to deal with grasshoppers in the garden organically?” Question from Chamisa or Ramona, California
Answer: Grasshoppers (Melanoplus spp.) are severe garden pests in most parts of the United States and difficult to manage. Populations tend to boom in eight- to ten-year cycles, and when they are bad, they are bad. Their swarms are very overwhelming, but there is hope. It’s just a matter of understanding their limitations and our limitations as gardeners.
Grasshopper Life Cycle
Grasshopper females lay their eggs two inches down in the soil in the late summer or fall. They tend to lay eggs in undisturbed natural areas rather than garden soils, which disables gardeners from managing them in their home turf. Each egg case may contain 20 to 100 grasshoppers waiting to hatch. In spring, once the soil warms, they emerge.
Grasshoppers are chewing insects that will feed on just about anything green, but they tend to prefer new, tender garden edibles and plants, such as carrots, lettuce, corn, and annual flowers. As they grow to adulthood they become more and more damaging and can consume whole plants quickly. Out West, they do the most damage for about a month in early summer when wildland plants start to dry up in the arid weather.
Grasshopper Management Challenges
Pesticides, organic or non-organic, are not that effective on grasshoppers, so don’t waste your time with them. Crop covers can be effective, but very hungry grasshoppers can chew through plastic covers if they are hungry enough. Overall, when populations are high, gardeners are limited in what they can do to protect all their tender edibles.
Grasshopper Management Options
Here are several options for managing grasshoppers in the garden.
Plant crops that grasshoppers are more likely to avoid. Like deer, they will eat just about anything when they are swarming and hungry, but in lower populations, they are reported to avoid cilantro, squash, zucchini, watermelon, peas, and the leaves of tomatoes and eggplants. Tough, armored ornamental succulents, like agave and cacti, are also resistant.
Cover tender plants with thick window screening until the grasshoppers are gone. Grasshoppers can chew through most standard row covers, but they can’t chew through metal window screenings. Just be sure to secure the edges well, so they can’t get around the cover.
Plant trap crops. Grasshoppers favor tender grasses, so if you nurture a nice swath of tall grass away from your garden, they will be attracted to it and more likely to avoid your garden plants.
Handpick them in years when they are few.
Set baits containing the protozoan Nosema locustae. This protozoan bait is OMRI Listed and kills grasshoppers but does not harm humans.
Keep chickens and guinea fowl. If you have space and inclination, farm fowl will happily eat away at your grasshopper populations.