Articles

How Do I Organically Feed My Vegetable Garden Soil for Fall?

How Do I Organically Feed My Vegetable Garden Soil for Fall?

“I’m getting ready to prep my raised beds for the fall crop.  What is best to amend the soil with since I do not use chemical fertilizers?” Question from Randal of Chiply, Florida.

Answer: There are lots of things that you can do to feed your soil for fall and winter crops. Here are some of easy options.

Feed Your Soil

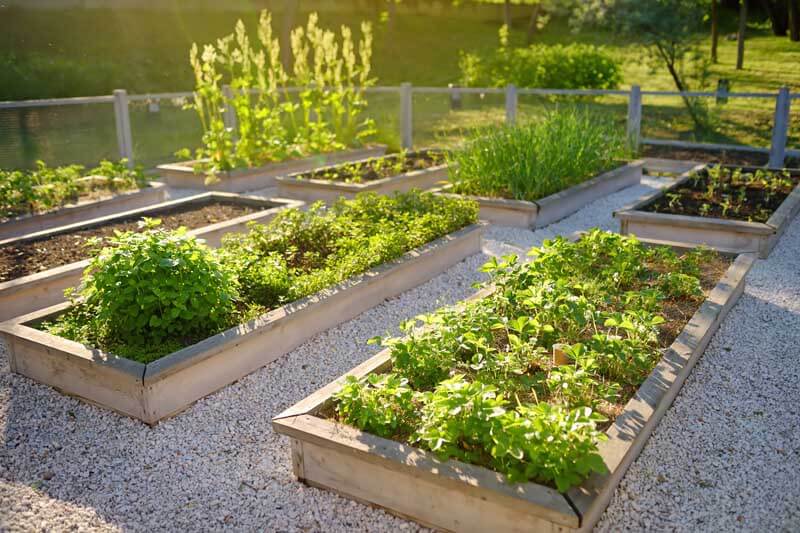
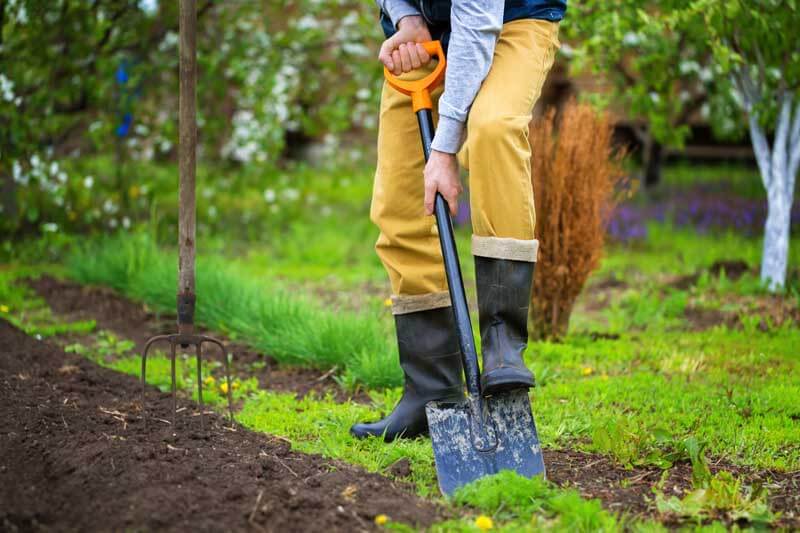
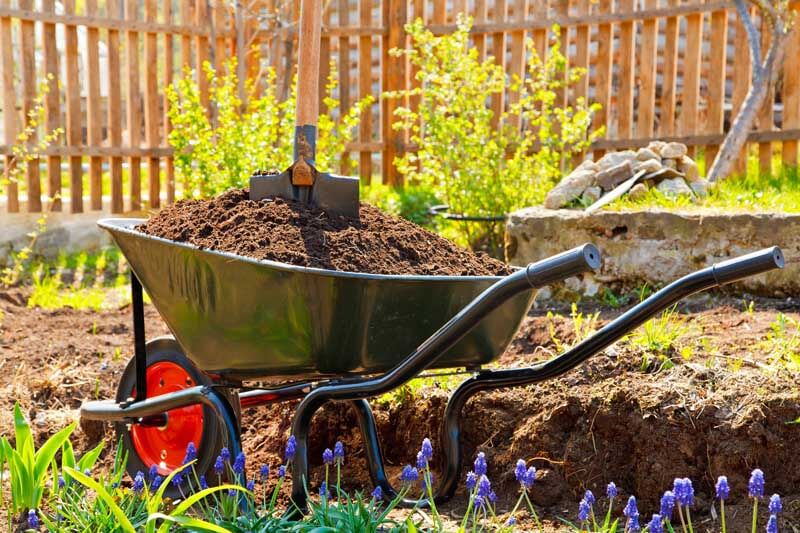
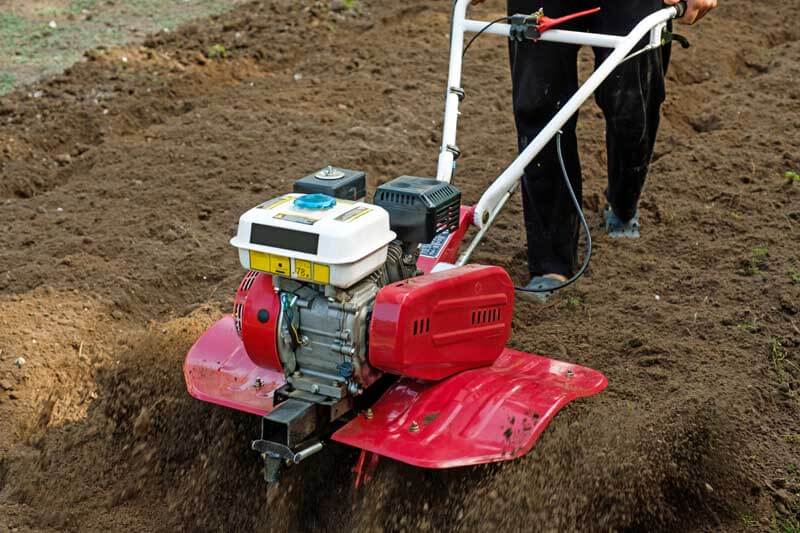
Your garden is as good as its soil. For success, liberally feed it with organic matter, such as Black Gold Earthworm Castings, Canadian Sphagnum Peat Moss, and Garden Compost Blend, especially if your soil is rich in clay or sandy. Add at least 3 inches of the amendment to the soil surface, and till it to a depth of at least 8 inches. Tilling in amendments will increase water-holding capacity and aeration for better root growth. Use the amendment application formula below to determine the amount you will need.

Amendment Application Formula

([area to cover] ft2 x [depth in inches desired] x 0.0031 = ___ yd3).

Example: If you wanted to cover a 20 square foot area with 2 inches of compost, the result would be: 20 ft2 x 2 inches of compost x 0.0031 = 2.48 yd3.

(Click here for a full overview of how to prep a new vegetable garden from start to finish.)

Choose the Right Organic Fertilizer

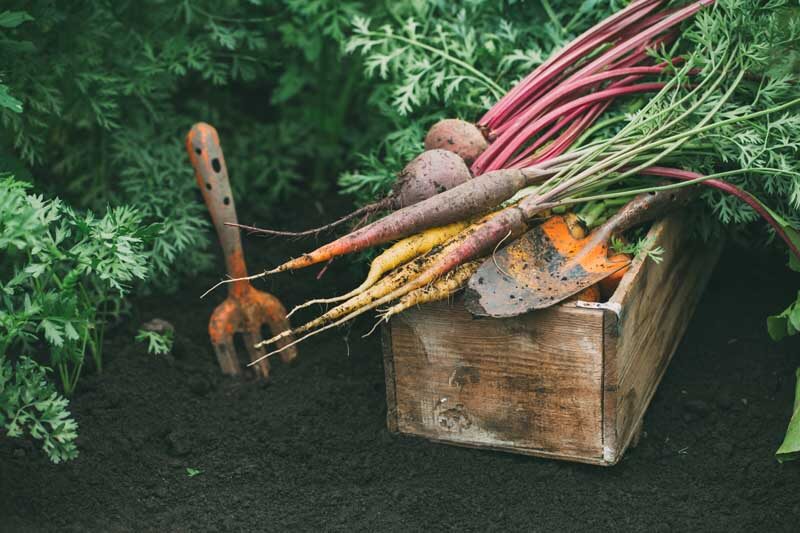
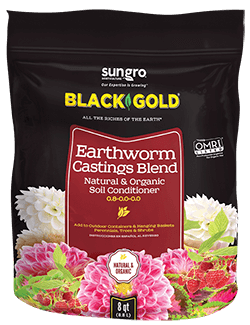
Vegetables perform better with regular fertilization, especially heavy feeders like tomatoes. In fact, most veggies will deplete the soil of nutrients over time, so replenishment is necessary. There are many organic vegetable fertilizers on the market. Alfalfa, blood, bone, feather, fish, kelp, and shrimp meals are all common natural components of non-chemical fertilizers. Earthworm castings are also a good source of nitrogen and beneficial microbes. Adding mycorrhizae to the soil is also useful because it helps plants take up water and nutrients better. Black Gold Natural & Organic Ultra Coir is another of our organic-rich amendments that also contains our proprietary blend of endomycorrhizae. We recommend that you research top-rated organic fertilizers to find the best for your needs.

Rotate Your Crops with Legumes

Vegetables, especially tomatoes, should be rotated on a three-year cycle–tomato one year and other vegetables the next two years. Legumes, like beans and peas, are excellent rotation crops because they naturally fortify soils with nitrogen. For more rotation tips, I encourage you to read Spring to Fall Vegetable Rotation: Planting for Non-stop Garden Produce. It will provide all of the information you need to effectively rotate your crops, whether container- or garden-grown.

I hope that all of this information helps! We have many more articles about gardening in Florida, click here to view them.

Happy fall vegetable gardening,

Jessie Keith

Black Gold Horticulturist

Black Gold, Growing Organically to Meet Demand

Black Gold, is growing organically to meet demand. We have added four new products to our already strong line of Black Gold that are OMRI Listed for organic gardening. These products include Black Gold Natural & Organic Ultra Coir, Black Gold® Natural & Organic Flower and Vegetable Soil, Black Gold® Natural & Organic Raised Bed & Potting Mix, and Black Gold Natural & Organic Ultra Outdoor Planting Mix. Let us help you garden better naturally and organically with Black Gold.


Five Steps to Creating a No-Till Vegetable Garden

The author’s no-till garden in early spring after compost and straw have been applied. (Image by Jessie Keith)

To till or not to till? Why ask this question? Tilling does good things for the soil. It increases needed aeration and porosity, allows the easy incorporation of organic amendments, and it makes all the little green weeds at the top of the soil go away. But it also has its disadvantages. Tilling draws dormant weed seeds from the soil’s subterranean seed bank to the surface, which can mean more weeds. It encourages soil erosion and disrupts all manner of beneficial creatures and microbes underground, which support healthy soils and plant roots. In time, the no-till approach can save time, money, and greatly reduce weeds. These are the reasons it is trending.

Soil Quality Determines the No-Till Approach

If you have good garden soil, starting a no-till garden is simple. Those with poorer soils need to do a bit more work.

There is more than one way to establish a no-till garden. And one’s approach is often related to soil quality and topography. Those with good garden soil can opt to simply clear weeds from the ground, add thick compost and fast-to-degrade mulches for vegetable gardening (straw, leaf mulch, etc.), fertilize, and start planting. Others with poorer clay (or sandy) soils, like me, need to feed the soil for the beforehand. It’s ironic, but my successful no-till garden needed to start with, well, tilling, in addition to double digging, and amendment. Lifting or berming the soil is also important, especially if your garden’s topography is low.

Creating a No-Till Garden

Ample soil amendments and mulches will enrich your no-till garden and keep it weed-free.

For me, creating a good no-till garden started with a big investment. I dug deep, enriched my beds to the hilt, and lifted and bermed my planting areas. For excellent no-till bed longevity, I started by lifting and aerating the soil as deeply as possible.

Materials

  • Tiller
  • Amendments, such as peat, compost, and castings (add at least a 1:4 ratio of amendments to ground-soil)
  • Hard rake and shovel
  • Straw
  • Mycorrhizae
  • Fertilizer
  • Tarp
  • Wheelbarrow (for moving mulches and amendments)
Till in amendments to at least a 1:4 ratio of amendments to ground-soil until well-combined, and airy.

Here are the five steps that I took to establish my no-till garden.

  1. Till deeply: Creating good garden soil is all about adding air pockets, loft, and good fertility to encourage drainage and deep rooting. If you have heavy soil, you cannot accomplish this without initial tilling and amendment with lots of organic matter. Till on a day when the soil has enough moisture to sink a shovel into but is also a bit dry. I recommend double or triple tilling the new garden area to break up the soil as much as possible.
  2. Double dig: Extra deep digging is time-intensive and should be reserved for areas where you plan to plant deep-rooting vegetables, such as carrots, parsnips, and other root crops. Move the lofty tilled topsoil onto a tarp beside the bed and dig another few inches deeper and break up the soil further. (Click here to read more about double digging.)
  3. Amend all of your backfill: Amendments rich in organic matter and microbes are essential for the longterm health of your garden. Shovel lots of organic matter, like Black Gold compost, earthworm castings, peat moss, and even composted manure and mushroom soil, into your backfill, and till it in. I also recommend adding a granular vegetable fertilizer and an endomycorrhizal inoculant, which can be purchased in powder form. Beneficial mycorrhizal fungi help plants grow better by allowing them to more efficiently access water and nutrients.
  4. Define pathways, fill, and berm: If you have a large or relatively large garden space, it’s nice to establish paths for easy garden access and harvest. Most gardeners choose a row or block design. I always like my pathways to stand a bit lower than my beds, so I berm up fill in the bed areas using a hard rake. This gives beds an even deeper pad of lofty soil and ensures that they will not be walked upon.
  5. Cover: As a final step, I cover my walkways with black & white newspaper or non-waxed corrugated cardboard and cover the paper with a thick layer of seed-free grass clippings, straw, or even leaf mulch or pine straw. You can even plant nitrogen-fixing clover in the walkways. Then I add a thick layer of compost to the beds to detur weeds, and fresh straw to the pathways to stop weeds and keep them from getting muddy after rain.

Each year, I clean up and refresh the walkways, and add fresh compost as a mulch in lieu of tilling. Invest in your no-till garden like this in the beginning, and you will be wowed by the results.

Raising Beds to New Heights

Other garden types, such as raised beds, do not require tilling either.

There are other no-till options for vegetable gardening, but I prefer the freedom of a large garden bed with tidy straw walkways. Traditional raised beds, hugelkultur, strawbale gardening, even container gardening don’t require tilling. Here are articles about each gardening type, if you want to learn more.

Raised Beds: Respecting the Law of Return

Hugelkultur Layered Vegetable Gardens

Do You Have Tips for Straw Bale Gardening?

Succeed with Container Vegetable Gardening

Invest in your no-till garden from the beginning, and it will reward you in the future. Support it with fresh mulch, feed it well, and watch your harvests explode!

Double dig areas for root vegetables, and add a layer of protective compost over beds each year.

I Need Organic Solutions for Vegetable Pests and Powdery Mildew

“Which is the natural and most efficient solution against pests, aphids, white powder, etc. that year after year destroy our vegetables?” Question from Doina of Bothell, Washington

Answer: I wish that I could give you a simple answer. There are so many vegetables and so many pests and diseases that attack them that it is impossible to know where to start. You specifically mention aphids and powdery mildew, so I will give you guidelines for managing these. It will be followed up by two general steps that you can take to discourage veggie pests and diseases.

Aphid Management

Aphids are slow-moving insects that suck the juices out of tender plant parts, like stem tips and leaves. When aphid populations are high, they cover the tips of growing plants in masses. It looks creepy and can seem overwhelming. Lucky for you, they are easy to manage organically.

I always start by putting my hose setting on jet or center, then I spray. Aphids are delicate and can be spritzed off a plant in no time. To keep them from returning, follow up by spraying your plants with an insecticidal soap that is OMRI Listed for organic gardening. Keep them spritzed as you see more aphids. This method will put them in check quickly.

Powdery Mildew Management

This one is really simple! Powdery mildew is a leaf surface mold that can be removed with all-natural products containing the mild chemical potassium bicarbonate, which is similar to baking soda. GreenCure® is one of the most popular commercial examples on the market.  Just spray your mildew-ridden squash or cucumber leaves with these products and the spots disappear. It’s a remarkable transformation.

Two Steps For Disease- and Pest-Free Vegetables

Here are two more steps towards protecting your plants from pests and diseases. Both may sound deceivingly obvious.

1. Don’t stress your vegetables. When plants become stressed, they create stress chemicals that are detected by insect pests that are then attracted to the plants. What’s worst is that many common pests, like cucumber beetles and leafhoppers, spread common vegetable diseases. Stress also makes plants far more susceptible to disease. Weak plants have weakened immunity. So, grow your plants in well-fortified soil (see our long list of Black Gold soil amendments), provide them with good fertilizer throughout the season, and keep them well watered.

2. Choose resistant vegetable varieties (!!!). Choosing good varieties is the single most important way to protect your crops. When selecting varieties to grow in your garden, look for descriptions of pest and disease resistance. Award-winning plants also tend to be resistant and robust. Plants bred for resistance are the easiest to care for naturally and organically.

I also suggest you read the Fafard (our sister brand) article, Beating Vegetable Garden Pests Naturally, as well. It has even more information to help you. I hope that these tips help!

Happy gardening,

Jessie Keith

Black Gold Horticulturist

Is There a Natural Method for Dechlorinating Water?

“I was wondering what’s a cheap and effective way for the home organic grower to remove chlorine and, more importantly, chloramine without using expensive reverse osmosis filters. Can you recommend a product that is inexpensive and effective at making water safe for all the organic goodies we work so hard to cultivate?” Question from Stephen of Elizabethtown, Kentucky.

Answer: There are several inexpensive solutions that can help you. Here are three of the best, easiest, and cheapest solutions for water dechlorination for organic growers like you.

Chlorine Evaporation

Chlorine is a gas that evaporates from irrigation water over a short period of time. To encourage evaporation, irrigation water must be exposed to the air. The more open-air coverage, the faster the evaporation. Ultraviolet rays from sunlight and added aeration will help hasten the process. I recommend using a broad, open tub covering with a screen (to keep insects and animals out) that is kept in the open air and sun for irrigation water.  A small pond aerator with also hasten the process. These water sources can also collect rainwater.

Chlorine evaporation time depends on the concentration. In general, it takes chlorine a few days for the standard concentration to evaporate from 10 gallons of standing water. I suggest investing in a small chlorine tester to ensure your water is chlorine-free before irrigating.

Carbon Filtration for Chloramine

Chloramine is a little tougher to remove from water. The easiest method is via carbon filtration. For small businesses, there are small, reasonably priced, carbon filtration systems that will remove sediment, chlorine, and chloramine from water. Here are some options.

Rain Water Collection

Water collection is an age-old way of gathering fresh, chlorine-free water for growing. Whether you choose to fill rain barrels or cisterns, rainwater is free to collect and (mostly) chemical-free. Of course. (Here is an article that covers some methods of rainwater collection.)

I hope that these tips help!

Happy organic gardening,

Jessie Keith

Black Gold Horticulturist

Can I Plant Annuals and Vegetables Together?

Can you plant annual flowers and vegetables in the same raised bed? Question from Diane or Newark, Ohio

Answer: Sure! In many cases, annuals can be beneficial to vegetables by warding off pests (click here to read about the protective power of marigolds) and/or attract pollinators. Compact flowers that will not compete for too much sunlight or water are best.  Here are some of my favorite flowers to plant in my vegetable garden for beauty, cut flowers, and to feed pollinators. These sun-lovers are all effortless to grow.

  1. Cosmos (dwarf): The pretty daisy flowers of these annuals are good for cutting and attract bees. Try the compact varieties Sonata Mix (2-feet high) or the fully double pink ‘Rose Bonbon‘ (2 to 3-feet high).
  2. Calendula: These cheerful yellow or orange daisies are grown as herbs as well as flowers because they have edible petals that can be used to make tea or soothing balms.
  3. Dahlias: There are hundreds of amazing dahlias to choose from and all make excellent cut flowers. Bees and butterflies also love them. Choose compact varieties for easier care. Check out Swan Island Dahlias to choose the best dahlia for your taste.
  4. Marigolds: I love tall marigolds in the vegetable garden. The large flowers look pretty through summer, and these Mexican natives just thrive in the heat. ‘Kee’s Orange’ is a brilliant variety with deepest orange flowers.
  5. Compact Sunflowers: There are loads of spectacular sunflowers for the garden, and all are very easy to grow from seed. I suggest choosing compact varieties because they won’t shade out vegetables or fall over in wind. (Click here to learn all about growing sunflowers.)
  6. Zinnias: Any tall or medium-sized zinnia will add color and cut flowers to your garden. Check out the new Zinnia ‘Zinderella Purple’ or  Zinnia ‘Queeny Orange Lime’. Both are beautiful and some of the easiest flowers that you can grow from seed.

Try adding any of these pretty annuals to your vegetable garden this season for functional color.

Happy gardening!

Jessie Keith

Black Gold Horticulturist


How Do I Manage Aphids Without Chemicals?

“How to keep aphids away each gardening season without chemicals?” Question from Steven of New England

Answer: Aphids are delicate pests and quite easy to manage, believe it or not. When I have an infestation, I use these four pesticide-free methods of removal.

1. Spray them off with a sharp stream from your hose. This actually removes them fast and will kill quite a few. It’s a good first step for management.

2. Prune off really badly infested flowers or stems and place them in soapy water. This will remove damaged parts of the plant and greatly reduce aphid populations.

3. Spray plants with OMRI Listed insecticidal soap to tackle any lingering aphids. This mild product is approved for organic gardening and will kill aphids fast. If you are worried about it harming other insects, you can rinse off plants a few hours after application.

4. Nurture ladybugs, and other beneficial insects that comsume aphids, in your garden. Refrain from using any harsh pesticides, and the beneficials will come. (Click here to read more about beneficial insects.)

I hope these tips help you better manage your aphid problems. They are annoying insects, but they won’t stand a chance if you continue with these methods.

Happy gardening,

Jessie Keith

Black Gold Horticulturist