“Hi! How do you revive a newly transplanted flowering tree whose leaves and flowers are wilting?It was planted in loose, rich black organic soil (no chemicals have ever been added). It was dug up from my brother’s flower garden, and it was in rocky sandy soil at the time. I brought with me some of the soil it was used to, to add to the hole it was put into. It is being watered every day. It looks worse and worse every day. 🙁 Could you please tell me if it doesn’t perk up yet this year if it will renew itself over the winter and come back next year as it is too beautiful to lose. Thanks for your time and attention in answering my dilemma!” Question from Sylvia of Belle Plaine, Minnesota
Answer: Stop watering! Sometimes too much love–or in this case too much water–can be detrimental to a new planting. If you moved your tree from a location with rocky, sandy soil, and it was growing well there, then it likely requires fast-draining soil and tolerates less water. By moving it to a new location and watering it daily, several things happened. It had too few roots and too much soil moisture while experiencing the shock of transplant.
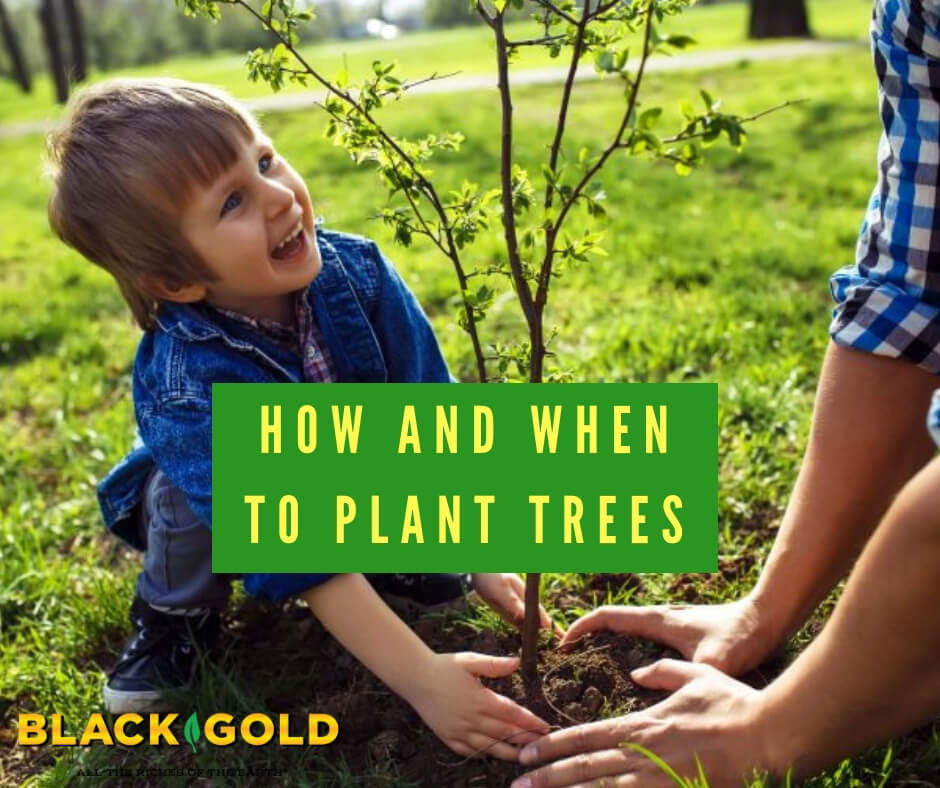
Tree Transplanting Tips
Wild- or garden-dug trees have sparse root systems with fewer feeder roots, unlike pot-grown trees. When moving them, it is important to retain as much of the rootball as possible to keep the roots intact and undamaged. But, even if you do the best job moving the tree, lots of feeder roots (the fine roots that take up the most nutrients and water) will be lost. Trees are happier when planted in soil with comparable drainage and characteristics to their original native soil–in this case, the soil in your brother’s garden. The addition of light soil amendments, such as Black Gold Canadian Sphagnum Peat Moss, can be helpful, but too much can cause the bathtub effect, so use sparingly. (Click here for good tree and shrub planting/transplanting guidelines.)
After planting, keep the soil around the tree just moist, but never wet. Light moisture will allow new feeder roots to develop, while too much water will overwhelm the delicate, shocked root system of a new transplant and can cause root rot. In your case, I would water the tree weekly in the absence of rain. If temperatures are very high, a little extra water can be added if wilting occurs.
I hope that these tips help and your tree bounces back.
“When is the best time to transplant roses?” Question from Betty in Omaha, Nebraska
Answer: It is always better to give roses a full season to establish roots, especially in colder zones like yours, USDA Hardiness Zone 5. Many roses are just hardy to where you live, another reason to plant or transplant them in spring. The more established a plant is, the better able it is to withstand harsh, cold winters.
When you do transplant your roses, be sure to dig around the root system and wrap the rootball in burlap to keep the ball intact and disturb as few roots as possible while moving it. Have a hole ready and waiting to plant it in. Be sure to feed your new rose with organic alfalfa meal and mulch around the base. Black Gold Garden Compost Blend makes a great mulch that also feeds the soil. Water it deeply twice weekly, in the absence of rain, until it becomes well established. I encourage you to watch the video below to get more tips on growing roses to perfection.
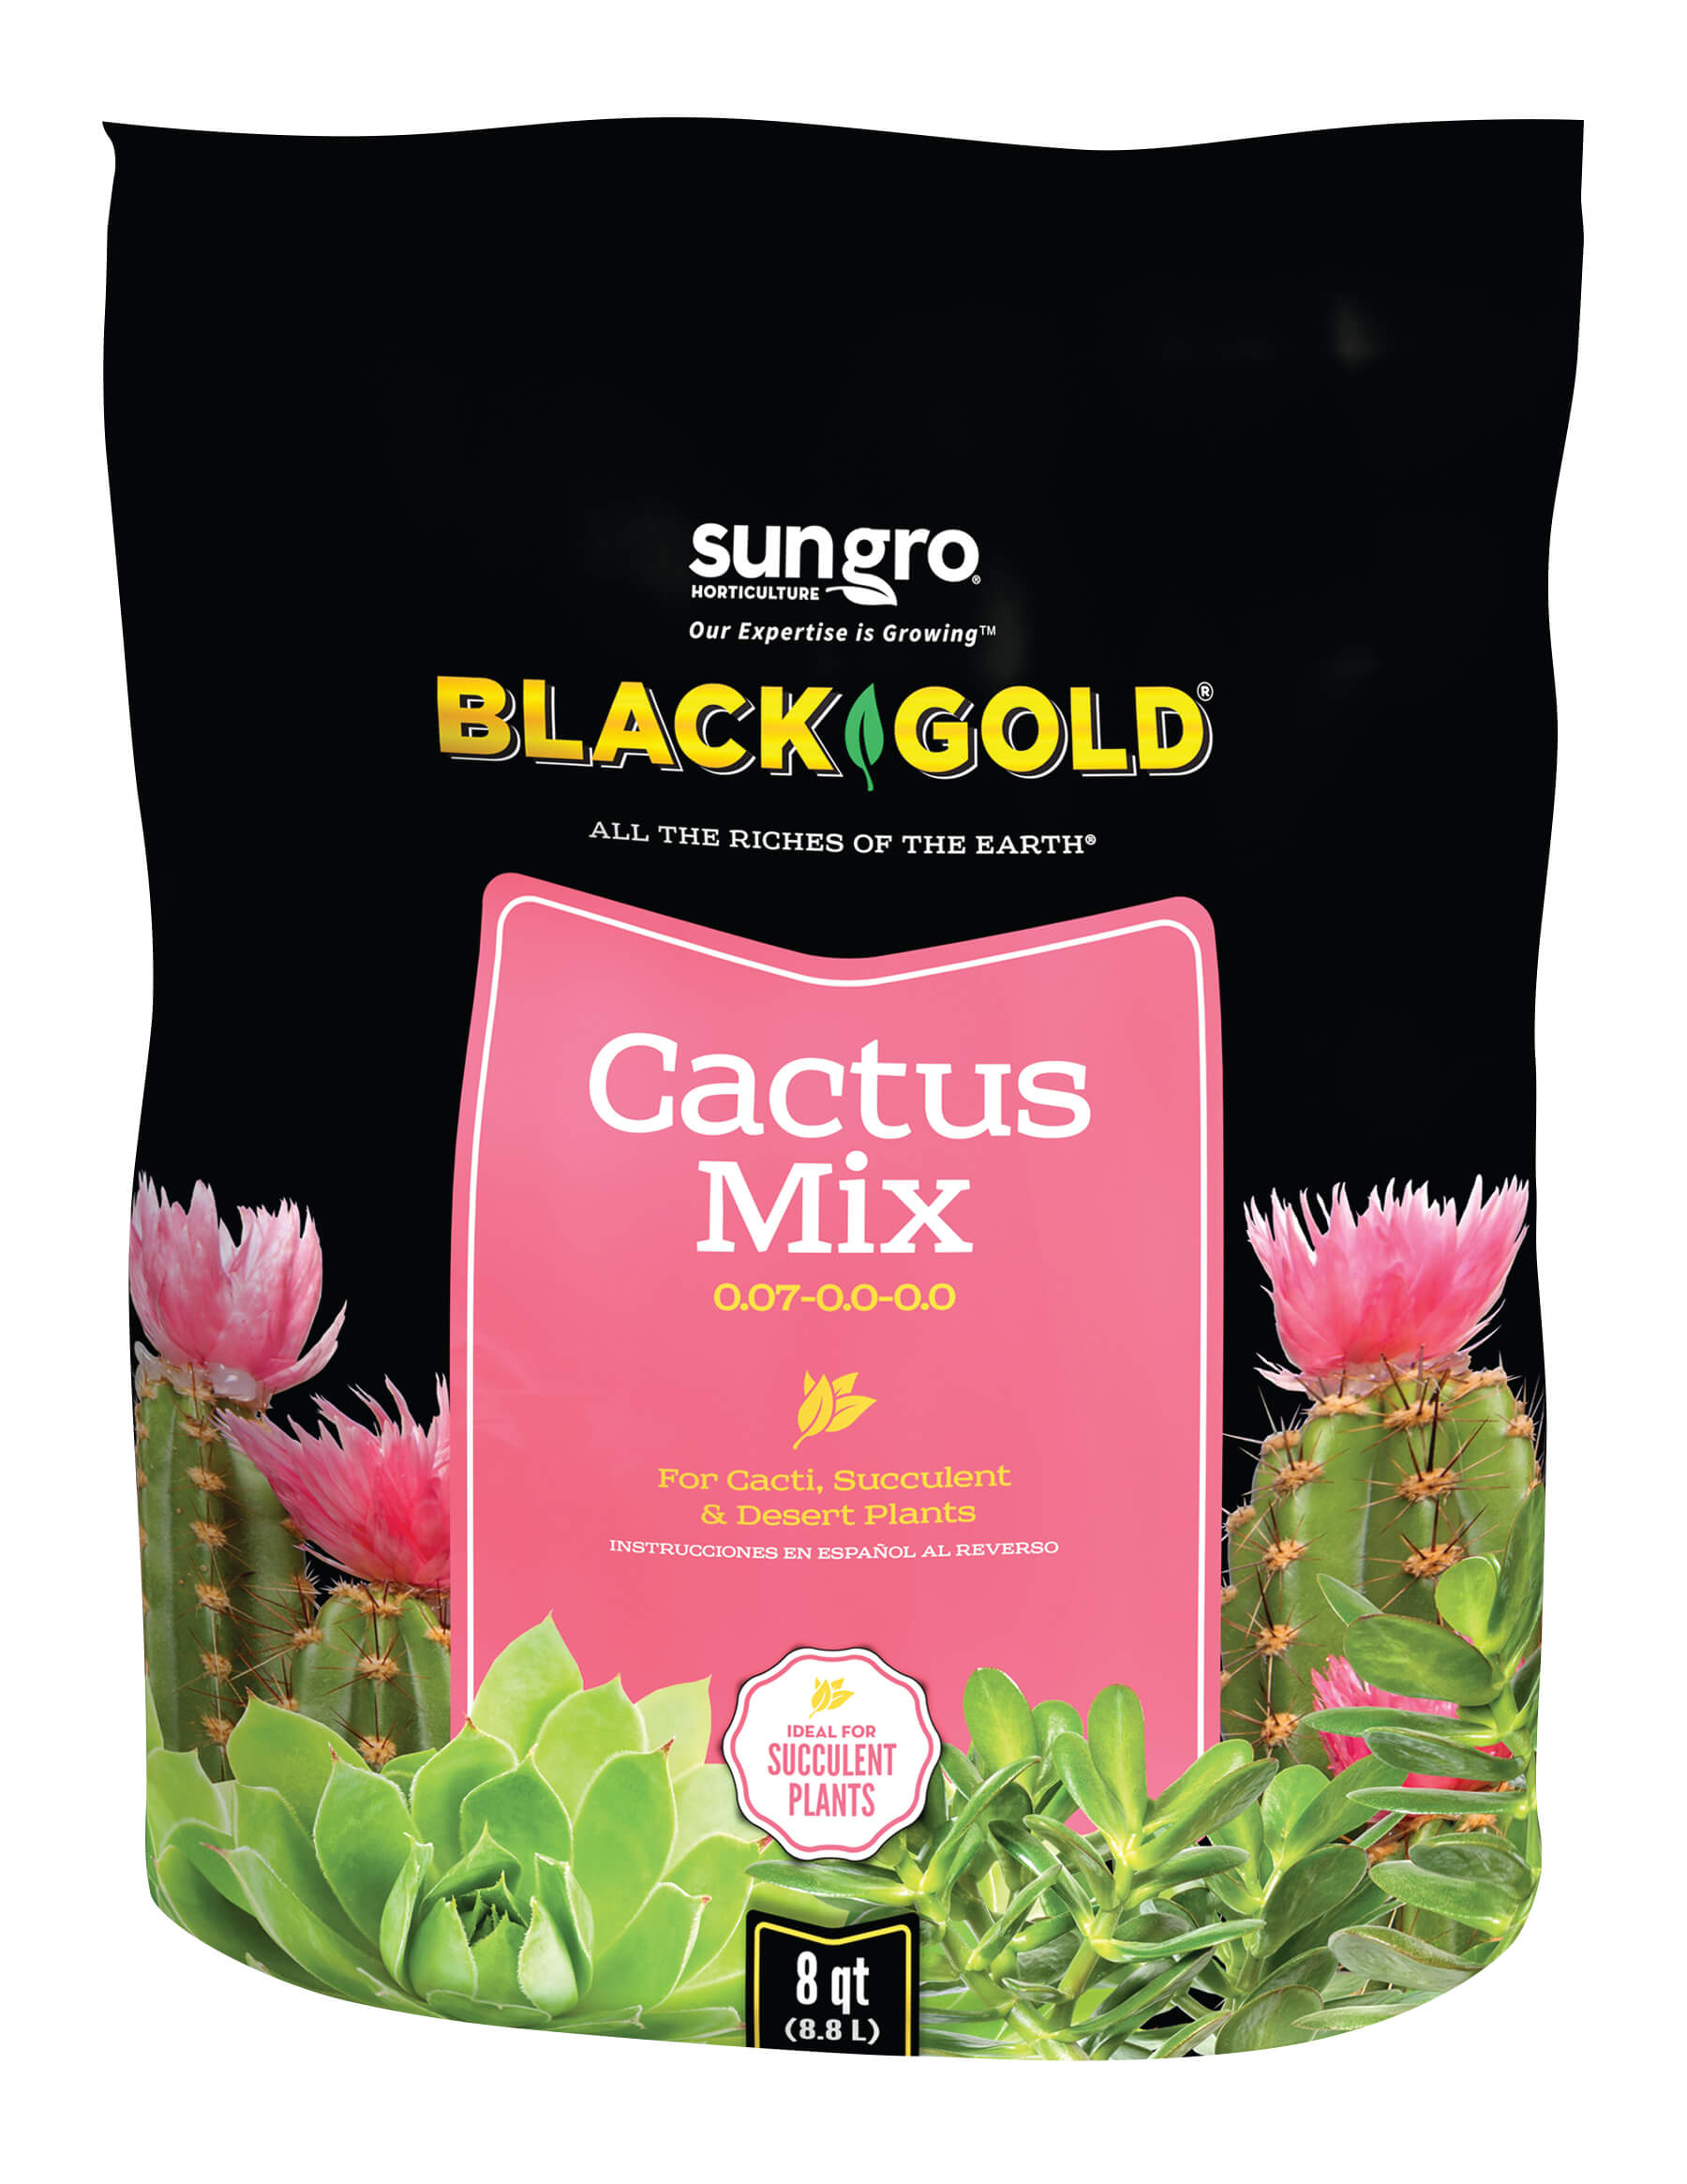
When it comes to a good potting mix for succulents, fast drainage is essential. A good succulent mix must drain very well but also have some organic matter. Black Gold Cactus Mix has the perfect balance of good drainage and organic matter. When choosing a pot, pick one that is several inches larger than the last and has drainage holes at the bottom as well as a saucer to catch water.
Once your succulents are newly planted, it is smart to top the soil with decorative gravel to keep the surface dry and attractive. Pebbles and gravel for terrariums come in different sizes, textures, and colors. Those in light shades let plants stand out without overstatement.
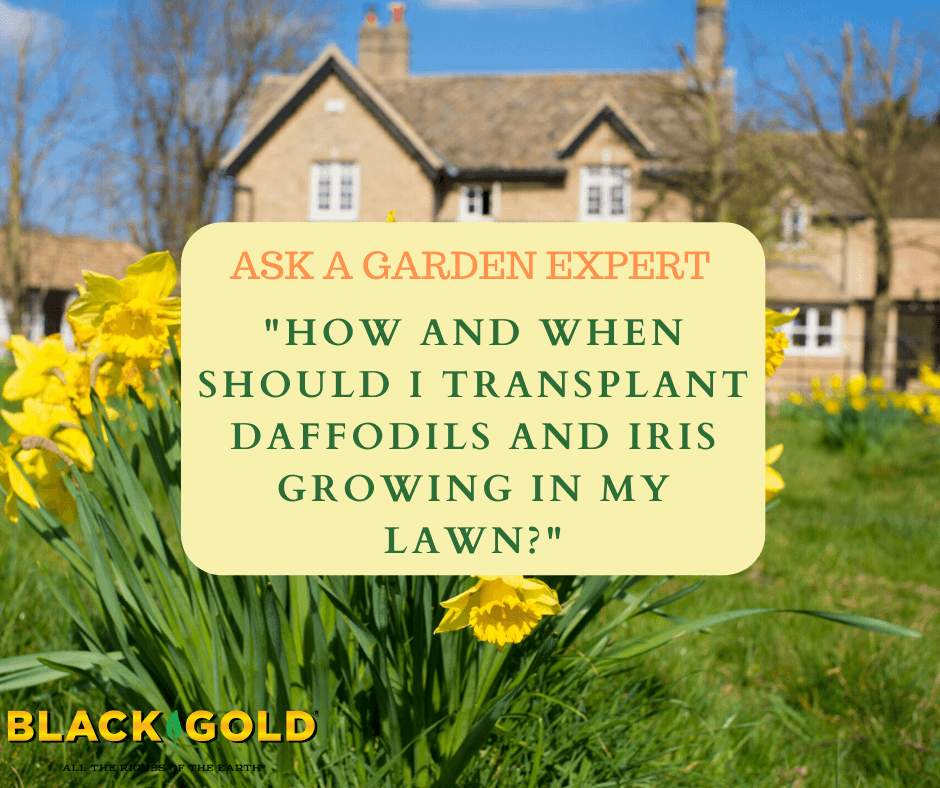
“I have had some Iris’s and Daffodils shoot up in my yard. I love these flowers, and would like to know when would be a good time to dig them up and move them so I don’t cut them down with a lawnmower.” Question from Stacey of Hueytown, Alabama
Answer: Bulbs are pretty when they flower in lawns, but mowing their tops does disable them from gathering as much food as possible for next spring’s bloom. The iris and daffodils should be removed differently.
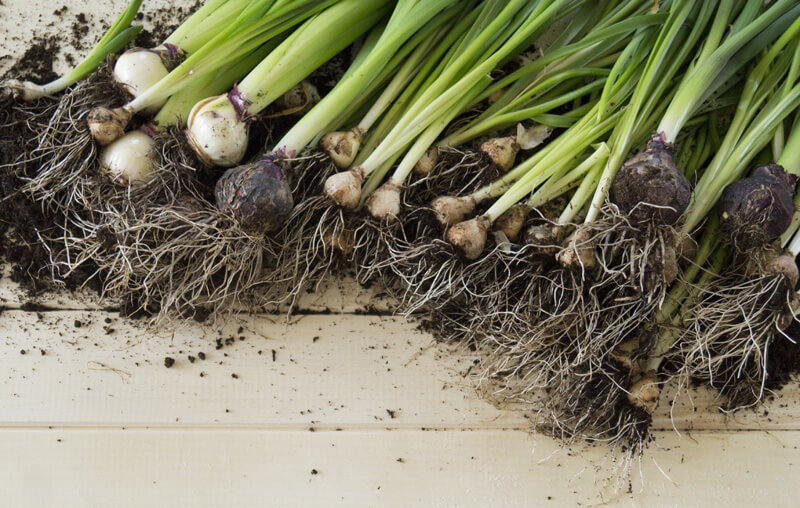
Digging Daffodils in Spring
Flower transplant of daffodils. Bulbous plant. Pot and tool primer. Wood background
Wait until the daffodils have finished blooming. Mow around them, if you can, while they flower. Once their flowers are done, gently dig them up. If you use a long, sharp spade you can easily dig to the base of each daffodil clump and loosen the bulbs without disturbing the turf to much. Be sure to wear gloves. Try to maintain the green tops of the bulbs in the process. Next, place the bulbs in holes around the garden in need of spring color. Plant them 6 to 8 inches down, and leave their green leaves up top to gather as much sunshine as possible. Mix a little bonemeal fertilizer into each hole to get them off to a good start. Trim the leaves back when they start to turn brown.
Digging Iris in Spring
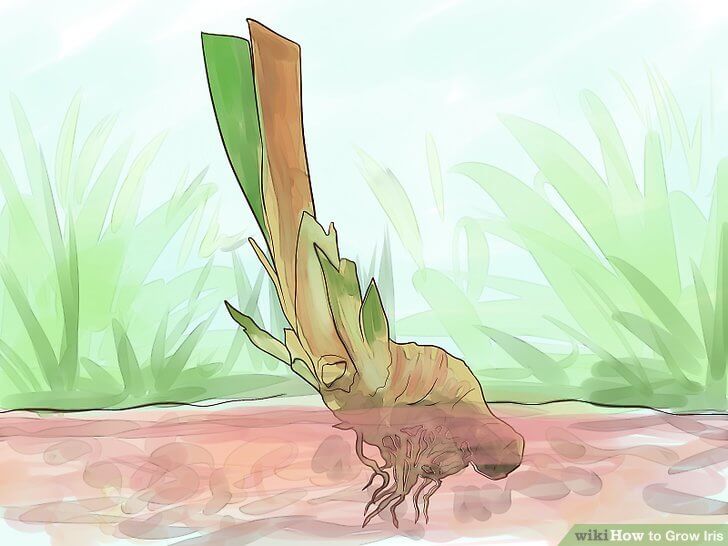
The iris can be dug now and planted in the garden. They grow best in well-drained, fertile soil, so we recommend enriching the planting holes with Black Gold Garden Soil at planting time. Not only is this amendment rich in organic matter, but it feeds plants for up to six months. If it is a tall bearded iris, be sure its fleshy rhizomes are partially exposed at the top (see image below). Total coverage with soil will smother them. Sometimes iris are top-heavy, so you will likely need to pat the soil down around the rhizome to keep the plants secure and upright.
Iris rhizomes should be exposed at the tops when planted. (Image thanks to WikiHow)
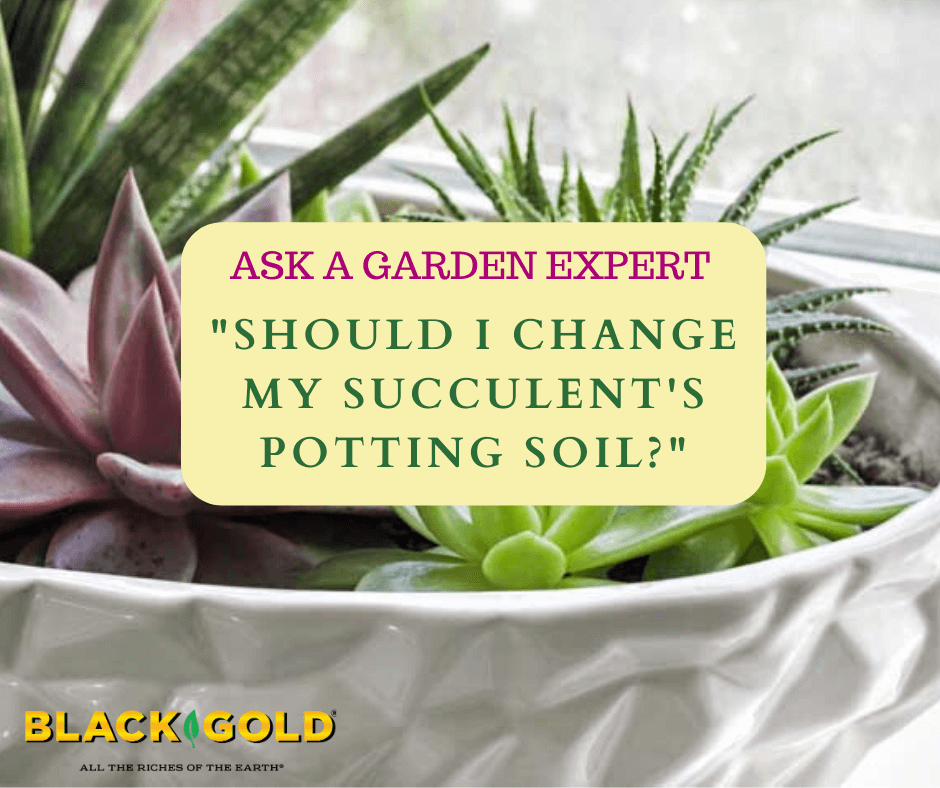
“If you plant flowers in a flowerpot, do you ever have to change out the soil, or does the soil never lose its nutrients? Question from Jessica of Phoenix City, Alabama
Answer: Potting soil must be changed or replenished every couple of years or so for many reasons beyond the fact that a plant may have outgrown its pot. Not only do plants remove fertilizer nutrients in the soil, but the soil components also break down and become more acidic over time. You can always add fresh fertilizer to the potting mix, but the changes caused by decomposition can only be fixed by adding fresh potting soil. Here are four important characteristics of fresh soil that are lost with age.
The Four Important Characteristics of Fresh Potting Soil
Lots of air pockets to facilitate good drainage and aeration for healthy root growth. (As potting soil ages, and its organic matter breaks down, these air pockets are lost.)
Better water-holding characteristics. (As potting soil ages, water is less available to plant roots.)
A more neutral pH. (As potting soil ages, it becomes more acidic, which many plants do not like.)
A better ability to distribute nutrients to plants. (As potting soil ages, plant roots have a harder time accessing fertilizer in the soil.)
After two to three years, replenish your pots with fresh potting soil. When I add new potting soil to my containers, I take the old mix and add it to my garden beds as an amendment. That way, nothing is wasted.
Most seedlings will need to be transplanted as they grow. Larger containers and a more robust mix with added fertilizer will enable seedlings to become large, vigorous plants. (Note that good seed starting mix contains no added fertilizer because it keeps some seeds from germinating.). As long as the light is plentiful, repotting will help your seedlings develop stronger roots and shoots.
Seedling Pot Size
A 3- or 4-inch plastic pot or larger cell packs are ideal for the transition. If you want to reuse containers for a greener approach, use recycled tin cans, yogurt cups, or similar-sized containers; punch two to three holes in the bottom of each for drainage. Use a hammer and thick nail for tin, and a paring knife or screw driver to poke holes into plastic (wear protective hand coverings when punching holes). For bottom support recycle flats from the garden center or line your pots up in a baking pan or any low, watertight container.
Seedling Potting Mix and Fertilizer
The potting mix you choose depends on your preference and garden type. If you like planting mix with added fertilizer, choose Black Gold® Moisture Supreme Container Mix or Black Gold All Purpose Potting Mix. Both feed products for up to 6 months. If your plants are going into an organic garden, use OMRI Listed Black Gold Natural & Organic Potting Soil. It is fertile, well-aerated, and holds water well. Because it does not contain a fertilizer boost, apply any quality, water-soluble organic fertilizer.
Fill each pot or container with soil to one-quarter to half-inch below the rim, so there’s enough room for water without overflow.
Transplanting Seedlings
Transplanting your seedlings should be done with a gentle hand. Use an ice cream stick or blunt butter knife to ease seedlings out of the media without tearing roots or disturbing the next seedling in line. Lift it from its roots. Always support the roots with the palm of your hand and lift a seedling by its leaves rather than stems, which are easy to bend or crush. Remove one seedling at a time. Use your finger or a dibble stick to open a hole in the potting soil large enough to accommodate the entire root system comfortably.
Plant: Don’t pick up seedlings by the stem; support the roots with your hand.
When transplanting tomatoes, they can be planted much deeper into the soil so new roots will form on the underground part of the stem. This is a rarity. With most other seedlings, transplant them at the same depth. Hold the seedling by the leaf and gently place the roots in the hole then cover with additional mix and lightly press it down. Next, water your seedlings gently. Allow them a week to revive from transplanting.
Hardening off Seedlings
On mild days take the whole flat of seedlings out onto the porch or covered outdoor area with partial sun to help them become adapted to outdoor wind and light. This transitional period is called “hardening off,” which is essential to toughen tender indoor plants to the harsher growing conditions of the outside. Over a week or two, slowly move them into higher light, if they are full-sun plants. If nights become warm, leave thems outdoors overnight to better adapt. Just keep them out of reach of curious pets and hungry wildlife.
With the nutrient-rich soil, growth will speed up so your seedlings will benefit from lots more direct sunlight. Just be careful over the first few days to ensure they adapt well to the exposure without wilt or burning.
“How do I know when to get a bigger pot for my jade plant?” Question from Grady of Akron, Ohio
Answer: There are two ways to tell if your jade plant (Crassula ovata) has outgrown its pot:
The plant has become top-heavy
The roots have densely grown to the pot walls
You can tell if the roots have densely grown to the pot walls by feeling down into the soil. You will be able to feel the roots. Another test is to gently lift the plant from the pot to see if the root mass stays together. If it does, it’s time to repot.
The best time to repot a jade is in spring before the plant starts to actively grow. Choose a pot that is an inch or two larger than the previous one. Gently loosen the root ball and replant your jade in Black Gold Cactus Mix, which is custom-made for succulents. This is also a good time to blend in a slow-release fertilizer formulated for succulents. Fill in around the base and edges with the new mix, and water until the bottom saucer is filled. Then keep the soil lightly moist, allowing the plant to dry between watering.
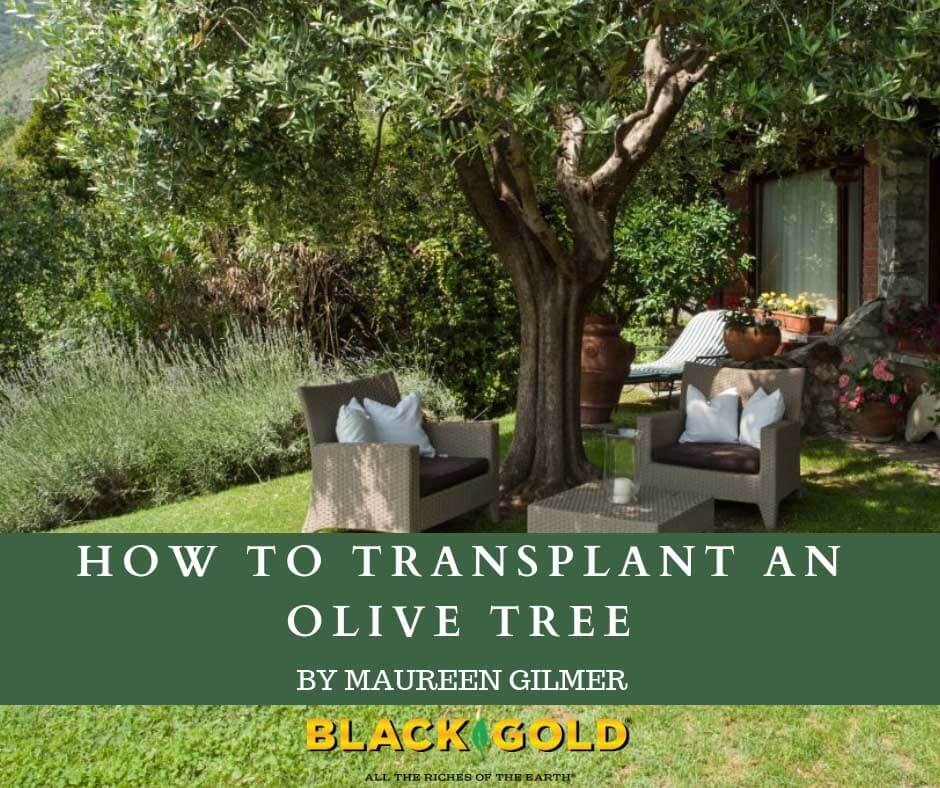
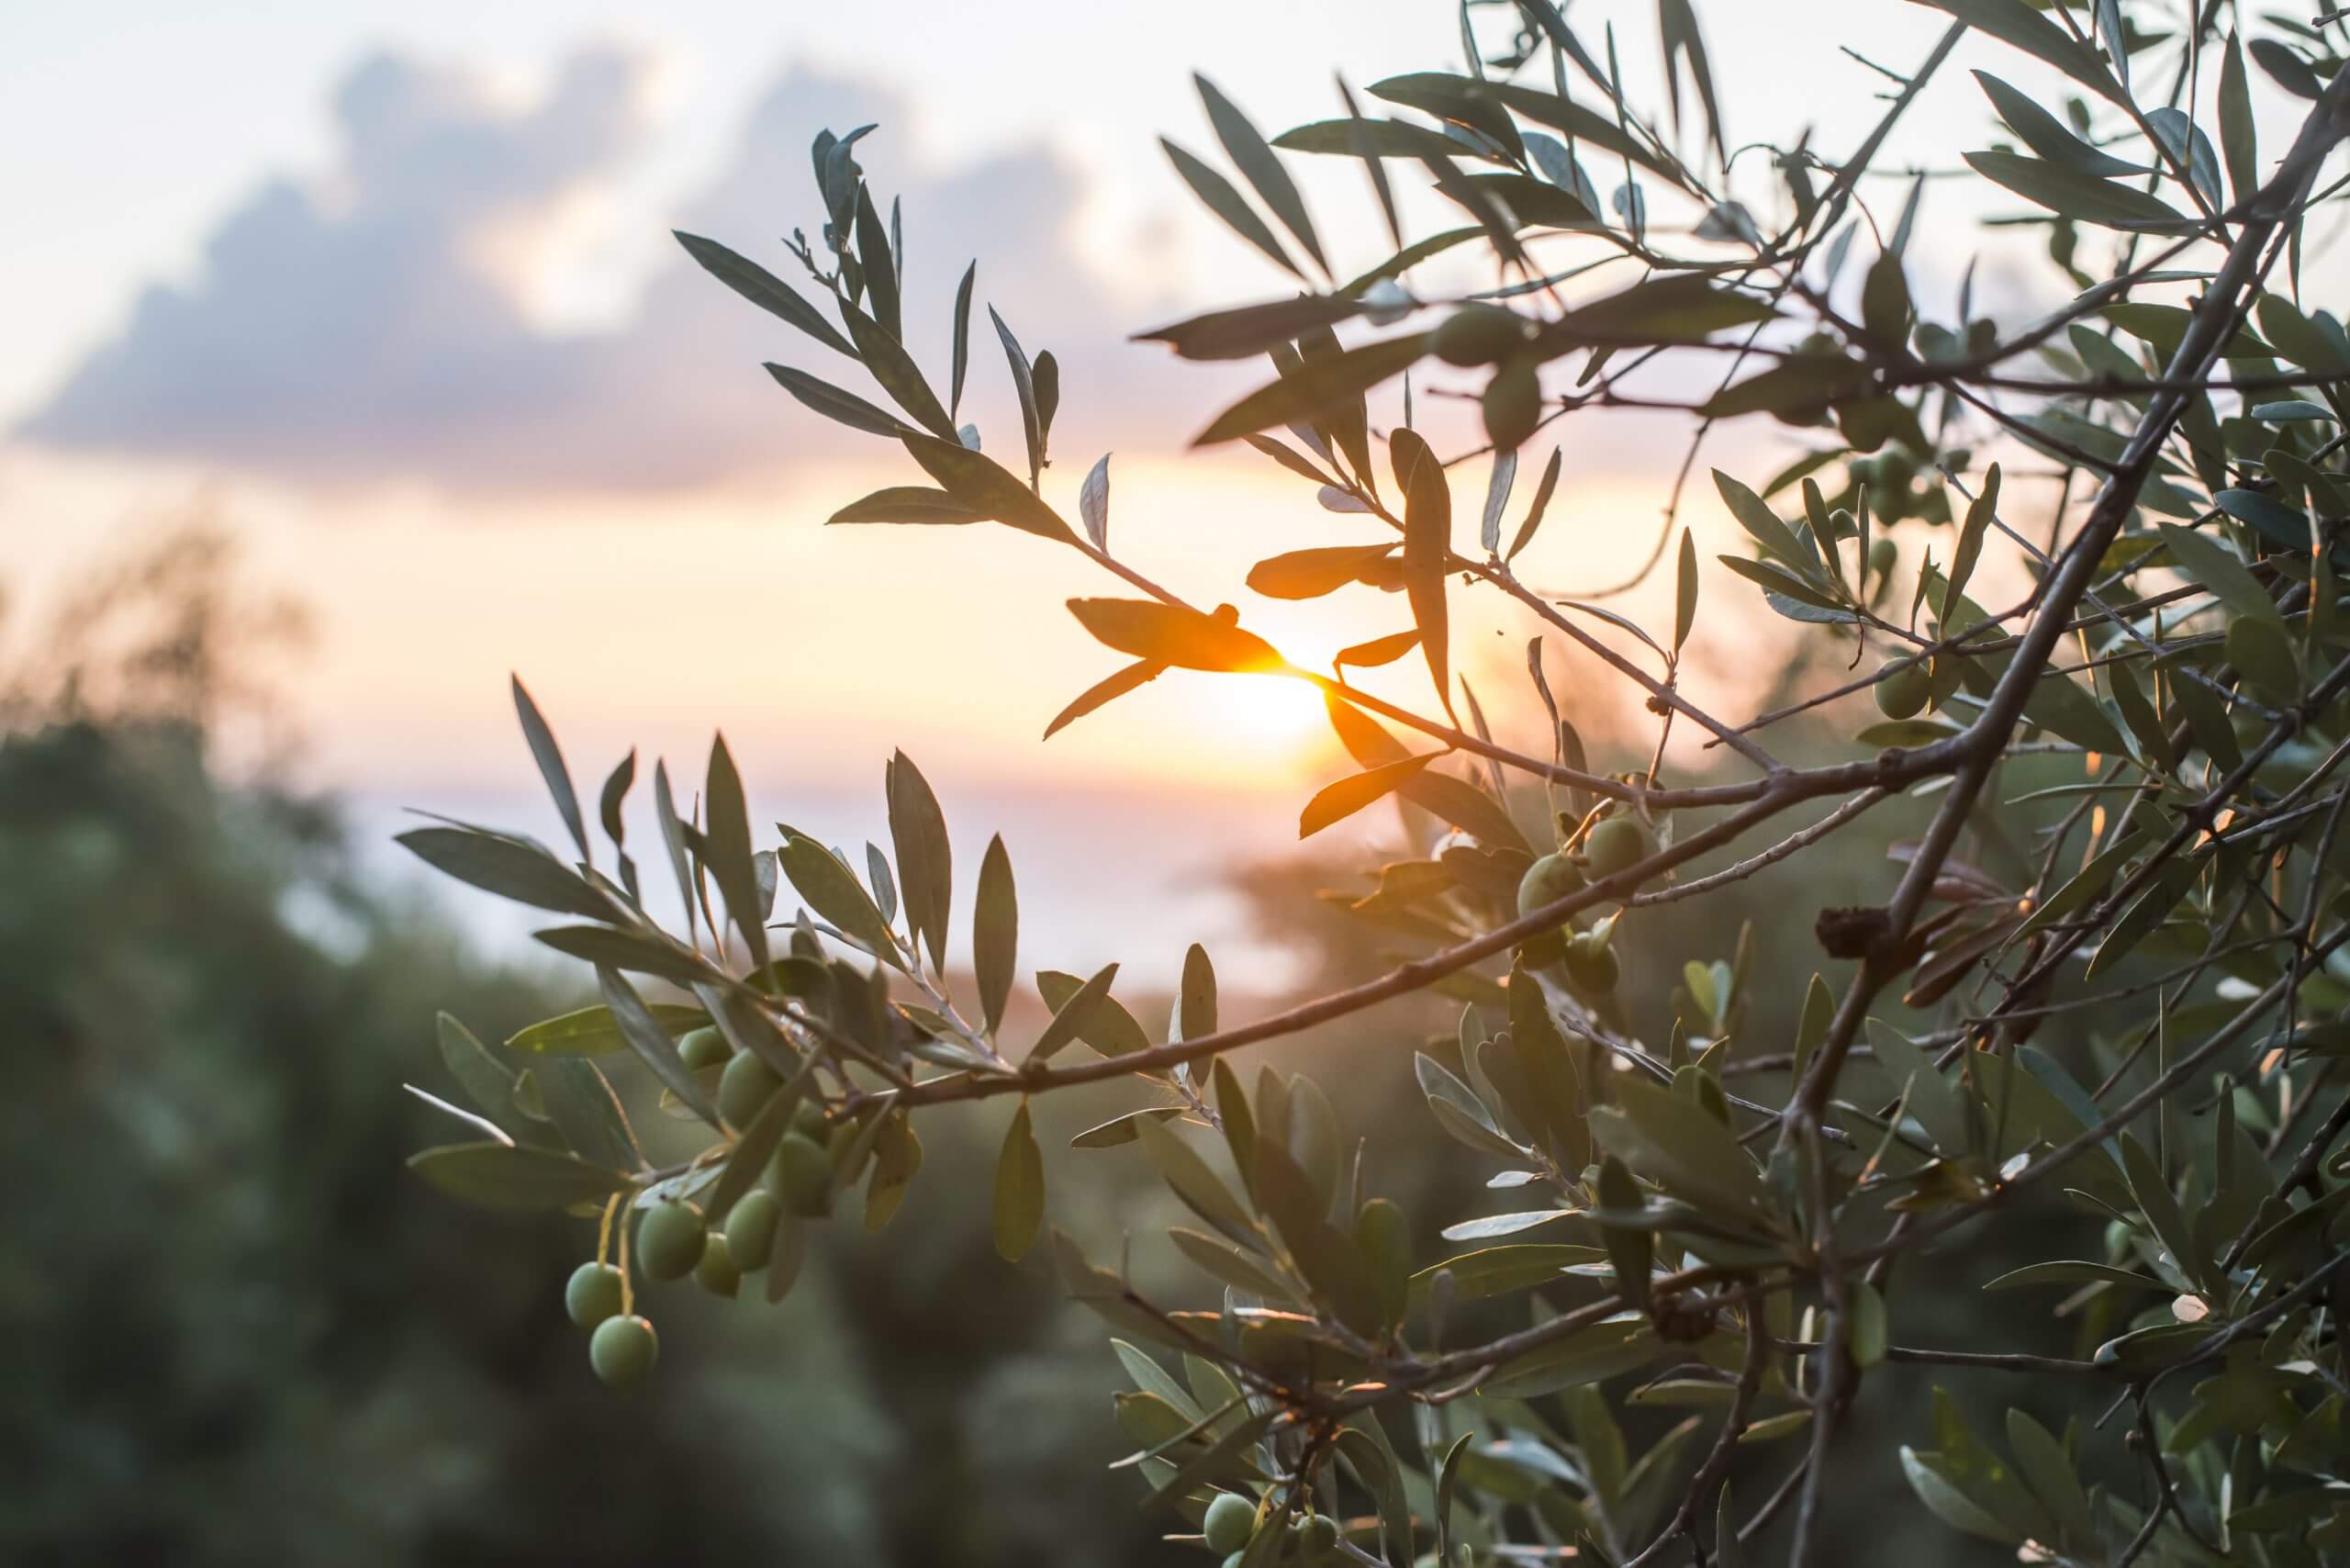
Fruiting olive trees make resilient landscape specimens for edible landscaping in the West.
Olives (Oleaeuropaea) originate from the Mediterranean region but have been important landscape trees in the American Southwest for the past 70 years, losing and gaining favor as trends change. After World War II, mature olive trees were transplanted to new family homes all over the West. Old trees were moved from California orchards under the hottest, driest conditions; dug and replanted in the dry summer months when moisture-related diseases were less of a worry. Transplanted olive trees were a “quick fix” for barren southwestern yards because they were tough and easily moved by a novice, but eventually, some homeowners became disenchanted by the tree’s fruit mess and copious, allergenic pollen. Thankfully, the rise of edible landscaping has made olives desirable once more.
Now seen as the haute new organic orchard crop for a changing climate, old olive trees have renewed value. Those interested in growing olives may still be able to seek out established, unwanted specimens from old orchards or landscapes. It’s a great way to get a free tree while relieving someone else of an unwanted plant. If the tree is small enough for you to manage alone, or with a little help, you can get a nice fruiting specimen for no more than the effort to transplant it.
How to Transplant an Established Olive Tree
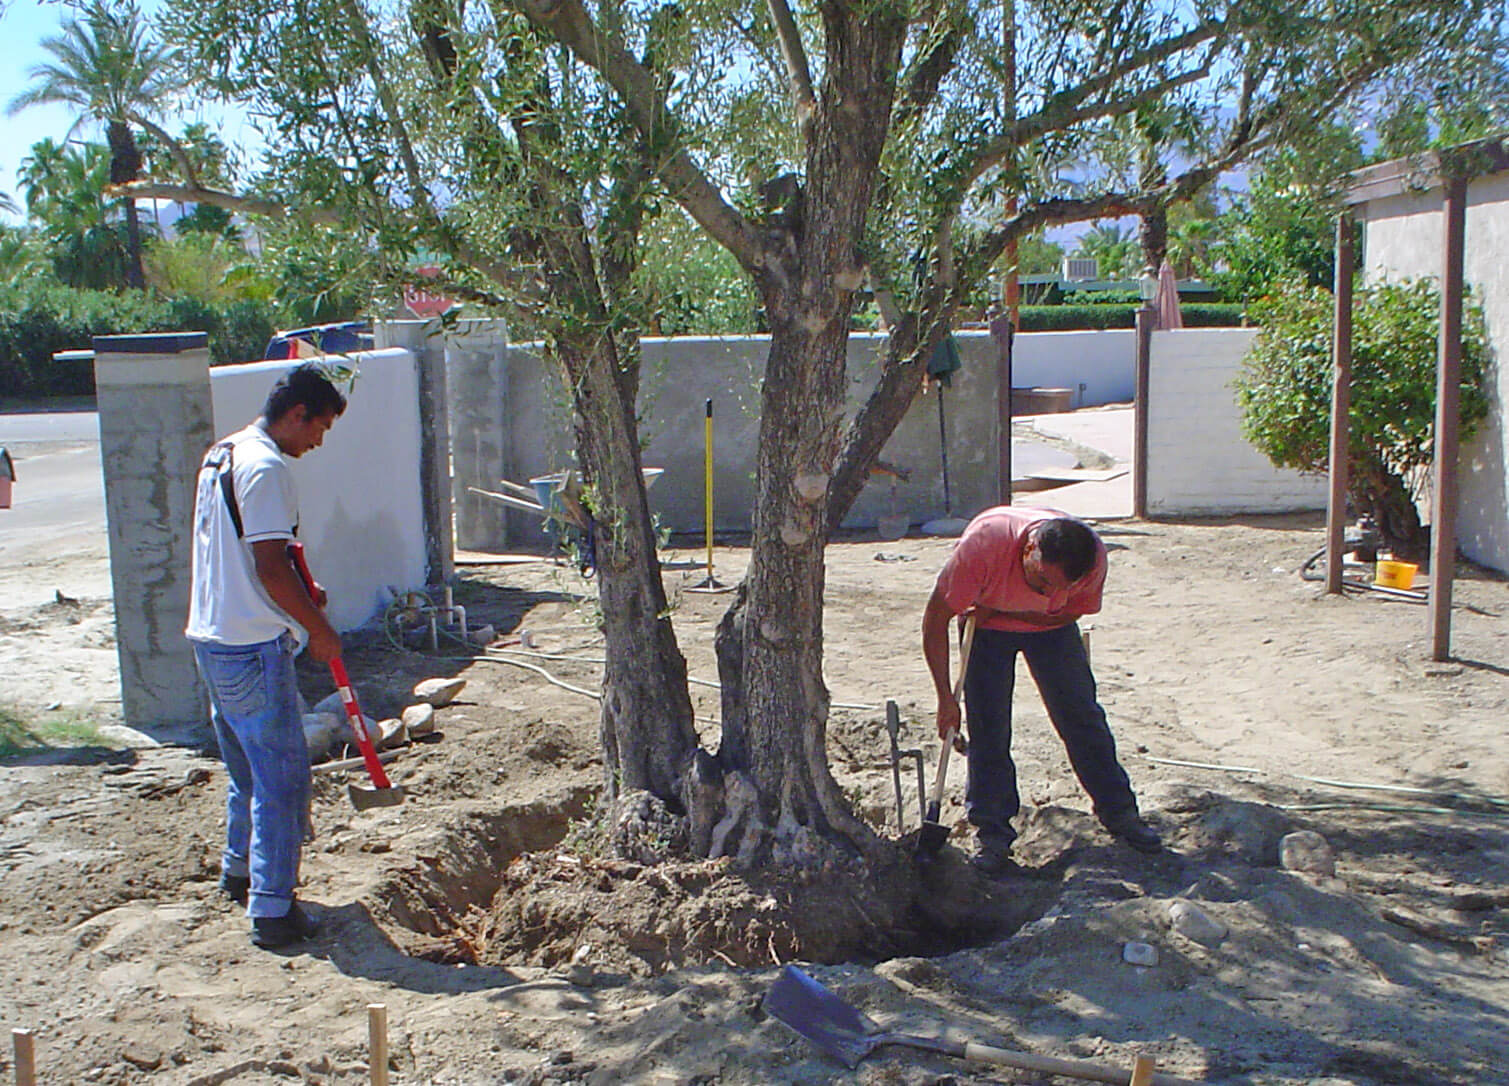
Cut a trench around the root ball edge for access to deeper roots for easy cutting on sides and underneath.
Step 1: Size the root zone. Identify the outside edges of your root ball relative to the size of the tree with a shovel line. Use the diameter of the resulting circle as a guide to determine the size of the hole you will need at the new planting location.
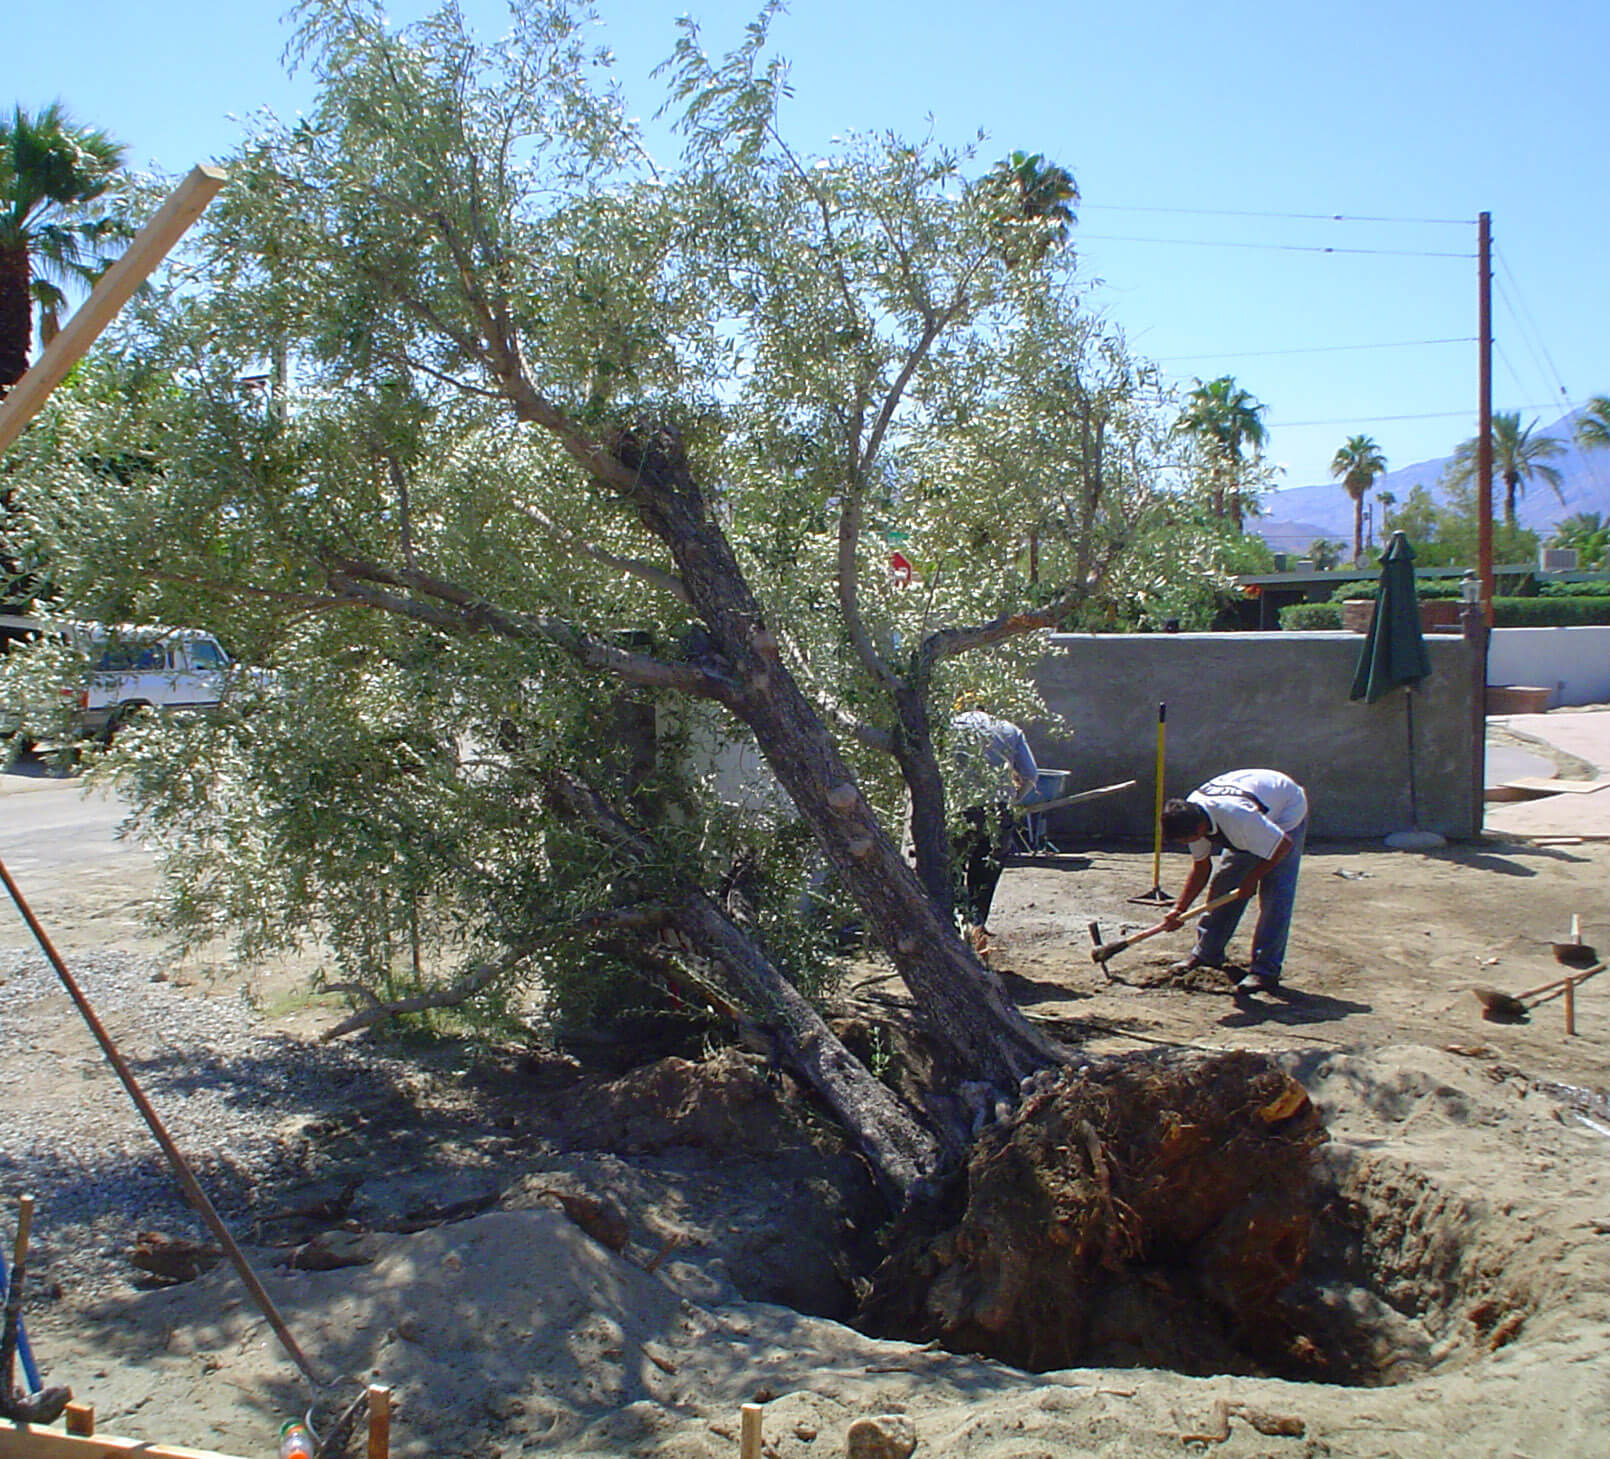
Step 2: Dig and sever roots. Dig a trench around the outside edge of the tree’s root ball line. If you encounter big roots, use sharp cutters or a saw to cleanly sever them on the sides and underneath the root ball. Note the tree bark changes color at the soil line; this is the “bark line” and will guide the depth of your new planting hole. Measure from the bark line to the bottom of the root ball to get the minimum depth of your new hole.
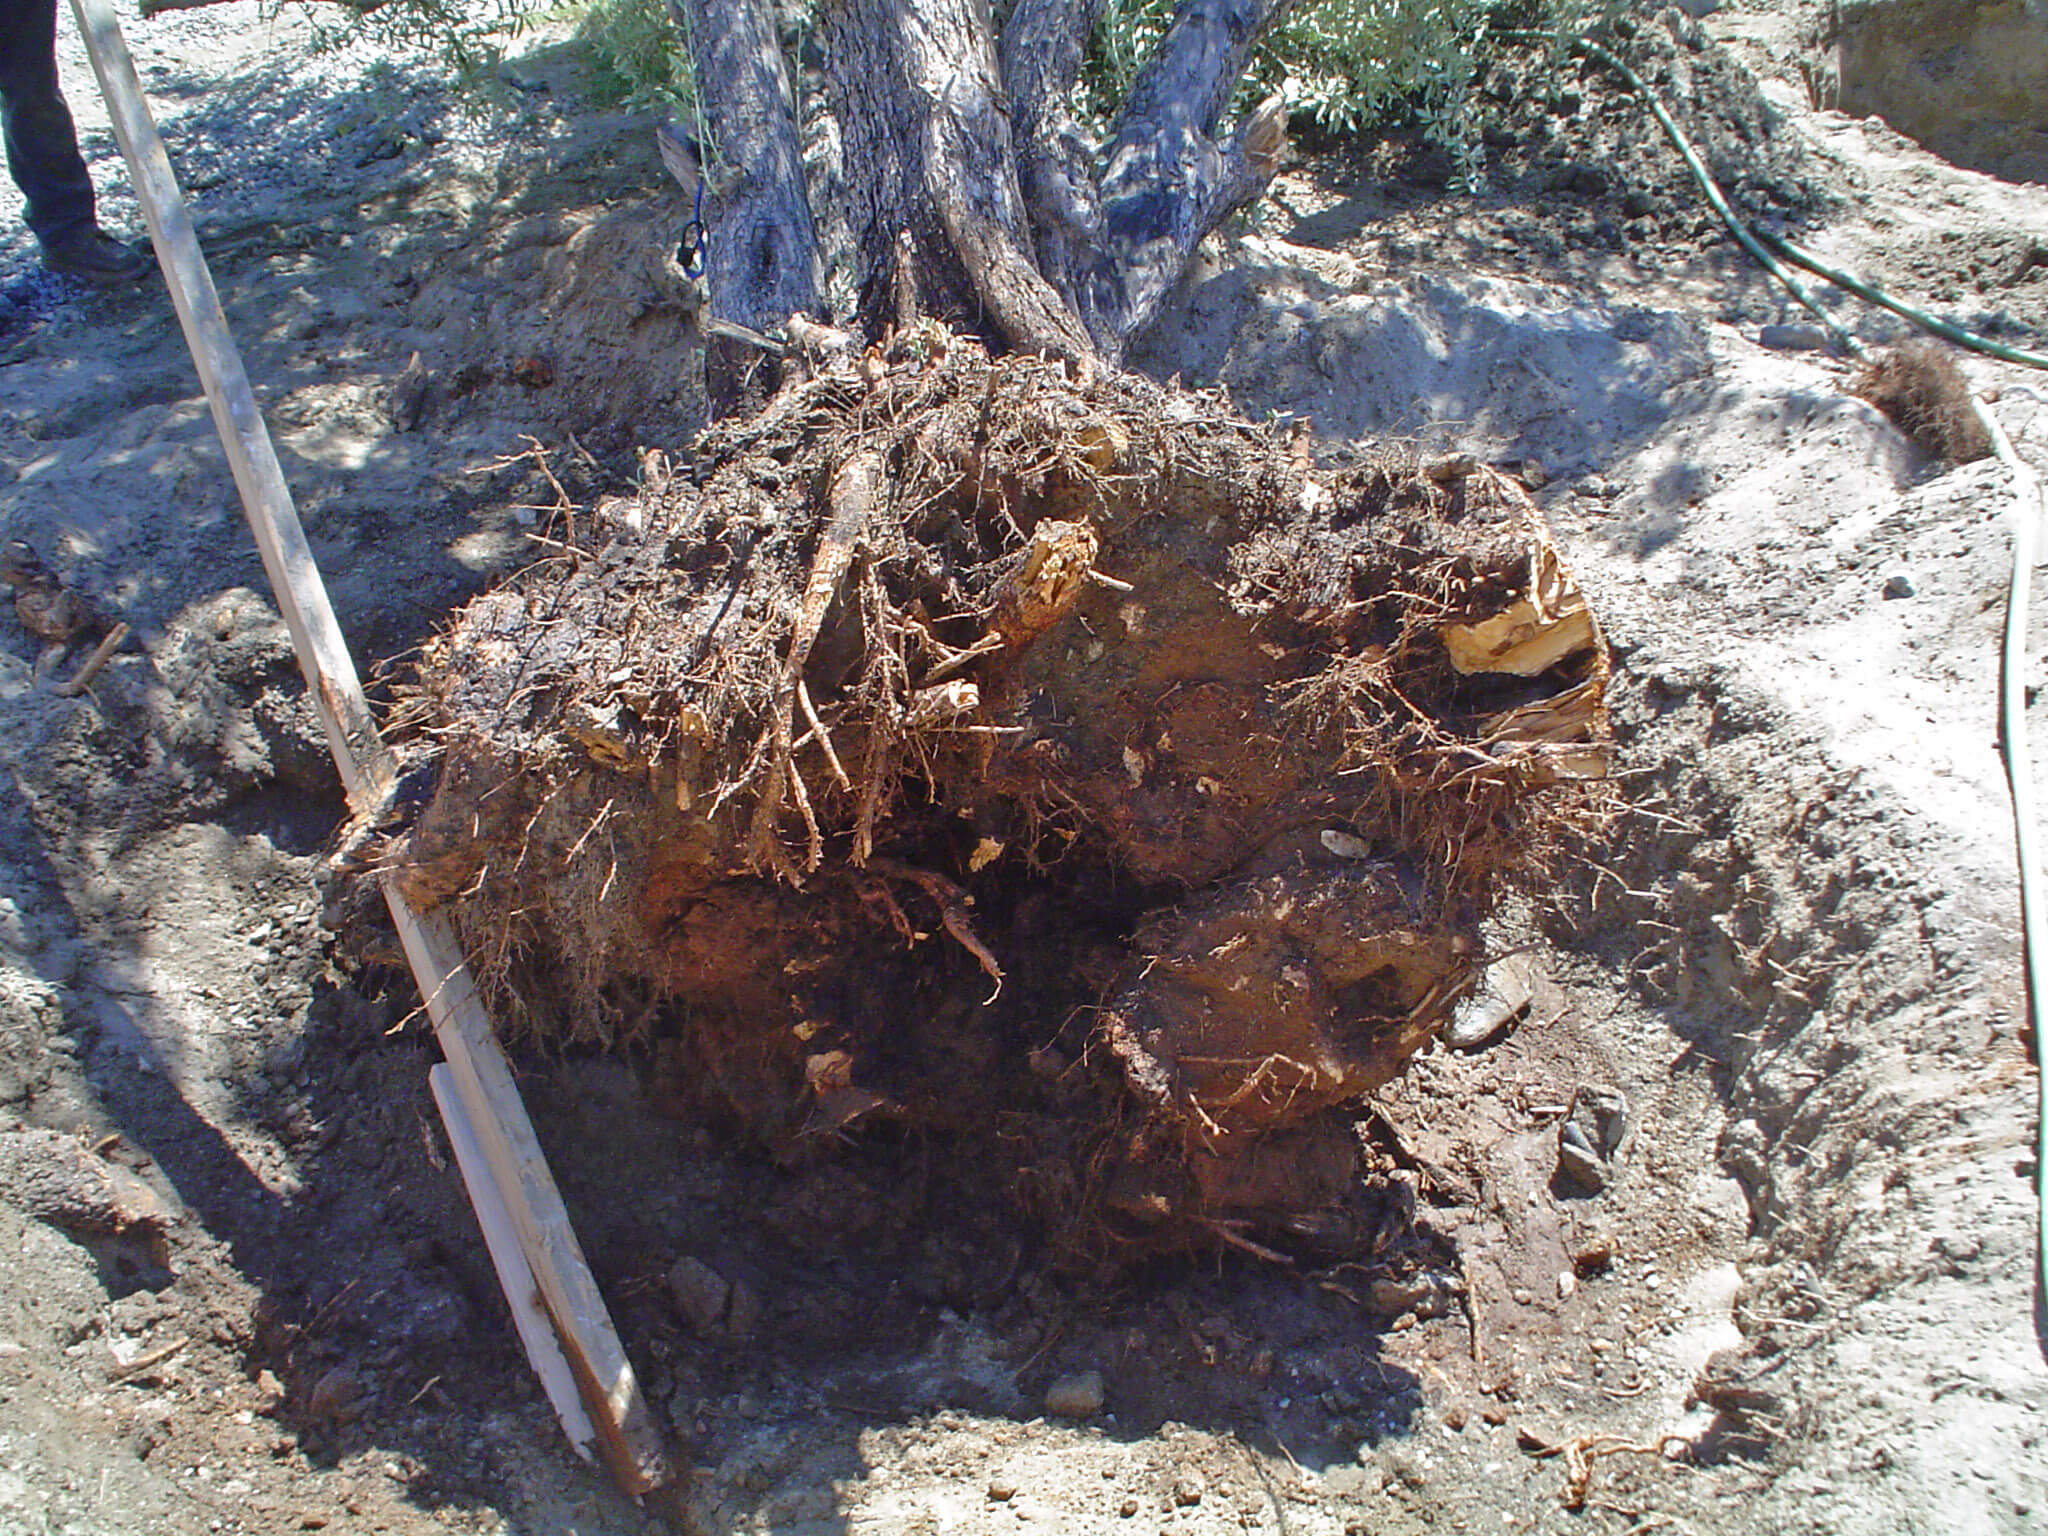
Once the root ball is free, measure its depth and diameter to determine the size of the planting hole at the new location.
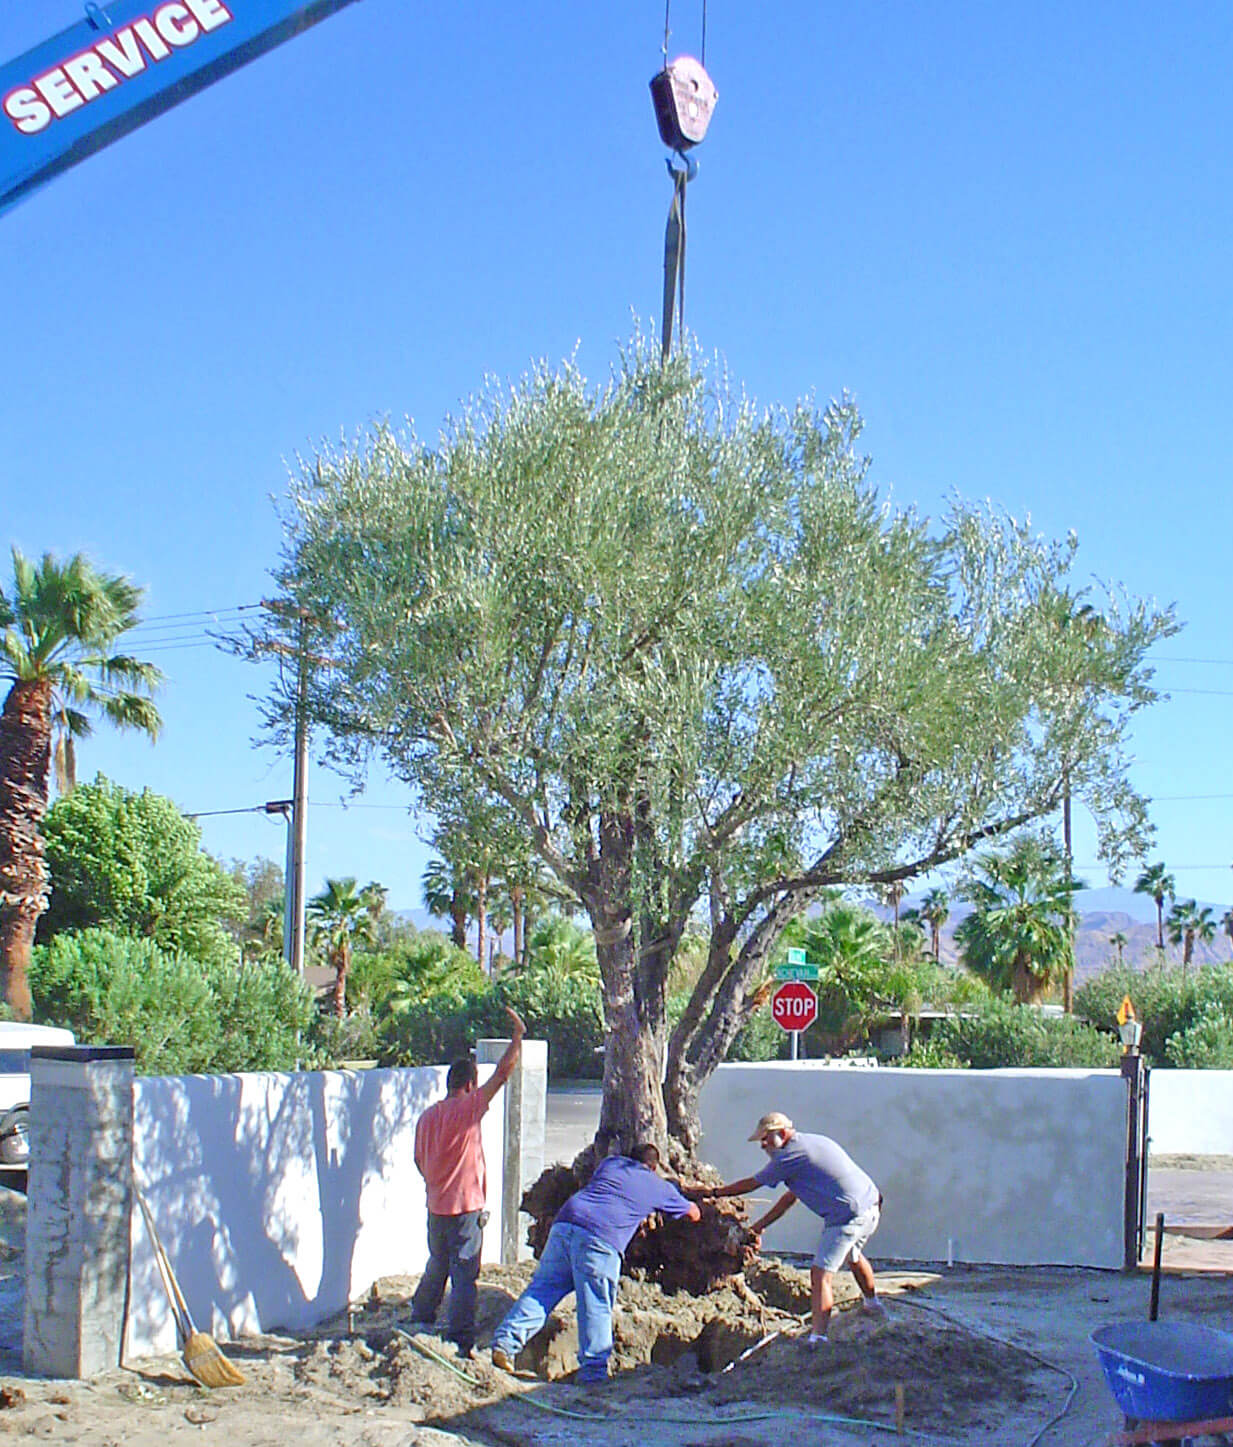
Step 3: Move the tree. When the root ball is entirely free, you’re ready to move the tree. Moving can be done with pure manpower, or with the help of a professional. If you are moving it by hand, wrap the ball with burlap or a tarp to lift it and keep it intact. For large trees, hire a professional crane service to lift and transport the tree to its new location; this is easier and safer for very large specimens.
Step 4: Dig the hole. Put a tarp next to your new planting location to place your backfill soil on as you dig. Your olive tree should be planted at the same soil level in a new location as it was in the old, so depth should match the depth of the root ball and the hole should be a several inches wider than the root ball.
Once the root ball of the olive is free it’s ready to be moved and transplanted.
Step 5: Amend the soil. Encourage new root formation by enriching the backfill soil for your olive root ball. It adds vital organic matter that helps to oxygenate the soil to enhance root development, plus it grabs and holds the water in the root zone. Add OMRI Listed Black Gold Garden Compost Blend to the fill dirt and mix it in. Keep another bag on hand to work into your excavated hole before filling.
Step 6: Plant the tree. Place the tree in the hole, and adjust the hole depth and adjacent soil grade so it lines up to the tree’s bark line. Straighten the tree to the same angle that it was growing at before. (One person may have to hold the tree straight while another adds the fill dirt.) Tamp down the soil as you go for stability and to collapse air pockets.
This large tree is being lifted by a crane to be dropped into the new hole just 10 feet away.
Step 7: Create a basin and water. A reasonably sized water basin will have raised berm edges from 6 to 12 inches high, made of the leftover backfill material. Transplanting requires a great deal of water to fill such a basin. This lets it slowly percolates down into the root ball and surrounding enriched backfill, where new roots form. For best results, keep the basin area moist, but not wet, throughout the hot months after transplanting.
Final tip: Speed rooting by adding root stimulant hormones or Superthrive to your irrigation water for quicker root formation.
Larger olive trees, or those in high wind areas, may require staking or tree guy wires that are anchored outside the root zone in undisturbed soil. Blow-over is a serious issue until anchoring roots form to hold such a top-heavy tree.
Olive trees are a miracle of nature that changed the course of history in the ancient world, providing nutritious fruits and oil to feed peoples across many Mediterranean and Middle Eastern cultures. Though they are coming back into edible landscaping, there are also fruitless ornamental varieties available for easy maintenance. The new ornamental olive has left many old, unwanted fruiting olive trees in yards all over the West just waiting to be rescued. Transplanting keeps these valuable trees from going to waste!
Olive fruits can be harvested for home-preserved olives and even oil!
This beautiful old mother agave has produced a bevy of pups around herself to take over after she flowers and dies.
Agave are the most widely adaptable succulents, but what sets them apart is that they flower only once at the end of life and then they are gone. It literally takes an entire lifetime for each plant to save up enough fuel to reproduce. They do this by bolting, sending up flower stalks much like a head of lettuce does in early summer. Some agaves can produce enormous bloom stalks up to twenty feet tall, with nectar-rich flowers raised high for accessibility to bats and hummingbirds. Some gardeners allow the bloom stalks to remain standing until the flowers fade and the stalks dry out, while others prefer to remove them more promptly to maintain a more controlled appearance.
Agave Pups
Agaves reproduce another way to maintain their numbers when the climate is too dry for seeds to germinate. They form “pups” around the aging mother plant. An agave pup, or offset, is simply a new vegetative shoot that rises from the parent’s root system. When the parent plant dies, the pups remain alive to take the parent’s place, though it takes years to fill in the ugly gap where the parent plant formerly existed.
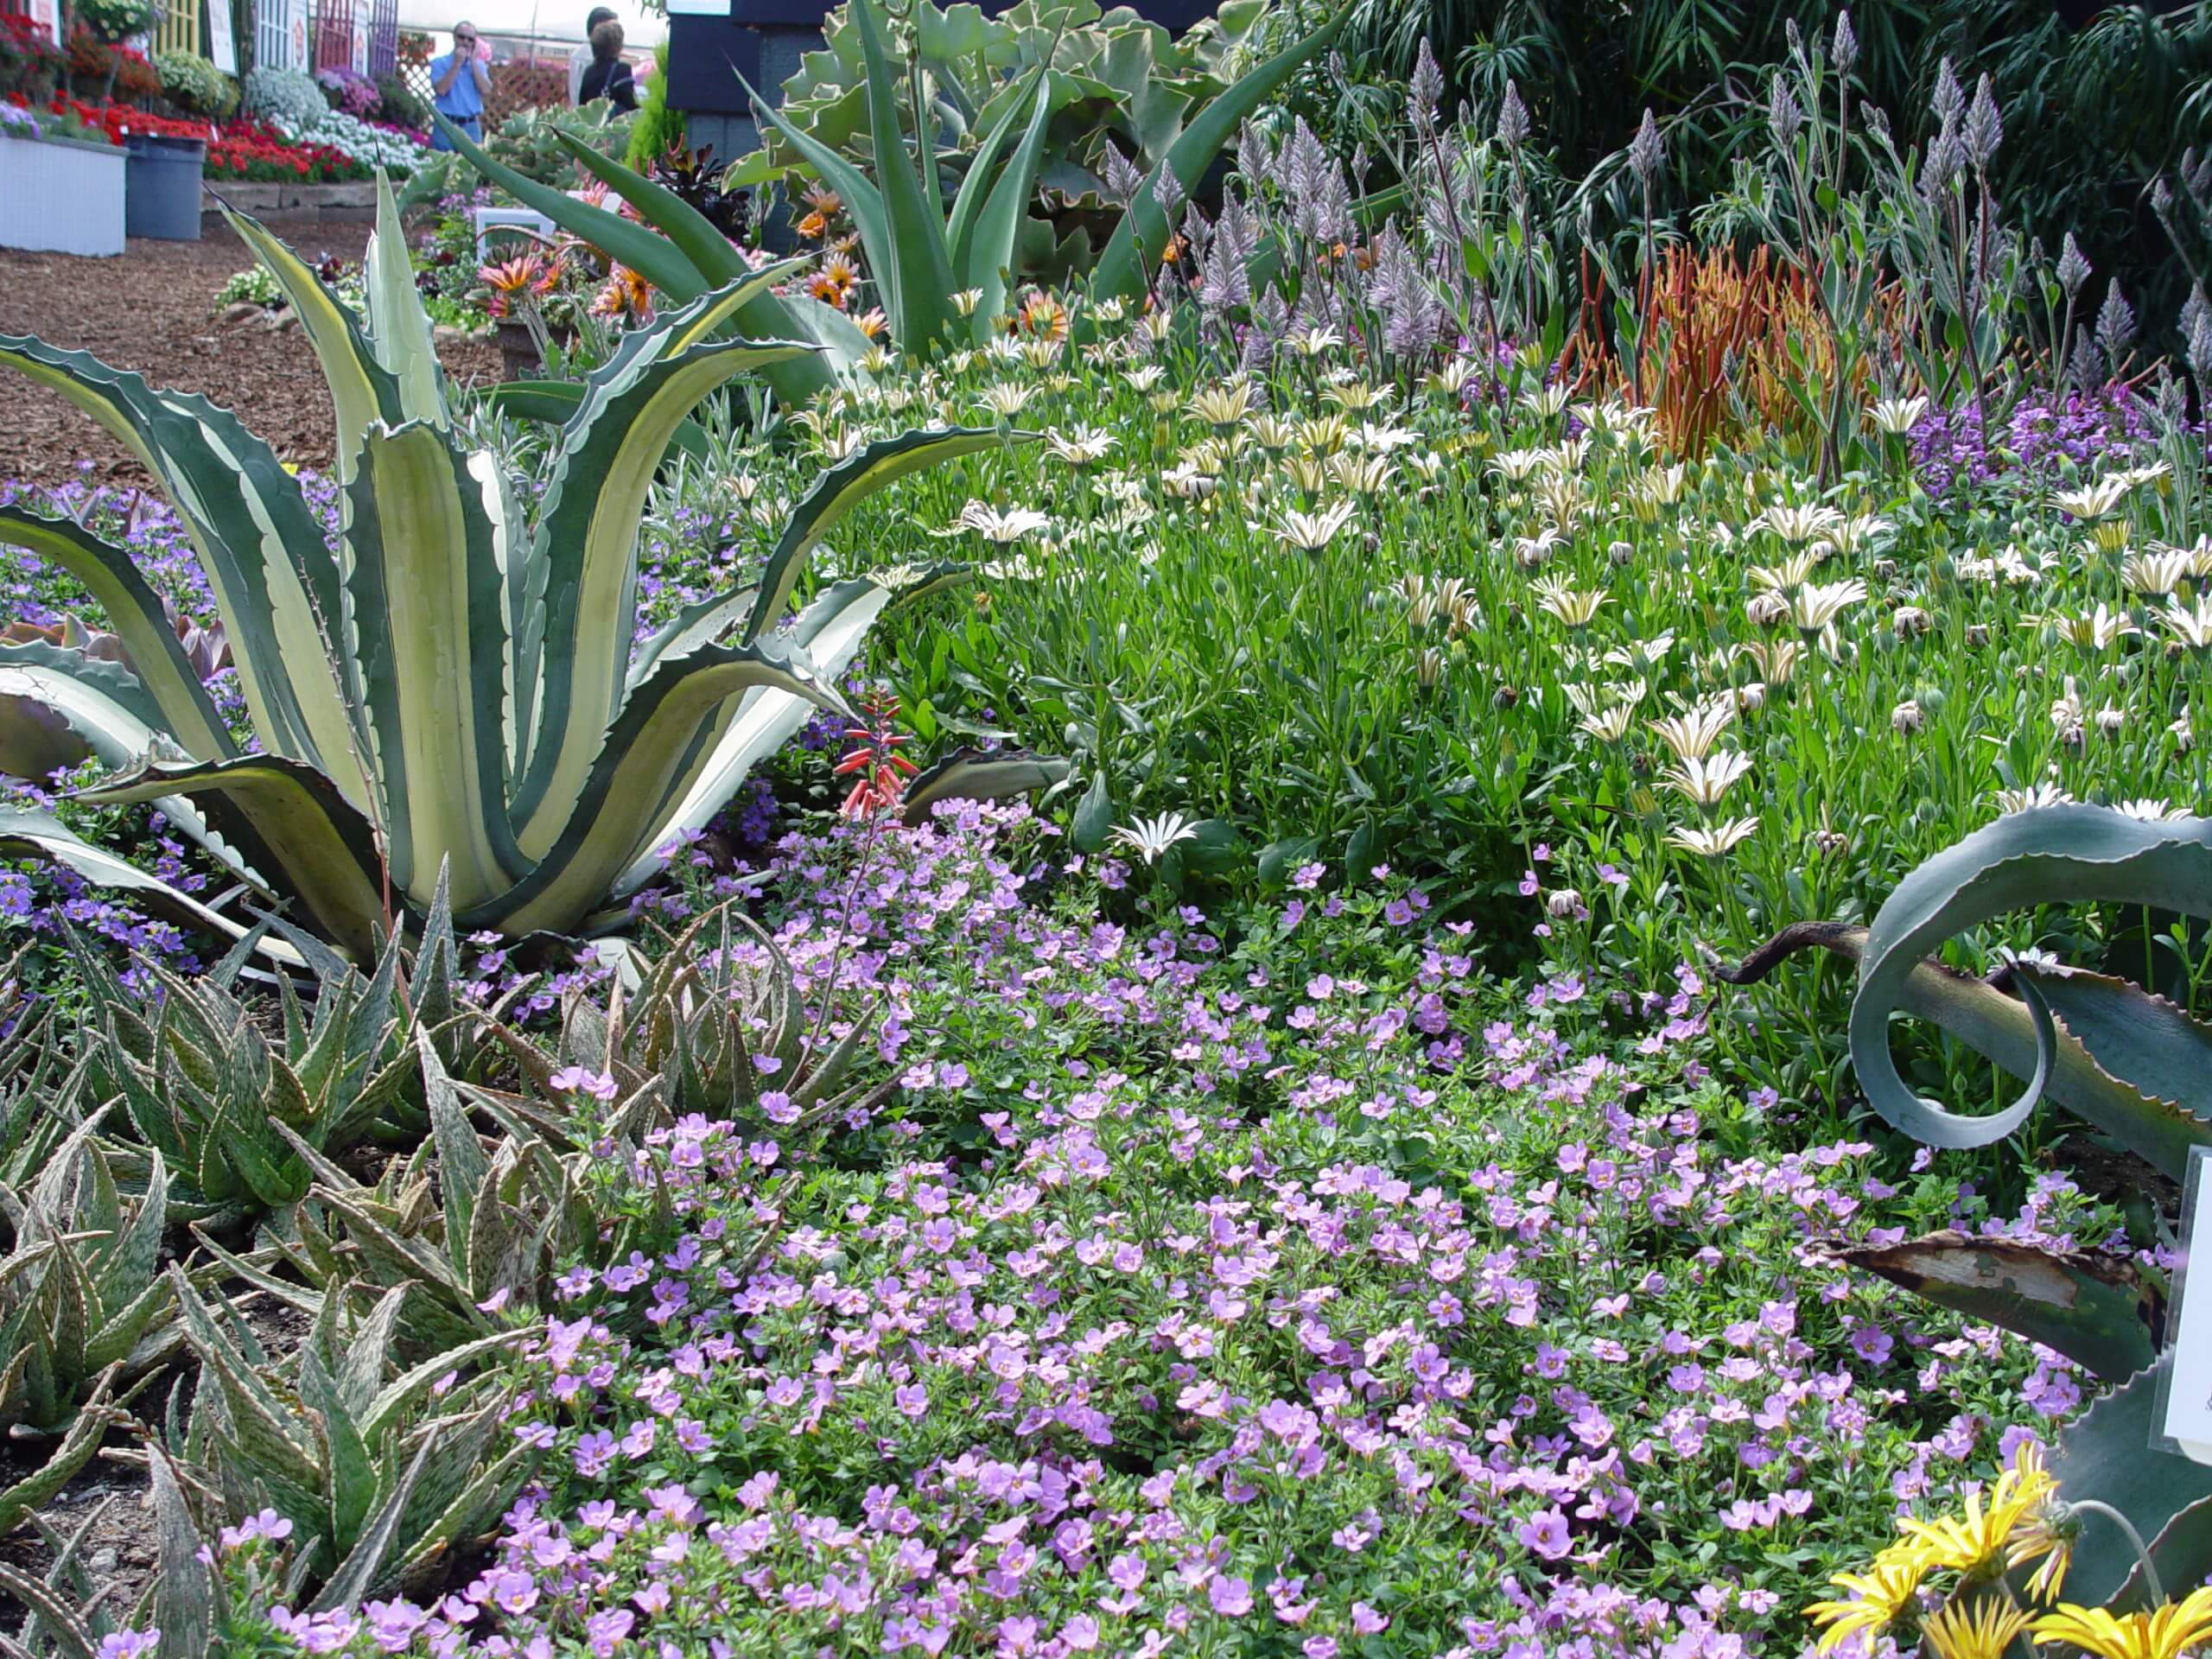
Nature grants us the option of filling in that hole ourselves by transplanting offsets into this gap. But for those who want to move their agave or do away with it altogether, a second option is to remove more pups and pot them up to accent yard, patio, porch or garden. Rehabilitating a flowering agave is also the perfect way to obtain lots of new agaves for the landscape without spending a dime. If the pups are relatively uniform in size, they can be planted in a series of identical pots for a bold visual repeat in the garden. For this, and all other agave plantings, use Black Gold Cactus Mix that ensures free drainage so roots won’t rot.
After this dead agave was removed the roots sent up a patch of new pups to be transplanted elsewhere
Transplanting Pups
Excavate pups carefully to avoid any unnecessary damage to the leaves and roots. Wounds are the fast track for diseases to enter these succulent tissues and cause ugly brown rot. Wash away the soil and cleanly cut the root tips that are frayed or torn from newly dug plants. Set the prepared pups in the dry, warm shade for a week or two to callus off root tips, as well as scratches and nicks anywhere else.
Repurpose nylon window screen to cover the pot drain hole, so potting material won’t sift through the bottom. Fill the pot 2/3 of the way full with dry potting soil and nestle the agave into the soil, then fill in along the edges being sure not to cover the base of the rosette. (Set soil level low enough to fill the top of the pot with a lot of water when watering is needed.) Gently pat the soil down to reduce any large air pockets.
A single Agave desmettiana produces a tall bloom stalk to flower and set seed at the end of life.
This dry planting method is unique to cactus and succulents. With moisture held within their succulent tissues, you need not water the transplants immediately, if outside conditions are moist and cold. Add some pieces of broken tile beneath the pot to create a gap that facilitates more rapid drainage. If the surface soil is visible, use decorative washed gravel for a nicer appearance and to keep white perlite from floating to the surface.
With so many Agave cultivated all over the Southwest, there are always plants flowering each spring and summer for lots of free pup opportunities. Although Agave species vary in climate preferences, when you harvest pups from local plants, you know that they are bound to do well because that’s where mom raised them.
The image on the left above is NOT a good horticultural practice! To remove a plant from its container, gently tip your plant while supporting it at the soil line with your free hand.
Be kind to your transplants. Don’t tear a developing plant out of its original container by its leaves, stems, or trunk risking ripping off foliage and roots. It pays to gently loosen potted plants at planting time.
When loosening potted plants, the best way is to first make certain that its potting medium is moist, then slowly tip the container over while holding one hand around the base of the plant, supporting the shifting weight of the soil as the intact plant slides free.