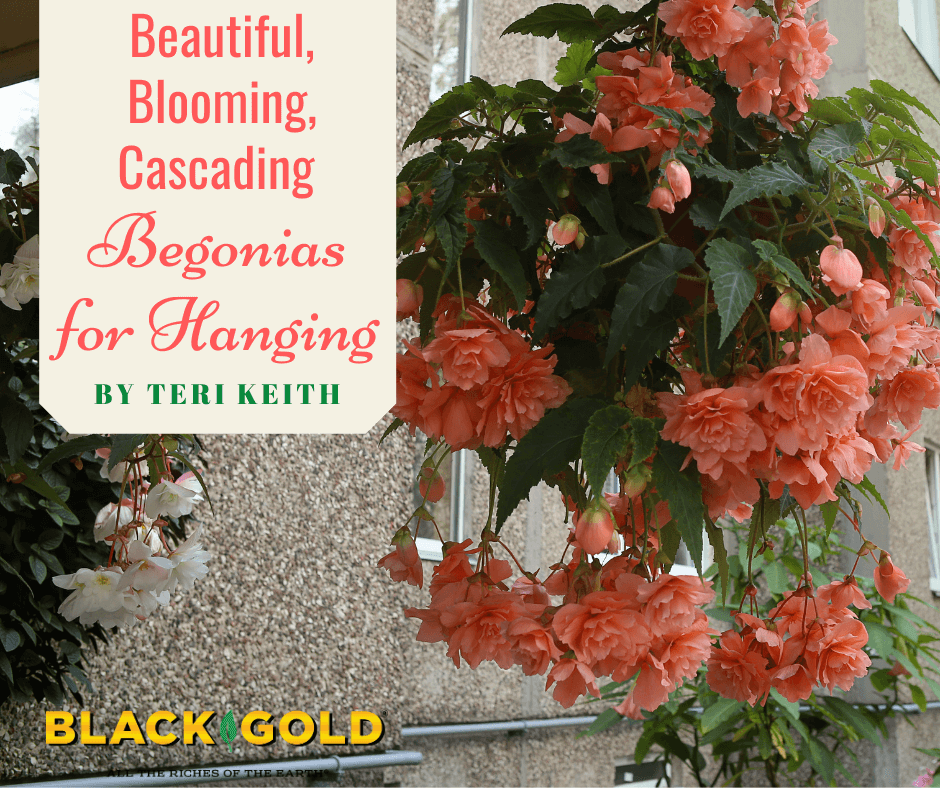
By February, I am longing for some beauty when I look out of the window. It’s the worst month of the year here in the Midwest, with its dead and bleak outdoors. So, now’s the time I start dreaming of the flower beds and containers for the coming year. This year I plan to focus on cascading Begonias for my shade pots, window boxes, and hanging baskets, and there are several excellent choices.
Cascading begonias are derived from several different species and begonia groups, but all of them have one thing in common, cascading habits and beautiful flowers. The tender plants have succulent foliage and thrive if given regular water, well-drained soil, and season-long fertilization. Here are those that I plan to grow at my own home this year.
Angel-Wing Begonias
Angel-wing begonias have both beautiful leaves and flowers. The leaf size depends on the variety, but all of them have a telltale wing shape. They are hybrids of the Brazilian begonia (Begonia aconitifolia) and the Lucerna scarlet begonia (B. coccinea ‘Lucerna’), which were first bred by Eva Kenworthy Gray in 1926. The progeny and descendants have since been called angel wing begonias. Many hundreds of varieties exist today. (Click here for a full account of angel wing begonia history.)
Angel wings are cane-type begonias, which means that they develop tough, almost bamboo-like stems called canes (click here to learn more about cane begonias). Their pretty wing-shaped leaves may be green, bronze, silver, or deep rose, and some are marked with lighted dots or stripes. The flowers appear in clusters over the leaves and come in shades of white, pink, orange, or red. Standard angel wing begonias can become quite tall (4 feet or more), without pruning, and are best reserved for large containers. To prune, cut back any tall or leggy stems at a leaf node.
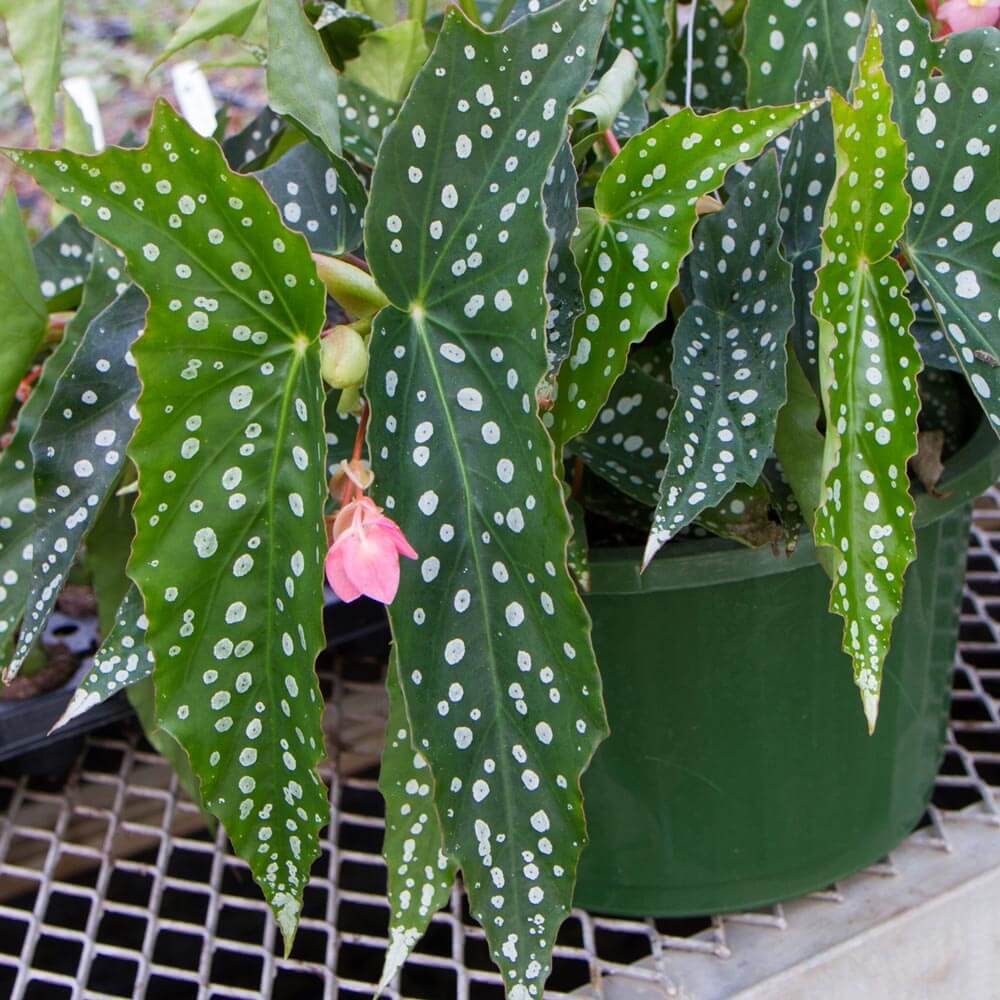
The new variety called ‘My Special Angel‘ looks especially promising with its pink flower clusters and bold, beautifully speckled leaves. ‘Whimsy‘ is similar but has darker speckled leaves. Expect both to reach between 1 to 3 feet without pruning. Another exceptional variety is the bold, large-leaved, salmon-flowered ‘Snow Cap‘, whose leaves are olive-green and speckled heavily with silver.
Dragon Wing Begonias
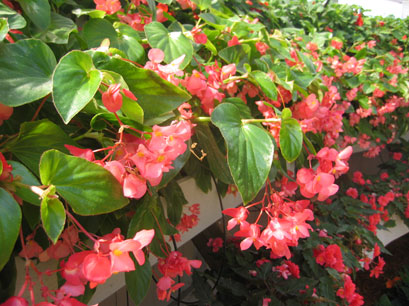
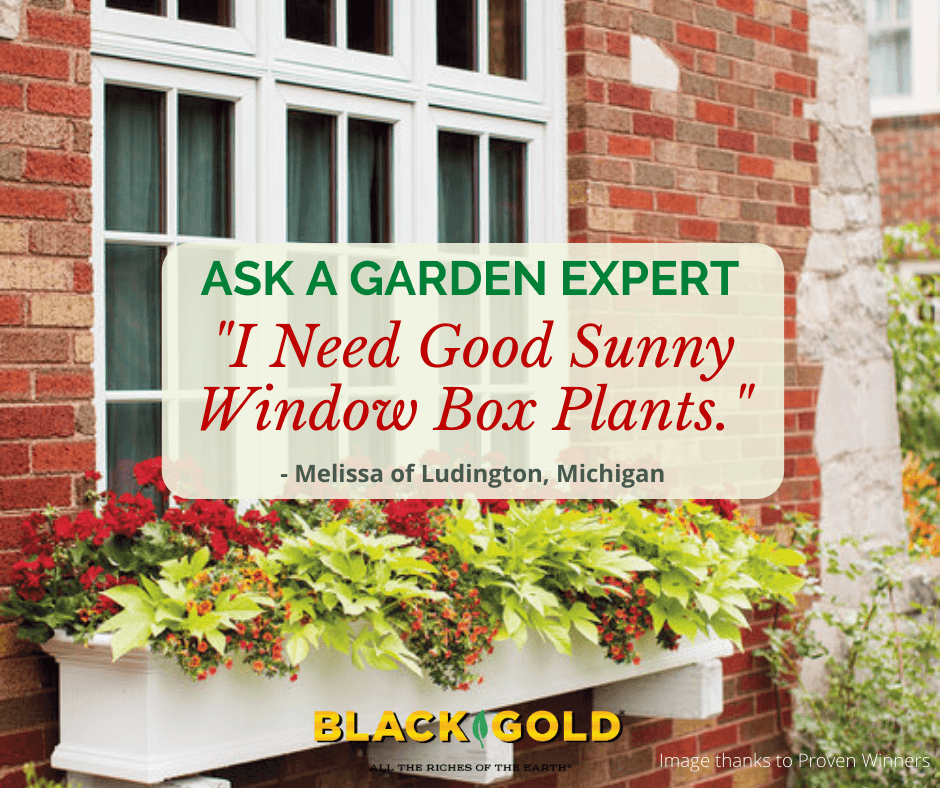
Dragon wing begonias are also cane-types, but they are shorter, more compact, and better for hanging baskets. Most will cascade to 30 inches or less. Their leaves and flowers are equally as showy and diverse but often smaller. I have been wondering what to put in my large shaded baskets, and a dragon wing, such as Proven Winners® Dragon Wing® Red or Dragon Wing® Pink, would be perfect. Each has glossy green leaves and colorful, drooping flower clusters. They will look gorgeous. The plants are self-cleaning and should not require pruning.
Pendulous Tuberous Begonias
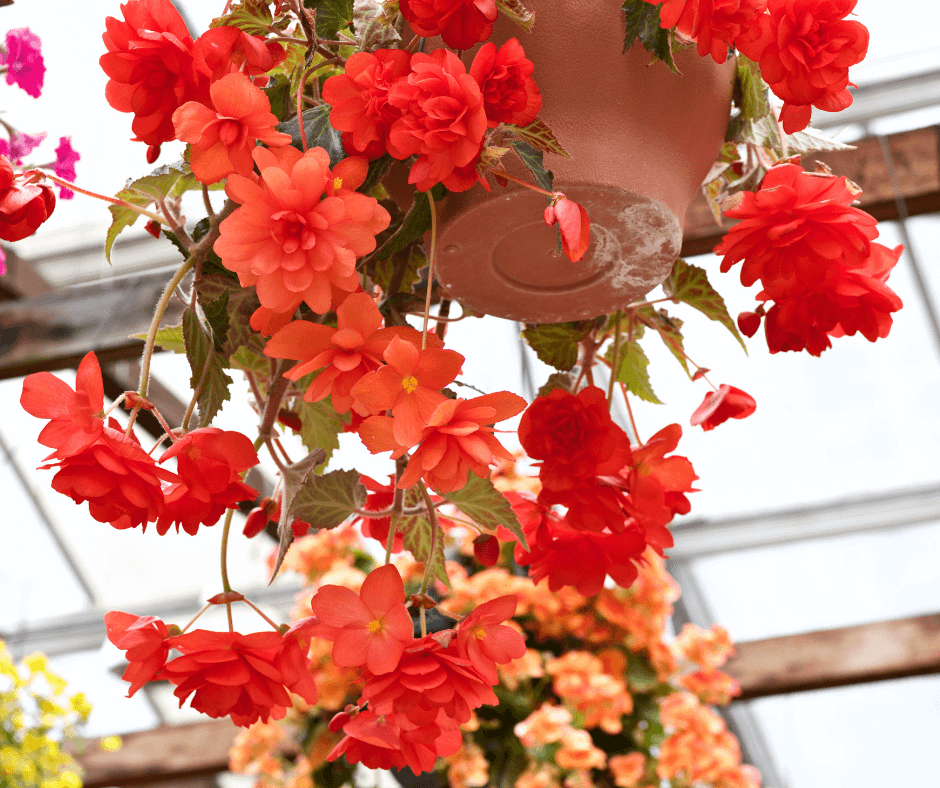
My favorite cascading begonias are pendulous begonias (Begonia pendula hybrids). They are best known for large, spectacular, single or double flowers, in many shades of red, rose, pink, yellow, ivory, and apricot, which cascade to 15 inches or more. Most reach 8 to 12 inches high. The double flowers look like roses! The plants are so impressive that I have ordered three this year, so my shade containers are going to be all begonias this year. One of the prettiest is the outstanding Belgian hybrid, ‘Double Apricot’. You can also try the beautiful varieties in the Illumination® Series, which can be grown from seed. (Always start begonia seeds as early as January to get them to planting size by May.) Illumination® White and Orange are especially resplendent.
Pendulous begonias are tuberous, so you can most commonly buy them as easy-to-plant tubers or as plants. Often the plants sold at garden centers are small, so you can put three of them in one large basket or pot.
Bolivian Begonias

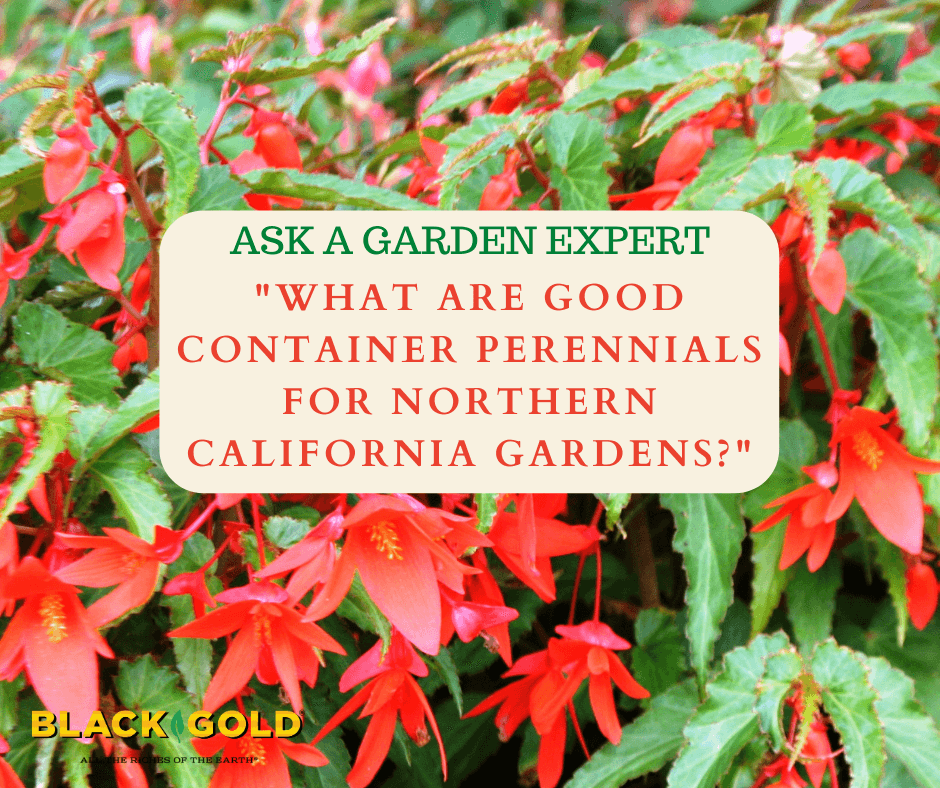
Hummingbird-pollinated Bolivian begonias (Begonia boliviensis hybrids) have entirely different flowers than most other begonias. Each has five long petals, which form a single elongated flower. The green leaves are narrow and pointed. The stems hang at least 20 inches over the side of the container and can stand 1-3 feet high, depending on the variety. These are most commonly sold as plants, but they may also be purchased as tubers. Santa Cruz® is an exceptional form with orange-red flowers. Several pretty hybrid mixes with many-colored flowers are also available. This is a small taste of the numerous varieties out there.
 Planting Cascading Begonias
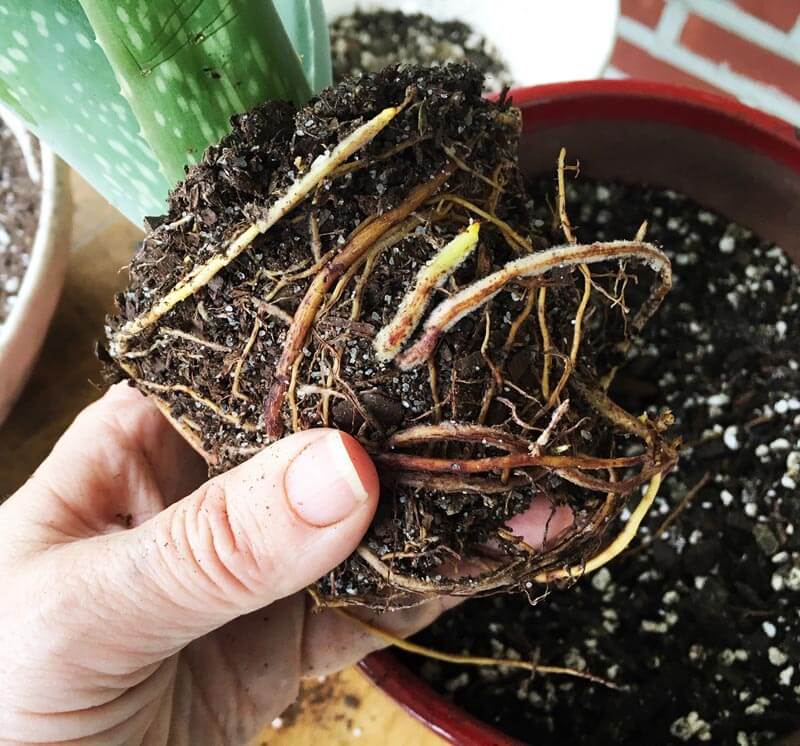
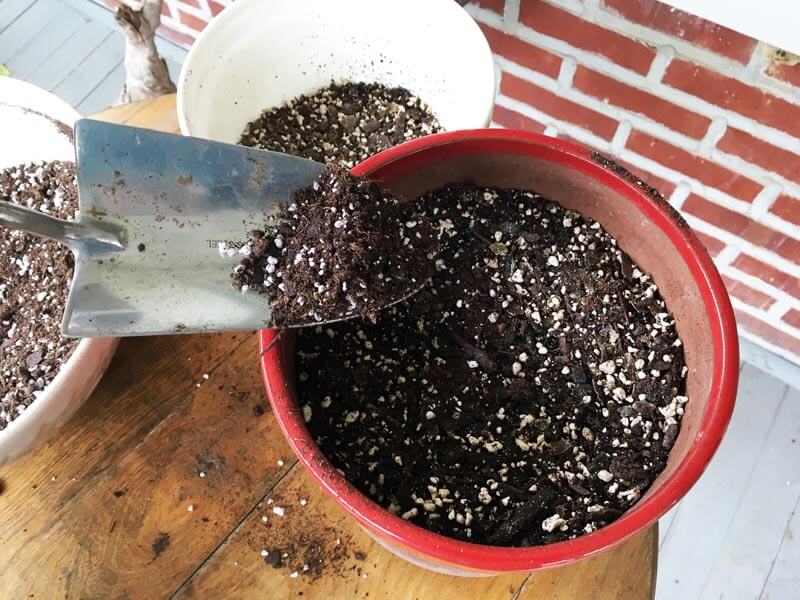
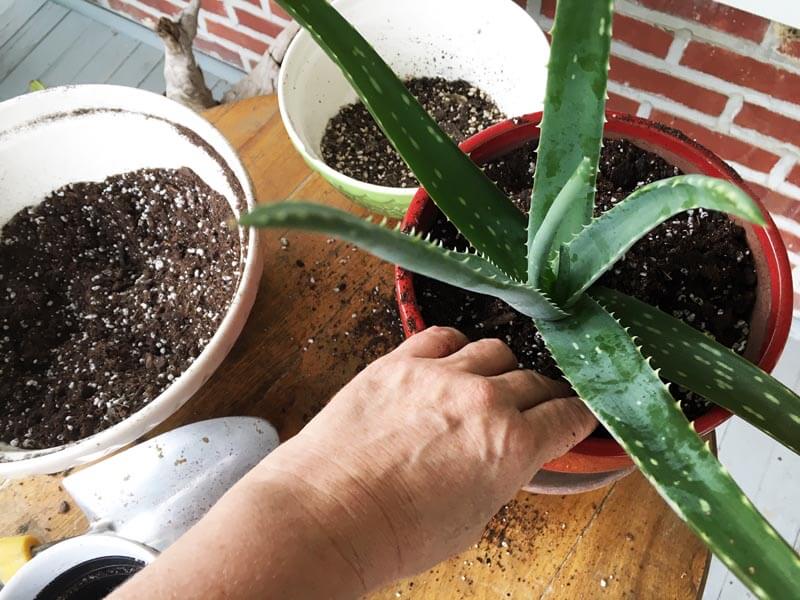
Begonias do best in shade but will tolerate partial sun–between 2-4 hours per day. As stated above, these begonias may be tuberous or have fibrous roots. Tubers need to be planted root-side down (often with the hollow-side up) and only 1.5 inches deep. If small, pink buds are already emerging from the tubers, take care not to damage them, and plant with them facing upwards. Apply a continuous-release fertilizer at planting time. Begonias like organic-rich soil that is well-drained, such as Black Gold Ultra Coir Potting Soil. Be cautious not to overwater pots because this can lead to tuber or root rot. You can start growing them indoors to give them a head start for planting outside in late spring.
These begonias have gotten me excited about my potted flower garden plans. Now I’m really looking forward to spring!