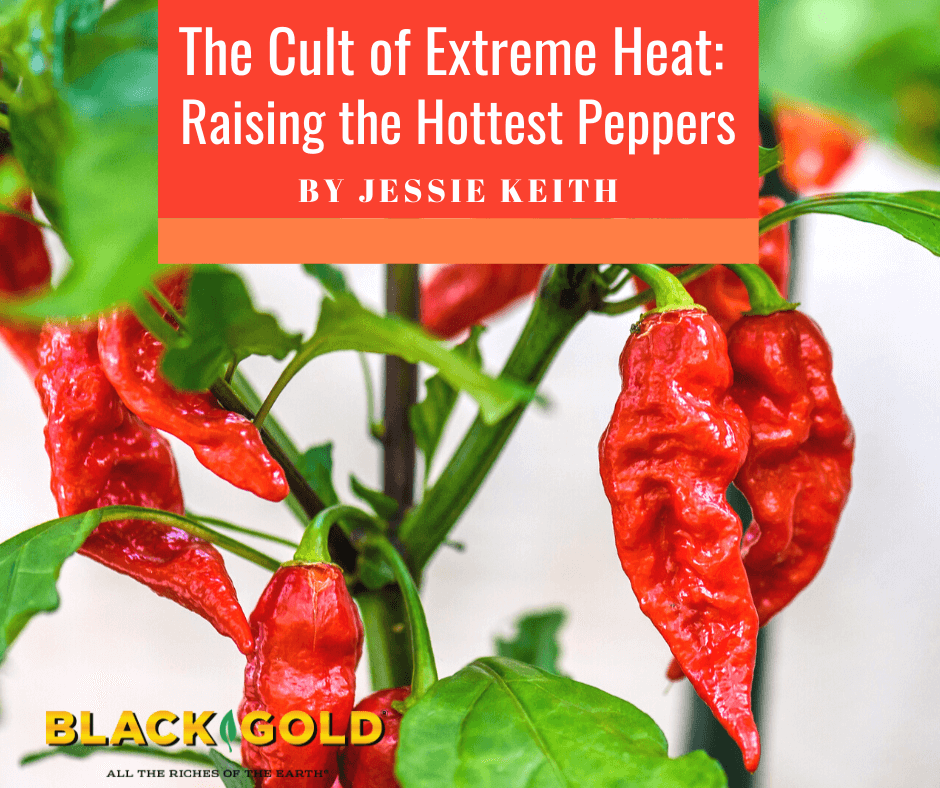
Hot peppers have a cult following. Those that eat, hybridize, and grow the hottest peppers in the world are all part of the wicked hot-pepper culture where Scoville Units below 1,000,000 are too cool to be cool. Breeders and growers choose only the most dangerously scorching Capsicum fruits on the planet. Each year, newer, hotter peppers appear in the pursuit of extreme heat.
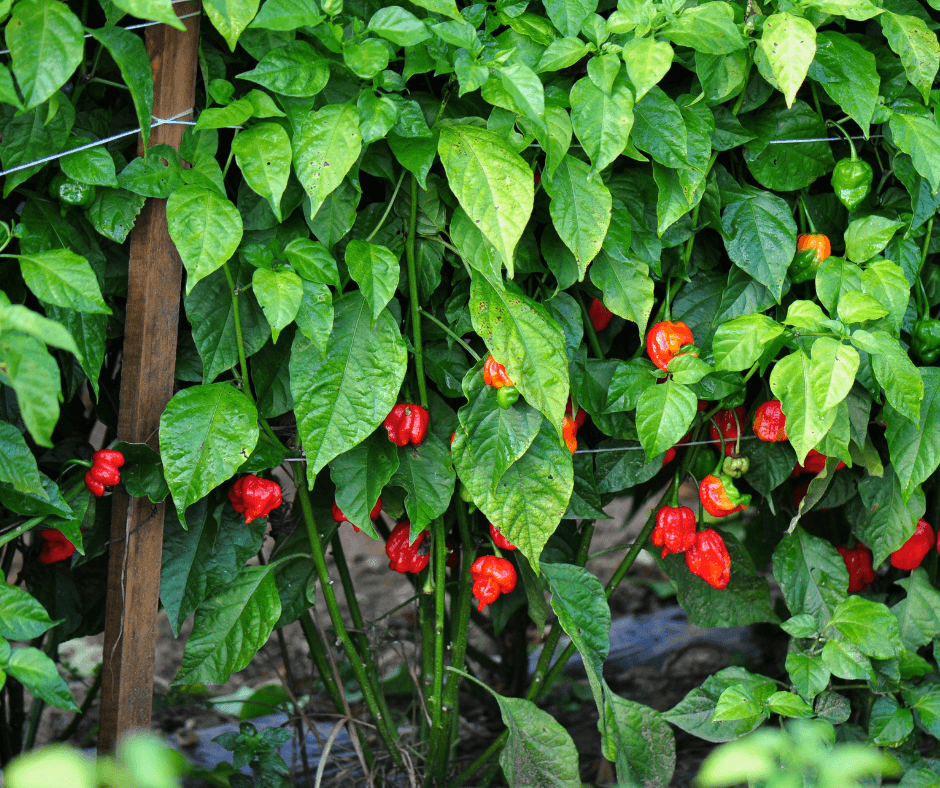
Hot peppers comprise several important species that all originate from the tropical Americas. The hottest peppers in the world comprise habanero-types (Capsicum chinense) that include ghost or Bhut jolokia peppers and the dreaded ‘Carolina Reaper’, as well as Scotch bonnets. Small-fruited Tabasco peppers, piri piri African bird’s-eye peppers, and other mini hots are all members of Capsicum frutescens. Most cultivated peppers are Capsicum annuum species, which comprise everything from sweet bell peppers to poblanos, jalapenos, and many chili peppers like cayenne and serrano. Other peppers cultivated for their high heat include Capsicum baccatum, which has somewhat elongated chili peppers of yellow, orange, and red, and Capsicum pubescens, whose bulbous, rounded fruits are hot but not scorching.
Understanding the Scoville Scale
Pepper heat is measured on the Scoville Scale in Scoville Units (SHU). The units measure 22 pepper chemicals called capsaicinoids, which are generally referred to as capsaicins. Originally, Scoville Units were qualitatively measured by careful taste testing. The method of measurement was created in 1912 by Wilbur Scoville, a New England pharmacist interested in measuring chili pepper sensitivity in people. Scoville Units are now quantified using high-performance liquid chromatography (HPLC) where the capsaicin content in each pepper is fully measured in Pungency Units (one-part capsaicin per million parts dried pepper mass). Pungency Units are then mathematically converted to Scoville Units. For a more practical example, the hottest pepper in the world, the ‘Carolina Reaper‘, has up to 2,200,000 SHU while the average poblano pepper has only between 1,000 to 4,000 SHU.
Ten Notable Hot Peppers
The challenge to breed hotter and hotter peppers is put to the test by several chili pepper breeders. Many of their peppers are on this list. Do not grow any of these if you have small children or pets that might be attracted to their pretty fruits and get into them.
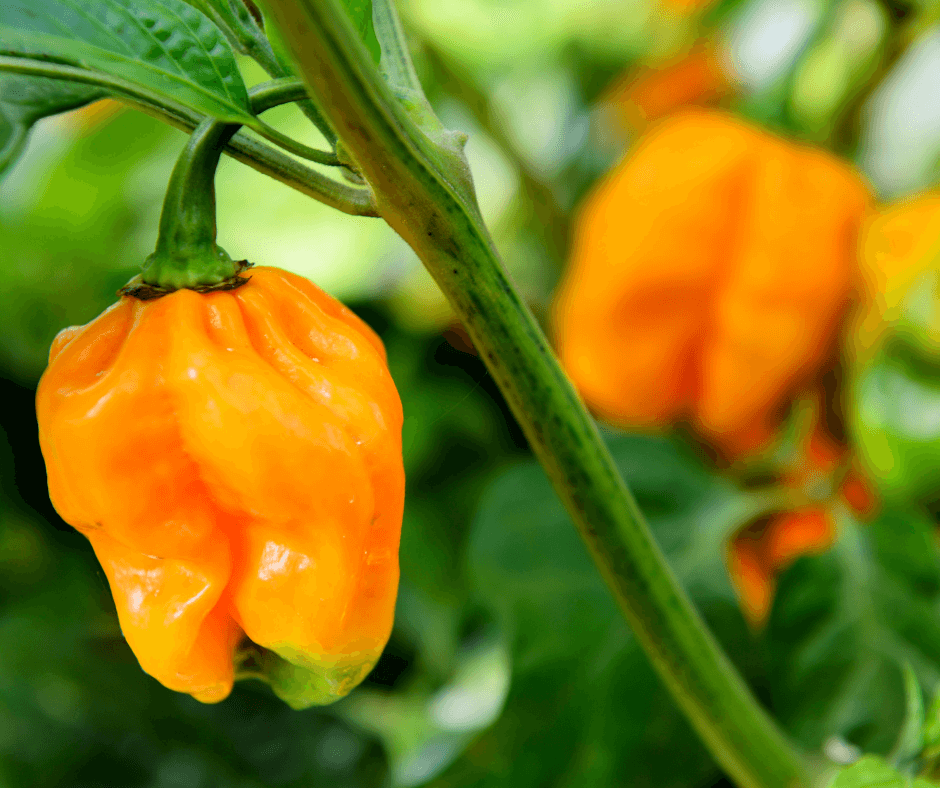
- 7 Pot Lava Pepper (Capsicum chinense ‘7 Pot Lava’, 800,000 to 1,000, 000 SHU): The wrinkled, bright orange-red peppers are very hot with a fruity flavor from the start.
- Apocalypse Scorpion‘ (Capsicum chinense Apocalypse Scorpion, 1,200,000 SHU): Bred and introduced by the Italian Pepper Lovers’ Association, these ugly red peppers are blazing. It was the 2006 World record-holder.
- ‘Bhut Jolokia’ (Capsicum chinense ‘Bhut Jolokia’, 855,000 – 1,041,427 SHU): The classic ghost pepper was the World record-holder for four years! It was bred in northern India and is noted for its terrible heat.
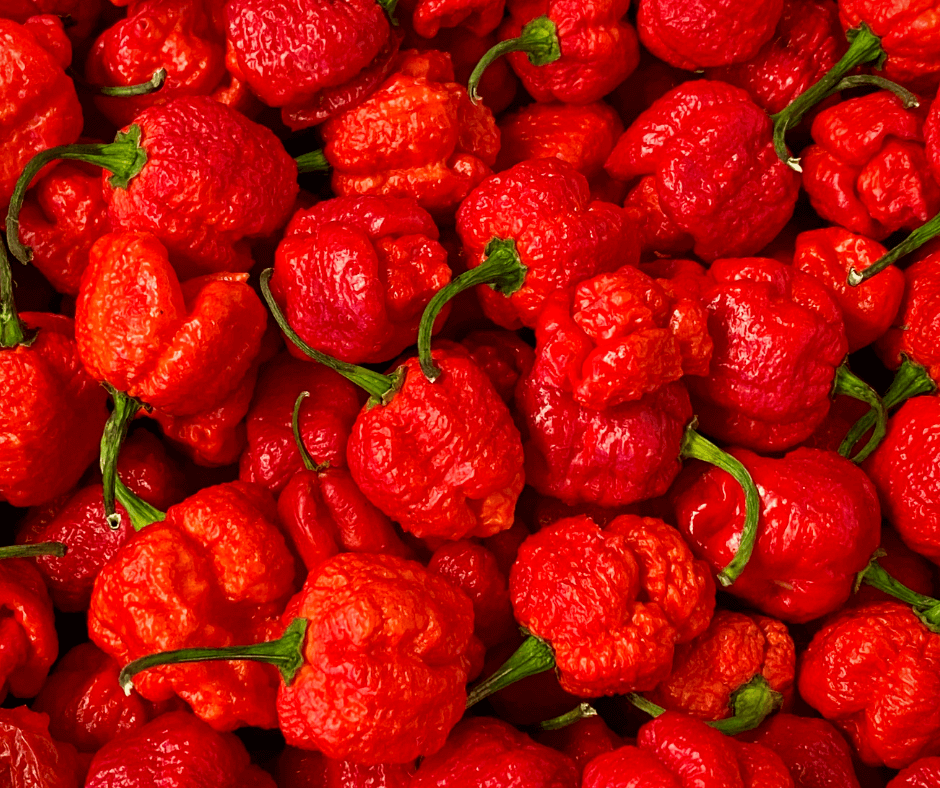
- Carolina Reaper (Capsicum chinense Carolina Reaper®, 1,641,300- 2,200,000 SHU): According to the 2020 Guinness Book of World Records, this is the hottest pepper in the world. It was bred by Ed (‘Smokin’ Ed) Currie, the founder, and president of the Puckerbutt Pepper Company. The bumpy red peppers are of nightmares. Beware!
- Death Spiral (Capsicum chinense Death Spiral, 1,300,000+ SHU): Bred in the UK, this flavorful hot pepper has superheat.
- ‘Bhut Jolokia Chocolate’ (Capsicum chinense ‘Bhut Jolokia Chocolate’, 855,000 – 1,041,427 SHU): This red-brown ghost pepper is sweeter than the standard.
- ‘Hot Paper Lantern’ (Capsicum chinense ‘Hot Paper Lantern’, 150,000 – 400,000 SHU): The elongated, red habanero is really hot, but not quite as scorching as the others on the list, but I like it. Plants are prolific!
- Jay’s Peach (Capsicum chinense Jay’s Peach, 1,000,000 SHU): The classic ghost pepper was crossed with Trinidad Scorpion to yield this pretty pink, screaming hot pepper.
- Naga Viper (Capsicum chinense Naga Viper, 1,349,000 SHU): This UK introduction, is purported to be the fourth hottest pepper in the world.
- Trinidad Scorpion Butch T (Capsicum chinense Trinidad Scorpion Butch T, 1,463,700 SHU): Described as unrelentingly hot, this pepper was selected by Butch Taylor. In 2011 it was the hottest pepper in the world.
Home Pepper Growing
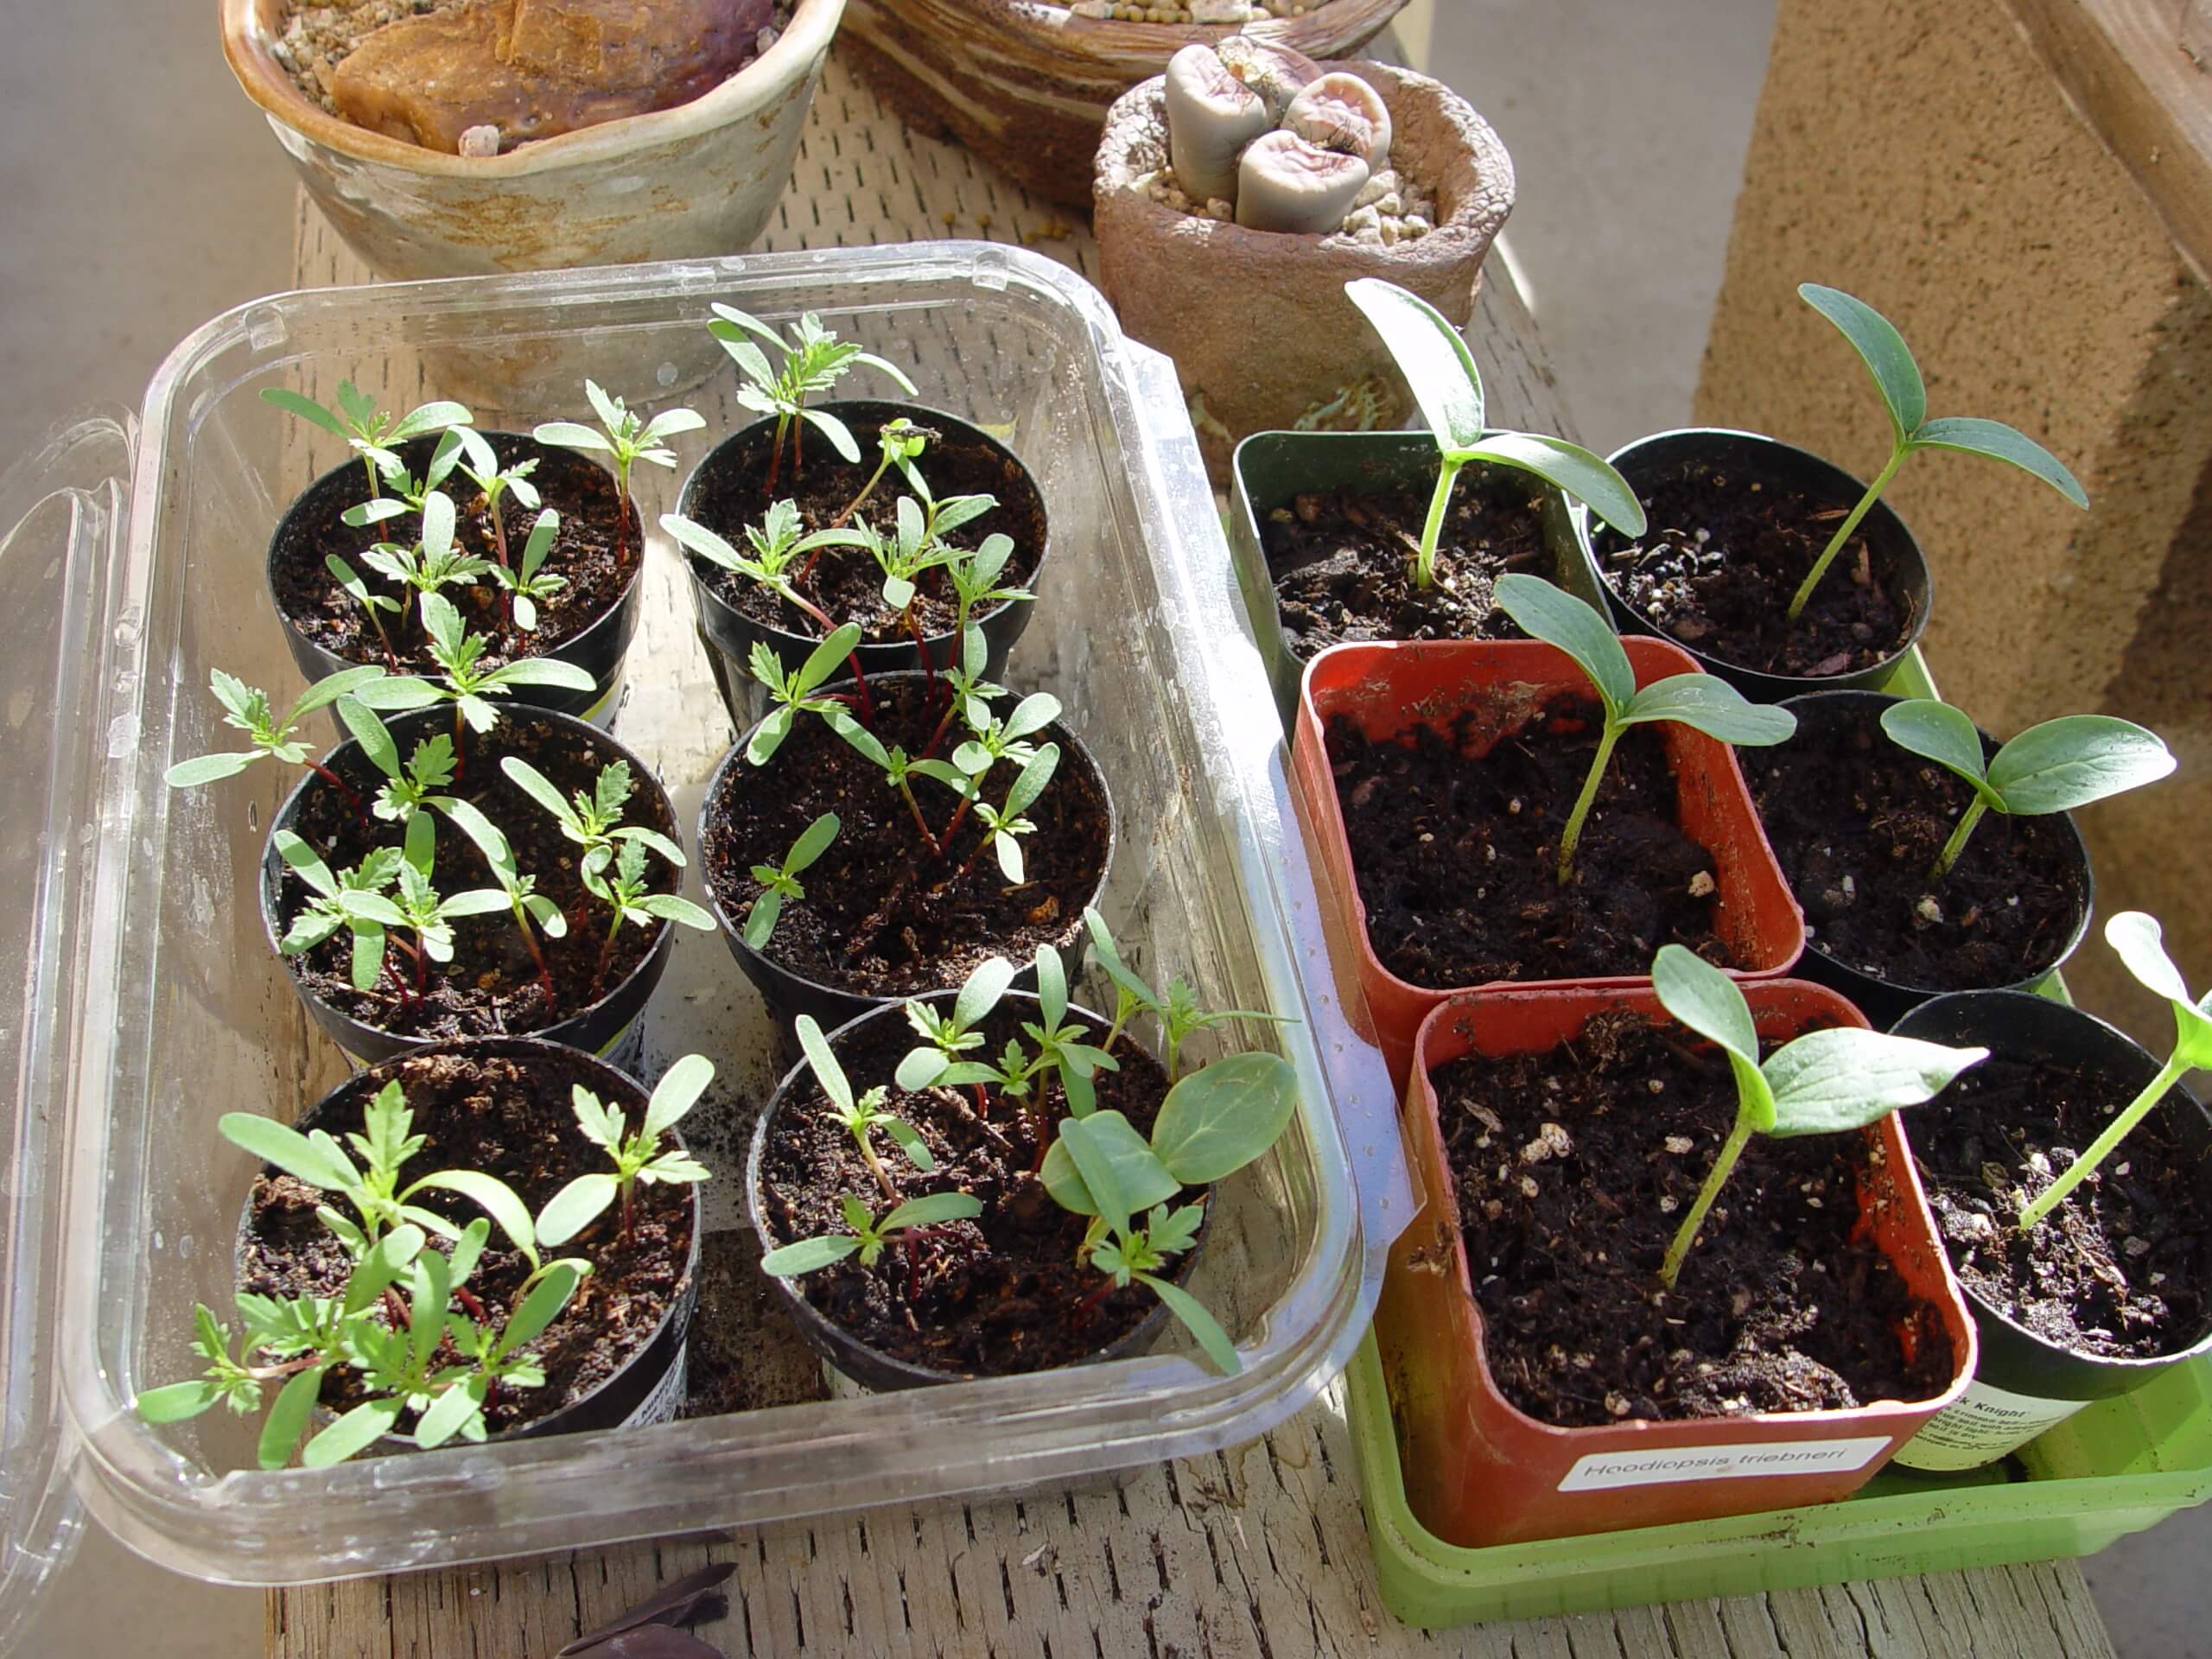
Peppers are so easy to start from seed that home growers should always grow their own. Pepper Joes is one great seed source specializing in the hottest varieties. You can also find a few select seeds at Puckerbutt Pepper Company, home of the Carolina Reaper. The Chili Pepper Institute, Trade Winds Fruit, Johnny’s Selected Seeds, Baker Creek Heirloom Seed Company, High Mowing Organic Seeds, and Totally Tomatoes (Peppers, too) are just a few more great hot pepper seed sources. It takes around eight to ten weeks to grow peppers from seed to garden-ready seedlings, and then they take 60 to 90 days to harvest after planting.
Start the seeds in flats filled with OMRI Listed Black Gold Seedling Mix ten weeks before the last frost date (click here to find your last frost date). Cover seeds with 1/8 inch of soil and keep them lightly moist, never wet. Place them under the warmth of grow lights. Bottom heat mats and warm temperatures (68°-75° F (20-24° C)) encourage faster germination and growth. The seeds should sprout in 7 to 14 days. (Click here for more detailed seed-starting instructions.)
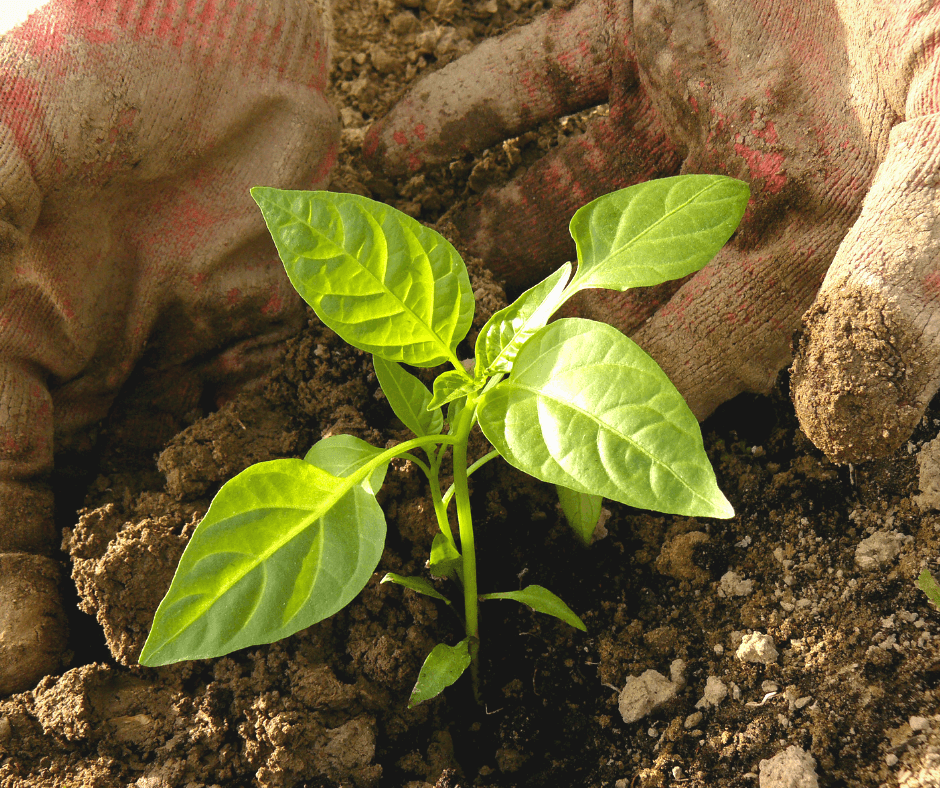
Peppers are warm-season vegetables, so plant sturdy, hardened-off seedlings outdoors when late-spring weather has heated up. Environmental factors truly impact the heat of hot peppers. Full, bright sun and hot weather will result in spicer peppers and happier, more productive plants. Slightly dry soil will also reduce pepper water content and increase the heat.
Give pepper plants loose, friable, soil with average fertility and a slightly acid pH. Amend with fertile Black Gold Garden Soil or Black Gold Natural & Organic Garden Compost Blend at planting time. Raised bed gardeners should try Black Gold® Natural & Organic Raised Bed & Potting Mix. In the absence of rain, make sure that they do not get too dry. Average water is recommended once plants are well-established and growing. Fertilize, using an OMRI Listed tomato and pepper fertilizer, as directed. Also consider applying a little garden-grade Epsom salt to protect against magnesium deficiency, a common pepper problem. Stake or cage taller plants to keep them from toppling. Don’t fear hot weather or even drought. Peppers are well-adapted to it, and hot weather increases pepper heat. (As I wrote in a previous article for Fafard about hot peppers: “Hot, dry weather tends to generate more intense fruits with more intense spice and “bite”, while cooler, moister weather yields milder peppers.”)
Harvesting and Processing Hot Peppers
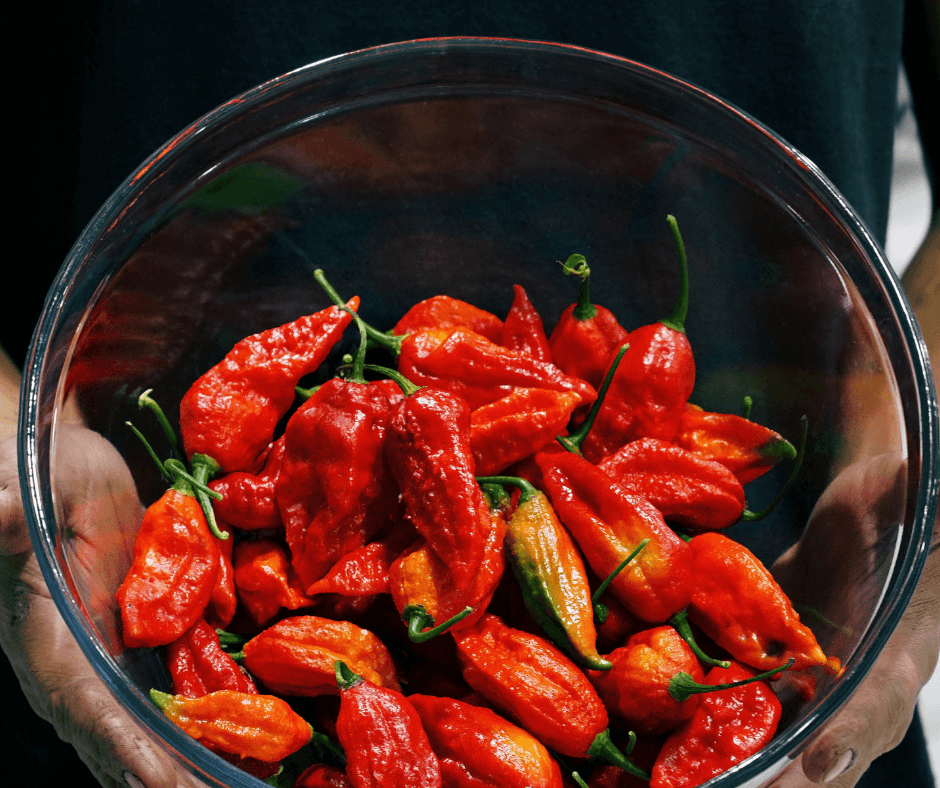
Bees pollinate the blooms for fruit-set. Green fruits have a sharp taste that becomes sweeter as they mature and change color. The color change occurs faster in hotter weather. Wear gloves when harvesting or chopping and processing hot peppers. You will thank yourself. They can burn the skin and fingers for days, otherwise. Peppers can be frozen whole, canned whole, or processed into pepper jam or hot sauce. Always cook the hot sauce, jelly, or any hot pepper product with lots of peppers OUTSIDE or in a location with lots of ventilation. The steam and fumes from the sauce or jelly can be dangerous to breathe in or get into your eyes. (Click here for a hot-sauce-making tutorial and recipes, click here for a hot pepper jelly recipe, and click here for freezing guidelines.
Hot Pepper Cautions
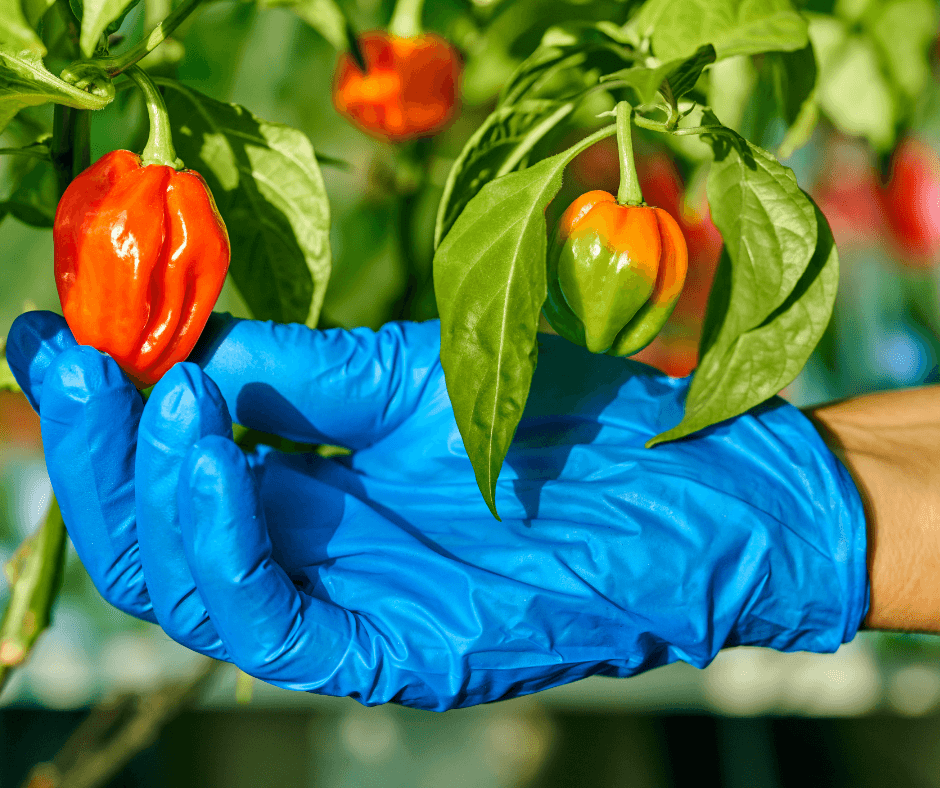
I may sound uncool, but approach faddish hot pepper challenges, eating contests, and high-voltage foodstuffs with caution and knowledge before diving in. Get an idea of how you react to them first. Sensitivity and allergic reactions have put many unfortunate persons in the hospital. After reading about various gastrointestinal blowouts and even esophageal ruptures, I felt that a word of warning was warranted. Handle and consume hot peppers with care. Always harvest and chop them while wearing oil-impermeable gloves. And, if you do eat them, taste a tiny bit first, and have a glass of milk and chunk of plain bread on hand to take the intense heat away, if needed. These are not dive-in fruits. Be wary.
Peppers do have some disease problems, so choose disease-resistant varieties when possible. Various vascular wilts, tobacco mosaic virus, and fungal problems can befall plants and fruits, but more often than not they are not needy. Good spacing (between 18″-28″, depending on plant size) will help with airflow and discourage most diseases. (Click here for a chili pepper disease guide.)