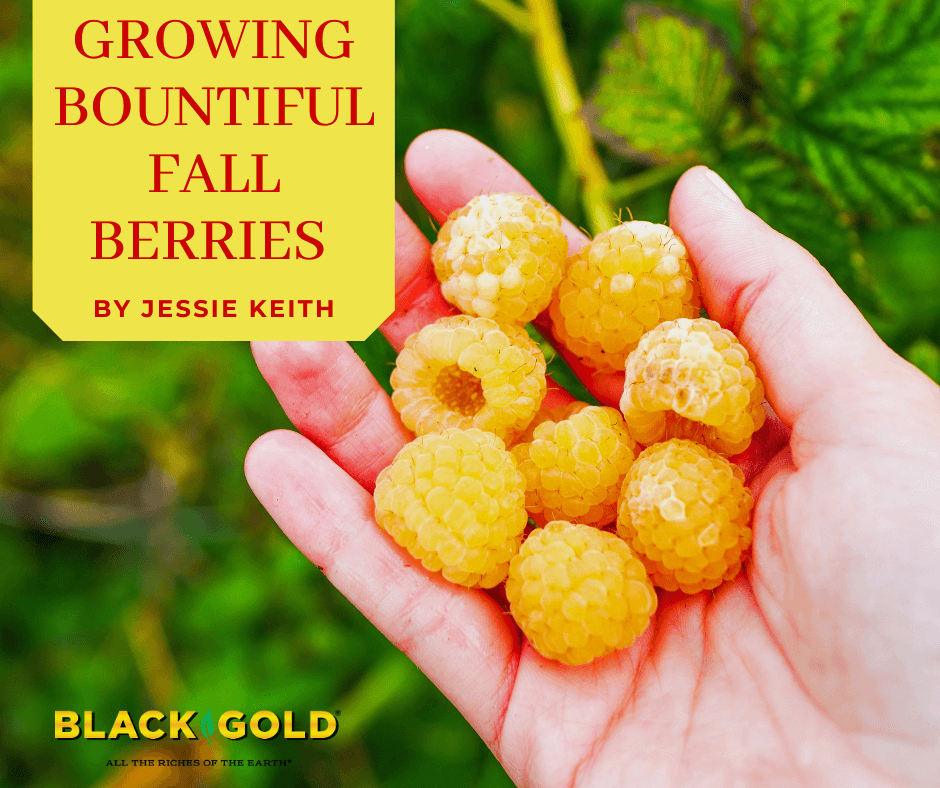
As a child, we had golden raspberries in our woods in southern Indiana. Each fall, as I passed them in the morning to meet the school bus, I would see how many were ready to pick and pop the ripened fruits in my mouth. The lingering memory of their warm, sweet, raspberry taste makes them my ultimate autumnal berry, but there are many others to be grown and enjoyed in the garden. After doing a little research, I discovered that our woodland raspberry was likely an escaped golden-fruited Rubus ideaus, or cultivated raspberry, which makes finding it at nurseries easier.
Late-season berries come in all forms—from grapes to cranberries to raspberries. In this piece, I am also bending the definition of “berries” a bit to include figs, another fall favorite. (Botany lesson: fig fruits are technically aggregate or collective fruits called “syconia” (singular syconium) made up of multiple tiny fruits from multiple tiny flowers folded inward to form a single fig. The resulting fruit has a berry-like appearance.) Fall and figs go hand-in-hand. And, my figs are going gangbusters on this early September day, so I want to include them. They should keep producing into mid- to late-fall.
Garden Berries for Fall
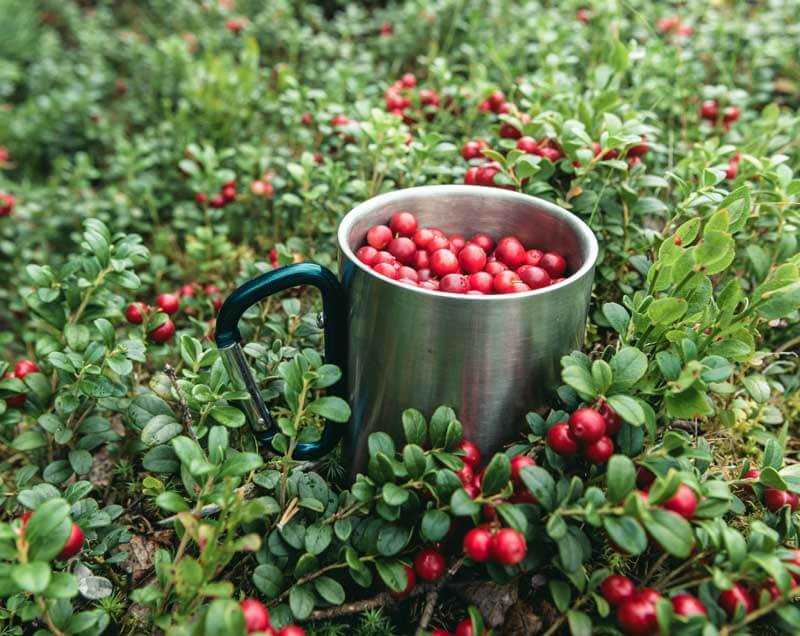
American Cranberries (Vaccinium macrocarpon, USDA Hardiness Zones 2-7): Ripening by late September to October, no berry says fall quite like the tart snap of an American cranberry. Cranberries are fully evergreen and grow in bogs with moist, sandy, acid soils. If you lack a bog (most of us do), it’s smart to create special beds for the best yields. Rows of low-set, broad nursery pots partially sunk in the ground and filled with sand and Black Gold Canadian Sphagnum Peat Moss work well. Keep the pots moist and supply fertilizer for acid-loving plants. Lots of pink, bell-shaped flowers will appear in springtime (bees pollinate the blooms) followed by ripe red cranberries in fall. Full to partial sunlight is needed–that’s at least 6 hours per day. The variety ‘Pilgrim‘ is especially attractive and spreads to form a tidy groundcover with plenty of flavorful berries.
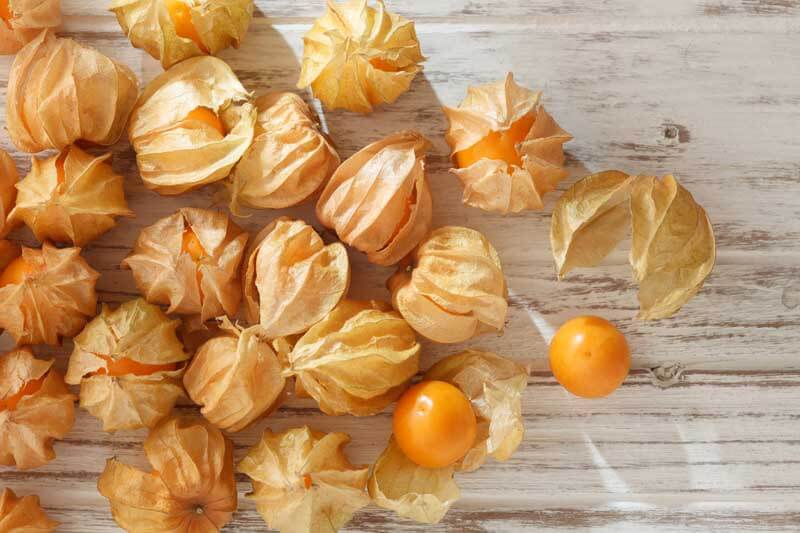
Cape gooseberry or Peruvian groundcherry (Physalis peruviana, Zones 10-12): Imagine growing golden fall fruits that taste of tart pineapple, which can be grown like tomatoes or tomatillos. These are Cape gooseberries, close tomato relatives from subtropical regions in Peru. The husked berries are golden when ripe and mature from August until mid-fall when nights grow cool. Tender Cape gooseberries produce fruit the first year from seed, which is why they are grown as annuals. Eat them fresh or use them to make jam for canning or pie.
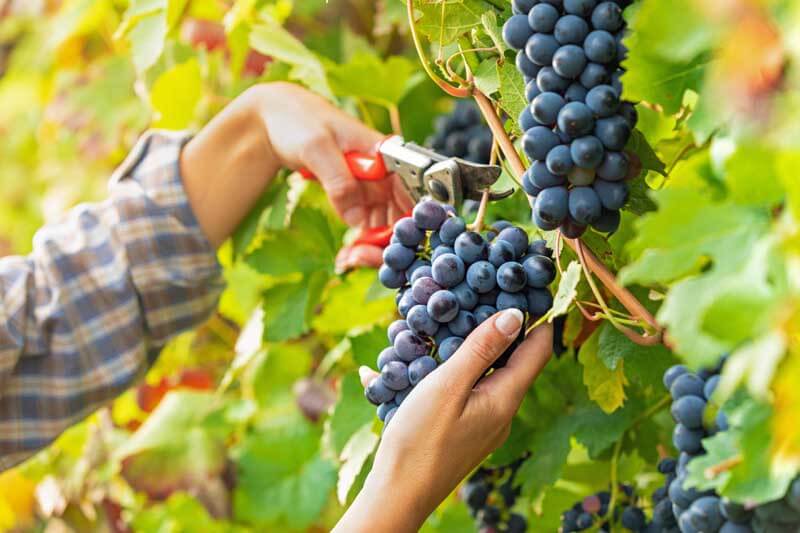
Concord or Fox Grapes (Vitis labrusca hybrids, Zones 4-8): Sweet, aromatic Concord grapes are a late-season treat that taste of grape jelly and purple grape juice. The twining, woody vines need a strong fence or trellis for best production and begin to produce fruit by late September. Seasonal pruning in spring will keep vines productive and in control. (Click here for some grape-pruning tips.) Try the popular Seedless Concord. It has all of the great flavor and vigor of the traditional type but it lacks the seeds–making them easier to process into jelly, juice, and pies.
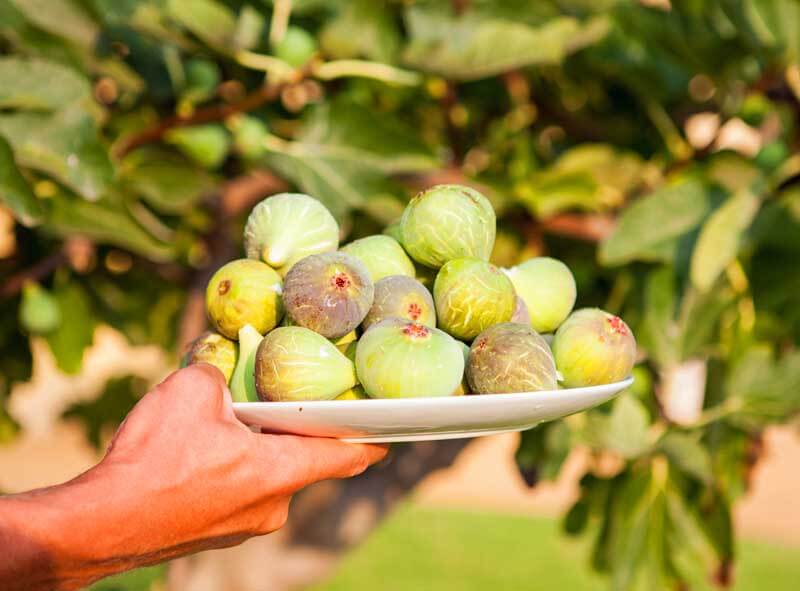
Figs (Ficus carica, hardiness varies) grow very large (6 to 15 feet by 8 to 20 feet), even compact varieties, so plant them in an area with space. My Zone 7 garden requires that I choose hardier varieties. I have found that some hardy varieties taste better than others. My top choice is the small-fruited, super sweet sugar fig ‘Celeste’ (USDA Hardiness Zone 6-10) with its copious small, squat, purplish-brown fruits that produce most on second-year wood. This year mine is producing beautifully. Another that I want to try is the Louisiana State introduction ‘LSU Gold’ (Zones 7-9), which produces very flavorful, sweet green figs with pinkish flesh. Expect this more southern fig to be more cold-sensitive. When plants die back to the ground, they do not always set fruits on new wood. One means of protecting plants through winter is mounding mulch around the crown in late fall and then removing it in spring after the threat of frost has passed. (Click here for a full overview of figs.)
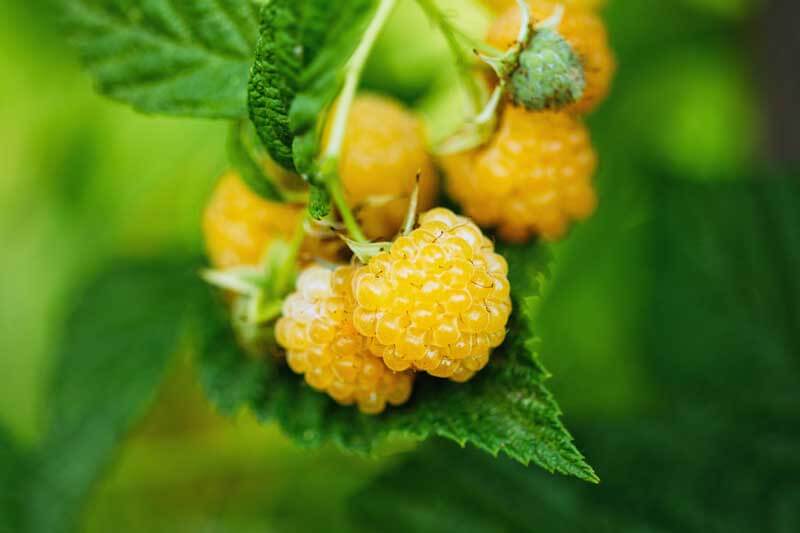
Golden Raspberries (Rubus ideaus hybrids, USDA Hardiness Zones ): Some late raspberries are red and others are black, but I like the gold ones for their delicate, sunny flavor and unique beauty. There are several from which to choose. The large berries of ‘Anne Yellow‘ are deep gold with almost a hint of orange. Berries appear July and again in fall on tall, upright plants with thorned stems. Double Gold Yellow is a patented berry with thimble-shaped gold fruits blushed with pink. Thorned fruiting canes produce berries both in summer and again in fall. Pull and prune back new suckers to keep rows tidy.
Sink a few of these sweet berried plants in your garden next spring, and you will be rewarded with a wealth of fall berries. In the meantime, look for them at your local farmers market or roadside fruit stand.


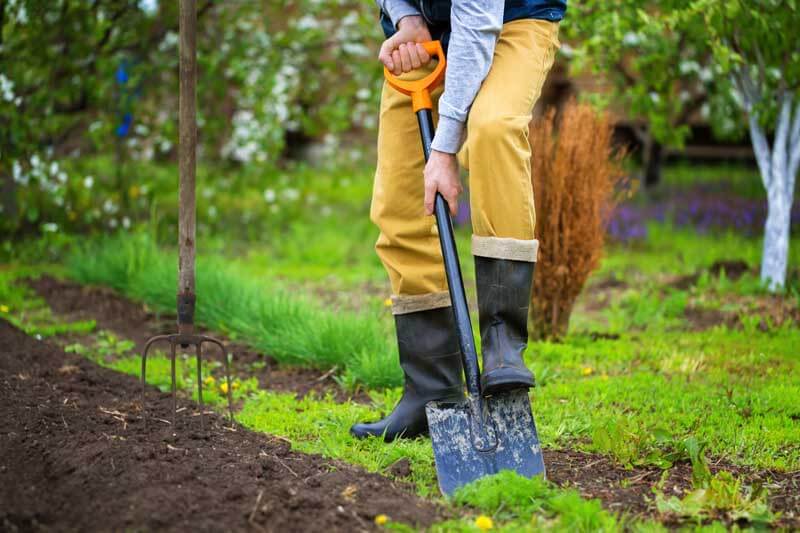
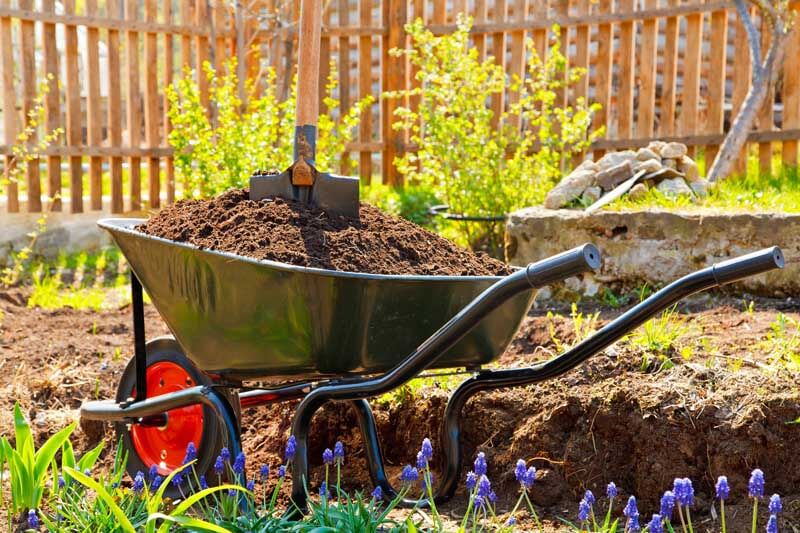
 Amend all of your backfill: Amendments rich in organic matter and microbes are essential for the longterm health of your garden. Shovel lots of organic matter, like Black Gold